
1. Denim Pocket Photo Frame
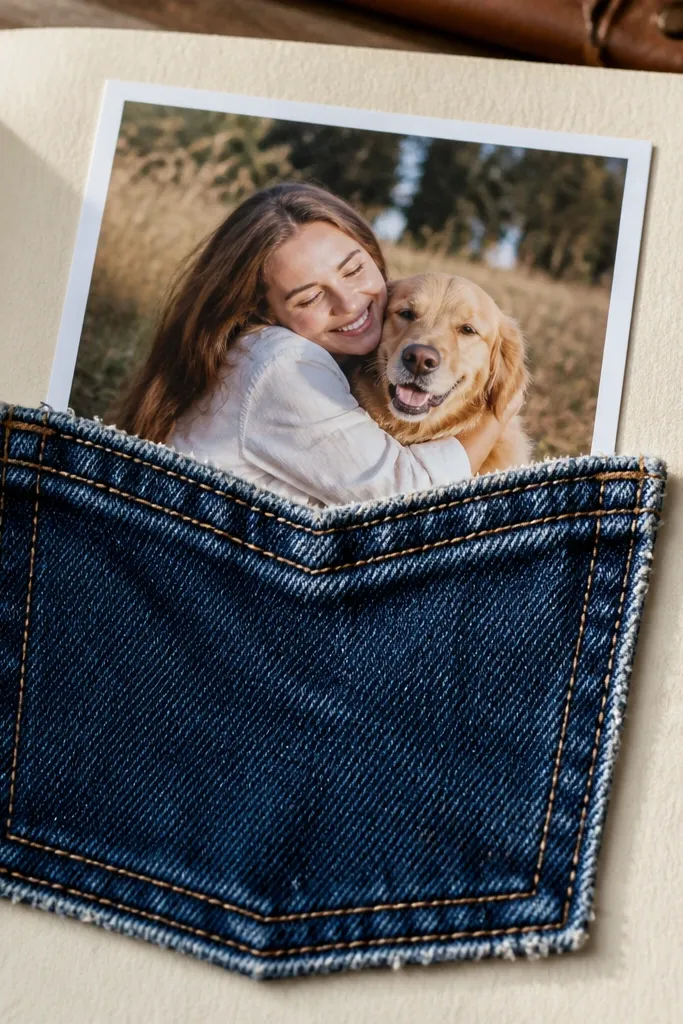
This page looks boyfriend-specific without needing a theme you have to explain. A denim pocket gives instant texture and depth, and it also creates a natural “frame” area for a favorite photo. The pocket shape is forgiving — even if your denim scrap is uneven, the top seam hides it. It’s quick because you’re not building a full album page; you’re mounting one hero photo into a tactile border. This works best for casual photos: concerts, street style, road trips, or anything that already has a denim or blue tone.
Cut a rectangle of kraft cardstock to your page size (for a standard scrapbook, start with 12x12 cardstock and trim to fit your binder). From denim scrap, cut a pocket shape about 1 inch taller than your photo, then add a simple top fold for the “pocket opening.” Glue the pocket behind the photo area so only the pocket outline shows, then stitch or draw a few straight lines across the top fold for realism. Finish by adding one short journaling strip under the photo using a label or thin cardstock strip.
Use fabric glue for the denim so it grabs fast and doesn’t soak through the paper.
Don’t cover the denim with patterned paper — the denim texture is the main look.
2. Washi Tape Road-Trip Timeline
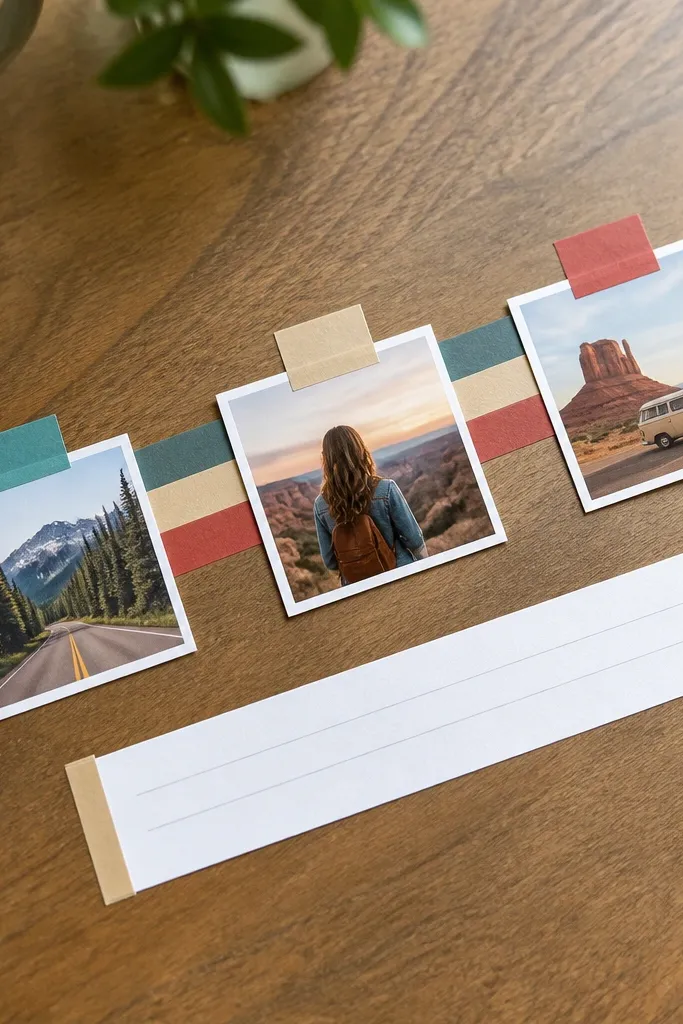
This layout makes memories feel like movement. A diagonal timeline built from washi tape creates a clean path your eyes follow, and it gives you a ready-made spot to place three small photos. The trick is spacing — keep each photo tab the same size so the page looks organized even when the trip had chaos. It’s ideal for quick and easy boyfriend scrapbook page ideas because washi tape is repositionable enough to fix alignment before you commit. It photographs well because the diagonal line adds energy and depth without bulky layers.
Cut a background base from solid cardstock, ideally off-white or light gray. Lay a diagonal strip of washi tape from bottom-left toward top-right, then stack two narrower tapes crossing it so you get a road-like pattern. Punch or cut three small photo tabs (about 2.5x3.5 inches each), and glue them along the diagonal line with consistent gaps. Add date journaling on small label stickers under each photo tab.
Choose two washi patterns max: one solid or thin stripe and one fun pattern, or the timeline gets noisy.
Avoid tiny journaling blocks — use one readable line per photo tab.
3. Scrapbook Map Coordinates Tag
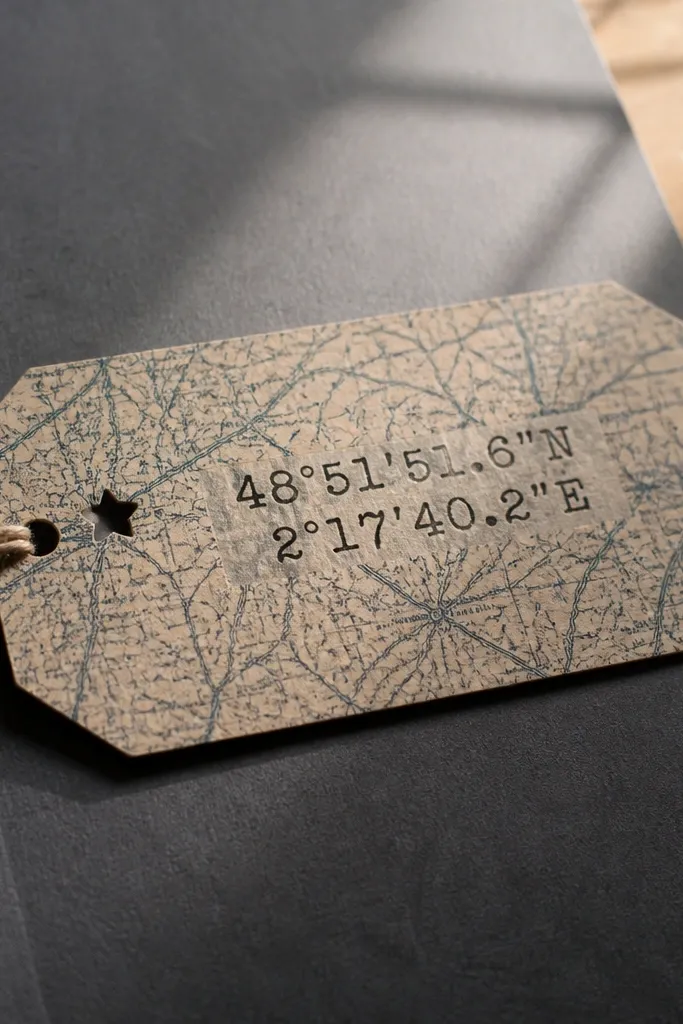
If your boyfriend has a favorite city or a place you keep returning to, this idea turns that into a design element. A map-style tag gives you a strong, masculine feel while still looking artsy. Coordinates look sharp on camera, especially when you stamp them or print them cleanly. The page is also practical: you can tuck a short note behind the tag for a sweet message. It’s a great fit when you want the page to feel personal without covering it in too many photos.
Print or copy a small map image onto thin paper, then cut a tag shape (about 3x5 inches) with a pointed bottom. Glue the tag onto a solid cardstock base using a small strip of double-sided tape so it lies flat. Add coordinates using a stamp or typed text on a thin paper strip, then glue it near the top of the tag. Place one small photo in the corner of the page and add a simple border line around it using a fine-tip marker.
Lightly distress the tag edges with sandpaper so the paper looks aged instead of glued-on.
Skip full-sheet map backgrounds — they make pages look busy and harder to read.
4. Black Cardstock Movie Night Strip
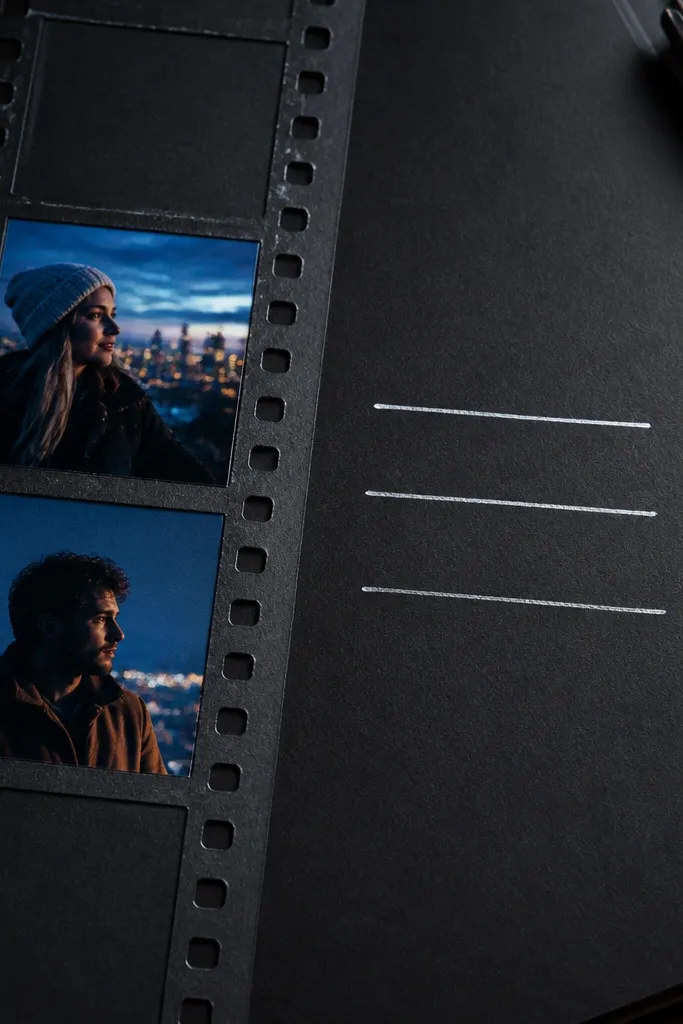
Cut black cardstock to your page size and add a thin strip of colored cardstock (like red or teal) along one side for contrast. Create a filmstrip by cutting a long rectangle and adding evenly spaced rectangles or circles in a lighter paper color, then glue it diagonally. Mount three mini photos on the filmstrip segments using small adhesive squares. Write one short line under the strip with a bold marker — keep it to one sentence max.
This is the fastest way to make a boyfriend page look designed. Black cardstock instantly gives a dramatic look, and a filmstrip motif makes the theme obvious without long explanations. Bright journaling (white gel pen or metallic marker) pops hard in photos. You also get built-in structure because a filmstrip is naturally segmented, so you can place three mini photos without measuring a bunch. This works especially well for low-light photos, movie nights, game nights, or anything with a cozy vibe.
AvoidDon’t use multiple dark colors — black plus dark blue makes the page unreadable.
Pro tipUse a white gel pen for journaling — it looks crisp on camera on black paper.
5. Sticker Label Love Notes Pocket
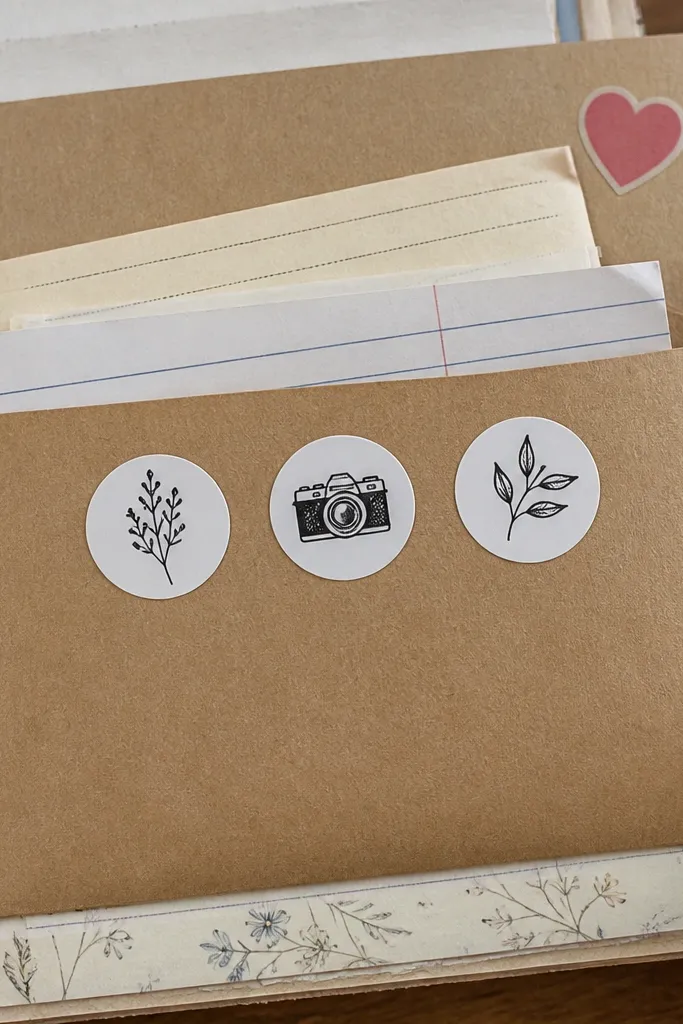
This idea makes the page interactive without adding heavy mechanisms. A simple pocket holds folded notes, and sticker labels organize the message so it looks neat even if the handwriting is messy. It’s one of the best quick and easy boyfriend scrapbook page ideas when you don’t want to print a bunch of photos. The pocket also creates a focal point that reads clearly in pictures. It suits long-distance relationship notes, birthday messages, or “reasons I like you” lists.
Cut a pocket from cardstock (about 3.5x4.5 inches) and glue only the bottom and sides, leaving the top open. Add a strip of washi tape or a thin label strip at the top edge for a finished border. Fold a small note and slide it into the pocket, then add 3-5 sticker labels on the front with short phrases like “First Date,” “Your Laugh,” or “Favorite Thing.” Mount one small photo at the opposite corner and tie it together with a thin border line around both areas.
Use cardstock for the pocket, not paper — it keeps the pocket shape so it looks clean in photos.
Don’t overcrowd the pocket front — 3-5 labels looks intentional; 10 looks cluttered.
6. Pressed Leaf Accent with Photo Corner
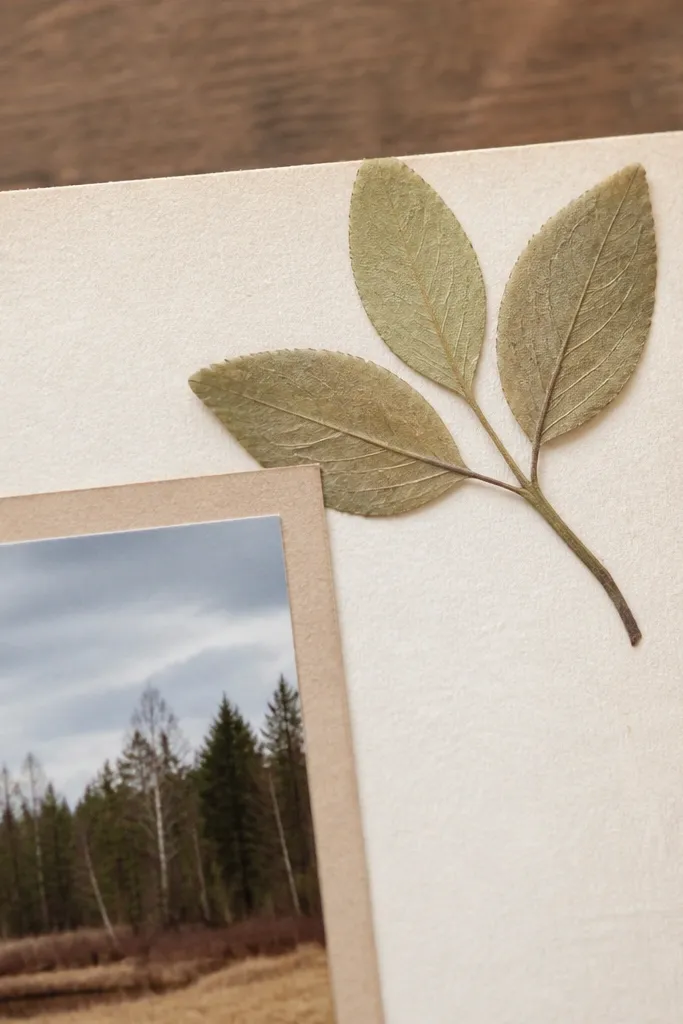
Start with cream or light tan cardstock. Place a pressed leaf on the page where you want the accent, then lightly trace a rough outline so you know where to glue. Use a thin layer of clear gel medium or photo-safe glue to secure the leaf, then press under a book for 10-15 minutes. Add one photo corner (cut a 1-2 inch photo corner or mount a small photo) and write the date with a fine marker.
This page turns a small moment into a textured detail. Pressed leaves (or thin dried flowers) add a natural, subtle look that photographs beautifully when you pair them with a clean photo corner. The key is restraint: one leaf cluster, not a scatter of botanicals. You’ll still get a boyfriend-focused layout because the leaf sits next to a photo and a short line about where you were. This fits outdoor dates, hikes, parks, or any “we did something together” day.
AvoidAvoid glossy clear glue across the whole leaf — it reflects light and looks messy.
Pro tipSeal the leaf with a tiny dab of clear medium only where it lifts — too much can make it look cloudy.
7. Photo Booth Border with Cutout Frames
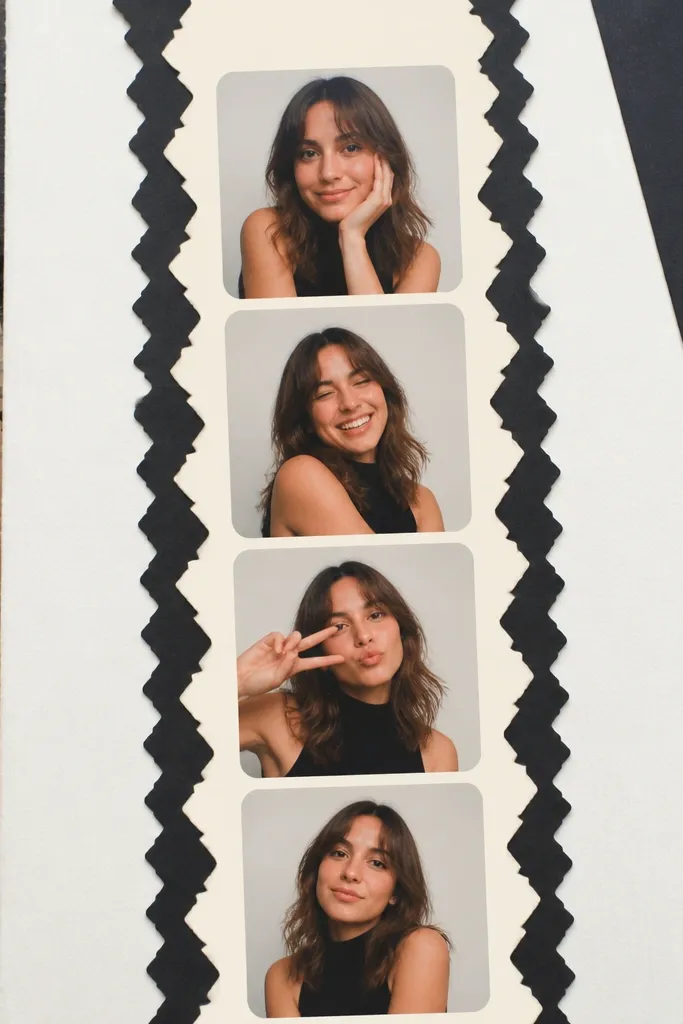
Cut four photo frames from cardstock using a rectangle die cutter or by tracing and cutting with scissors (aim for about 2.75x3.75 inches each). Choose one border paper strip (about 1 inch wide) and run it along the top or bottom of your page. Mount the four photos inside the frames with double-sided tape, leaving a small gap between frames. Add one bold journaling line across the center gap or directly under the bottom frame.
This layout gives you a “photo booth strip” vibe that looks instantly cohesive. You don’t need a photo booth at all — just use consistent photo sizes and a repeating border pattern. The cutout frames create a graphic edge that looks styled, not slapped on. It’s a solid choice for quick and easy boyfriend scrapbook page ideas when you have 4-6 photos from one event. Because the frames are consistent, the page stays clean even if the photos are different.
AvoidDon’t use different photo sizes — uneven photos ruin the clean border effect.
Pro tipUse the same frame color for all four — mixing frame colors makes it look like a collage instead of a layout.
8. Ticket Stub Stack with Faux Index Tabs
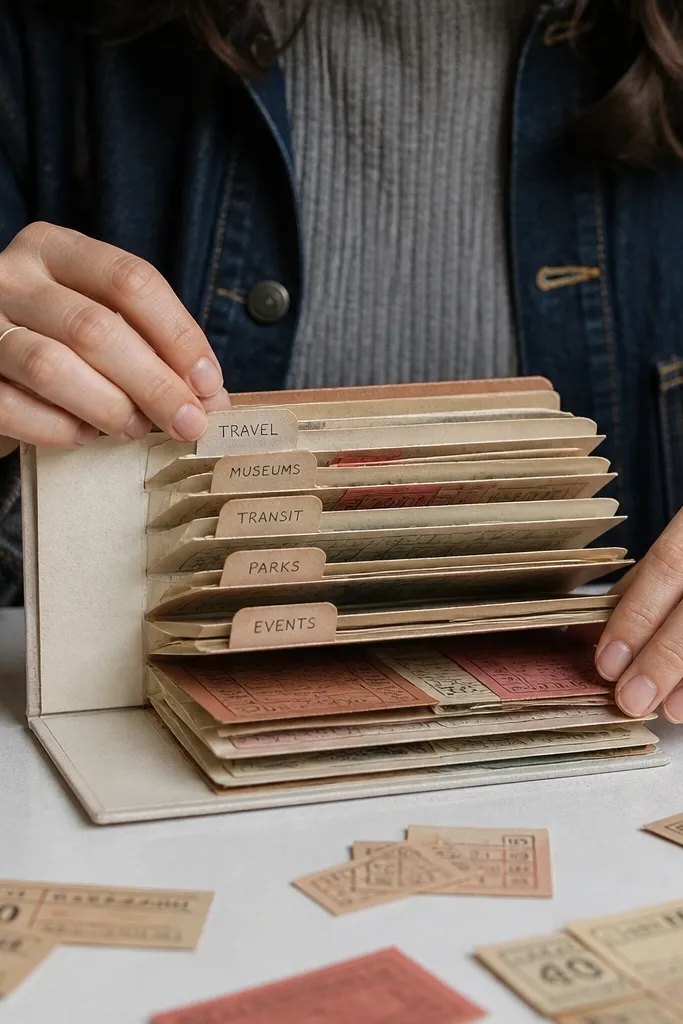
Cut 3-5 ticket shapes from scrap paper or cardstock, varying the widths slightly but keeping the height consistent (about 2.5 inches tall). Add printed details by stamping fake seat sections or writing event names in neat text. Layer the tickets with small adhesive dots, then place a small photo beneath the stack so it peeks out. Create two index tabs by cutting thin rectangles and gluing them to the top edge with one-word labels like “Date” and “Why I Loved It.”
Ticket stubs look boyfriend-coded fast because they’re already themed. This page stacks ticket shapes like a little file, then uses index tabs to organize what each ticket was for. The result is graphic and readable, and it photographs well because the layered stack creates depth. It’s also quick: you’re mostly cutting and stacking shapes, not building complex structures. Great for shows, sports games, museums, or any event day where you have receipts or can print tickets.
AvoidAvoid a flat single-layer ticket — stacking is what makes it look designed.
Pro tipUse a black fine liner to draw ticket perforation lines so the shape reads clearly.
9. Monogram Corner with Gel Pen Shadow
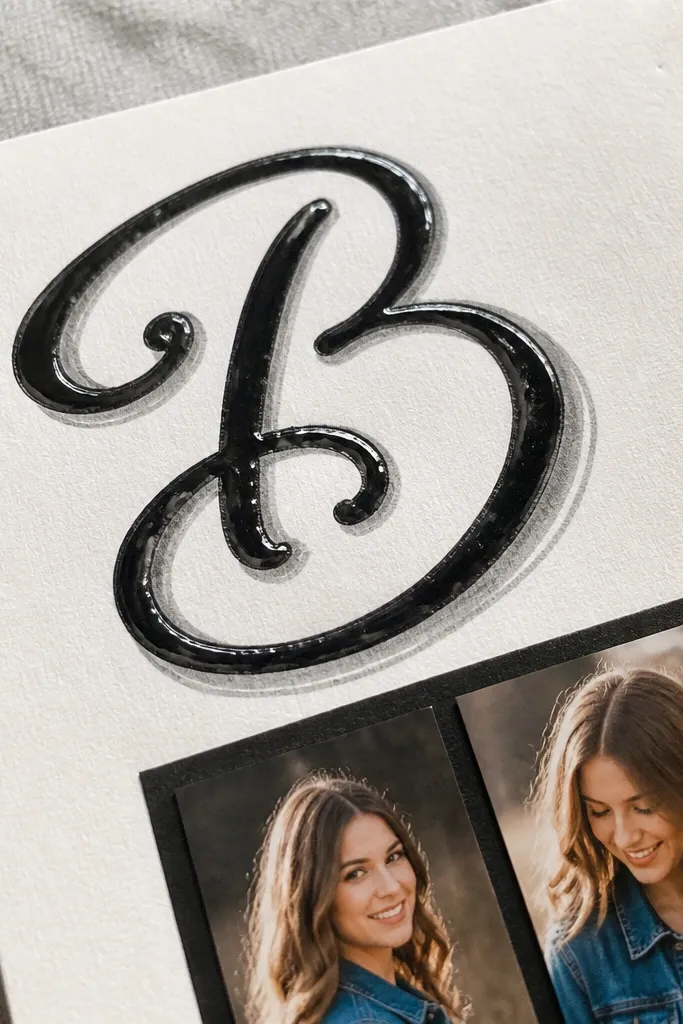
A monogram corner is simple but it looks intentional, especially when you add a hand-drawn shadow. It gives you a boyfriend-specific detail even if you only have one or two photos. The page stays photogenic because the monogram is big and high-contrast, and it frames the photo strip. This is a strong option for quick and easy boyfriend scrapbook page ideas when you want minimal cutting and maximum impact.
Choose a base cardstock color and a contrasting monogram color (white gel pen on dark base, or black pen on kraft). Write a large letter in the top corner using a stencil or printed guide, then add a second outline slightly offset to create a “shadow” effect. Mount a narrow photo strip across the page diagonally or horizontally, leaving the monogram visible. Add a single short caption under the photo strip, keeping the text width aligned with the monogram.
Practice the shadow offset on scrap first — the offset distance controls how clean it looks.
Don’t pick a monogram color that blends into the base — contrast is the whole point.
10. Fabric Strip Stitched Banner
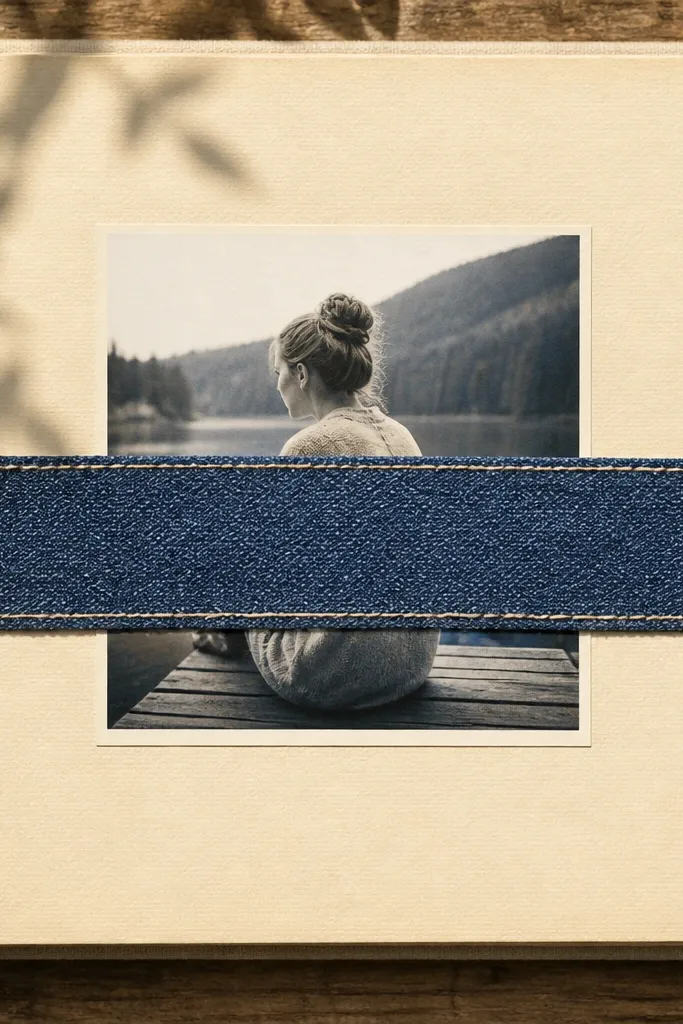
Cut a fabric strip about 1.25-1.5 inches tall and long enough to span the width of your page. Place the strip on your base cardstock where you want the banner, then glue it down with fabric glue or double-sided tape. Use a contrasting thread and a running stitch drawn with a fabric pen, or just stitch a few straight lines for a clean look. Mount your main photo in the center, then add journaling on a small label strip under the photo.
Fabric looks expensive on scrapbook pages, and it’s still quick if you keep it to one strip. A stitched banner across the page gives a strong horizontal line, and it makes the center photo feel framed. You can use denim, flannel, or an old T-shirt cotton — whatever matches your photos. This is one of the best quick and easy boyfriend scrapbook page ideas when you want texture without complicated craft tools. It also works for birthdays, winter dates, and any page where the photo has a warm tone.
AvoidDon’t glue fabric directly over glossy photos — it can wrinkle the photo paper.
Pro tipTrim fabric edges cleanly first — frayed edges look good only when they’re intentional.
11. Gradient Gel Pen Heart Block
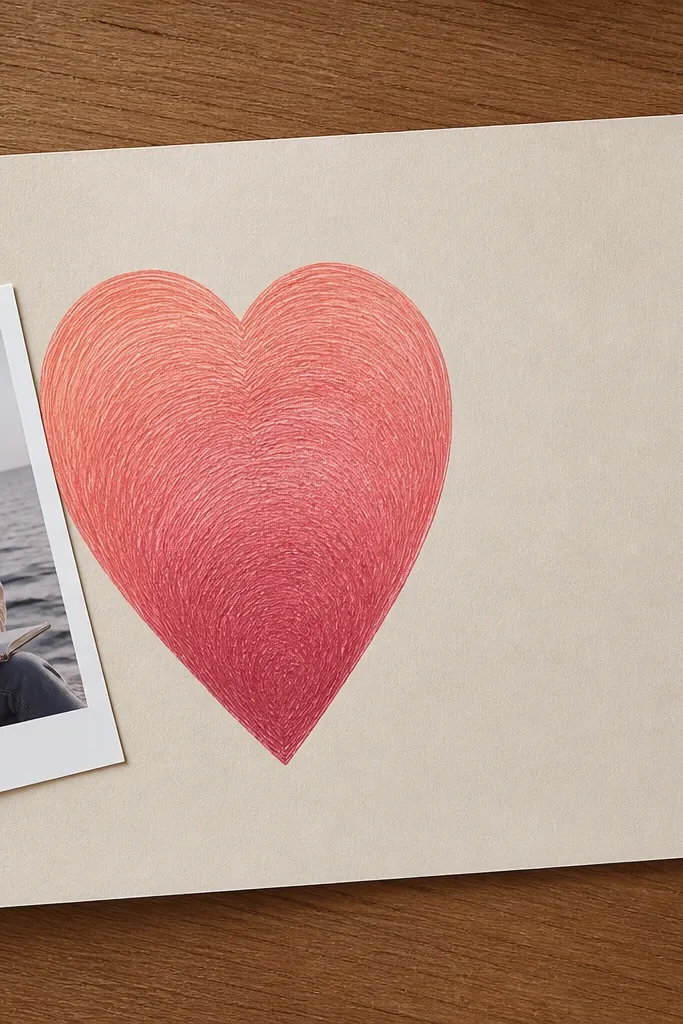
This one looks artsy but it’s simple. A heart-shaped block made with layered gel pen strokes creates a soft gradient that photographs beautifully, especially with a matte background. You get a boyfriend theme without relying on big decorative stickers. The layout also gives you a clear journaling spot — write a short note inside a border box under the heart. This idea is best for romantic photos, anniversary pages, or any sweet moment where you want the design to feel hand-drawn.
Draw a heart outline on cardstock and cut it out with scissors or a craft knife on a cutting mat. Place the heart-shaped opening over a colored paper layer, then glue the colored layer behind it so you see the gradient area. Color inside the heart using gel pens or watercolor pencils in 3-4 layers, blending with light strokes. Mount a photo beneath the heart and add a thin rectangle journaling box using a ruler and pen.
Use a matte base under the heart so the pen strokes stay soft instead of shiny.
Avoid heavy marker fills — they dry streaky and look uneven on camera.
12. Scrap Paper Punch Confetti Frame
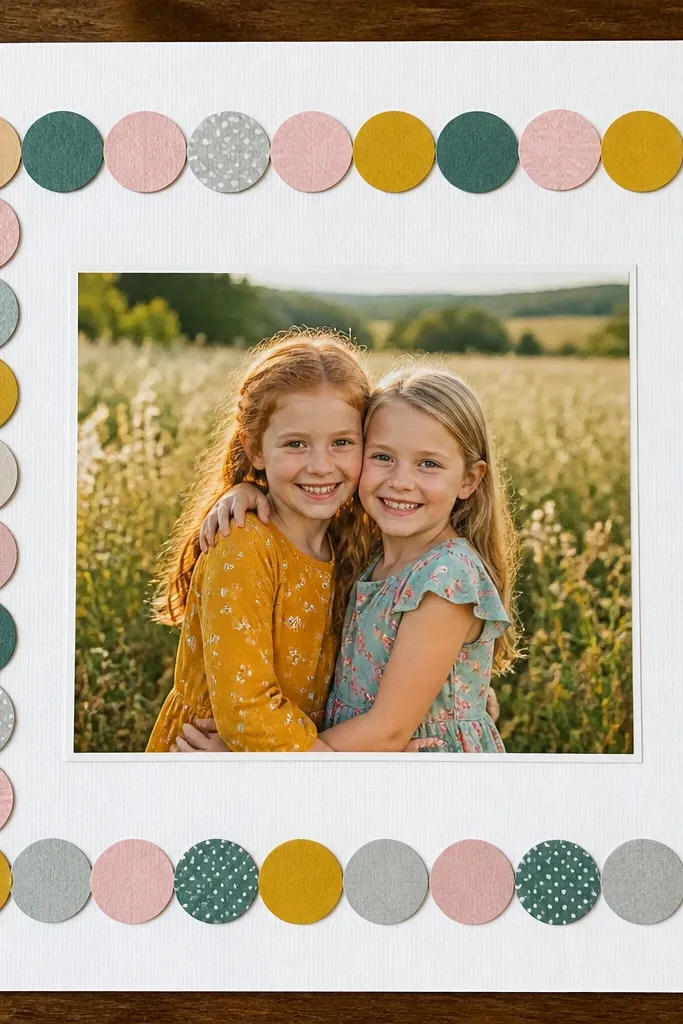
This layout is playful, and it still looks clean because you control the frame. Instead of scattering confetti everywhere, you build a border frame from punched circles. It makes your photo pop and gives a visual texture that looks great in daylight photos. It’s also fast because punch shapes are quick to mass-produce from scraps. This works for casual dates, summer photos, or anytime you want a fun look without adding a bunch of die cuts.
Pick 2-3 scrap paper colors and punch a bunch of small circles (about 1/4 to 3/8 inch). Cut a window opening in your base cardstock where the photo will sit, leaving a border frame thickness of about 1 inch. Glue the circles around the window edge in a tight ring, alternating colors. Add one journaling line beside the photo window or directly under it on a solid label strip.
Use a glue stick for the circles — it dries faster and keeps the paper flat.
Don’t glue circles randomly across the whole page — the frame look is what makes it photogenic.
13. Receipts to Receipt Holder Mini Wallet
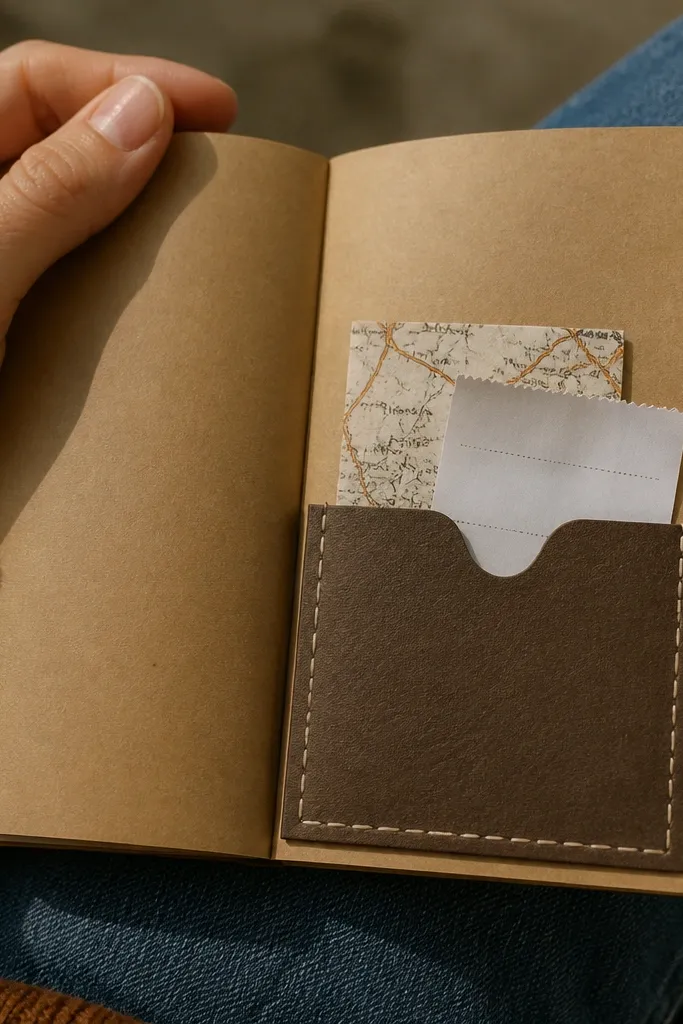
Cut cardstock into a wallet piece about 4.5 inches wide and 5.5 inches tall, then fold it so it creates two compartments (make one fold line about 3 inches from the bottom). Glue only the sides and bottom so the top stays open, then reinforce the fold with a strip of washi tape. Add a small photo corner on the outside front, and write one short date line next to it. Finish by sealing the pocket edges with a thin line of glue or tape so it stays crisp in the binder.
A mini wallet pocket makes the page feel like a keepsake, not a flat printout. You can tuck in a note, a tiny map fold, or even a printed receipt you saved from a date. The “wallet” shape also gives a strong visual structure, so the page doesn’t need a lot of extra decoration. It’s perfect for quick and easy boyfriend scrapbook page ideas when you want one interactive element and one photo. This style looks best on thicker cardstock pages because the pocket needs to hold its shape.
AvoidDon’t use flimsy paper for the wallet — it collapses and looks sloppy.
Pro tipUse a bone folder on the fold — it makes the crease sharp so the wallet looks professional.
14. Coordinates + Stars Starburst Cutout
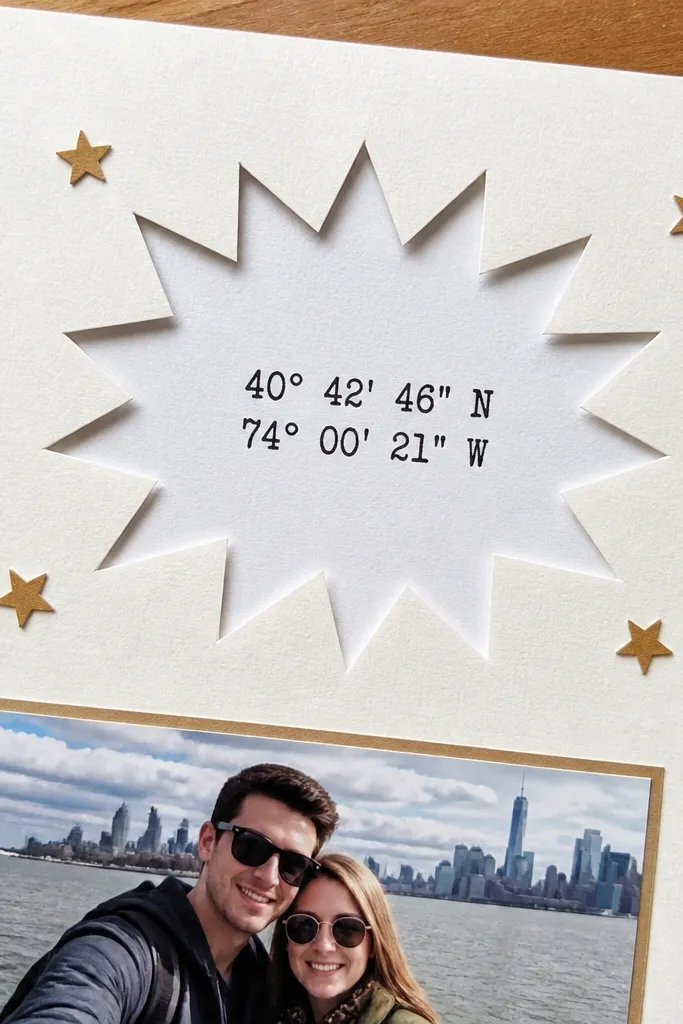
This is for the boyfriend who likes details. A starburst cutout gives you a clean focal point, and coordinates make it feel specific without needing a long story. Tiny star stickers or punched stars add sparkle, but you keep them small so the page stays readable. The starburst also gives you a natural area for journaling, like “Where we met” or “Our spot.” It’s quick because you’re building one shape and placing a couple of accents around a photo.
Cut a starburst shape from cardstock (or trace a store-bought starburst template) and glue it centered near the top of your page. Use a white gel pen or metallic marker to write coordinates or a short phrase inside the starburst. Add a single photo centered below, then sprinkle 6-10 tiny stars around the photo — keep them within a 2-inch radius so it looks intentional. Draw a thin dotted border around the page edges using a fine pen.
If your coordinates are long, use a smaller font on a label strip so it stays legible in photos.
Avoid too many star sizes — one main starburst and tiny stars looks best.
15. Monochrome Photo Strip with Tape Hinge
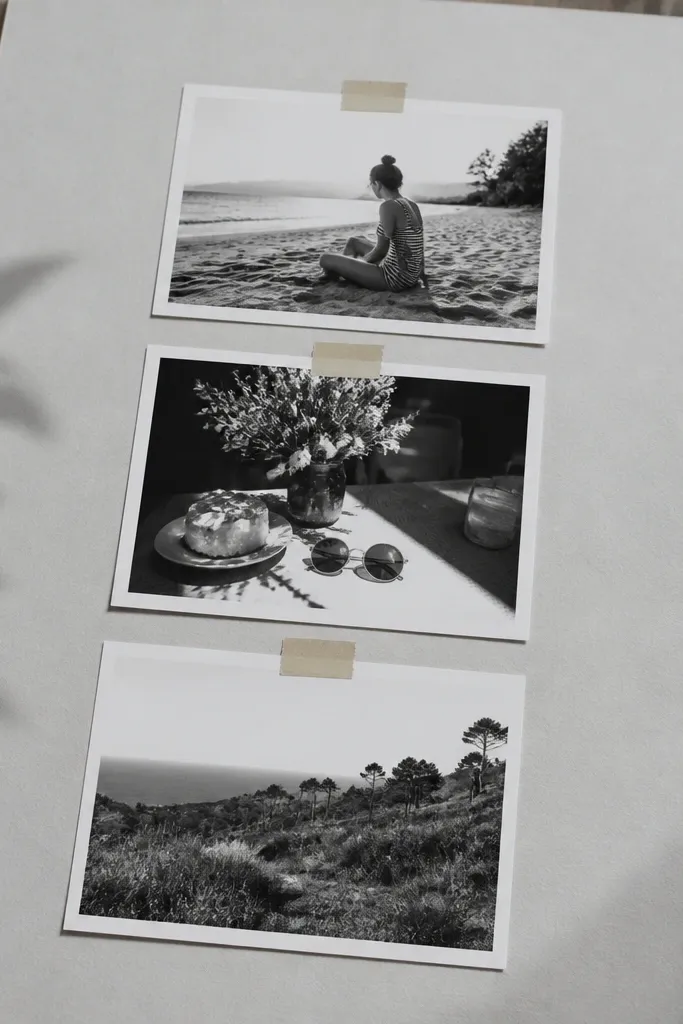
Convert three photos to black and white using your phone’s editor or a simple app, then print them at a consistent size (about 2.5x3.5 inches each). Cut a strip of cardstock to fit behind the photos, leaving a 1/4 inch margin on both sides. Glue the photos to the strip, then attach the strip to the scrapbook page using two small washi tape hinges on the top and bottom edges. Add journaling on a label directly under the strip.
A monochrome strip makes almost any boyfriend photo set look classy and cohesive. The tape hinge adds a little motion — it looks like the photos could flip, even if it’s just a visual hinge. You get clean alignment, and monochrome reduces the chaos from mixed lighting and backgrounds. This is a strong choice for quick and easy boyfriend scrapbook page ideas because you only need three photos and one caption. It’s also great for pages where you want the vibe to feel calm, not busy.
AvoidDon’t use patterned base paper under monochrome photos — it fights the clean look.
Pro tipUse matte photo paper for the prints — it photographs with less glare than glossy.



