
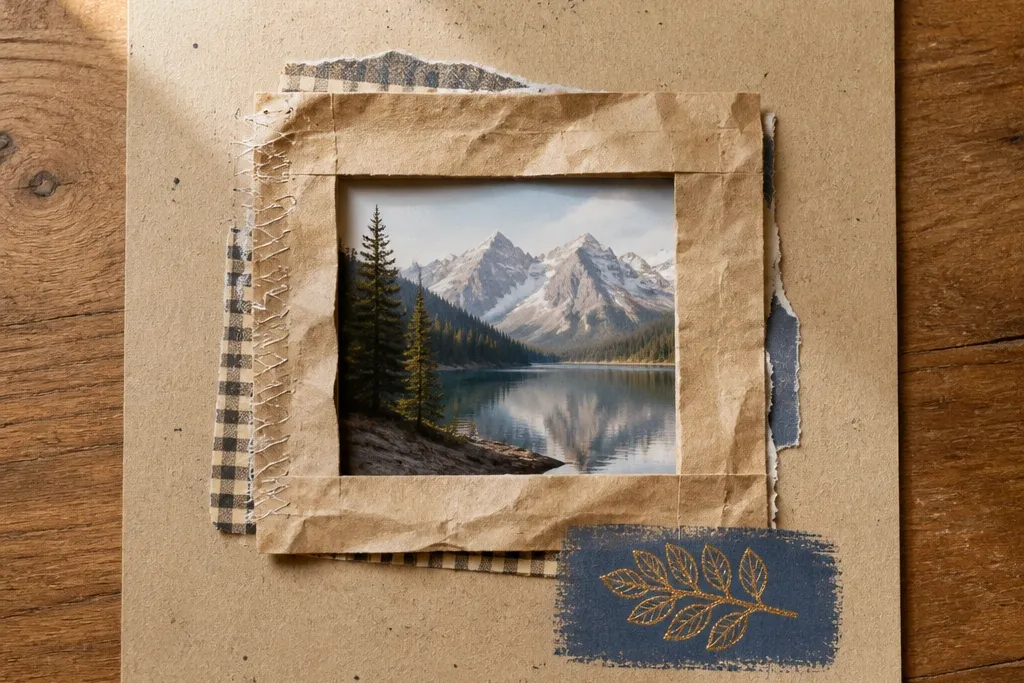
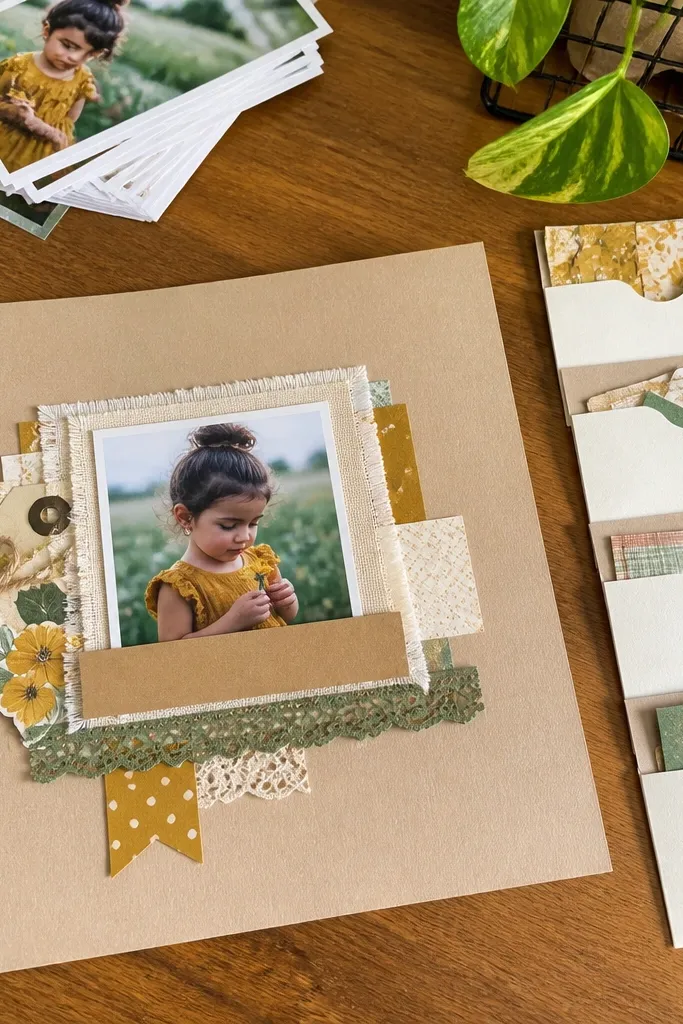
1. Paper Bag Window Frame With a Single Photo
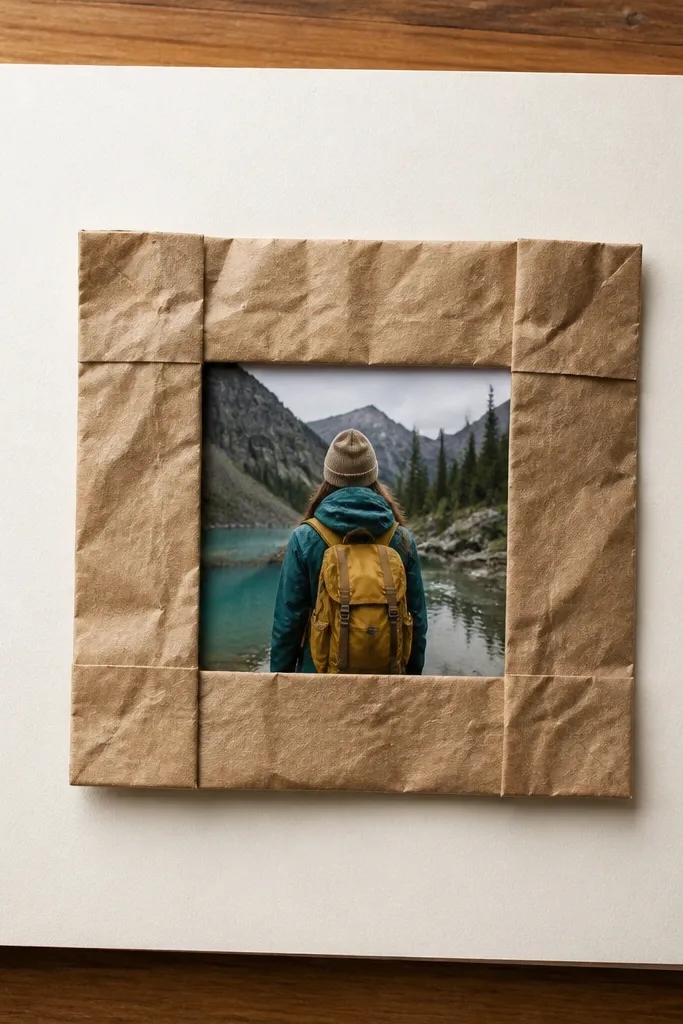
This layout uses a paper bag as a built-in mat, which is why it looks styled even when your photo is small. The crinkly fibers add texture without needing extra embellishments, and the “window” makes the photo feel centered and deliberate. Keep the page background plain so the bag frame does the work. It’s a great option for a desk that’s short on tools because all you need is a ruler, scissors, and glue.
Cut a rectangle from a cleaned grocery paper bag, sized so it leaves a 1/4 inch border around your photo. Score two lines inside the rectangle and cut out the center to make a window, then ink the edges lightly with a dark marker. Glue the bag frame to your page background first, then place the photo behind the window opening. Finish by adding a caption strip: a 1 inch wide strip of leftover cardstock glued under the photo with 1-2 short words.
Dry-fit the window on top of your photo before gluing so the edges line up perfectly.
Don’t add extra stickers inside the window — the bag texture is already the focal point.
2. Cereal-Box Cardboard Base With Painted Corner Accent
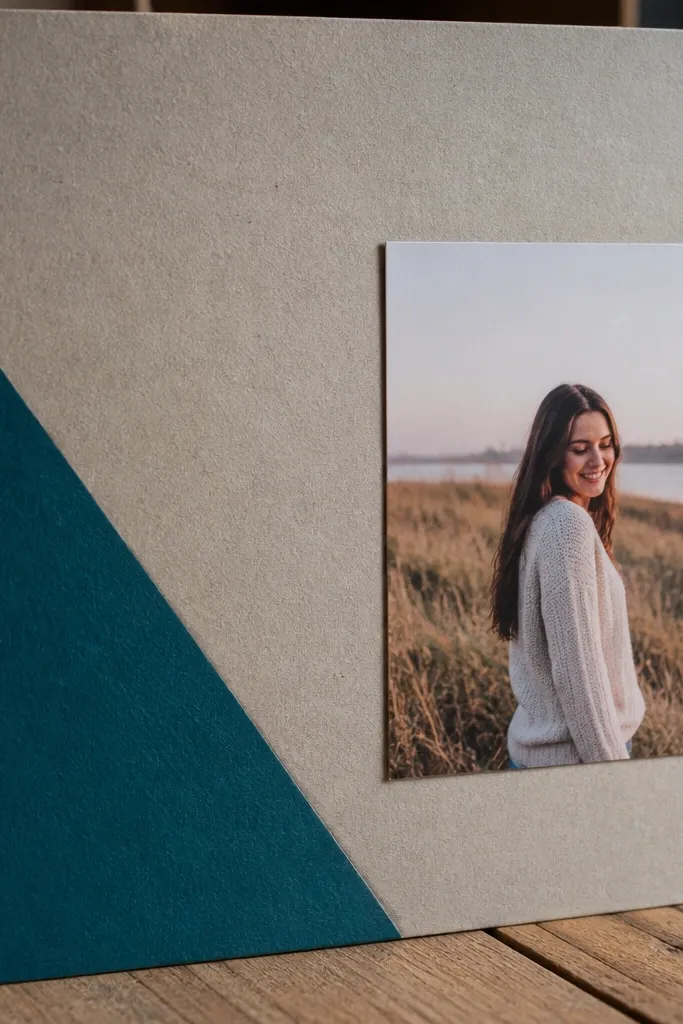
Cardboard from a cereal box gives you instant structure and a slightly matte, modern look. The trick for small-space scrapbook page ideas is using a single painted corner shape instead of decorating the whole page. You get a clean grid feel that photographs well, especially with one small photo. It also hides glue bumps because cardboard forgives surface imperfections.
Cut a piece of cereal-box cardboard to your page size, then sand the surface lightly if it’s shiny. Paint a single geometric accent in one corner (a triangle or quarter circle) using acrylic craft paint, keeping it within a 2 inch area. Let it dry for 5-10 minutes, then glue your photo centered on the opposite side. Add a tiny title label on top of the painted area using a strip of scrap paper (about 1/2 inch tall) and dark ink for letters.
Pro tipUse a makeup sponge to dab paint — it looks cleaner than a brush stroke on cardboard.
AvoidSkip full-coverage painting; a big wash makes small pages feel crowded.
3. Book-Page Band With Foil-Stamped Title
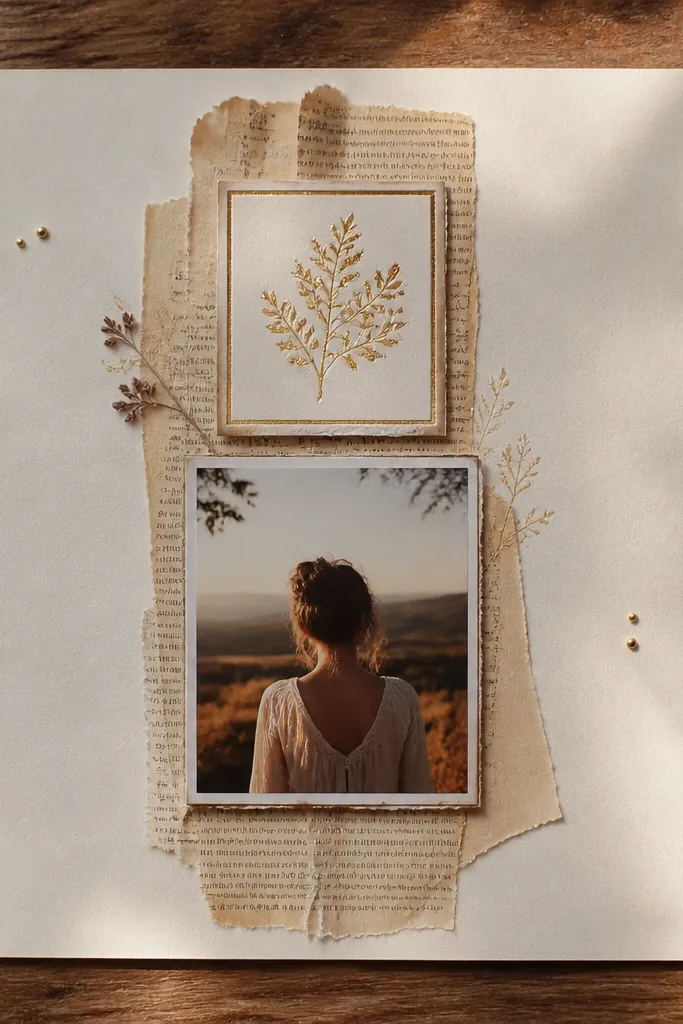
A book-page band creates instant texture and a vintage vibe without adding clutter. For small layouts, the band acts like a visual divider, so your photo and title don’t compete. Add a foil-stamped title block (even with simple craft foil) to give a modern sparkle that still looks handmade. This is a strong pick when you want “nice” on camera with minimal embellishments.
Tear a strip of book page to span horizontally across the page, leaving 1/2 inch margins at both ends. Glue the strip onto a light cardstock background, then lightly rub a dark ink pad over the torn edges for definition. Place a small photo centered below the band. For the title, cut a 2 inch by 3/4 inch rectangle from scrap cardstock, apply craft glue to the letters, and press gold or silver foil over it; let it set, then glue the title block on top of the band.
Pro tipPress foil with a folded piece of parchment so you don’t smear glue everywhere.
AvoidDon’t cover the entire page with book text; keep it to one band so it stays crisp.
4. Fabric Scrap Photo Mat With Straight-Edge Layout
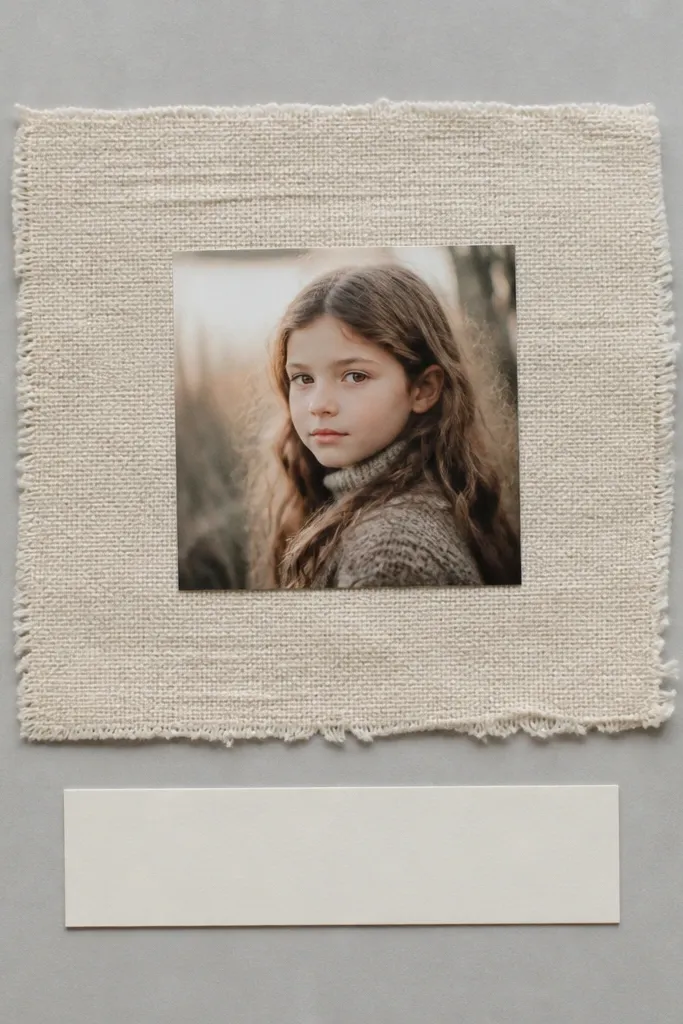
Fabric scraps add softness and depth, which makes a small photo feel “framed” without bulky layers. The look works because the layout stays straight and minimal: one fabric mat, one clean title, and lots of breathing room. It also hides uneven paper edges since fabric looks intentional even when it’s a little rough. This is ideal for keeping pages cohesive when your photos are different sizes.
Cut a fabric scrap slightly larger than your photo by about 1/2 inch on each side. Glue the fabric to a piece of cardstock, then trim the cardstock to create a neat mat around the photo. Use foam squares under the photo so the fabric mat reads as a frame. Add a handwritten date or short caption in the top right corner with a black gel pen.
Pro tipUse a thin layer of glue stick on the fabric back before pressing to prevent soak-through.
AvoidDon’t use thick ribbon bows here — they overwhelm a small page fast.
5. Three-Tape Diagonal Strip Background
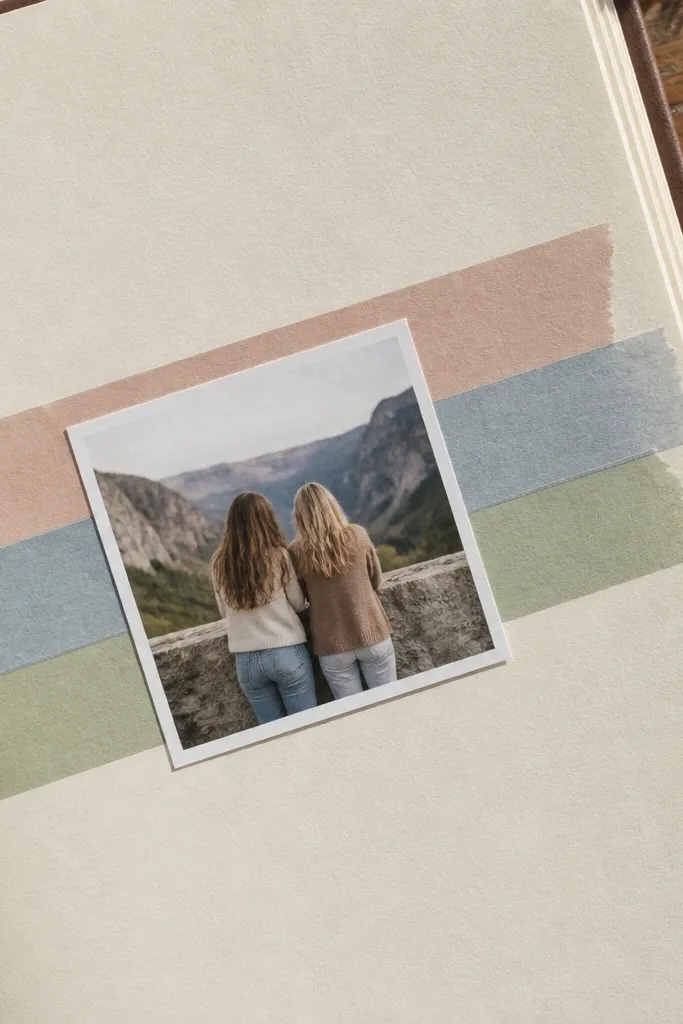
Diagonal tape strips are one of the fastest ways to make small-space scrapbook page ideas look designed. You get pattern and movement behind the photo while keeping the page simple. Choose three tapes with a similar color family so it looks intentional, not random. This layout is especially good for small photos because the background already adds interest.
Cut your page background cardstock and place three washi tape strips diagonally from top left to bottom right, leaving 1/4 inch gaps between strips. Press the edges down with a ruler so it doesn’t lift later. Glue the photo in the center, slightly rotated (about 2-3 degrees) to match the diagonal direction. Add a small label strip under the photo using plain scrap paper and a short handwritten title.
Pro tipUse one matte tape and two pattern tapes — matte keeps it readable on camera.
AvoidAvoid putting the photo directly over a busy tape print; leave one strip cleaner for contrast.
6. Masking-Tape Border + Coffee-Stained Edges
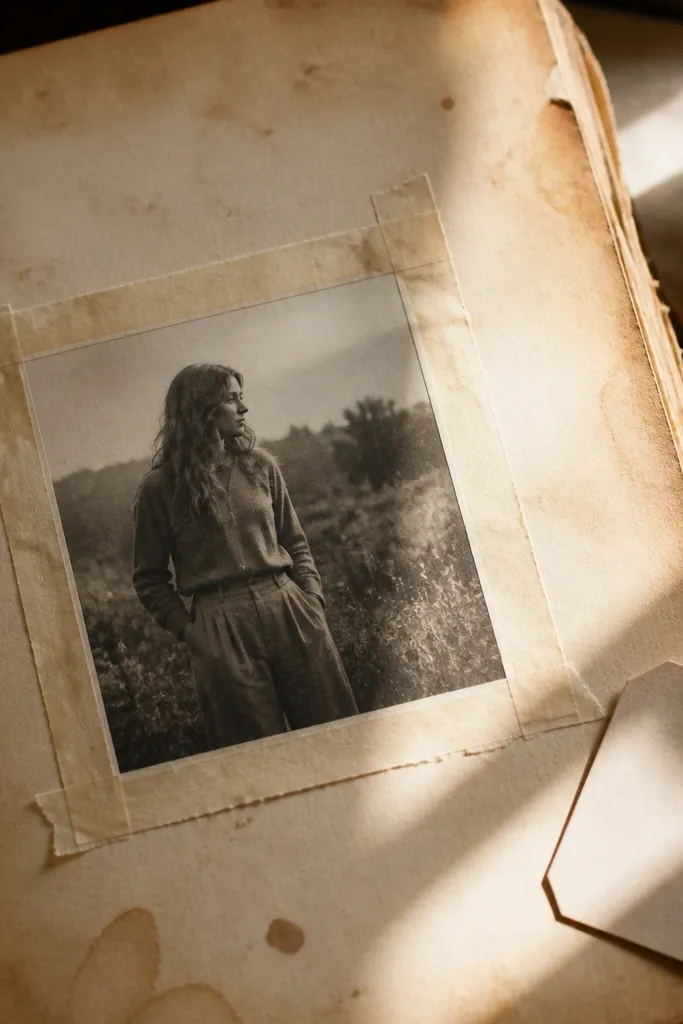
This one gives you a “gallery print” look in 30 minutes. The masking-tape border creates a clean frame, and coffee-stained edges add depth without needing watercolor skills. For small layouts, the border keeps everything organized and makes the photo feel intentional. It also looks great with black-and-white photos and handwritten captions.
Apply masking tape around the page edges, leaving a 1/4 inch inner margin. Brew a small amount of strong coffee, then dip a paper towel corner and dab lightly around the outer edge of the paper (avoid soaking the center). Let it dry 10-15 minutes, then remove the masking tape slowly. Glue your small photo centered, and write a simple caption at the bottom using a fine-tip black pen.
Pro tipUse a hair dryer on low to speed drying, then press the page under a book for 5 minutes.
AvoidDon’t over-saturate; muddy edges happen when the paper gets too wet.
7. Punch-Out Confetti Title With One Photo Block
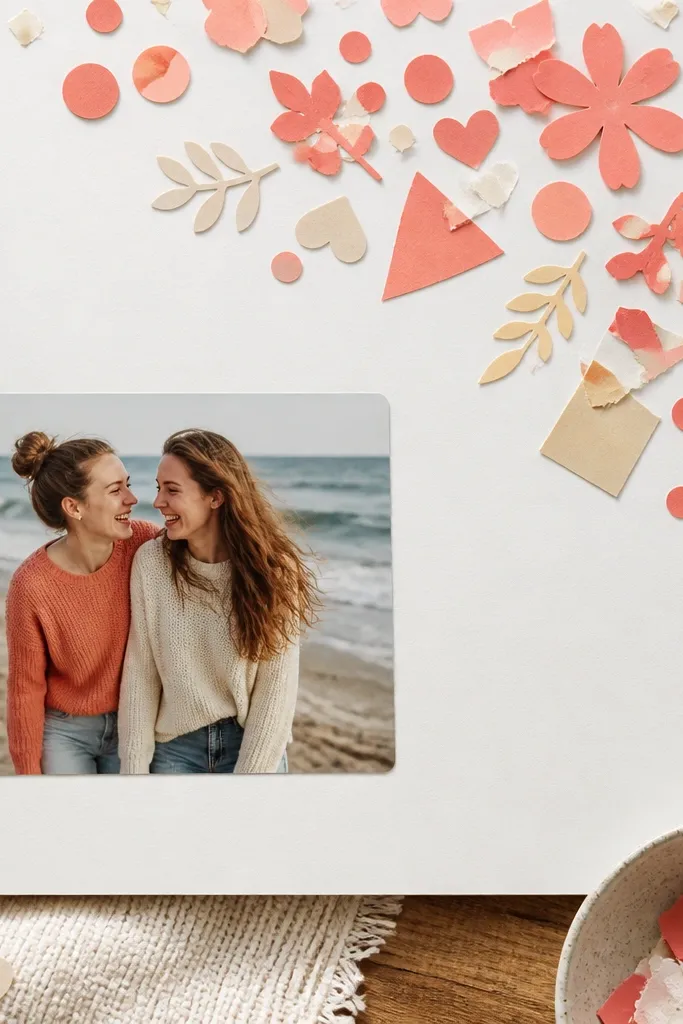
A punch-out confetti title looks playful but still clean when you keep it to one place. The photo block stays simple, and the title becomes the only “busy” area. This is perfect for small-space scrapbook page ideas because the eye has one clear path: title cluster first, then photo. Use scraps so you don’t buy anything.
Cut a 2.5 inch wide strip of cardstock and mark where your title will sit. Punch 1/4 inch circles or tiny hearts from scrap paper in 3 coordinated colors, then glue them tightly in the shape of letters (start by outlining the letters lightly with pencil). Glue the photo in a rectangle below the title strip with a 1/4 inch border. Finish with a date in the bottom right in a single line.
Lay the punched shapes on scrap paper first to check the letter readability before gluing.
Don’t spread the confetti across the page; keep it inside the title area.
8. Stencil Spray Through Packaging Plastic
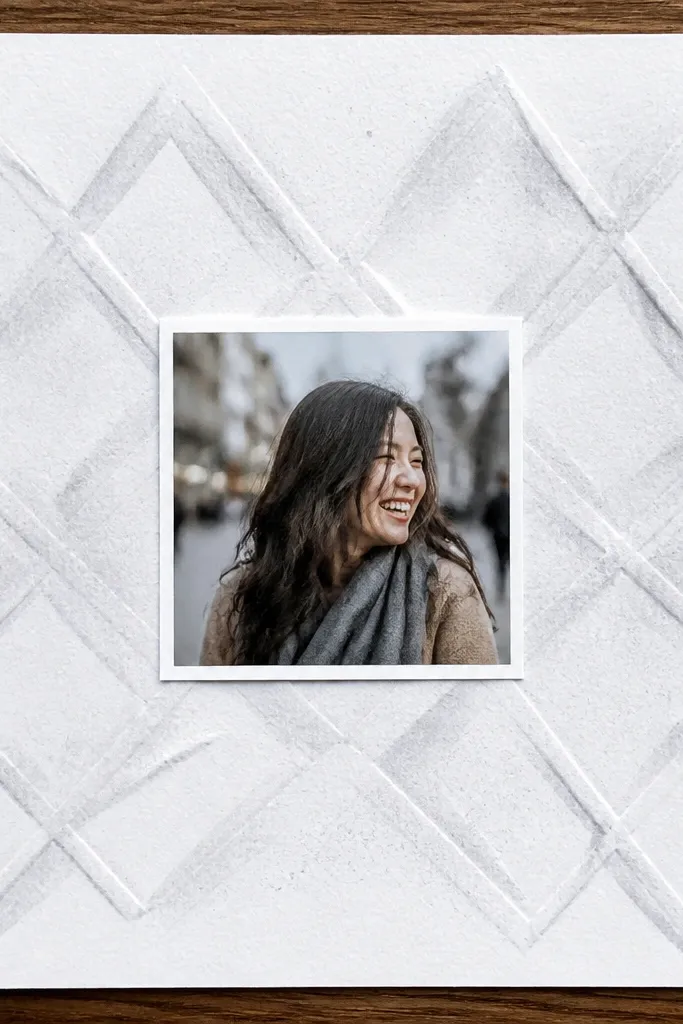
This gives you a modern, airbrushed texture without an airbrush. Clear packaging plastic works like a stencil mask when you cut simple shapes, and a light spray makes the pattern subtle. For small layouts, subtle background texture is what makes the page feel finished without extra elements. It also looks great when you’re using one small photo and a single caption.
Cut a stencil shape from a piece of clear packaging plastic (circles, stars, or a small grid) and tape it to your page where you want the pattern. Use diluted acrylic paint in a spray bottle or a fine craft sprayer and mist lightly around the stencil, keeping the spray distance about 10-12 inches. Let it dry, then glue your photo centered. Add a thin caption strip under the photo using a strip of paper cut with a craft knife for sharp edges.
Mist in two light passes instead of one heavy pass to avoid splatter.
Don’t spray over your photo area; keep the texture behind it.
9. Layered Photo Corners With Washi Hinges

This layout uses small “hinges” so the page looks interactive and dimensional without bulky layers. Washi tape corners frame the photo and create a scrapbook-y feel that still looks neat. The best part: you can swap photos later because the corners hold lightly. It’s a great option for small-space scrapbook page ideas when you have a photo but want it to look like a feature.
Trim a square or rectangle photo mat from cardstock and glue it to your page background. Place the photo on top without glue, then tape two corners with washi tape, folding the tape over the back for a hinge. Add a second layer of paper at the top edge of the photo mat (a 1/2 inch strip) so it reads like a banner. Write a short label on the banner with a black pen.
Pro tipUse low-tack washi so the photo edges lift cleanly if you change your mind.
AvoidDon’t tape across the photo face; it ruins the look and catches glare.
10. Magazine Scrap Border With One Color Theme
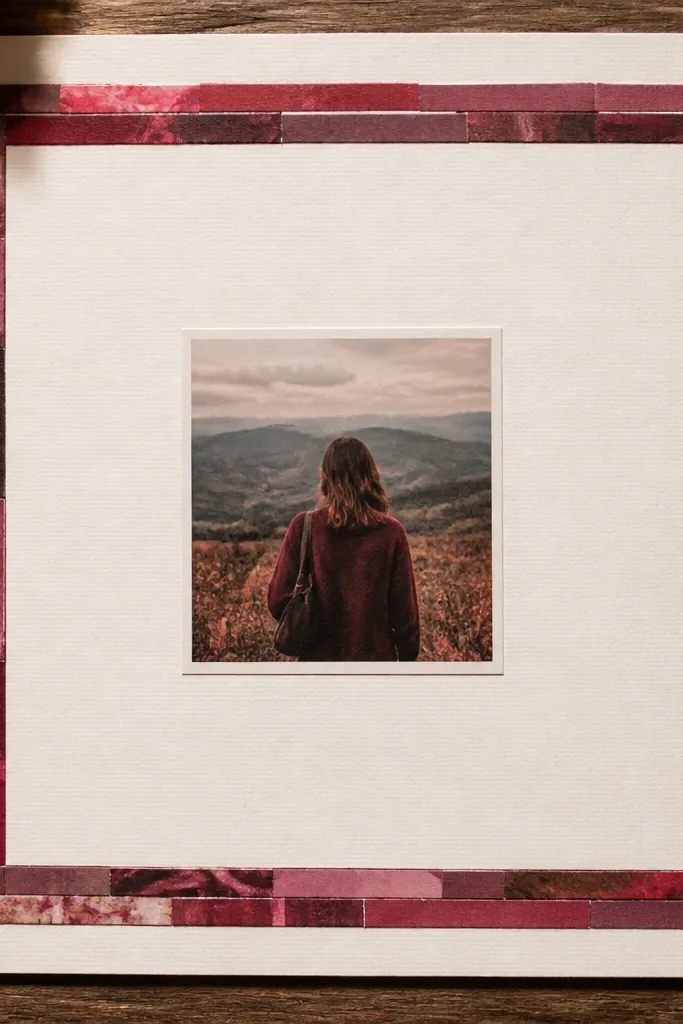
A magazine scrap border is one of the quickest ways to add visual interest while keeping the center clean. The border stays thin, so your small photo remains the main focus. Pick one color family across the scraps — like reds and pinks or blues and purples — so the page looks intentional. This is a strong choice when you want a “designed” page without learning complicated techniques.
Tear magazine scraps into 1/4 to 1/2 inch wide strips and sort them by color first. Glue strips around the page edges like a frame, overlapping slightly. Leave a 1 inch clear area in the center for the photo and title. Glue your small photo centered, then add a title line at the top using a plain label cut from cardstock.
Back the border with a thin layer of glue and press with a brayer or spoon for flatness.
Don’t mix too many colors; the border becomes noisy fast on small pages.
11. Stitched Look Using Twine and a Simple Grid
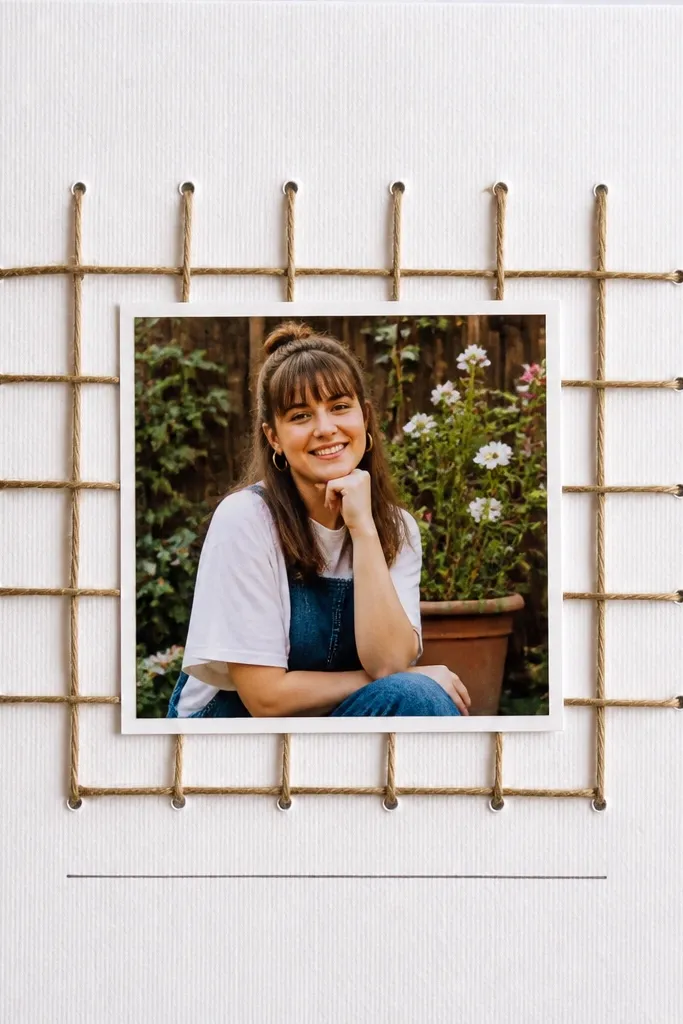
You can fake a stitched scrapbook page in minutes with twine and a ruler. The grid lines look structured, which is exactly what small-space scrapbook page ideas need: order. Keep the grid light and let your photo stay calm. This layout also works well for journaling because the lines give you a place to write.
Draw a simple 3x3 grid in pencil around where your photo will sit, using light lines. Use a craft needle or a toothpick to poke small holes along two grid directions about 1/2 inch apart. Thread twine through the holes in straight lines and tie it at the back with a small knot. Glue your photo centered on the grid intersection area, and add a short handwritten note in one grid square.
Seal the knot with a tiny dab of clear glue on the back so twine doesn’t loosen.
Avoid pulling twine tight; puckering makes the page look messy.
12. Half-Page Color Block With Photo Knockout

A half-page color block makes small pages look bold without clutter. The “knockout” effect — cutting a photo shape out of the color background or layering a photo mat over it — creates a clean, graphic look. This is ideal for photos that are small or have busy backgrounds because the color block simplifies everything. It’s also fast if you choose one strong color.
Choose a cardstock color and glue it as a background panel on your page so it covers exactly half the page. Cut your photo mat shape (a rounded rectangle or circle) from plain cardstock and glue it over the color panel, then place the photo inside. Add a caption strip on the opposite side of the color block in a contrasting color. Use a white gel pen or light ink to draw a thin line around the photo mat for definition.
Use one bold color and one neutral caption color. It reads cleaner on camera.
Don’t add multiple stickers on top of the color block; let it stay graphic.
13. Sticker-Only Layout Using Packaging Labels
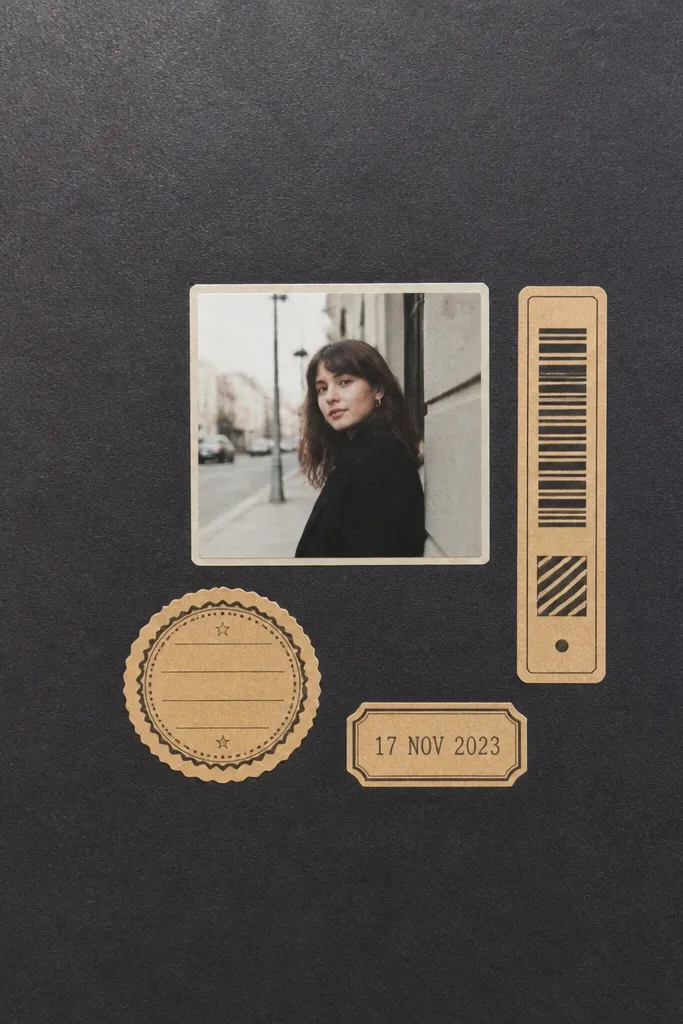
Packaging labels are underrated for scrapbook pages because they already look like typography. A sticker-only layout works in small spaces because you’re not adding extra craft clutter; you’re arranging existing prints. Keep it tight: one photo, three label pieces, and a date. This is great when you have no time and want it to look crisp.
Pick 3 packaging labels with different sizes but the same vibe (for example, one bold, one small text label, one icon). Glue your small photo in the center or slightly right. Place the bold label near the top as the title, the small label as a subtitle, and the icon label as a side accent. Write the date by hand in a blank spot using a fine pen so it looks intentional.
Trim labels with a craft knife for straight edges instead of tearing.
Don’t use labels in different fonts and styles; pick a consistent look.
14. Watercolor-Only Background With Salt Texture
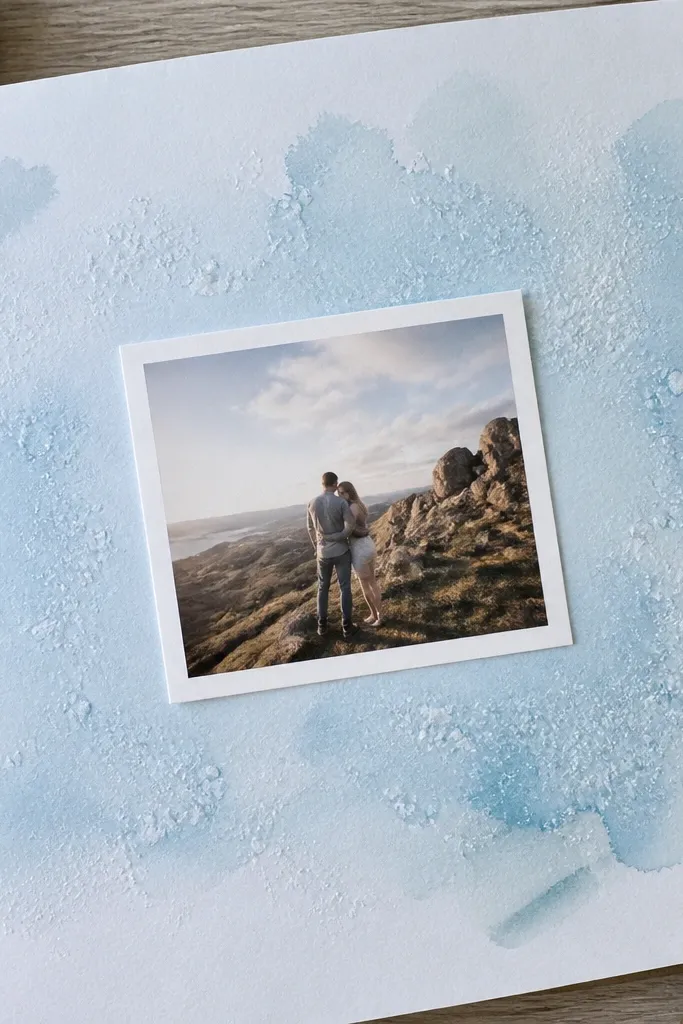
Salt texture turns plain watercolor into something that looks expensive. The key for small-space scrapbook page ideas is to keep the wash light and use the photo as the main contrast. The salt spots create natural variation without adding extra decorations. This layout looks airy, and it frames small photos beautifully.
Lightly wet the page background with clean water where you want the wash. Add a loose watercolor wash in one color family, then sprinkle salt crystals over the wet area. Let it dry completely, then brush off the salt and lightly ink the edges for contrast. Glue your small photo centered, and add a single line caption under it using a dark gel pen.
Pro tipUse one color wash only — salt textures look cleaner when the pigment stays limited.
AvoidDon’t glue the photo until the watercolor is fully dry or it can warp.
15. Rounded-Corner Photo Mat With Layered Margins

Layered rounded mats make small photos look like they belong in a gallery frame. The margins create structure, which keeps the page from feeling cramped. This is a simple technique that still looks polished because the edges are crisp and consistent. If you want small-space scrapbook page ideas that look “finished” without a lot of glue, this is the one.
Cut a rounded-rectangle mat from cardstock, leaving a 1/8 inch border around the photo. Cut a second mat slightly larger (about 1/4 inch bigger on each side) in a contrasting neutral color. Glue the larger mat to the page first, then glue the photo mat on top, centered. Draw a thin line border around the outer mat using a fine marker or gel pen.
Use a corner rounder punch so both mats match perfectly every time.
Don’t stack more than two mats — three layers start to feel thick in small pages.
16. Wire-Thread Title Across a Photo
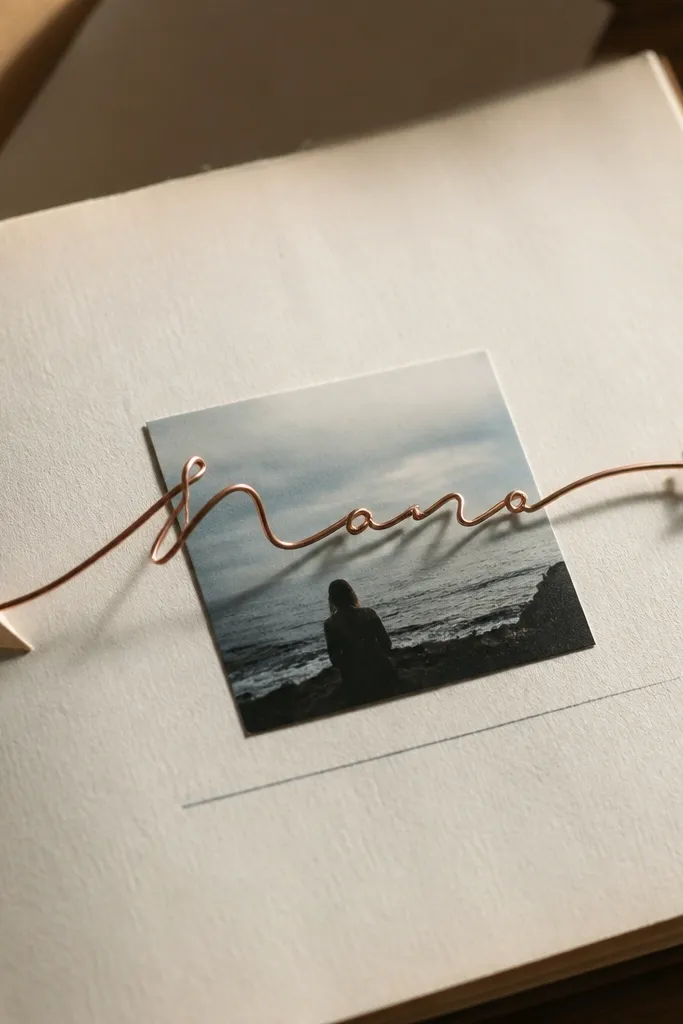
A thread title stretched across the page looks artsy and deliberate, and it’s surprisingly fast. The trick is keeping the title short and anchoring it with clean points. This layout is great when you want a strong visual line that guides the eye toward a small photo. It also works well for upcycled materials because you can use embroidery thread, twine, or even thin strips of fabric.
Choose a short title (3-6 letters) and mark two anchor points above your photo. Punch two tiny holes or use a needle to pierce at those points, then thread your embroidery floss or twine across the top in a gentle curve. Tie knots on the back and trim ends. Glue a small label strip under the thread line with a date or location in neat handwriting.
Pro tipUse black or dark brown thread for readability if your photo has lots of color.
AvoidDon’t make the thread line too low; it should sit above the photo so it doesn’t clutter the image.
17. Mask-Off Splatter Using Old Toothbrush
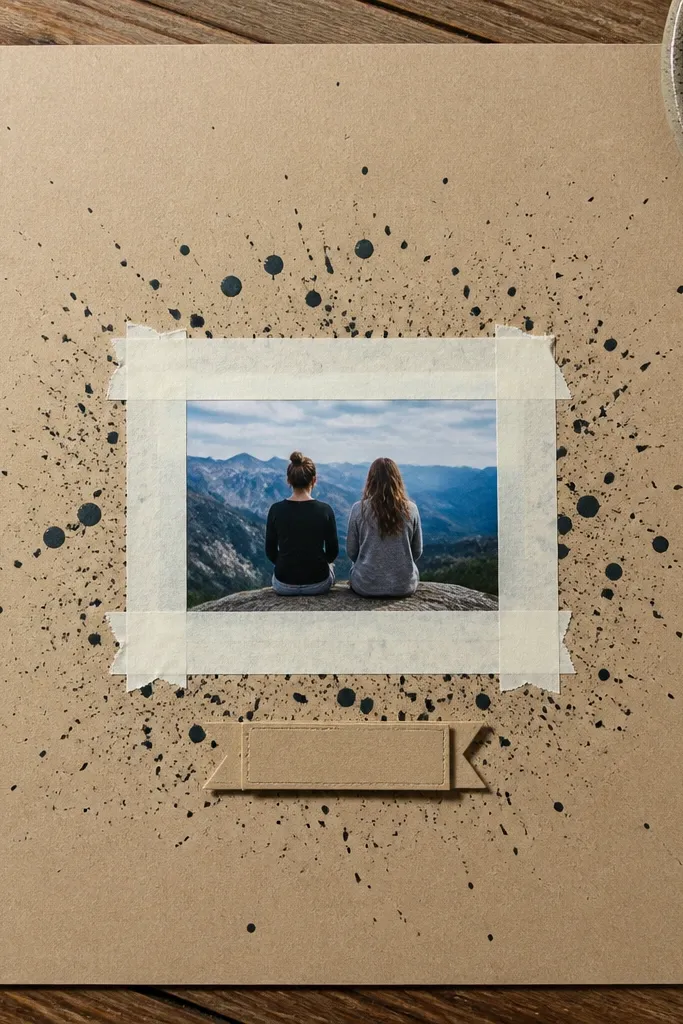
Splatter looks great when it’s controlled, not when it goes everywhere. This layout uses masking tape to protect the photo area, then you splatter paint around it for energy. It gives a handmade, modern edge while keeping the center clean. Best part: it makes even small-space scrapbook page ideas look lively without adding more objects.
Tape a rectangle over where your photo will go so paint can’t land there. Dip an old toothbrush into diluted paint and flick gently from above the page, keeping splatter within a 2-3 inch band around the taped area. Let it dry fully, then remove the tape to reveal a crisp center. Glue the photo centered, and add a small caption in a solid color strip at the bottom.
Use a stencil card as a splash guard so splatter stays on the page, not your table.
Don’t use thick paint; it makes big blobs that look sloppy.
18. Upcycled Foil Accent Arrow Pointing to a Photo
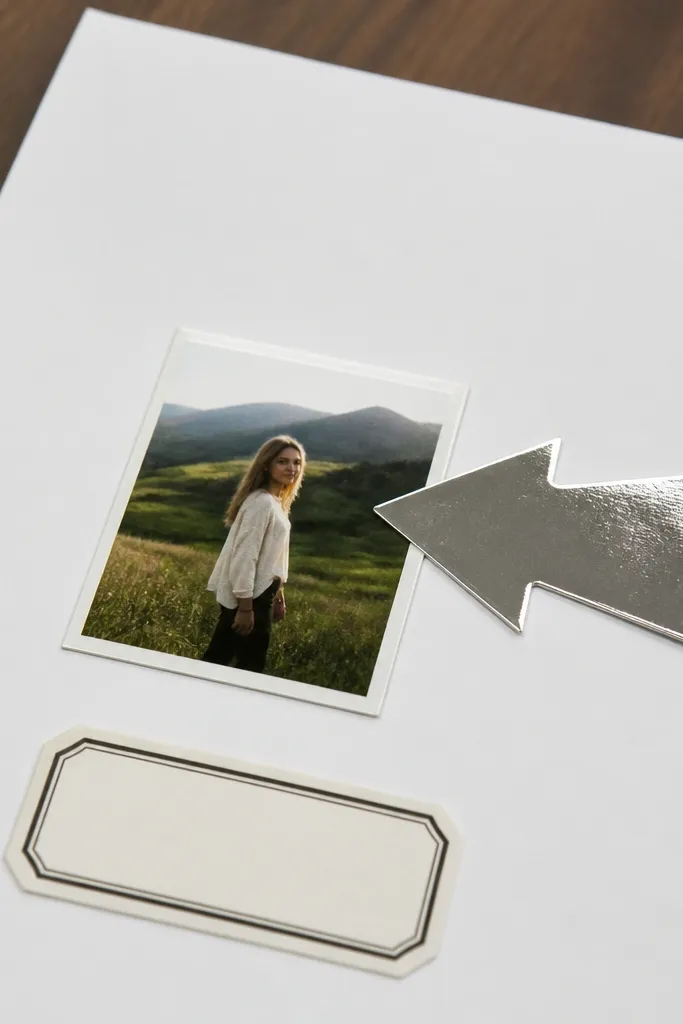
A foil arrow is one of the quickest ways to add direction and polish to a small scrapbook page. The photo stays the focal point while the arrow gives it a spotlight. Packaging foil works great because it’s already glossy, and you can cut it into a clean shape. Keep the rest of the page minimal so the arrow doesn’t compete.
Cut a simple arrow shape from shiny packaging foil (cereal liners or snack wrappers cleaned flat). Outline the arrow on the foil with a pencil, then cut carefully with scissors and a craft knife for the tip. Lightly rough the back of the foil with sandpaper so glue grips. Glue the arrow so it points toward your small photo, then write a short label near the arrow tail.
Pro tipPress foil down with a flat tool for 10 seconds to prevent curling edges.
AvoidDon’t glue foil directly on textured paper; it lifts unless the surface is smooth.
19. Torn Edge Photo Banner With Inked Fibers

Torn edges look handmade and soft, but they can look messy unless you ink them. This layout uses a torn paper banner behind the photo so you get texture without adding extra embellishments. The inked fibers create crisp contrast that photographs well. It’s perfect for small-space scrapbook page ideas because it adds depth while keeping the center uncluttered.
Tear a strip of scrap paper about 1.5 inches tall and slightly longer than your photo width. Glue it horizontally behind where the photo will sit, then ink the torn edges with a dark marker. Place the photo on top of the banner, centered, and glue it down. Add a title on a small rectangle label above the photo using neat block lettering.
Pro tipUse a ruler to guide the tear start — you’ll get straighter fibers and a cleaner look.
AvoidDon’t skip edge inking; the fibers fade and the banner looks flat.
20. Corner Date Stamp Using Recycled Rubber Stamp
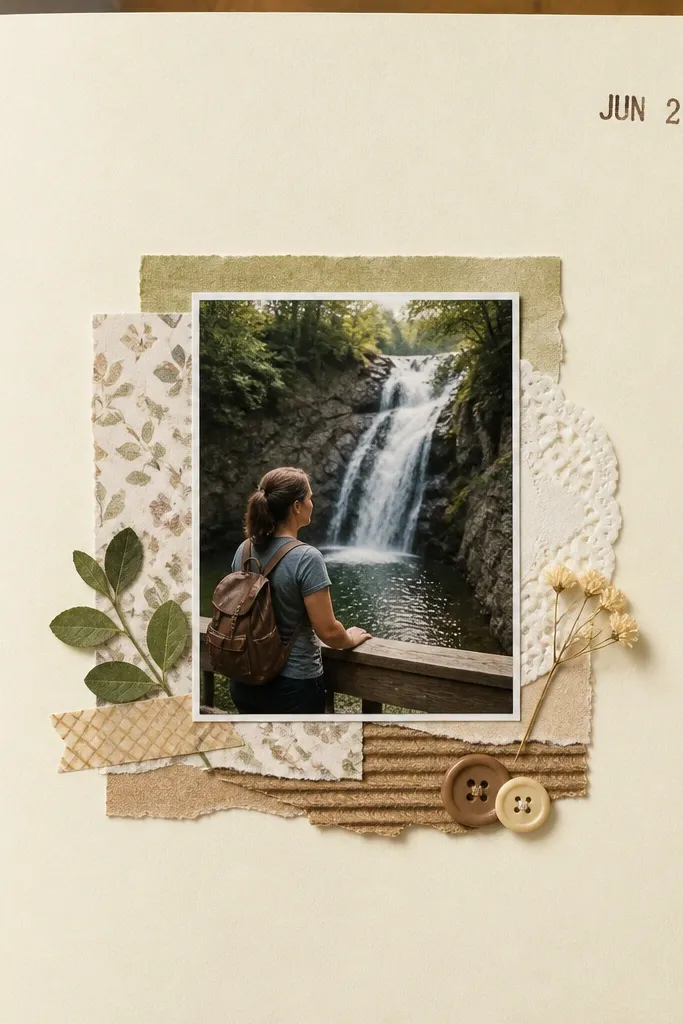
A date stamp in the corner makes a page feel organized and scrapbook-real without adding bulk. You can make a stamp from packaging foam or carve a simple shape on eraser if you want to go DIY. The layout stays clean: photo, then one stamp, then a tiny caption. This is a smart pick when you want a consistent look across many small-space pages.
Use a scrap foam piece or eraser to carve a simple stamp shape (a small circle, star, or calendar icon). Ink it with a pigment ink pad, then stamp in the top left corner where your photo won’t overlap. Glue your small photo centered with a 1/4 inch margin. Add a short caption under the photo using a single line and a fine pen so the stamp reads as the main graphic detail.
Let pigment ink dry fully before handling so it doesn’t smear on the page edges.
Avoid stamping too large — small corners look best and stay readable.
21. Double Photo Strip Using One Long Narrow Pocket
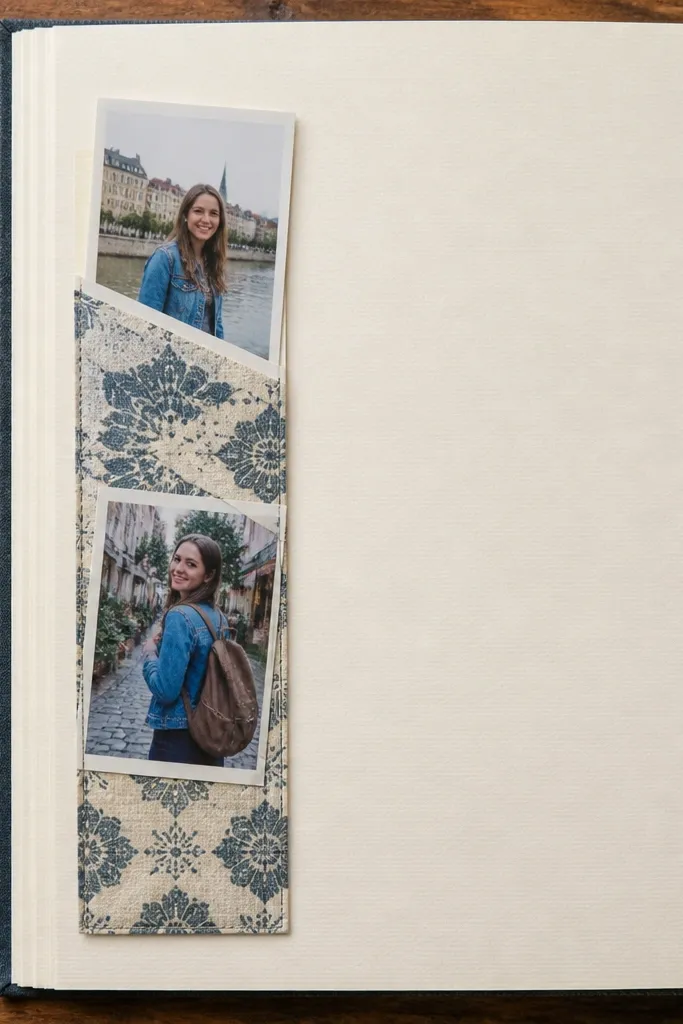
When you have two small photos, a long narrow pocket keeps the page from feeling cramped. The pocket structure adds dimension and a clean layout line. You get a strong horizontal element that balances the page and makes the photos feel curated. This idea is great for small-space scrapbook page ideas when you want more than one image without adding clutter.
Cut a pocket from cardstock that is 1.5 inches wide and about 5 inches long, leaving a 1 inch flap at the top. Score and fold the flap inward, then glue the pocket sides to the page background, leaving the top open. Slide one photo above the other inside the pocket (or stack them with a tiny gap). Add a title strip beside the pocket and write the date in the bottom right.
Pro tipUse a lighter cardstock for the pocket so it doesn’t overpower the photos.
AvoidDon’t make the pocket too tall — it eats into the negative space you need.
22. Ink-Resist Leaves From Paper Scraps
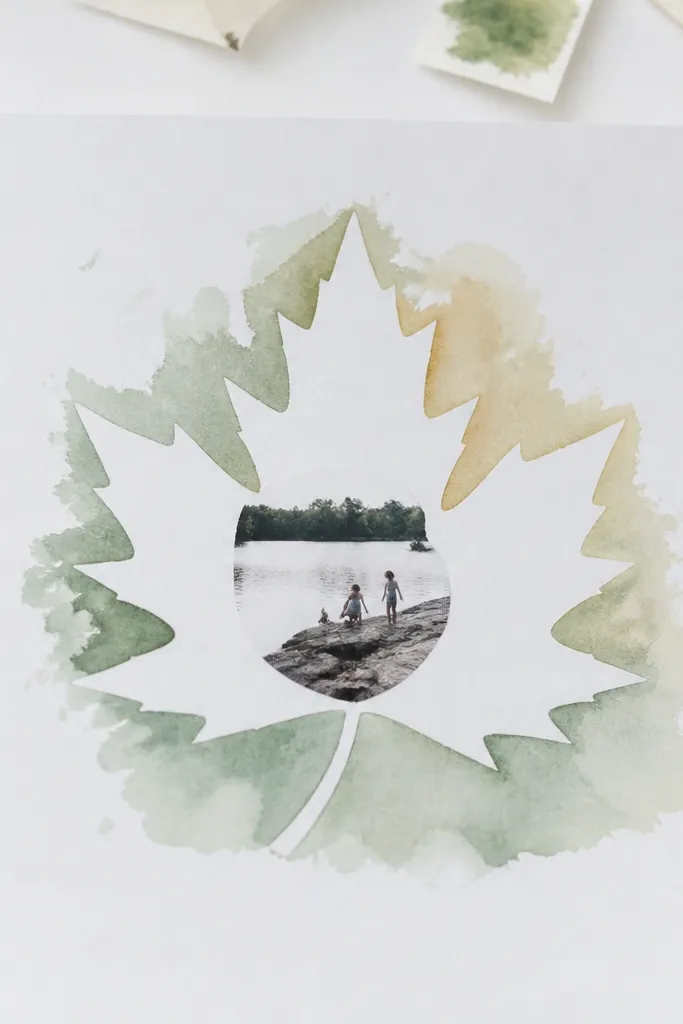
Leaf silhouettes give you a nature look without real leaves and without messy glue. Ink-resist works fast: you layer a cut-out leaf shape, paint over it, then remove it to reveal a crisp silhouette. For small-space scrapbook page ideas, this creates a single decorative element that frames the photo. It looks especially good with warm-toned photos.
Cut 2-3 simple leaf shapes from thin scrap paper and place them on your page where you want the silhouettes. Tape them down lightly so paint doesn’t creep under. Paint over the area with diluted ink or watercolor, then remove the leaves once the paint is mostly dry but not fully set. Glue your small photo centered and add a short handwritten caption under it.
Pro tipUse a thin watercolor brush so the paint stays in the painted area and doesn’t bleed.
AvoidDon’t flood the page; heavy liquid makes silhouettes look blurry.
23. Sticker Frame Using Upcycled Cardboard Cuts
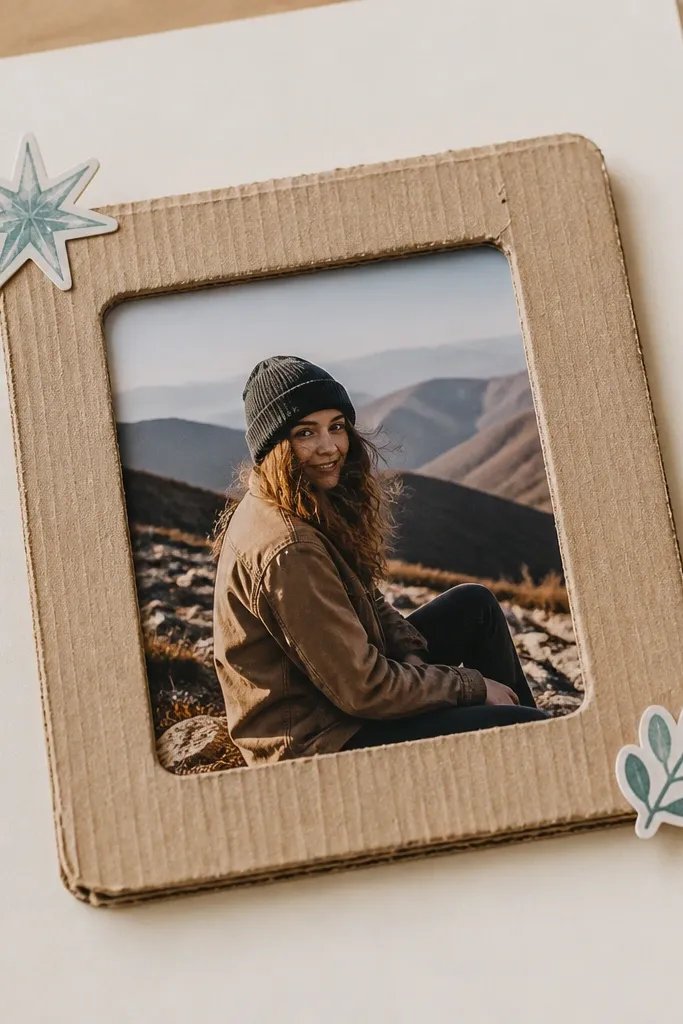
A cardboard frame around your photo makes the page look like it has a mat and border, even when you’re using scraps. The frame also gives you a consistent boundary so stickers don’t feel random. Keep the inner space mostly clean and add only two small sticker accents. This is a dependable technique when you want small-space scrapbook page ideas that stay neat across different photos.
Cut a frame from upcycled cardboard: outer rectangle page size, inner rectangle leaving a 1/4 inch border around the photo. Lightly sand edges so they don’t scratch. Glue the frame to the page background, then place your photo inside and glue it down. Add two small stickers or punched shapes in one corner of the frame, and write a date in the opposite corner.
Pro tipSeal cardboard with a thin layer of matte medium or diluted white glue so it doesn’t shed fibers.
AvoidAvoid thick foam stickers on cardboard frames; they make the whole page look uneven.
24. Monochrome Scribble Background With White Pen Title
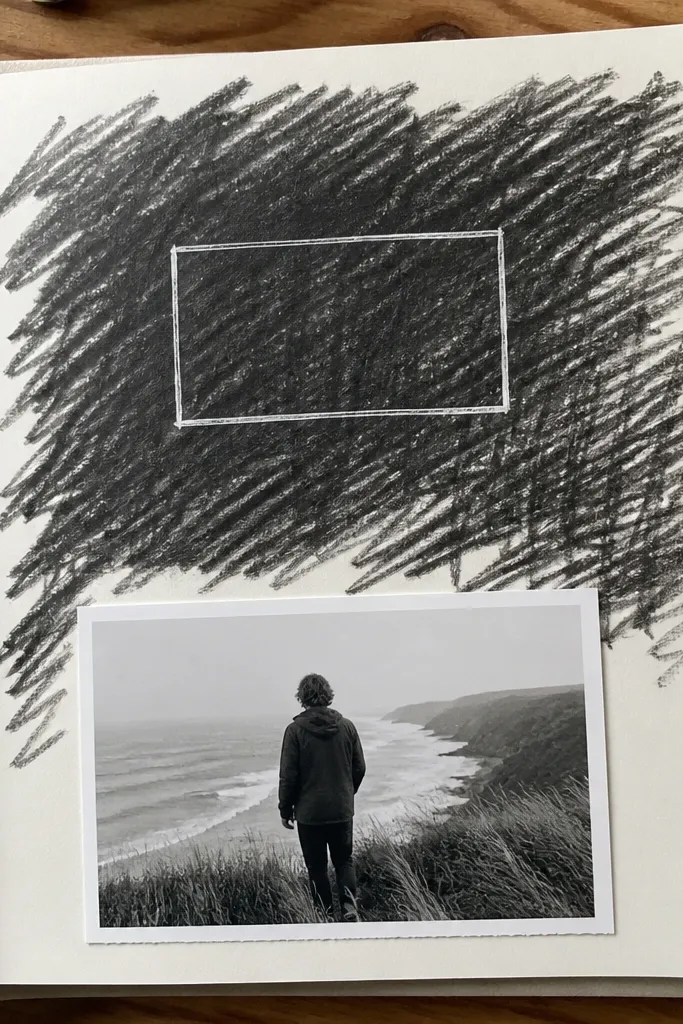
Monochrome scribbles add energy without clutter because they stay in one color family. Pair it with a dark label and white pen title and the result looks graphic and photo-friendly. This layout is great for small photos that need more contrast. You get a strong, modern look using only paper, a marker, and a pen.
Choose one marker color and scribble lightly across the background in loose lines around where the photo will sit, leaving a clean circle or rectangle center for the photo. Add a dark cardstock label strip under the photo. Glue the photo centered on the clean area, then write the title on the dark label using a white gel pen. Finish with a tiny date or location note in the bottom right using the same marker color.
Pro tipTest your white gel pen on scrap cardstock first so it doesn’t skip on your paper.
AvoidDon’t scribble over the photo area; it kills readability.
25. Photo Corner Lattice With Thread and Tape
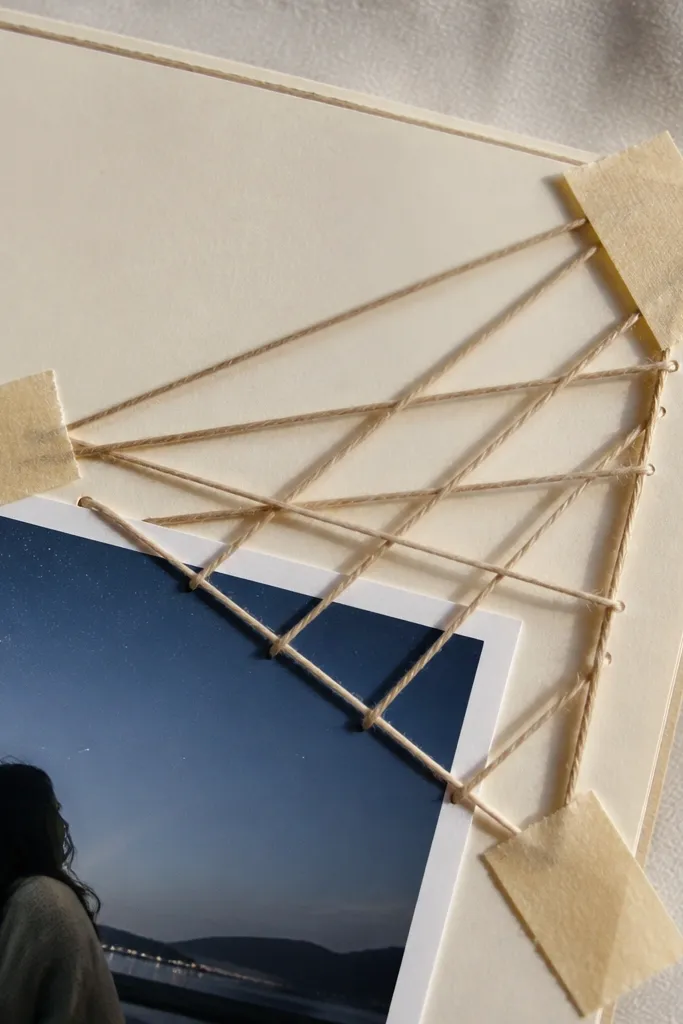
A corner lattice gives you structure and texture without taking over the page. You only decorate one corner, so small-space scrapbook page ideas stay balanced and clean. Thread looks soft, but the lattice pattern reads crisp, which is why it photographs well. This layout works best with portrait-oriented or square photos.
Mark four tiny points in one corner of the page (about 1 inch apart) where you want the lattice. Tape thin thread across the points in a diagonal grid, then glue the thread ends to the back of the page so it stays flat. Glue your photo so it sits near the lattice corner but doesn’t cover it. Add a caption strip along the opposite edge of the page and write the date in neat handwriting.
Pro tipUse painter’s tape to hold thread in place while you glue the ends.
AvoidDon’t make the lattice too large; corner-only looks intentional.
26. Upcycled Label Timeline Under One Photo
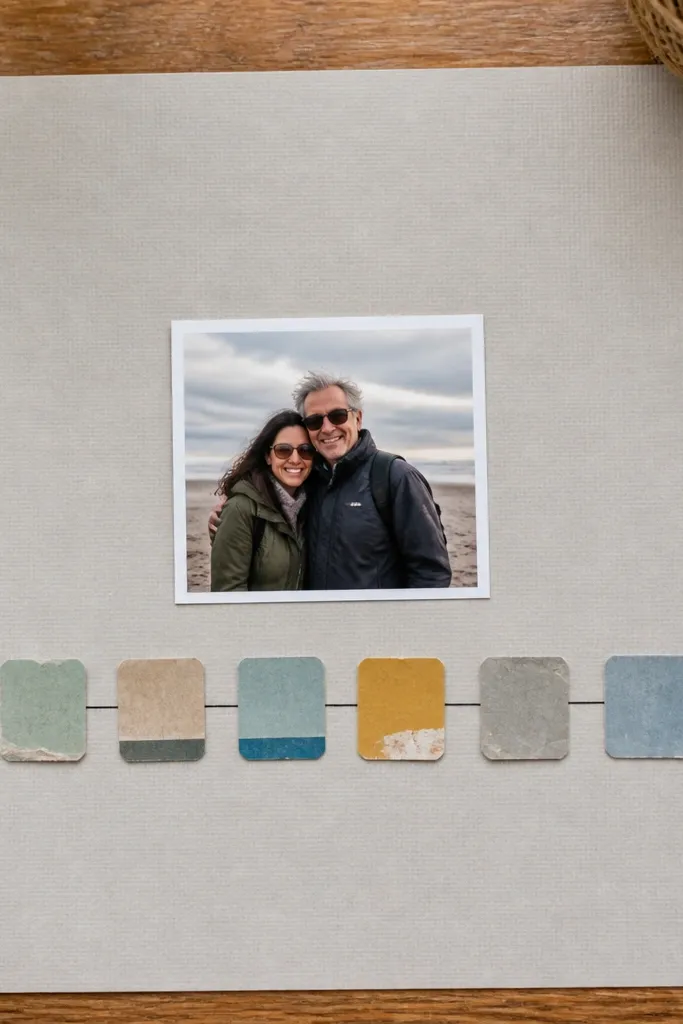
A mini timeline under a photo gives you journaling space without turning the page into a wall of text. The look is clean because the labels are consistent sizes, and the spacing stays controlled. For small-space scrapbook page ideas, this is one of the best ways to add story while keeping the design photogenic. It also uses repurposed packaging labels, so it’s fast.
Cut three label strips from packaging or cereal-box paper, each about 1 inch tall and 2.5 inches wide. Glue the strips in a row under your photo, leaving a 1/4 inch gap between each. Add small arrows between labels using a marker or cut paper triangles. Write 3 short phrases on each label (no more than 3-5 words each) and add a title above the photo using a single label strip.
Pro tipKeep label widths identical for a cleaner timeline look.
AvoidDon’t cram long sentences into labels; short phrases keep the page readable.
27. Washed Index Card Background With Photo Lift Tabs
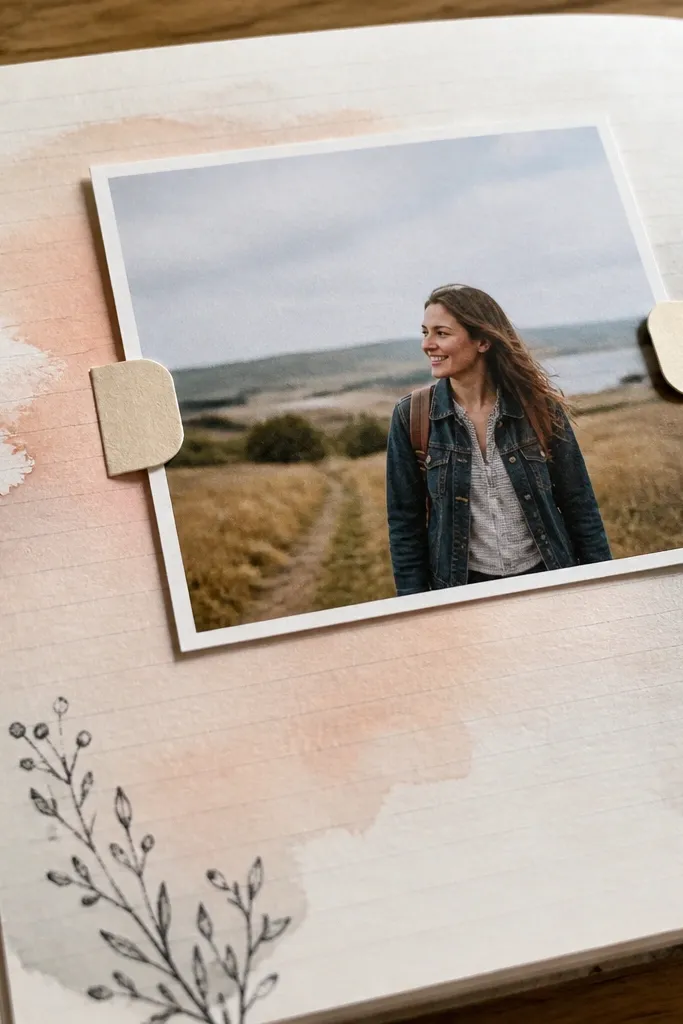
Index-card style backgrounds look neat and structured, especially when you add a soft wash. Lift tabs make the photo feel like it’s stored or filed, which adds charm without clutter. This layout works well for small-space scrapbook page ideas because the structure keeps everything aligned. It also hides uneven paper edges because the wash blends them.
Cut a piece of cardstock to your page size and lightly wash it with diluted acrylic paint in one pale color. Let it dry, then rub the surface lightly with a dry cloth for a smooth finish. Glue two small paper tabs on the left and right sides of where your photo will sit, then glue the photo to those tabs so it lifts slightly. Add a typed-looking date by writing in block letters with a fine pen at the bottom.
Pro tipUse a ruler to place tabs so the photo lift looks symmetrical.
AvoidAvoid thick foam under the photo; small pages get bulky quickly.
28. Diagonal Photo Mat With One Stitched Edge Line
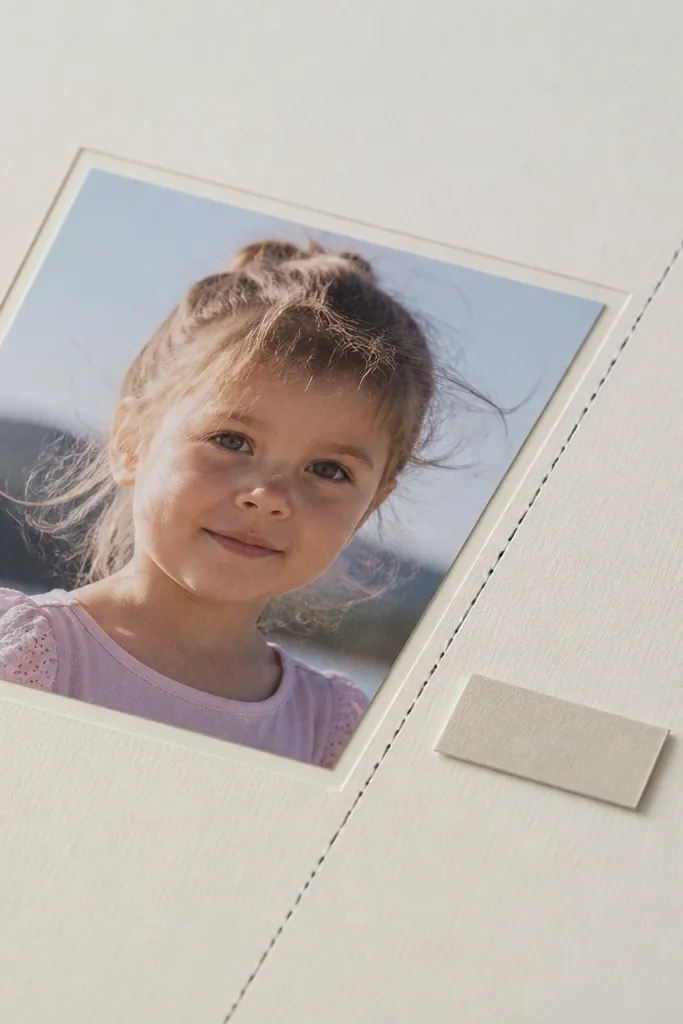
Tilting a small photo looks intentional when it’s paired with one clean diagonal mat. The stitched edge line adds handmade detail without adding more objects. This is one of the better “fast but looks designed” small-space scrapbook page ideas because it uses geometry. It also flatters small photos that need extra presence.
Cut a cardstock mat that leaves a 1/4 inch border around the photo. Glue the mat to the page at a slight angle (about 5 degrees) so it reads diagonally. Use a black gel pen to draw a single dashed line along one edge of the mat, then add a thin thread line exactly on top of it with tiny dots of glue at intervals. Write a short caption on a narrow strip under the photo.
Keep the thread line straight; use a ruler to guide glue dots.
Don’t tilt the photo and mat in different directions — it looks off.
29. Single Sticker Icon Cluster With Negative Space Title
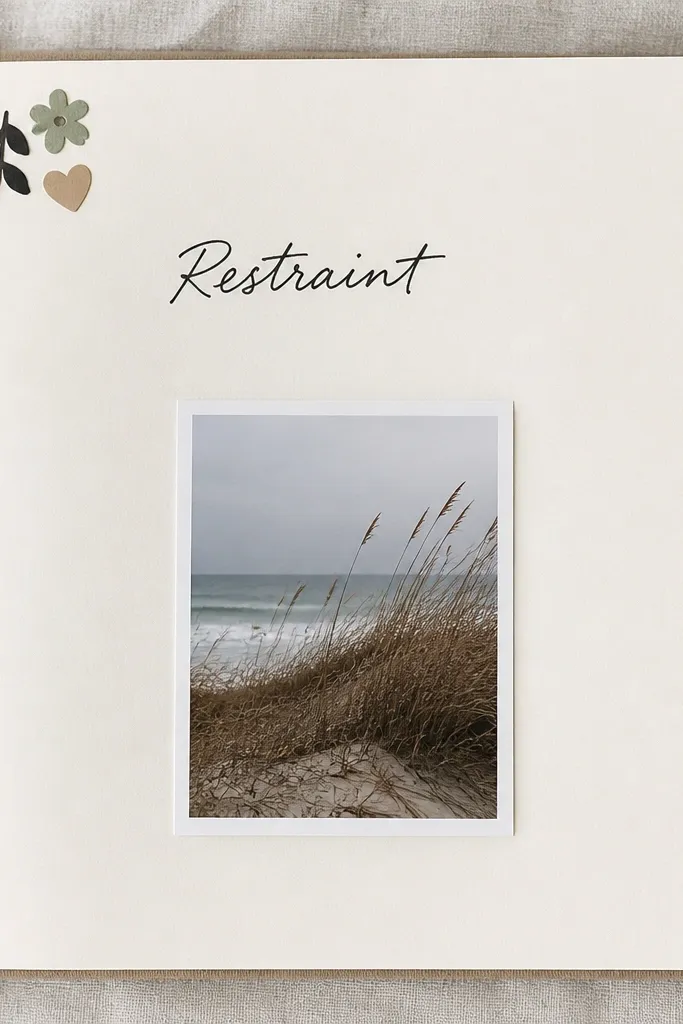
This layout is about restraint. Three small stickers in one corner give personality, while the rest stays clean so the page doesn’t feel cramped. Place the title in a clear empty area and write directly on the background. For small-space scrapbook page ideas, negative space is the design feature, not the missing part.
Glue your small photo on the left side or top center, leaving generous margins on the opposite side. Add three tiny stickers in one corner near the photo (same theme, like travel, food, or nature). Leave the center-right blank for the title. Write the title and date directly on the blank space using a fine pen, keeping the title to one short line.
Choose stickers with similar color intensity so they don’t fight the photo.
Don’t add a sticker under the photo — it crowds the focal area.
30. Foam Square Shadow Frame Around Photo
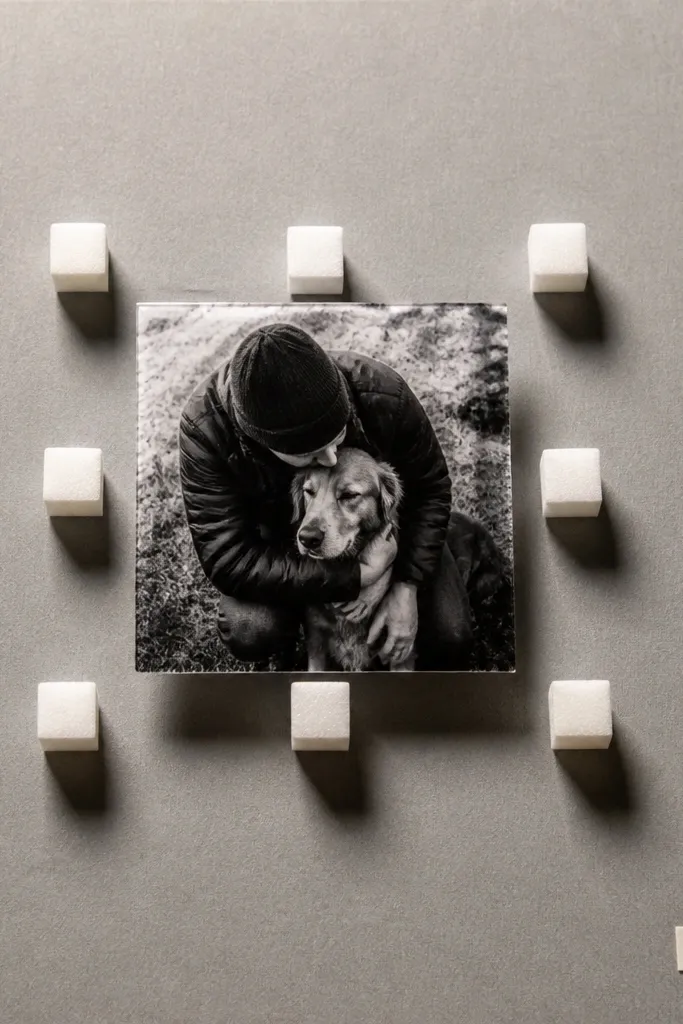
A foam shadow frame makes a tiny photo look like it’s floating, which instantly upgrades the look. You don’t need many pieces; even a few foam squares at the edges create the effect. This works for small-space scrapbook page ideas because it adds dimension without adding bulk. The background stays simple so the photo reads clearly in photos.
Cut a photo mat from cardstock slightly larger than your photo, then glue the mat to the page. Place thin foam squares around the photo mat edges (4-6 pieces total), then glue the photo onto the foam so it lifts slightly. Add a minimal caption strip below the photo using a strip of scrap paper about 1 inch wide. Finish with a tiny doodle in the corner using a matching marker color.
Pro tipUse the thinnest foam you have; it looks more like a shadow than a platform.
AvoidDon’t put foam squares under the entire photo — it warps small pages.



