
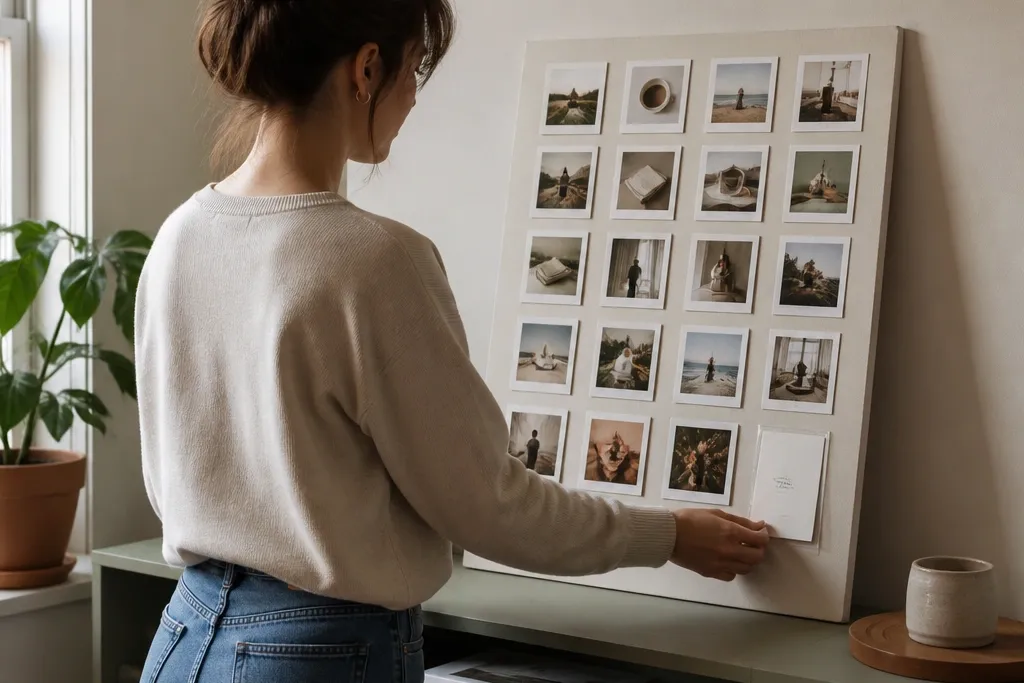
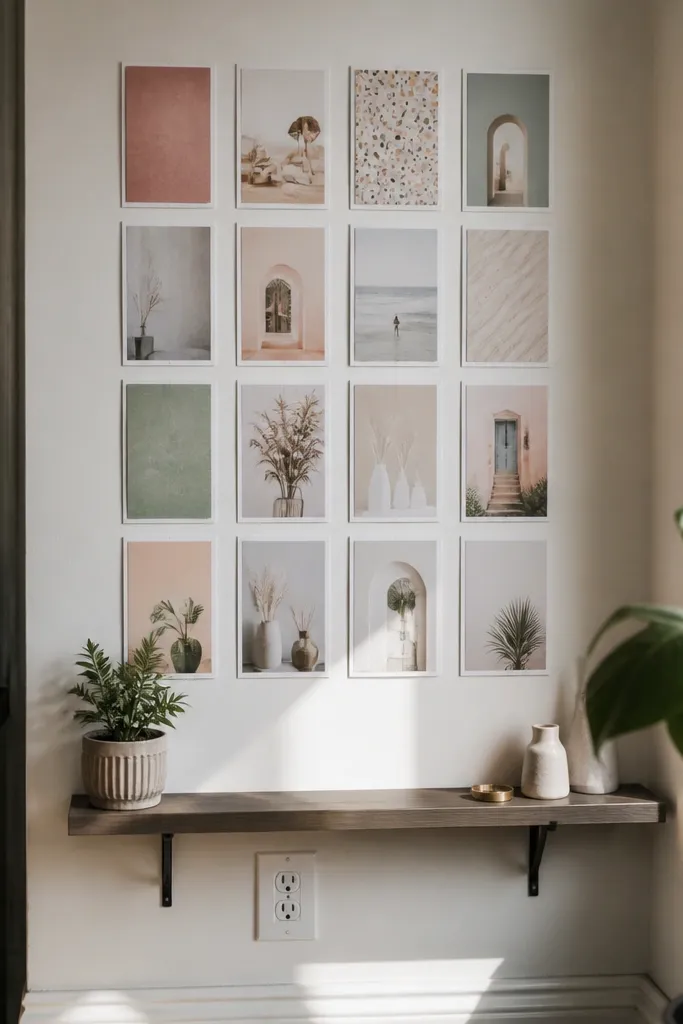
1. Fridge Magnet Calm Grid with Swap Cards
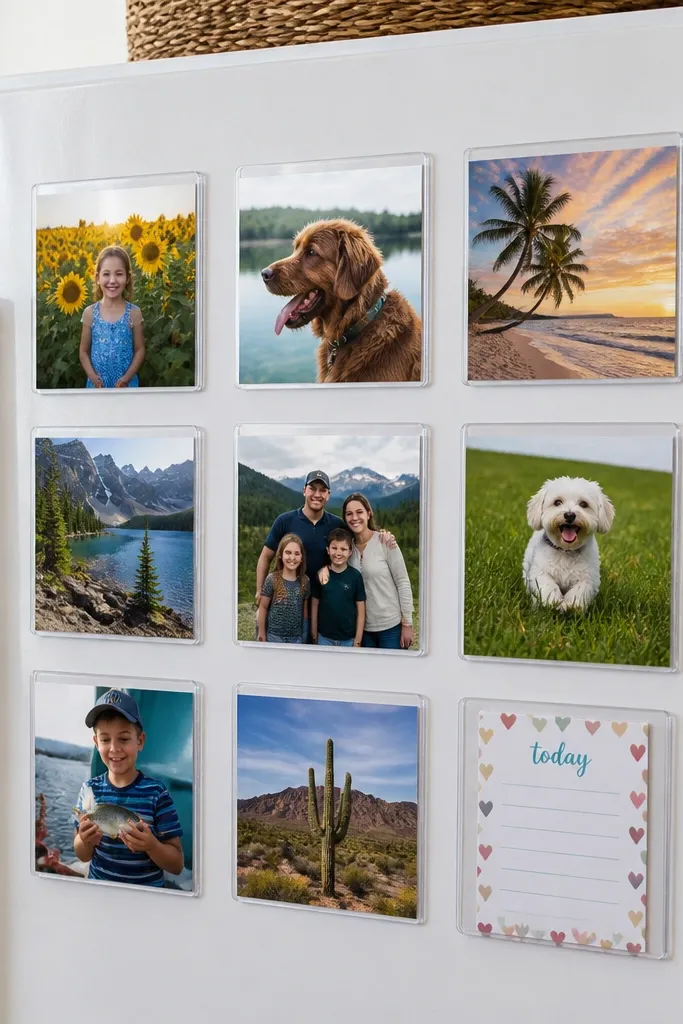
This is the most realistic “small-space” vision board because you already open the fridge every day. The calm look comes from a grid layout: evenly spaced photo squares and short labels, all aligned so it doesn’t turn into a chaotic corkboard. Use magnet-backed cards with a clear sleeve for the daily “today” prompt. You can keep the rest of the board stable and only swap the top card, which makes the whole thing feel soothing instead of cluttered. It’s great for kitchens, studio apartments, and anyone who wants their mental health cue in a place they can’t avoid.
Start by cleaning the fridge door and measuring a rectangle about 10x14 inches so it stays readable without taking over the whole surface. Cut a piece of thin magnetic sheet or use a magnetic organizer grid, then add photo squares (about 2x2 inches) backed with stiff paper so they look crisp. Create a weekly “swap card” that slides into a clear plastic sleeve on magnets at the top. Finish by labeling each photo with a single line in black marker like “slow sip” or “breathe out,” keeping the font style consistent across the grid.
Pro tipLaminate or cover your cards with clear tape so the edges don’t curl from kitchen humidity.
AvoidAvoid random sizes and uneven spacing — the calm grid falls apart fast.
2. Door Hanger Vision Board in a Clear Pocket Organizer
A door-hanger pocket organizer makes your vision board look tidy because each item lives in its own slot. The calm aesthetic comes from the transparency: the pockets hold everything flat, and your photos stay clean and photo-worthy. This format also feels gentle because it’s not permanently stuck on a wall. It fits renters and anyone who hates drilling. Put soft imagery like warm mugs, slow mornings, or nature textures, then pair each with a short phrase that tells your brain what to do when you feel off.
Hang a clear pocket organizer on the inside of a closet door or bathroom door. Choose 8-10 pockets for your main elements and print or cut photos to fit neatly (keep them within the pocket opening so you don’t see messy borders). Add label cards behind the pockets using matte paper with black text for readability. Arrange them in a simple order: top row for “how I want to feel,” middle for “what I’ll do,” bottom for “what I release.” Finally, secure the organizer so it doesn’t swing — use a hook that sits snugly.
Pro tipUse matte photo paper for the photos; glossy ones glare under bathroom lighting.
AvoidSkip tiny text — if you can’t read it from standing distance, it won’t calm you.
3. Mini Shadow Box Board with Layered Paper Prompts
Shadow boxes look calm because the layers create depth without visual clutter. This is perfect when you want a board that looks like decor, not a craft project. You’ll get a curated, gallery feel in a tiny footprint, which is exactly what small spaces need. The mental-health angle is in the layering: foreground cards for daily cues, background paper for mood themes. Make it soft and tactile with paper textures and muted colors so it feels grounding when you pass it.
Buy a small shadow box frame with a depth of at least 1.5 inches so layers don’t crush. Paint the backing in warm gray or sage using acrylic craft paint, then let it dry fully. Arrange 6-9 cut photos and label cards on top of the backing, using foam dots or folded cardstock spacers to create gentle depth (start with 1/8 inch spacing). Add a top layer of a single “today” prompt card on a small clip or Velcro tab. Seal the front with a clear acrylic sheet if the frame is open-backed to keep dust off.
Pro tipUse foam dots only on the corners so your layered pieces don’t look lumpy in photos.
AvoidDon’t overcrowd the box — empty space is part of the calm look.
4. Floating Shelf Vision Board with Pegboard Backing
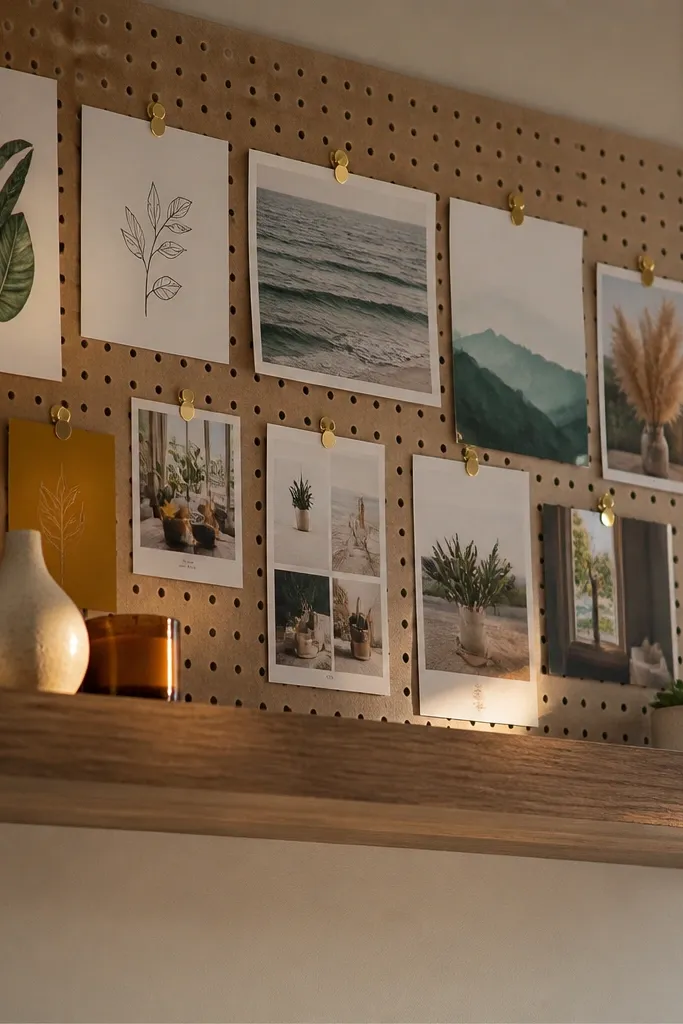
A floating shelf board feels like calm decor because it’s horizontal and easy to glance at while you’re moving around. Pegboard backing makes it look organized: pins and clips keep everything aligned, and you can swap pieces without re-sticking. This format also gives you a neat place to add small objects that support your mood, like a tiny stone dish or a candle jar. For mental health, the power is in the “choose your cue” approach — you can grab one card and go. Small spaces love it because it uses vertical wall space without taking over the room.
Mount a narrow floating shelf (about 12-18 inches wide) above a desk, entry console, or reading chair. Cut a small rectangle of pegboard to fit behind the shelf area and pin 8 photo cards using short brads or mini clips. Use 2-3 color families for the cards so the pegboard doesn’t look busy. Add a small tray on the shelf edge for weekly swap supplies like mini clips and a blank card. Finish with one larger central card and smaller ones around it for visual balance.
Pro tipPaint the pegboard backing a matte cream so the board looks soft, not industrial.
AvoidAvoid shiny metal clips — they throw glare that makes the board look messy.
5. Upcycled Picture Frame with Fabric-Covered Mood Strip
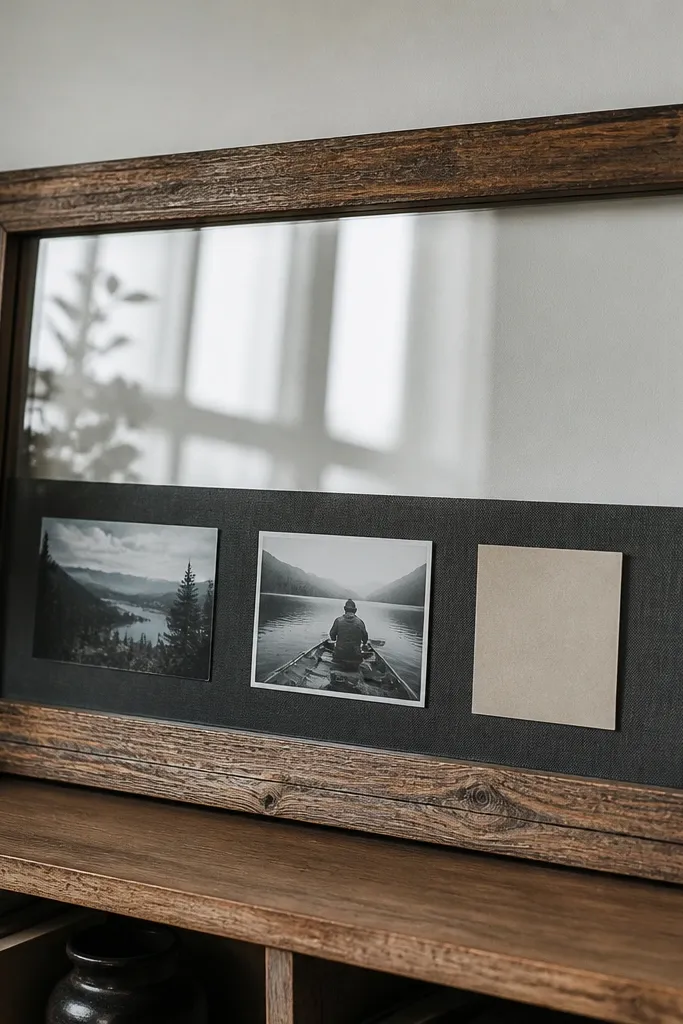
If you want a vision board that looks like real decor, an upcycled picture frame is the cleanest move. The fabric mood strip gives you a calm base color and hides messy edges from cut photos. This format is great for people who hate clutter because everything sits behind glass or plastic cover. You can create a “mood dial” strip with 5 small cards labeled like “tense,” “okay,” “calm,” “steady,” “safe.” When you feel off, you flip or slide a card to match where you are. It’s a gentle way to acknowledge your state without spiraling.
Find an old frame and remove the backing. Cut fabric slightly larger than the backing and stretch it tight, then staple or tape it on the back. Add a strip of cardstock across the center (about 1.5-2 inches tall) and glue photo squares along it, keeping spacing consistent. Create five cards on thin cardstock with labels and attach them with Velcro dots so one can “stick” in the visible position. Reassemble the frame with glass or clear plastic to protect everything.
Pro tipChoose linen or cotton fabric in oatmeal, blush, or muted sage for a soft look.
AvoidSkip slippery satin fabric — it wrinkles and makes the board look uneven.
6. Bedside Headboard Vision Board on a Small Clip Rail
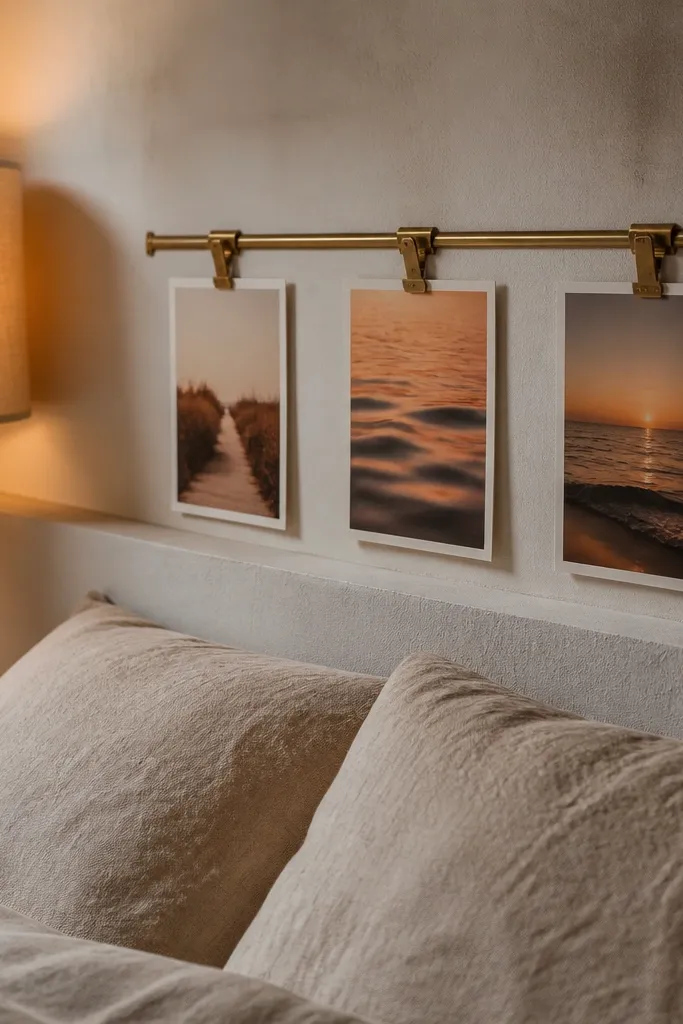
This is sleep-focused vision board inspo, and it’s built for small spaces because it sits at eye level before you fall asleep. Clip rails make swapping easy, and the look stays tidy because each card hangs straight. Use imagery that signals wind-down: warm lamps, low light, slow walks, cozy textures. Add one weekly “reset” card so you can re-center when your mind won’t stop. The calm effect comes from a simple rule: your brain sees the same cue every night, so it relaxes faster.
Mount a small clip rail (or a mini curtain rod with clips) above the bed on the wall or inside a narrow headboard shelf. Cut cards to a consistent size like 3x5 inches and print photos that match a muted palette. Clip 6-8 cards in a single row, then add a small “tonight I release” card at the end. If you want extra calm, add a fabric tassel or ribbon bookmark on one card for texture. Keep the rail height so you can see it from bed without craning.
Use matte label paper and black ink so the cards read clearly in low light.
Avoid mixing bright neon colors — they pull your eyes when you need calm.
7. Narrow Wall Vision Board Using Washi Tape Frames
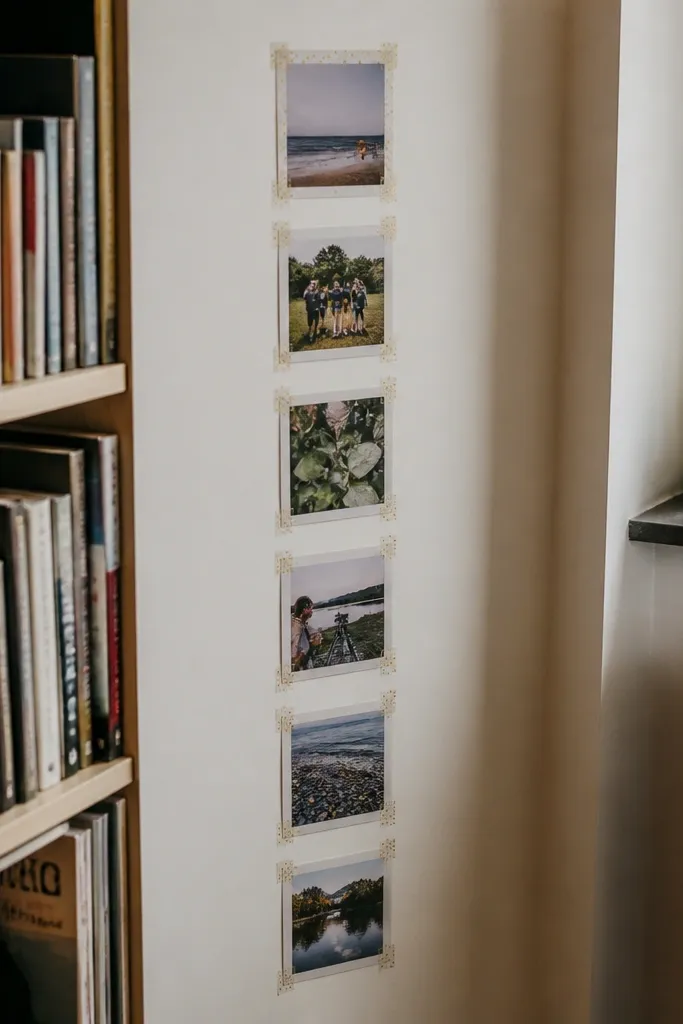
Washi tape frames give you a clean, aesthetic board without bulky materials. It’s ideal for that awkward narrow wall space next to a bookshelf or hallway where nothing else fits. The calm look comes from the frame discipline: each photo sits in a consistent tape border, so the wall doesn’t feel chaotic. You can also remove and re-arrange easily, which matters when your mental health goals shift. This format is also great for minimalists who want visual softness instead of heavy corkboard energy.
Pick a narrow wall strip and mark a simple grid with pencil. Place washi tape borders around your photos — keep each frame the same width, like 1-2 inches. Back the photos with a white or cream paper sheet to hide uneven cuts. Add short labels under each photo using a fine-tip black marker on small paper rectangles. Finally, press tape edges firmly so they don’t lift and peel.
Use two washi tapes max: one for borders, one for tiny divider lines.
Don’t tape directly over textured dust — wipe the wall first so tape sticks cleanly.
8. Desk Drawer Vision Board with Printable Calm Prompts
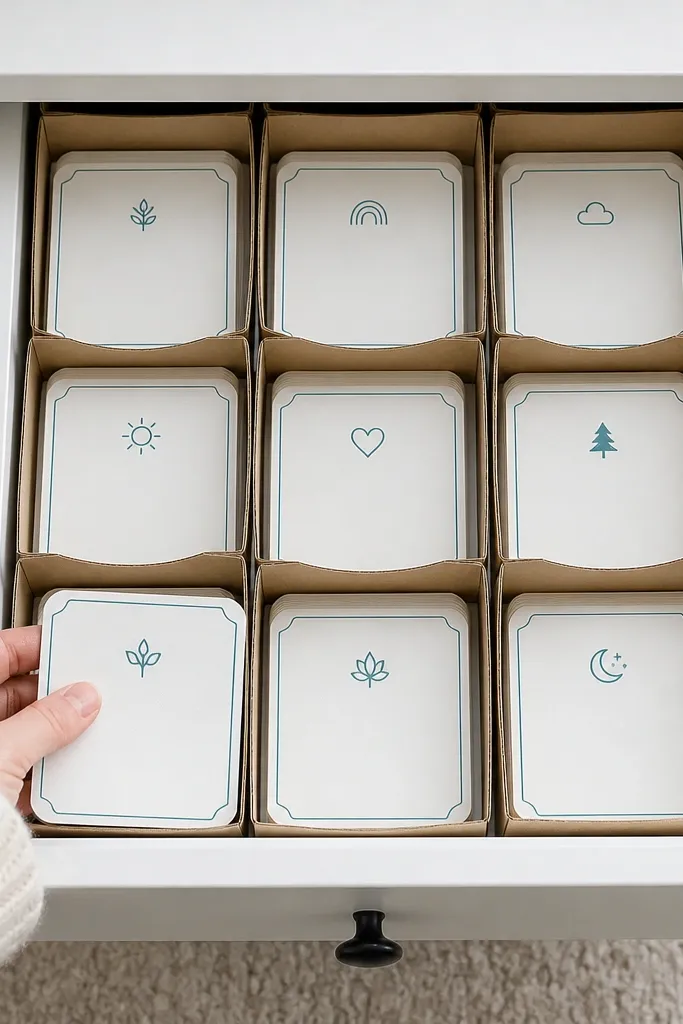
If your small space is a desk, this board is for you. Instead of pinning things on a wall, you store your calm cues where your hands already go. The look is controlled because you design a set of prompt cards that match each other — same size, same border, same font style. When you’re stressed, you pull one card and follow the prompt for 2 minutes. It’s a mental-health board that doesn’t get in your way visually, yet it still guides your mood. Great for apartments, home offices, and anyone who wants calm without visible clutter.
Use a shallow desk organizer tray or build one with a recycled shoebox liner. Cut cards to one size, like 4x6 inches, and print photos with a consistent border. Place 10 cards in a single row compartment and keep a blank card on top for your daily “today” cue. Color-code the cards by feeling using one accent color strip. When assembling, keep the tray lid or drawer front clean so the board stays hidden until you need it.
Pro tipLaminate the cards or cover them with clear contact paper for wipe-clean durability.
AvoidAvoid mixing card sizes — the drawer starts looking chaotic fast.
9. Magnetic Dry-Erase Mini Board for Daily Mood Check
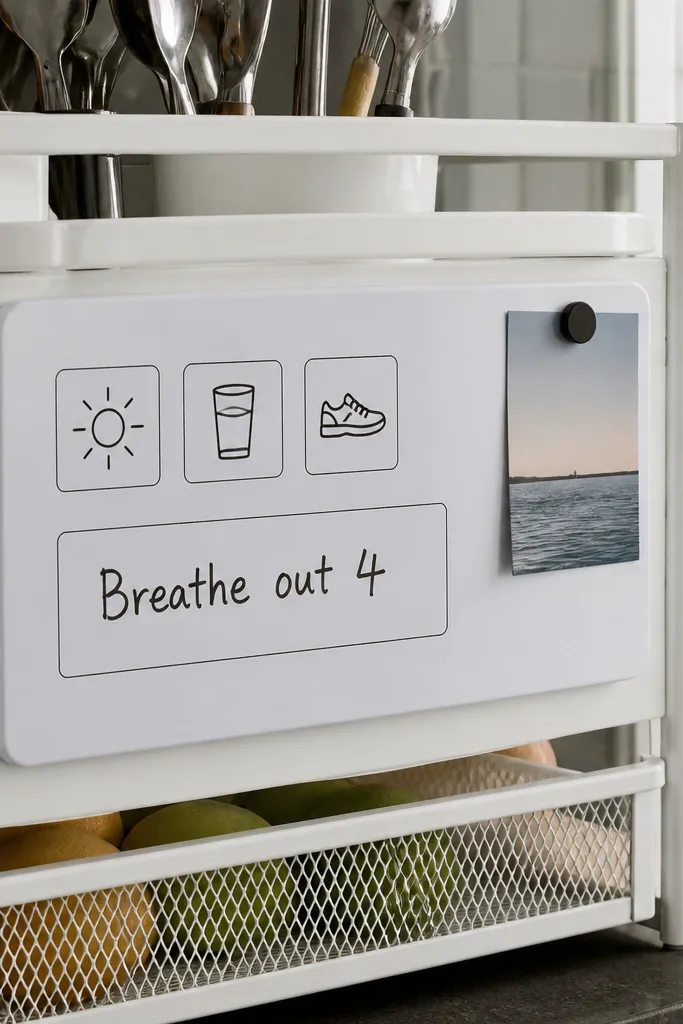
This one is clean, practical, and very photogenic because it looks like modern home decor. A small dry-erase board lets you update your mental health cues without creating paper clutter. The calm look comes from simple icons and limited text — think three boxes and one line prompt. You can write “Breathe out 4” or “One task only” and erase it when you’re done. For small spaces, it’s the best kind of board: it uses zero storage and stays neat, even if your brain is messy.
Buy a small magnetic dry-erase board or reuse a thin sheet from a craft supply kit. Attach magnets to the back if needed, then mount it on a fridge, metal shelf, or inside a cabinet door. Create a template with three sections: Feel (one word), Need (one action), and Today’s tiny win (one sentence max). Use dry-erase markers in two colors only. Add a small magnetic clip to hold a marker so it doesn’t wander around the kitchen.
Use a ruler for the grid lines so your board looks crisp in photos.
Don’t write paragraphs — the calm effect dies the moment the board becomes a journal.
10. Cork-Free Vision Board Using Fabric Pinning Panel
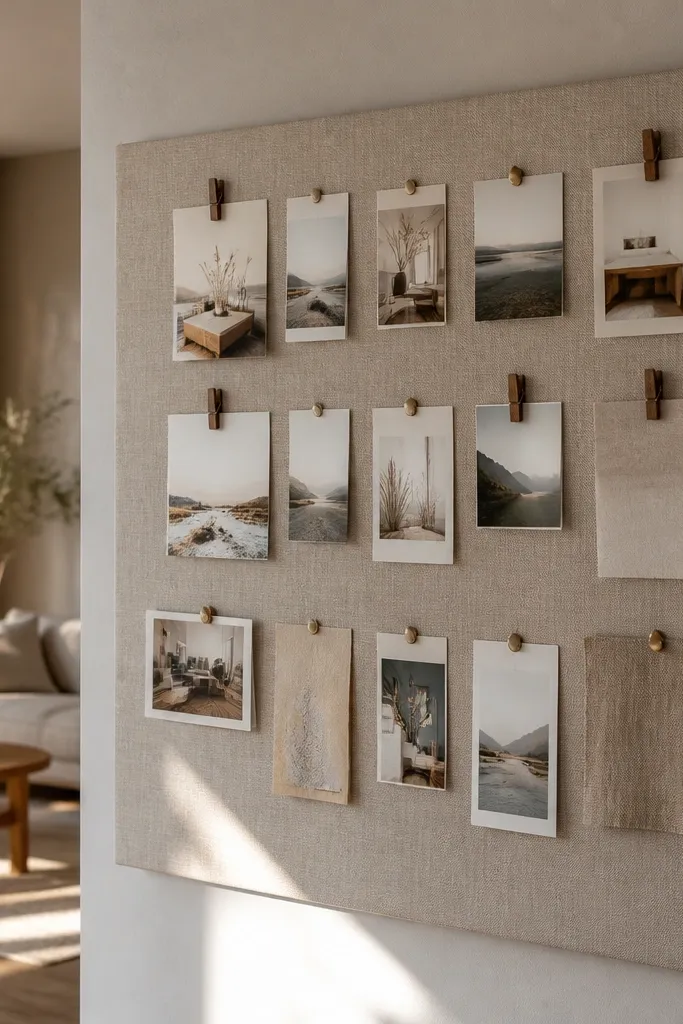
Cork boards can look messy and yellow over time. A fabric pinning panel looks softer and works better for calm aesthetics in small spaces. You get a clean texture background, and the photos sit neatly with clothespins or push pins, so the board looks designed. This also supports upcycling because you can use an old canvas drop cloth, linen remnant, or even a sturdy cotton curtain panel. It’s a great option if you want the vision board to feel cozy, not office-like.
Cut a piece of plywood or foam board to your preferred size, like 12x18 inches. Stretch fabric over it tightly and staple on the back, then cover staples with tape for a clean finish. Pin 8-12 photo cards using mini clothespins so edges don’t curl. Add one vertical strip of labels on the left side to keep the layout consistent. Mount it using picture hooks rated for the board weight, and keep it at eye level for quick glances.
Choose medium-weight fabric that won’t sag; thin sheets look wrinkled.
Avoid stretchy knit fabric — it puckers around pins.
11. Mini Vision Board on a Repurposed Sliding Drawer Front
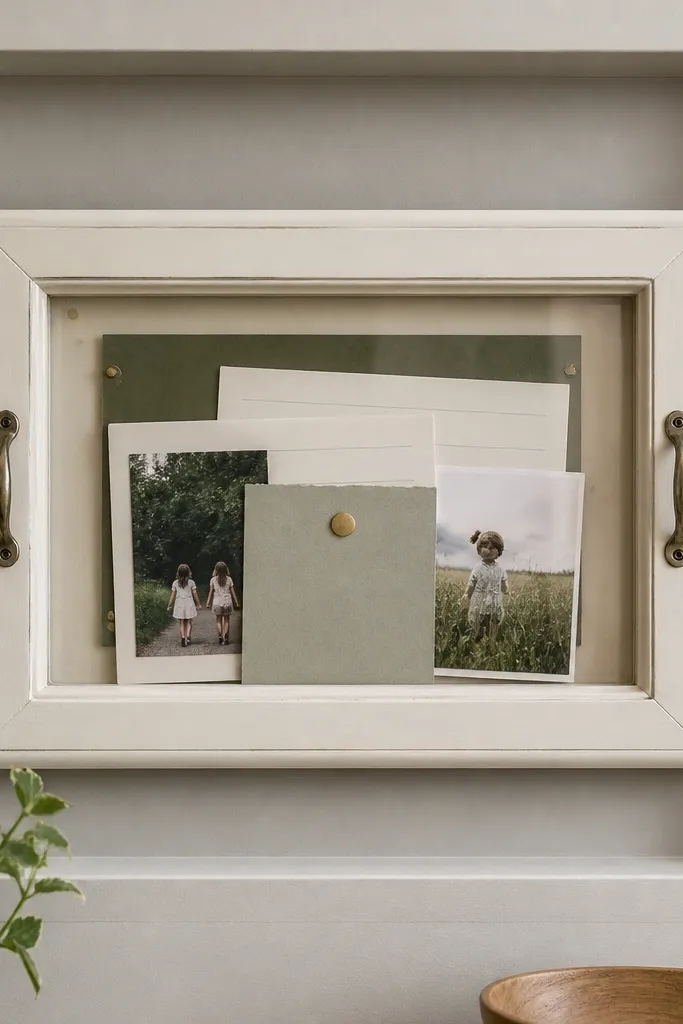
A repurposed drawer front is a clever way to create a board that looks built-in. It’s also perfect for small spaces because it already has a frame shape, so your layout looks intentional. The calm look comes from the border: you’re not staring at raw wall material, and everything inside feels contained. Add a few layered cards behind a clear cover so it stays tidy. This setup is ideal for renters because you can hang it with a single hook or lean it on a shelf.
Clean and sand the drawer front, then paint it matte in warm gray or off-white. Attach a backing sheet of foam board or thin plywood behind the drawer front so cards can pin or stick. Add a clear plastic sheet over the front if you want protection and a neat finish. Arrange 6-10 cards inside the frame and use small magnets or glue dots to secure them. Hang it with a single sturdy wall anchor or mount it on a stand for a no-drill option.
Use a matte topcoat so the painted surface doesn’t glare under daylight.
Don’t use glossy paint — it looks harsh for mental-health cues.
12. Accordion Folder Vision Board that Folds Flat
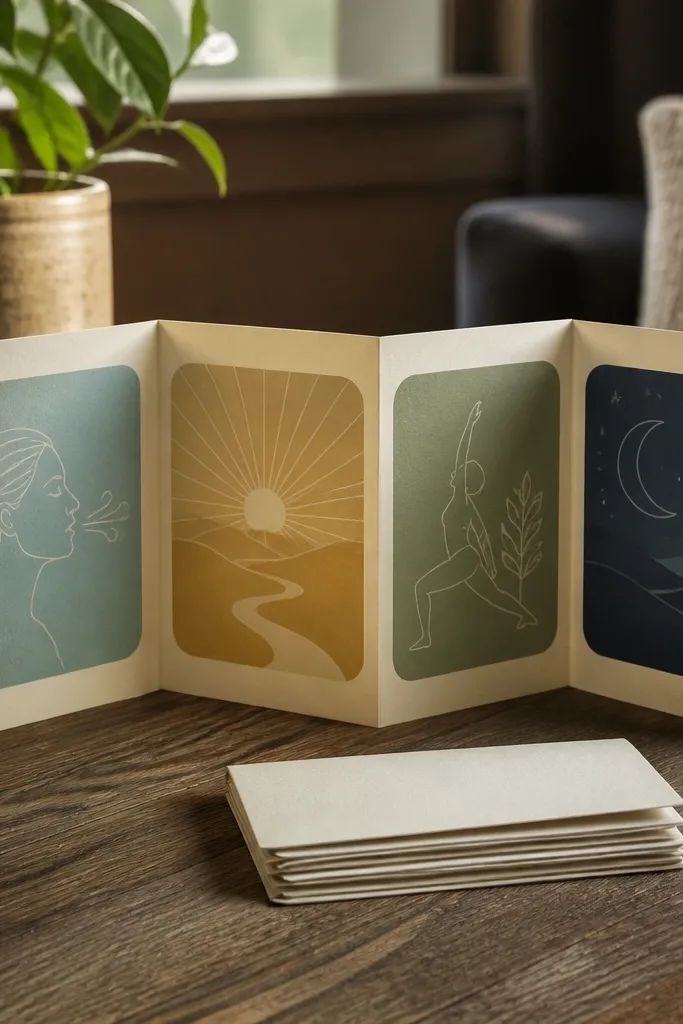
An accordion folder board is small-space friendly because it stores flat and unfolds into a full mini board when you need it. It’s also visually calming because each panel can hold one theme: breathe, focus, move, rest. When closed, it looks like a neat stationery item, not clutter. This is a strong choice for people who want control over what’s visible at any moment. It’s also great for travel — your mental health cues go with you.
Use a thick cardstock accordion folder or make one with 8 panels of 6x8 inch cardstock. Fold carefully with a bone folder so the creases stay crisp. Decorate each panel with one photo and one short phrase, keeping the same font style across the whole piece. When you’re done, add a ribbon tie or elastic band to keep it closed. Store it in a drawer or tote, then unfold it on your desk for a quick daily check.
Pro tipUse one consistent border color across all panels so the folder looks designed, not random.
AvoidAvoid too many tiny cutouts per panel — it becomes visually loud.
13. Wall-Mounted Rattan Tray Vision Board for Small Corners
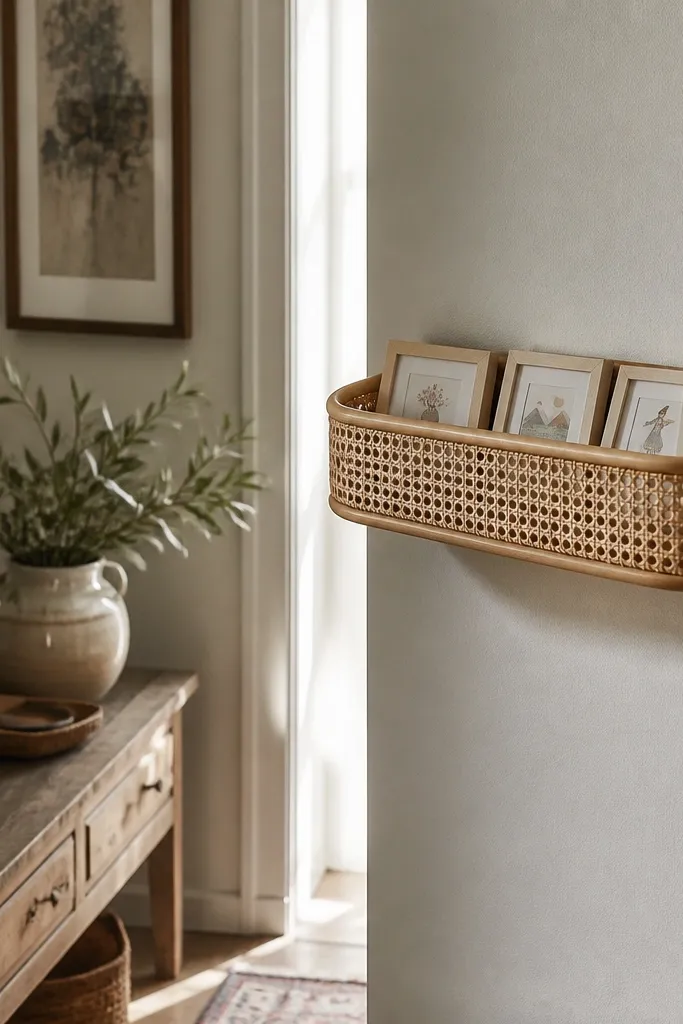
A rattan tray makes your vision board look like decor you’d keep even when you’re not in “self-improvement mode.” The tray shape frames the cards and keeps them from spilling into other clutter on the shelf. This is a good option for narrow hallways or tiny entry corners where you don’t want a big board. The calm look comes from natural texture and a limited card palette, like cream, soft green, and warm neutrals. You also get a physical “choose one” moment because the cards sit in one layer, easy to pick up.
Find a small rattan or woven tray with shallow depth, about 10-14 inches wide. Mount it using two wall anchors so it sits level. Add a backing insert of felt or cardstock in a neutral color to make the photos pop. Place 7-9 card prints in a fan-free grid inside the tray and secure corners with small removable tape. Add one blank card at the back for your daily prompt, then replace it each week.
Use felt or craft foam under the cards so they don’t slide and look crooked.
Avoid placing too many objects in the tray — the board needs clear space to feel calm.
14. Linen Pinboard with Mini Pegs and Fabric-Covered Labels
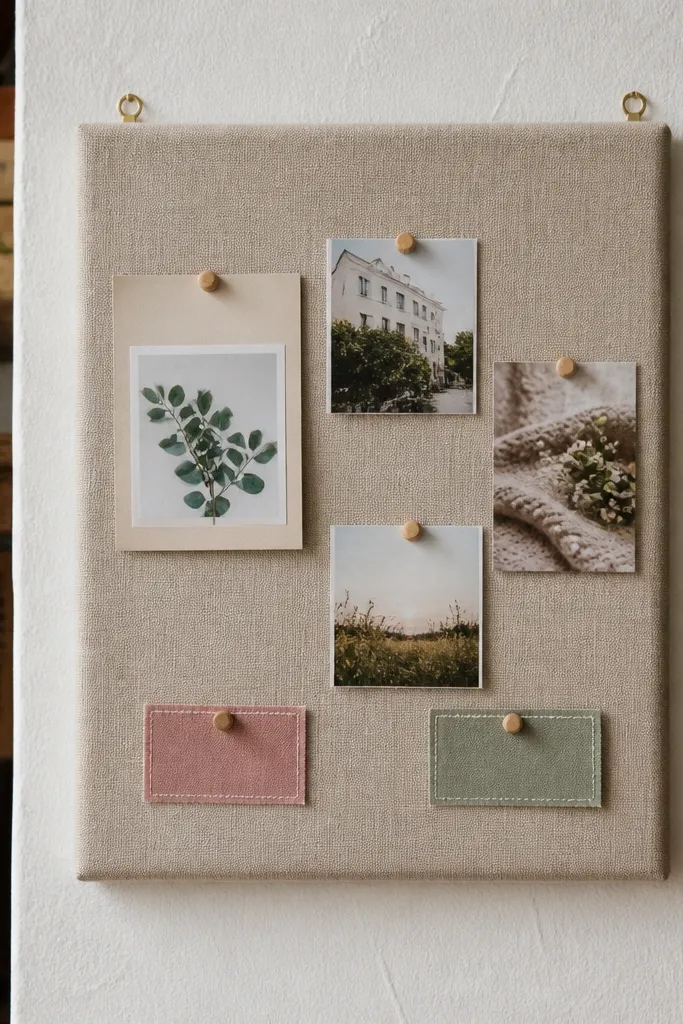
This is the “soft, cozy, not chaotic” version of a pinboard. Linen covering makes the board look warm, and fabric-cushioned labels make everything feel intentional. It’s ideal for small spaces because you can make it compact, like 10x12 inches, and still fit a full set of calm cues. This approach is also great for upcycling because you can use a scrap of linen, canvas, or even a sturdy cotton curtain. The layout is what calms your brain: a simple left-to-right flow so you can scan quickly when you’re overwhelmed.
Cut a backing board to size, then stretch linen over it and staple on the back. Create 8-10 label cards and cover them with thin fabric scraps, using spray adhesive on the back of the card only. Pin the labels with mini pegs or small clothespins, keeping the cards aligned on a single imaginary grid. Add one larger photo card in the center and surround it with smaller cues. Mount the pinboard at eye level using picture hooks, and keep it near where you sit most often.
Pro tipUse the same fabric color for all labels, even if the photos vary — it keeps the board calm.
AvoidSkip mixed pin styles — different pegs make the board look busy.
15. Upcycled Frame + Rolled Paper Quotes Behind Glass
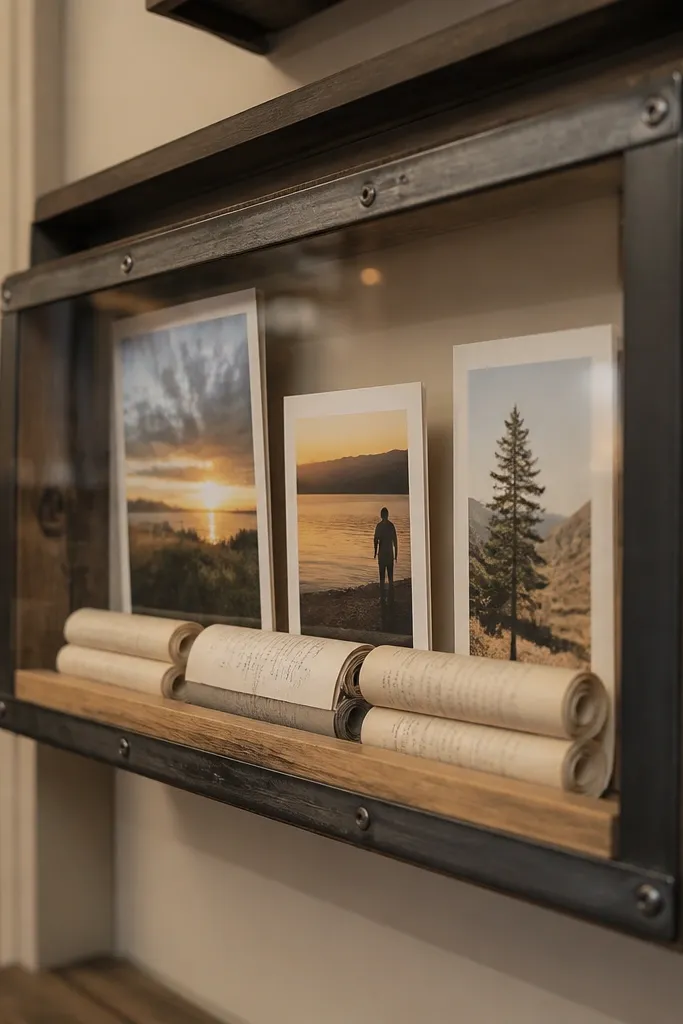
This vision board looks like a small art piece, not a collage. Rolled paper quotes behind glass create a gentle, gallery vibe that still functions as mental-health support. You can keep photos minimal and let the text cues do the work, which is great for people who get overwhelmed by too many images. The calm comes from typography discipline: short phrases in consistent handwriting or print. This is perfect for apartments where you want wall decor that also helps your mood.
Reuse an old frame and remove the backing glass. Cut strips of paper about 1 inch wide and roll each strip tightly around a pencil, then secure with a dot of glue on the inside end. Place the rolled quotes inside the frame on top of the backing, spaced evenly. Add two small photo squares in the corners using glue dots so they don’t shift. Reattach the glass and seal the edges with clear tape if you want extra durability.
Use archival ink or a fine-tip marker so the writing doesn’t smear behind glass.
Don’t stack rolls randomly — keep spacing even so it reads calming, not cluttered.



