
1. Polaroid Grid With Denim Pocket Notes
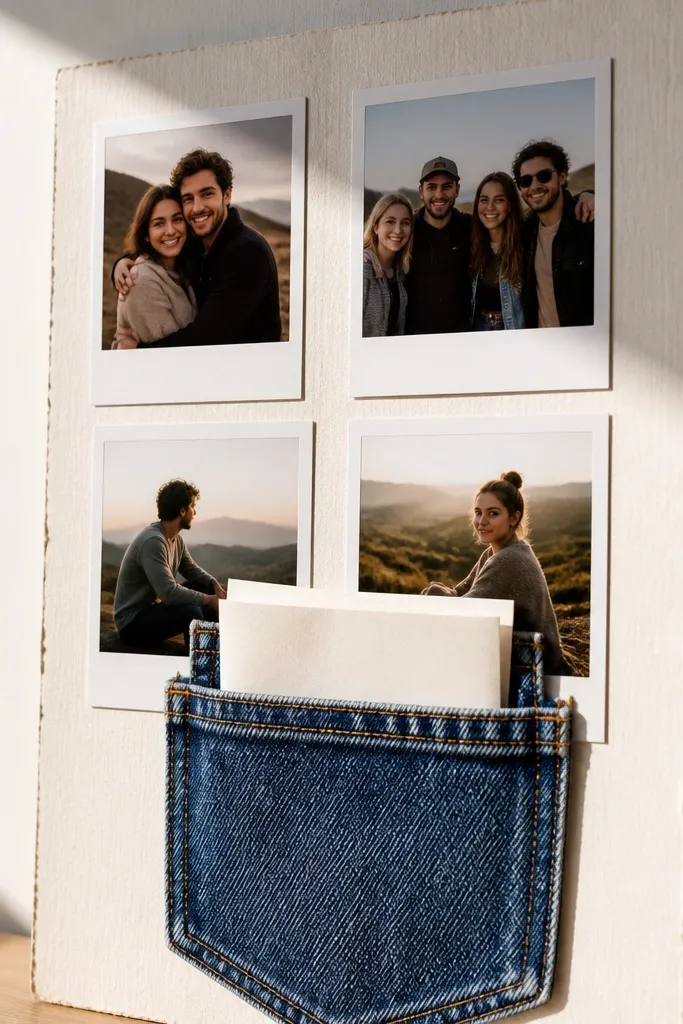
Start by cutting 6 photo mats from cereal-box cardboard: 3.5x4.5 inches for the photos and 1 inch extra border around each. Back each mat with a sturdy paper layer (brown kraft or old book page) so it stands up in photos. Create the denim pocket by cutting a 4x5 inch rectangle, folding the top edge 0.5 inch, and stitching or gluing it shut. Glue the pocket to the bottom right mat, then place your polaroid photos inside with photo corners or double-sided tape.
This theme turns your photos into a clean, Instagram-ready wall even when your pictures aren’t perfect. The denim pocket adds real texture, and it gives you a place to hide “what we said” notes so the page doesn’t look flat. Use polaroid-style photo frames so every image has the same border thickness, which makes the spread look intentional. It’s sweet because it mixes a casual fabric vibe with a tidy grid — the best combo for a best friend scrapbook.
AvoidDon’t use thin printer paper for the mats — it warps and makes the grid look sloppy.
Pro tipRun a bone folder over every fold in the denim pocket so the top edge looks crisp on camera.
2. Café Order Board Scrapbook
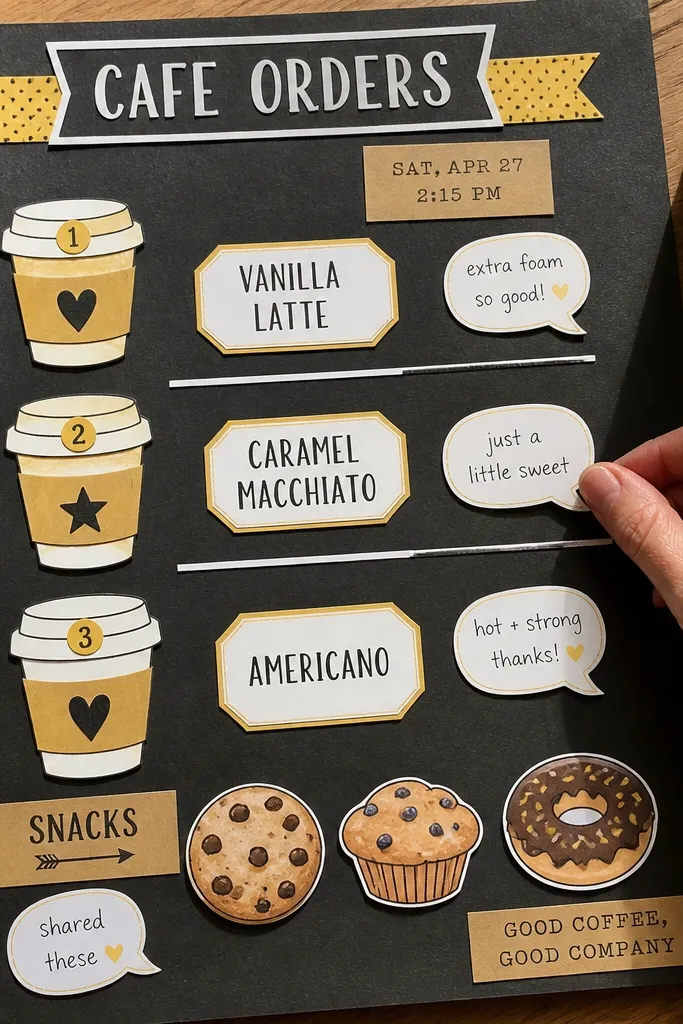
Paint a page-sized sheet (8.5x11 inches) with chalkboard paint or black acrylic mixed with a little matte medium. Let it dry, then use chalk or a chalk marker to draw a simple grid. Cut label tags from old cereal boxes or kraft paper and write each drink/snack name with a white paint pen. Add small “menu” strips made from scrap paper behind the labels, then glue everything down with a thin line so it stays flat.
This is a themed best friend scrapbook idea that feels playful and organized at the same time. You recreate a mini “order board” with drink names, snack notes, and dates, so the page reads like a conversation. The look is bold because you’re using high-contrast labels and a dark background with lighter paper cutouts. It’s sweet for best friends because it turns inside jokes into typography — and typography photographs well.
AvoidAvoid piling on too many labels; keep it to 5-8 so the page stays readable.
Pro tipIf you use acrylic, test your marker first on a scrap — some chalk markers skip on glossy paint.
3. Movie Night Ticket Stub + Film Strip Border
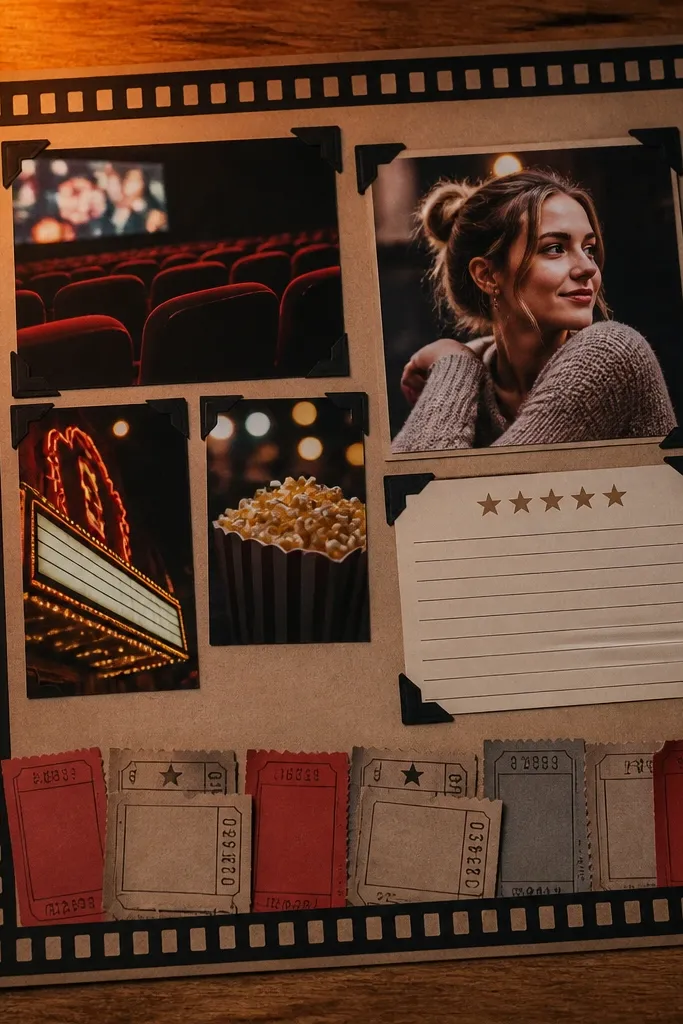
Movie night pages look instantly cohesive when you repeat one graphic element: the film strip border. The ticket stubs give you a sweet place for the date, the snack you split, and a one-line review of the movie. This theme is photogenic because the border frames everything and creates a clear “stage” for photos or journaling. It’s also easy to upcycle — you can fake ticket stock with brown paper and printed details.
Make a film strip border by cutting a 1-inch wide strip of black cardstock and punching small rectangles along it (or drawing the perforations). Measure the strip to fit the top and sides of your layout, leaving the bottom open for the main journaling area. Create ticket stubs from kraft paper: cut rectangles 2.5x4 inches, fold the long edge 0.25 inch, and ink the edges with a brown marker. Print small movie details on scrap paper, cut them into mini labels, and glue them to the tickets.
Lightly distress ticket edges with a sanding block so they look like real paper stock.
Don’t leave the film strip border blank — add at least two tiny labels so it doesn’t look like a border for nothing.
4. Birthday Party Confetti Pocket Pages
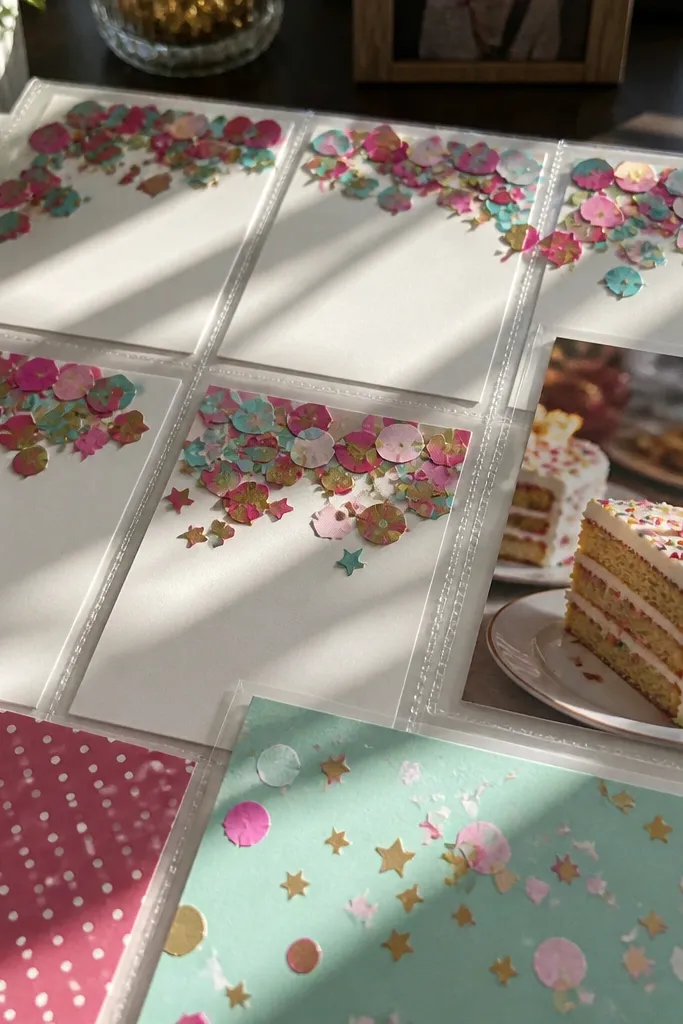
Cut a 8x9 inch base page from cardstock and create a top pocket by folding a 2x9 inch strip down 0.5 inch on the sides and gluing the bottom edge. Punch 1-inch confetti circles and triangles from colored scrap paper, then arrange them in a diagonal band across the page. Add a small title banner made from white paper with black paint pen lettering. Glue a few confetti pieces over the title banner so the page feels layered.
This theme makes your scrapbook feel celebratory even if the photos are just cake and candles. Confetti shapes are visually loud in a good way, and they make the page look festive without requiring fancy materials. A pocket page is practical because you can tuck in handwritten wishes, a party playlist, or a photo from the “after” moment. The look stays sweet and clean when you keep the confetti to one color family.
AvoidAvoid using too many colors — it turns into visual noise instead of a themed celebration.
Pro tipUse two confetti sizes only: keep circles at 1 inch and triangles at 0.75 inch for a neat look.
5. Bookworm Vintage Page With Bookmark Spine
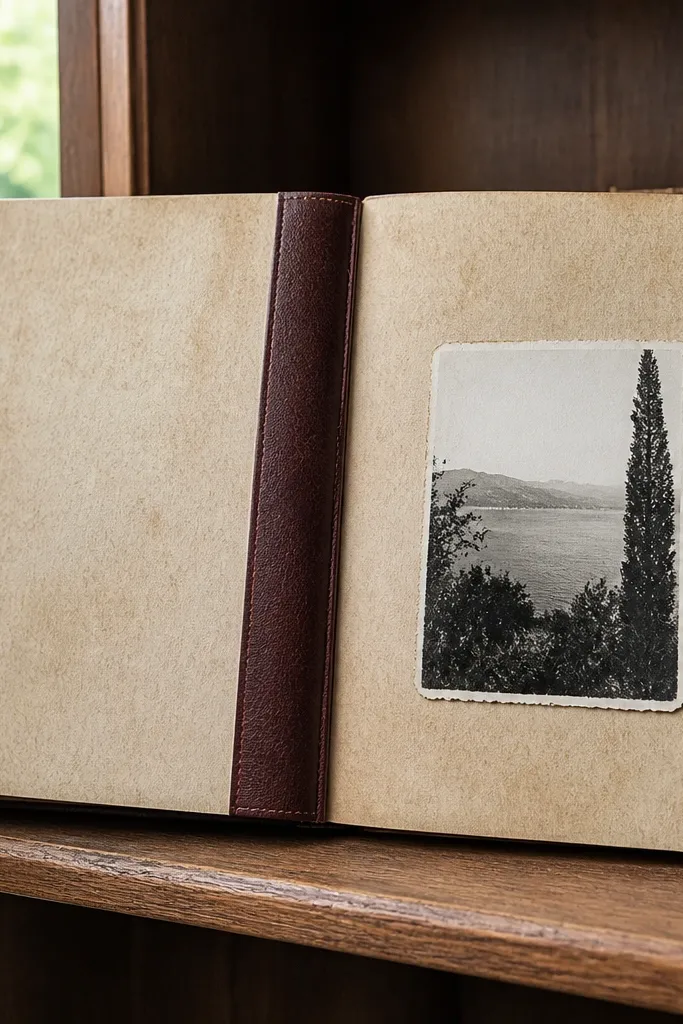
If your best friend loves books, this theme turns reading into a scrapbook design that looks classy and cozy. The bookmark spine gives the page a strong vertical anchor, which makes photos and notes easier to place. Vintage paper textures look great under daylight and phone camera flash, especially when you add a small strip of printed ephemera. It’s sweet because the center reads like a mini love letter to your friendship.
Distress a cardstock page by rubbing it with tea-bag tannin (or watered-down brown ink) and letting it dry flat under a book. Create the bookmark spine by cutting a 2.5x8 inch strip from old book page, then folding 0.25 inch on both sides and gluing it to the center. Write short “friendship quotes” on small paper tags using a dark gel pen. Glue the tags around the spine, then add a final corner bow from thin ribbon or the edge of a scrap fabric strip.
Use a gel pen for the main text; it stays legible on slightly textured paper.
Don’t soak the page too wet — warping makes glue lines look crooked.
6. Beach Day Shell Frame + Sea Glass Journaling
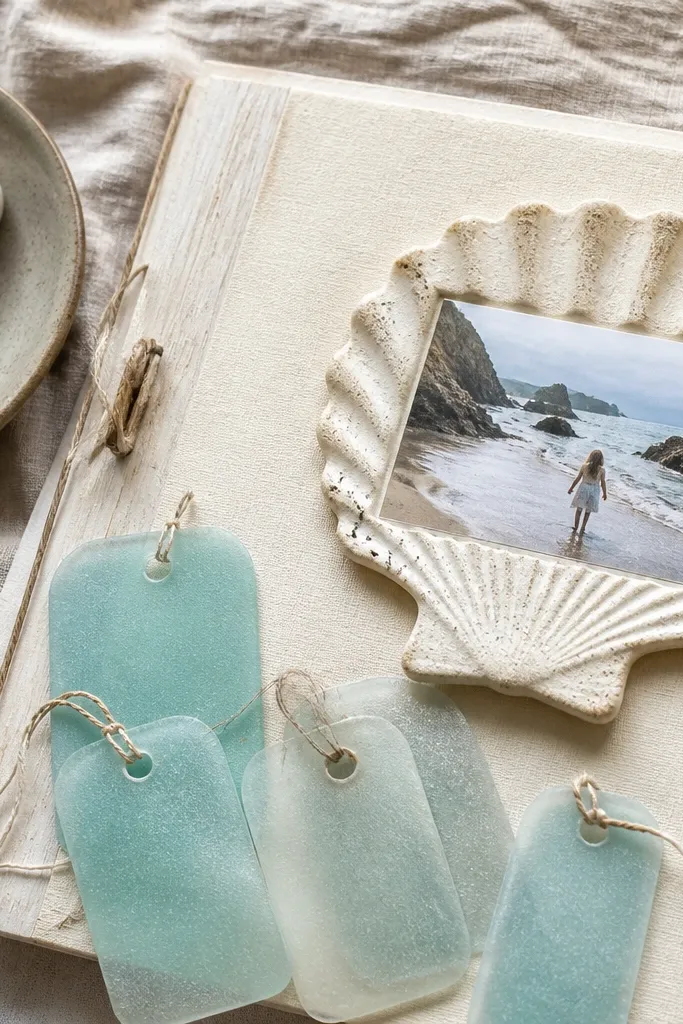
Create a sandy background by gluing a thin layer of sand-like craft material mixed with white glue onto the page edges, then tap off excess. Cut a shell-shaped frame from cardboard and cover it with beige paper; glue it in the center. Make sea-glass tags by cutting rectangles from mint and seafoam paper (2x3 inches) and rounding the corners. Write short lines with a white paint pen, then place photos behind the shell frame or glue them around the shell edge.
Beach themes photograph beautifully because of the color contrast: sandy neutrals plus sea-glass greens. The shell frame makes the page feel like a prop, not a scrapbook page, so it stands out in a photo roll. Sea-glass journaling tags are sweet because you can write short memories in tiny bits — it turns “long paragraphs” into quick, readable moments. Keep it light, airy, and not too cluttered so your pages don’t look messy.
AvoidSkip heavy glitter — it looks sandy in person but messy in photos.
Pro tipSeal the sand layer with a thin coat of matte Mod Podge so it doesn’t shed in your bag.
7. Spa Day Bubble Wrap Texture + Self-Care Checklist
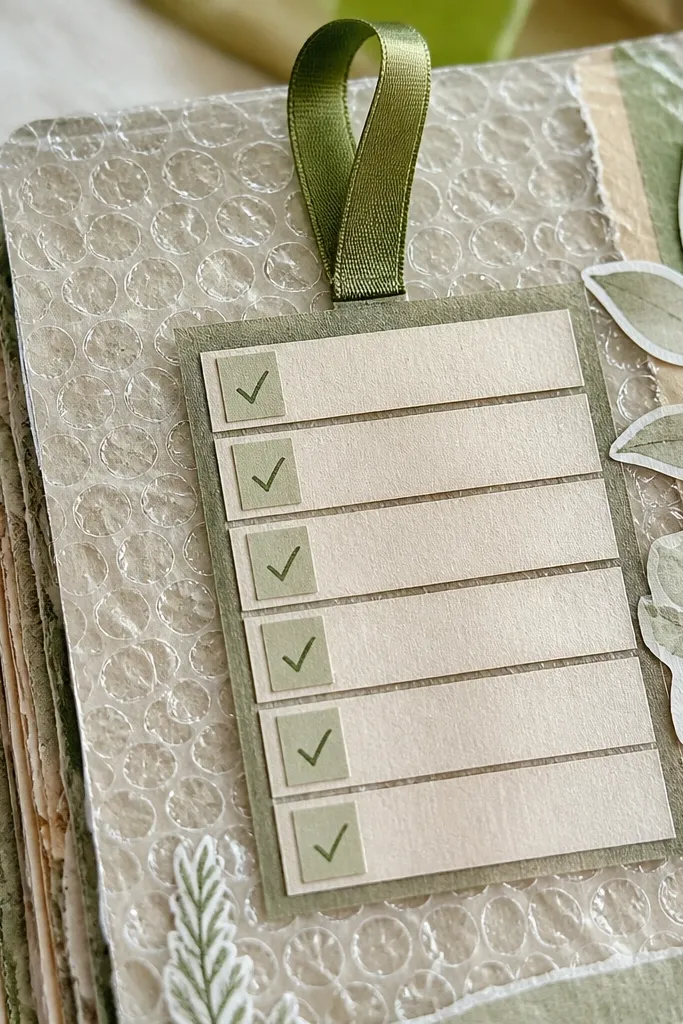
This theme looks tactile and modern because bubble wrap makes a repeat pattern you can’t fake with plain paper. Add a self-care checklist so the page has structure, not just texture. It’s sweet because best friend scrapbooks work better when there’s a “future” element — things you can do together later. The page reads clean in photos when you keep the checklist in one column.
Cut a page base and press bubble wrap onto it after applying a thin coat of acrylic paint or diluted white glue mixed with a tint. Let the texture dry fully. Make a checklist column from white paper strip (about 3 inches wide) and write 6 items using a black fine liner. Glue the checklist strip onto the textured background, then add a small title label in a pastel color. Finish by stamping or drawing tiny icons (lotion bottle, mask, heart) near the checklist.
Use a foam brush to spread paint — it keeps the texture crisp without smearing.
Don’t press too hard; deep dents make the paper look damaged in close-up photos.
8. Thrift Store Treasure Map With Photo Flags
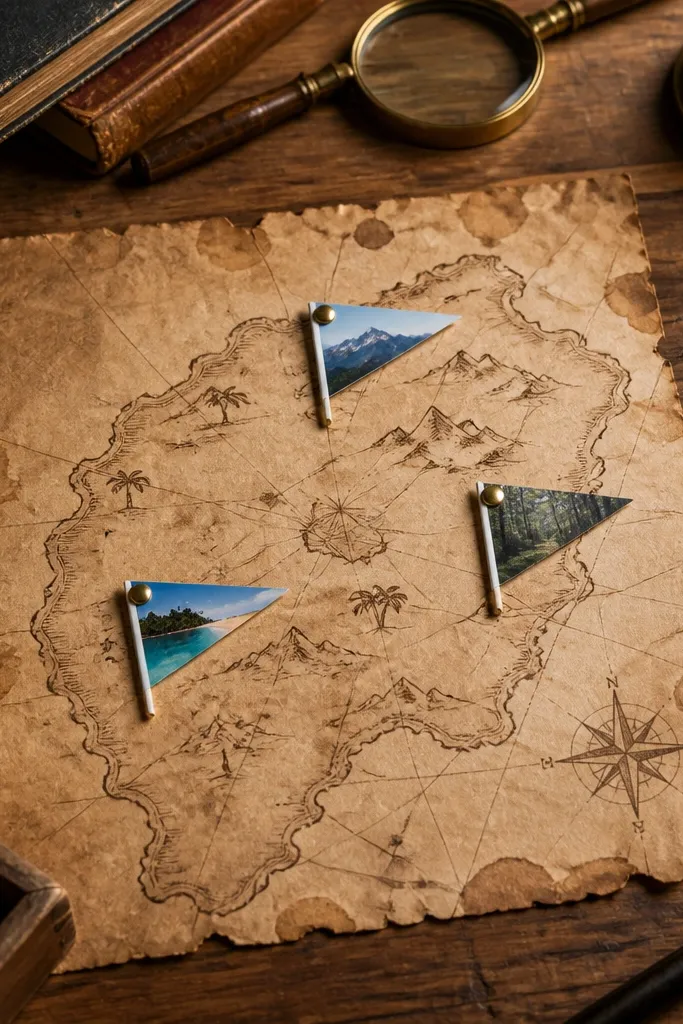
Make the map background by cutting a sheet from kraft paper and lightly staining edges with diluted tea or brown ink. Draw a simple grid and “roads” with a pencil, then go over with a brown gel pen. Cut photo flags from cardstock triangles attached to thin strips of paper (about 1 inch long). Glue the flags around the page and tuck photos behind each flag so only the top shows. Add a small legend box labeled with two categories, like “Finds” and “Jokes,” written in neat handwriting.
Treasure-map layouts are one of the best themed best friend scrapbook ideas because they turn random outings into a story with direction. The photo flags create a clear hierarchy: photos become “points” on the map, and the journaling becomes the legend. It’s sweet because it frames your friendship like an adventure, but the design stays simple and readable. You can do it with scraps from old maps, receipts, or brown paper.
AvoidAvoid tiny text in the legend; it blurs in phone photos.
Pro tipUse masking tape to hold photos in place while you place flags — it keeps spacing consistent.
9. Friendship Recipe Card Pages With Pantry Label Corners
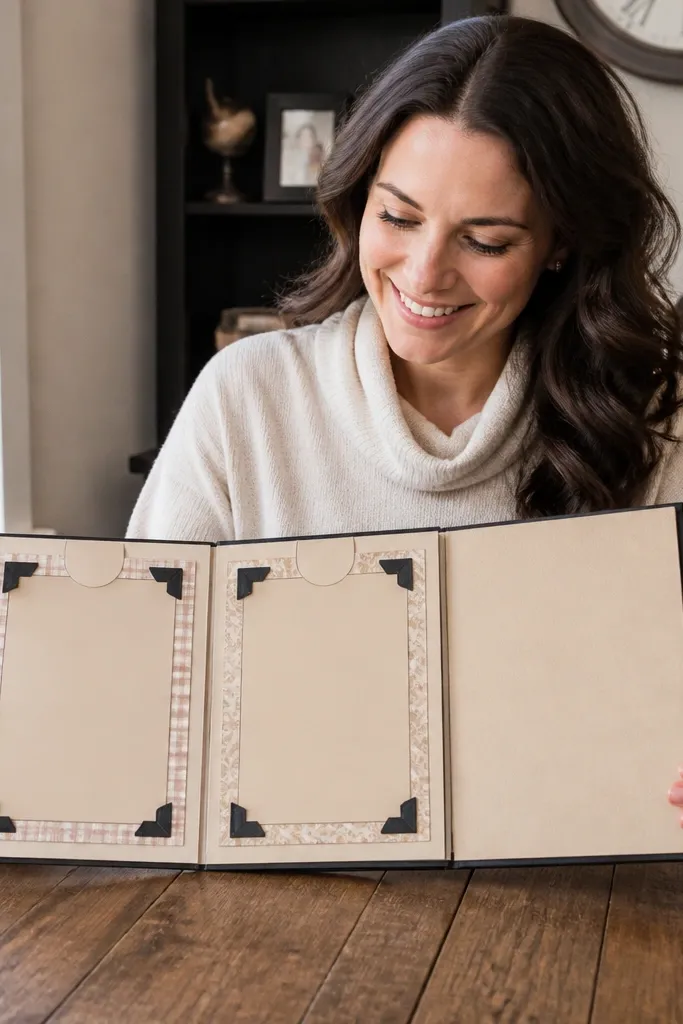
Cut 4 recipe cards from thick cardstock (3.5x5.5 inches). Round the corners lightly with scissors or a corner punch. Add pantry label corners by cutting small 1x1 inch squares and folding them diagonally into triangles; glue one triangle in each corner of the card. Write a title like “Our Friendship Mix” and add 3 short steps on each card using a dark marker. Arrange cards on a background page, then glue a strip of patterned scrap paper behind them like a tablecloth.
Recipe cards make journaling look cute because the format already exists. You’re not writing “a memory” — you’re writing a “friendship recipe,” which keeps the page structured and photo-friendly. Pantry label corners add a graphic detail that looks tidy and intentional. This theme is great when you have multiple short moments to include: a quote, a habit, a snack you share, a movie pairing.
AvoidDon’t cram text into tiny handwriting; keep each card to 3 steps max.
Pro tipUse a ruler for the “step” lines so handwriting looks crisp even if it’s not perfect.
10. Concert Setlist Scrapbook With Ticket Crinkle Layers
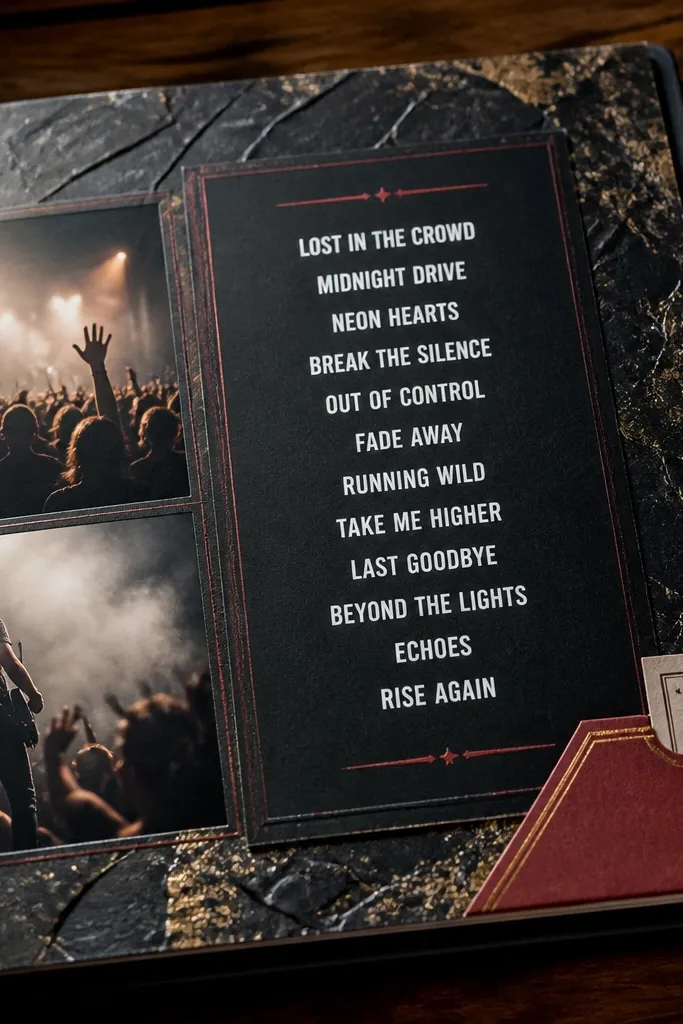
Setlist layouts look dramatic, and they’re perfect for best friends who bond through music. The ticket crinkle layer adds that “real event” texture, and it makes the page pop in photos. You get a sweet structure: song titles tell the story, and your photos slot into the gaps. This theme also works if you only have a few photos — the setlist design fills space.
Create a setlist base from black or deep navy cardstock. Cut a rectangle panel for the “set” area (about 7x9 inches on an 8.5x11 sheet). Print or handwrite 8-10 song titles in a list, then underline the top 3 with a metallic pen. For the ticket crinkle, cut ticket shapes from brown paper, scrunch them lightly, flatten just a bit, and glue them behind photo spots. Add a faux “stage” border with thin strips of metallic tape.
Use a white gel pen for song titles so they read clearly against dark paper.
Don’t glue crinkled paper directly on top of photos; it warps the photo edges.
11. Garden Day With Leaf Rubbings and Twine Hangs
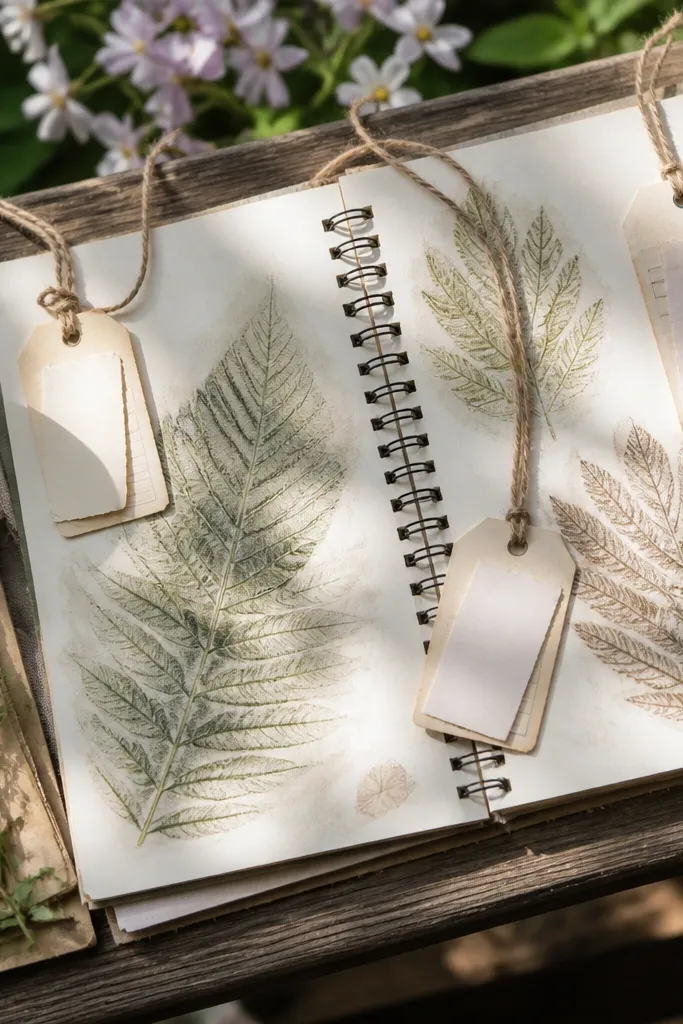
Leaf rubbings are one of the most photogenic DIY textures you can make fast, and they look intentional instead of artsy-random. Twine-hung tags add movement in photos and give you a place for short “we talked about...” notes. This theme feels sweet because it’s about small moments — a walk, a plant you pointed at, a joke you repeated. It also works well with neutral photo tones.
Place a leaf under thin paper and rub over it with a side of a crayon or oil pastel to create a crisp pattern. Make 3-5 rubbing patches, each about 2 inches wide, and glue them to a light background page. Punch a small hole at the top of each tag (2x3 inches), then thread twine through and tie it to two small eyelets or glued loops. Write short notes on the tags and attach a small photo behind one tag corner. Finish by adding a simple stamped date near the bottom.
Use matte glue on the rubbing patches so the leaf texture stays visible, not shiny.
Skip glossy paper for rubbings — it reduces the crisp leaf pattern.
12. Slumber Party Glow Jars With Sequins and Labels
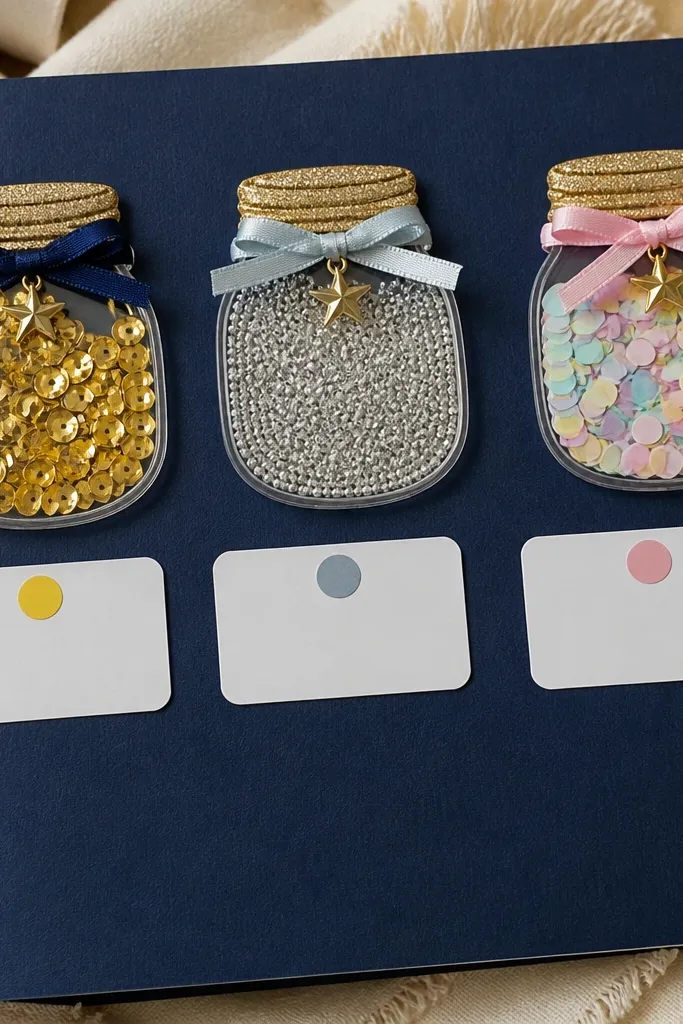
Glow jars look adorable because they’re basically mini “props” on the page. Sequins create a sparkle effect under flash, and labels keep it from turning into random decoration. This theme is sweet for best friend scrapbooks because it’s playful but still structured: each jar holds a different memory type (jokes, snacks, quotes). You can keep the page cohesive by using one label color and one jar outline style.
Draw 3 jar outlines on cardstock and cut them out, then glue them onto a background page. Fill each jar with a different texture: clear tape + glitter, tiny sequins, or crumpled tissue under a clear adhesive layer. Make labels from scrap paper strips and write one category per jar using a black marker. Add a “night of” header at the top with a paint pen, then glue photos behind the jars so they peek through like highlights.
Use clear packing tape over glitter so it stays put and doesn’t shed during handling.
Don’t use loose sequins without sealing; they fall off and ruin the look fast.
13. Polished Marble Paper With Gold Tape Faux-Ink
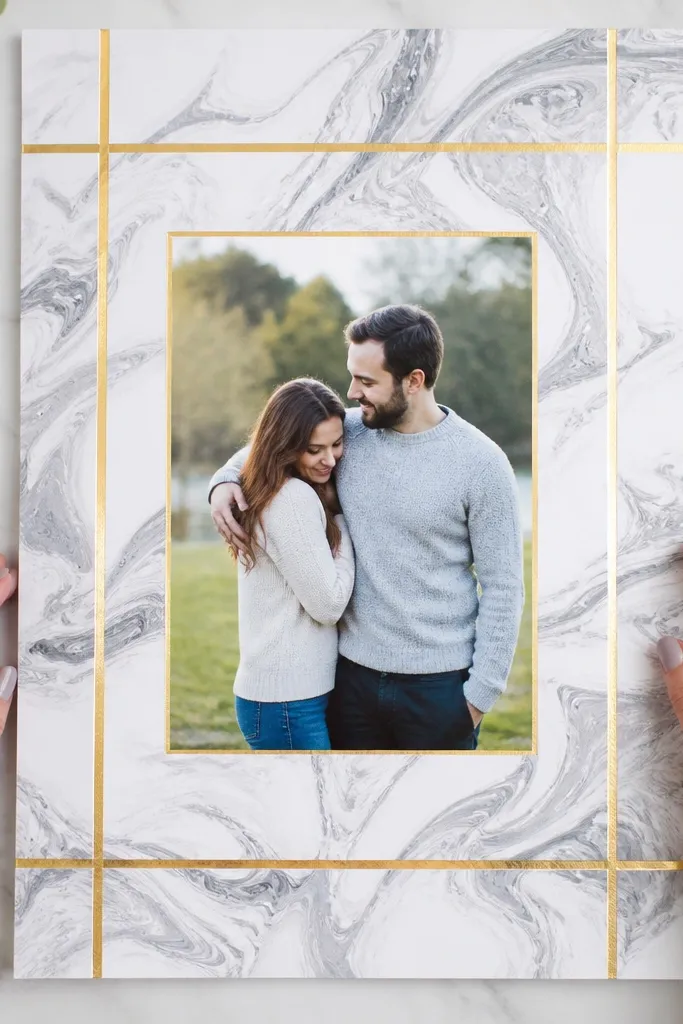
Create marble paper by dropping diluted acrylic paint on shaving cream, then dragging a toothpick through it for swirl lines. Lay thin cardstock on top, lift, and scrape off excess shaving cream. Let it dry flat for an hour, then cut it to page size. Add gold tape lines as borders and write your title on a white strip. Glue photos in the center using photo corners so the layout stays crisp.
Marble paper looks expensive, and you can make it from scraps with a controlled method that gives consistent swirls. Gold tape lines make the page feel fancy without needing actual foil printing. This is a great themed best friend scrapbook idea when you want a clean, modern look for photos that are bright or high-contrast. The page stays aesthetic because the design is mostly background + one bold title.
AvoidDon’t over-drag the toothpick; too many lines make the marble look muddy.
Pro tipUse a ruler to cut the marble paper edges after drying — it makes the whole spread look cleaner.
14. Friendship Timeline With Washi Tape Milestones
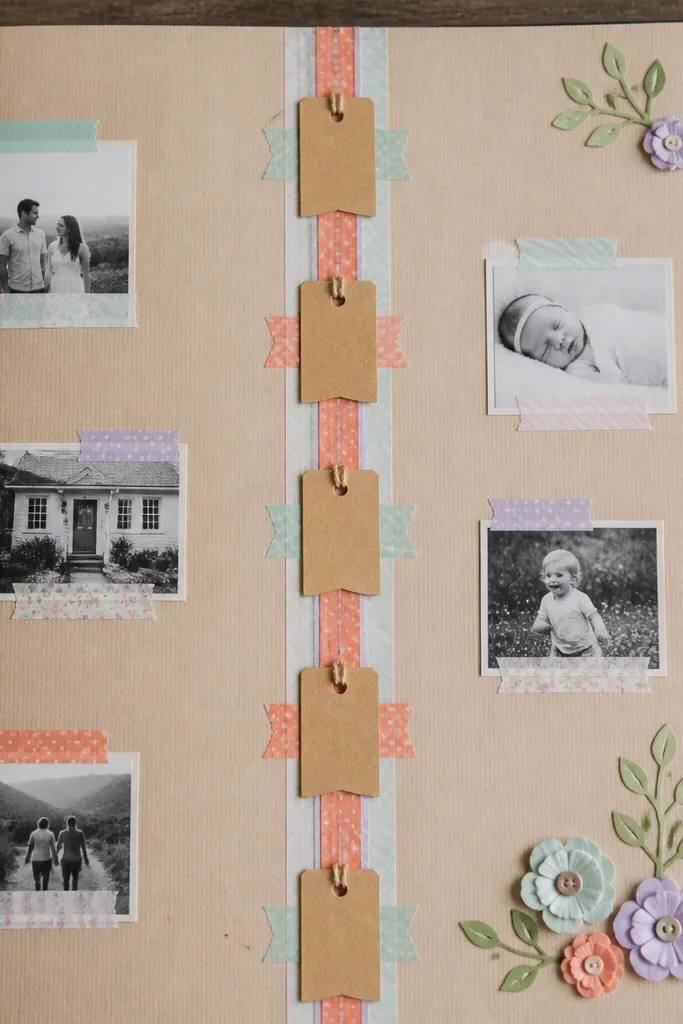
Draw a vertical line down the center of a page and cover it with a strip of washi tape. Cut milestone tags from cardstock (about 2x3 inches) and write a short date + one memory word on each. Place photos behind or beside each tag so every milestone has an image. Add a small “timeline title” banner at the top using a thicker tape color. Finish by adding tiny tick marks with a fine liner around the timeline line.
Timeline scrapbooks are sweet because they show growth without requiring long writing. Washi tape makes the milestones look playful, and it’s easy to match colors to your photos. This theme is photogenic because the vertical line pulls the eye downward, and each tag acts like a mini poster. It’s a good choice when you have a few photos across different years or seasons.
AvoidAvoid covering the timeline line with thick tape layers; it makes the page uneven in photos.
Pro tipLimit the washi tape to two patterns and one solid — it keeps the timeline from looking chaotic.
15. Selfie Frame Collage With Scrapbook Sticker Borders
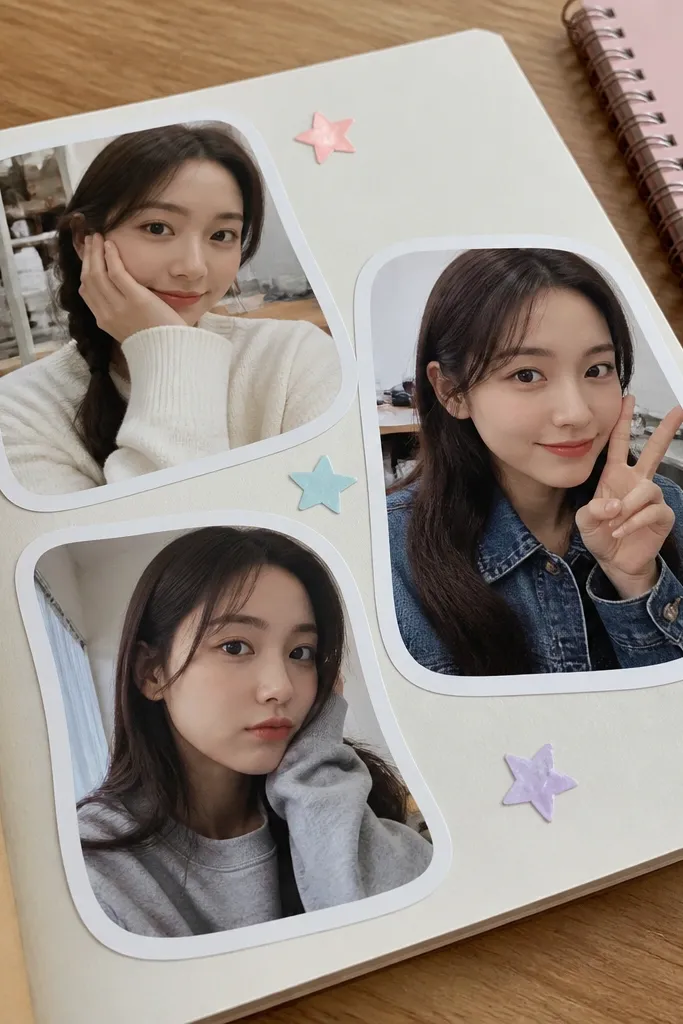
This theme is for best friend scrapbook ideas when you want lots of photos but still want it to look styled. Rounded frames soften the collage and make it feel sweet, and sticker-style borders create a consistent “cutout” look. It’s photogenic because each photo sits inside a clear shape, so your phone camera doesn’t get lost in overlapping papers. Keep the color palette tight so the page looks intentional.
Cut 8 rounded photo frames from cardstock using a template or a circle/oval cutter. Back each frame with a thin paper mat so photos pop. Create sticker borders by cutting thick strips from patterned scrap paper and trimming them into a border shape around each frame. Arrange frames on a background page with a slight diagonal rhythm, then glue. Add a title strip at the top and a few small sticker accents (stars, hearts, speech bubbles) to connect everything.
Use a low-tack tape runner when positioning frames, then glue once you like the spacing.
Don’t overlap frames too much; leave at least 0.25 inch between shapes for readability.
16. Friendship Letter Fold-Out With Map Coordinates
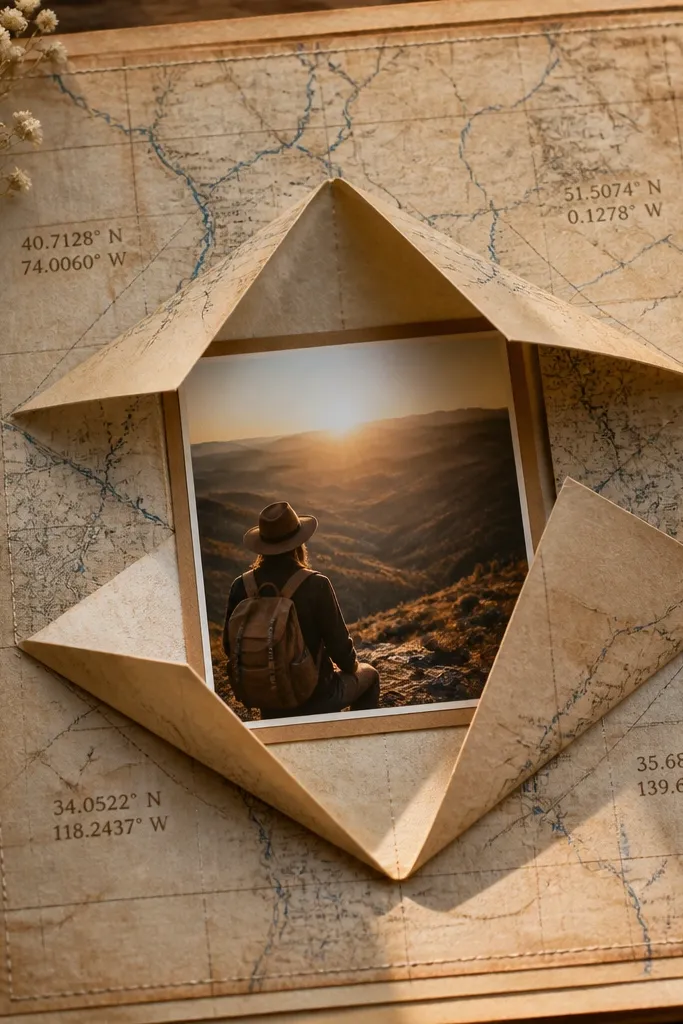
Cut a base page and create a tri-fold strip panel using cardstock: fold it into three equal sections. Print or handwrite fake map coordinates on small strips of scrap paper and glue one strip per panel. Write short letter lines on each panel (2-3 sentences max) and add a photo square in one corner of each. Fold the panels, then glue the edges to the scrapbook page so it opens like a book. Add a cover label that matches the theme, like “Our Places.”
Fold-outs feel special because they create a reveal, and reveals photograph like a mini gift. Coordinates add a fun, themed structure: each fold section can represent a “place” you associate with your friendship. This is sweet when you have memories tied to locations, like a park, a café, or a street you always walk. The look stays clean because each panel is the same size and uses matching map graphics.
AvoidAvoid thick embellishments on the fold edges; they stop the page from closing smoothly.
Pro tipUse a scoring tool for folds so the panels open flat and don’t crack the paper.
17. Sports Day Scoreboard With Foam Number Stickers
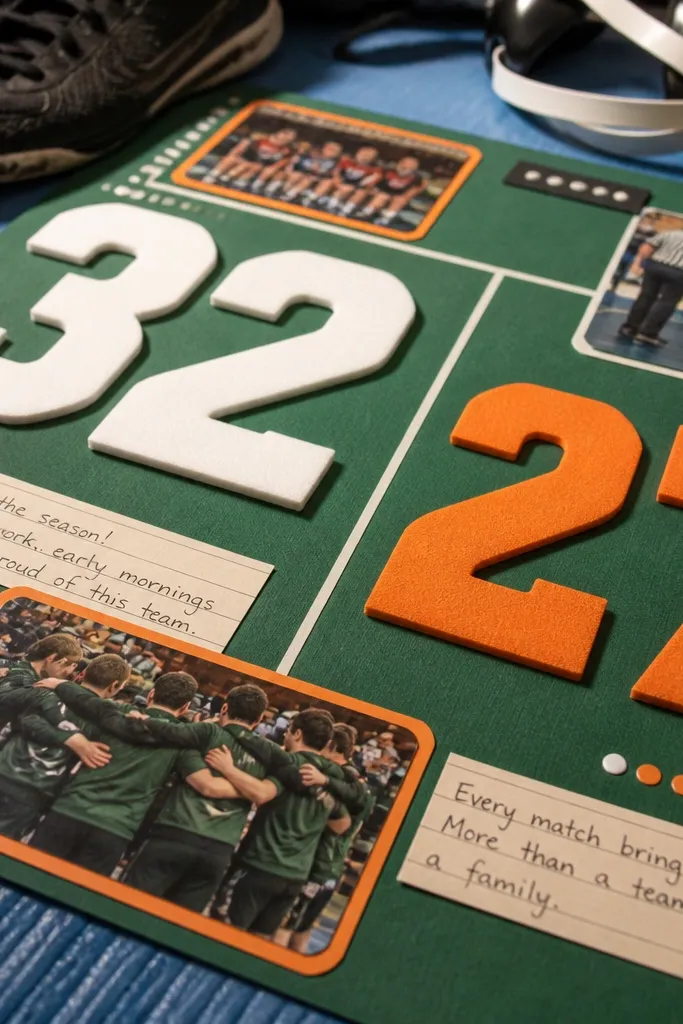
Use black cardstock as the base for a classic scoreboard look. Cut a grid panel from colored cardstock (like lime or teal) and glue it in the center. Add foam number stickers for 2-3 score numbers and label them with short phrases using a paint pen. Cut small team banners from scrap fabric or paper and glue them under the score. Place one photo at the bottom with rounded corners and write a short “game recap” line next to it.
Scoreboard layouts are bold and fun, and they make memories feel like a game you played together. Foam number stickers add dimension that shows up in photos, and the high-contrast design makes journaling easy to read. This theme works great for best friends because it turns inside jokes into “stats” — like who always picks the movie or who wins at snacks. Keep it to one sport style so the page doesn’t feel random.
AvoidSkip tiny fonts for labels; use 1-2 short words so they stay legible.
Pro tipWarm up foam stickers with your hands before placing so they press down without lifting edges.
18. Spa-Like Marble Bath Soak Tags With Ribbon Loops
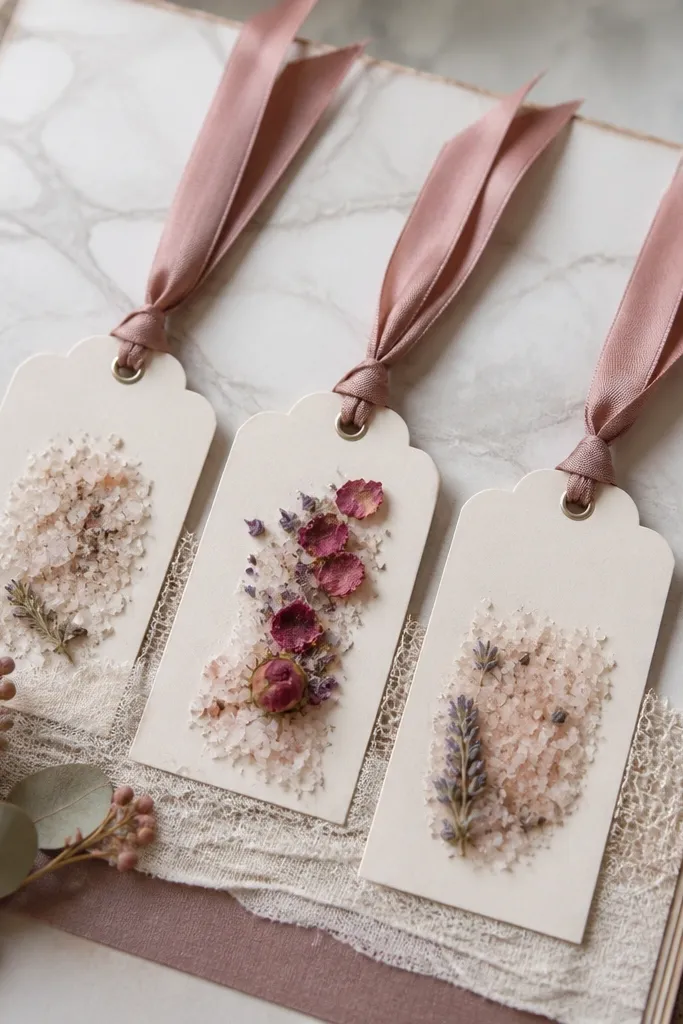
Make a pale background using tinted acrylic or watered-down ink on cardstock. Create 6 bath-soak tags from thick paper, each about 2x3 inches, and round the corners. Paint a mini marble pattern on half of each tag using diluted paint and a toothpick swirl. Punch a hole at the top of each tag and thread thin ribbon through, then tie the ribbons onto small glued loops at the side of the page. Add one photo behind the tag cluster so it peeks through.
This theme is calm and sweet, with a clean look that still feels handmade. Bath-soak tags give you a place to write “you make me feel...” notes, and the ribbon loops add a soft, photogenic detail. The marble effect gives the page movement without clutter. It’s best when you want a soothing scrapbook page that matches soft-toned photos.
AvoidDon’t tie ribbon knots too tight; tight knots create bulky shadows across the tags.
Pro tipUse satin ribbon for shine control; it looks soft in photos without looking plastic.
19. Holiday Ornament Memory Page With String Highlights
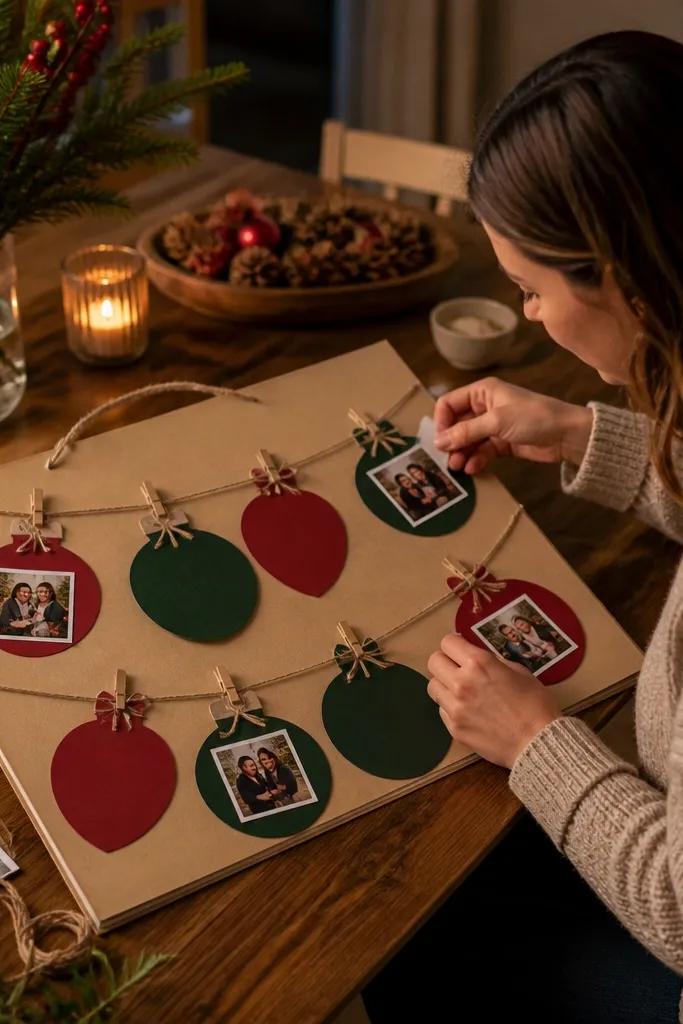
Cut 6 ornament shapes from cardboard and cover them with patterned scrap paper or thin fabric. Punch a small hole at the top of each ornament and attach string with glue. Add photo backing by cutting a window in each ornament shape or gluing a photo behind the center. Write one short line per ornament using a metallic gel pen. Arrange ornaments in a gentle cluster on a dark background page with a few string strands leading toward a title label.
Ornament pages look festive even when you’re not doing a whole holiday scrapbook. The ornament shapes create a strong visual motif, and string highlights make the page look like it’s lit. For themed best friend scrapbook ideas, this one is sweet because you can write “my favorite moment of us” on each ornament tag. It also works with small photos since the ornament shape frames them.
AvoidAvoid glossy backgrounds; they glare under phone flash.
Pro tipUse matte black or deep navy paper as the background; it makes metallic ink read clearly.
20. Art Supplies Chaos Page With Tape-Wrapped Edges
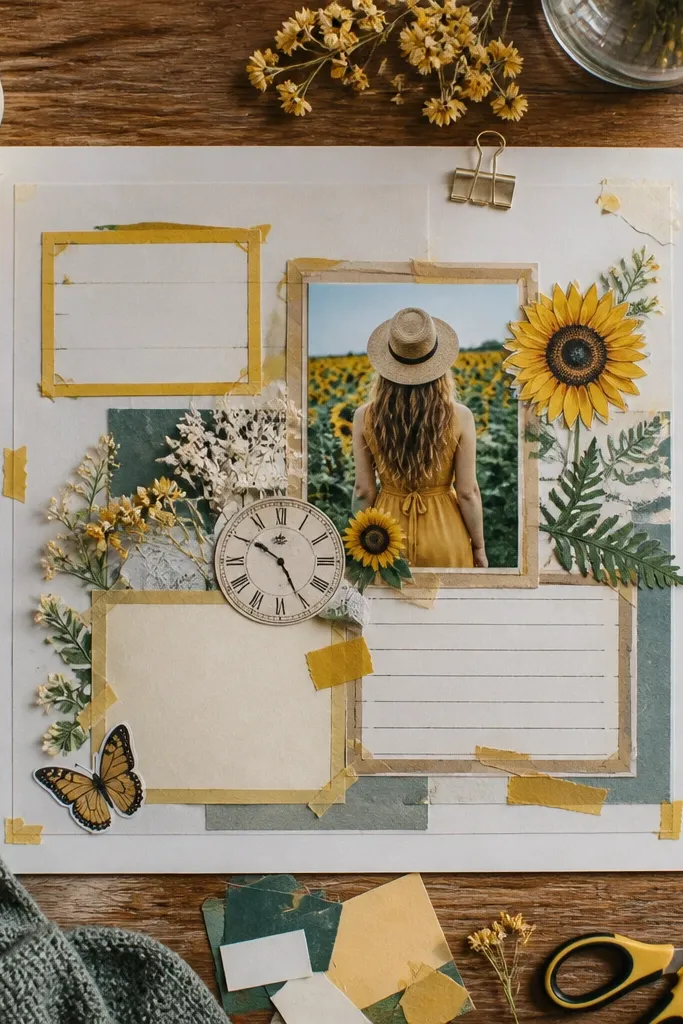
Cut a base page from thick cardstock and wrap the edges with washi tape in one color family. Add a diagonal paper strip layer behind your photos using torn scrapbook paper. Create label blocks from small rectangles of scrap paper and write short captions like “our glue era” or “the time we messed up.” Wrap the photo corners with tape so the edges look finished. Finish with doodles using paint pens in two colors.
This theme is for best friends who bond through making things. The look is intentionally “creative,” but you control it with tape-wrapped edges and label blocks so it still reads as a scrapbook page. Tape-wrapped edges hide messy cuts and give a clean finish that photographs well. It’s sweet because it turns your craft habit into a design — like a snapshot of your friendship style.
AvoidDon’t use too many different paper textures — pick 2 main textures max.
Pro tipUse a single tape width for the whole page; changing widths makes it look accidental instead of styled.



