
1. Rust + Cream Fabric Pinboard With Clip Windows
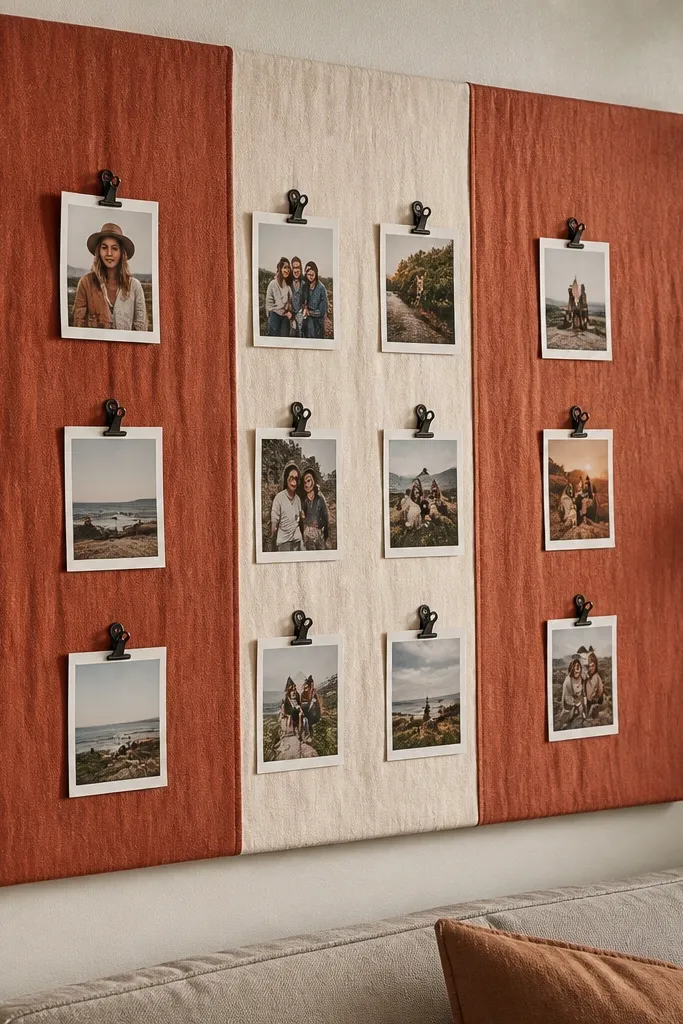
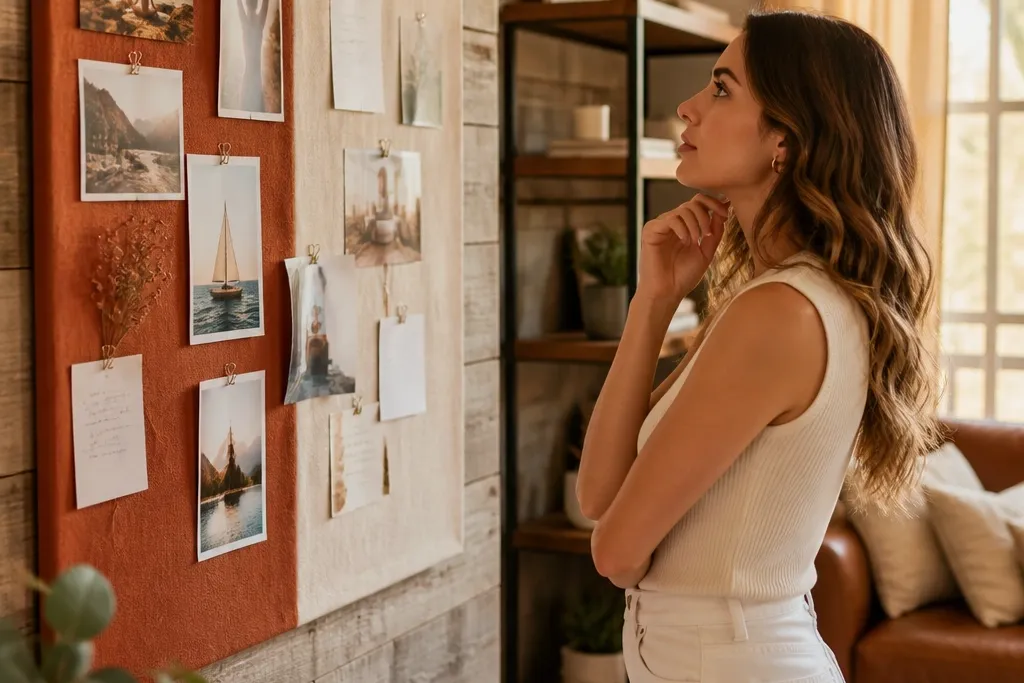
This is the cozy board look that photographs well because fabric softens everything. Cover a board with rust-toned and cream-toned textiles, then add small clip frames in a neat grid so photos look intentional instead of taped. The fabric hides tape marks and old glue, which matters when you rotate images through the year. Use it in a hallway, playroom, or kitchen spot where you want “warm and lived-in,” not sterile.
Pro tipCut fabric with pinking shears so the edge doesn’t fray and look messy in photos.
Start with a flat board (cork sheet, plywood, or foam board) and wrap it in fabric, pulling tight and stapling on the back. Add small binder-clip frames or photo clips along a measured grid — aim for equal spacing so it reads clean. Finish by tucking scrap fabric strips at the edges like a border and labeling each clip row with a tiny card (Family, Goals, Memories).
AvoidDon’t use three different fabric textures on the same board — it looks busy in one glance.
2. Thrifted Frame Wall With Seasonal Envelope Pockets
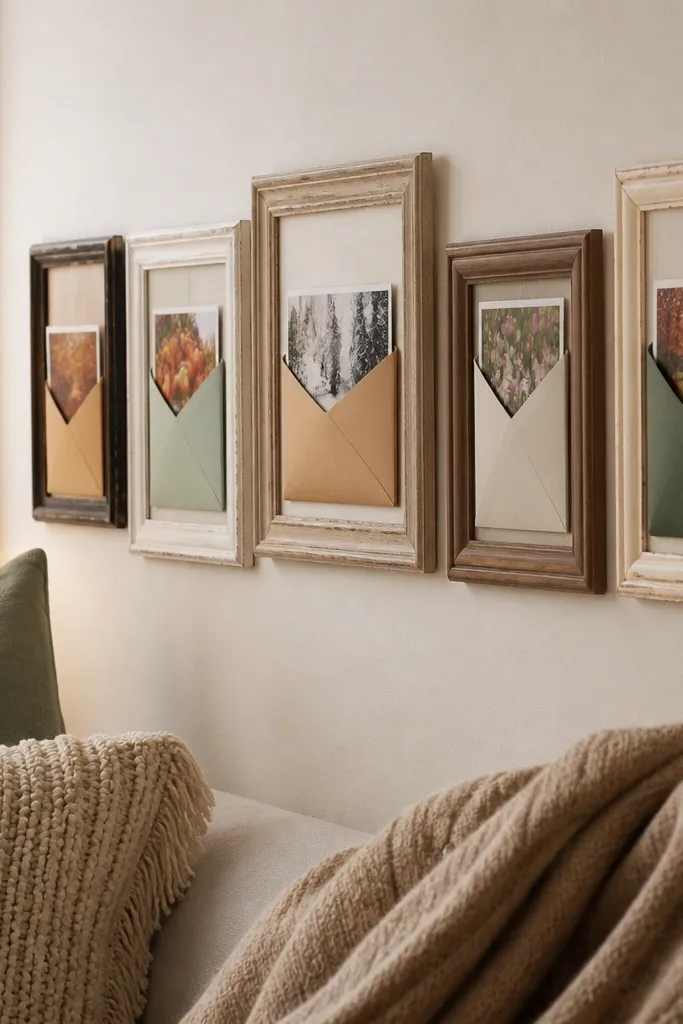
This is cozy in a “reading nook” way because old frames add character and the envelopes keep updates tidy. Put a few mismatched, lightly distressed frames in a line, then replace the back inserts with simple envelope pockets for each season. You can slide in printed photos, weather goals, or activity cards without peeling anything off the glass. It works great for families because each pocket can hold a mini set of memories rather than one loose card.
Pro tipUse archival photo corners inside each envelope so prints don’t curl or snag on edges.
Remove the backing from thrifted frames and measure the inner opening width and height. Cut a backing insert from cardboard, then glue or staple a fabric-lined envelope pocket to the center so it hangs flat. Hang frames using picture wire, and label each envelope pocket with a small printed tab (Winter, Spring, Summer, Fall).
AvoidSkip frames with heavy glare glass if you’ll photograph the board — reflections ruin the cozy look.
3. Book Page Map Board With Push-Pin Constellations
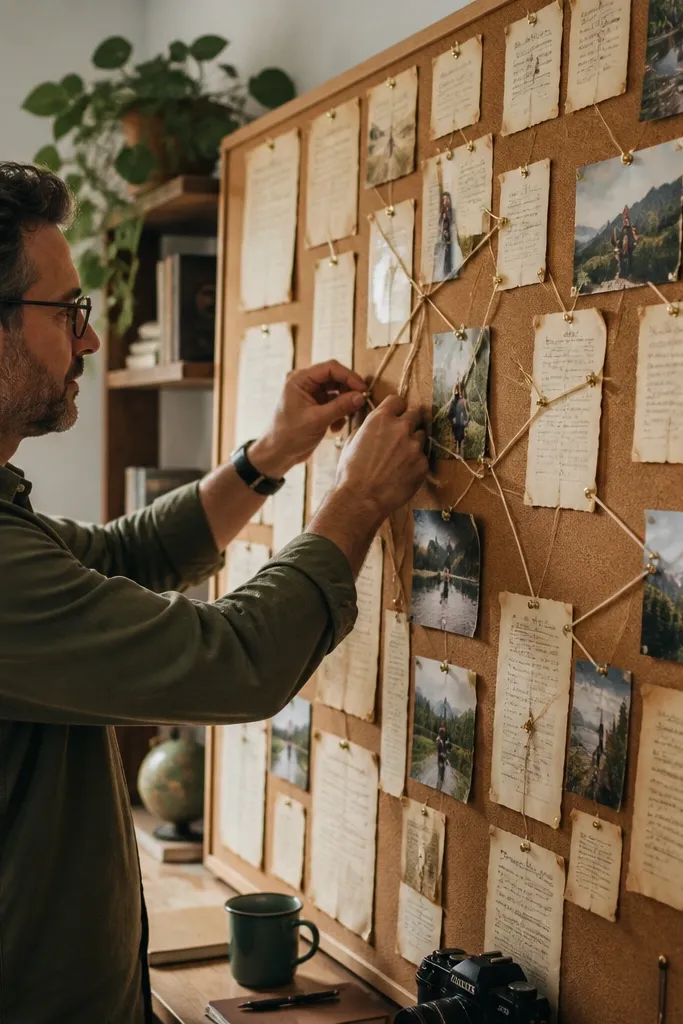
This one looks artsy without trying too hard. Cover a cork board with aged book pages, then add push pins and thin string to connect “family routes” like park visits, weekend traditions, or travel wish points. The book pages give soft, warm color variation all year, so the board doesn’t look blank when you swap photos. It’s especially good for families who want goals and memories to share the same space.
Cover cork with book pages using spray adhesive or glue stick, smoothing each sheet so you don’t get bubbles. Add a grid of lightly spaced push pins in pencil-planned positions, then tie string or twine to form a few constellation-style lines. Pin small photo tags on the string intersections and keep tag sizes consistent for a clean look.
Seal the book pages with a matte clear coat spray so they resist fingerprints and dust.
Don’t cover the whole board in glossy magazine pages — the glare makes it look cold.
4. Drawer Pull Key-Goal Board On Pegboard
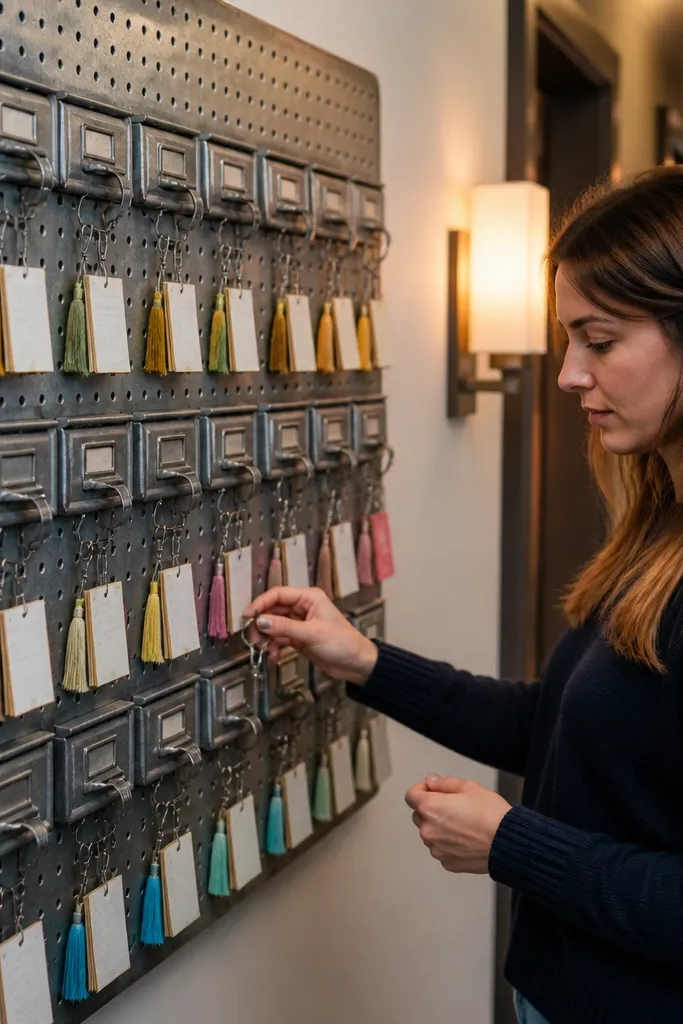
Pegboard gives you that cozy, practical vibe because it looks like a tidy command center. Swap out random hooks for small drawer pulls and clip-on key rings to hold cards and mini photo sets. You can arrange goals by season using color-coded string tags, so the board stays photogenic even when you swap out one section. This is a strong choice for families because it handles updates without warping paper.
Paint a pegboard in warm off-white or soft cream, then attach small drawer pulls at measured heights. Use binder clips or mini clothespins on key rings to hold printed cards behind the pull. Create four labeled zones with colored twine (one color per season) and anchor the twine to two pegs per zone.
Pre-drill peg holes and use short screws — pegboards split if you force fasteners.
Don’t cram the pulls too close — leave at least 2 inches between card edges so photos read clearly.
5. Yarn + Photo Clip "Cozy Cloud" Corner
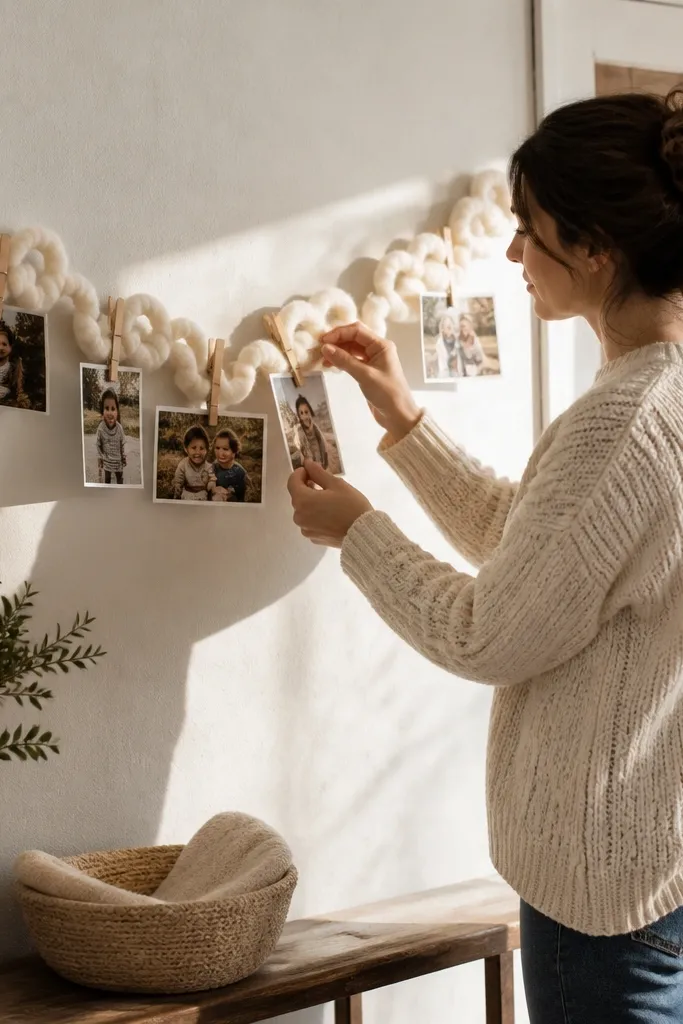
If you want cozy without a big board, build a corner display that frames your family photos like soft bunting. Use yarn in looping arcs and attach small clothespins so each photo looks like it’s floating. The yarn creates texture in photos, and the clothespins make swapping seasonal pics easy. Put this in an entryway or above a bench where you want the warmth to show up every day.
Pro tipUse matte yarn, not shiny craft cord, so it looks soft instead of plastic on camera.
Mount two small hooks on the wall and stretch yarn between them in a gentle arc, then add extra micro-hooks for clothespin points. Print photos in a consistent size (like 4x6 or 3x4) and attach with clothespins. Add a thin border string of faux greenery or ribbon at the outer edge to anchor the look.
AvoidSkip heavy paper clips — they cast sharp shadows and make the corner look harsh.
6. Shadow Box Moments With Fabric Backing
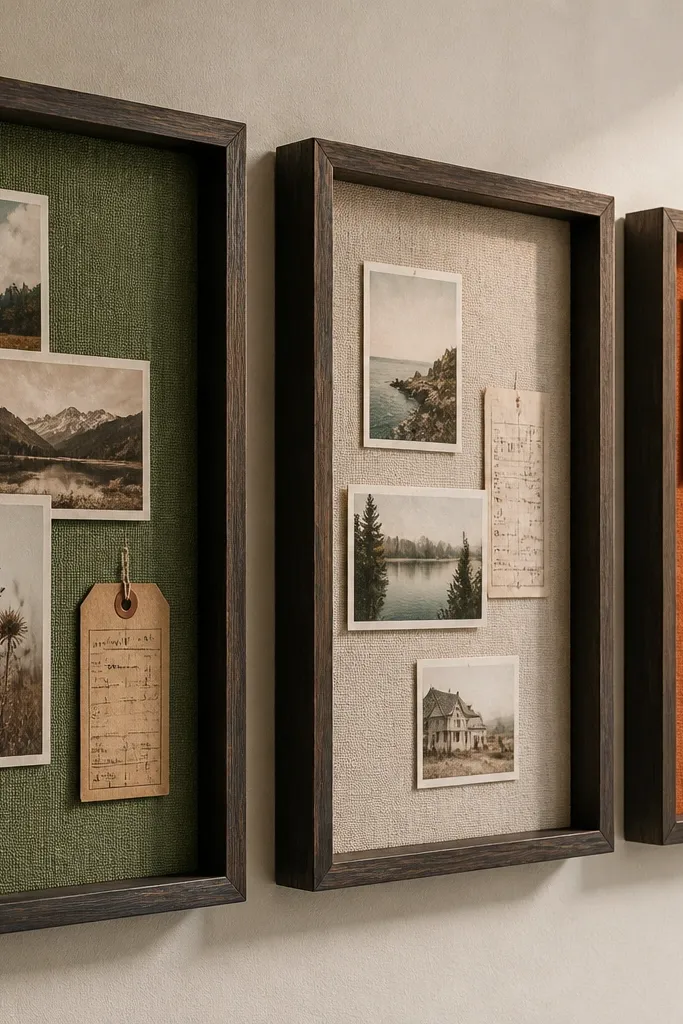
Shadow boxes keep your board cozy because you get depth and texture, not just flat paper. Use fabric as the backing so the color stays warm even when you swap items. Each box can represent a season or a family theme like “Firsts,” “Weather,” or “Weekend Traditions.” This works best for families who want a clean, gallery-like board that doesn’t get messy.
Pro tipUse clear archival sleeves for paper so edges don’t curl over time.
Pick shadow boxes with removable backs and measure the interior depth so you can control layer thickness. Cut fabric to fit the back panel and secure with hot glue around edges. Place one photo and one small upcycled item per box (ticket stub replicas, fabric scrap, or a tiny dried leaf in a sleeve), then seal the back so nothing falls out.
AvoidDon’t stack thick memorabilia on top of photos — it makes the box look lopsided.
7. Cork Board With "Season Swap" Tape Borders
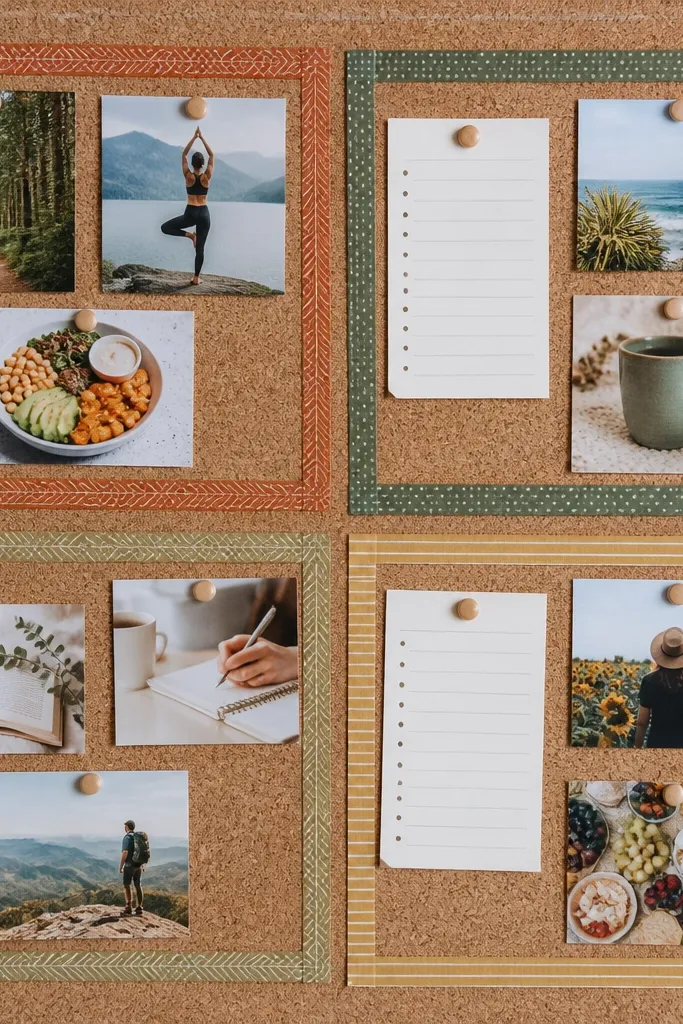
This is the practical cozy board that stays organized. Tape borders create defined zones for winter, spring, summer, and fall, so you can swap content without losing the layout. Choose warm tape colors that match your palette, and the board looks styled even when it’s mid-update. It’s ideal for families who add new photos frequently and want everything to stay in its place.
Pro tipUse removable painter’s tape for borders so you can change season zones without tearing cork texture.
Cover or clean your cork board, then use painter’s tape to outline four big rectangles — measure them so each zone is the same size. Press down the tape edges firmly to prevent lifting when you add pins. Add photos with push pins and use small label cards on the inside of each rectangle so the board reads quickly in photos.
AvoidAvoid making zones too small — crowded sections look chaotic in a single frame.
8. Patchwork Quilt Squares Vision Board Grid
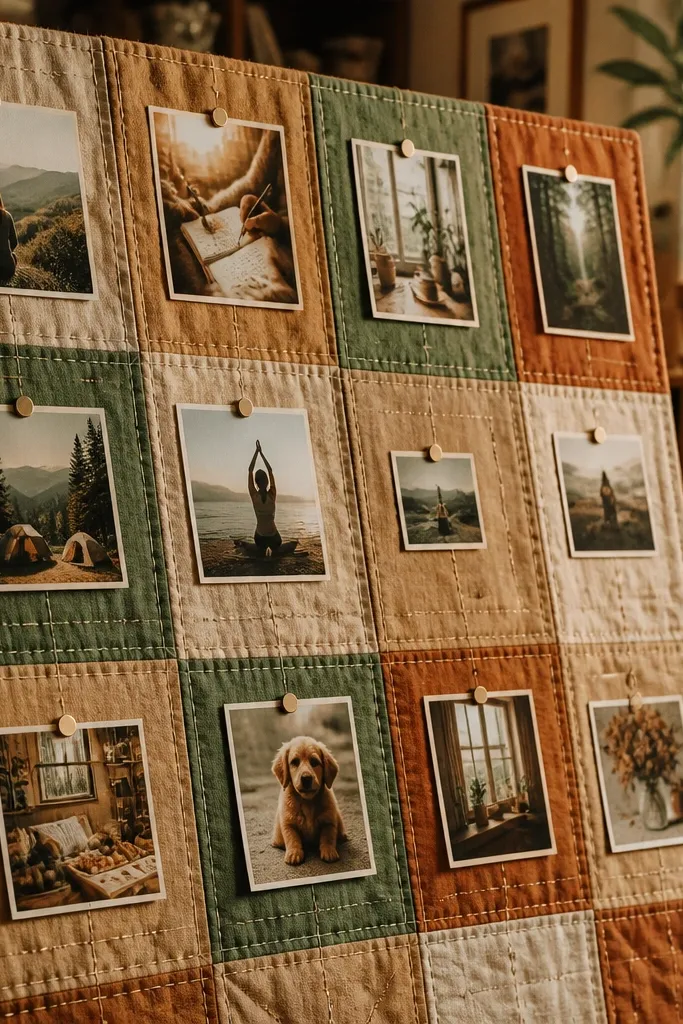
Patchwork looks cozy because it’s already visual texture. Build a board from fabric squares in cream, tan, rust, and muted green, then pin photo cards into each square like a quilt block. This gives you a year-round feel because the fabric colors don’t swing wildly with seasons. It’s a great option for a family who wants warmth and softness, not a rigid “poster” look.
Pro tipUse iron-on interfacing on the back of the fabric so it stays crisp when you move or photograph it.
Cut multiple fabric squares to the same size (like 6x6 inches) and arrange them on a backing board with a consistent seam allowance. Sew or glue the squares onto a felt or canvas backing to keep it flat. Add small pin-friendly corners or use fabric-covered foam squares so you can tack photos without damaging the fabric.
AvoidDon’t mix loud prints with tiny solids — it reads busy instead of cozy.
9. Upcycled Calendar Page Collage With Photo Frames
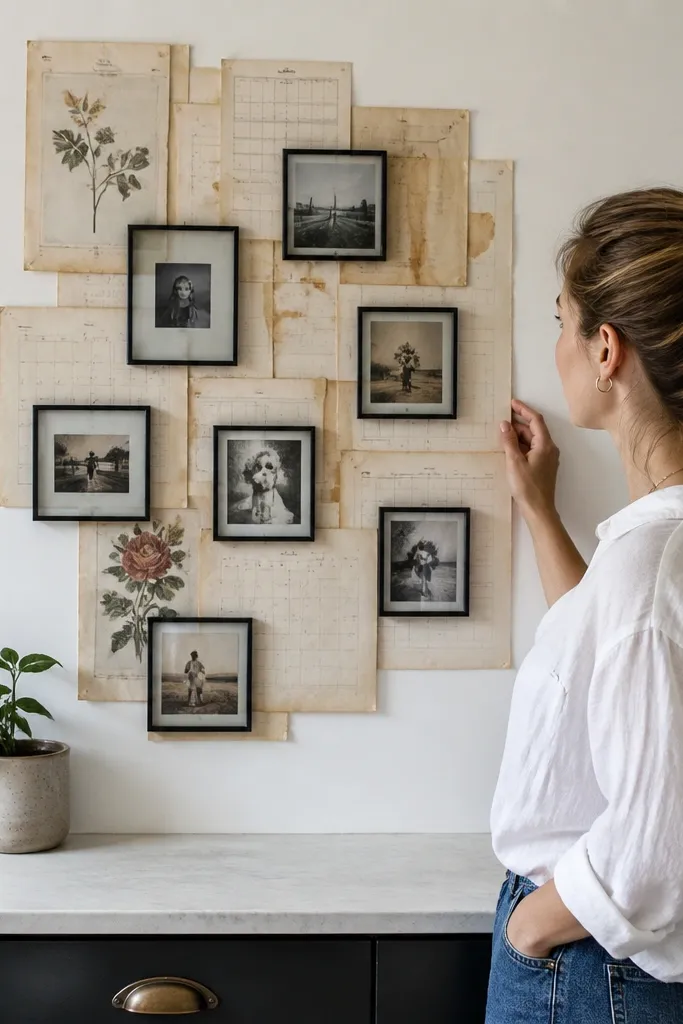
Old calendars have warm paper tones and built-in seasonal cues, so your board feels year-round without you trying too hard. Tear out months as background layers, then add small frames for photos and goals. The collage look is cozy because it has natural variation — no flat, empty areas. This works well in kitchens or family rooms where you want a board that looks like “decor,” not chores.
Pro tipUse a matte glue (like mod podge matte) sparingly over the collage so paper edges don’t lift.
Flatten old calendar pages and cut them into consistent strips or blocks. Glue them to a board in a patchwork layout, then press with a heavy book for 30 minutes so edges stay flat. Add small frame corners or mini frames made from cardboard and tape, then insert photos and label cards with short, warm text.
AvoidDon’t add too many different fonts on top — keep labels to one simple style.
10. Thrifted Tea Tins Mini Goal Stations
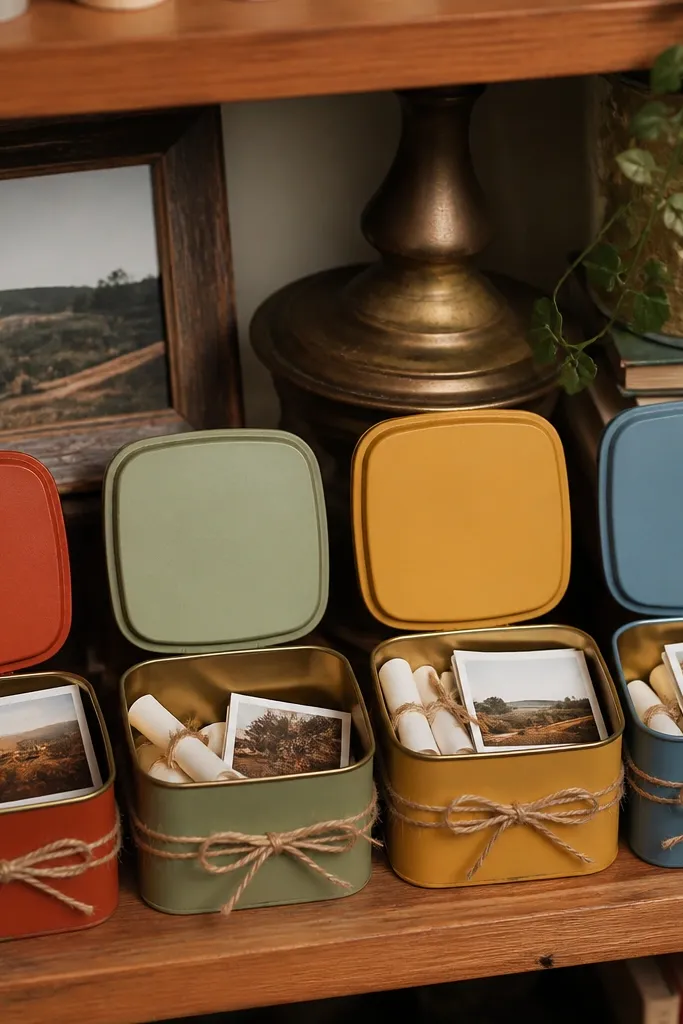
If you hate clutter but still want a vision board, this is the cozy workaround. Tea tins look warm on shelves, and each tin can hold a season’s notes, small photos, or printed “next steps.” Label the lids with one color per season and use twine bows so it looks styled. It’s great for families who want goals stored neatly, not pinned everywhere.
Pro tipUse a label maker for season names, then cover with clear tape so the ink doesn’t fade.
Clean and dry thrifted tea tins, then remove old labels with warm soapy water. Paint or seal if needed, using warm cream as the base and a deep color for season labels. Add a small photo card taped inside the lid and a larger photo card on the outside using removable adhesive tabs.
AvoidDon’t use glossy paint on tins — it looks shiny and less cozy in daylight.
11. Macrame Plant Hanger Board For Hanging Photos
Macrame adds softness and warmth instantly, and it photographs beautifully because it creates depth. Hang a macrame panel from a ceiling hook or a wall bracket, then attach small photo cards with clothespins or fabric ties. Tie seasonal fabric tags to each corner so the board reads by season at a glance. This is perfect for bedrooms, nurseries, and reading corners where you want calm cozy energy.
Buy or make a macrame panel with a flat back area, then mount it so it sits slightly above eye level. Print photos in consistent sizes and attach with small clips or fabric ties. Add four corner tags in fabric scraps and label them with simple season words using fabric paint or iron-on letters.
Iron fabric tags flat before tying so the folds don’t look rumpled in photos.
Avoid heavy cardstock tags — they droop and make the whole display look uneven.
12. Linen Curtain Pinboard Behind a Rod
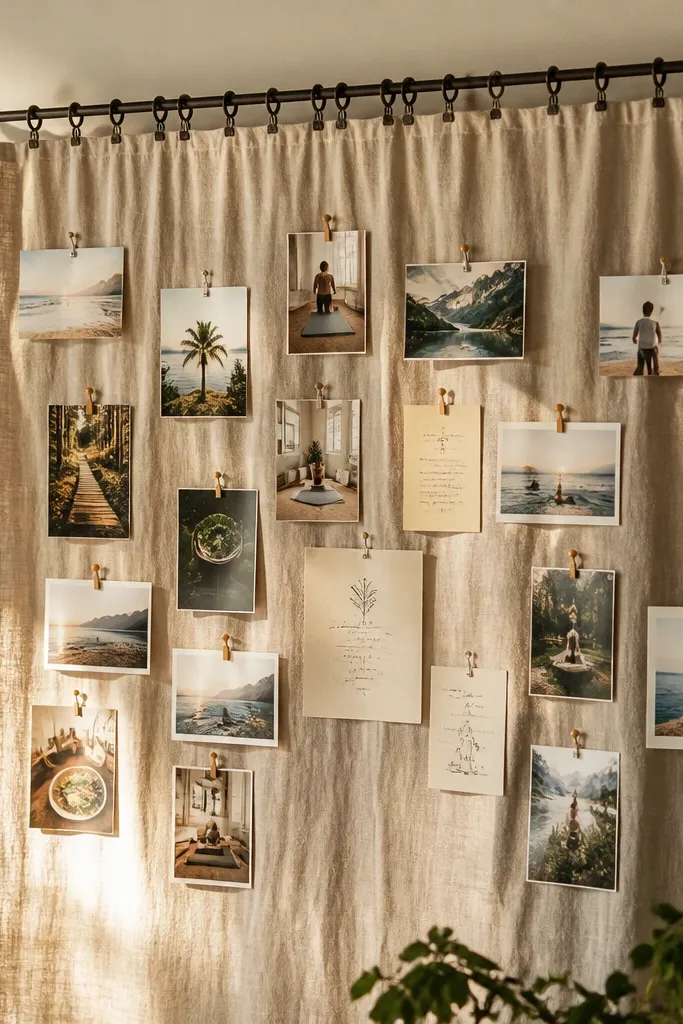
This is a cozy trick: turn a plain curtain into a vision board you can update without damaging your wall. The linen texture makes everything look warm, and the rod hides the messy back side of pins. Use it for family goals, weekly reminders, or seasonal photo swaps that need to look decorative all year. Place it behind a sofa or in a laundry area where you want warmth but don’t want a big board taking over.
Pro tipUse T-pins for linen so the holes stay tiny and don’t snag threads.
Stretch a stiff fabric backing (like canvas or felt) behind a linen panel and staple it to a lightweight frame or board. Hang the rod so the fabric panel sits flat, then pin photos with small pushpins into the canvas backing. Add a narrow strip of trim at the bottom edge and place small handwritten cards in a consistent spot.
AvoidSkip stretchy linen — it puckers and makes photo placement look crooked.
13. Wallpaper Strips With Cork Pin Lines
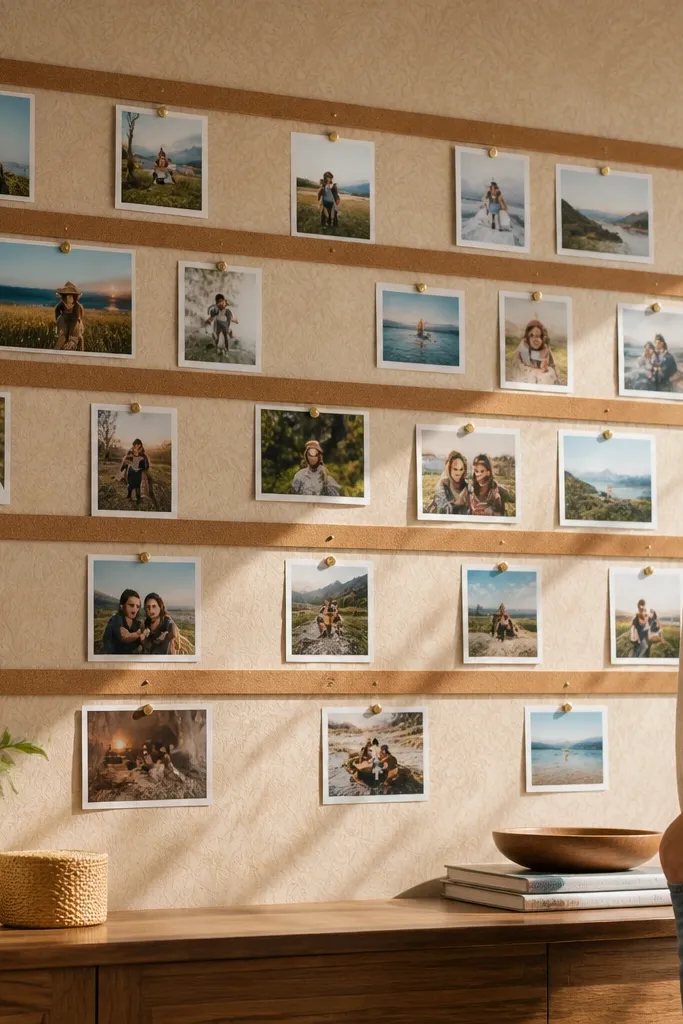
Wallpaper adds instant warmth, and cork strips keep the board functional. Use warm-toned wallpaper as the background, then mount narrow cork strips horizontally so you can pin photos along clean lines. This keeps your layout tidy, and the cork gives you a consistent surface for pins without tearing paper. It’s a good option for families who want a board that looks like decor, not school supplies.
Pro tipSpray a matte seal over cork edges so they don’t crumble where pins go in.
Pick one warm wallpaper pattern with muted colors, then cut it into panels sized for your wall section. Glue wallpaper onto a rigid backing board or directly to the wall if you can. Attach narrow cork strips in rows, then pin photos with consistent spacing and add tiny label cards at the ends of each row.
AvoidDon’t use metallic wallpaper — it reads flashy and less cozy.
14. Felt Garland Timeline With Year-Round Sections
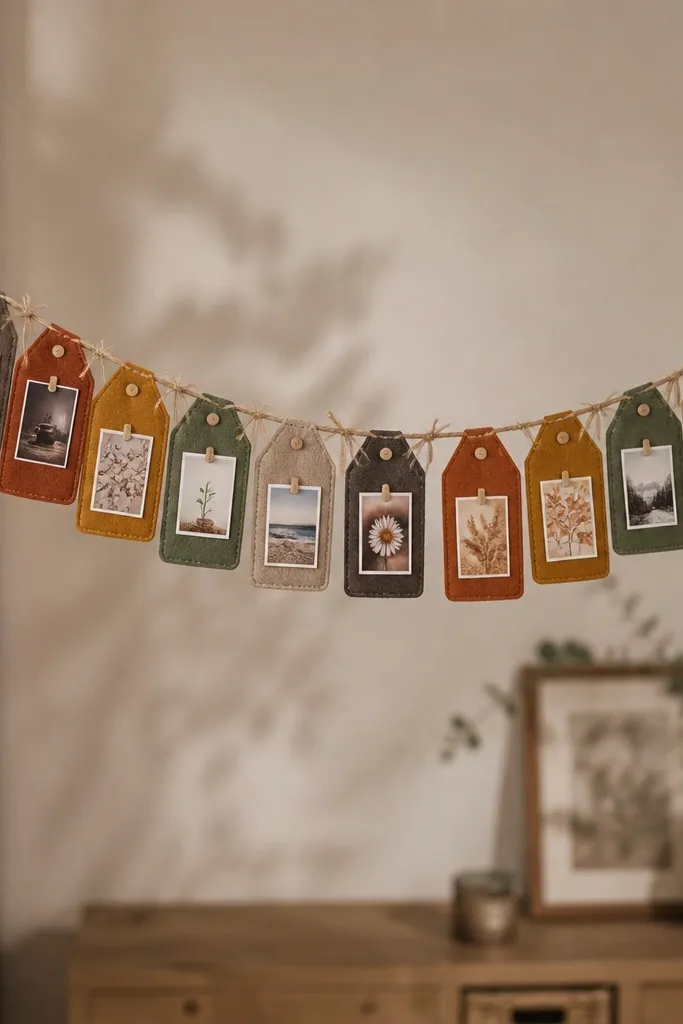
A felt garland timeline looks like craft-store cozy, but it’s also structured enough to stay readable. Create twelve small felt “months” tags and pin photos and notes under each one. You can swap seasonal images by grouping months into quarters or seasons, so the board stays coherent even when you’re behind. This works best for families who like seeing time laid out without needing a full planner.
Cut felt tags for months in a consistent size and color-code them by season (Winter blues, Spring greens, Summer warm neutrals, Fall rust). Stretch twine across two wall hooks and pin the felt tags along the line with small stitches or clips. Add photo cards using mini clothespins so you can rotate content without redoing the garland.
Write month names with fabric paint and let them dry flat under a book for clean edges.
Don’t mix too many felt colors — stick to 4 season colors plus one neutral.
15. Yarn-Wrapped Frame Collage For Family Goals
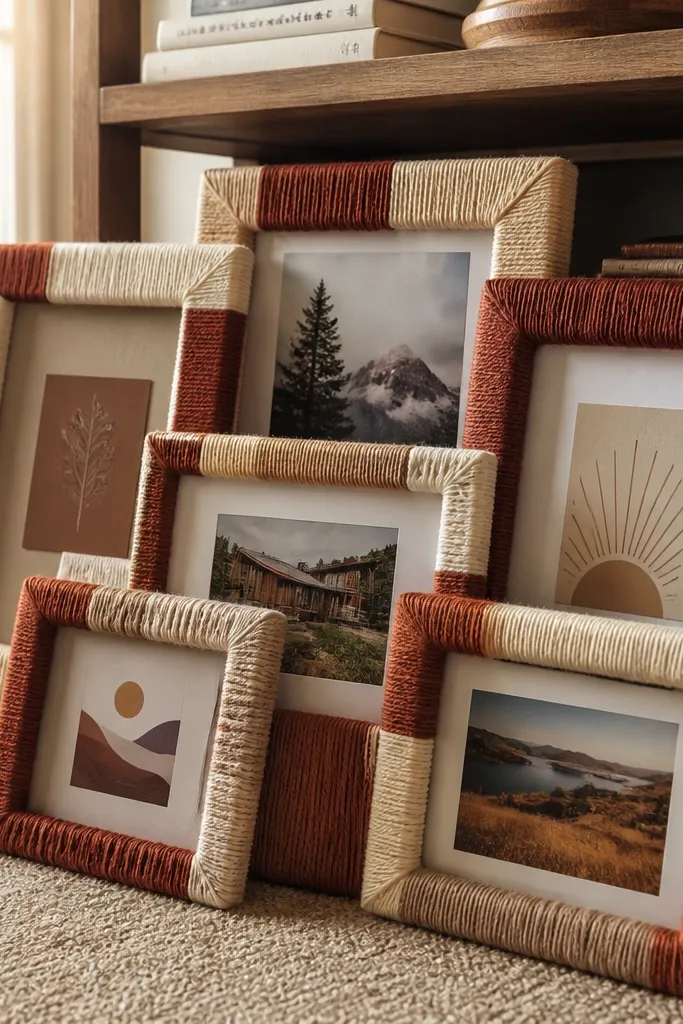
This idea makes your vision board look handmade, even if you’re just upcycling frames. Wrap thrifted frames with yarn in cream or rust, then add a collage of goal cards and photos inside. The yarn softens edges and hides imperfections from mismatched frames. It’s a cozy choice for living rooms because it looks like wall decor first, and “vision board” second.
Pro tipUse thicker yarn for the outer wrap and thinner yarn for the inner border so the layers read clearly.
Remove glass if it’s heavy or reflective, then wrap frame edges with yarn using hot glue in small sections. Add a felt backing or thin cork inside so you can pin or slide in photo cards. Arrange frames in a grid and use one consistent photo size per frame to keep it photogenic.
AvoidSkip glitter yarn — it catches light and looks less warm.
16. Polaroid-Style Envelopes On a String Line
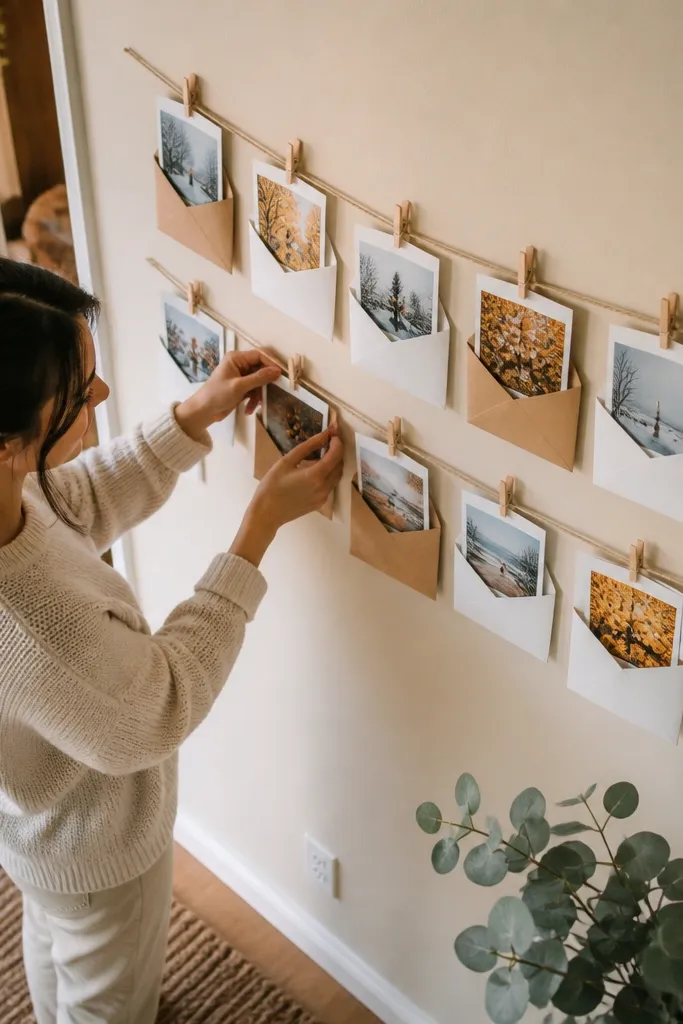
This one has that cozy, casual feel because photos look like they’re being mailed to the future. Use small envelopes as photo holders and hang them on a twine line with clothespins. Label each envelope with a season or family theme, and slide in prints whenever you update. It’s ideal for families who want year-round rotation without cluttering a wall with big frames.
Pro tipAdd a tiny strip of fabric tape at the envelope flap edge to tie the season palette together.
Make or buy small paper envelopes and reinforce the top flap with tape so it holds shape. Cut a twine line to fit your wall space and anchor it with two hooks. Clip envelopes to the twine with mini clothespins, then insert photos printed with a consistent polaroid border size.
AvoidDon’t use random photo sizes — mismatched prints make the line look messy.
17. Fabric Scrap "Mood Tiles" On Foam Board
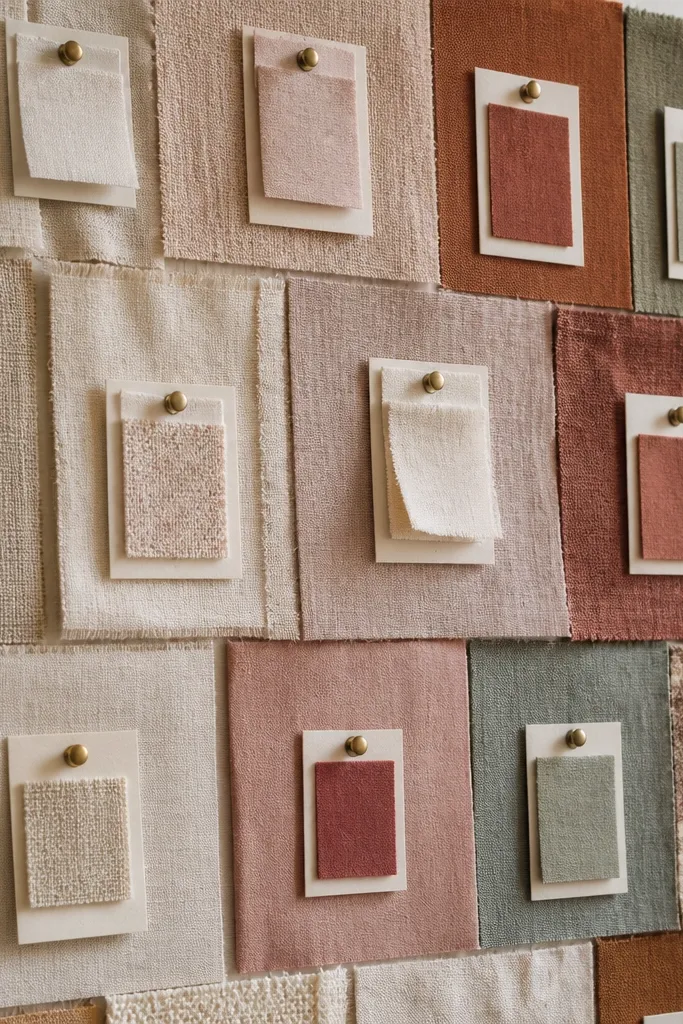
Mood tiles are cozy because they mix texture and color in small, controlled patches. Build a foam board with fabric scraps arranged like tiles, then pin small cards for family intentions, weekly habits, or seasonal reminders. The fabric gives warmth year-round, while the cards let you update quickly. This is a great option for a family room corner where you want soft visuals that don’t feel like homework.
Pro tipUse a fabric-safe spray adhesive for cleaner edges than hot glue on felt.
Cut foam board to your preferred size and cover it with a base layer of neutral felt. Arrange fabric scraps in a tile grid and glue them down with fabric-safe adhesive. Pin or tack small cards into each tile using mini push pins, keeping card sizes identical for a uniform look.
AvoidDon’t pin directly into thin fabric — it stretches and warps the tile layout.
18. Upcycled Picture Frame Clipboard Hybrid
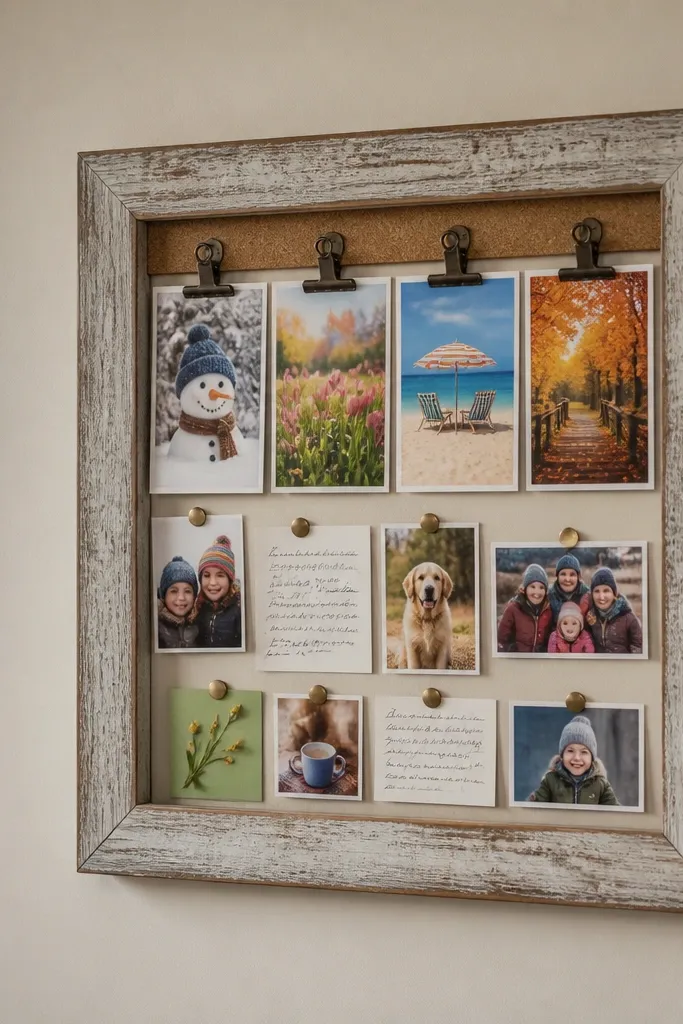
This is cozy and functional because it looks like wall art but updates like a checklist. Turn an upcycled frame into a clipboard by attaching a backing board and using a clip rail inside. Add photos and handwritten cards in small clusters, then rotate seasonal pieces while keeping the layout stable. It suits families who want goals visible but also want a tidy, “one glance” structure.
Pro tipUse a matte finish on any board surface so ink and photos don’t look shiny in photos.
Remove the glass and backing from a frame and replace with a thin sheet of cork or foam board. Attach a small clip rail or binder clips along one side for quick swaps. Pin photos with push pins, then add handwritten note cards using a consistent font style and warm ink color.
AvoidDon’t overcrowd the frame — leave empty space so the cozy look stays breathable.
19. Mini Pegboard With Hanging Gift Tags
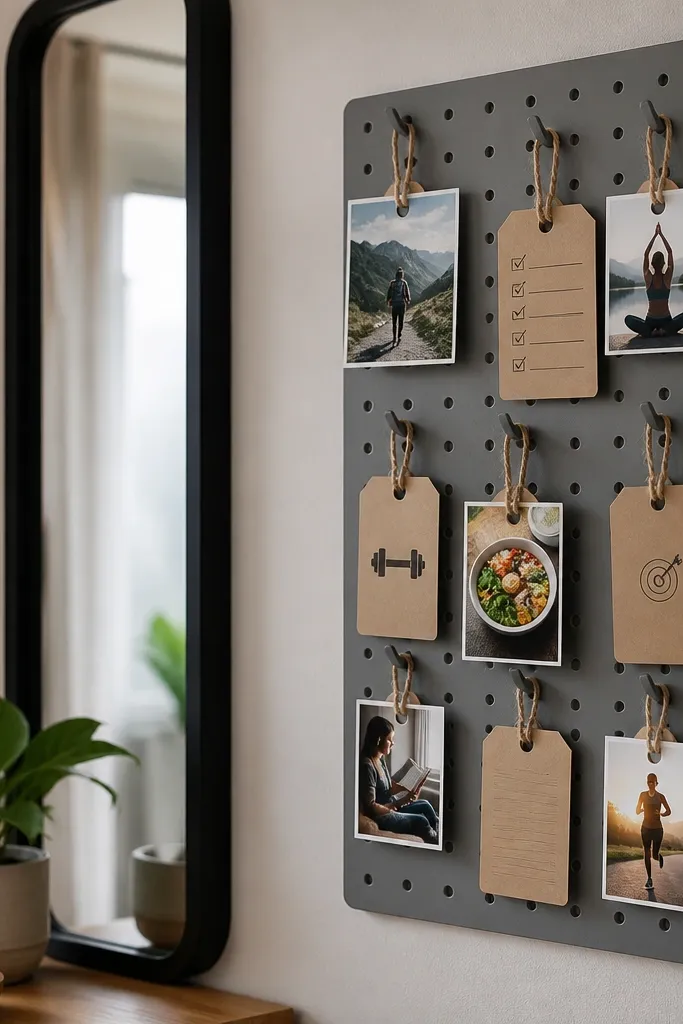
This gives you a cozy “present all year” vibe that still reads as a plan. Use a small pegboard mounted on a wall or cabinet side, then hang gift-style tags with twine. Each tag can hold a photo, a goal, or a seasonal activity list, and the tag format makes updates quick. It’s perfect for entryways where families pass by and need reminders without digging through papers.
Pro tipUse hole-punch reinforcement rings on tag holes so they don’t tear after repeated swaps.
Mount a small pegboard and paint it cream or warm white. Insert pegs or hooks and hang tags using twine, spacing tags evenly so they don’t tangle. Add a consistent tag layout: one photo side, one short line of text, and one season label color at the top.
AvoidSkip long, heavy tags that pull the twine down — it makes the display look droopy.
20. Candle Jar Label Board For Family Traditions
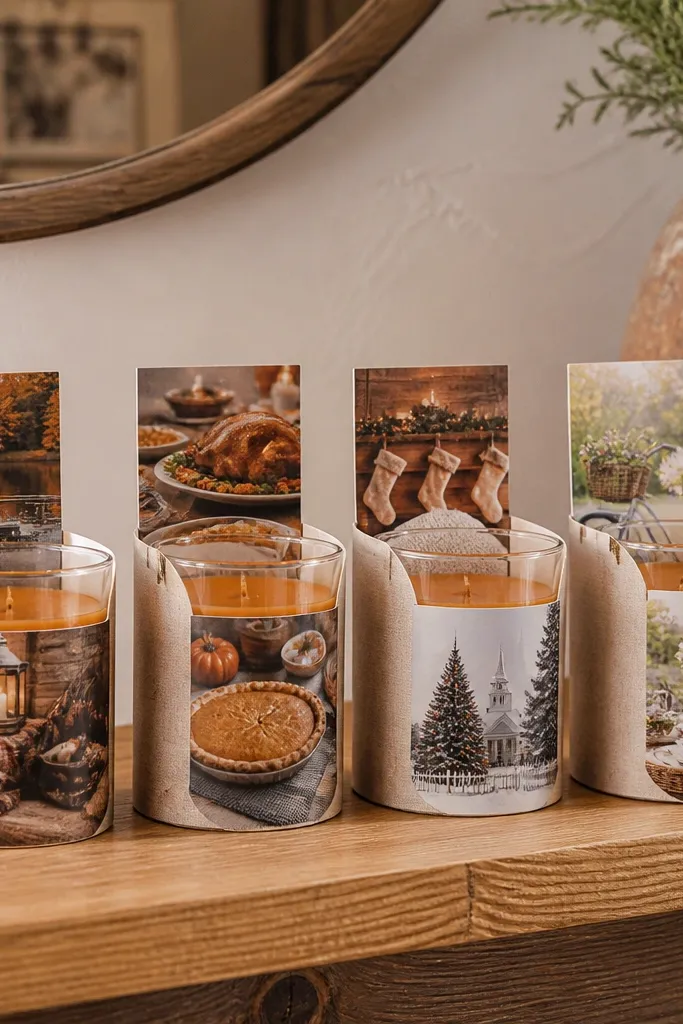
This is cozy because it uses everyday objects that already look warm. Put a row of clean candle jars or small glass containers on a shelf, then print labels for family traditions and seasonal rituals. Add mini photo slips behind the jar label or tuck them into a clear sleeve on the jar front. The board effect comes from the repetition of labels and the soft glass — your family sees the plan without a big wall project.
Clean jars thoroughly and remove residue so labels stick flat. Print season labels and tradition names in one simple style, then apply them to jar fronts with removable label tape. Add tiny photo slips in clear sleeves on the front so you can swap seasonal images without removing the label each time.
Use matte label stock, not glossy, so light doesn’t glare off the jars in photos.
Don’t use too many fonts across labels — keep one style so the shelf looks intentional.
21. Laminated Fabric Bookmarks As Photo Sliders
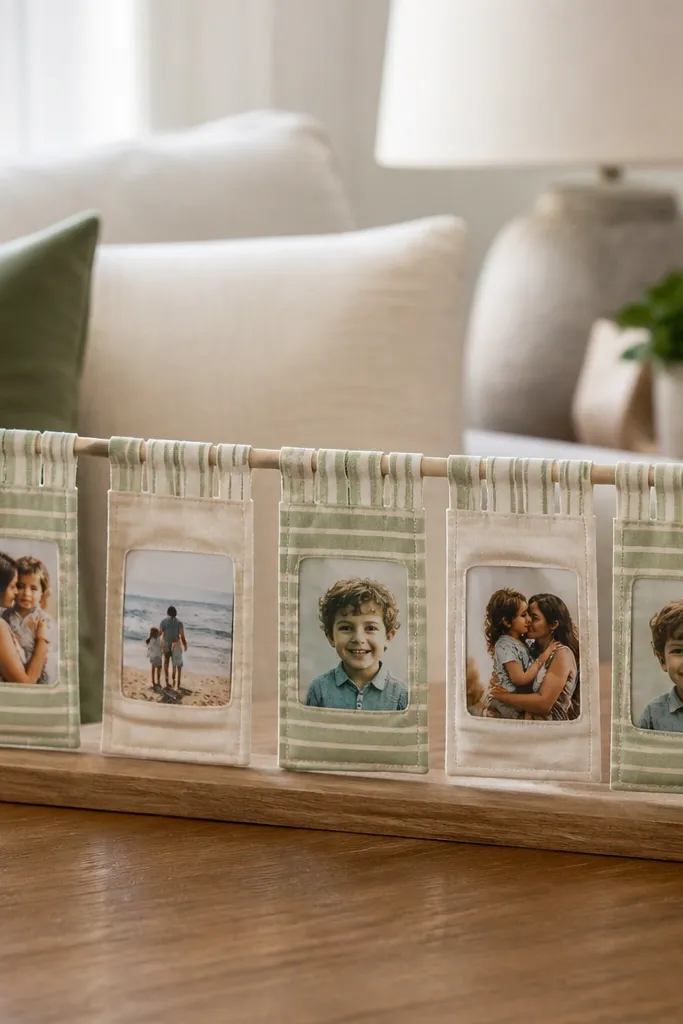
Bookmarks look cozy because they’re small, familiar, and soft. Turn laminated fabric bookmark pockets into photo sliders on a string line or shelf rail. Each pocket holds a photo and a tiny caption card, and you can rotate seasons by swapping only the inserts. This works well for families who read together and want the vision board to feel like part of that routine.
Pro tipUse Velcro dots on the back of the photo card, not the front, so it stays clean in pictures.
Sew or glue small fabric pockets onto a strip of felt so they stay flat and consistent. Add a simple rail using a picture ledge or two wall hooks with twine. Slide laminated photo cards into pockets and secure with a small Velcro dot so the card doesn’t slip when you swap inserts.
AvoidDon’t laminate photos too thick — thick cards won’t slide smoothly into pockets.
22. Washi Tape Frame Collage On Cork Tiles
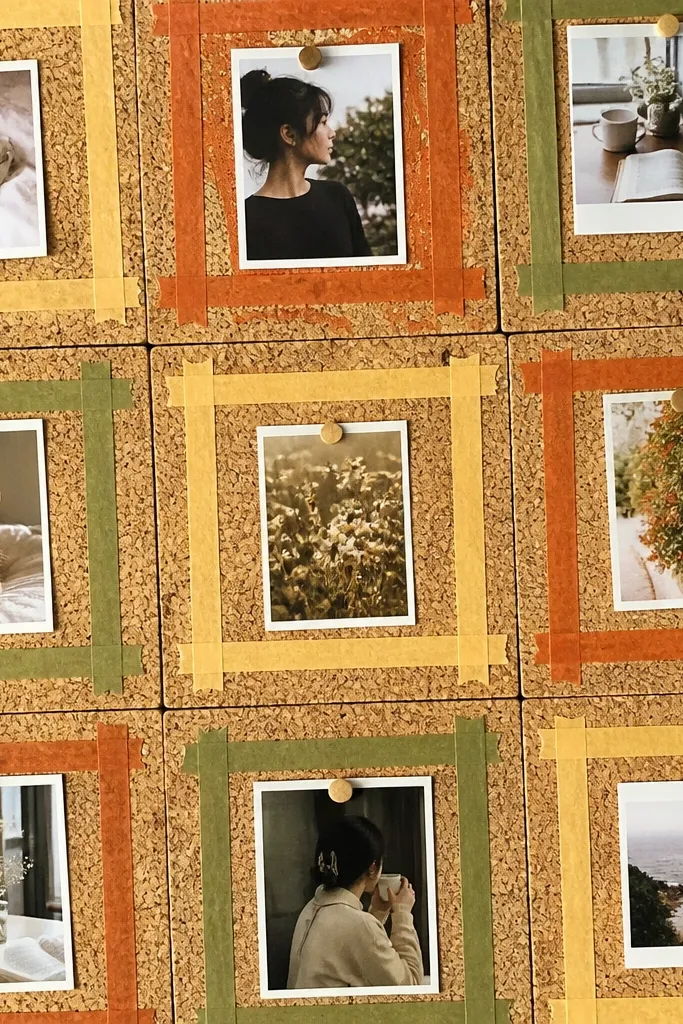
Washi tape makes a board feel cozy because it adds color without covering up textures. Use cork tiles as the base, then outline mini frames with washi tape in your warm palette. Pin photos inside each tape frame so the arrangement stays neat even when you rotate content. This is a great choice for families who want lots of small “moments” rather than one big photo.
Pro tipUse one tape width for frames and a thinner tape for labels so it looks intentional.
Cut cork into tiles and mount them as a grid on a backing board or directly on the wall. Outline photo areas with washi tape, keeping each frame the same size for easy swapping. Pin photos into the cork under the tape borders, then add small paper label tags with the same tape colors.
AvoidAvoid layering washi tape too many times — it creates thick edges that peel off.
23. Tabletop Vision Board On Reclaimed Mantel Planks
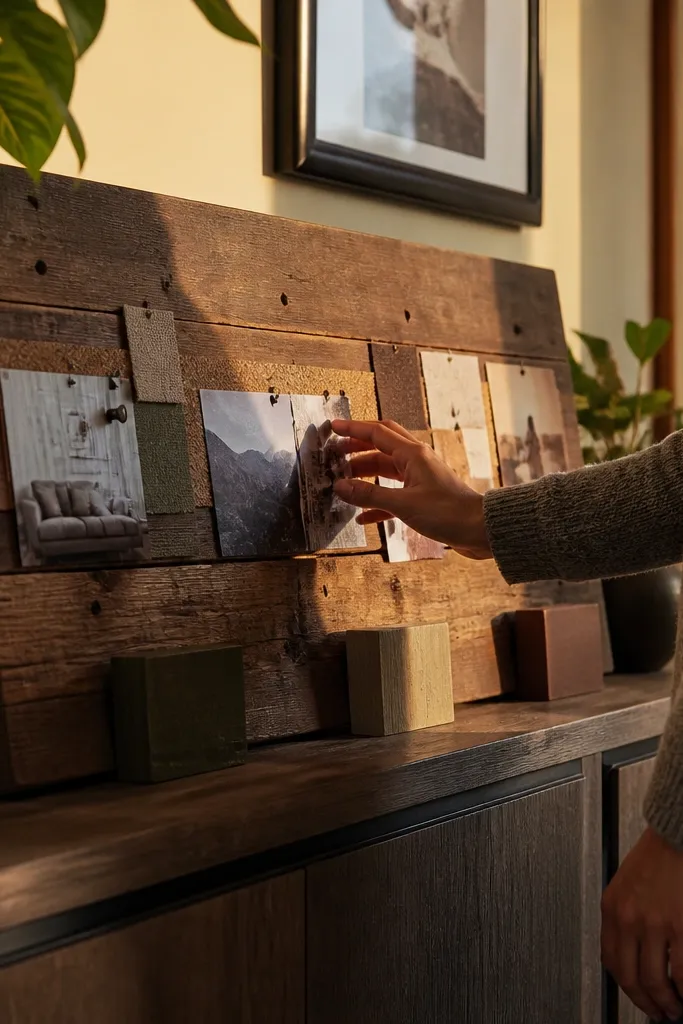
A tabletop board stays cozy because it sits at the family’s daily eye level and looks like decor. Use reclaimed mantel planks, sand them lightly, and attach a cork strip or fabric panel for pinning photos. Add small photo blocks made from upcycled packaging with labels for seasons. This is a strong option for families who want year-round vision board updates without mounting anything high on the wall.
Pro tipFinish wood with a matte clear coat so it looks warm, not glossy.
Sand reclaimed planks and wipe dust off with a damp cloth, then let dry fully. Attach a cork strip or felt panel along the plank top edge using wood glue and clamps or heavy tape. Pin photos with push pins, then place small upcycled blocks around the cork strip as “season markers.”
AvoidDon’t skip sanding grit — rough wood snags tape and makes the board look unfinished.
24. Torn Paper Snow-To-Leaf Transition Board
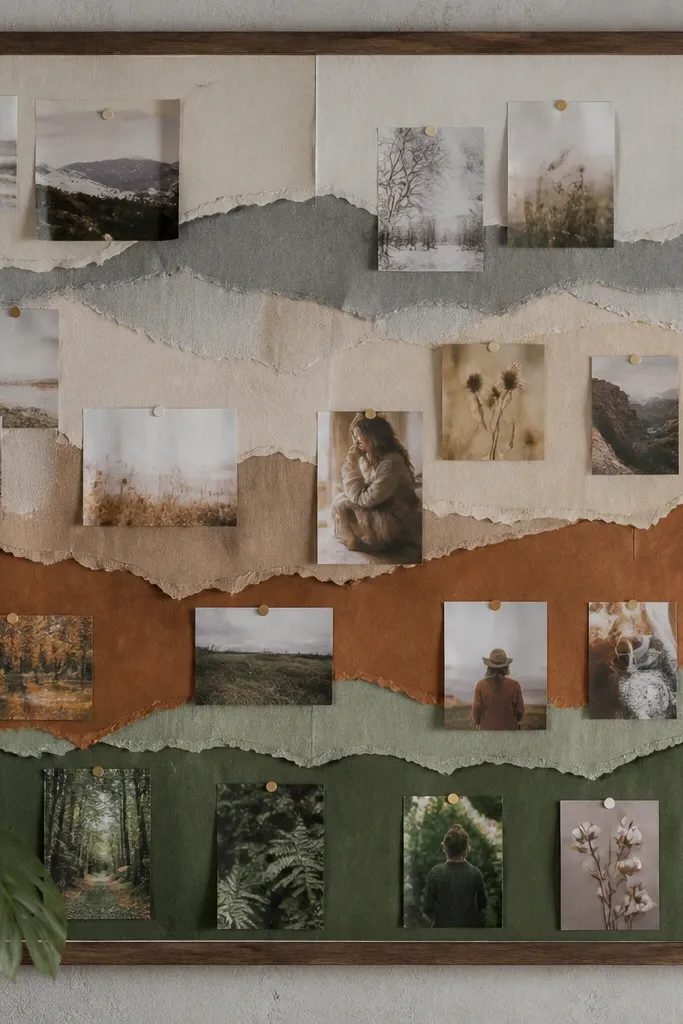
This board is cozy because it visually transitions through the year even when you don’t swap everything. Use torn paper layers that go from pale cream and gray for winter to warm tan, rust, and muted green for spring, summer, and fall. Pin photos on top of the torn edges so the paper acts like a soft background. It’s perfect for families who want a year-round theme that doesn’t feel repetitive.
Pro tipUse matte adhesive so torn edges don’t look shiny and plastic.
Create a base gradient with torn paper strips on a board, starting with light tones at the top and moving darker warm tones downward. Glue the torn edges so they lift slightly for texture, then press under a book until dry. Pin photos in the center area and add small label cards that match the paper color at that spot.
AvoidDon’t make the gradient too sharp — harsh lines look more craft project than cozy decor.
25. Cozy Window Sill Photo Windows With Magnetic Fabric Letters
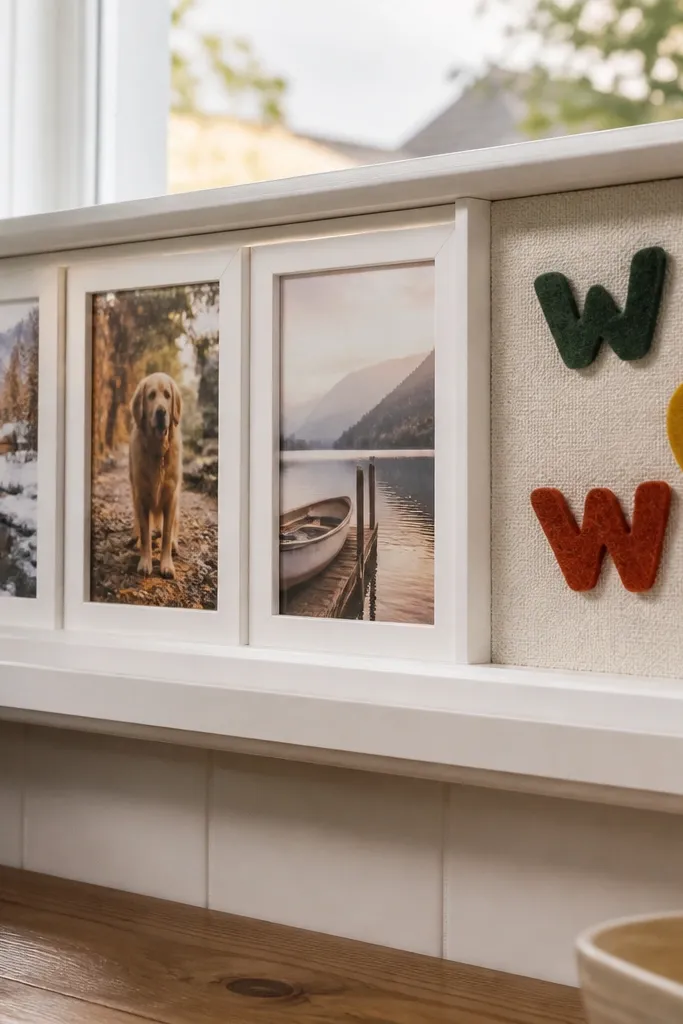
This one makes the vision board feel like decor, not a craft project. A window-sill style frame gives you that cozy “home” look, and the magnetic fabric letters let kids swap goals without tearing paper or re-gluing everything. It fixes the usual problem with family vision boards — the board gets messy after a few weeks because the “change” part is too hard. Use warm neutrals, soft fabric pockets, and chunky letter shapes so the whole thing reads warm from across the room. It takes about 2 to 3 hours for a single board and works best in a hallway, breakfast nook, or bedroom where you want constant visual reminders.
Pro tipUse 2-layer felt for letters so they look thick and soft, even from close up. If you want the board to survive spills, seal only the painted backing and trim, not the felt pieces.
Cut a backing board from 1/2-inch plywood or MDF to 24 inches wide by 10 inches tall, then sand the edges and wipe dust off. Paint it in a warm cream or greige (matte interior paint), and add a 1x2 trim strip on the front edges so it looks like a shallow window sill. Create three “window” openings using thin strips of wood or foam board frames (about 7 1/2 inches wide each) and staple a sheer white curtain panel behind each opening; then secure small fabric photo holders inside with a few hidden stitches or fabric glue dots. Make magnetic letters by cutting felt letter shapes (3 inches tall) and hot-gluing a thin magnetic sheet or magnet backing to the back of each letter; stick them above the windows to label the family goals and swap them weekly. Finish by sealing the painted areas with a water-based matte clear coat, and keep magnets away from tiny kids who still put things in their mouth.
AvoidAvoid using glossy paint or thin craft magnets that slide — you want matte walls and magnets that hold firmly.



