
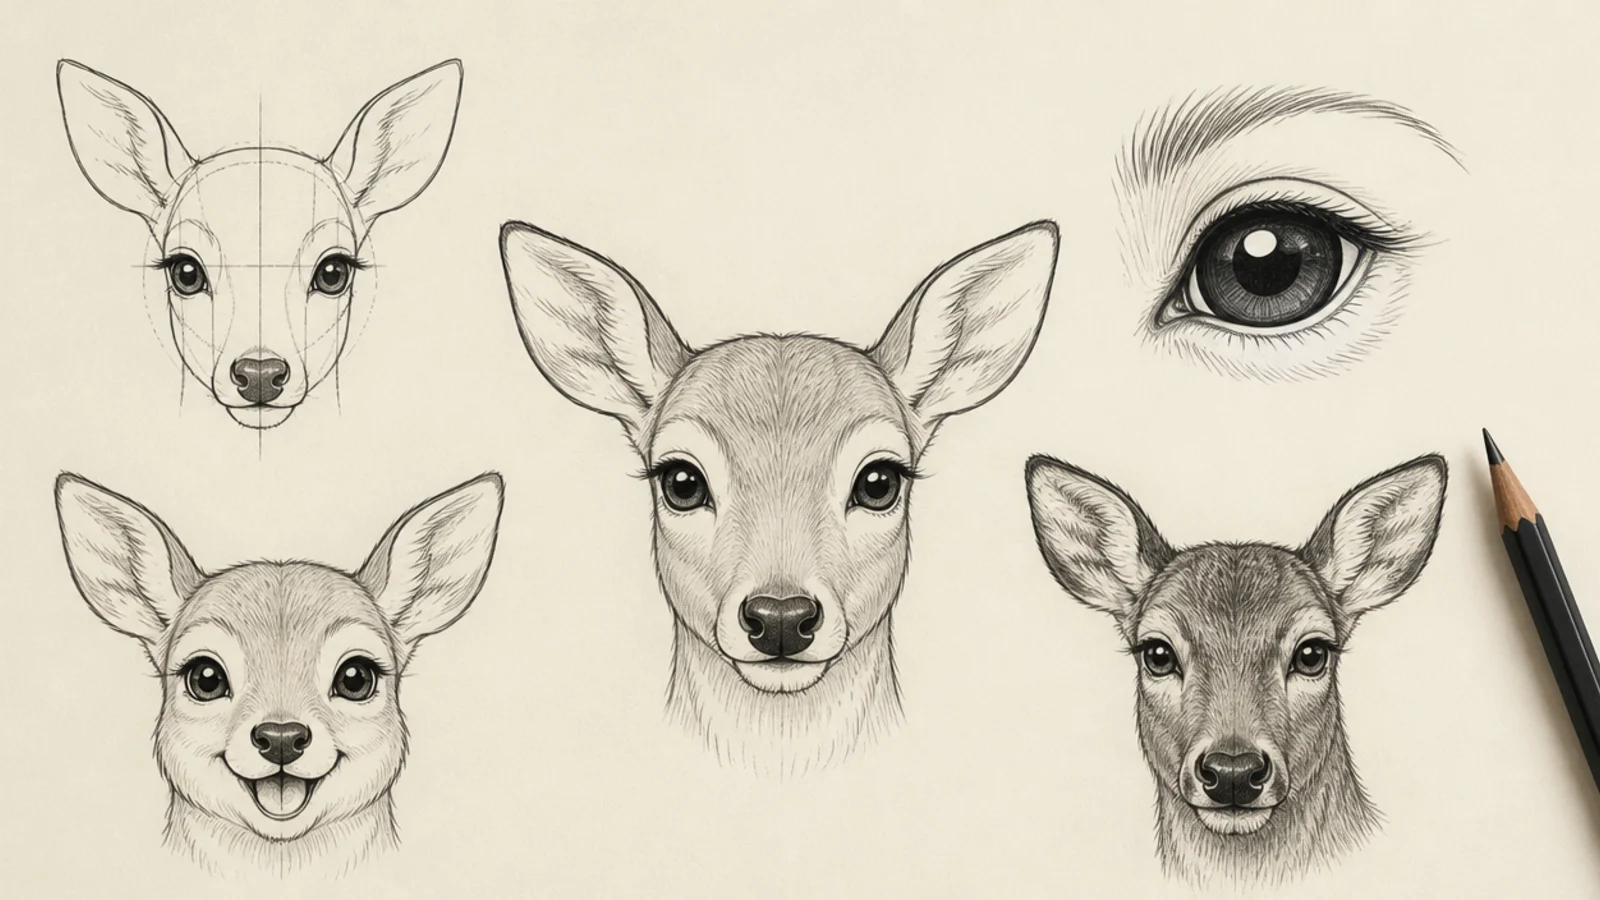
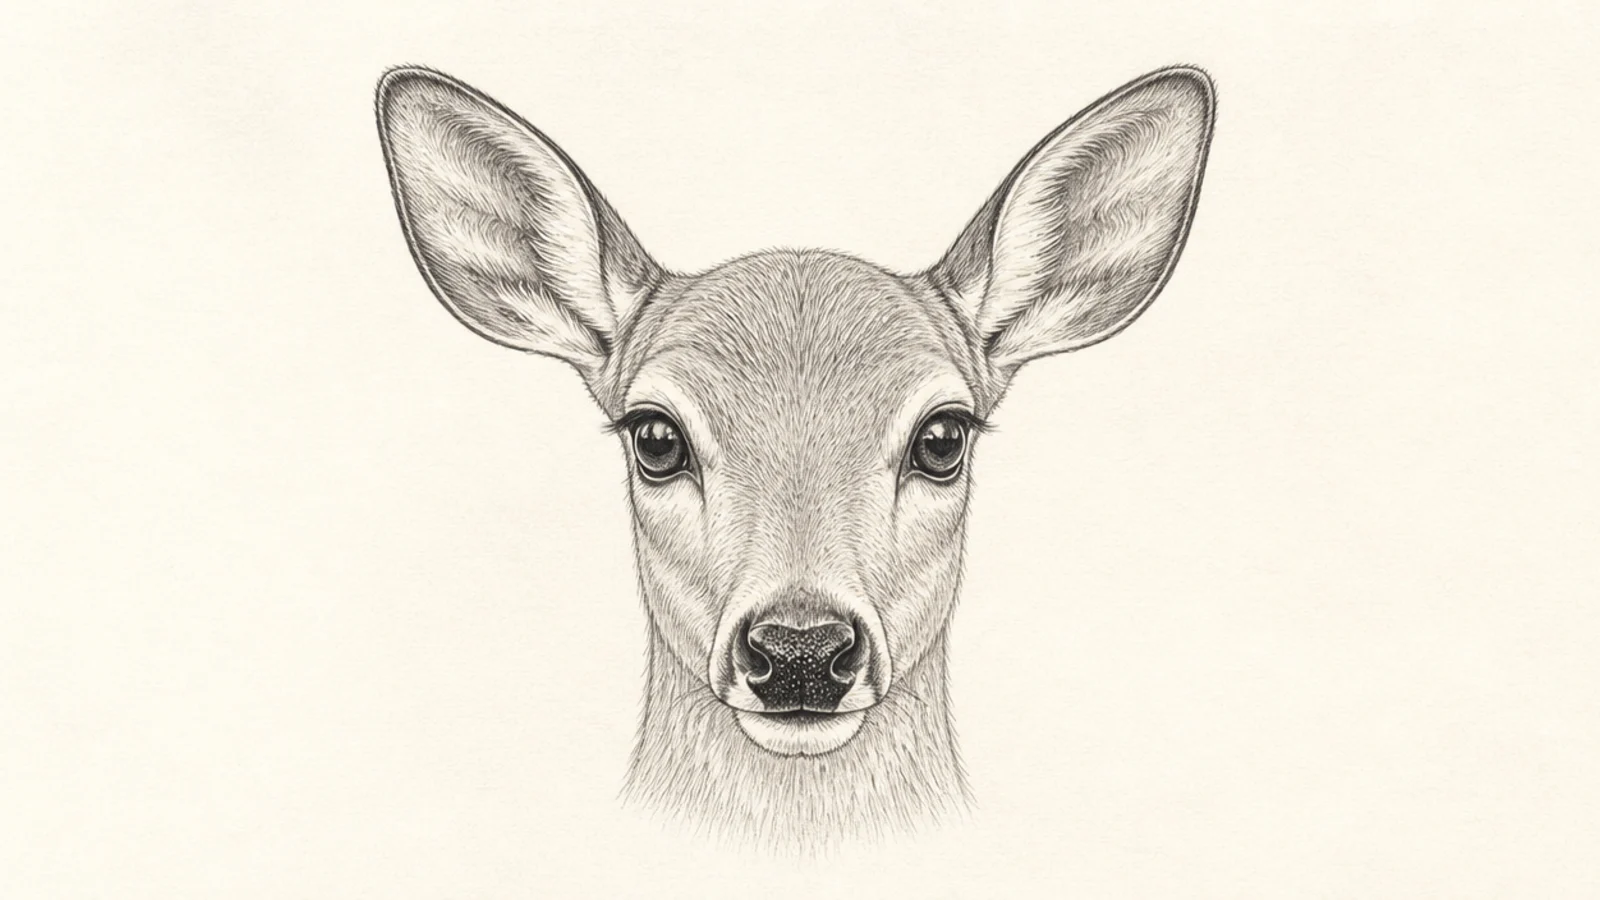
1 Basic Front Face With Guides
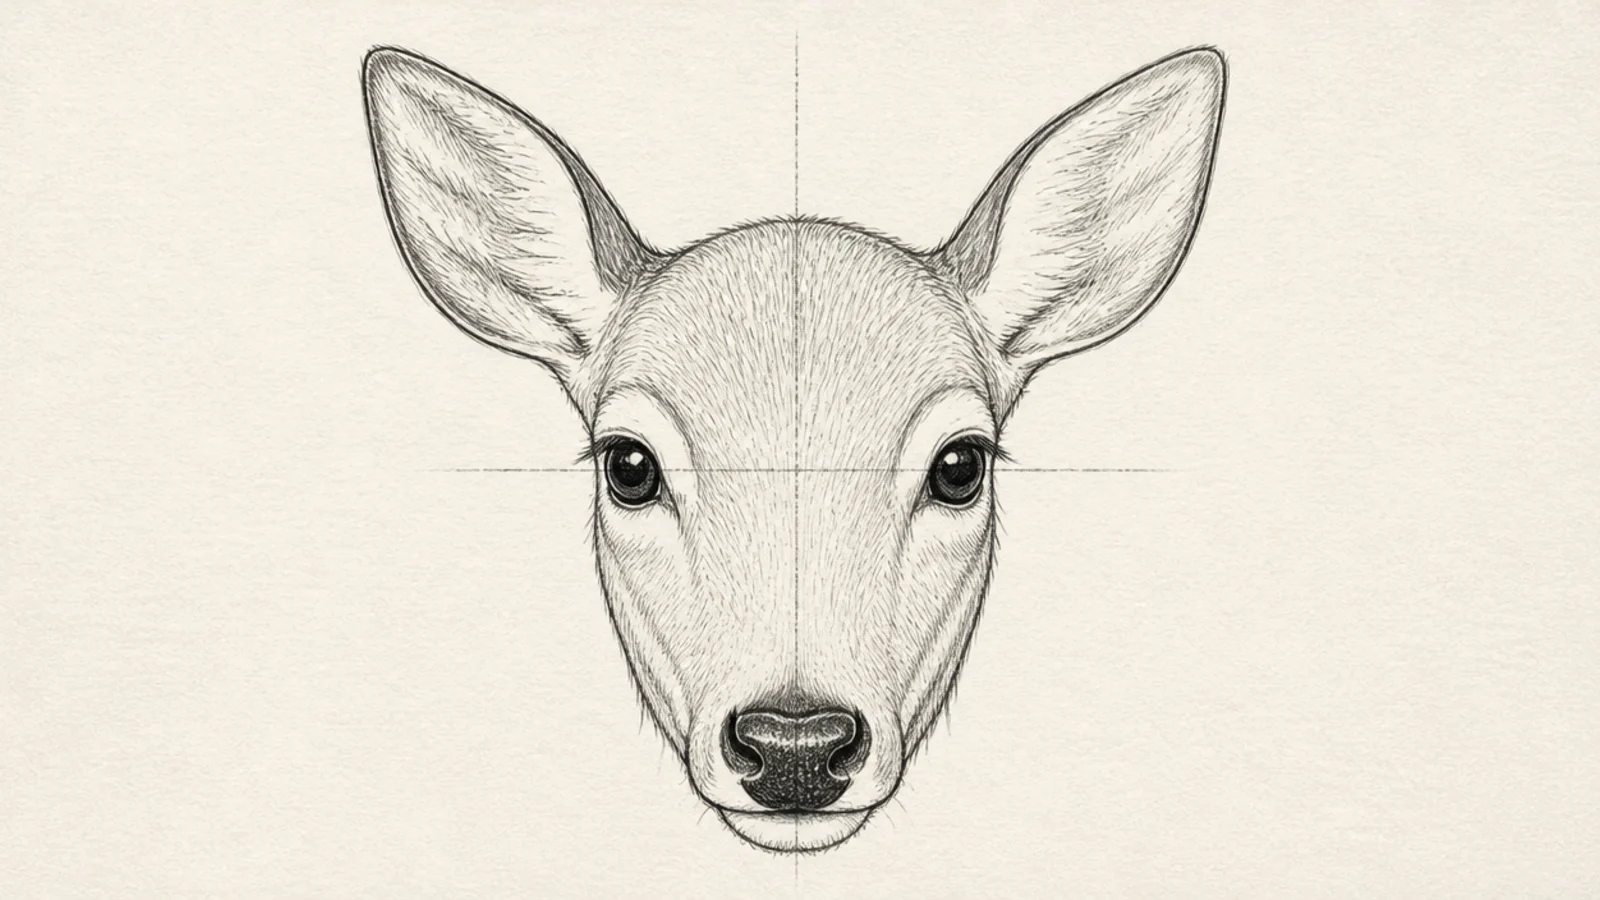
The basic front face built on a center cross is the foundation for every other face here. The visible guides show exactly where features go. It is the perfect first face.
Step 1 draw a rounded shield shape. Step 2 add a vertical center line and a horizontal eye line. Step 3 place the eyes on the sides, the nose at the bottom, and the ears above.
Pro tipKeep the center cross light so you can place features accurately then erase it.
AvoidDon’t skip the guides; the cross is what keeps the face balanced.
2 Deer Eye Study
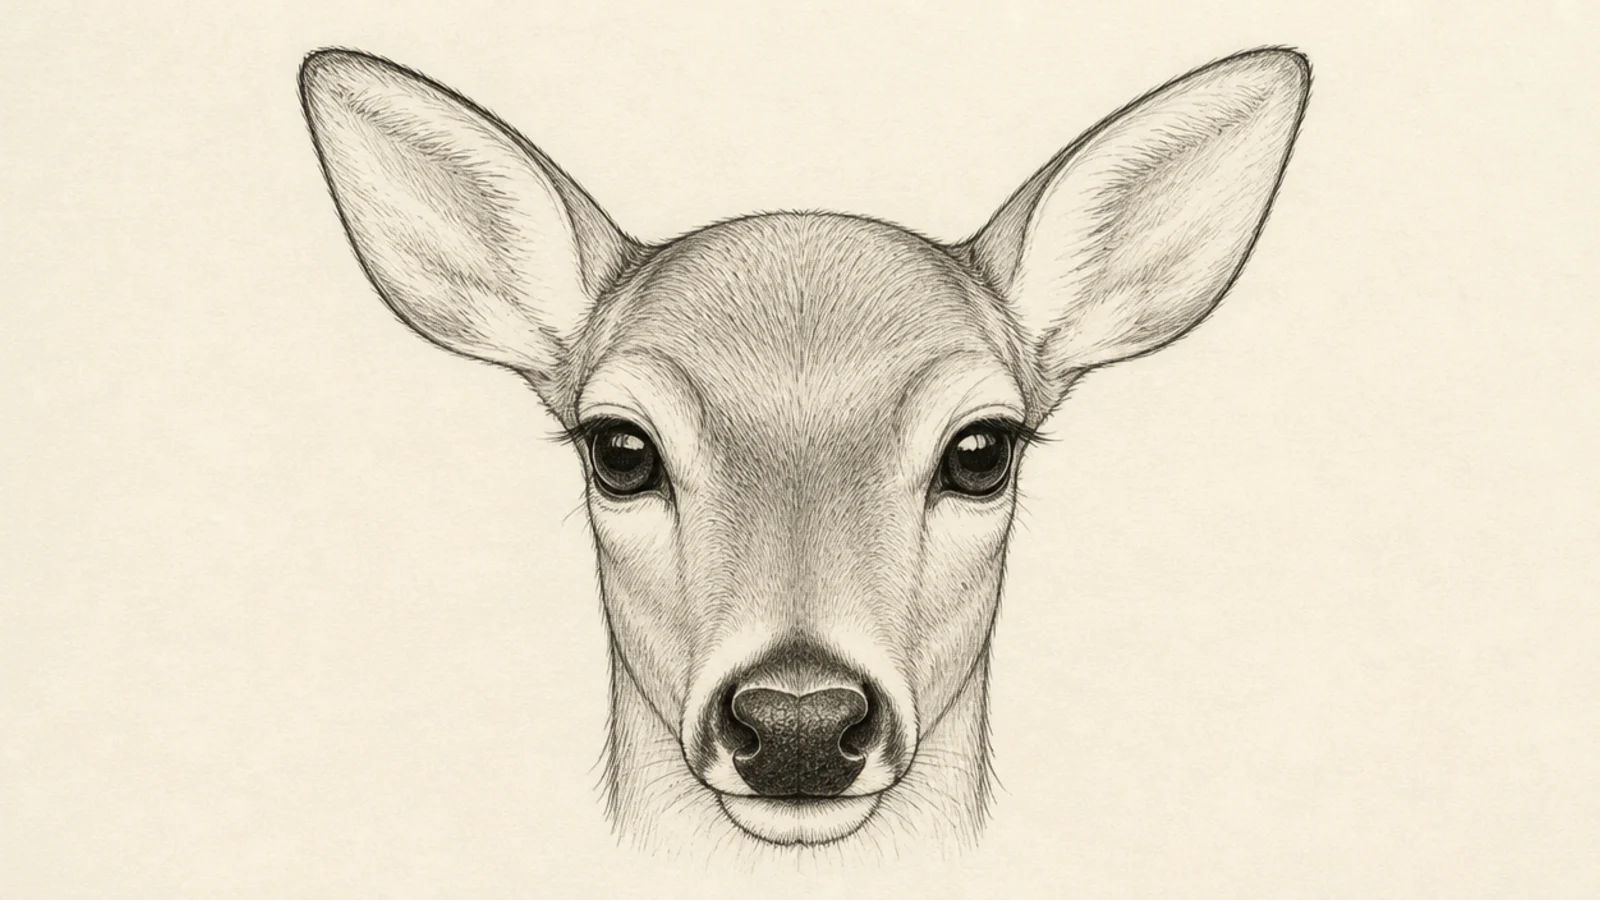
An eye study isolates the almond deer eye so you can master its gentle look. The eyes carry the whole expression, so this is worth practicing. It is a focused feature sheet.
Step 1 draw an almond shape with a heavier upper lid. Step 2 fill the iris dark, leaving a white highlight. Step 3 add short lashes and a soft shadow above the eye.
Pro tipPlace the highlight where the light hits so the eye looks wet and alive.
AvoidDon’t outline the eye harshly; a soft lid keeps the gentle deer look.
3 Deer Nose Study
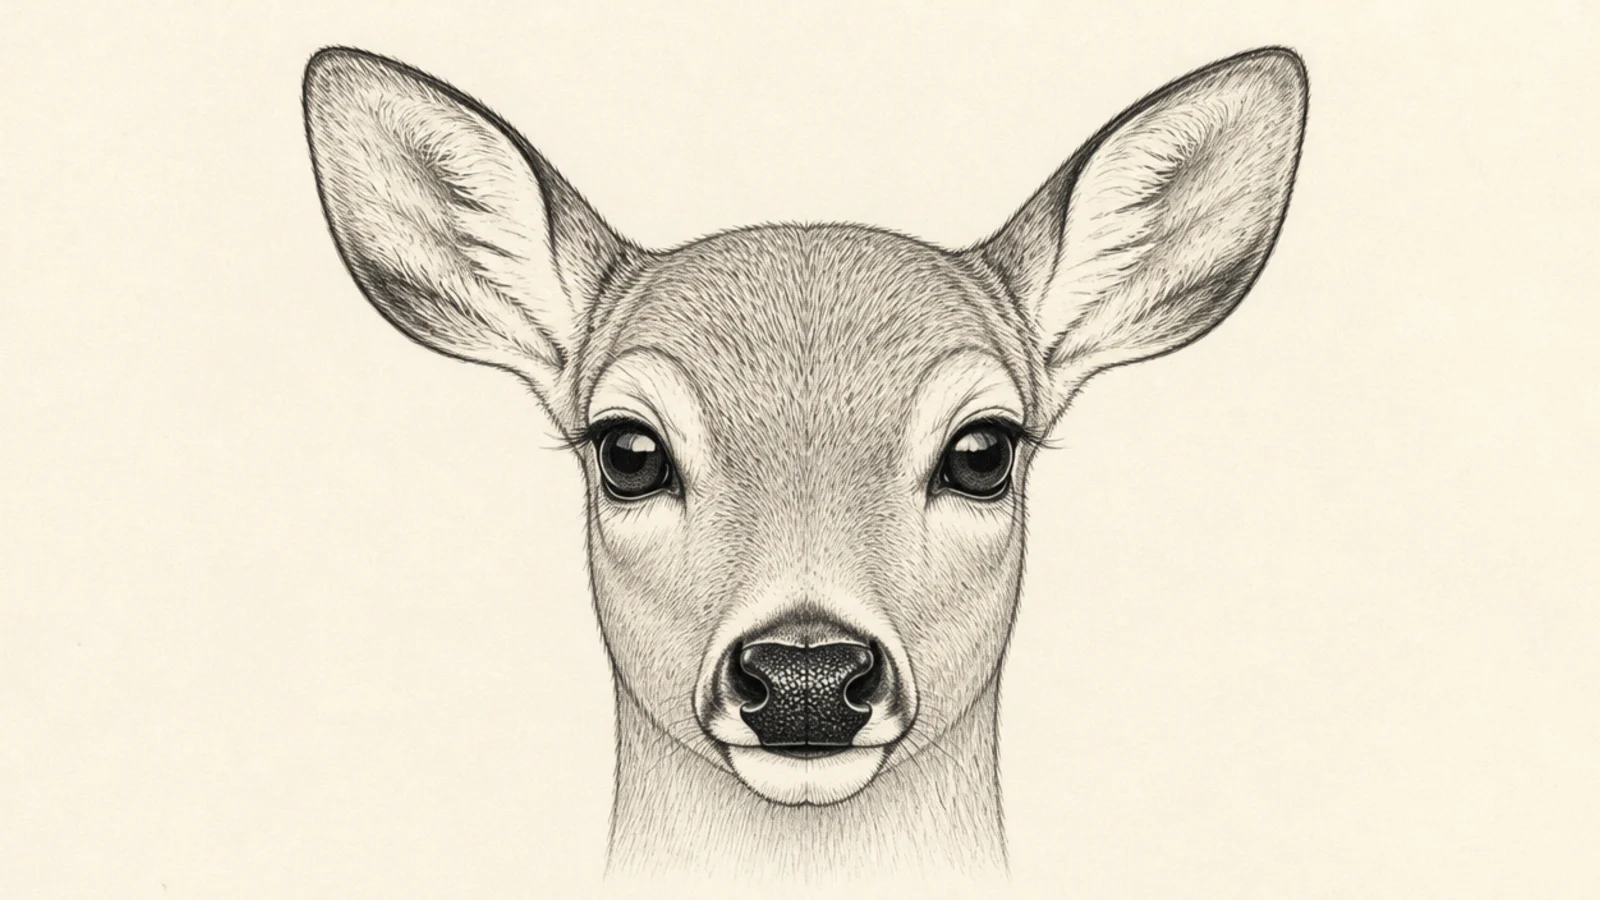
A nose study focuses on the rounded dark pad and nostrils. It is a small feature that instantly says deer. Practicing it makes every face more convincing.
Step 1 draw a rounded, slightly triangular pad. Step 2 add two comma-shaped nostrils. Step 3 shade the pad dark, leaving a small highlight, and add the mouth line below.
Pro tipLeave a tiny highlight on the pad so the nose looks moist and real.
AvoidDon’t draw a flat dot; a rounded shaded pad reads as a real nose.
4 Deer Ear Study
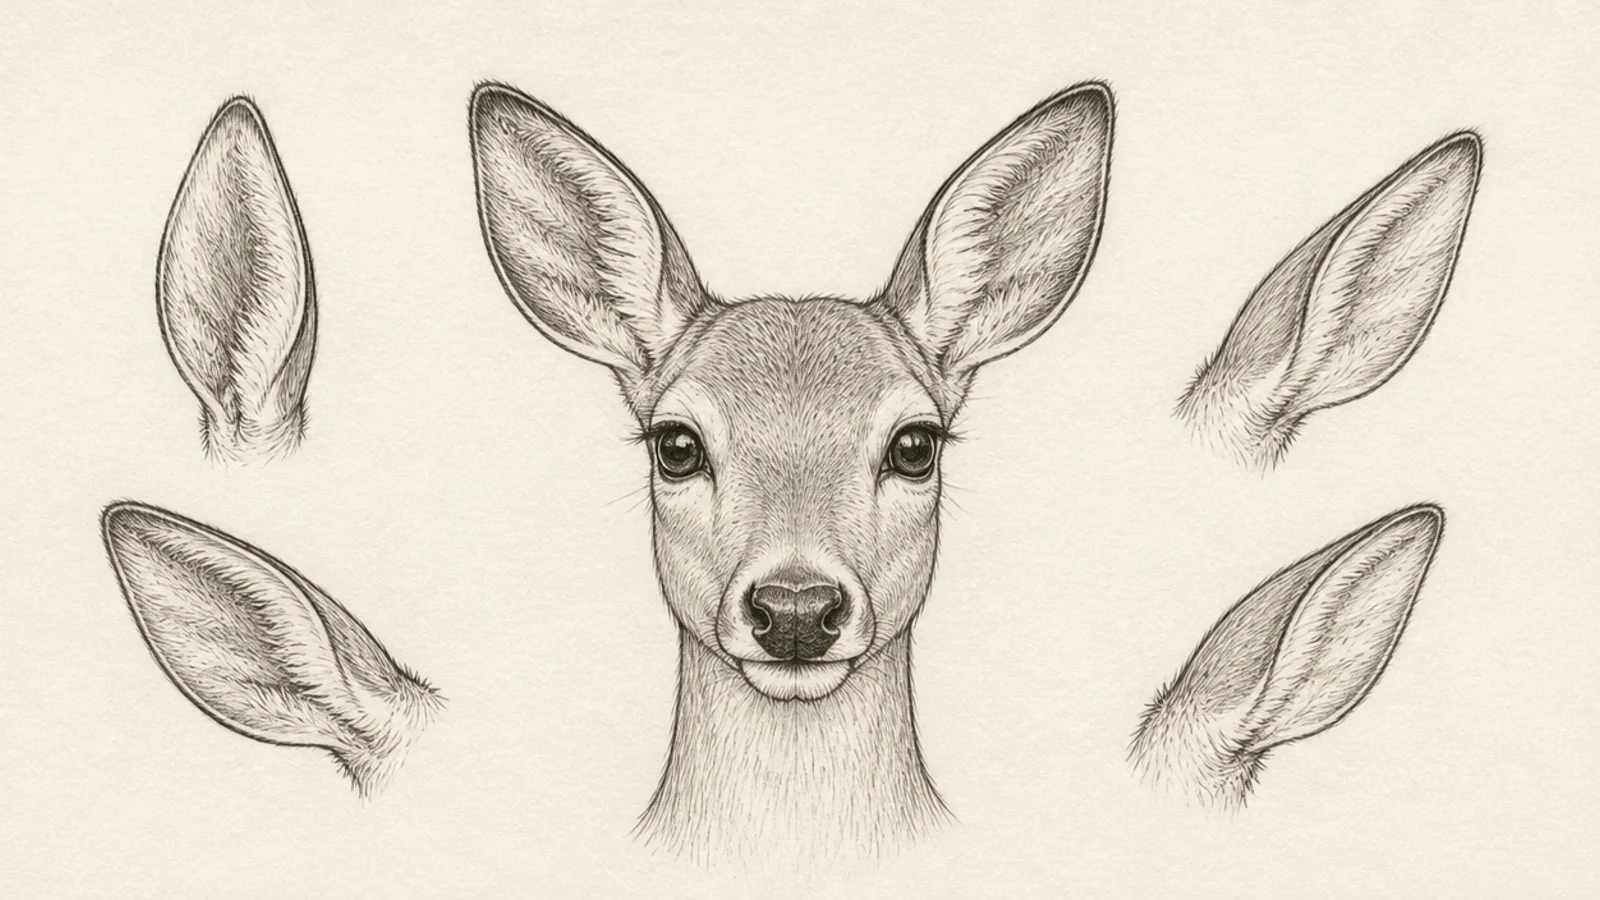
An ear study draws the tall leaf-shaped ears at a few angles. Ears carry a deer’s mood, so they are worth isolating. It is a practical feature sheet.
Step 1 draw a tall leaf shape front-on. Step 2 show the cupped inner ear with a curved line. Step 3 rotate it forward and back, adding short fur strokes inside.
Show the cupped inside of the ear to give it depth and direction.
Don’t draw the ears flat; the inner cup makes them turn believably.
5 Soft Doe Face
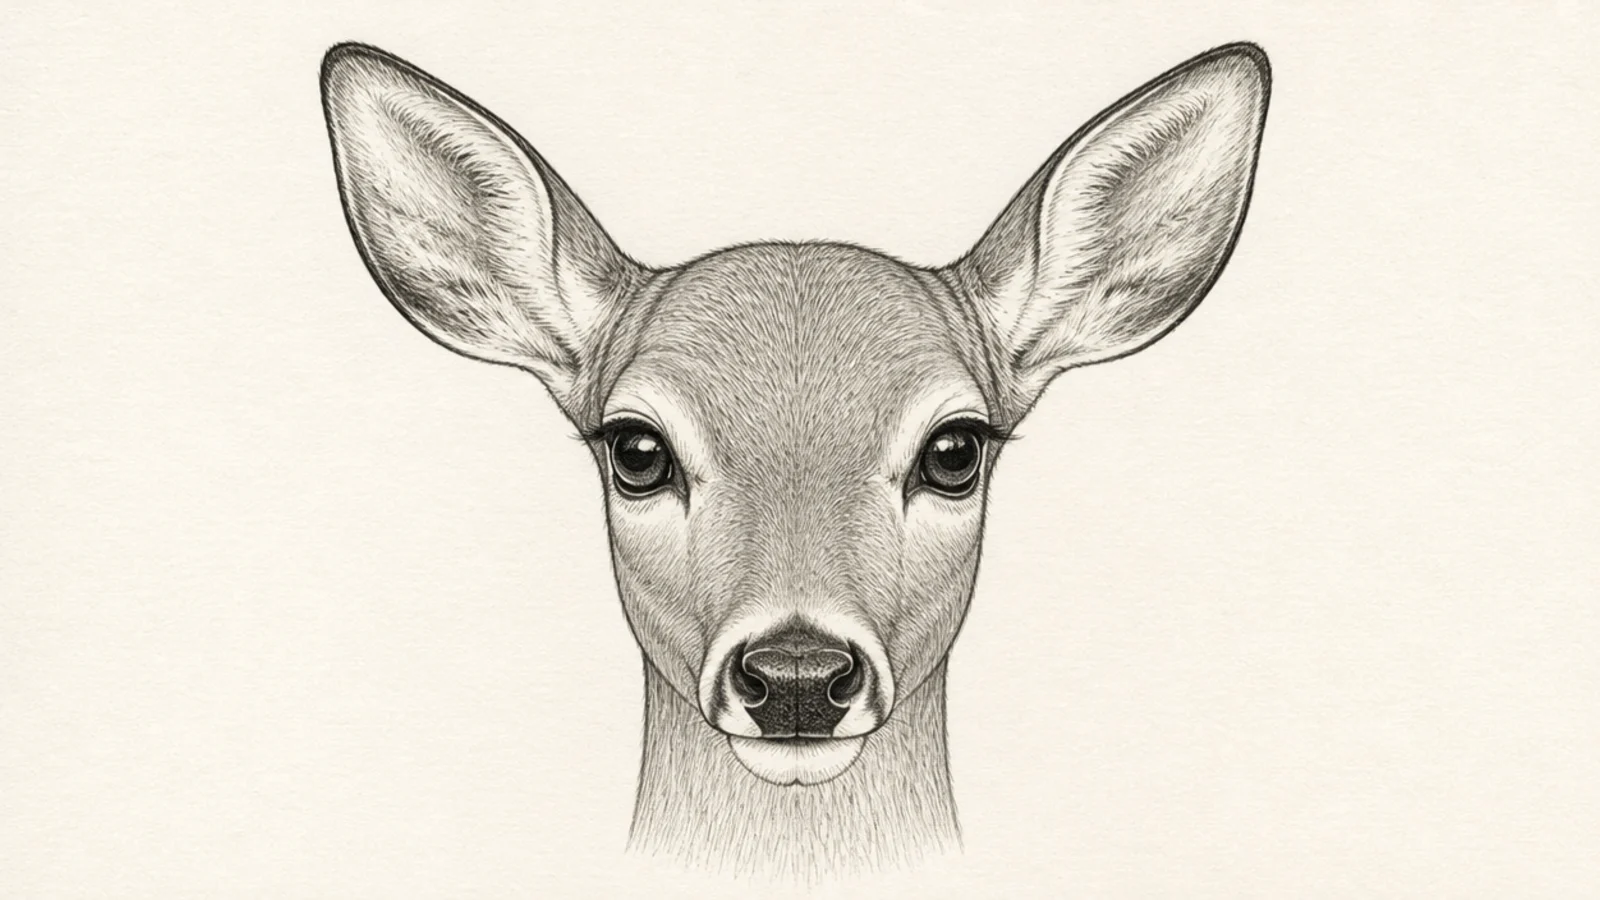
A soft doe face combines the features into a gentle, plain-crowned portrait. The large calm eyes define her expression. It is a beautiful beginner combination.
Step 1 build the face on the center cross. Step 2 add large soft eyes, a rounded nose, and a short muzzle. Step 3 add tall ears and keep the crown plain with no antlers.
Keep the eyes large and calm and the whole face soft for a gentle doe.
Don’t add antlers; the plain crown makes it read as a doe.
6 Front-Facing Buck Face
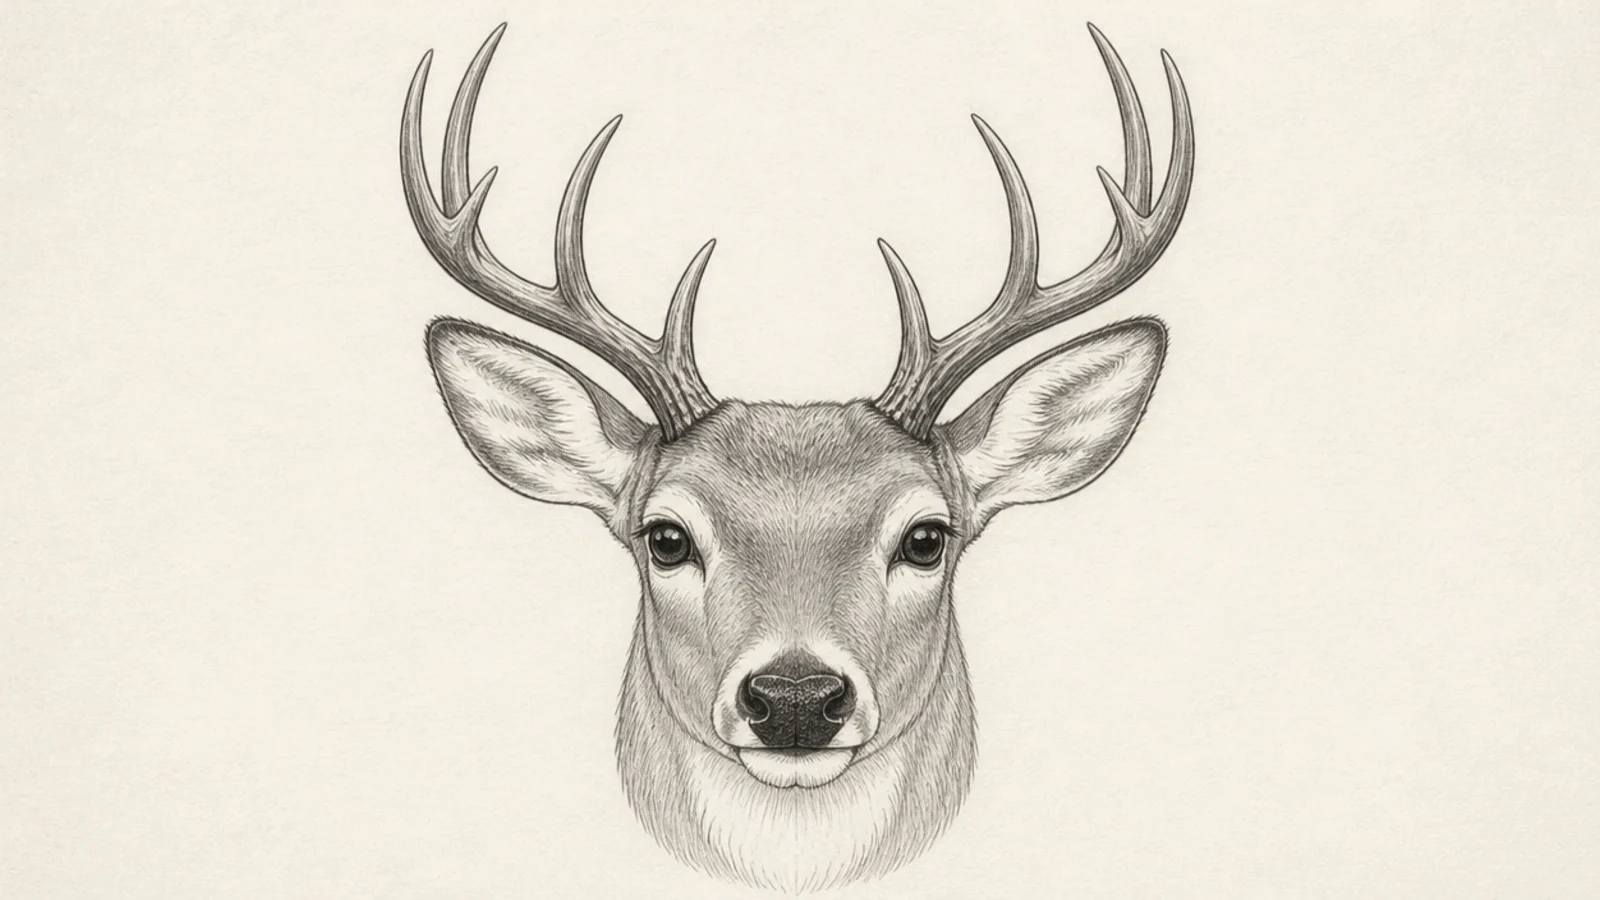
A front buck face adds antlers above the combined features. The symmetry practice is valuable. It is a strong, direct portrait.
Step 1 build the face on the center cross. Step 2 add the eyes, nose, and ears. Step 3 mirror a pair of antlers rising from behind the eyes across the center line.
Mirror the antlers carefully across the center line so they match.
Don’t let the antlers lean unevenly; symmetry sells the front view.
7 Front-Facing Fawn Face
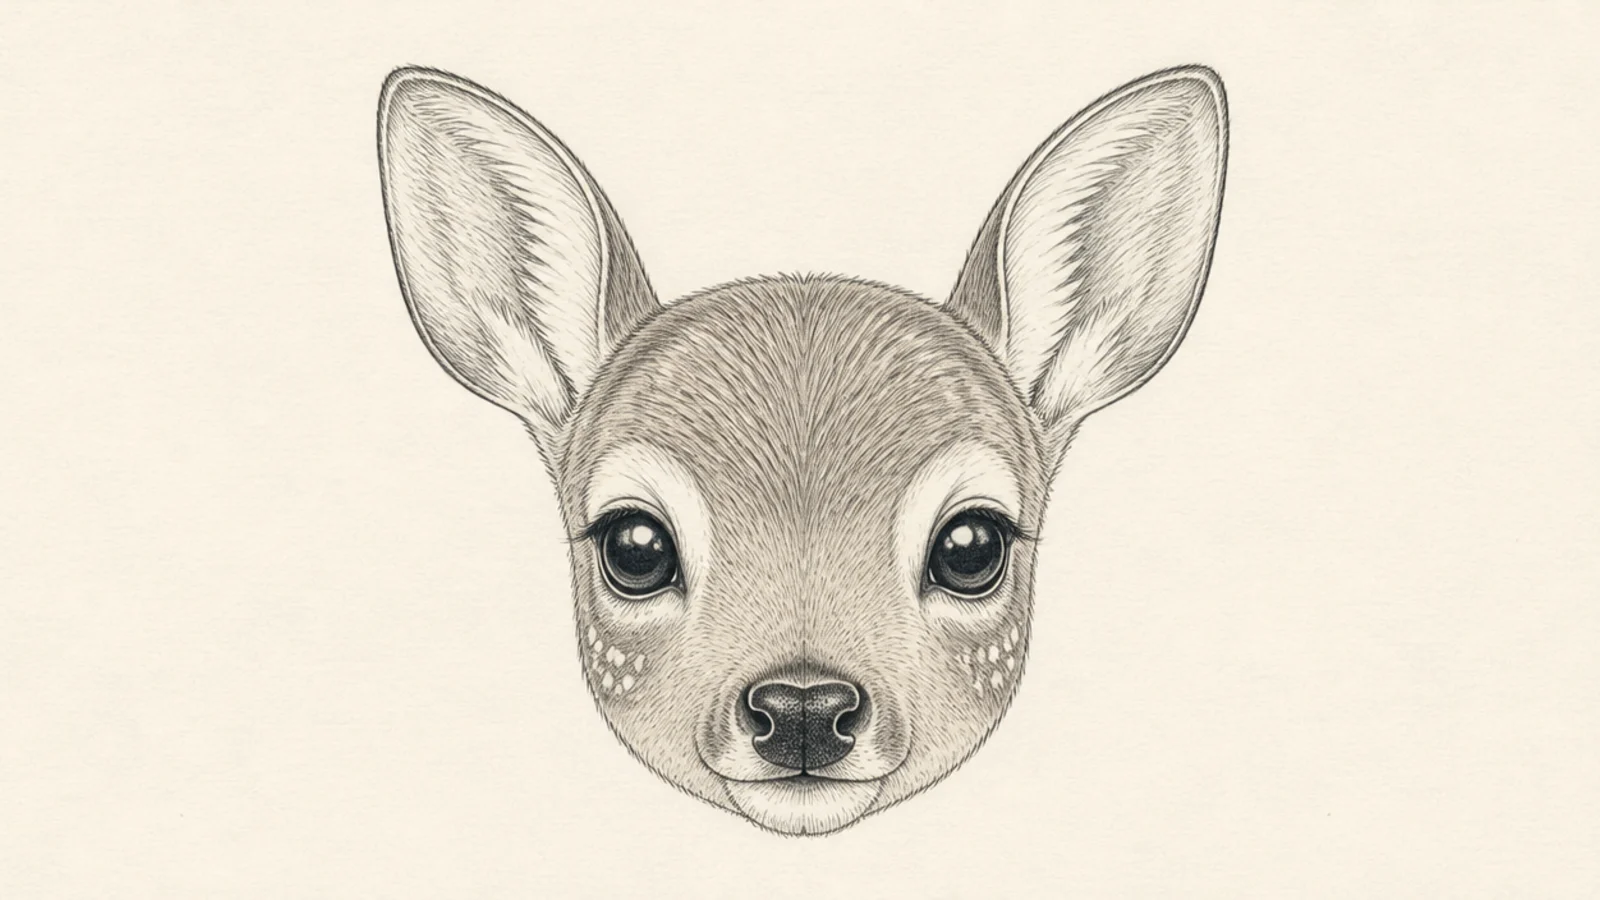
A fawn face uses baby proportions — bigger eyes, a shorter muzzle, and no antlers. The sweet face is easy and cute. It teaches how proportions change age.
Step 1 build a rounder, shorter face on the cross. Step 2 add big low-set eyes and a small nose. Step 3 add tall ears and a few soft spots on the cheeks or neck.
Shorten the muzzle and enlarge the eyes for the baby fawn look.
Don’t draw a long adult muzzle; a short one reads as a fawn.
8 Cute Smiling Face
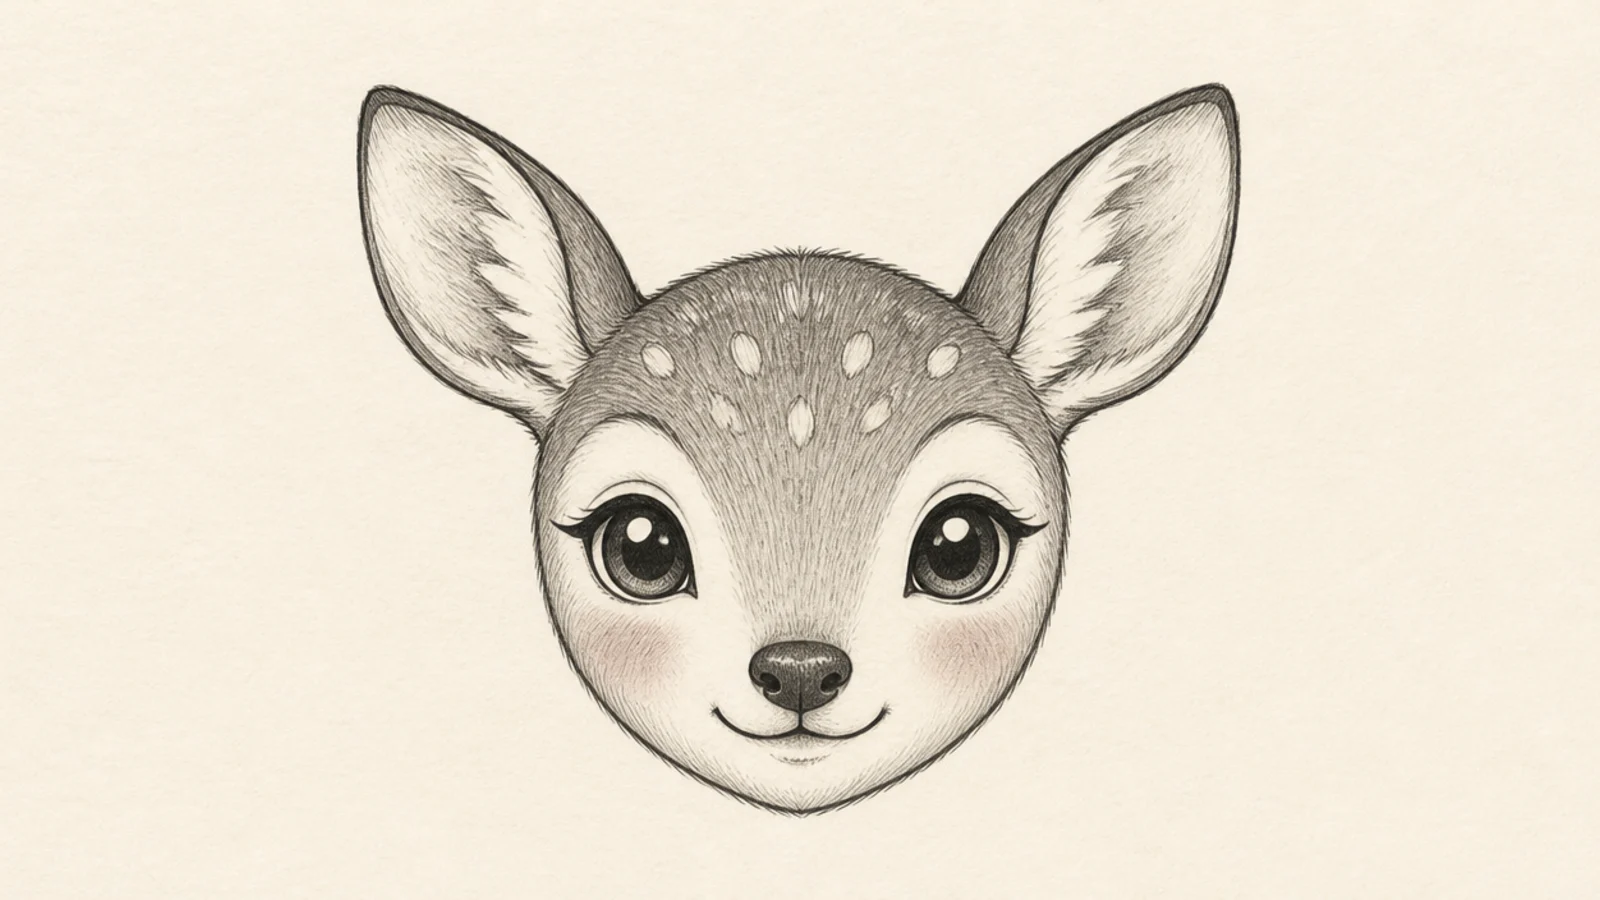
A cute smiling face pushes the eyes bigger and adds a happy mouth. The cheerful expression is beginner-friendly. It is sweet and simple.
Step 1 build a rounded face. Step 2 add two big glossy eyes with highlights and blush. Step 3 add a small smiling mouth and big ears.
Pro tipAdd blush cheeks and a small smile to make the face read as cheerful.
AvoidDon’t make the mouth too wide; a small smile stays cute.
9 Realistic Shaded Face
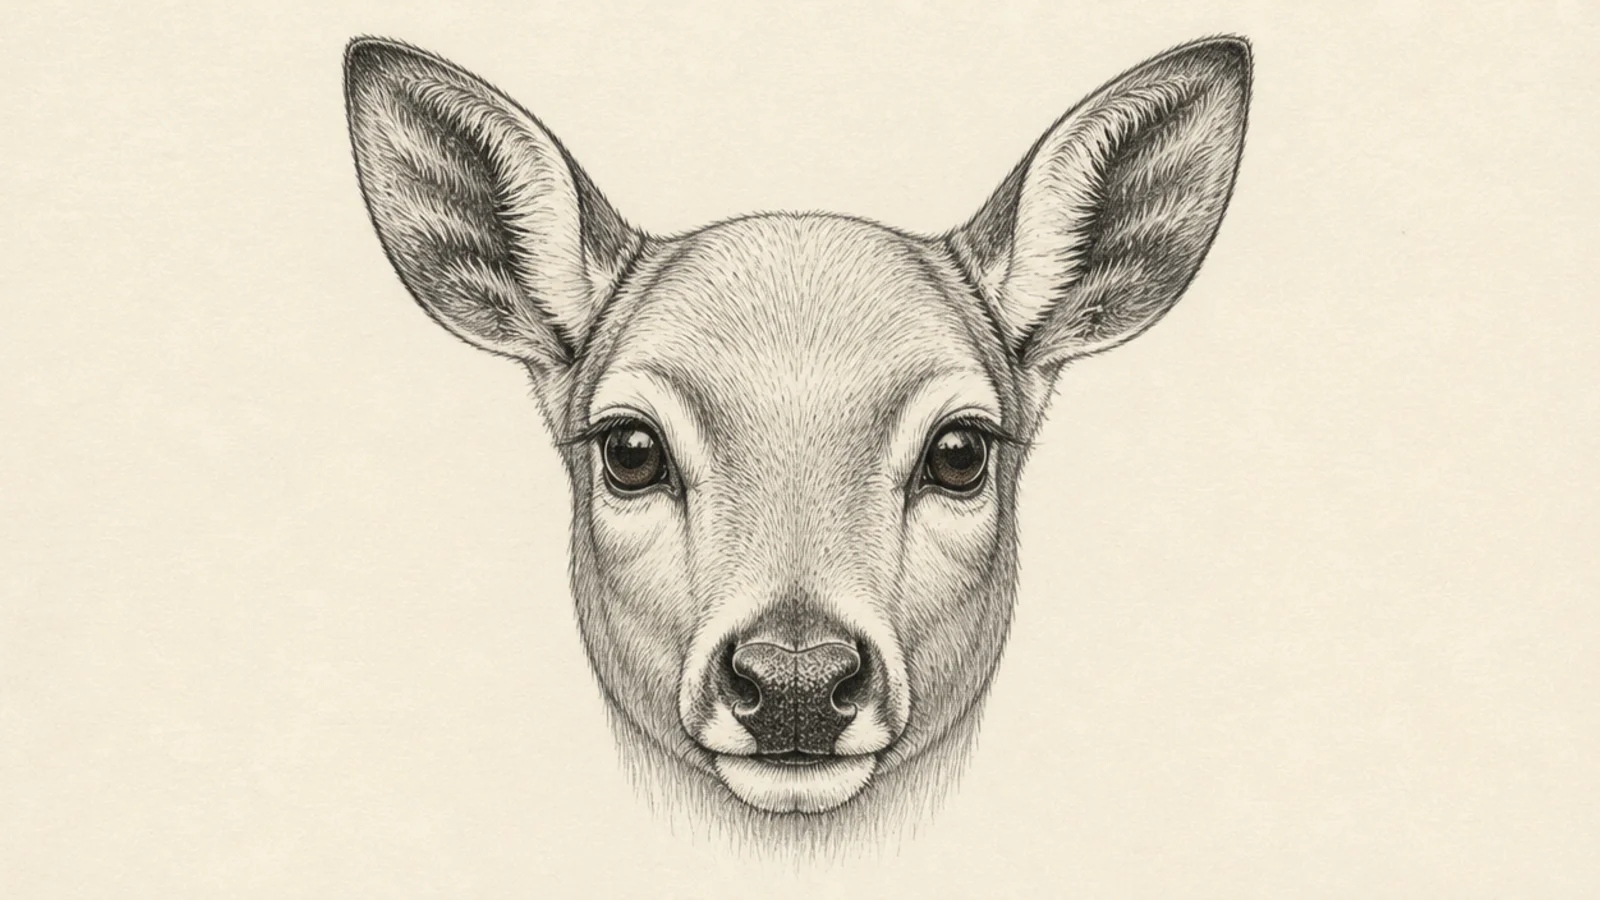
A realistic shaded face adds soft value and fur to the combined features. The shading gives the face lifelike form. It is a rewarding step up.
Step 1 build an accurate face and pick a light direction. Step 2 shade under the brow, beside the muzzle, and inside the ears with fur-direction strokes. Step 3 keep the forehead light and add eye highlights.
Pro tipFollow the fur direction with your strokes so the shading looks like coat.
AvoidDon’t shade flatly; graded value is what makes the face look real.
10 Clean Line-Art Face
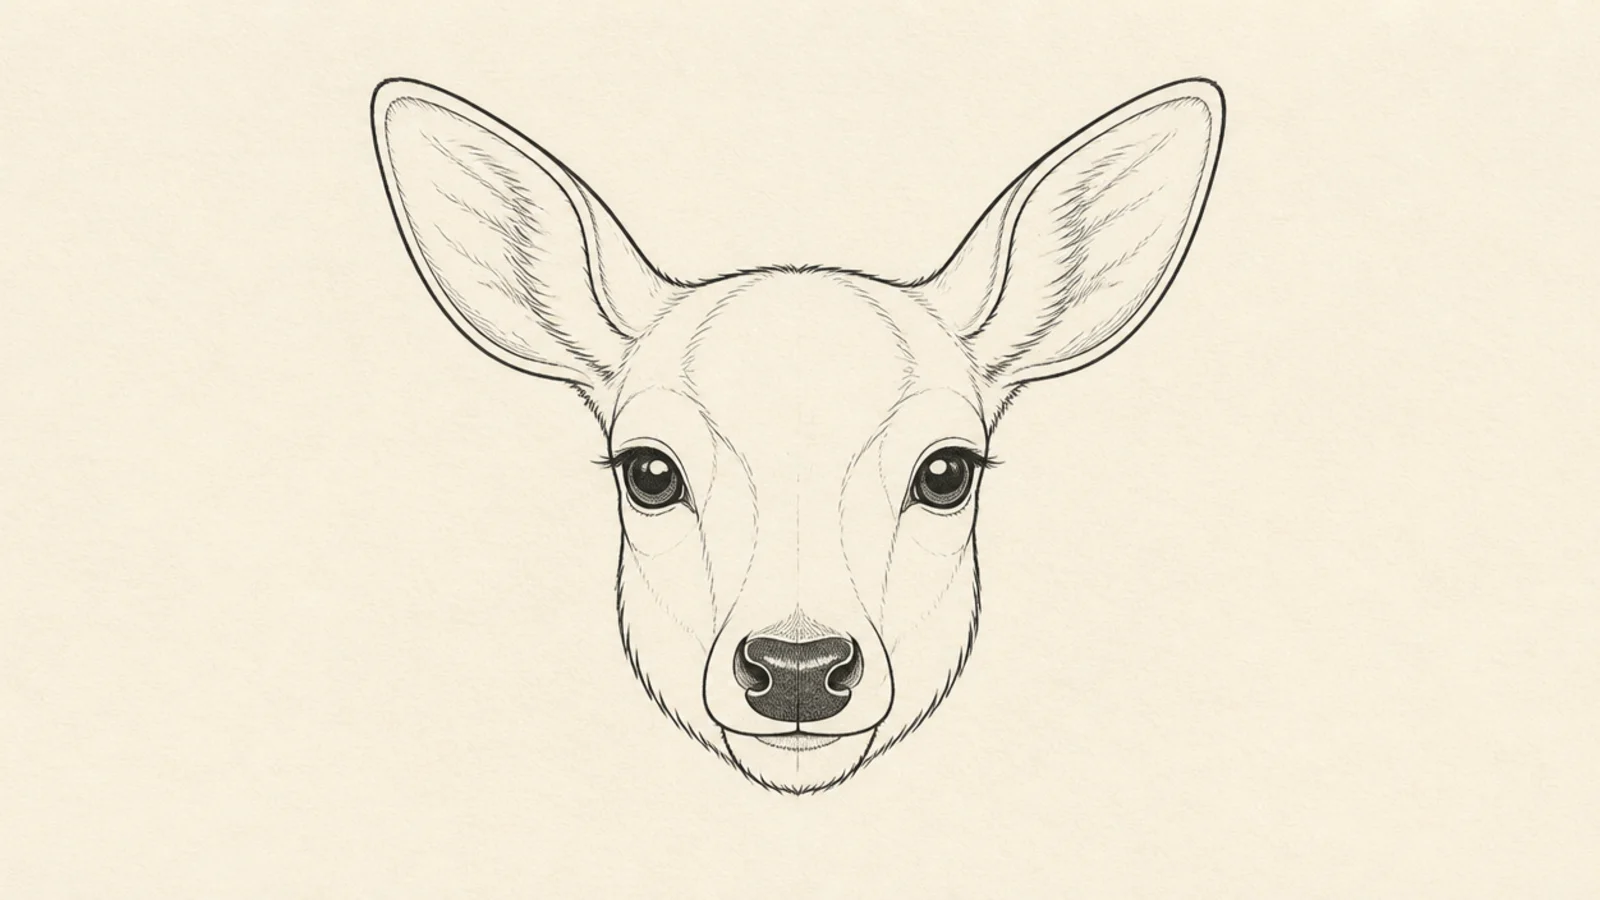
A line-art face uses one even line weight for a crisp modern look. There is no shading to distract from the features. It suits prints and stickers.
Step 1 sketch the face on the cross lightly. Step 2 trace once with a fineliner in a steady even pass. Step 3 erase the guides and leave a clean unshaded face.
Pro tipUse one consistent line weight so the line-art face stays crisp.
AvoidDon’t over-trace or shade; a single clean pass is the design.
11 Symmetry Grid Face
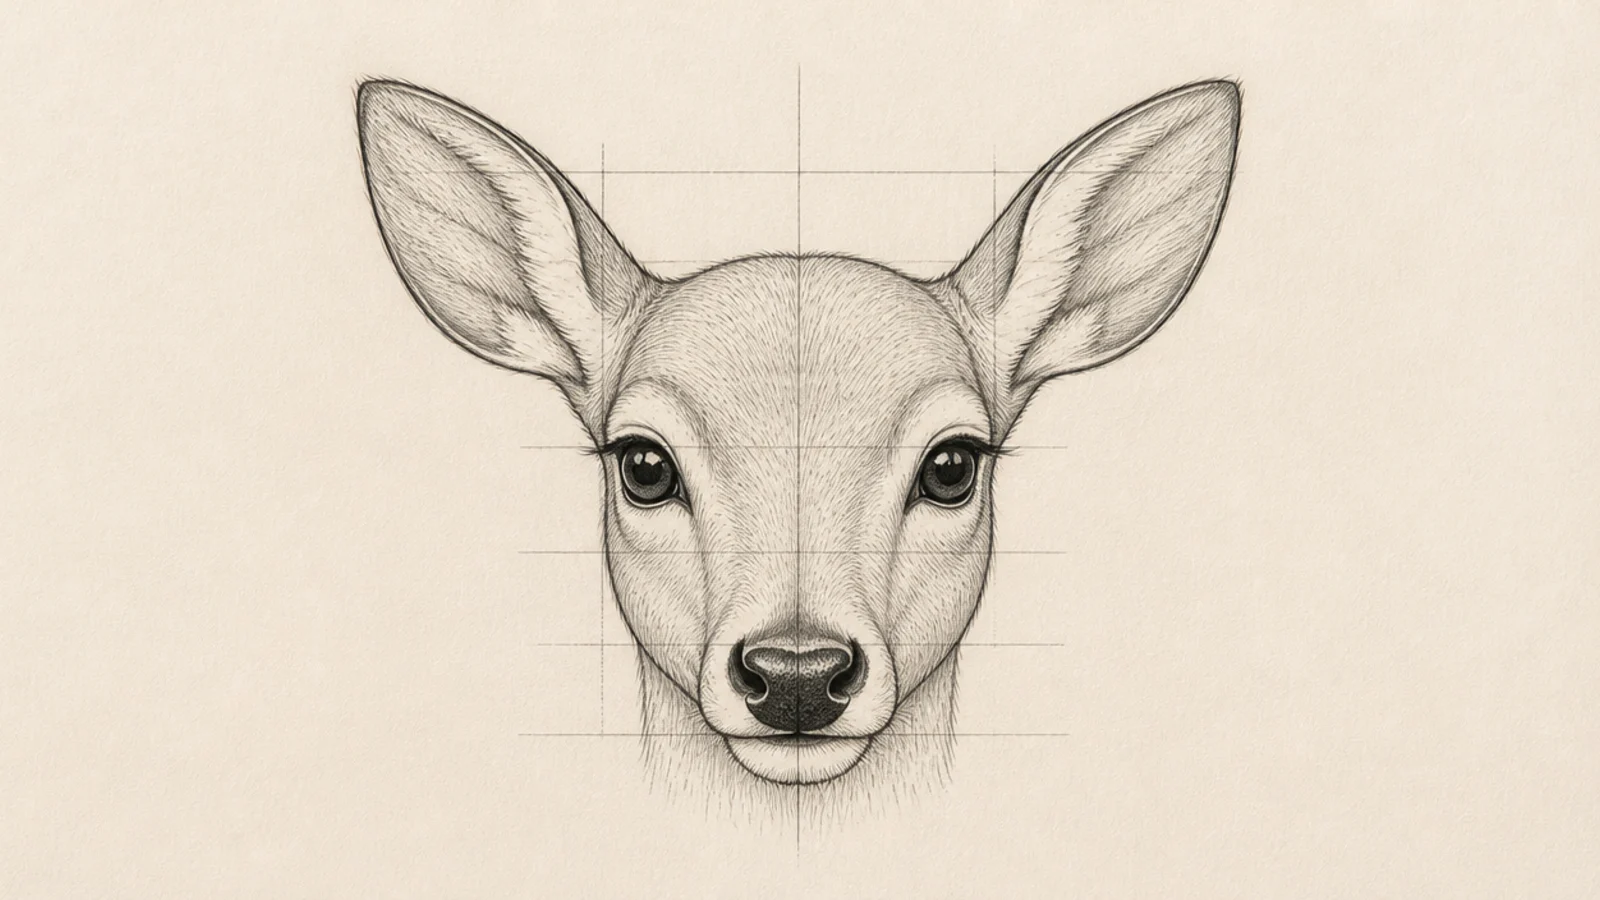
A symmetry grid face uses extra guide lines to nail perfect balance. The grid makes matching both sides easy. It is a great confidence-builder.
Step 1 draw a light grid with a center line and eye line. Step 2 place each feature by measuring against the grid. Step 3 mirror the far side to match the near side exactly.
Measure each feature against the grid so both sides truly match.
Don’t freehand both halves; the grid is what guarantees symmetry.
12 Three-Quarter Face
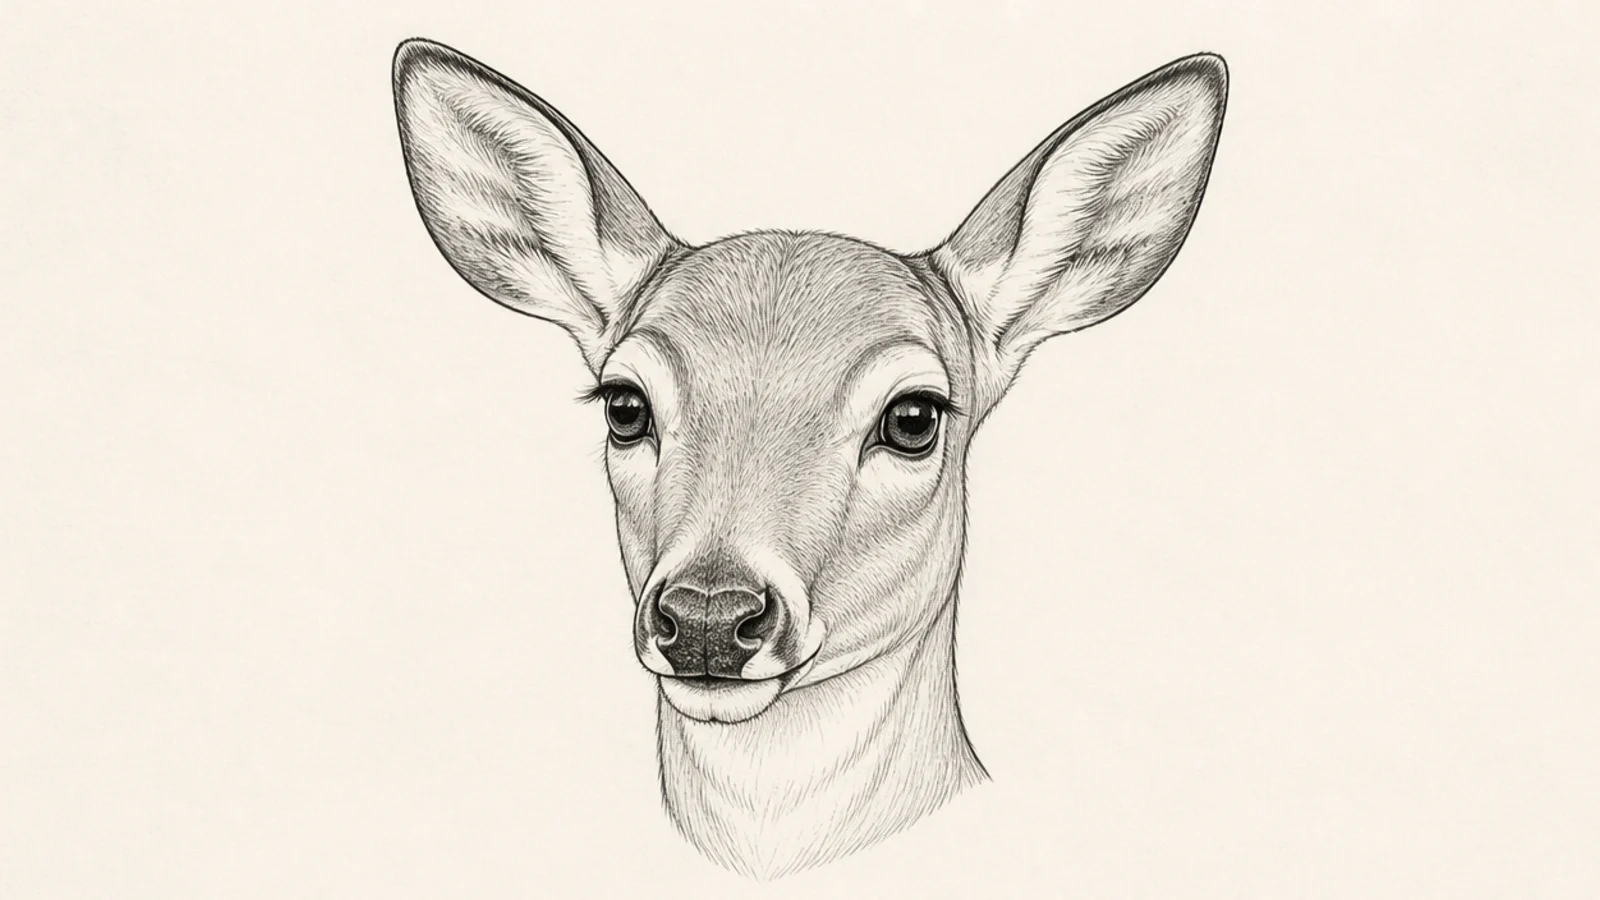
A slight three-quarter turn adds life while still focusing on the face. The curved center line shows the turn. It teaches placing features on a tilted guide.
Step 1 draw the face shape with a center line bowing to one side. Step 2 make the far eye and ear smaller than the near ones. Step 3 place the nose slightly off-center toward the turn.
Pro tipBow the center line toward the turn and shrink the far-side features.
AvoidDon’t keep both sides equal; unequal sizes create the turn.
13 Alert Ears-Forward Face
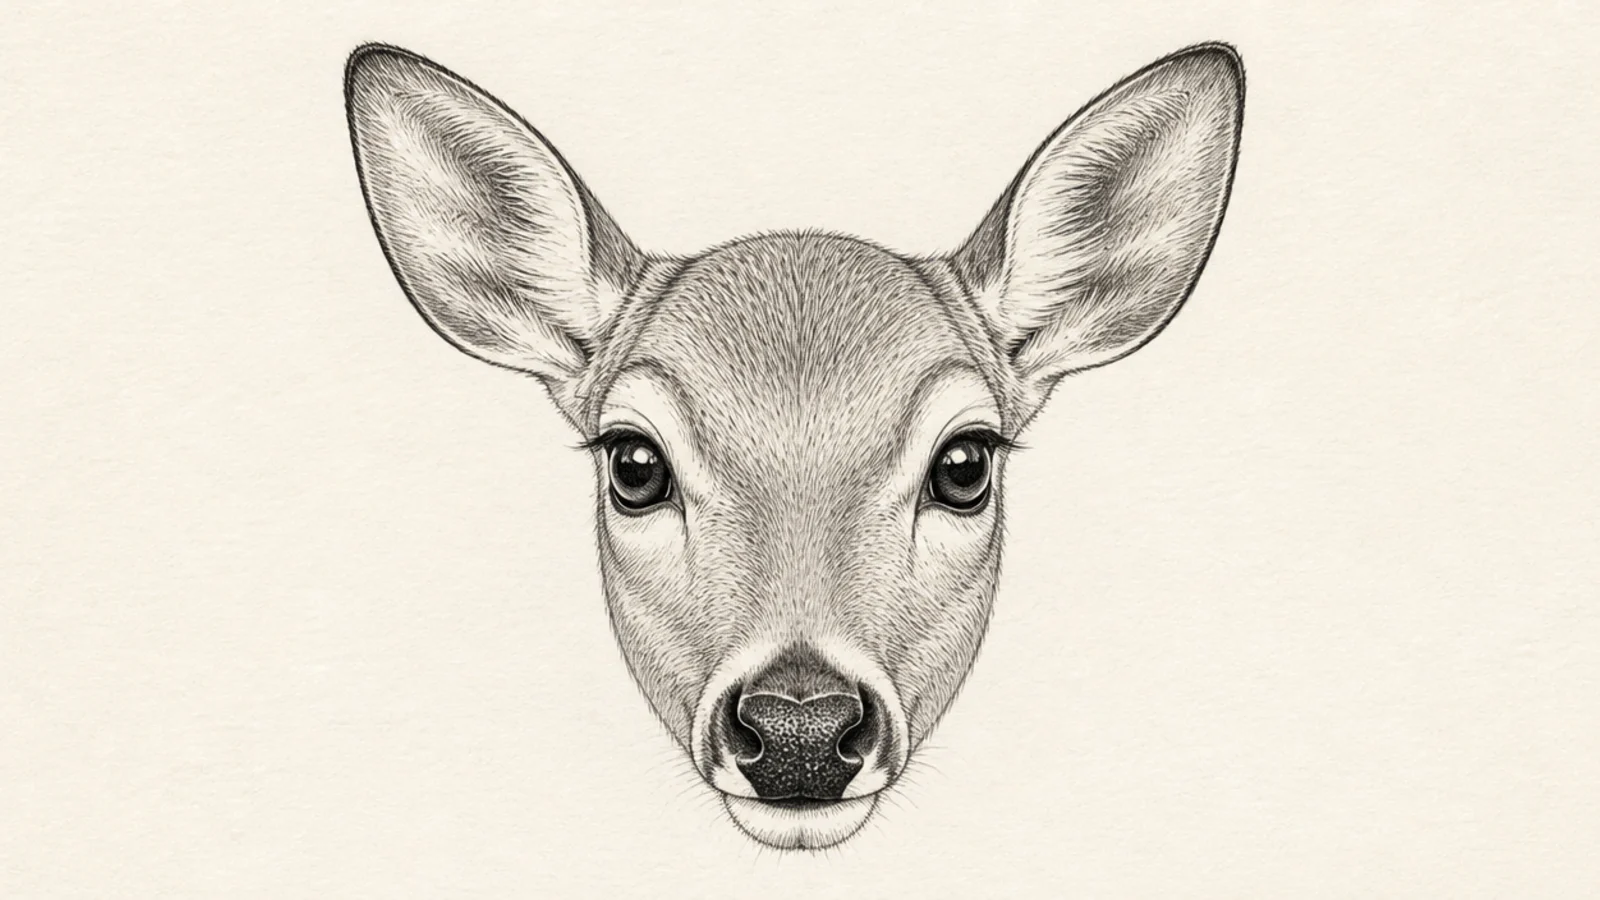
An alert face pins the ears forward and widens the eyes. The ears drive the expression. It captures a watchful, listening mood.
Step 1 build a front face on the cross. Step 2 point both ears sharply forward with the openings showing. Step 3 widen the eyes and raise the brows slightly.
Turn the ear openings toward the viewer so the alert mood reads.
Don’t droop the ears; forward ears create the alert expression.
14 Sleepy Deer Face
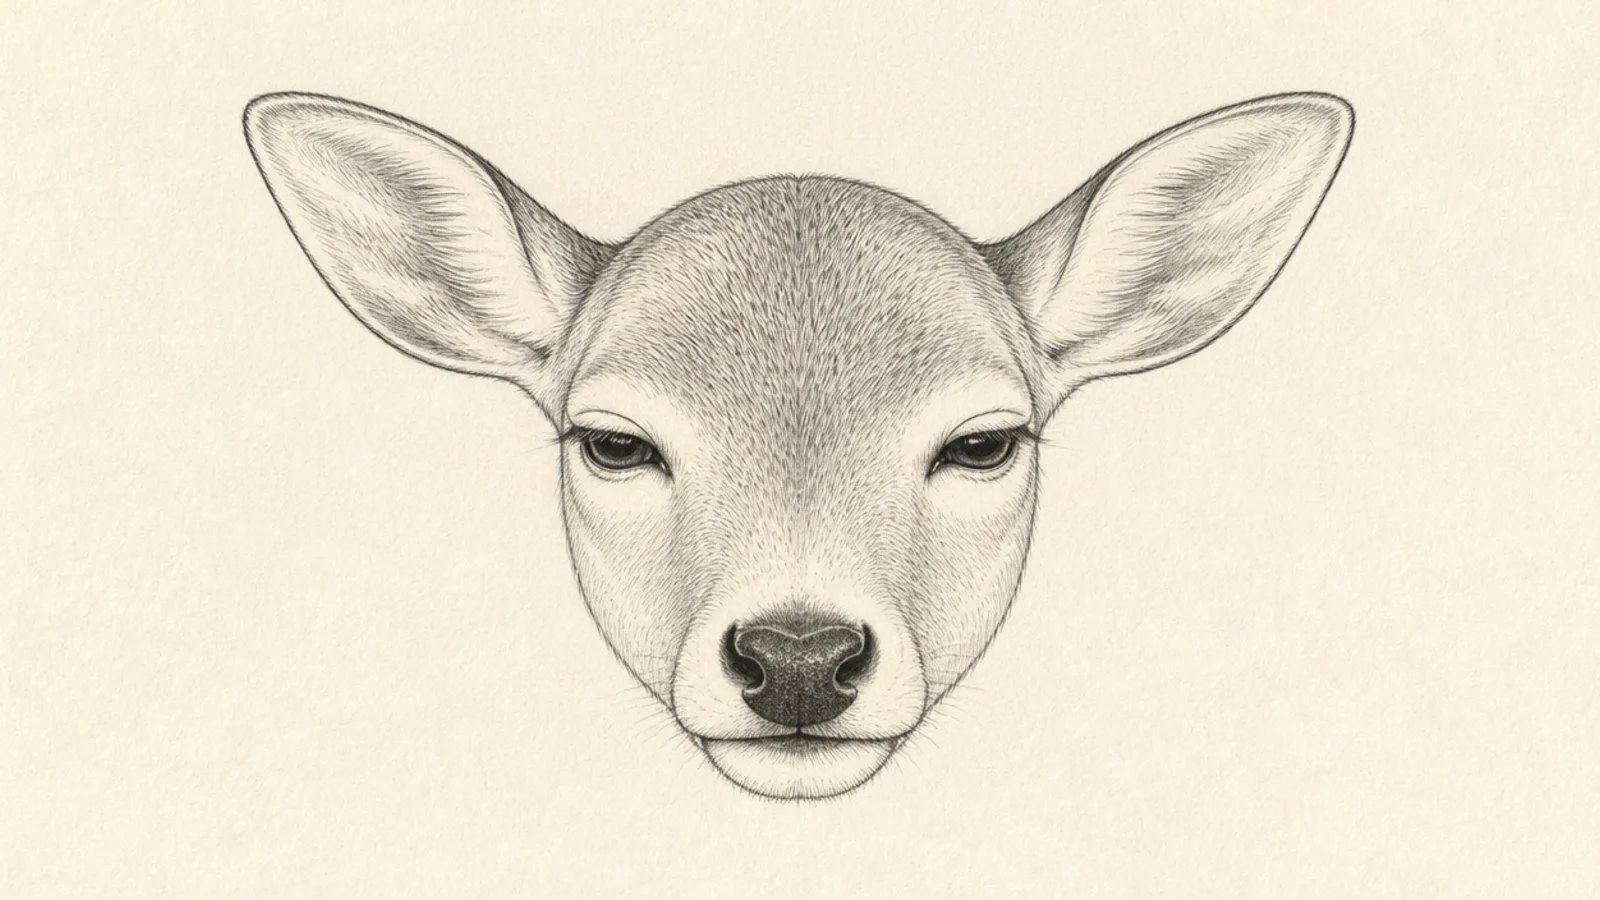
A sleepy face lowers the eyelids for a calm, drowsy look. The relaxed features feel peaceful. It teaches how eyelids change mood.
Step 1 build a soft front face. Step 2 draw the eyes half-closed with lowered lids. Step 3 relax the ears slightly to the sides and soften the whole expression.
Lower the eyelids halfway and relax the ears for a drowsy calm.
Don’t draw wide open eyes; half-closed lids read as sleepy.
15 Deer Face With Flowers
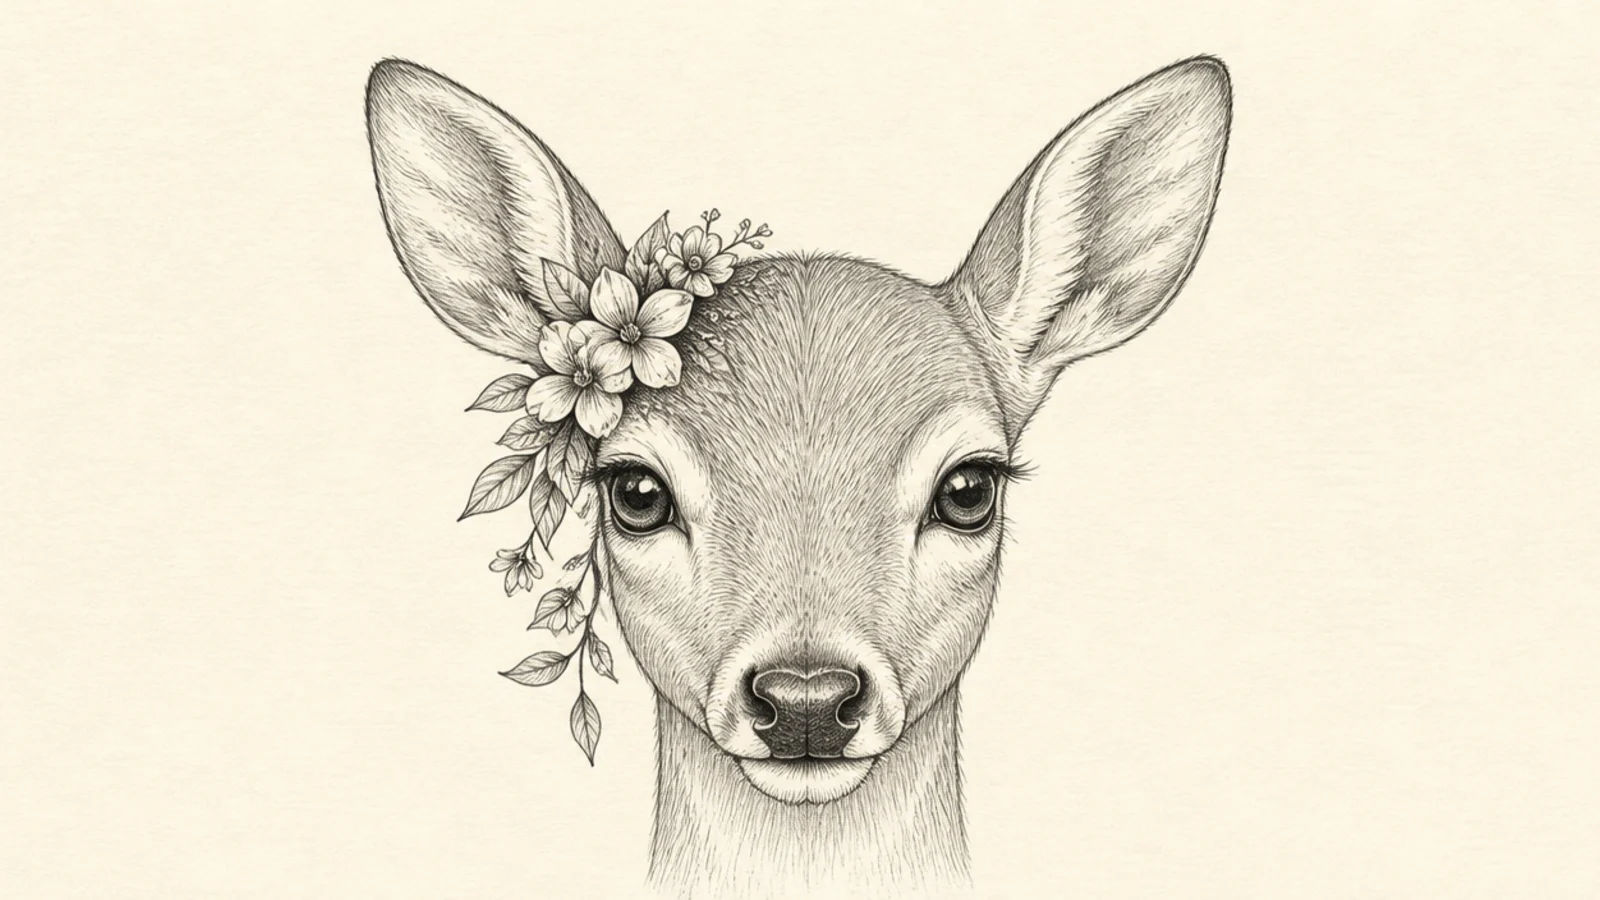
A face with flowers tucked by the ears adds a soft decorative touch. The blooms frame the gentle face. It is pretty and giftable.
Step 1 build a soft doe face. Step 2 tuck a small cluster of flowers behind one ear. Step 3 add a few leaves and let a couple trail down beside the face.
Pro tipCluster the flowers behind one ear rather than centered for a natural look.
AvoidDon’t cover the face; keep the flowers to one side accent.
16 Simple Cartoon Face
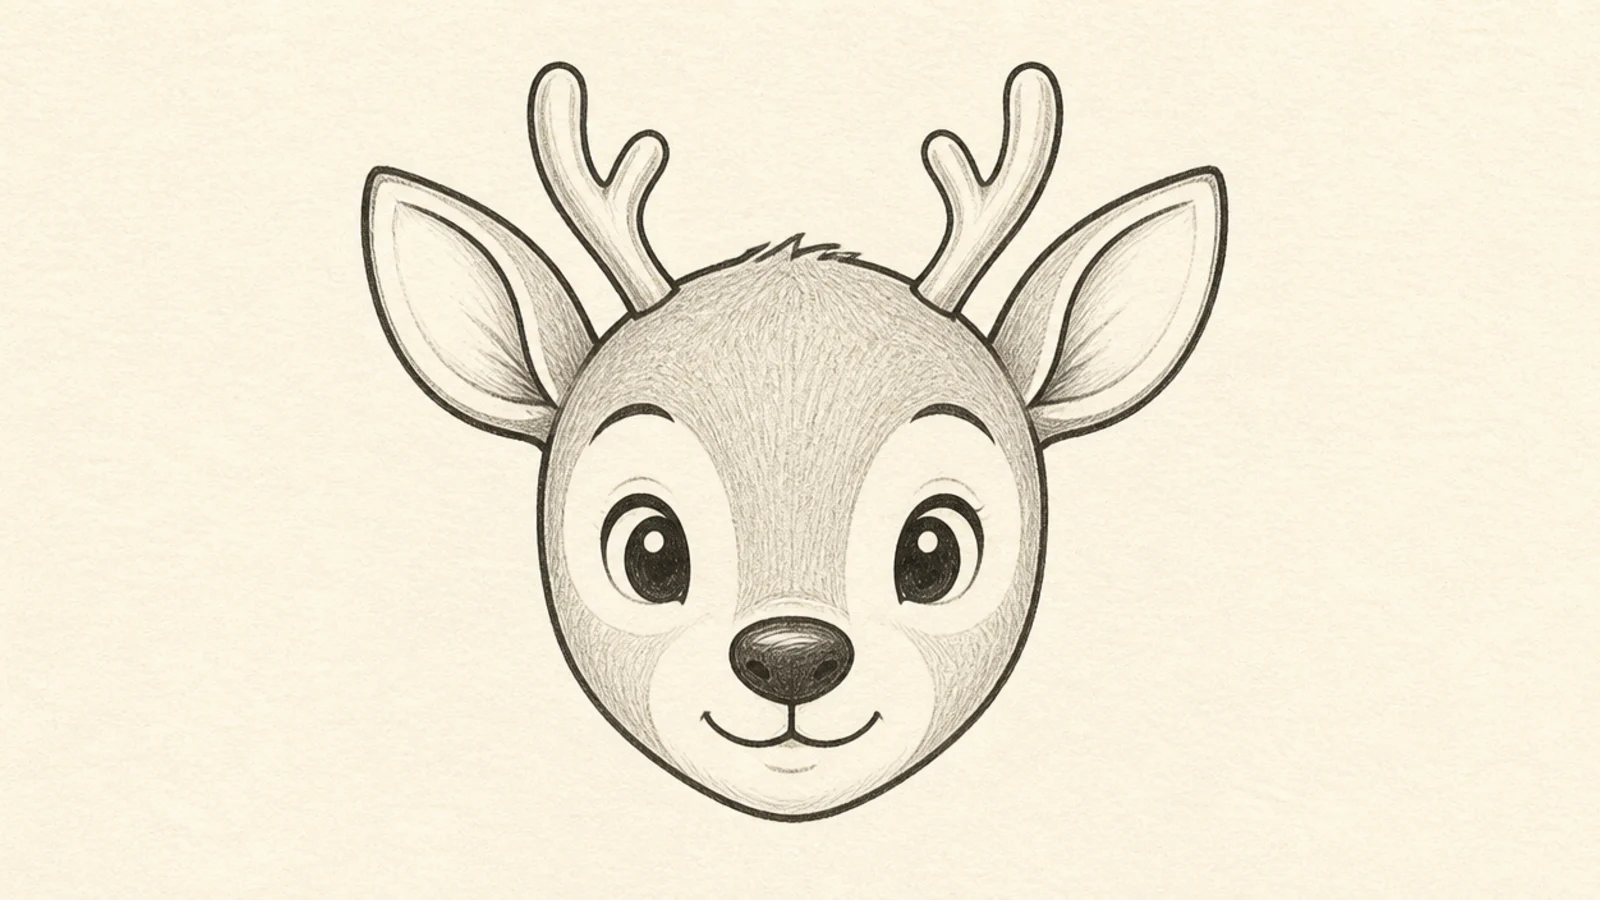
A cartoon face simplifies the features into bold friendly shapes. The clean cartoon look is easy and expressive. It is great for characters and doodles.
Step 1 draw a rounded cartoon face. Step 2 add simple oval eyes, a bold round nose, and a curved smile. Step 3 add big simple ears and small rounded antlers.
Keep the features bold and simple so the cartoon face reads clearly.
Don’t add realistic detail; bold simple shapes suit the cartoon style.
17 Detailed Eye Close-Up
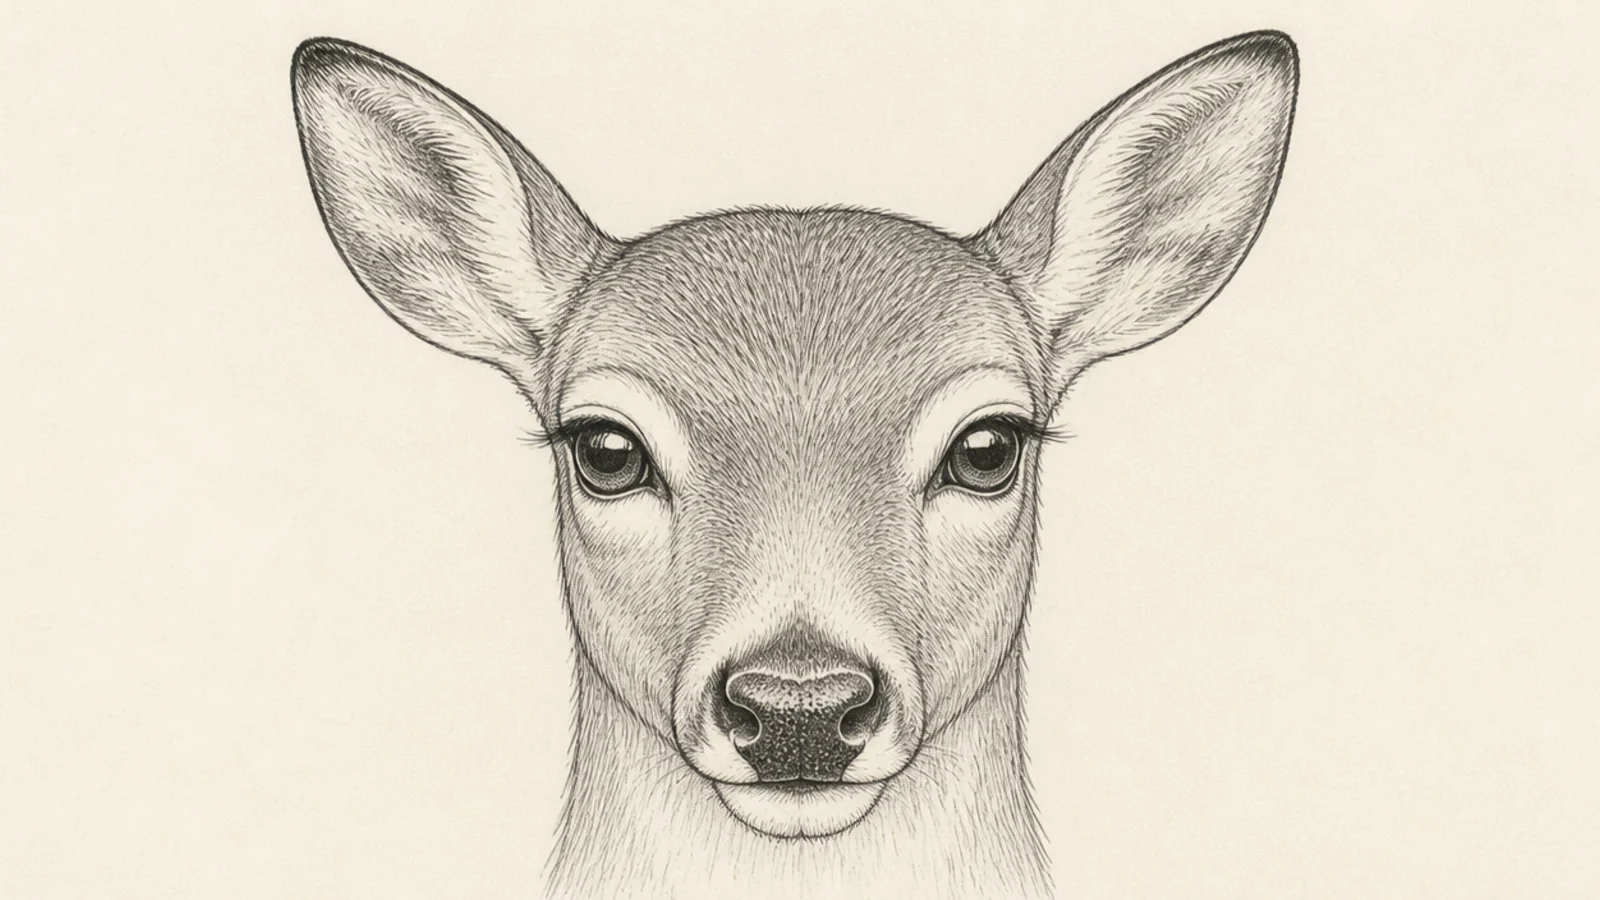
A detailed eye close-up renders one eye fully, with reflection and surrounding fur. It is the ultimate feature study. The realism is striking.
Step 1 draw the almond eye large with a heavy lid. Step 2 render the dark iris with a bright reflection and soft gradient. Step 3 add lashes and blend the surrounding fur outward.
Pro tipAdd a crisp reflection in the iris to make the eye look wet and lifelike.
AvoidDon’t leave the iris flat black; a gradient and reflection give it life.
18 Muzzle and Mouth Study
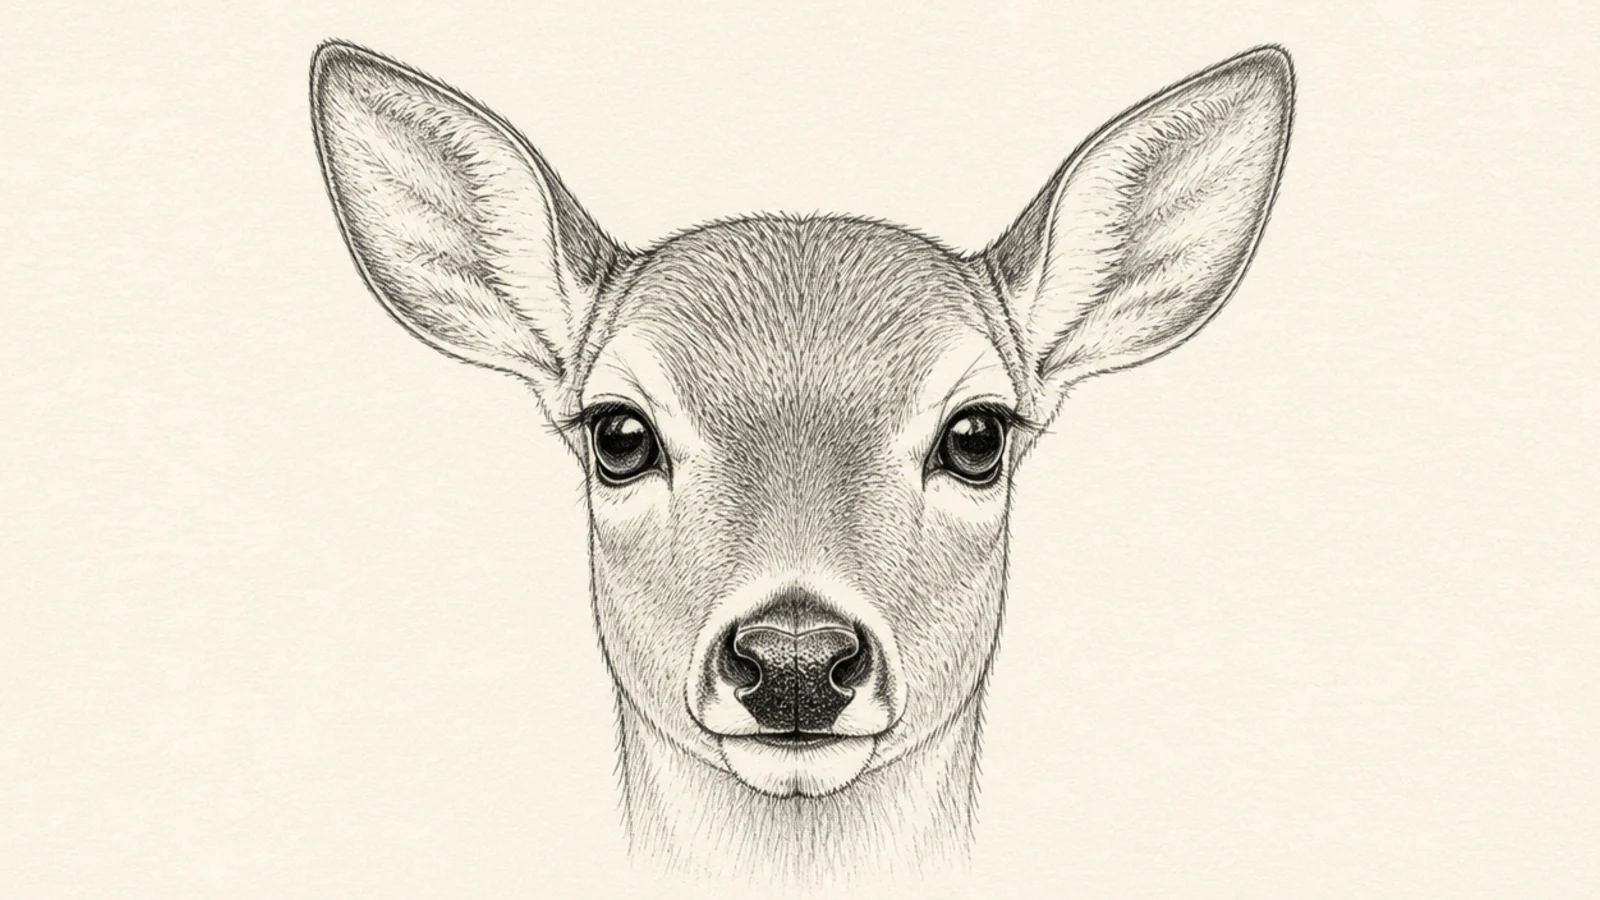
A muzzle and mouth study focuses on the lower face — the nose, lip line, and chin. This area is easy to get wrong, so isolating it helps. It rounds out your feature practice.
Step 1 draw the rounded nose pad and nostrils. Step 2 add the soft lip line and a small chin below. Step 3 shade under the nose and add short fur strokes on the muzzle.
Pro tipSoften the lip line and add a light chin shadow so the muzzle looks rounded.
AvoidDon’t draw a hard straight mouth; a soft curved lip line looks natural.
19 Winter Deer Face
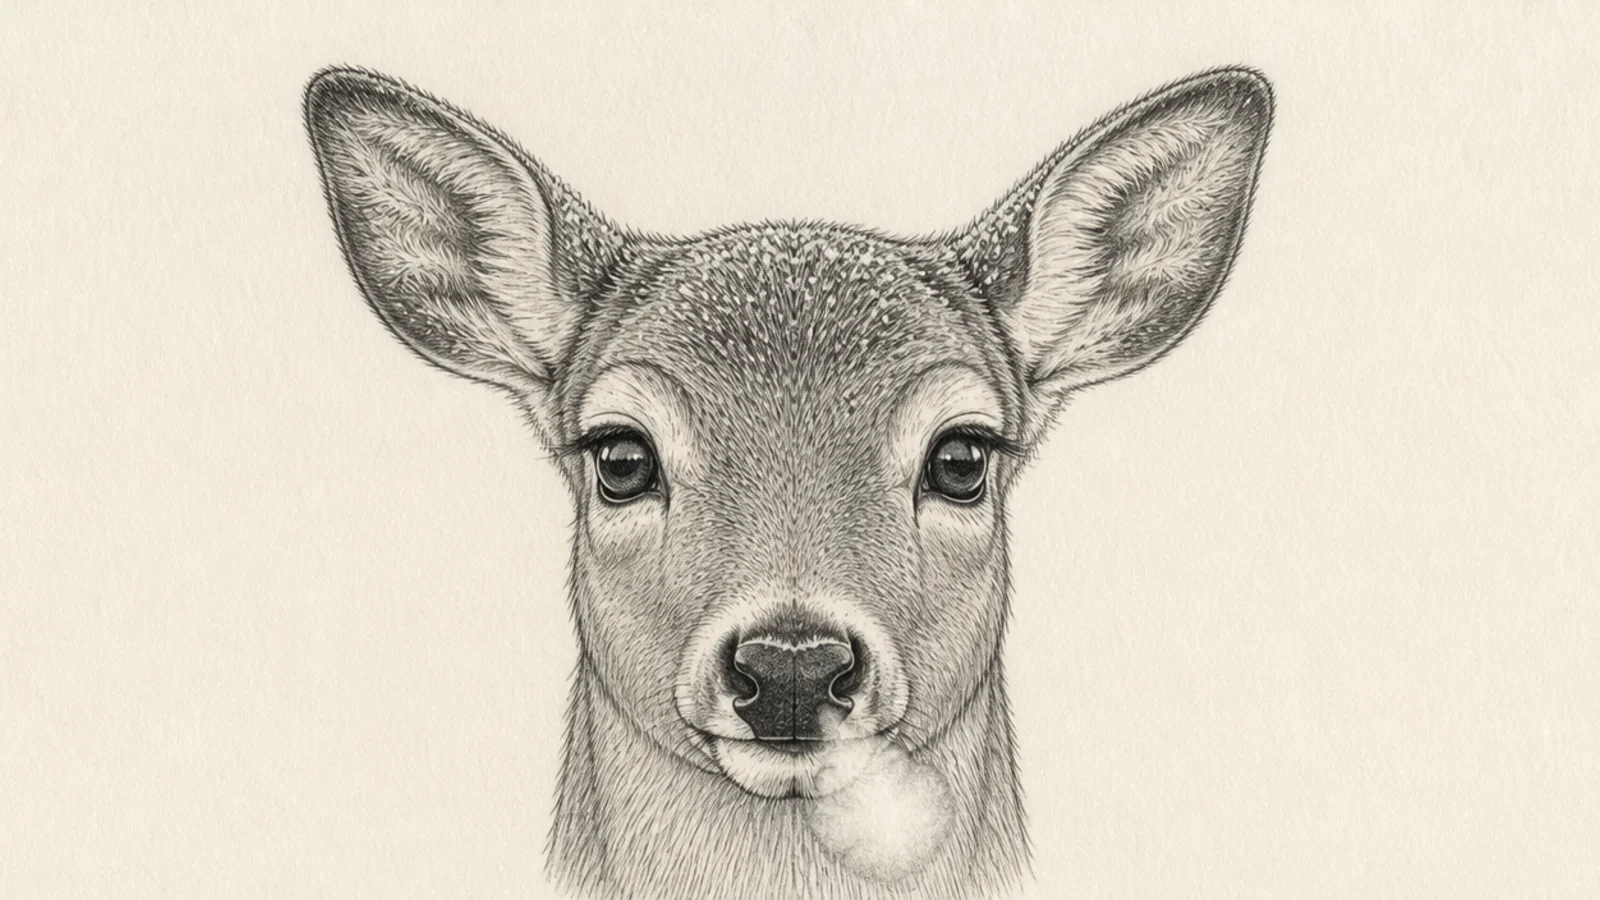
A winter face adds frost on the fur and a puff of breath for seasonal mood. The cold touches add atmosphere. It feels crisp and story-like.
Step 1 shade a soft front deer face. Step 2 leave the fur tips light and add tiny frost flecks. Step 3 add a soft puff of breath from the nose and a cool overall tone.
Pro tipAdd little white frost flecks on the fur tips and a soft breath puff.
AvoidDon’t overdo the breath; a small puff reads better than a big cloud.
20 Finished Face Portrait
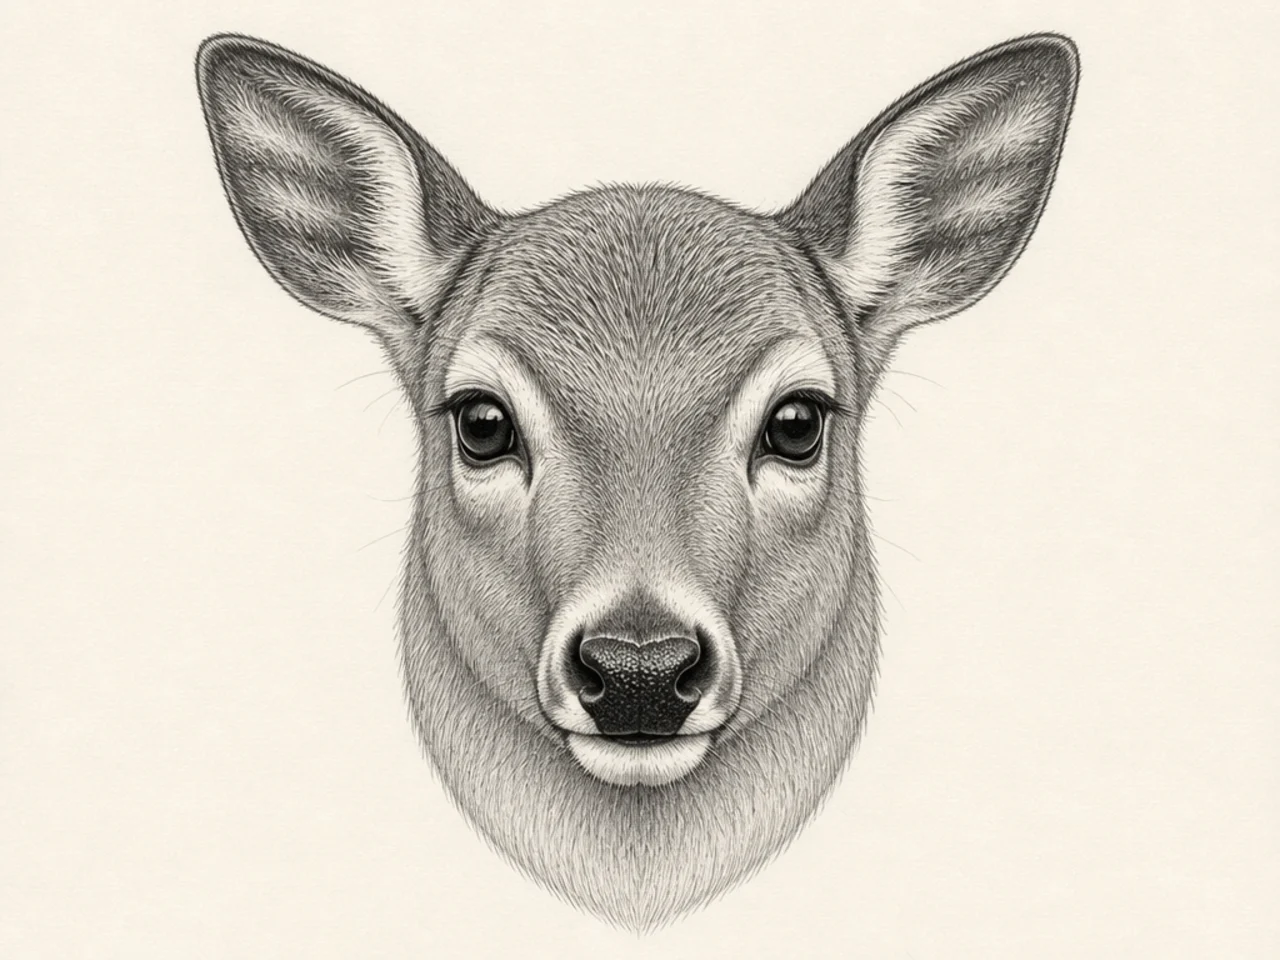
A finished face pulls it all together — accurate features, full shading, and fur. It shows how far a face study can go. It is a satisfying way to close the list.
Step 1 build the face on the cross and place every feature. Step 2 shade the full value range with fur-direction strokes. Step 3 render the eyes and nose sharply and soften the fur edges outward.
Render the eyes and nose most sharply and let the outer fur soften.
Don’t detail everything equally; sharp eyes and soft edges create focus.



