
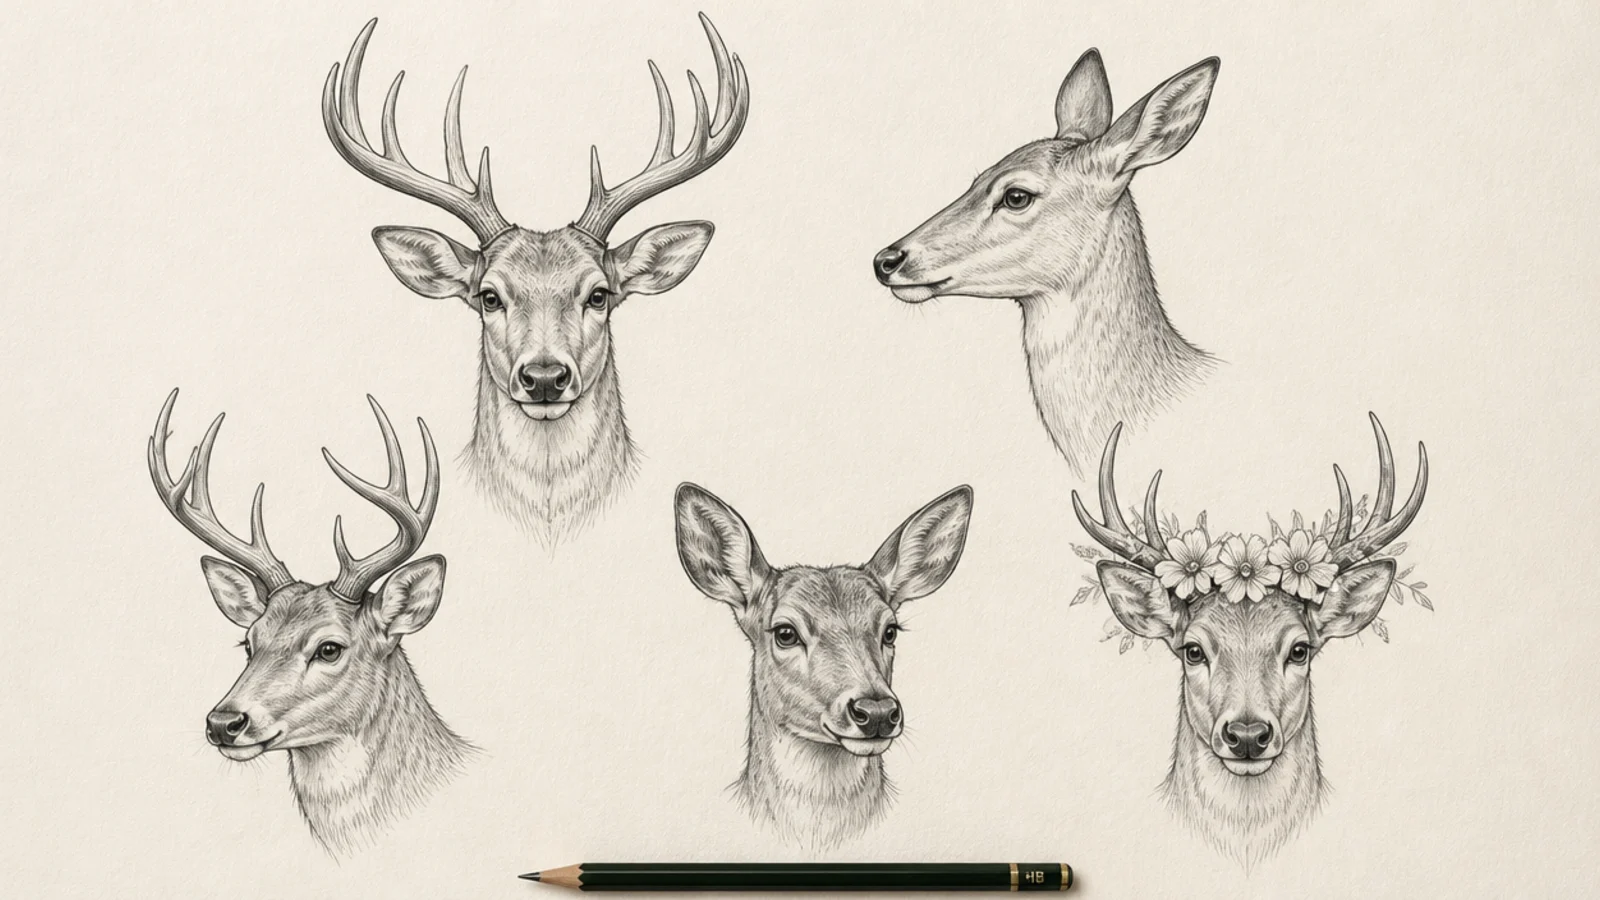
1 Front-Facing Buck Head
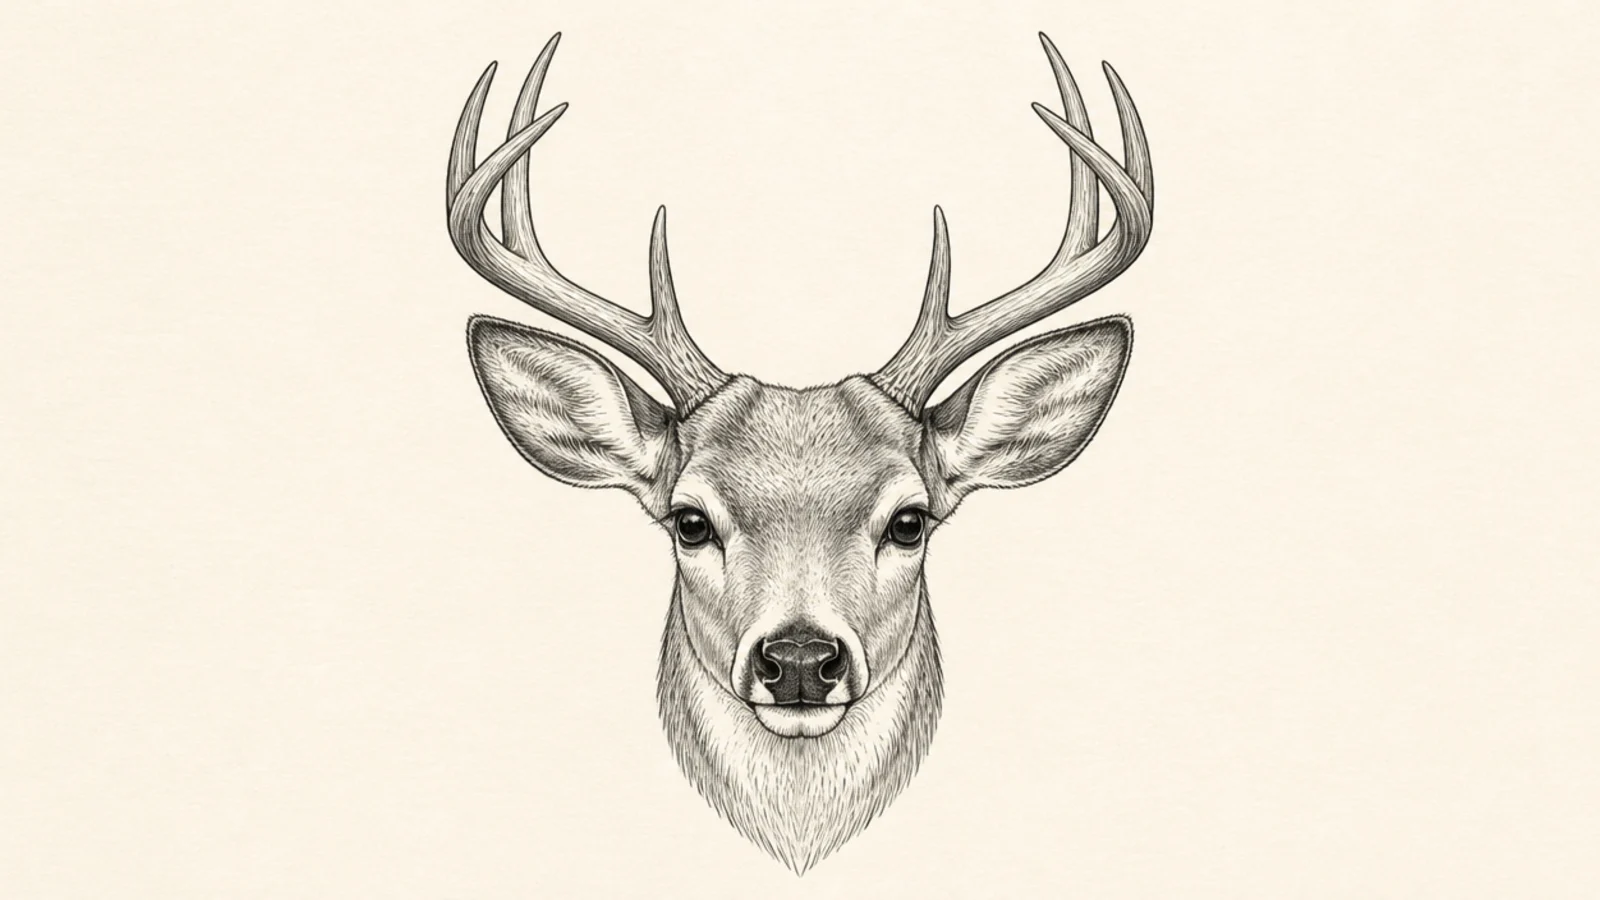
A front-facing buck head is the clearest way to learn symmetry and antler placement. Both sides mirror across the center line. It is a strong, direct portrait.
Step 1 draw the wedge with a straight vertical center line. Step 2 place the eyes on the sides and the nose at the bottom. Step 3 add the ears out to the sides and mirror the antlers above.
Keep the center line dead straight and mirror every feature across it.
Don’t set the eyes on the front of the face; deer eyes sit on the sides.
2 Doe Head in Profile
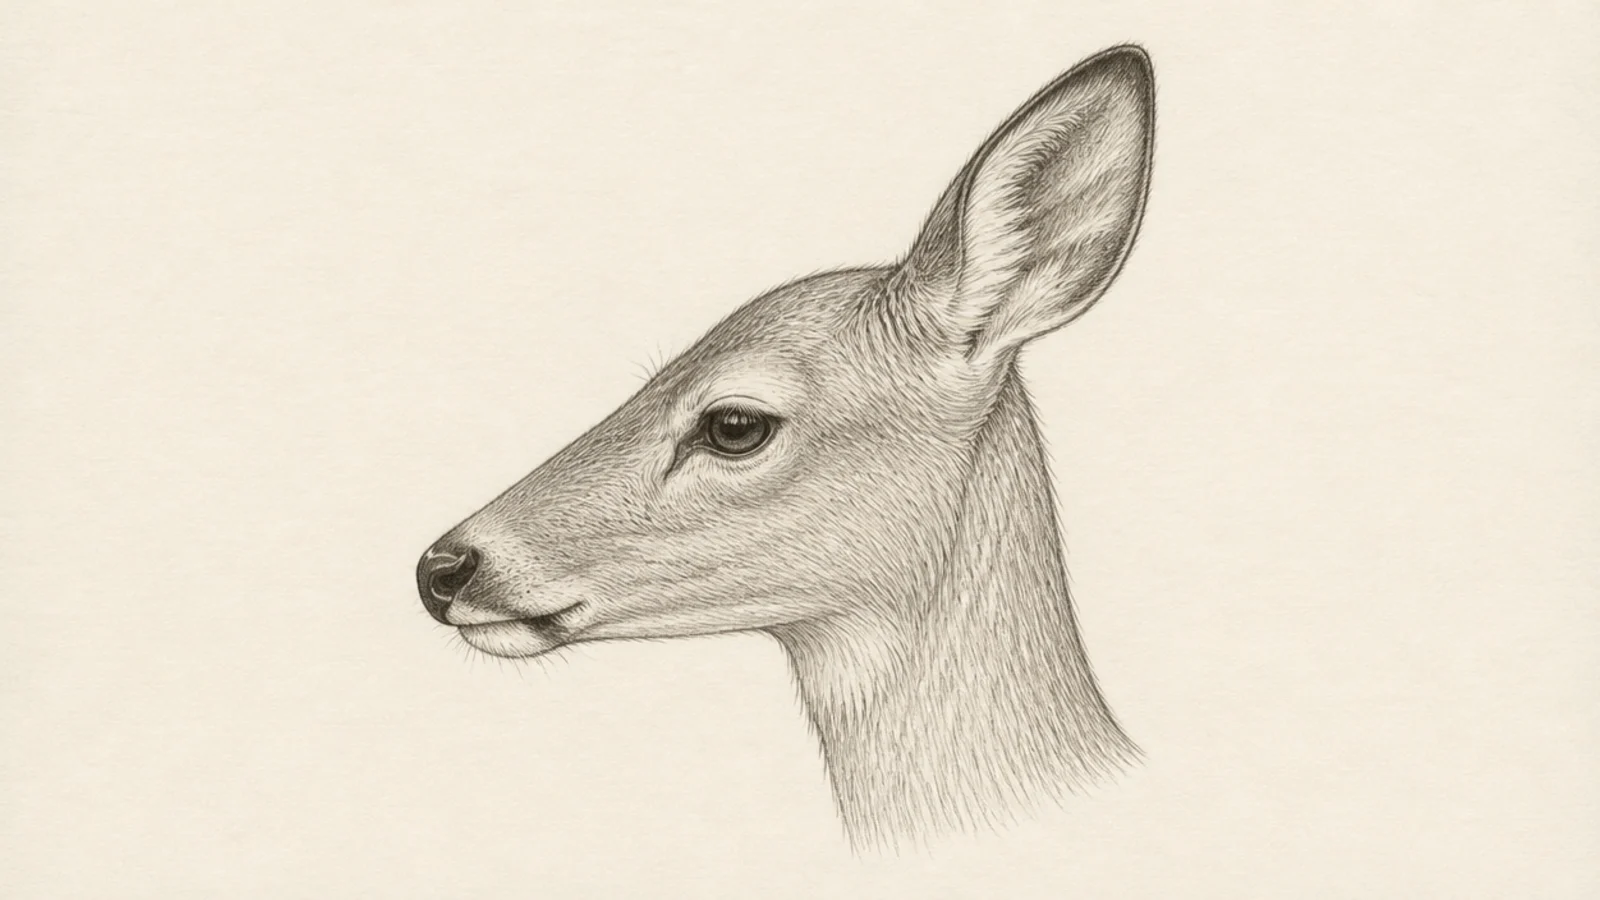
A doe profile shows the elegant wedge of the head from the side with no antlers to place. The clean silhouette is a great first profile. It looks gentle and refined.
Step 1 draw the wedge in side view, tapering to the nose. Step 2 add one almond eye and the mouth line. Step 3 add the tall ear and short neck fur, leaving the crown plain.
Keep the muzzle line gently curved, not straight, for a soft doe profile.
Don’t add antlers; a plain crown is what makes it read as a doe.
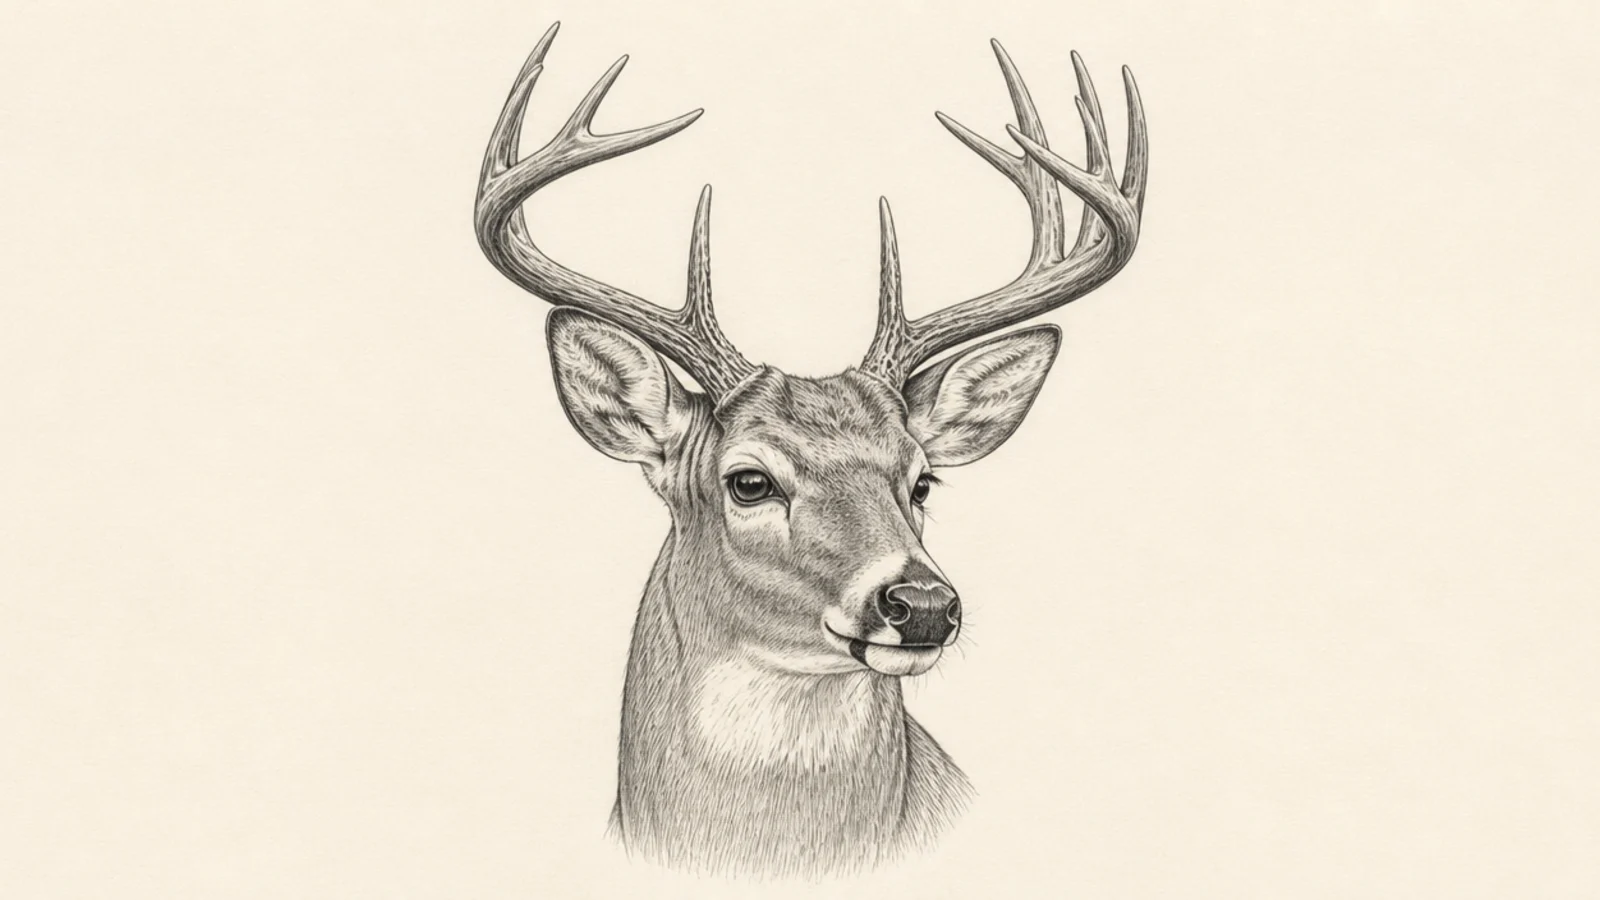
3 Three-Quarter Buck Head
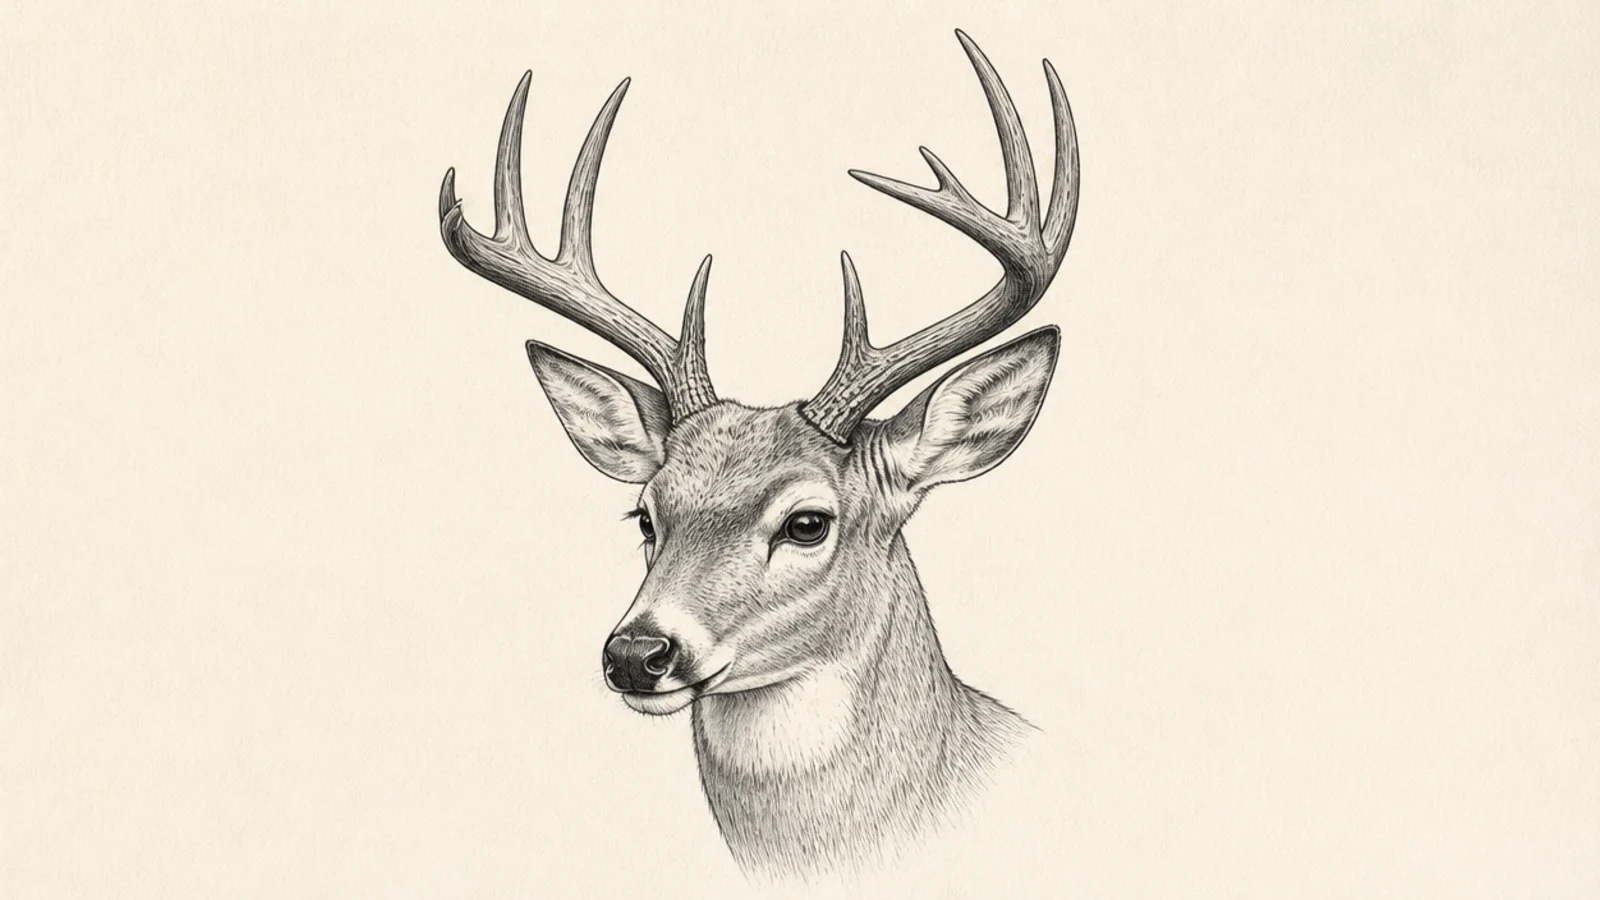
A three-quarter buck head is the most natural portrait angle, showing both depth and the antler spread. It is more dynamic than a flat front view. It teaches turning the head.
Step 1 draw the wedge with a center line bowing to one side. Step 2 make the far eye and ear smaller than the near ones. Step 3 angle the antlers so one reads closer and larger.
Bow the center line toward the turn and shrink the far-side features.
Don’t keep both sides equal; unequal sizes create the three-quarter depth.
4 Side-Profile Buck Head
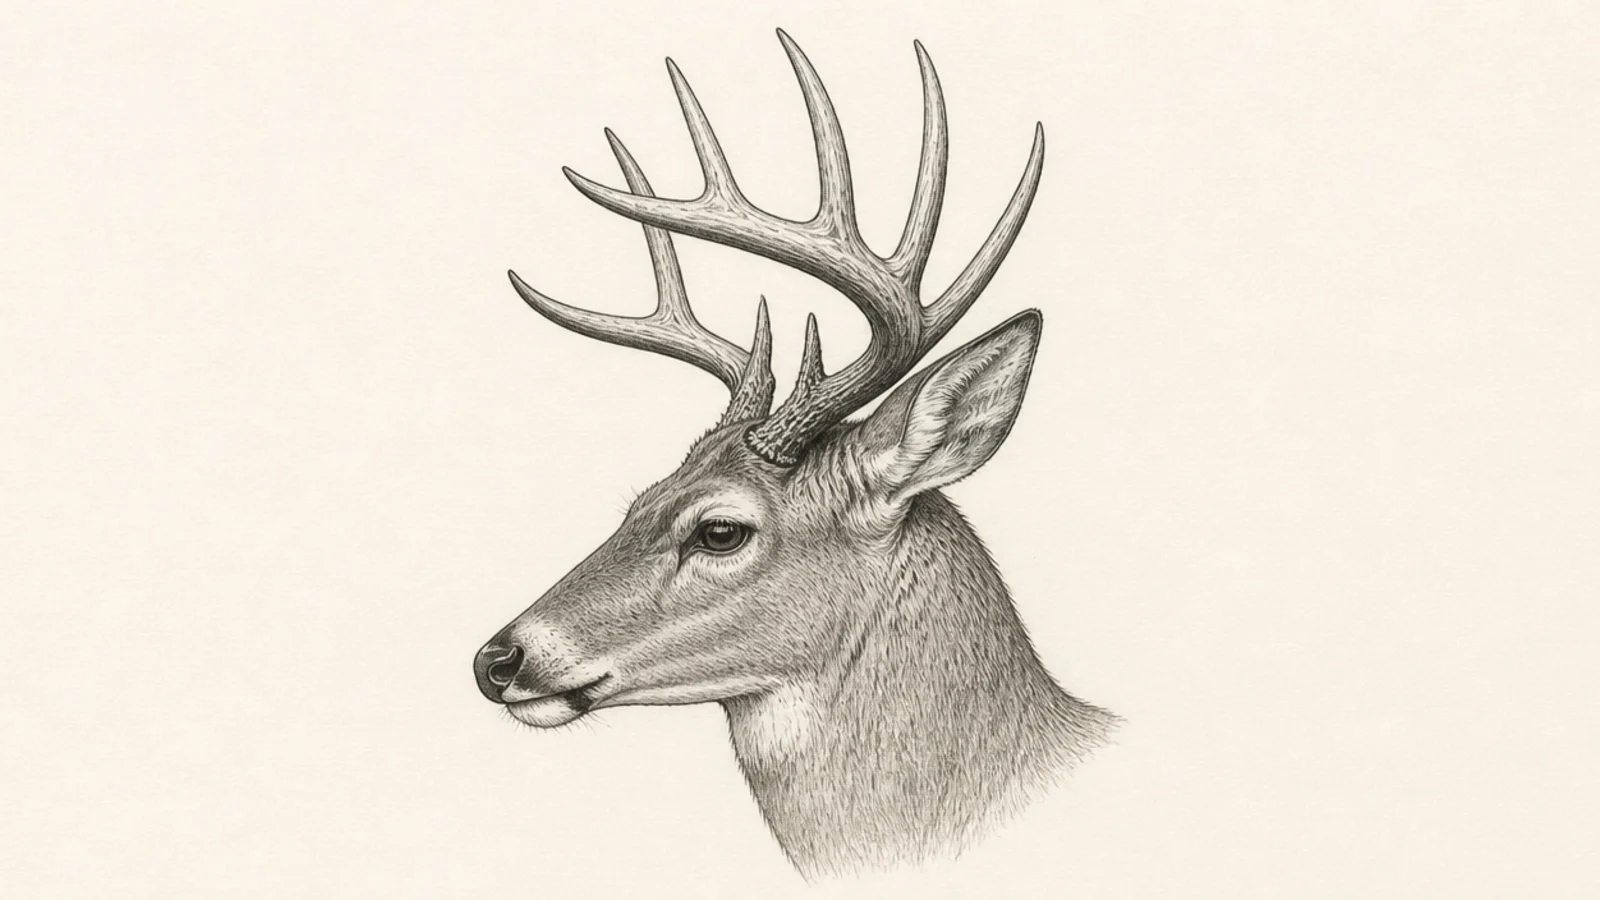
A side-profile buck shows the antlers sweeping back in their full curve. The clean silhouette makes the antler shape clear. It is a classic strong portrait.
Step 1 draw the head wedge in profile. Step 2 add the eye, nose, and ear. Step 3 sweep the antlers up and back over the neck, tapering each tine.
Pro tipLet the antlers arc back over the neck so their full sweep shows in profile.
AvoidDon’t crowd the antlers upright; a backward sweep reads best in profile.
5 Deer Head Looking Up
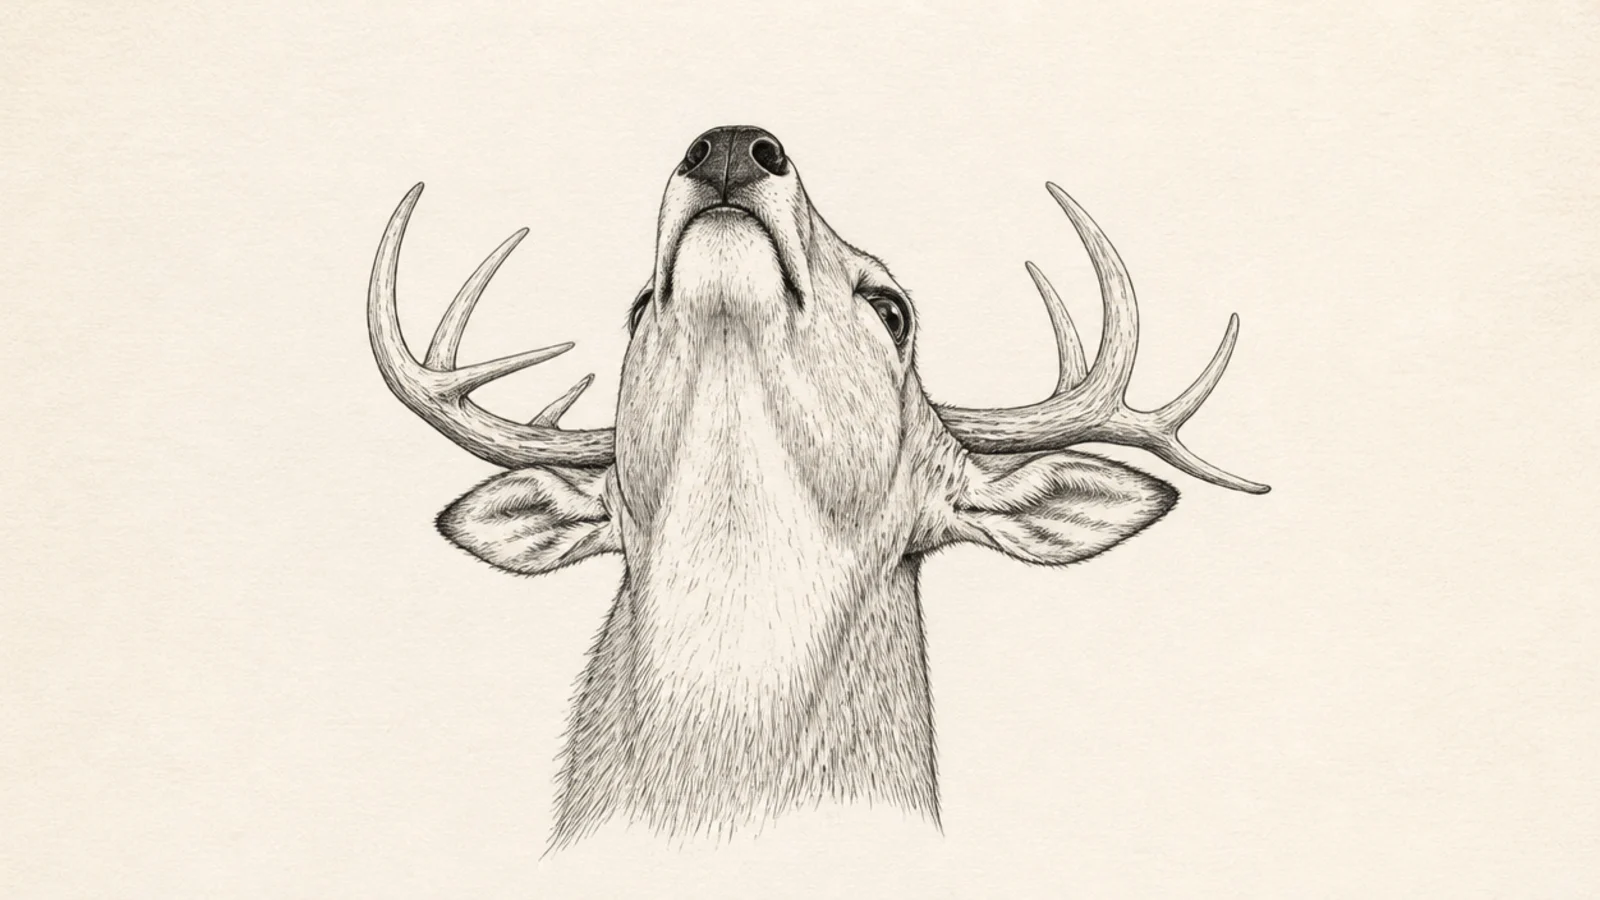
A head tilted upward looks alert and majestic, with the chin lifted and throat showing. The upward angle adds drama. It teaches foreshortening on the muzzle.
Step 1 draw the wedge tilted back with the chin up. Step 2 foreshorten the muzzle so the nose points upward. Step 3 add the throat line and sweep the ears and antlers back.
Pro tipShow the underside of the chin and throat to sell the upward tilt.
AvoidDon’t keep the muzzle full length; foreshorten it as it points up.
6 Deer Head Looking Down
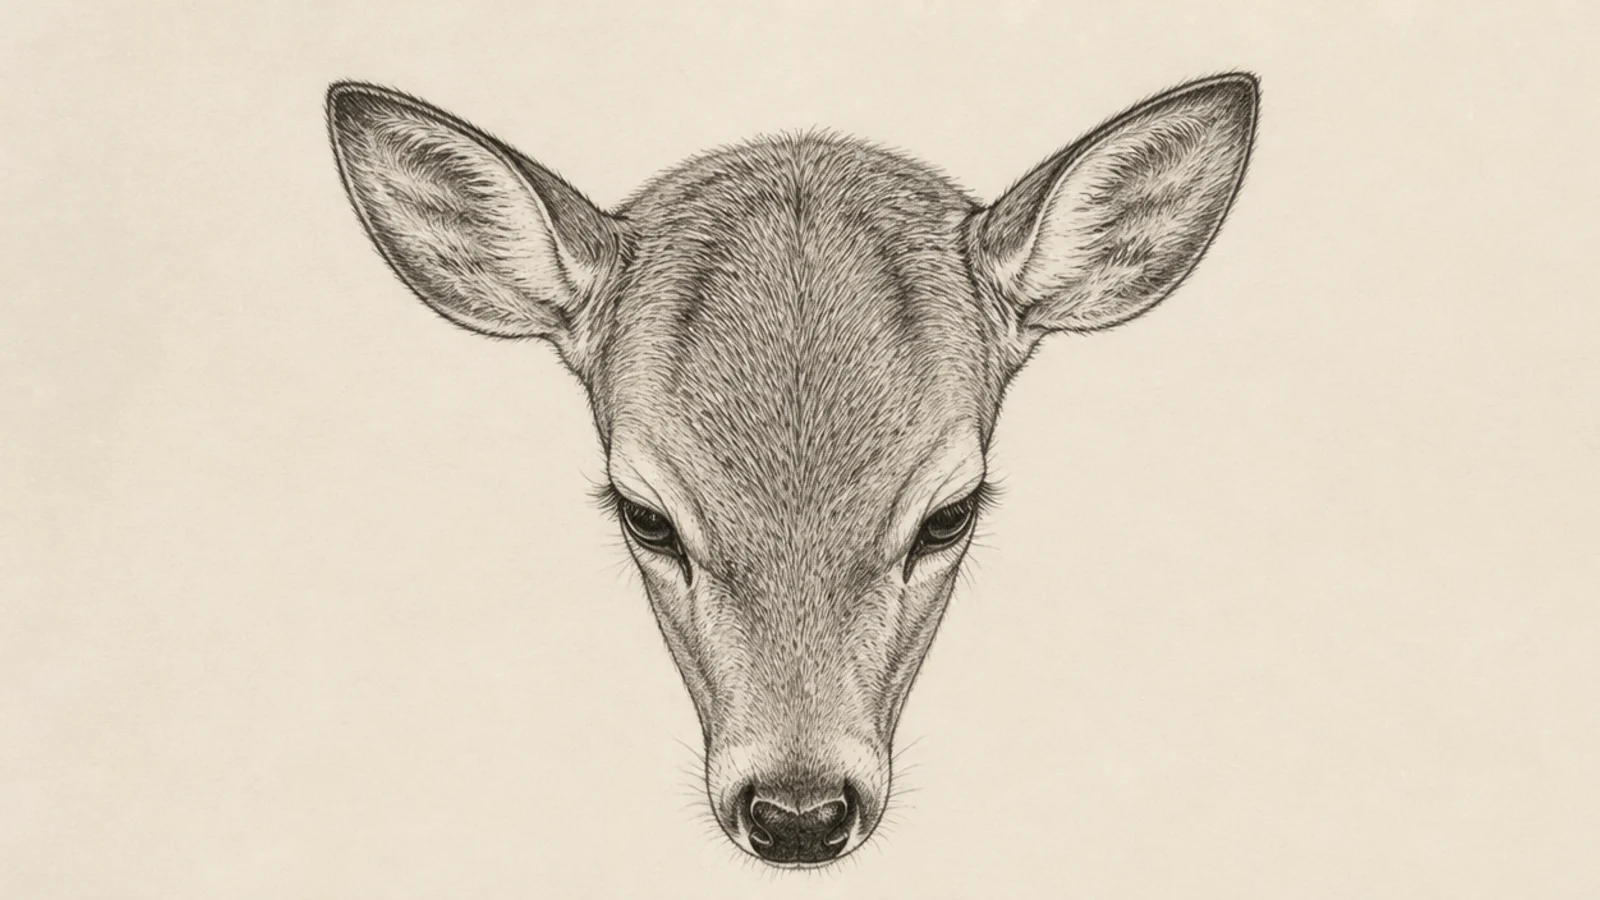
A lowered head looks gentle and peaceful, as if grazing or nuzzling. The downward tilt hides the throat and shows the forehead. It captures a calm moment.
Step 1 draw the wedge tilted forward and down. Step 2 show more of the top of the head and less of the underside. Step 3 add the eyes half-lowered and the ears forward and down.
Pro tipShow more of the forehead and less throat to read as looking down.
AvoidDon’t lift the chin; the downward tilt is the whole mood here.
7 Realistic Shaded Head
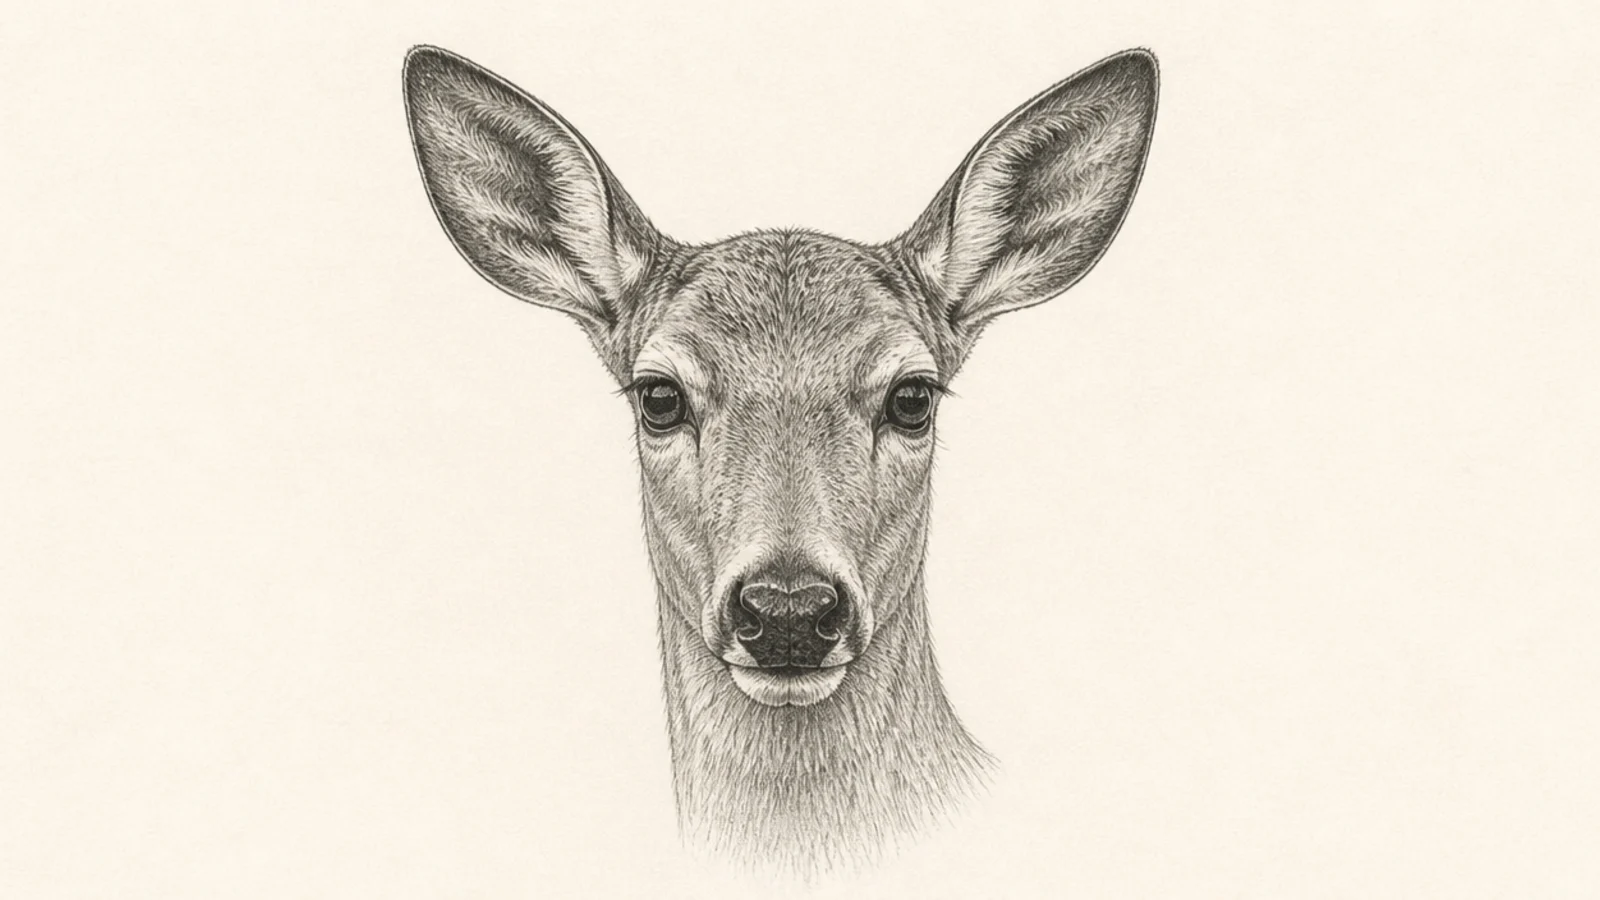
A fully shaded realistic head shows the soft fur, deep eyes, and rounded muzzle. The value range gives it lifelike form. It is a rewarding detailed study.
Step 1 draw the head accurately and pick a light direction. Step 2 build value under the brow, muzzle, and jaw with fur-direction strokes. Step 3 darken inside the ears and add a bright eye highlight.
Pro tipFollow the fur direction with every stroke so the shading looks like real coat.
AvoidDon’t shade flatly; graded value is what makes the head look real.
8 Clean Line-Art Head
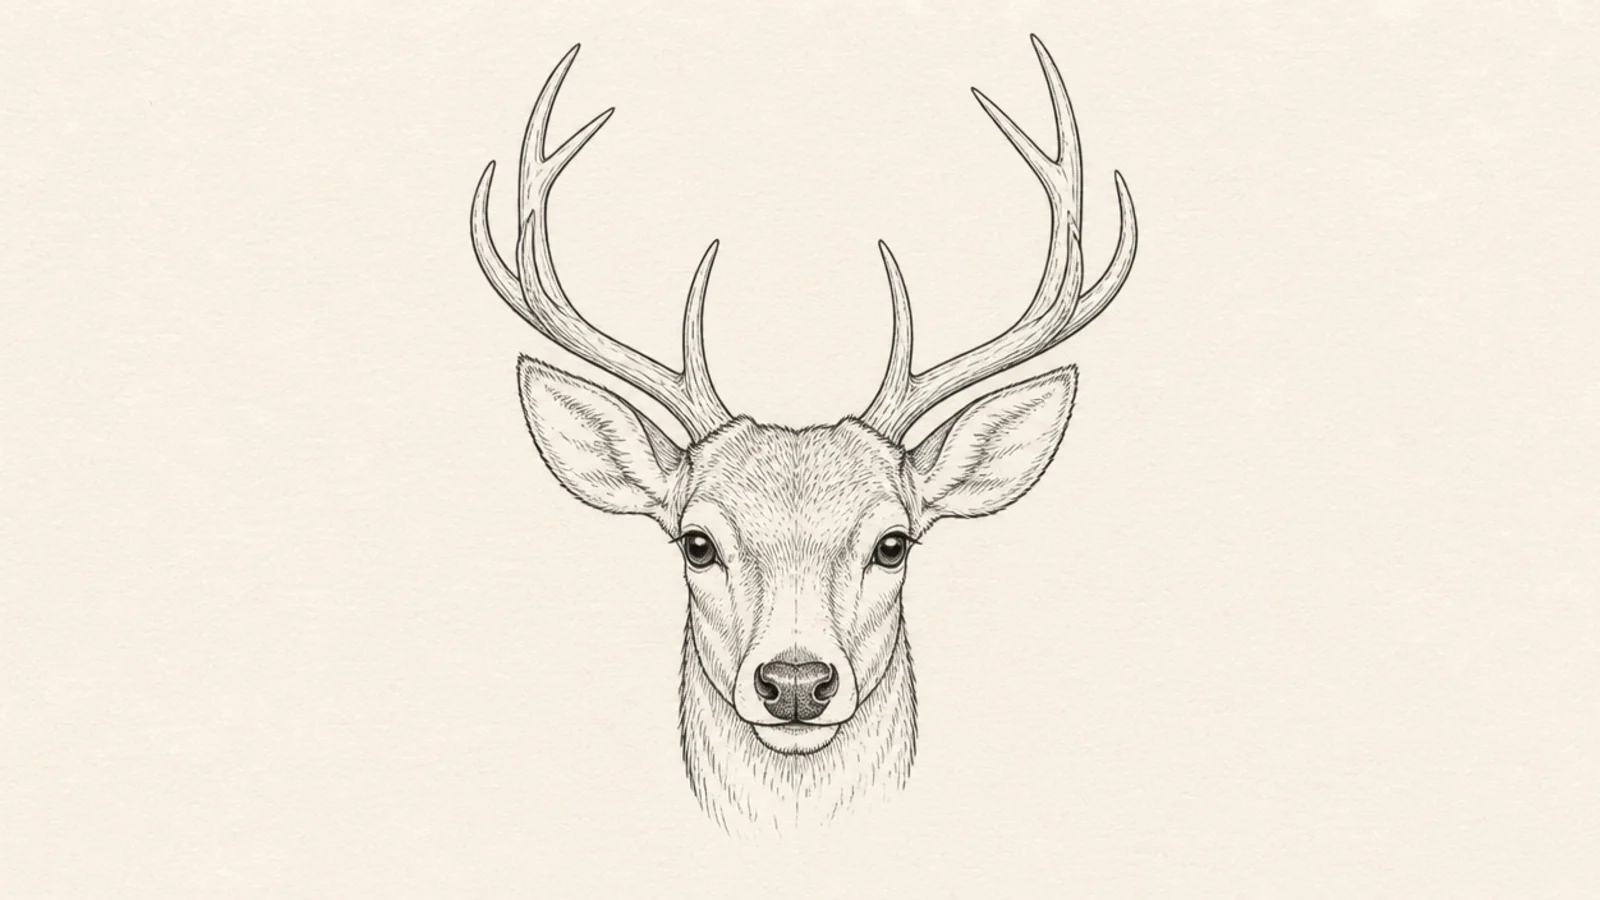
A clean line-art head uses one even line weight for a crisp modern portrait. There is no shading to distract from the shape. It suits prints and logos.
Step 1 sketch the head and antlers lightly. Step 2 trace once with a fineliner in a steady even pass. Step 3 erase the pencil and leave the outline clean and unshaded.
Use one consistent line weight so the line-art portrait stays crisp.
Don’t over-trace or add shading; a single clean pass is the design.
9 Head With a Full Rack
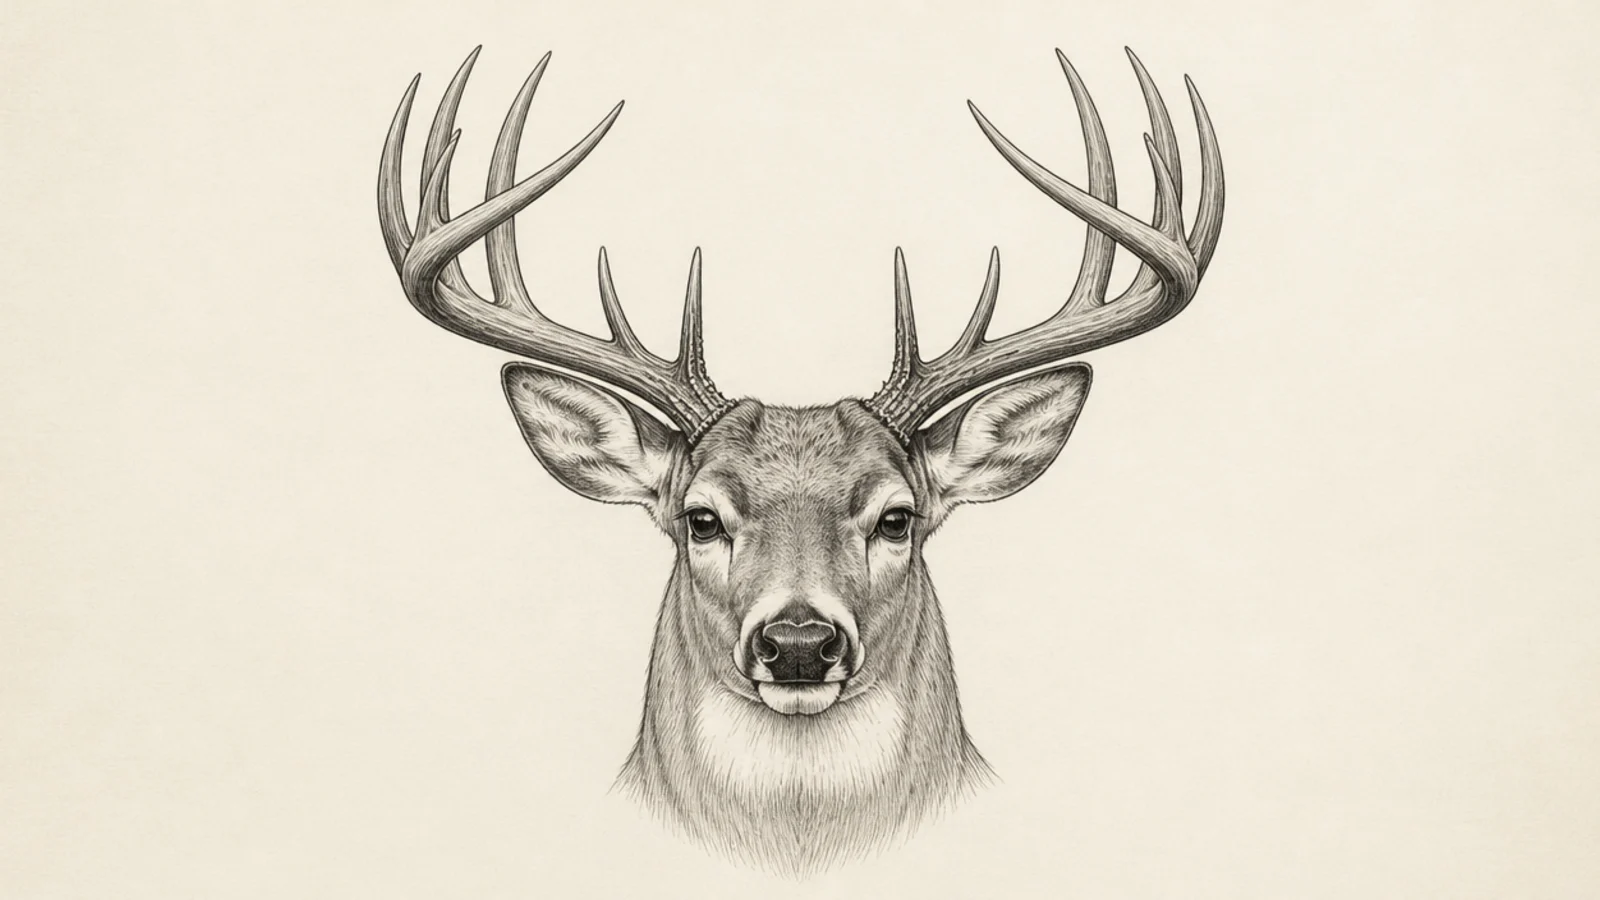
A head crowned with a large multi-point rack is majestic and impressive. The big antlers become the focal point. It is a bold trophy portrait.
Step 1 draw a strong buck head wedge. Step 2 rise two long beams with five or six tines each from behind the eyes. Step 3 balance the rack across the center and taper every tine.
Space the many tines evenly so the big rack stays readable and balanced.
Don’t let the rack lean lopsided; balance it across the center line.
10 Young Buck Head
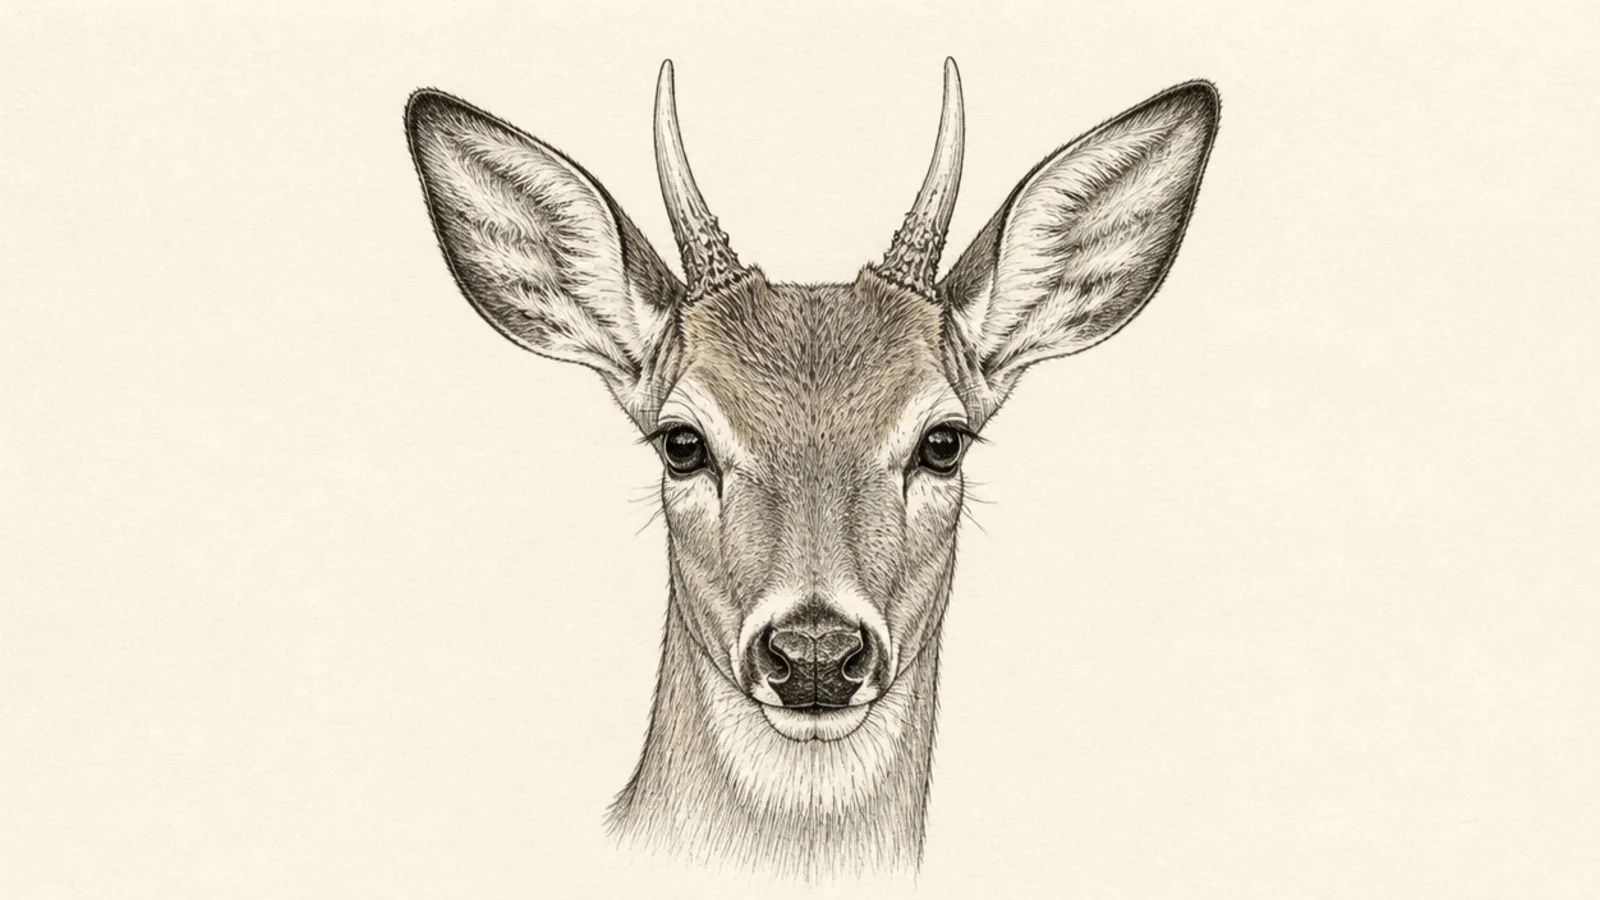
A young buck head carries small spike antlers and a slimmer face. The little antlers are easy to place. It captures a youthful stage between fawn and mature buck.
Step 1 draw a slightly slimmer head wedge. Step 2 add two short spike antlers behind the eyes. Step 3 keep the features soft and the ears large relative to the head.
Pro tipKeep the antlers short spikes and the ears large for a youthful look.
AvoidDon’t add a big branching rack; small spikes read as a young buck.
11 Head Turned Back
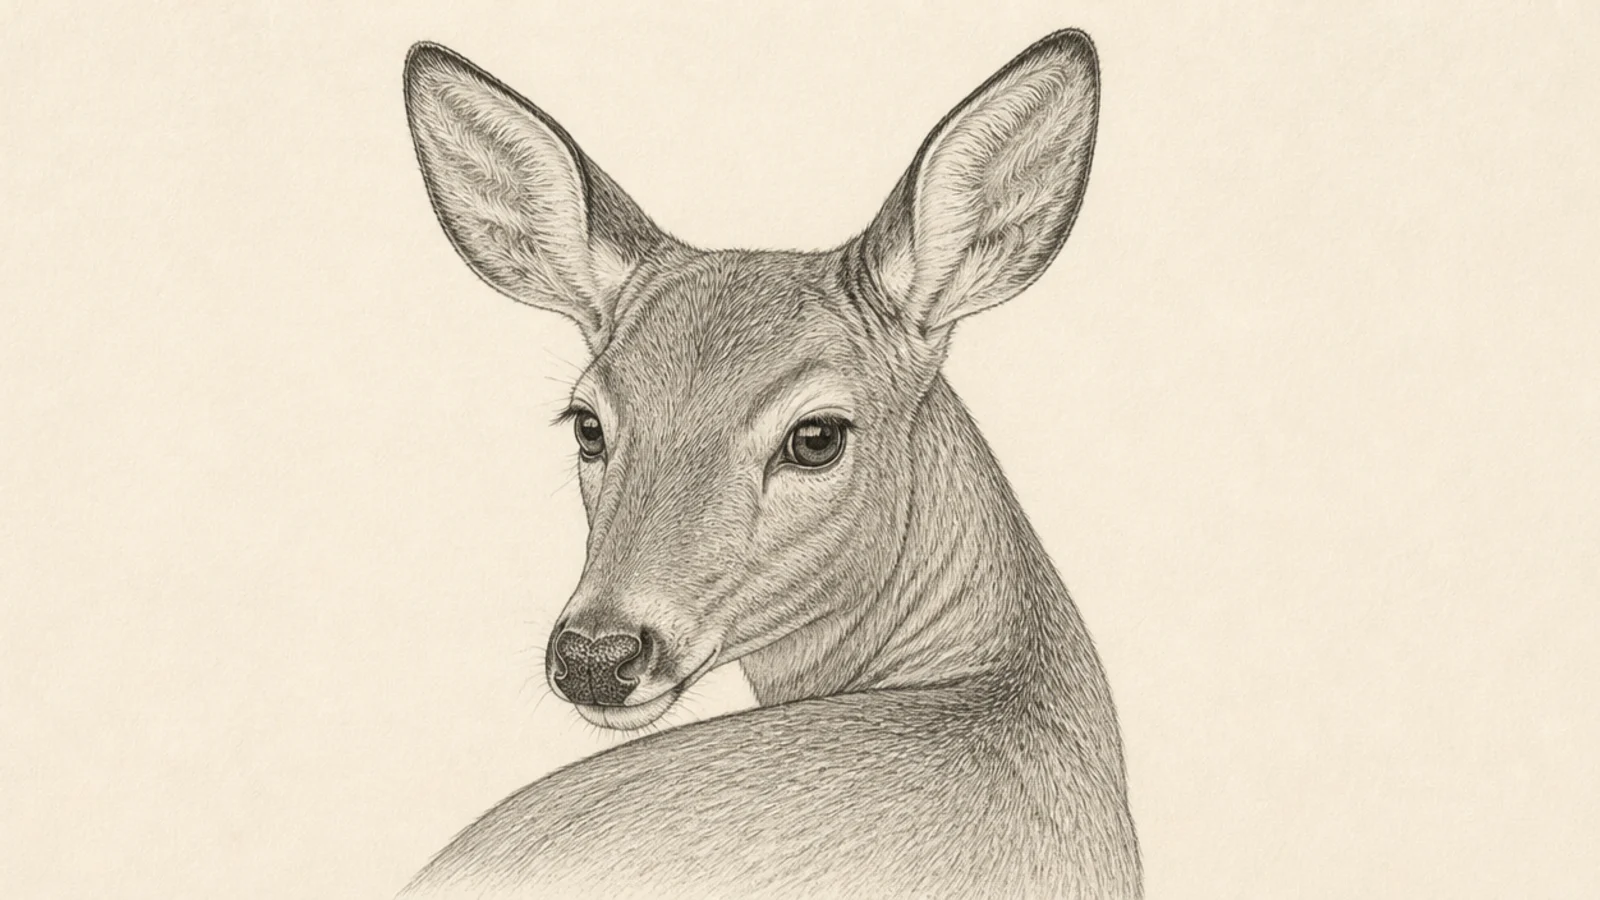
A head twisting back over the shoulder is alert and expressive. The strong neck curve adds movement. It teaches a dynamic turned pose.
Step 1 draw a hint of the shoulder and neck. Step 2 twist the head wedge back over it with a curving center line. Step 3 perk the ears and point the eyes backward.
Curve the neck strongly so the head clearly twists back over the shoulder.
Don’t keep the neck straight; the twist is what makes the pose alert.
12 Fawn Head Portrait
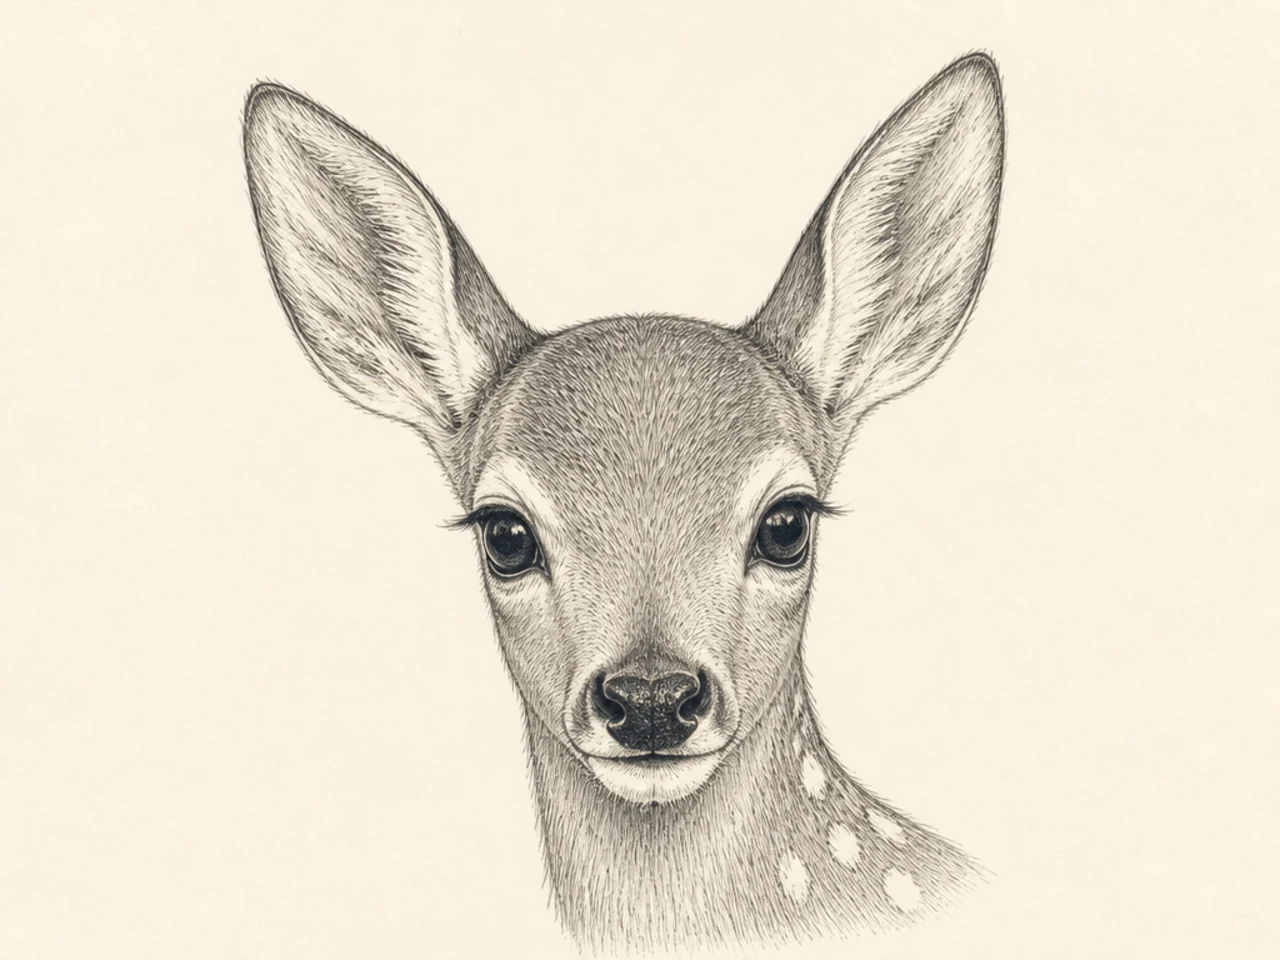
A fawn head portrait has baby proportions — a shorter muzzle, bigger eyes, and no antlers. The sweet face is a nice change from the adults. It is soft and endearing.
Step 1 draw a rounder, shorter head wedge. Step 2 add big low-set eyes and a small nose. Step 3 add tall ears and a few soft spots on the neck.
Shorten the muzzle and enlarge the eyes to get the baby fawn proportions.
Don’t draw a long adult muzzle; a short one reads as a fawn.
13 Alert Ears-Forward Head
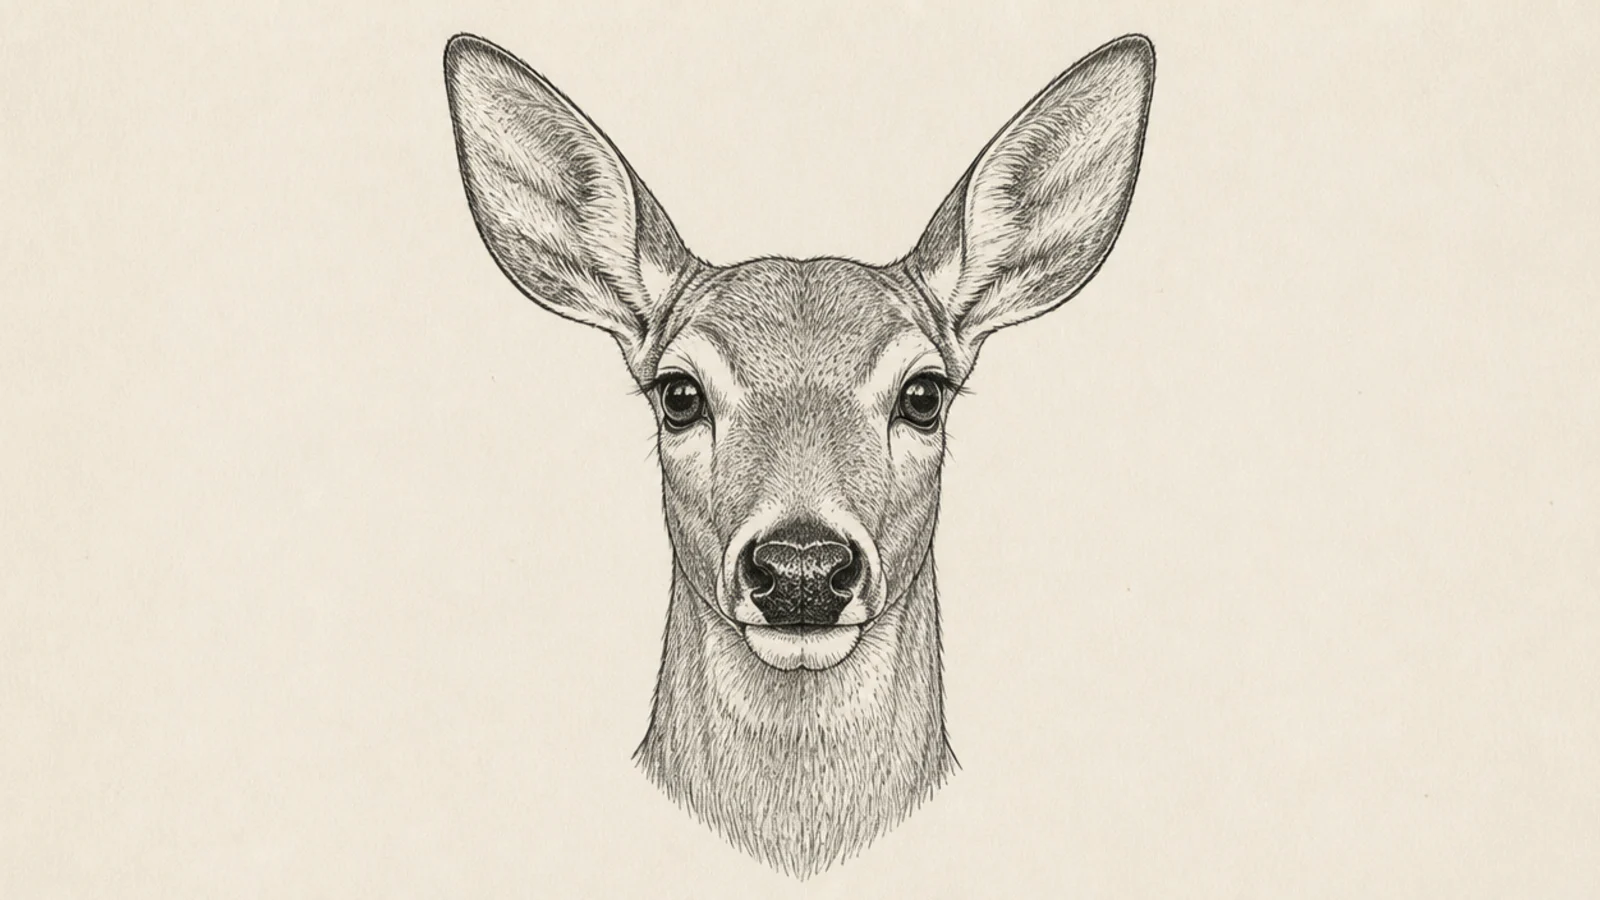
A head with ears pinned forward reads as alert and listening. The ears become the focus of the expression. It captures a tense, watchful moment.
Step 1 draw the head wedge front or three-quarter. Step 2 point both ears sharply forward with the openings showing. Step 3 widen the eyes and raise the head slightly.
Pro tipTurn the ear openings toward the viewer so the alert listening reads.
AvoidDon’t droop the ears; upright forward ears create the alert mood.
14 Low-Poly Geometric Head
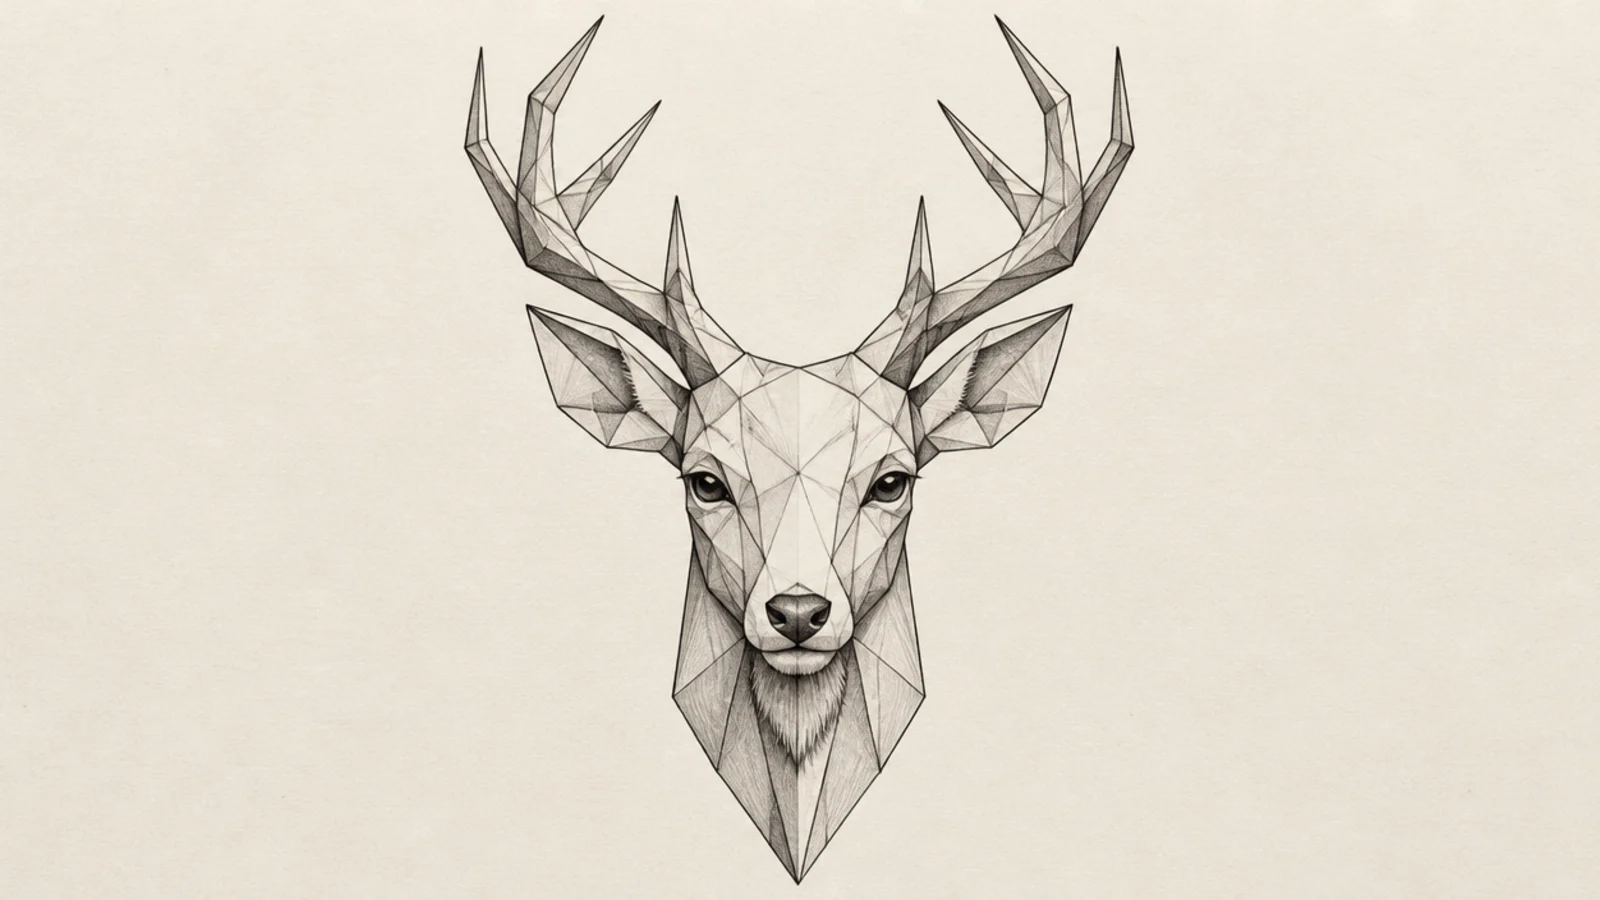
A low-poly head breaks the deer into angular facets for a modern graphic look. The flat planes describe the form with straight edges. It feels contemporary and stylish.
Step 1 draw the head as a faceted shape with straight edges. Step 2 divide the face and antlers into triangular planes. Step 3 shade alternating facets light and dark to suggest the form.
Follow the real planes of the head so the facets still read as a deer.
Don’t curve any lines; the low-poly look lives in straight edges.
15 Watercolor Deer Head
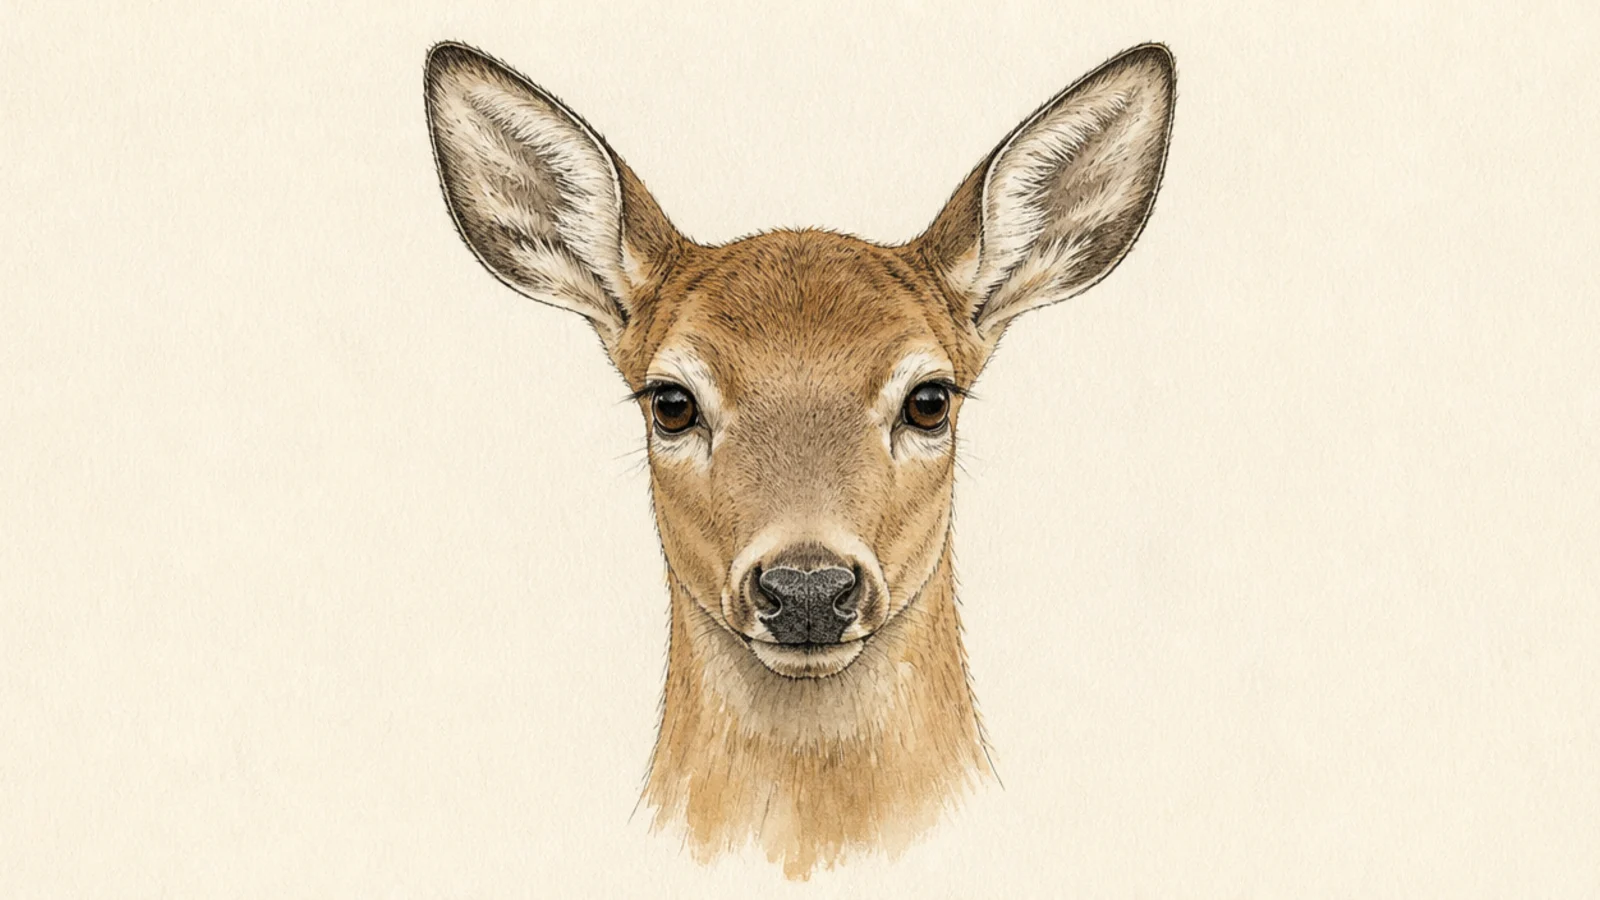
A watercolor head uses soft washes to give the portrait a glowing, painterly feel. The loose color contrasts with a little crisp detail. It looks artistic and atmospheric.
Step 1 sketch the head lightly. Step 2 wash warm browns over the fur, leaving white for highlights. Step 3 drop darker color into the shadows wet and add crisp eye and nose detail once dry.
Leave some white paper for the highlights so the washes look luminous.
Don’t paint every area solid; reserved whites keep the watercolor glowing.
16 Winter Frost Head
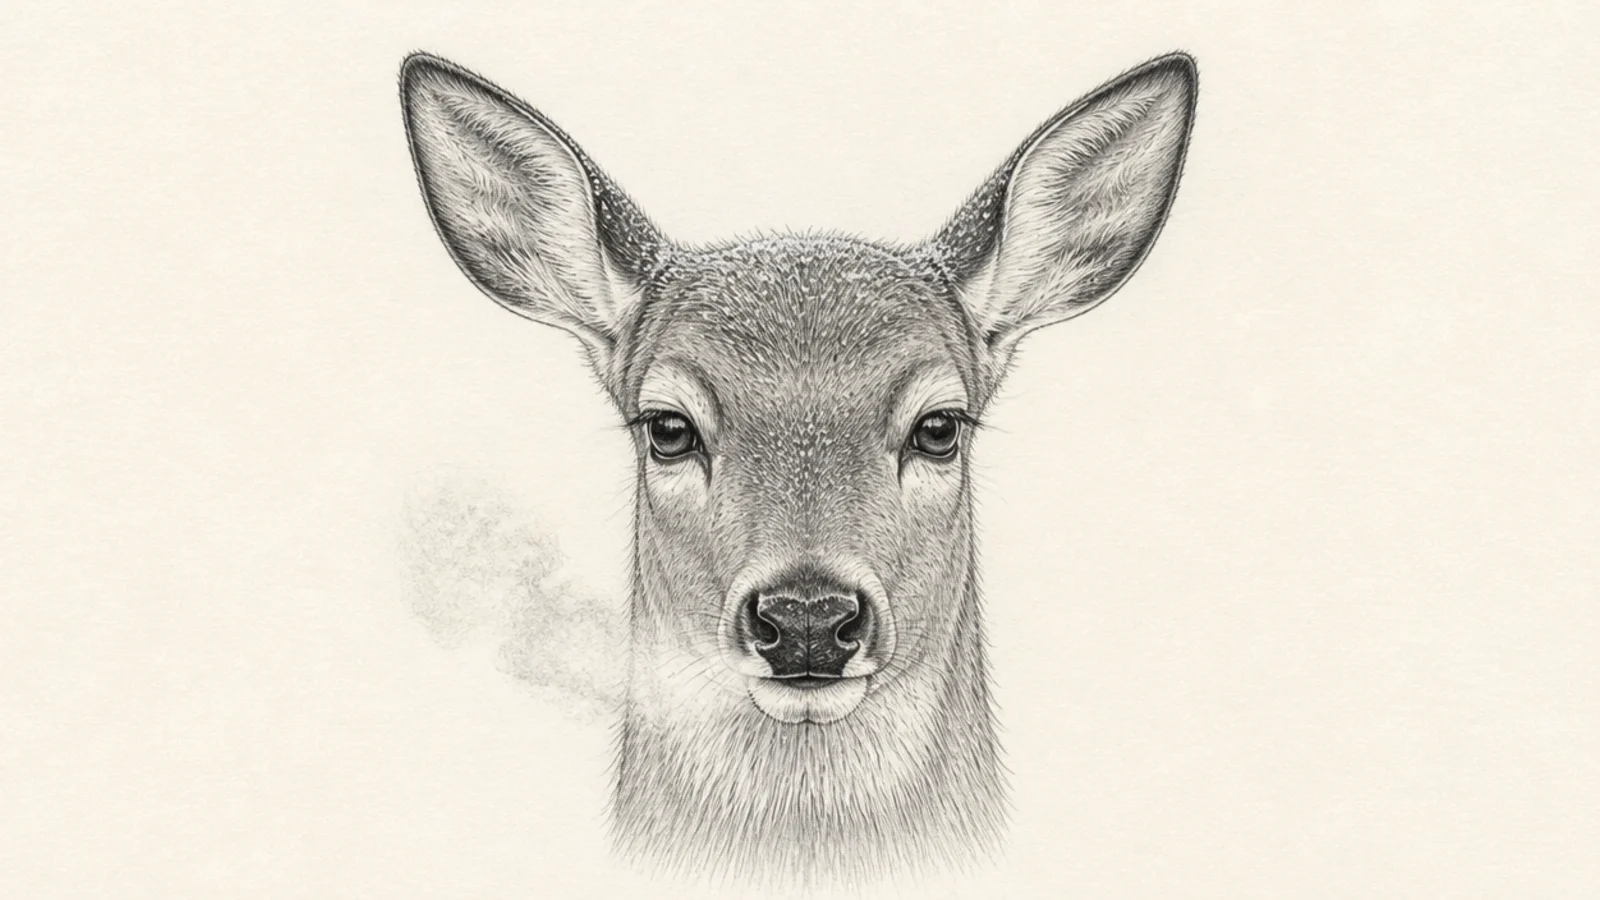
A winter head shows frost on the fur and visible breath in cold air. The seasonal touches add mood and story. It feels crisp and atmospheric.
Step 1 draw a shaded deer head. Step 2 leave the fur tips light and add tiny frost flecks. Step 3 add soft puffs of breath from the nose and a cool overall tone.
Pro tipAdd little white frost flecks on the fur tips and soft breath from the nose.
AvoidDon’t overdo the breath; a soft puff reads better than a big cloud.
17 Bugling Buck Head
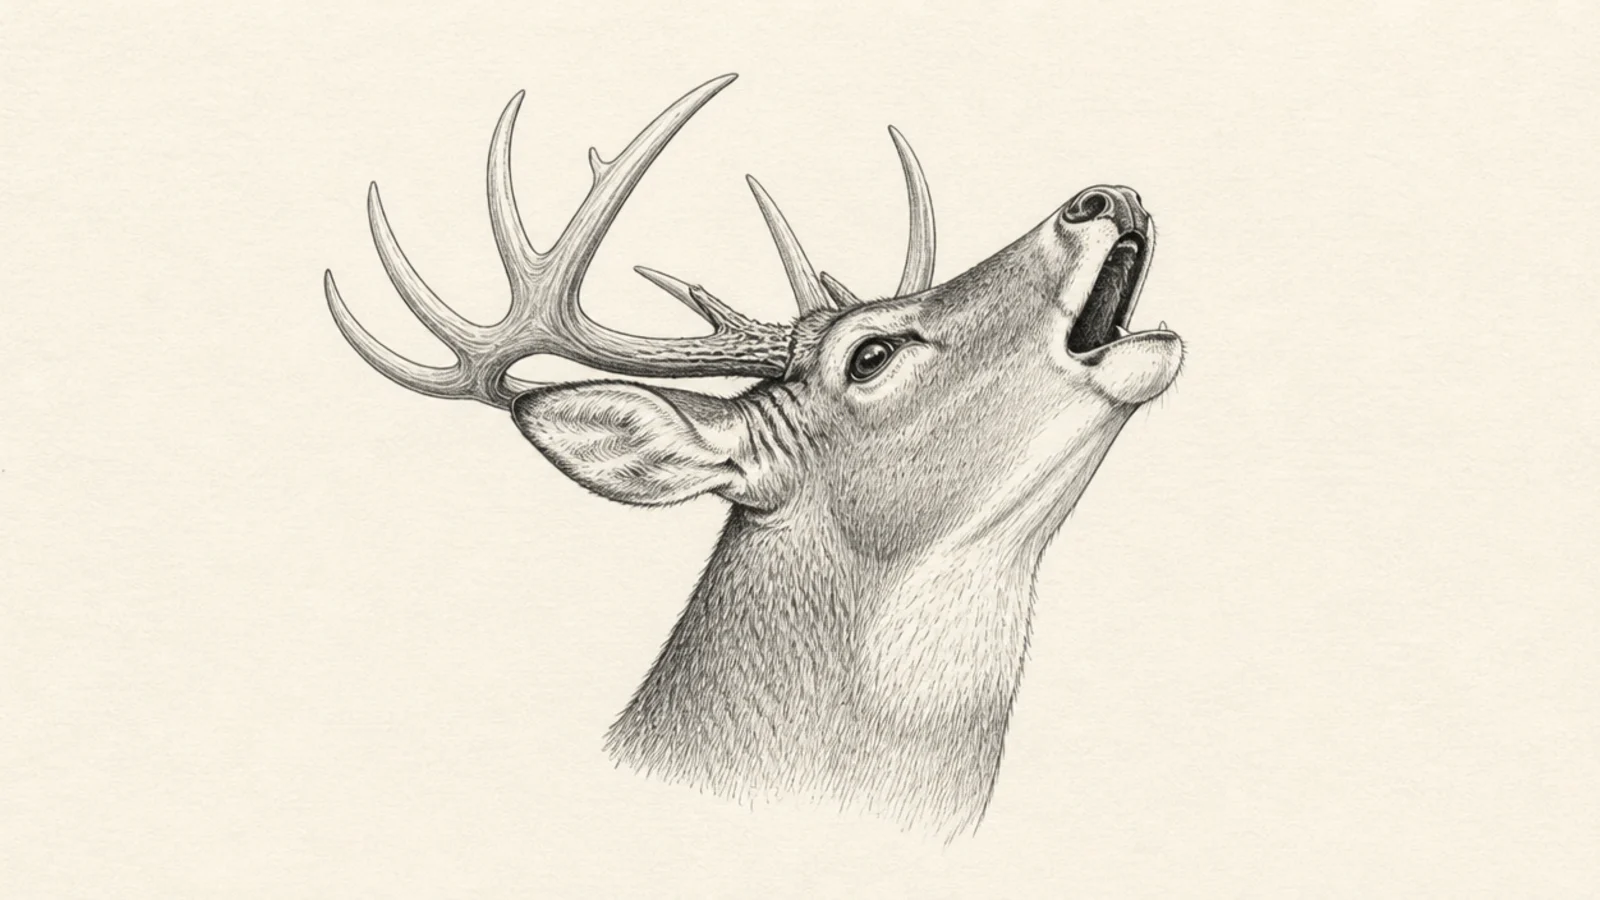
A bugling buck lifts its head and opens its mouth to call, a dramatic rut-season pose. The open mouth and stretched neck are powerful. It captures raw wild energy.
Step 1 draw the head tilted up with the neck stretched. Step 2 open the mouth into a calling shape. Step 3 sweep the antlers back and add breath and a strong throat line.
Stretch the neck up and open the mouth so the call clearly reads.
Don’t keep the mouth closed; the open call is the whole drama.
18 Floral-Crown Deer Head
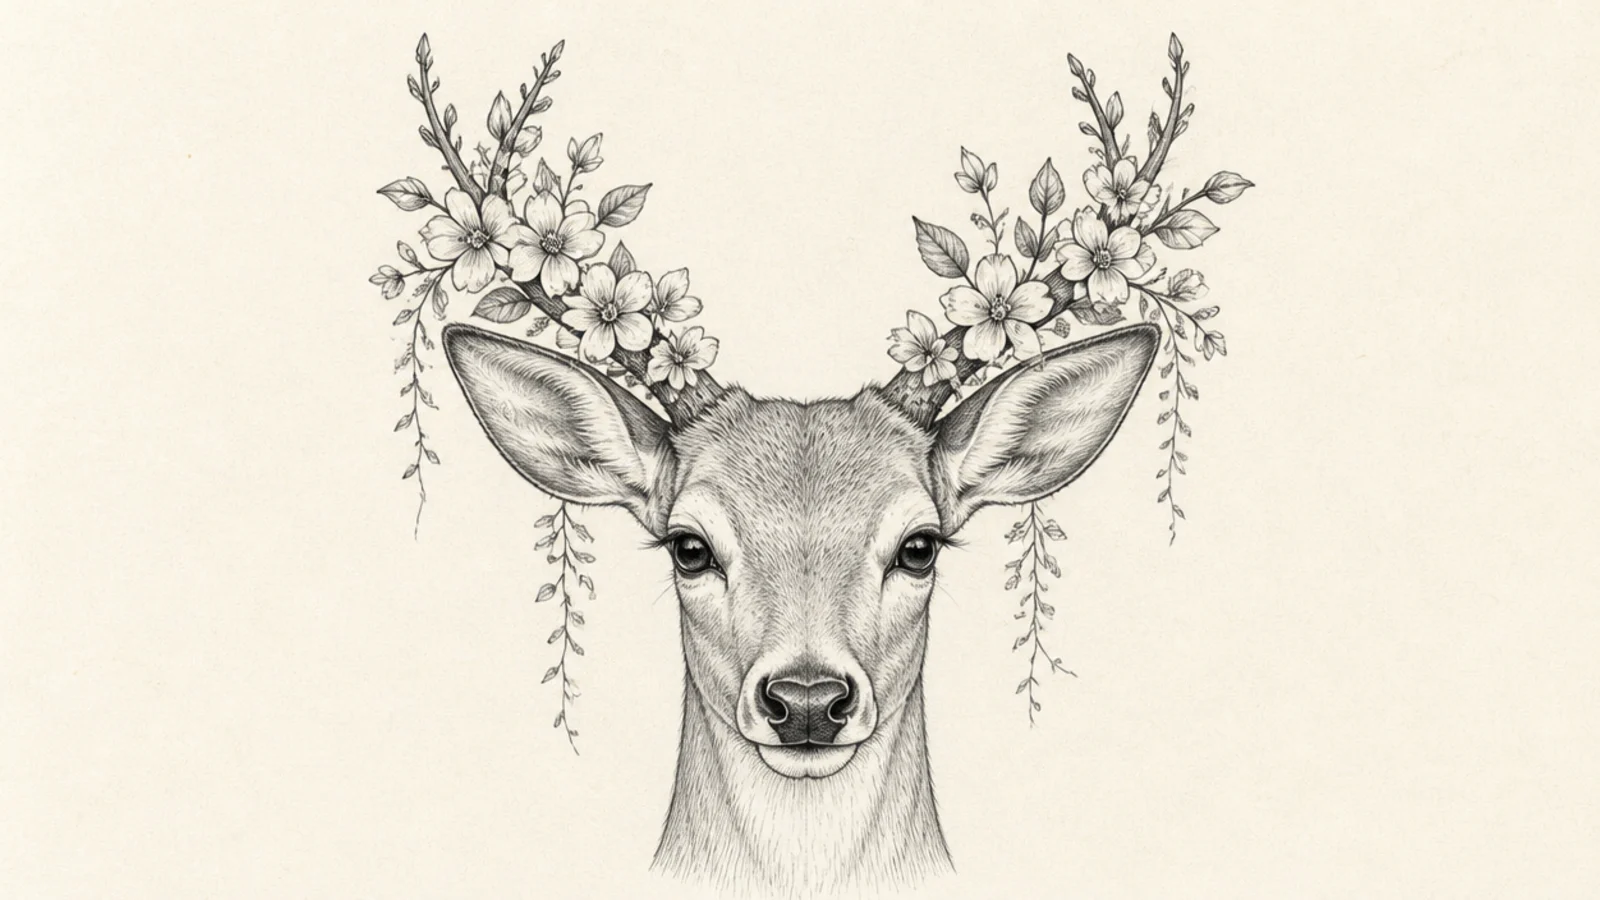
A head with flowers woven through the antlers gives a soft boho portrait. The blooms contrast prettily with the antler lines. It is decorative and giftable.
Step 1 draw a front-facing deer head with antlers. Step 2 cluster small flowers where the antlers branch. Step 3 tuck leaves and buds into the gaps and let a few trail down.
Cluster the flowers at the antler forks so they sit naturally in the branches.
Don’t cover the antlers completely; some bare antler keeps the shape clear.
19 Deer Head Silhouette
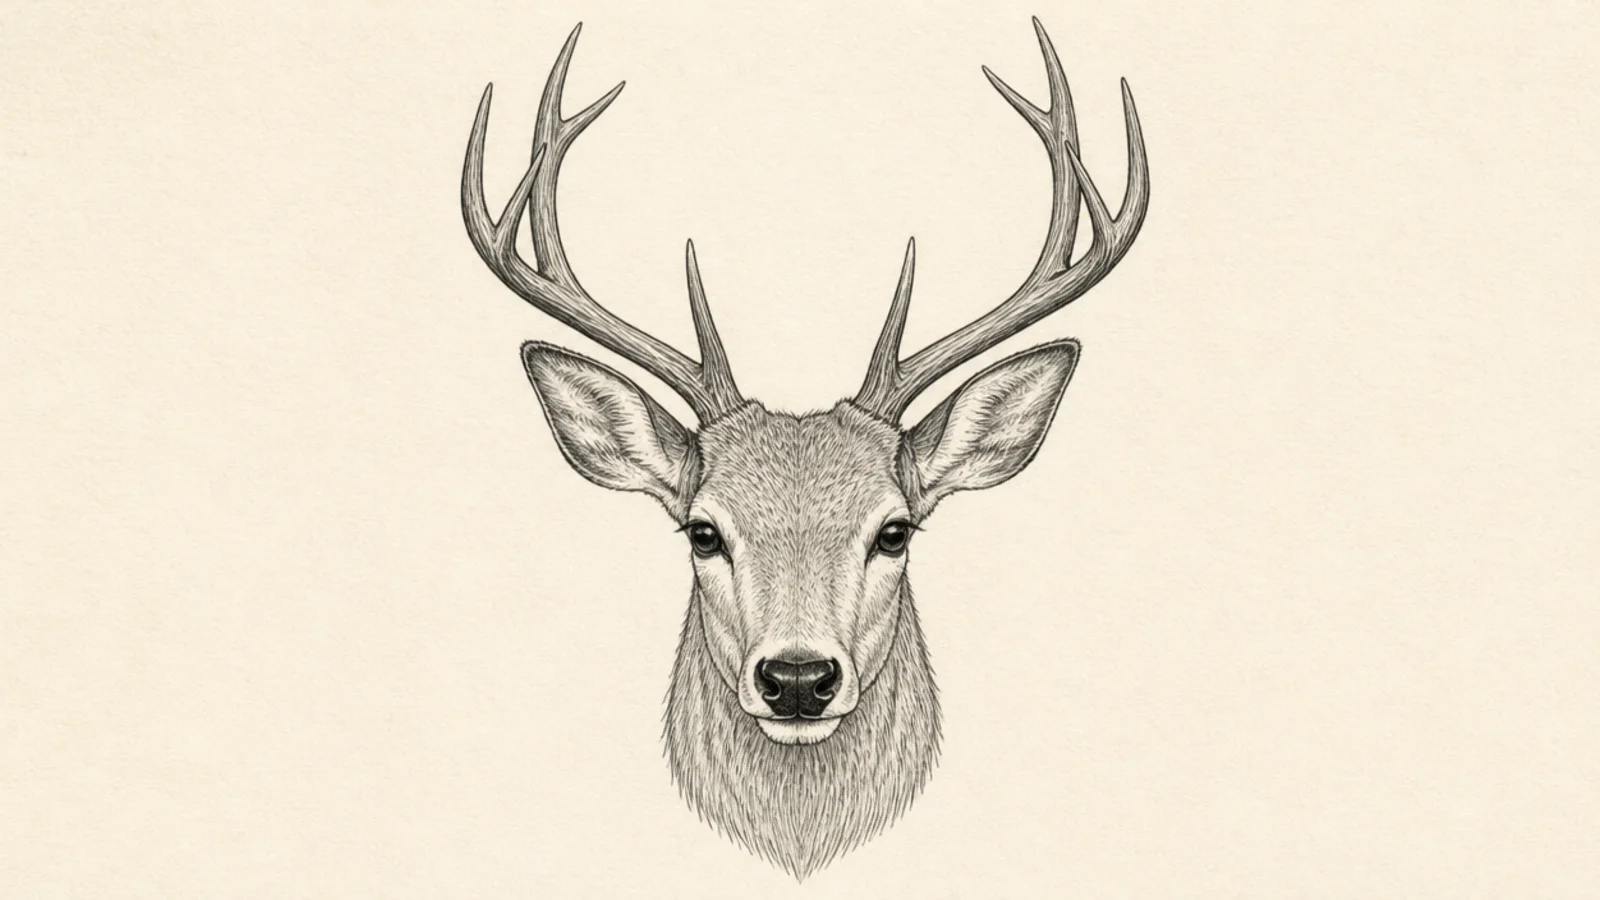
A solid silhouette reduces the head to its strongest shape — the muzzle line and antler spread. There is no interior detail to fuss over. It looks bold and graphic.
Step 1 draw a clean head-and-antler outline. Step 2 fill it solid black. Step 3 keep the muzzle curve and antler tips crisp since the outline carries the design.
Pro tipSpend your effort on a clean muzzle line and crisp antler tips.
AvoidDon’t add inner lines; the flat solid shape is the entire design.
20 Finished Detailed Portrait
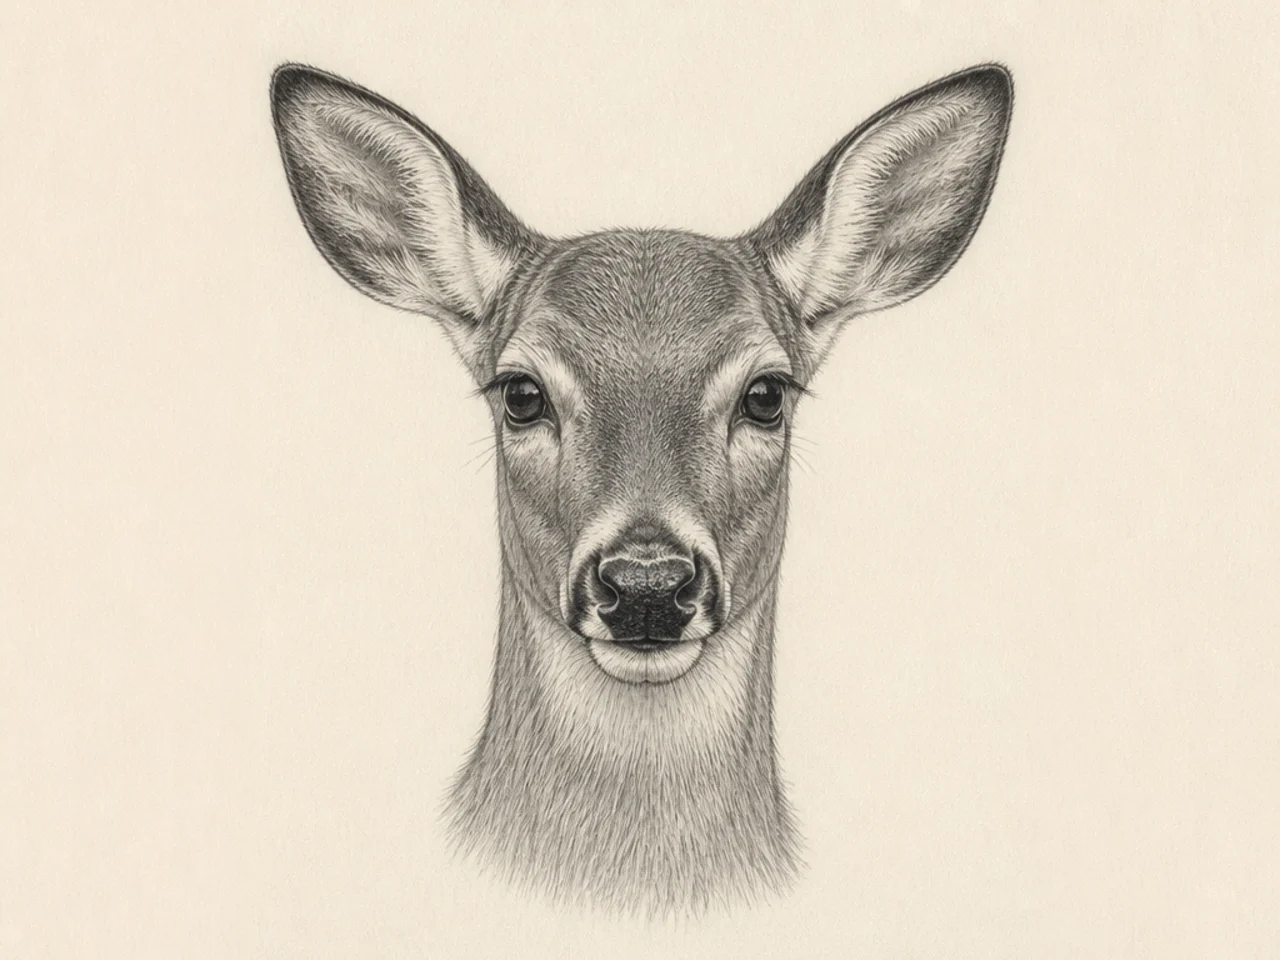
A finished portrait pulls it all together — accurate structure, full shading, and fur detail. It shows how far a head study can go. It is a gallery-worthy way to close the list.
Step 1 build the head from the wedge and center line. Step 2 shade the full value range with fur-direction strokes. Step 3 render the eye, nose, and inner ears in detail and soften the fur edges.
Render the eye and nose most sharply and let the fur edges soften outward.
Don’t detail everything equally; sharp eyes and softer edges create focus.



