
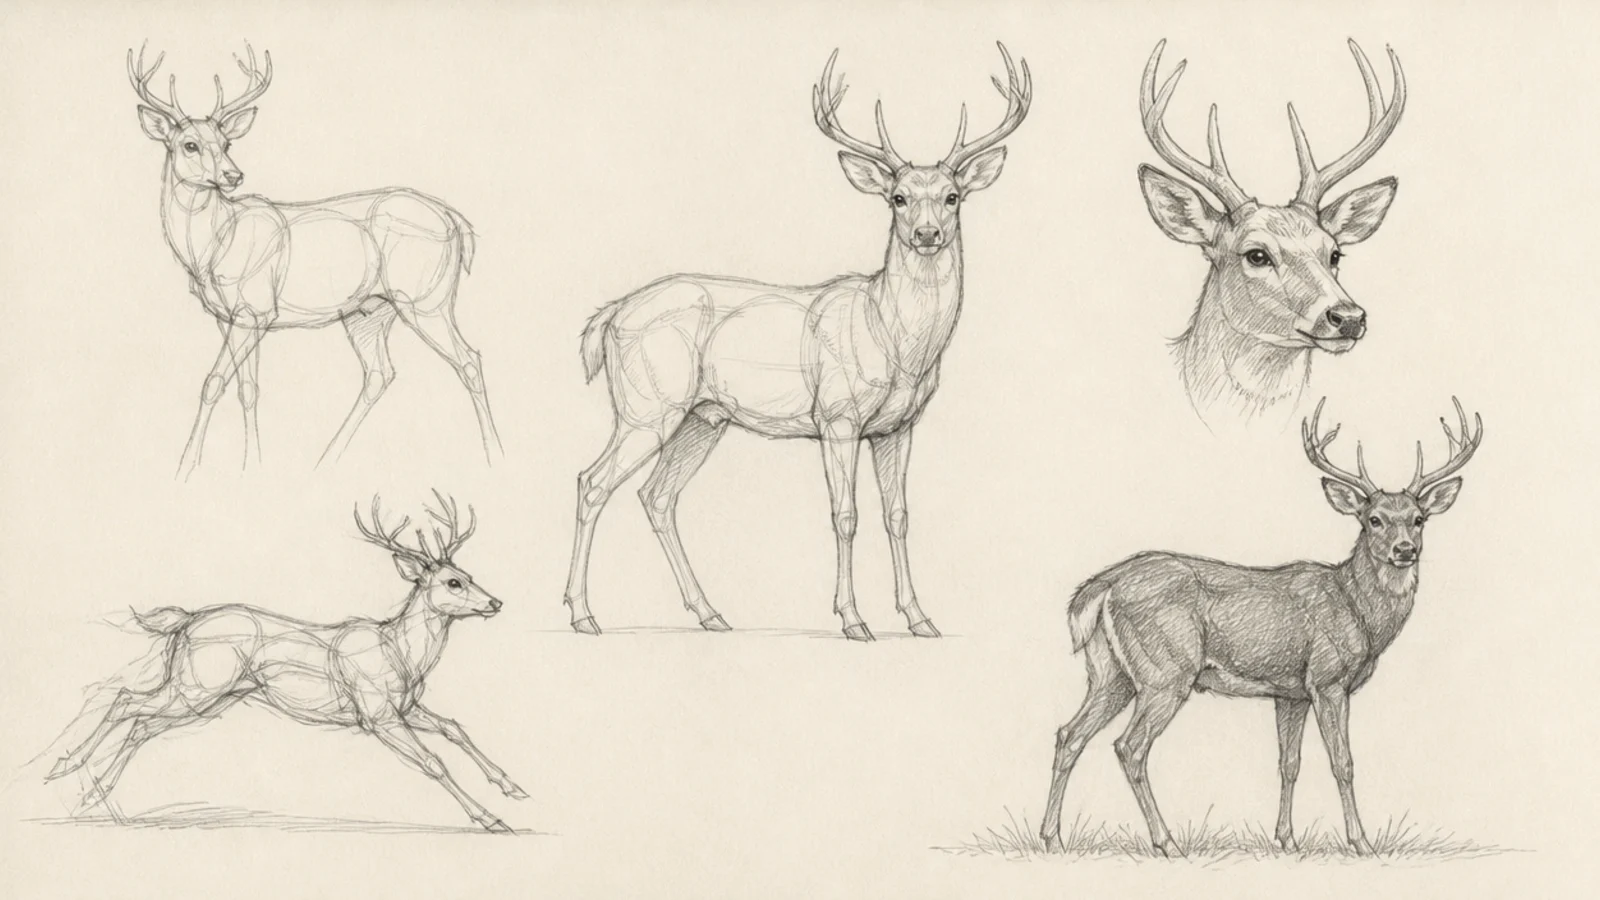
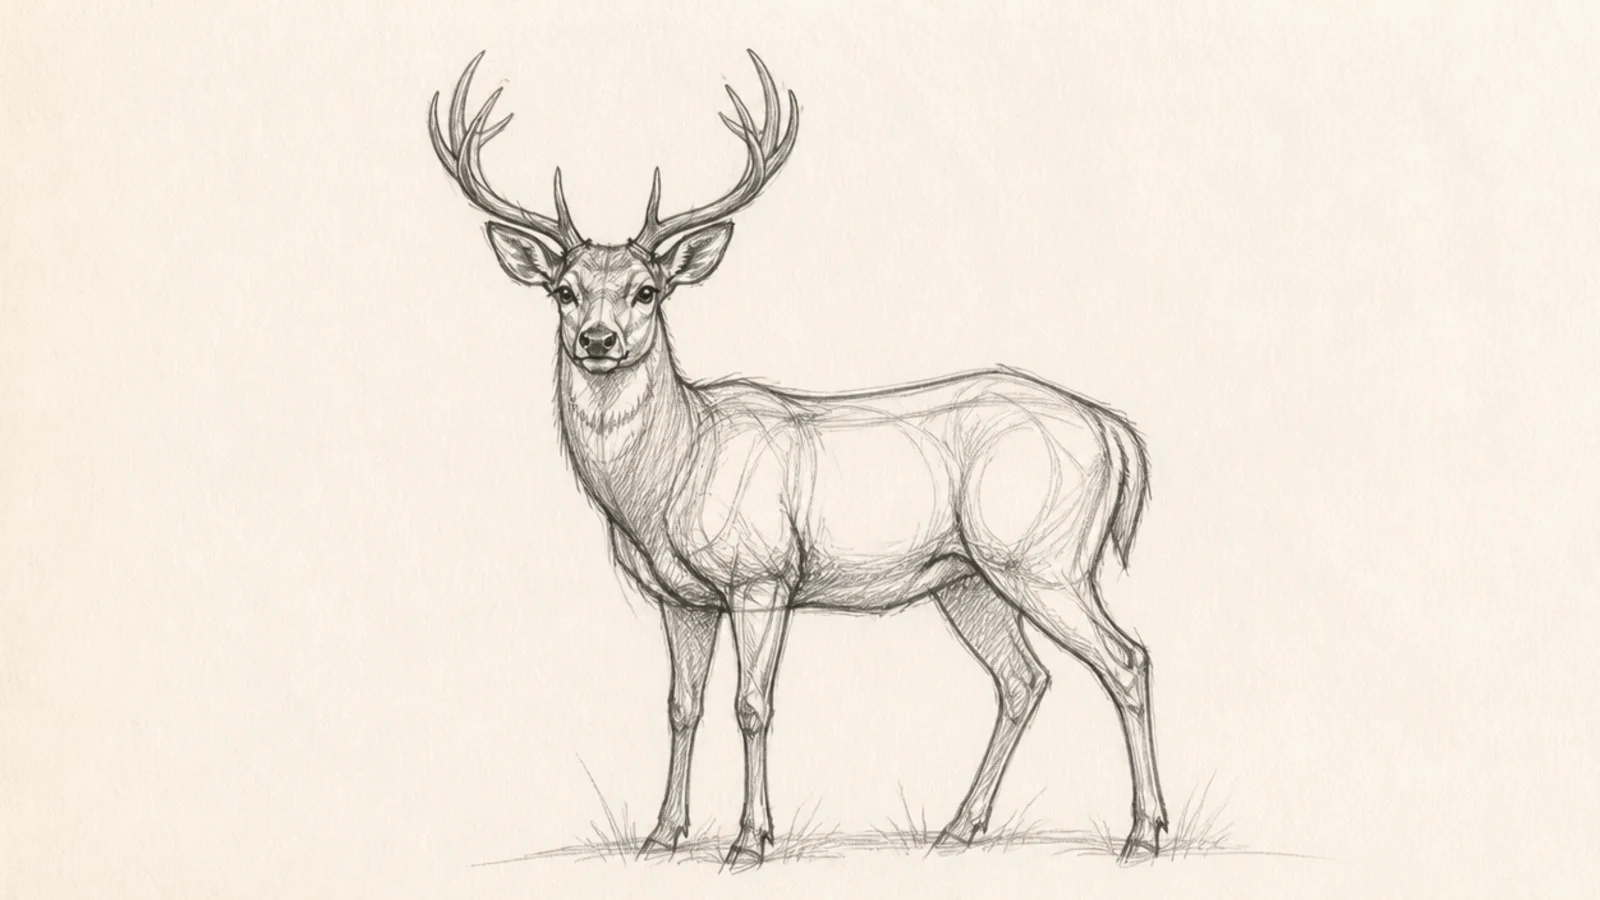
1 Single Gesture-Line Study
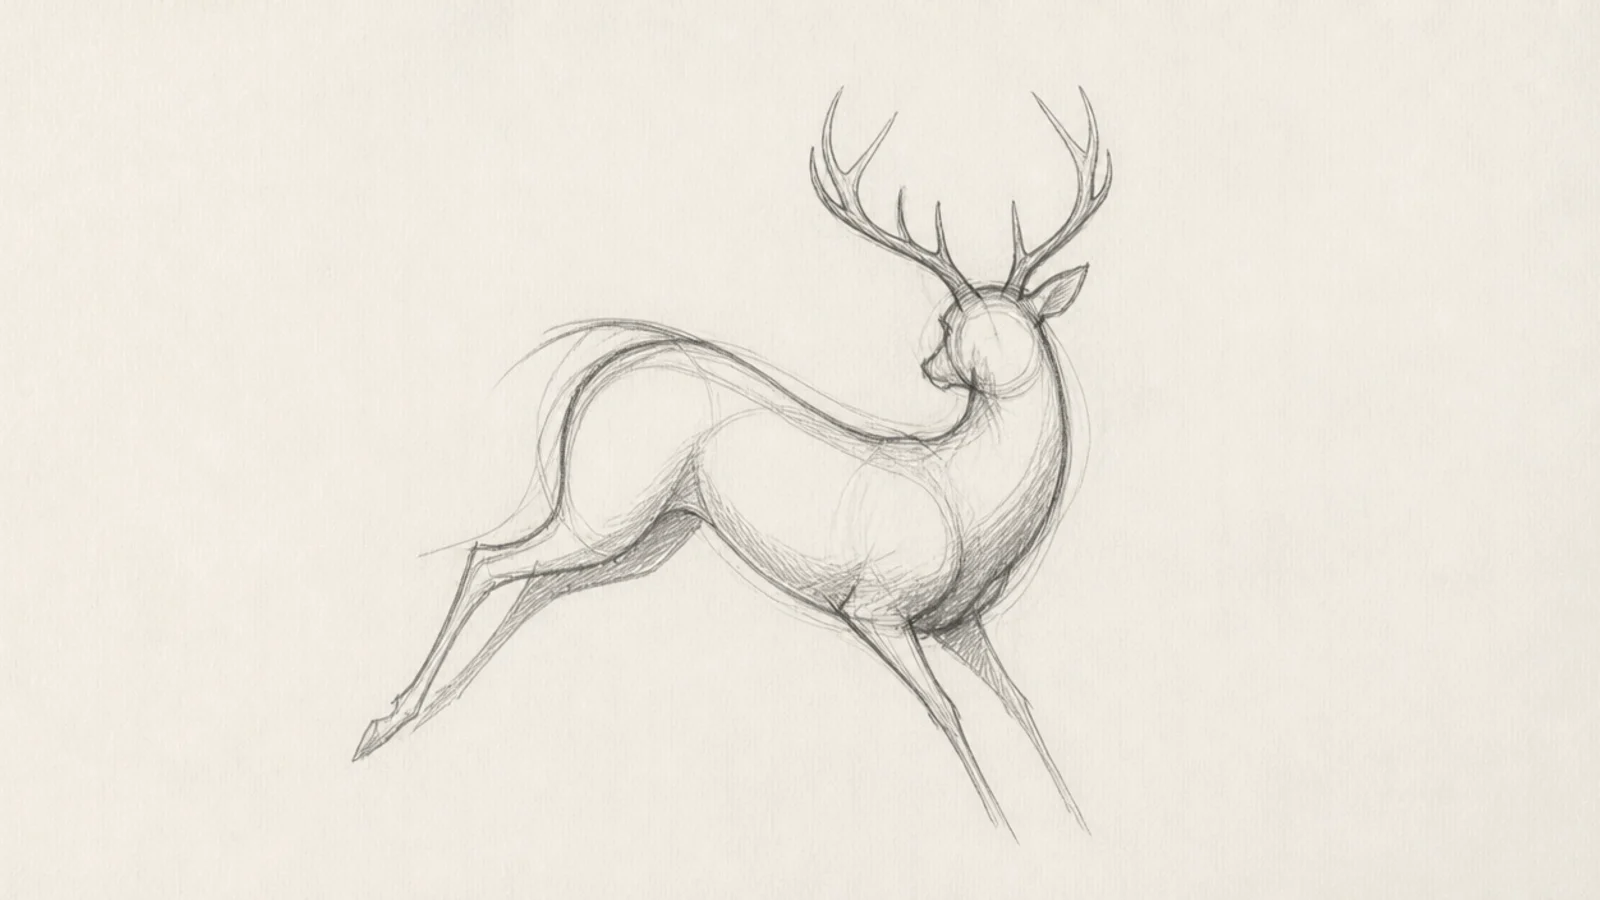
Step 1 draw one sweeping line for the spine and neck. Step 2 add two quick lines for the front and back legs. Step 3 suggest the head with a single small loop and stop.
A pure gesture study captures the whole deer in one flowing spine line plus a few marks. It trains you to see the pose before the detail. It is the foundation of every sketch here.
AvoidDon’t add detail; the raw gesture line is the entire exercise.
Pro tipDraw the whole gesture in under ten seconds so it stays loose and alive.
2 Continuous Contour Study
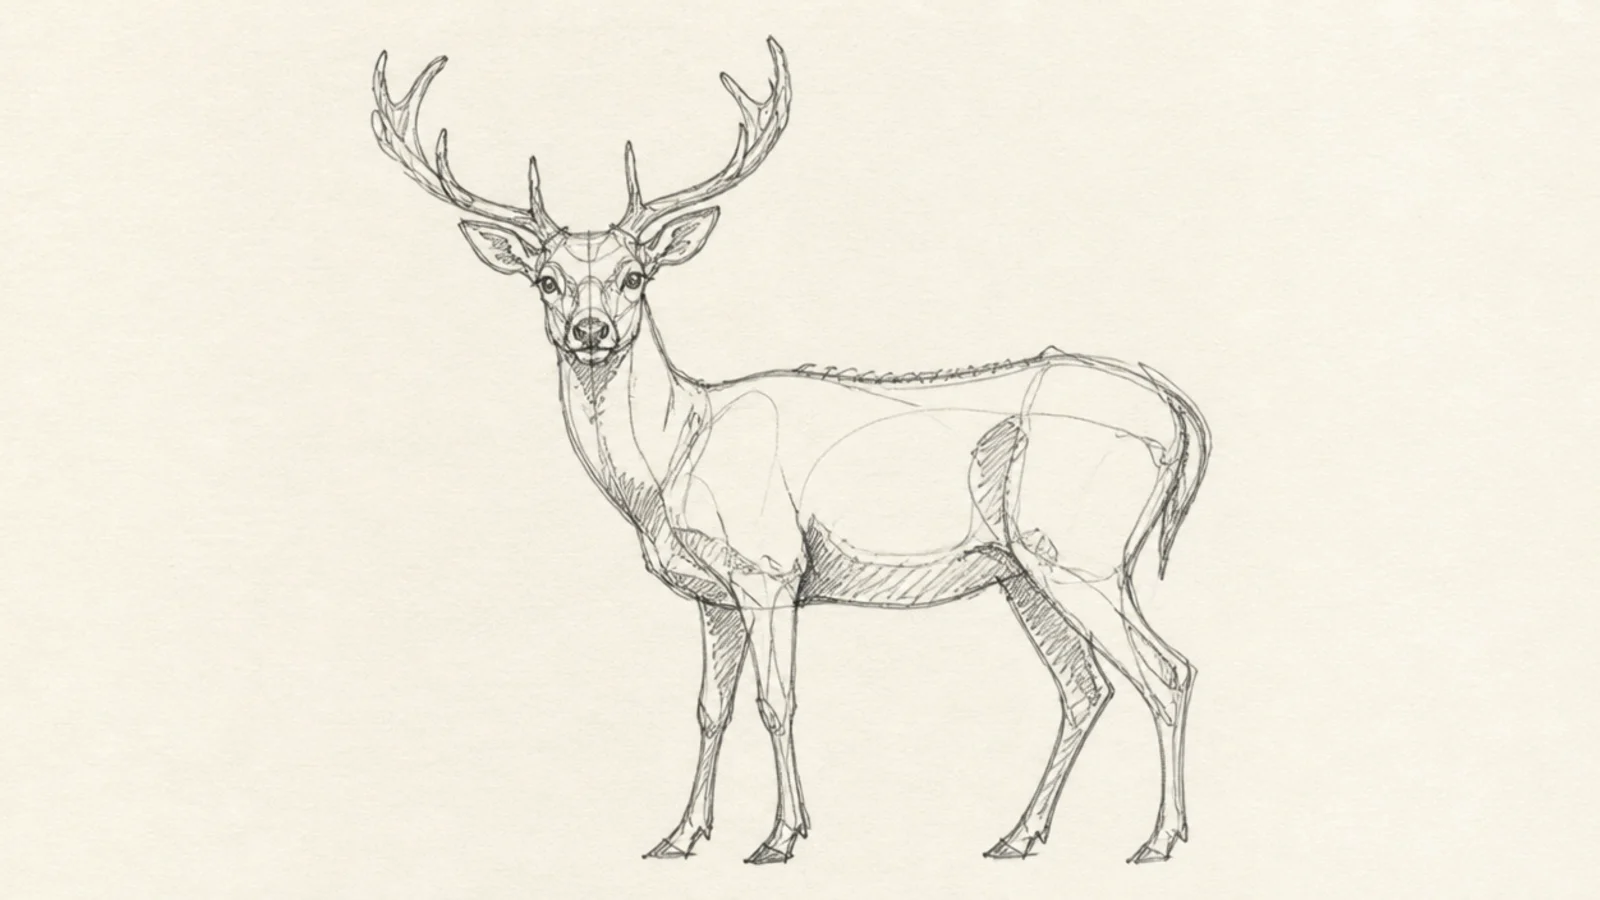
A continuous contour follows the deer’s edge in one slow searching line. It sharpens your observation and hand control. The wobbly honest line has its own beauty.
Step 1 place your pencil at the nose and slowly trace the outline without lifting. Step 2 follow every dip and bump of the real edge. Step 3 close the loop back at the start, keeping the line unbroken.
Keep your eyes on the subject more than the paper for a truer contour.
Don’t lift the pencil to correct; the searching unbroken line is the point.
3 Loose Standing Buck Sketch
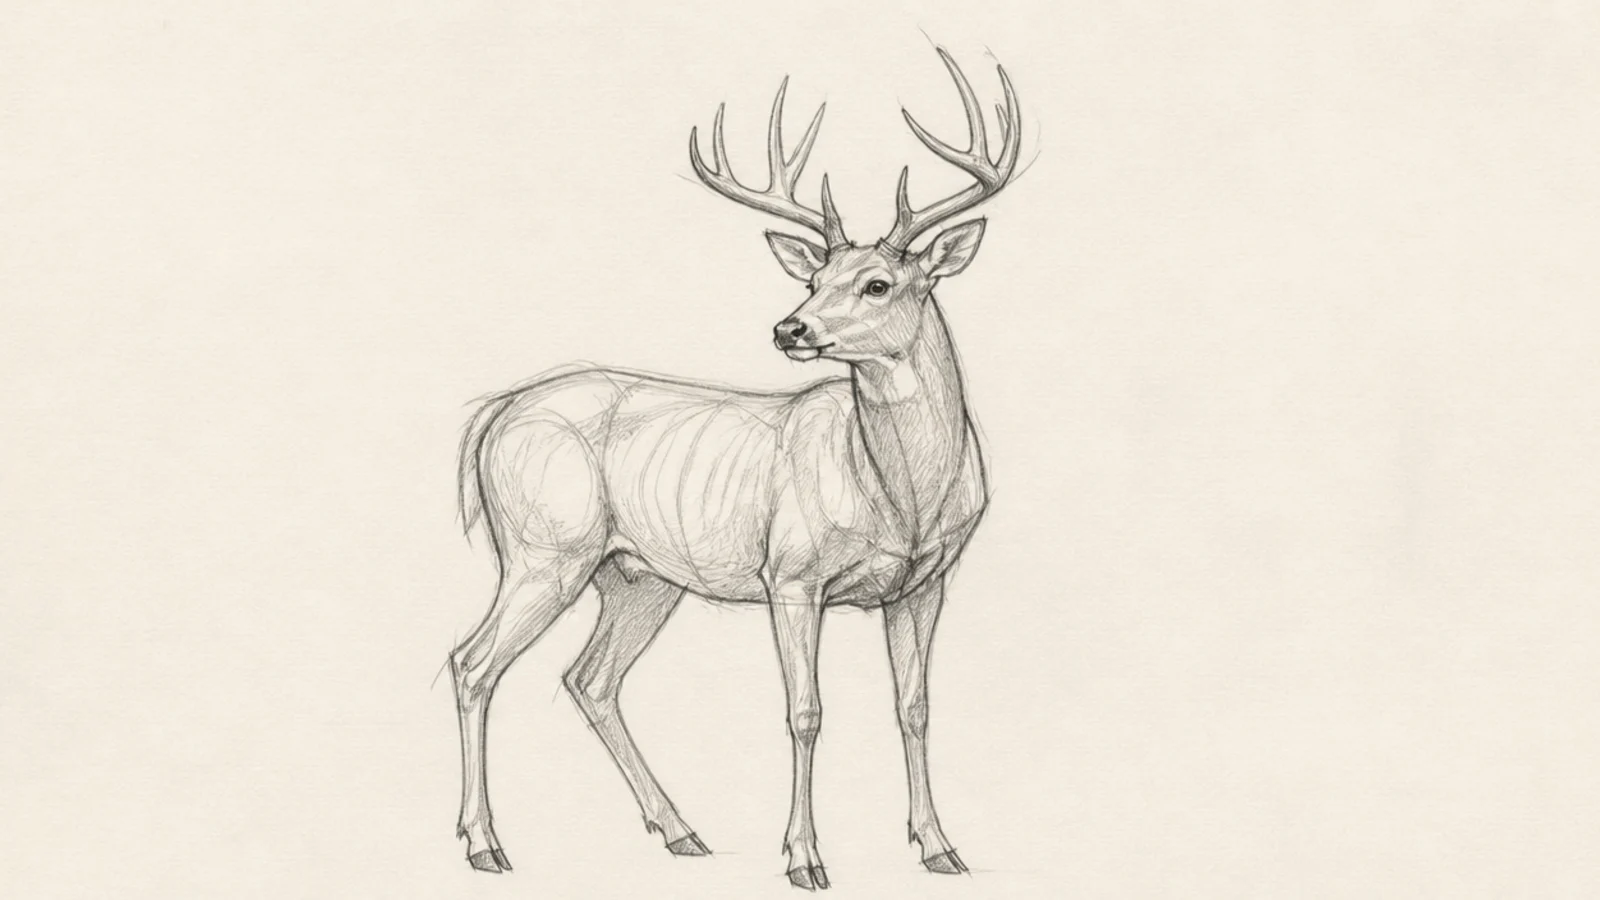
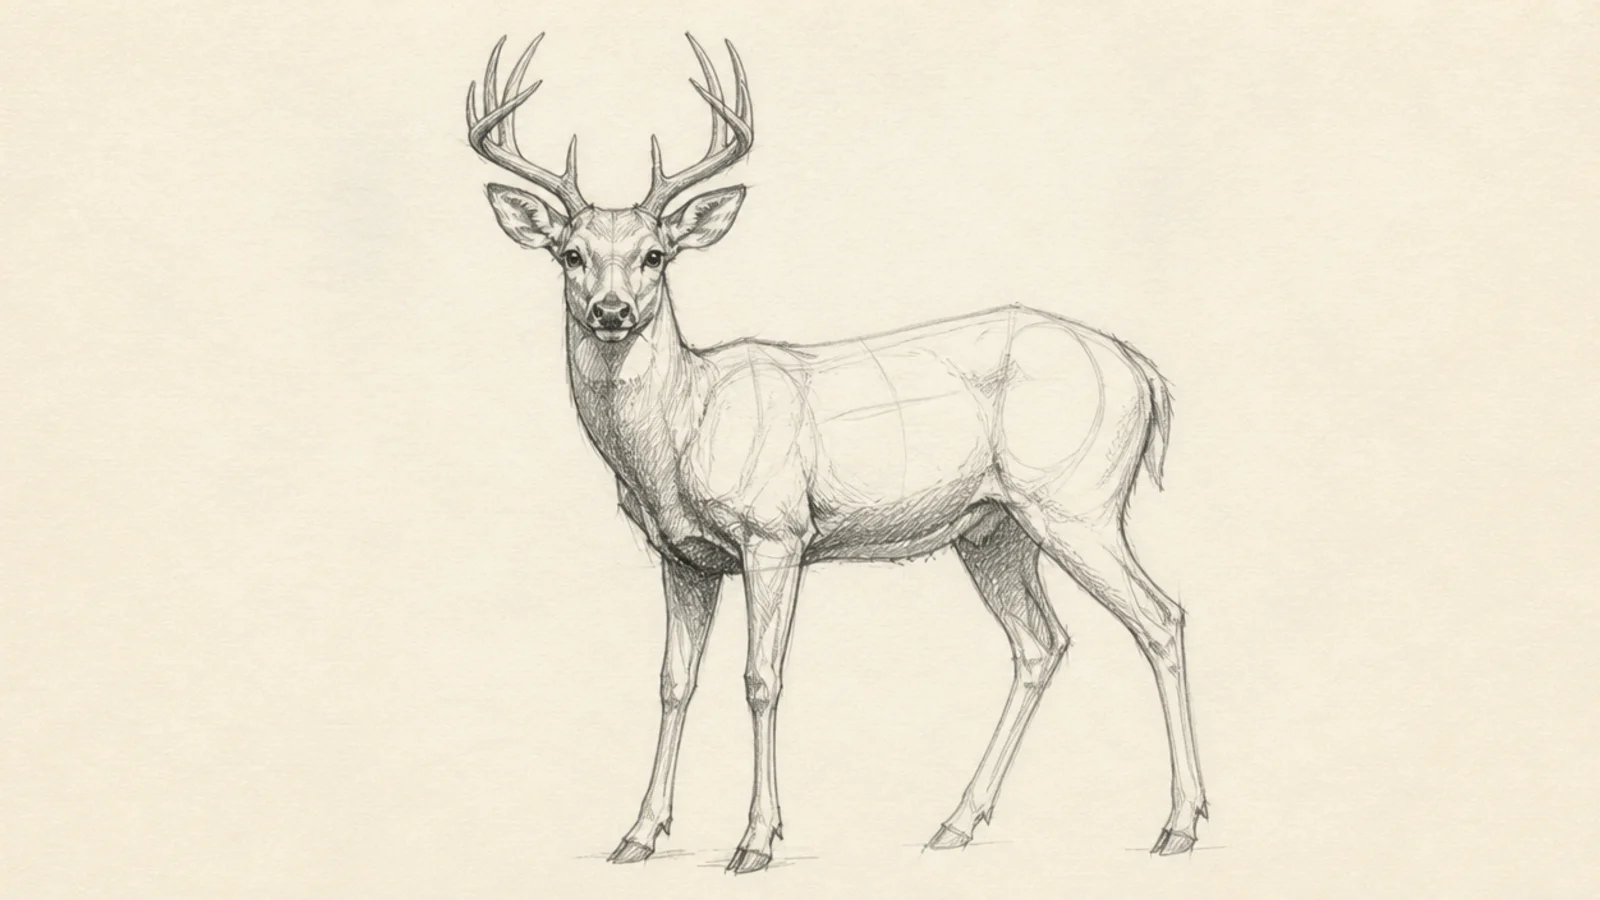
Step 1 lay the gesture line and block the ribcage and hip ovals. Step 2 connect them and find the legs and neck. Step 3 sketch the head and antlers loosely over the construction, leaving the guides showing.
A loose standing buck sketch shows the full construction — ovals, gesture, and searching edges left visible. It teaches how a finished sketch is built. The visible scaffolding is part of the charm.
AvoidDon’t tighten every line; keep the searching, layered quality of a study.
Pro tipLeave the construction ovals visible instead of erasing them for an honest sketch look.
4 Quick Head Study
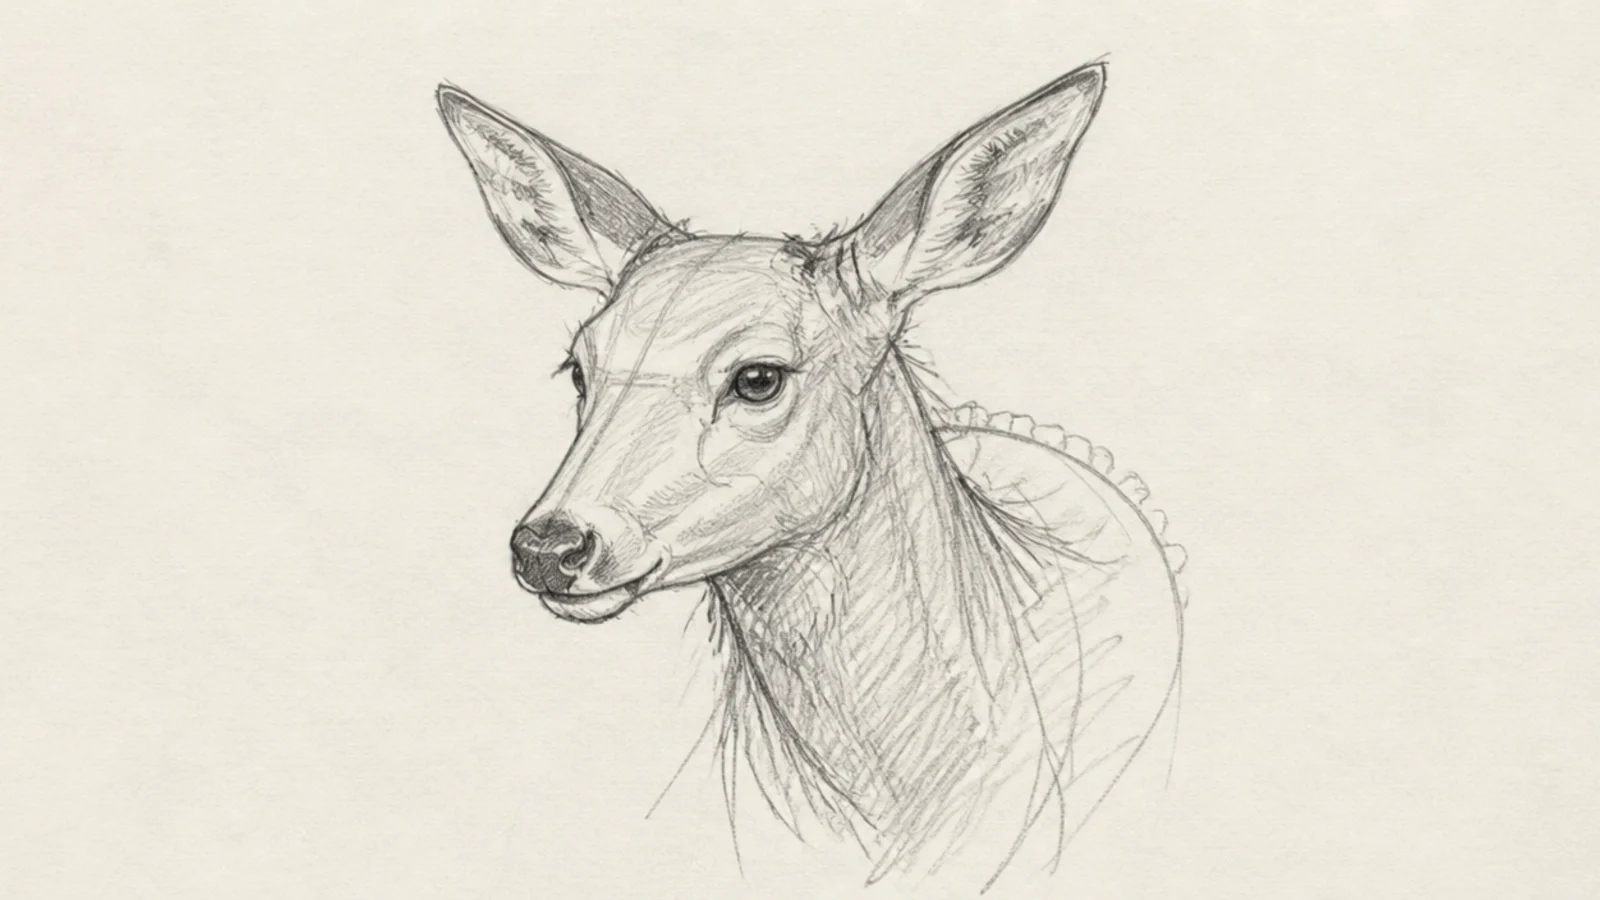
Step 1 sketch a wedge for the head and a center line. Step 2 place the eye, nostril, and mouth quickly along it. Step 3 add the ears and a few loose fur marks at the neck.
A quick head study captures the wedge of the muzzle and the set of the ears in a few lines. It is a fast warm-up for portraits. The looseness keeps it lively.
AvoidDon’t render the eye fully; a quick study suggests, it does not finish.
Pro tipNail the angle of the wedge first; the features hang off that shape.
5 Antler Branch Study
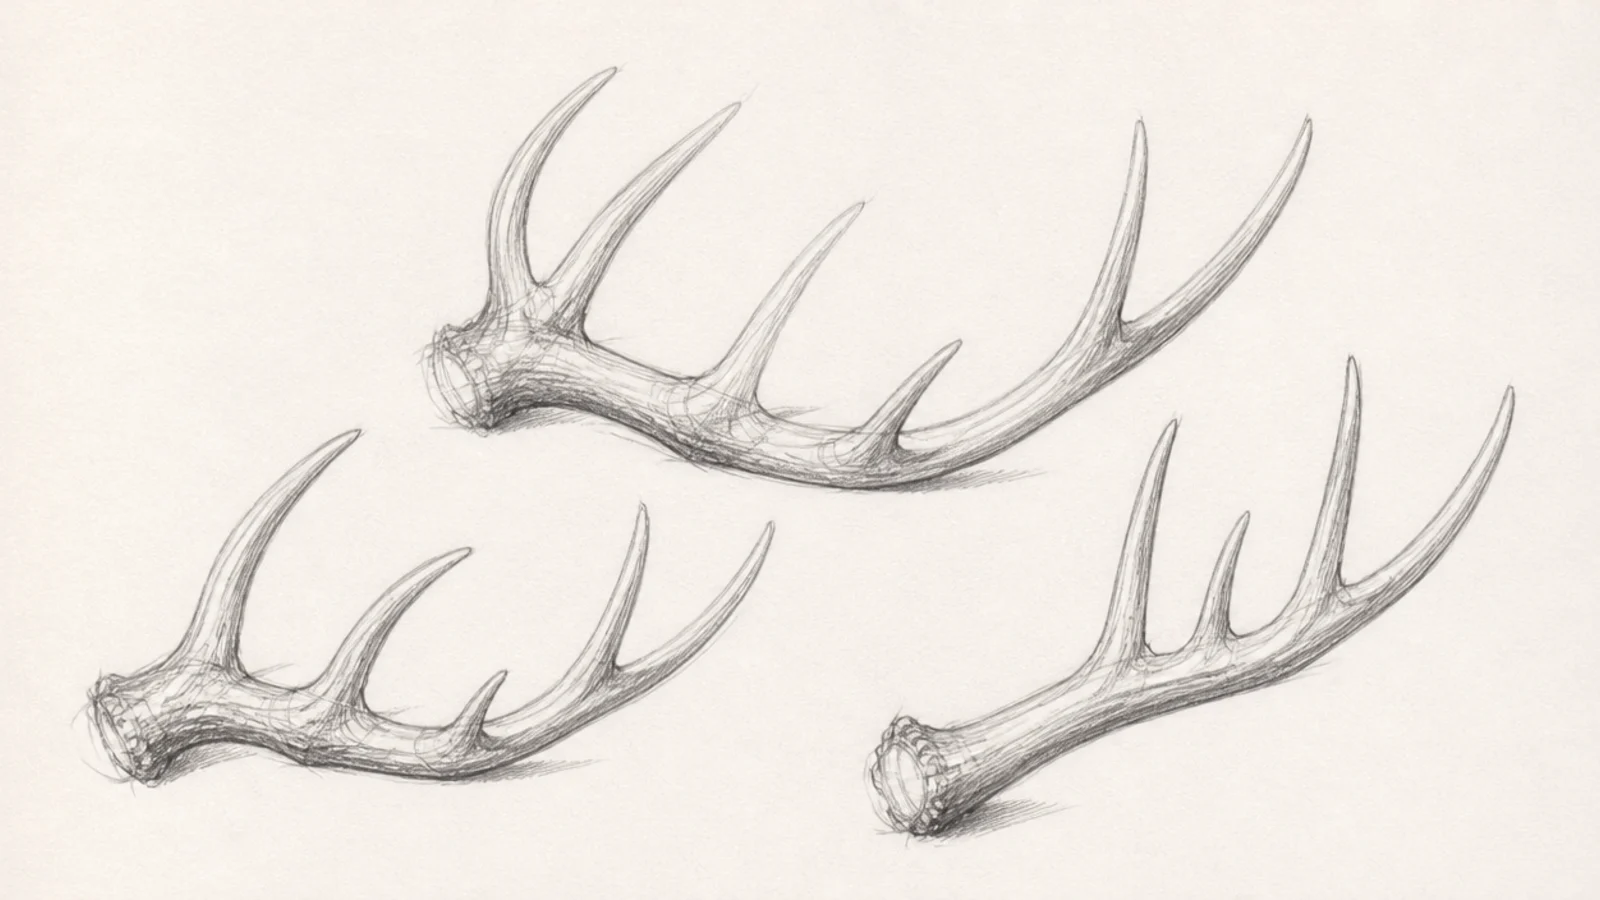
Step 1 draw the main curving beam of one antler. Step 2 branch tines off it, all sweeping the same direction. Step 3 repeat the antler at a few angles across the page.
An antler study focuses only on the branching structure, drawn several times. It builds fluency with the forks and tines. It is a targeted practice sheet.
AvoidDon’t make the tines random; they should sweep in one consistent direction.
Pro tipDraw the main beam confidently first, then add tines like branches off a limb.
6 Running Gesture Sketch
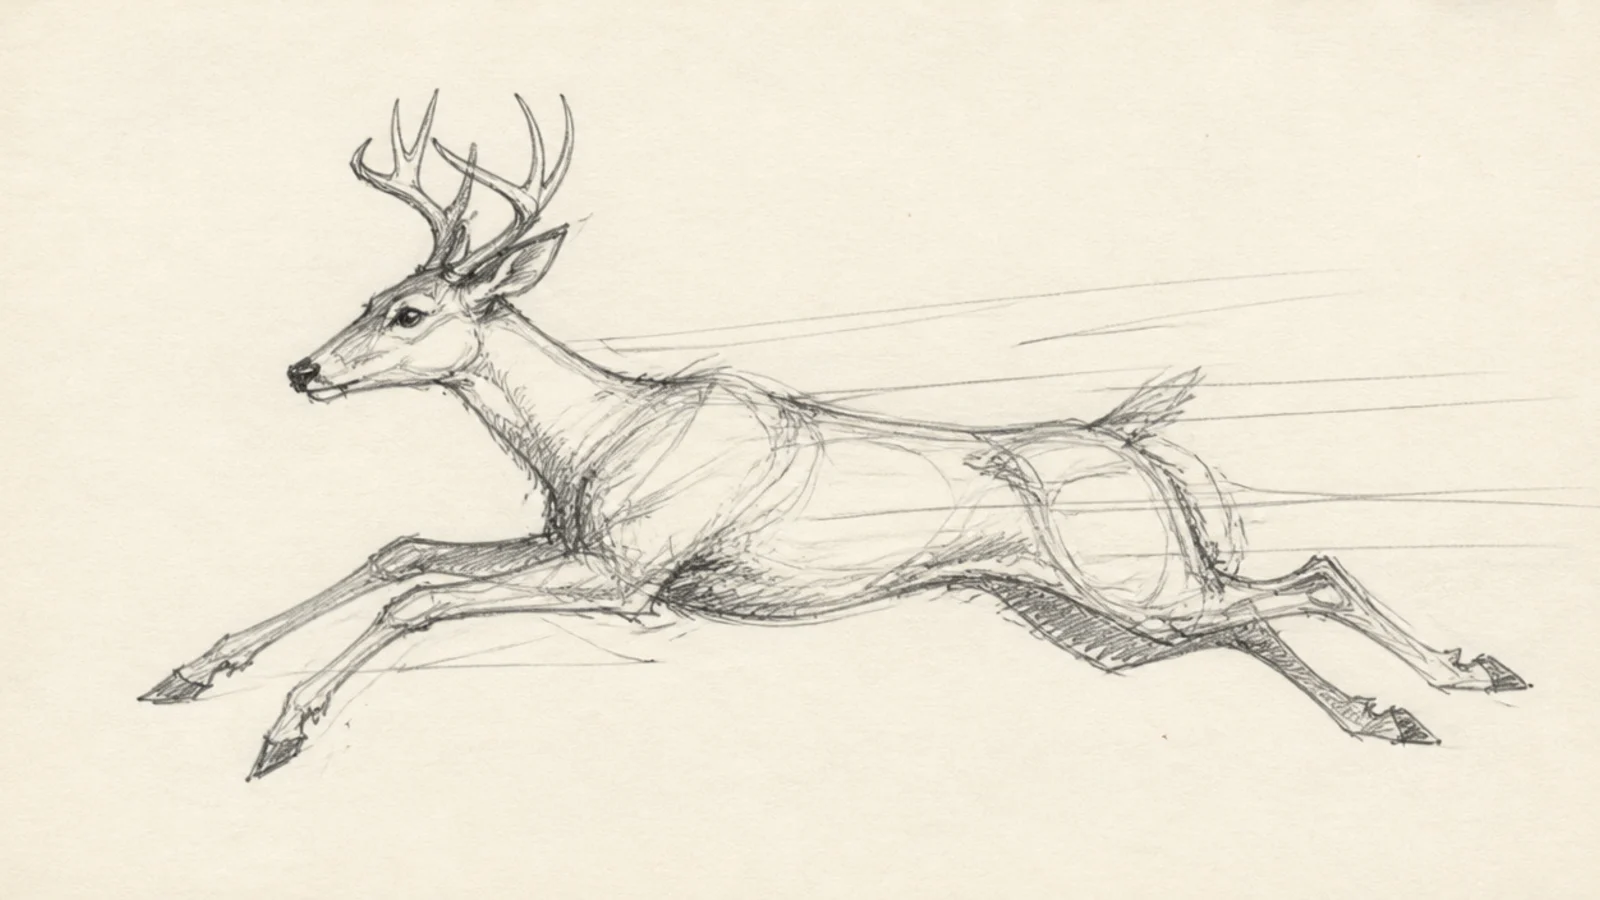
Step 1 draw a long stretched gesture line for the extended spine. Step 2 fling the legs forward and back with quick strokes. Step 3 add the head reaching forward and let the lines trail with speed.
A running gesture captures the stretch and flow of a galloping deer in a few strokes. The dynamic line teaches motion. It is energetic and loose.
AvoidDon’t draw carefully; a fast loose hand captures the run better than neat lines.
Pro tipExaggerate the stretch of the spine and legs to push the sense of speed.
7 Crosshatch Value Study
Step 1 sketch the deer loosely. Step 2 pick one light direction and hatch the shadow side. Step 3 crosshatch a second layer in the darkest areas under the belly and neck.
A crosshatch value study adds tone to a loose deer with quick layered lines. It teaches how light wraps the form. The energetic hatching keeps it a sketch, not a rendering.
AvoidDon’t blend or smooth; the visible hatch marks are the sketch’s texture.
Pro tipLet the hatch lines follow the direction of the body’s surface for form.
8 Three-Pose Study Page
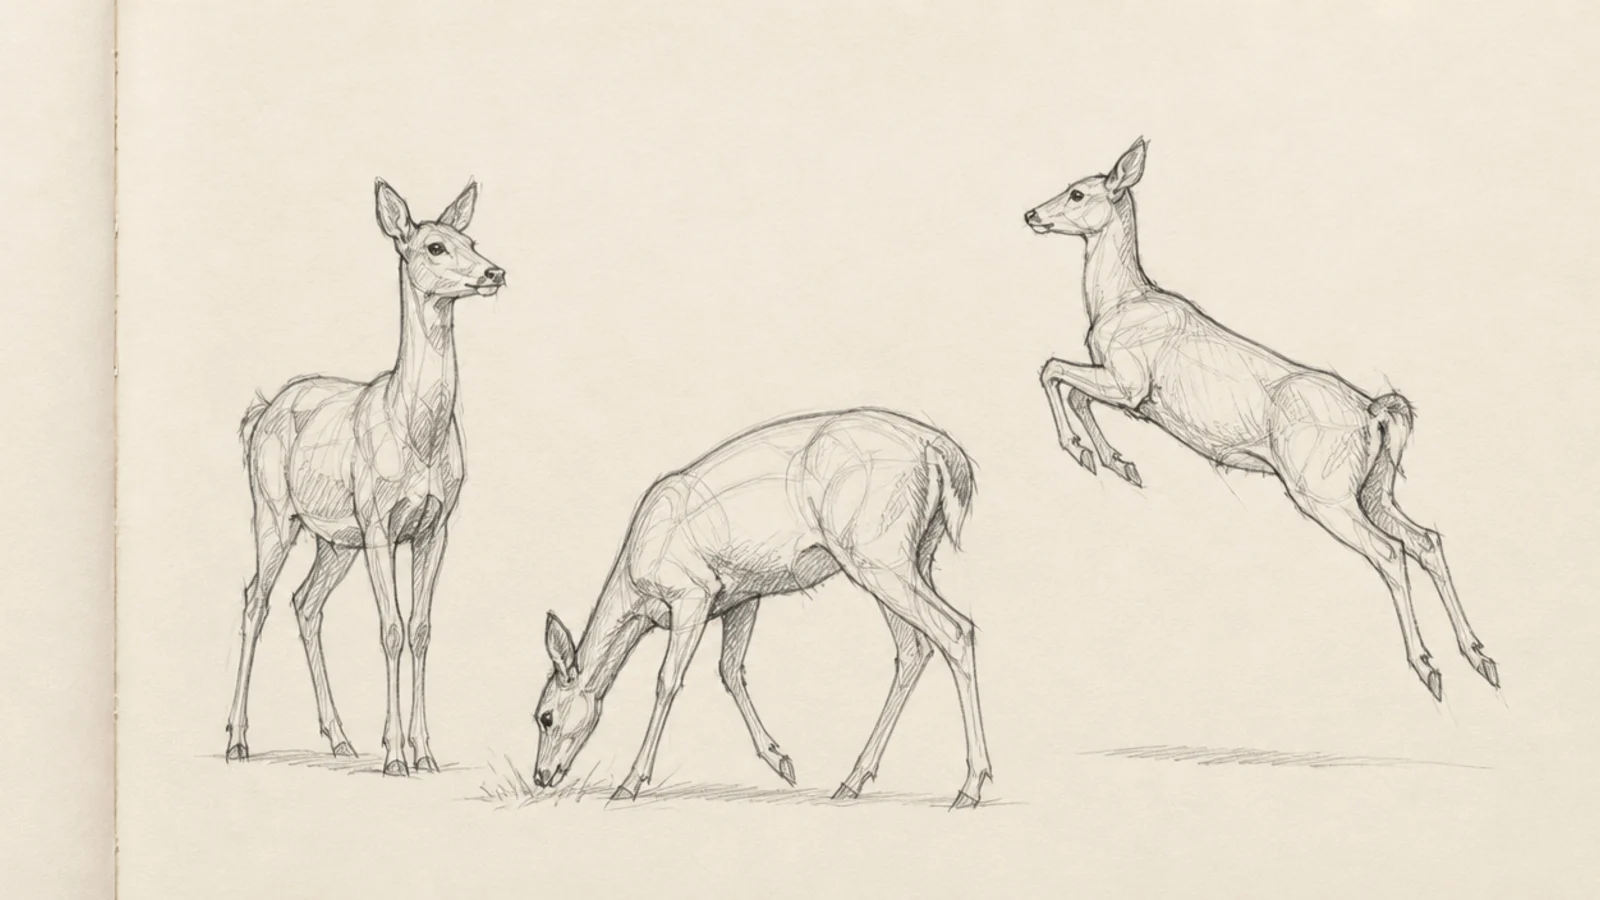
Step 1 sketch a standing deer with a fast gesture. Step 2 add a grazing pose beside it. Step 3 fit a leaping pose in the remaining space, all loose and unfinished.
A study page fits three quick deer poses together to compare stances. Filling a page builds speed and variety. It looks like a real artist’s sketchbook.
AvoidDon’t finish any one pose; a study page stays loose across all three.
Pro tipKeep each pose small and quick so all three fit on one lively page.
9 Grazing Loose Sketch
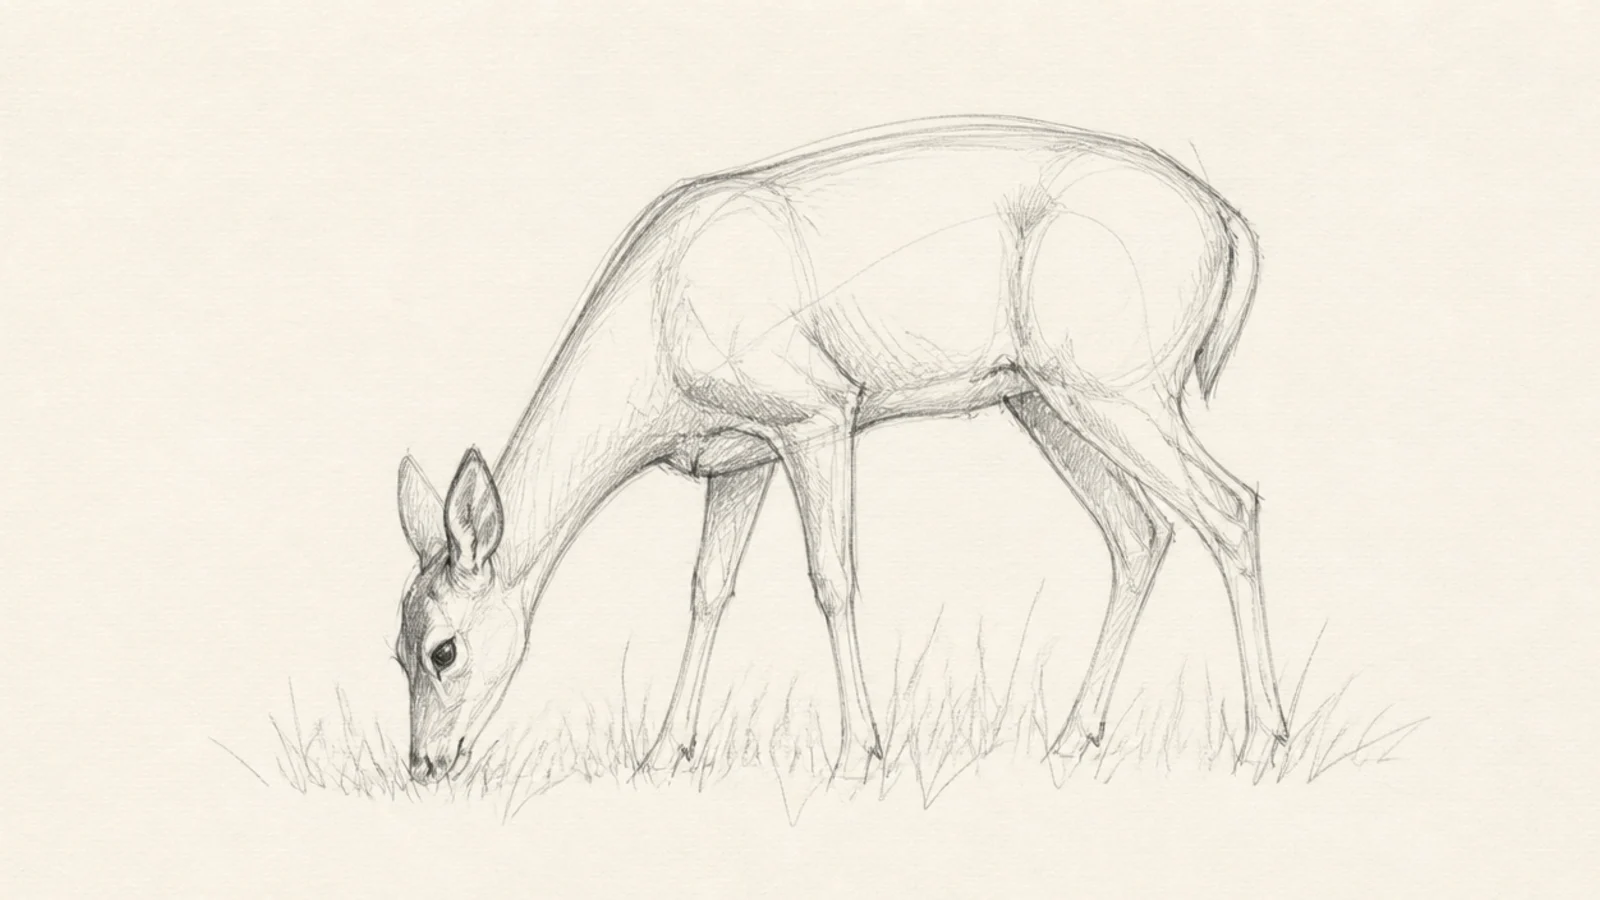
Step 1 draw the gesture line curving down at the neck. Step 2 block the body and reaching head. Step 3 add the legs and a few loose grass strokes below the muzzle.
A grazing sketch captures the long curve of the lowered neck. The bent pose is a good gesture challenge. It feels calm and natural.
AvoidDon’t break the neck into stiff segments; keep it one flowing curve.
Pro tipMake the neck curve one smooth continuous line down to the grass.
10 Ear Detail Study
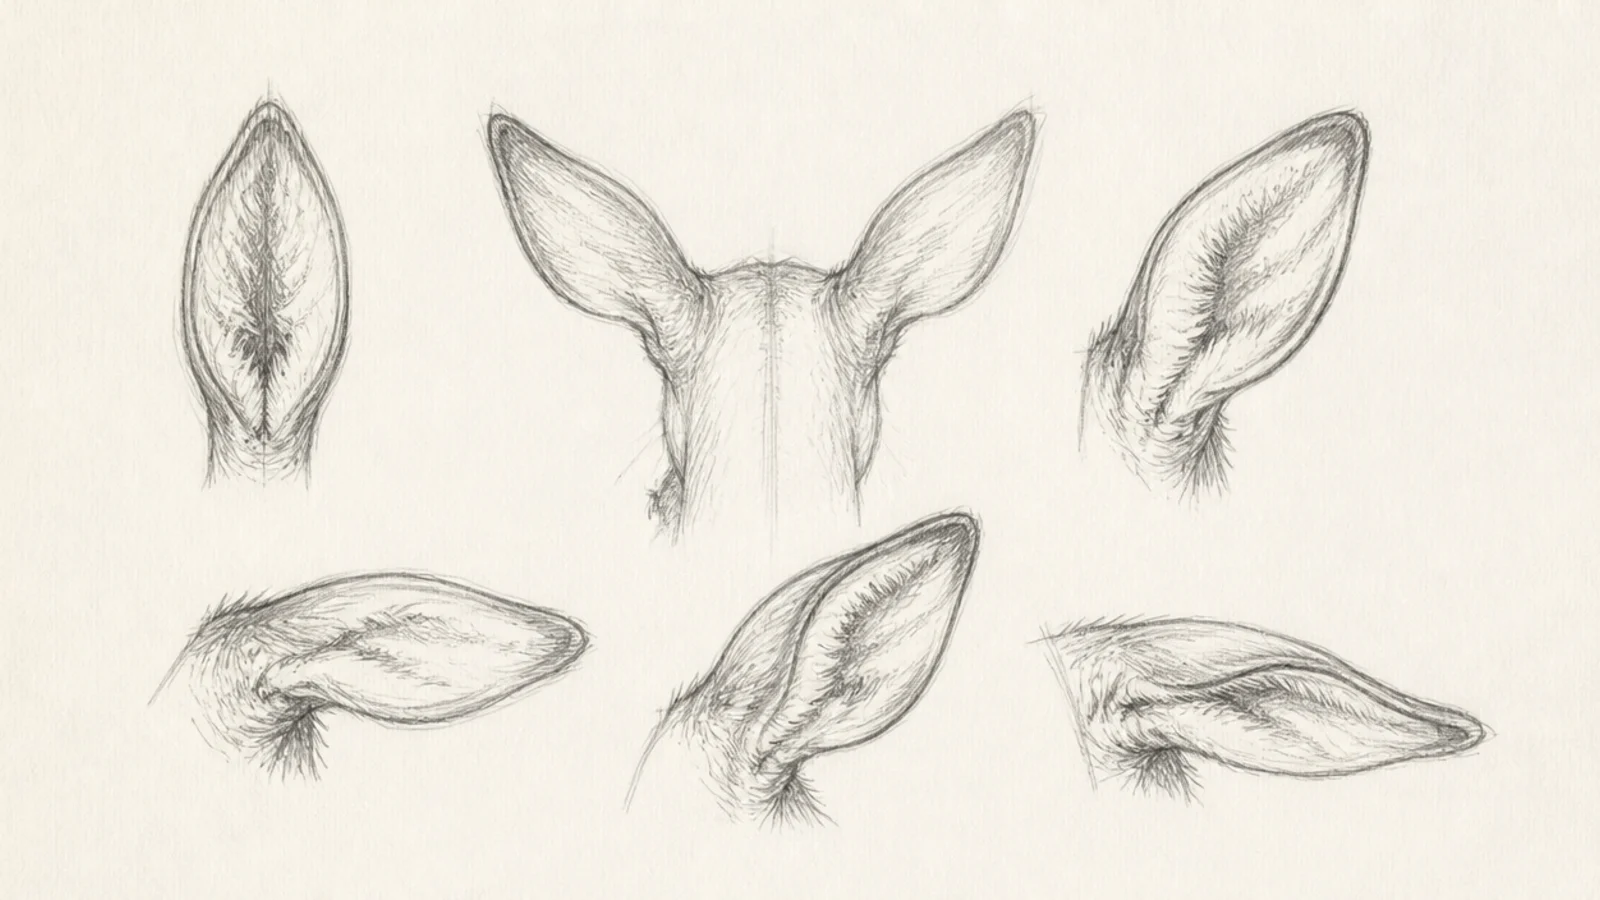
Step 1 draw an ear as a tall leaf shape front-on. Step 2 rotate it to show the cupped inside. Step 3 sketch it folded back and perked forward, adding fur marks inside.
An ear study draws the leaf-shaped ears at several angles and rotations. Ears carry a deer’s expression, so this is worth practicing. It is a focused detail sheet.
AvoidDon’t draw every ear flat; rotating them teaches how they turn.
Pro tipShow the cupped inside of the ear to give it depth and direction.
11 Leg and Hoof Study
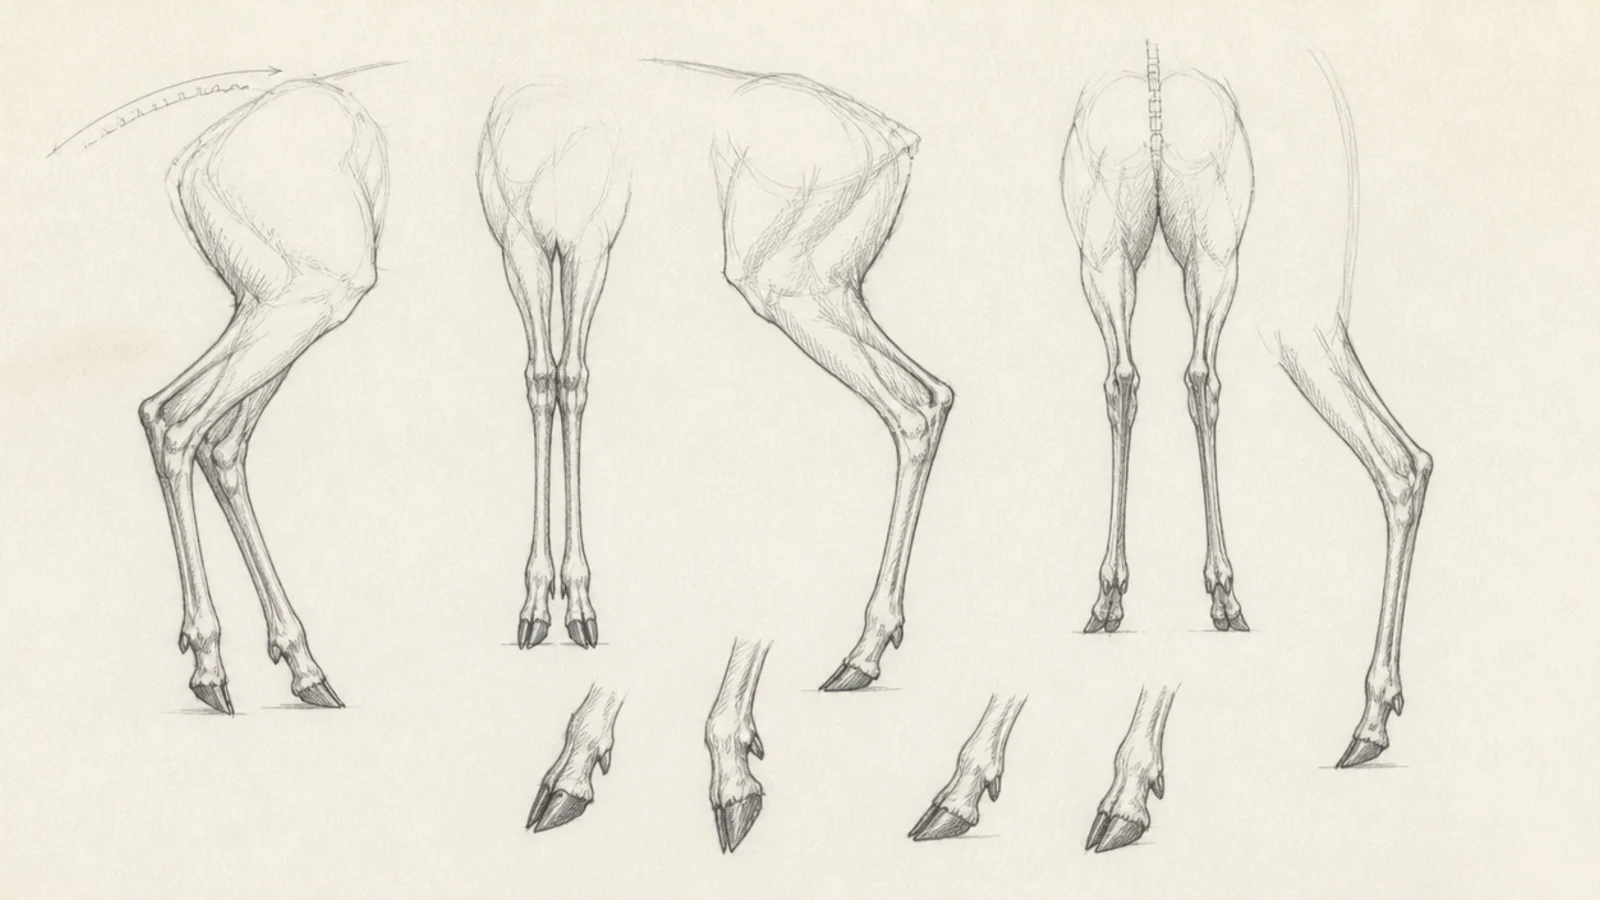
A leg study breaks down the thin deer leg with its backward-bending hock and pointed hoof. Legs are where beginners struggle, so isolating them helps. It is a practical practice sheet.
Step 1 draw a front leg as a nearly straight line with a slight knee bend. Step 2 draw a back leg with the Z-shaped hock. Step 3 add the small pointed hooves and repeat at a few angles.
Remember the back leg bends backward at the hock like a bent Z.
Don’t draw the legs thick; deer legs are slim and delicate.
12 Blind Contour Deer
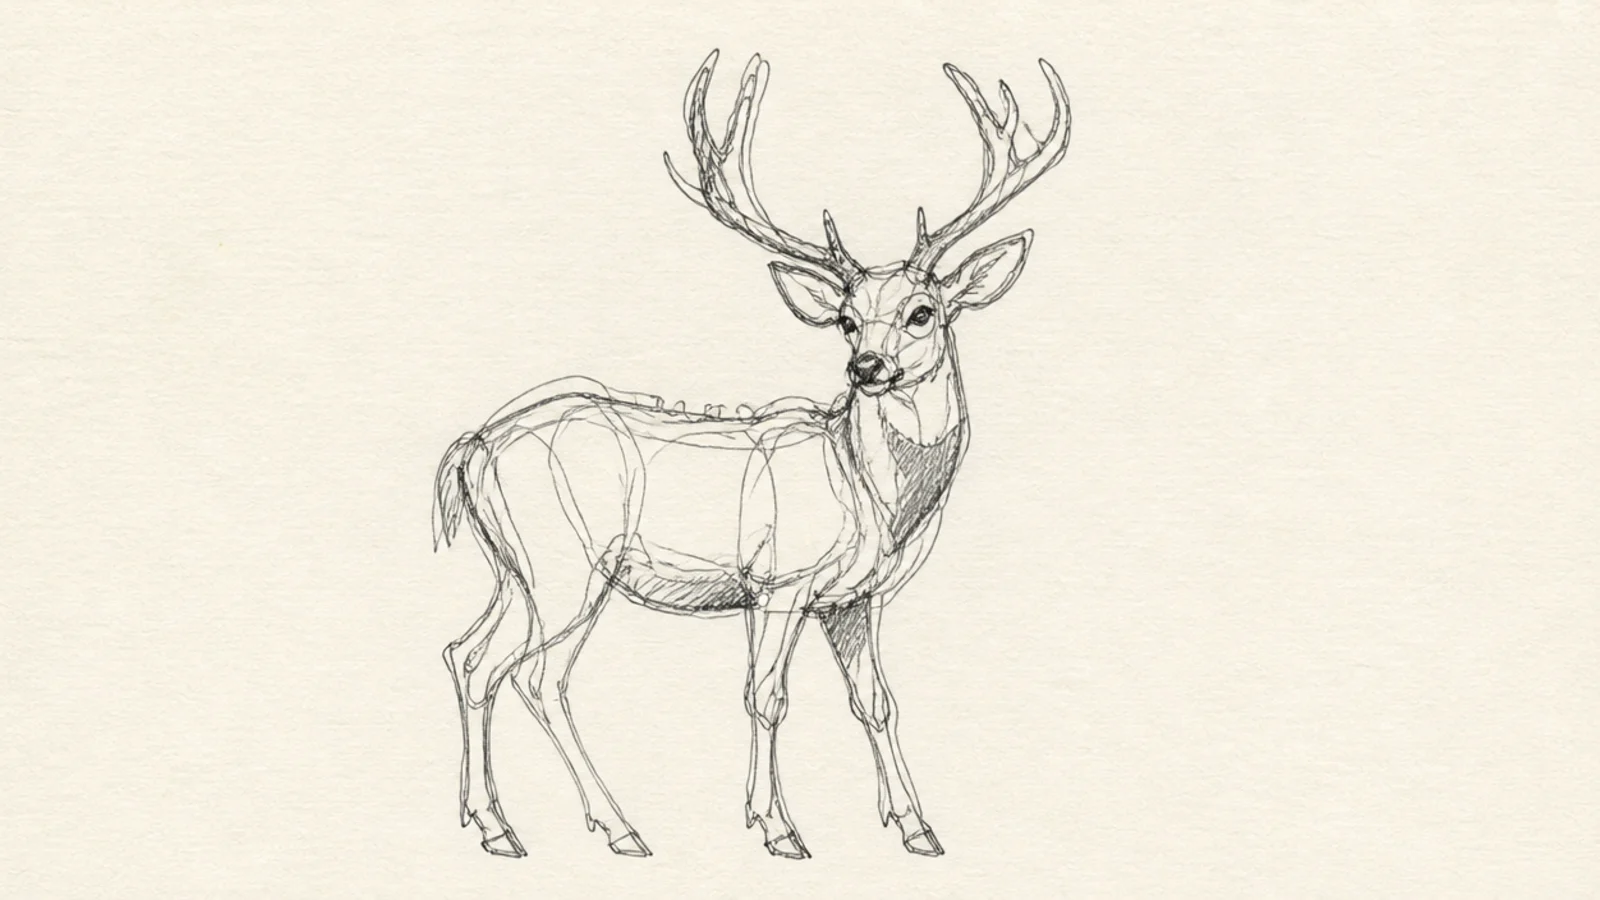
Step 1 fix your eyes only on the subject. Step 2 trace its outline slowly without looking down. Step 3 accept the wobbly overlapping result as the exercise’s gift.
A blind contour is drawn without looking at the paper, giving a wonky honest line. It sharpens observation more than any other exercise. The distorted result is charming and freeing.
AvoidDon’t peek at the paper; the not-looking is the whole point.
Pro tipMove your eye and hand at the same slow pace for a truer blind contour.
13 Scribble Form Sketch
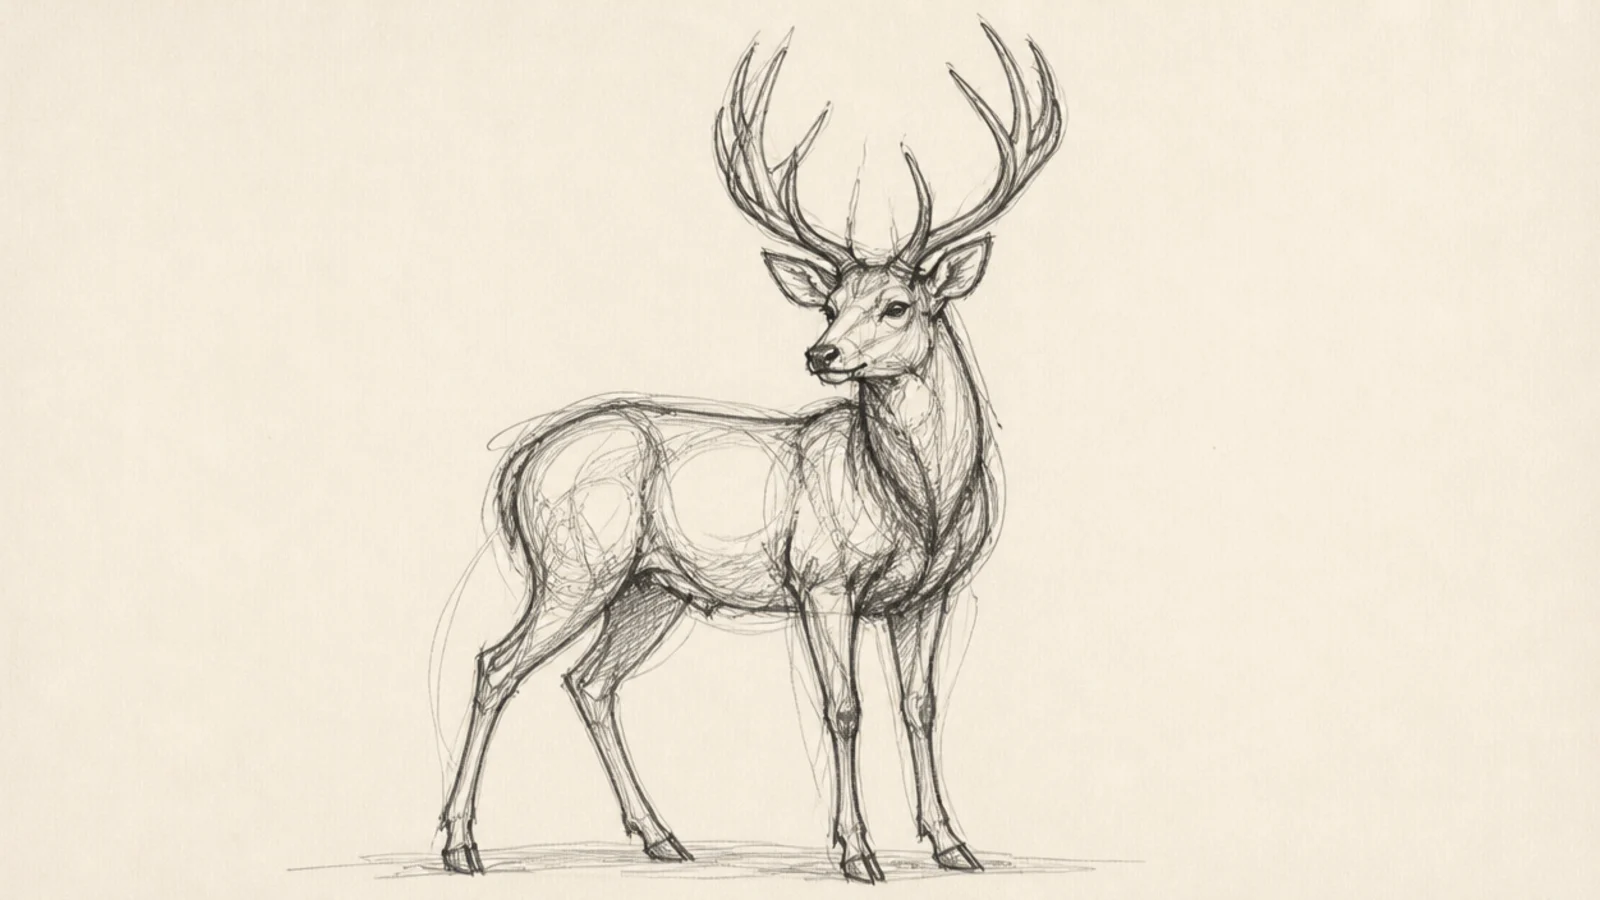
Step 1 scribble loose ovals for the body masses. Step 2 build up the form with more overlapping strokes. Step 3 darken the edges that read as the true outline out of the scribble.
A scribble sketch builds the deer from loose energetic masses of overlapping lines. It finds the form through many searching strokes. The tangled energy is expressive.
AvoidDon’t press hard early; light layered scribbles let you find the form.
Pro tipLet many light scribbled lines find the shape instead of one committed outline.
14 Leaping Gesture Sketch
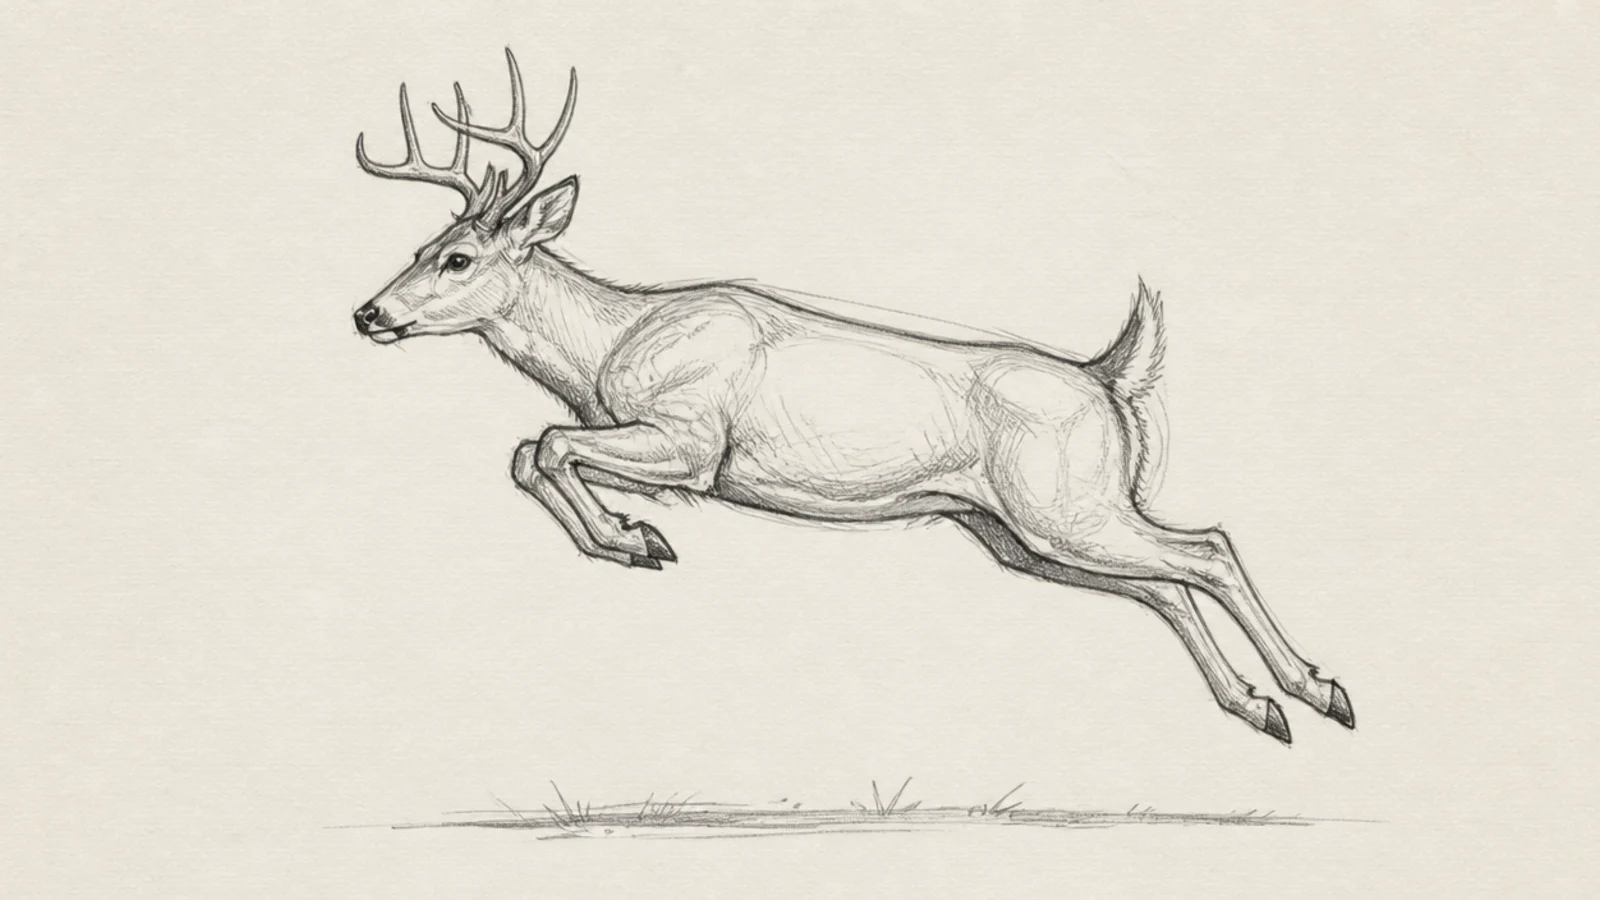
Step 1 draw a curved gesture line arcing through the air. Step 2 tuck the front legs and trail the back legs along the arc. Step 3 add the head and a quick line for the ground below.
A leaping gesture captures the arc of a deer clearing a jump. The curved airborne line is a great motion study. It is full of energy.
AvoidDon’t flatten the pose; the airborne arc is what sells the leap.
Pro tipArc the whole gesture line like a rainbow to show the leap’s trajectory.
15 Resting Deer Study
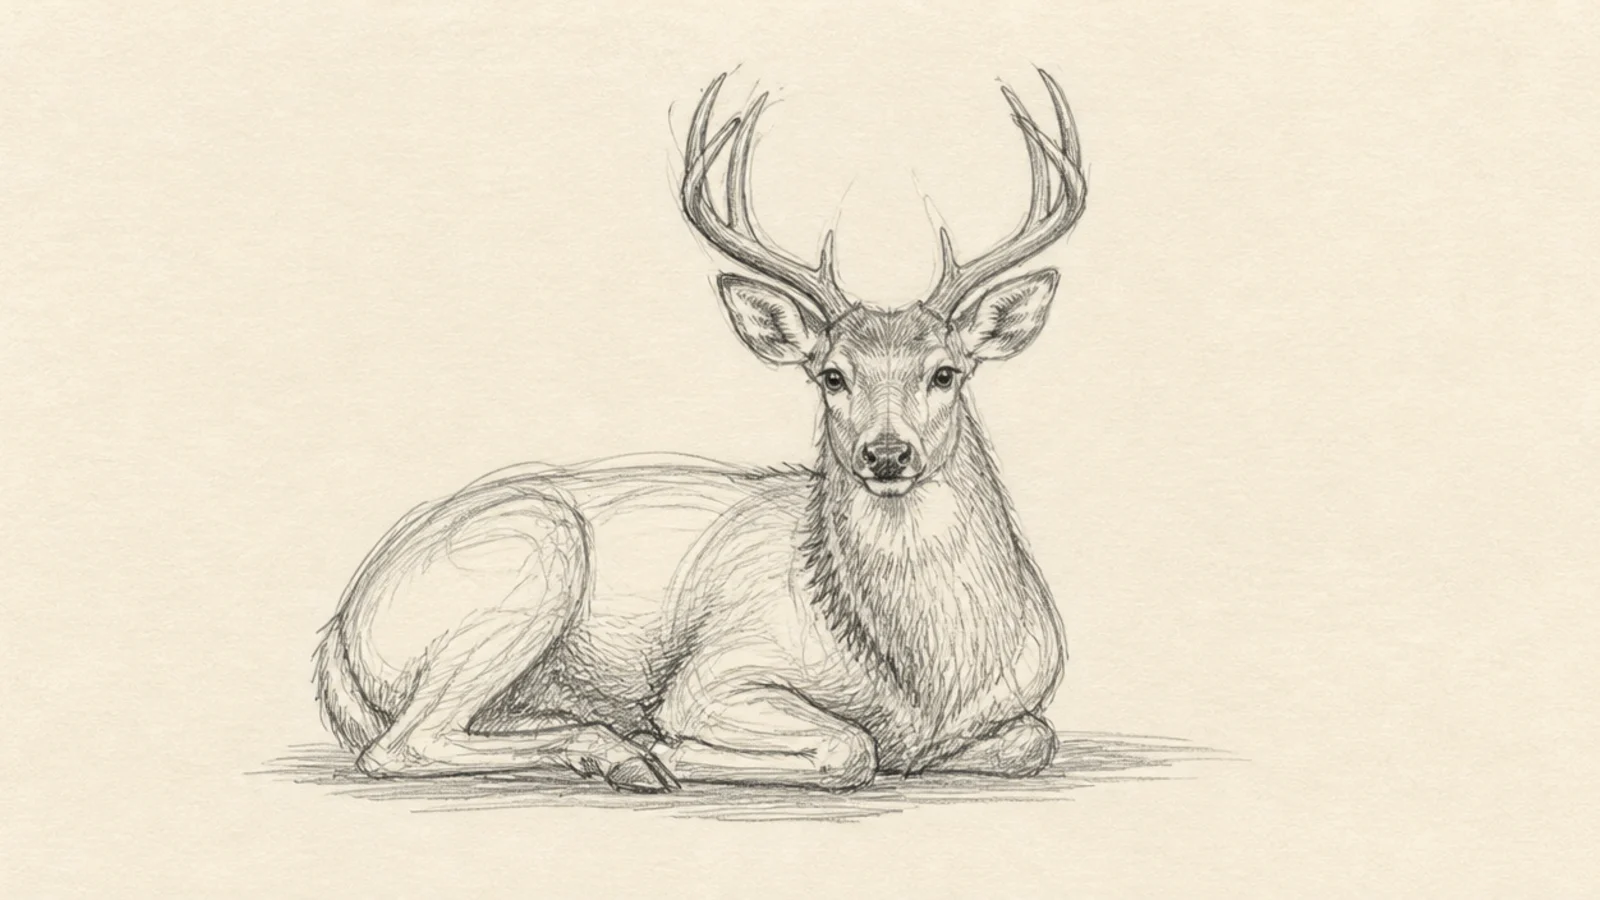
Step 1 draw a low horizontal gesture for the settled spine. Step 2 block the folded legs tucked under the body. Step 3 add the upright head and neck and loose fur at the chest.
A resting study captures the compact folded shape of a lying deer. The settled pose is a nice contrast to action sketches. It teaches a calm, grounded gesture.
AvoidDon’t add standing legs; the tucked folded shape defines the rest pose.
Pro tipKeep the body mass low and wide so the deer reads as settled.
16 Eye and Muzzle Study
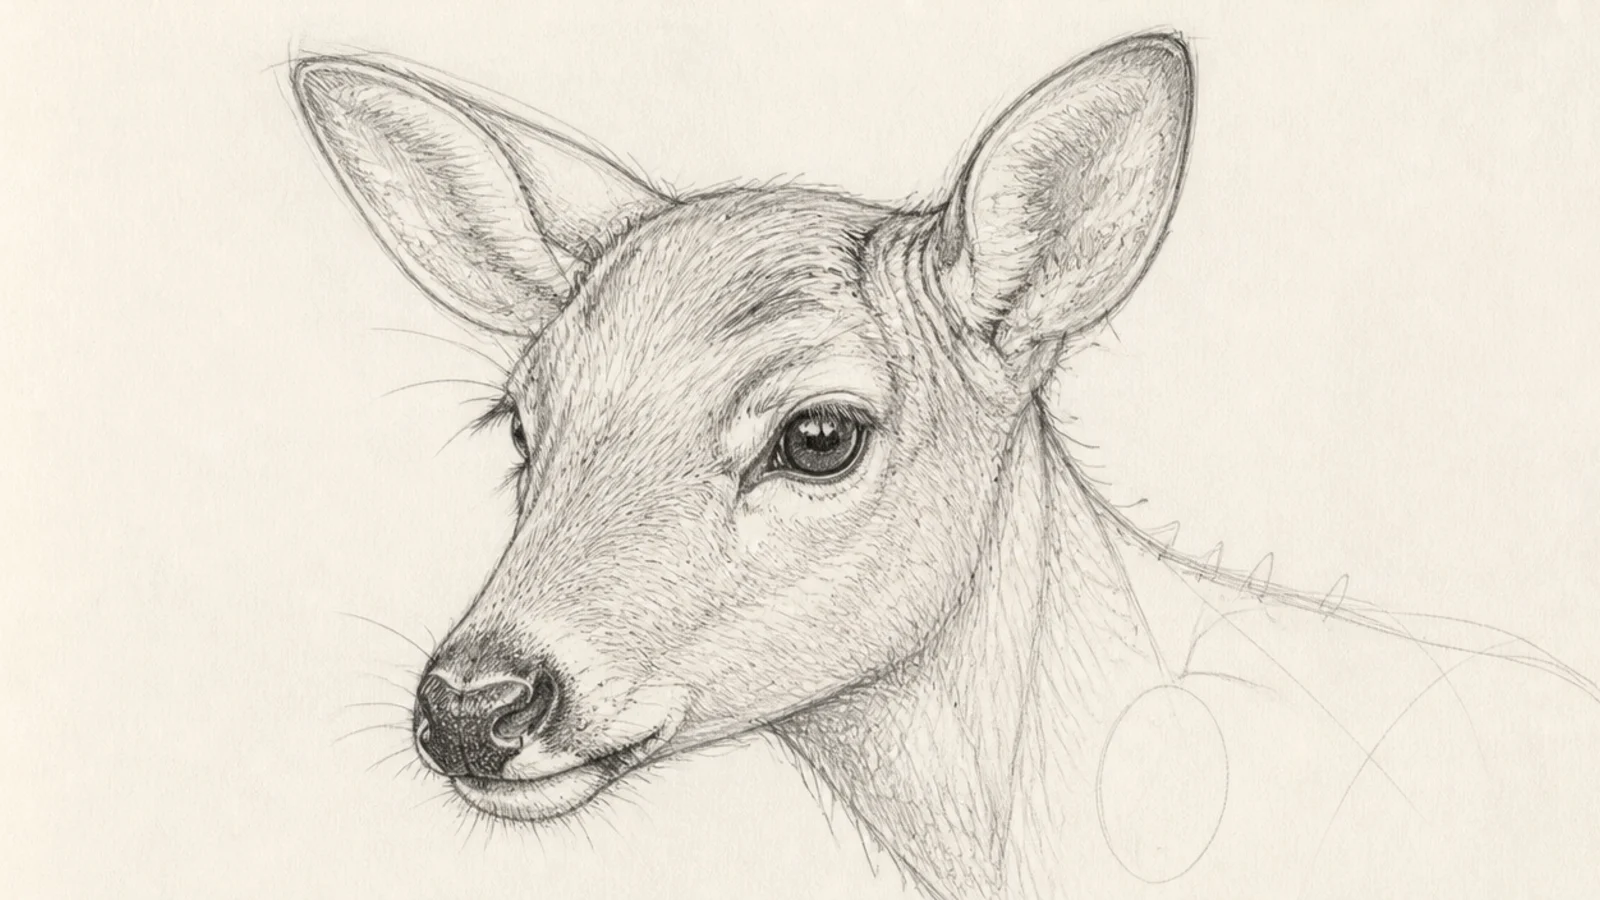
Step 1 draw the almond eye with its heavy lid and dark center. Step 2 add the rounded nose pad and nostrils. Step 3 suggest the short muzzle fur with quick directional strokes.
A close study of the eye and muzzle captures the gentle expression a deer is known for. These features carry the whole portrait. It is a valuable detail sheet.
AvoidDon’t outline the eye harshly; a soft lid keeps the deer’s gentle look.
Pro tipAdd a small highlight in the eye to bring the gentle expression to life.
17 Silhouette Fill Sketch
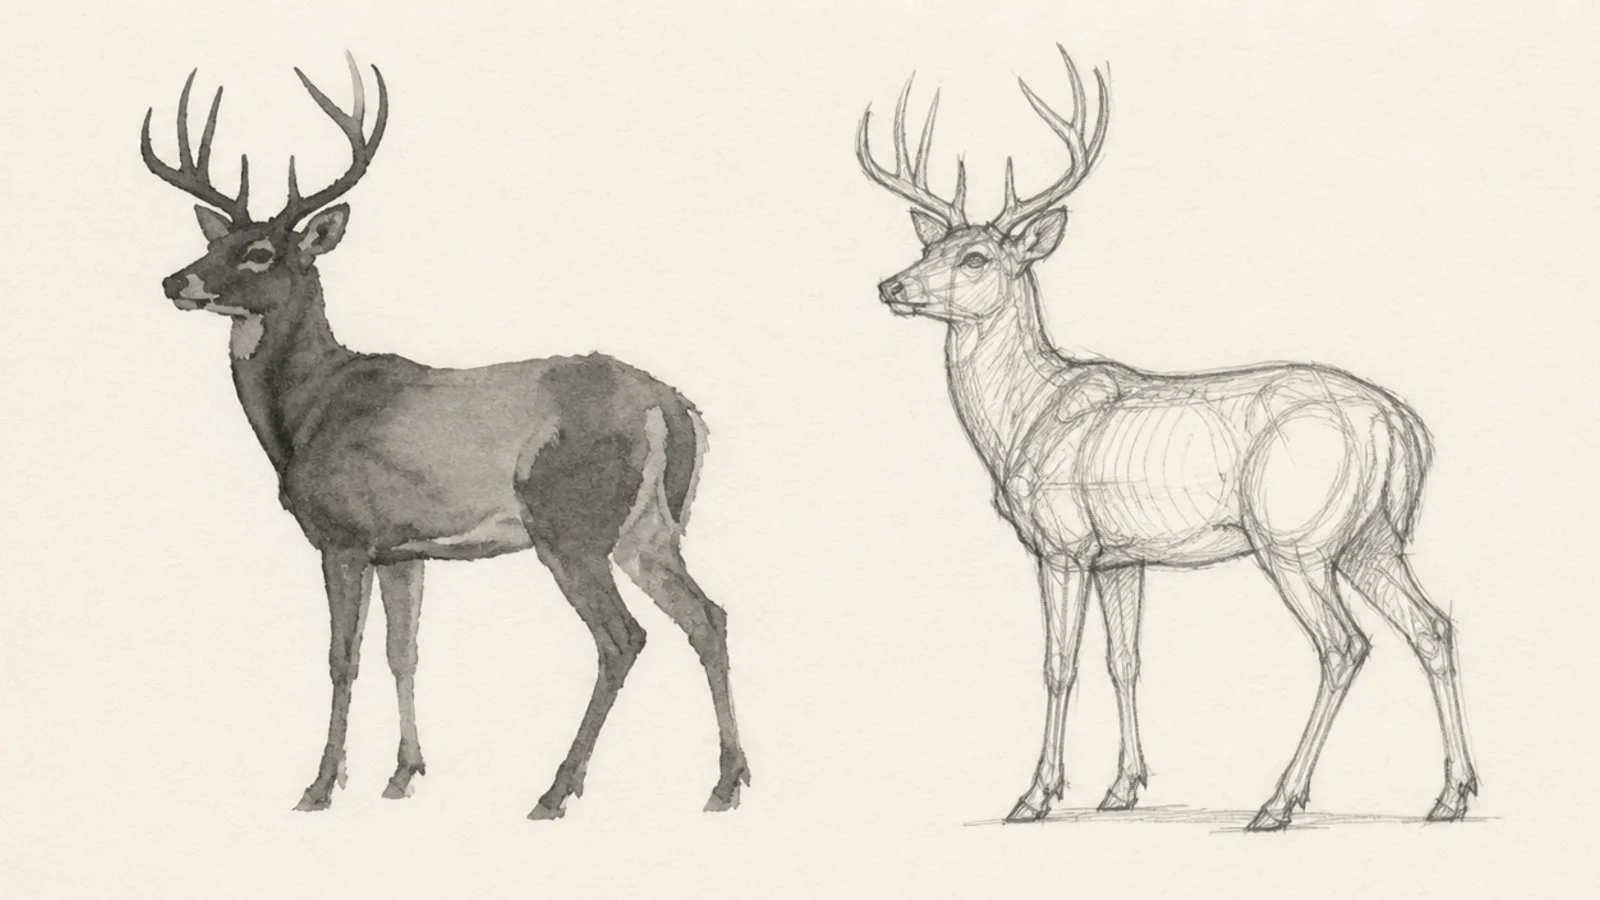
A silhouette sketch fills the loose gesture into a solid shape to test the pose’s readability. It strips away detail to focus on the outline. The bold shape is striking.
Step 1 sketch the deer’s gesture and outline loosely. Step 2 fill it with a fast loose wash or hatching. Step 3 check that the antlers, legs, and pose read clearly as a solid shape.
If the silhouette reads clearly as a deer, your pose is working.
Don’t fuss the edges; a loose confident fill tests the shape best.
18 Back-View Sketch
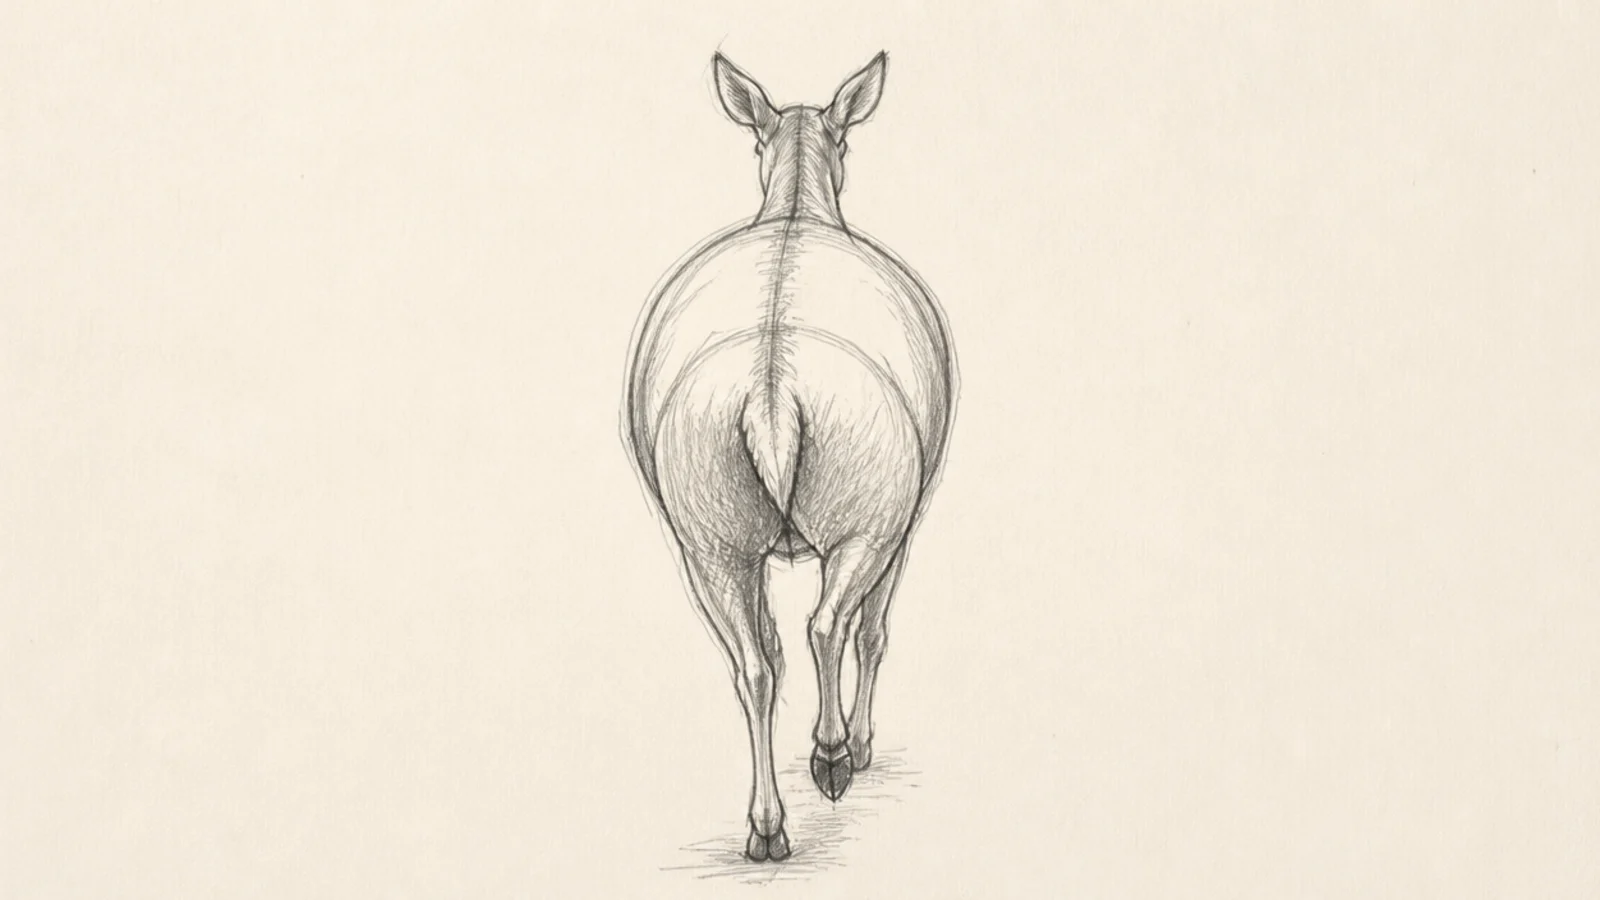
Step 1 draw the rounded hindquarters wide and the body narrowing away. Step 2 add the tail and the far-shrinking head and ears. Step 3 sketch the back legs and a hint of the front ones beyond.
A back-view sketch of a deer walking away is an unusual, useful angle. It teaches foreshortening on the hindquarters. The rear view is fresh and challenging.
AvoidDon’t draw the body full-size front to back; foreshorten it going away.
Pro tipShrink the head and shoulders since they are farther away than the rump.
19 Doe Portrait Sketch
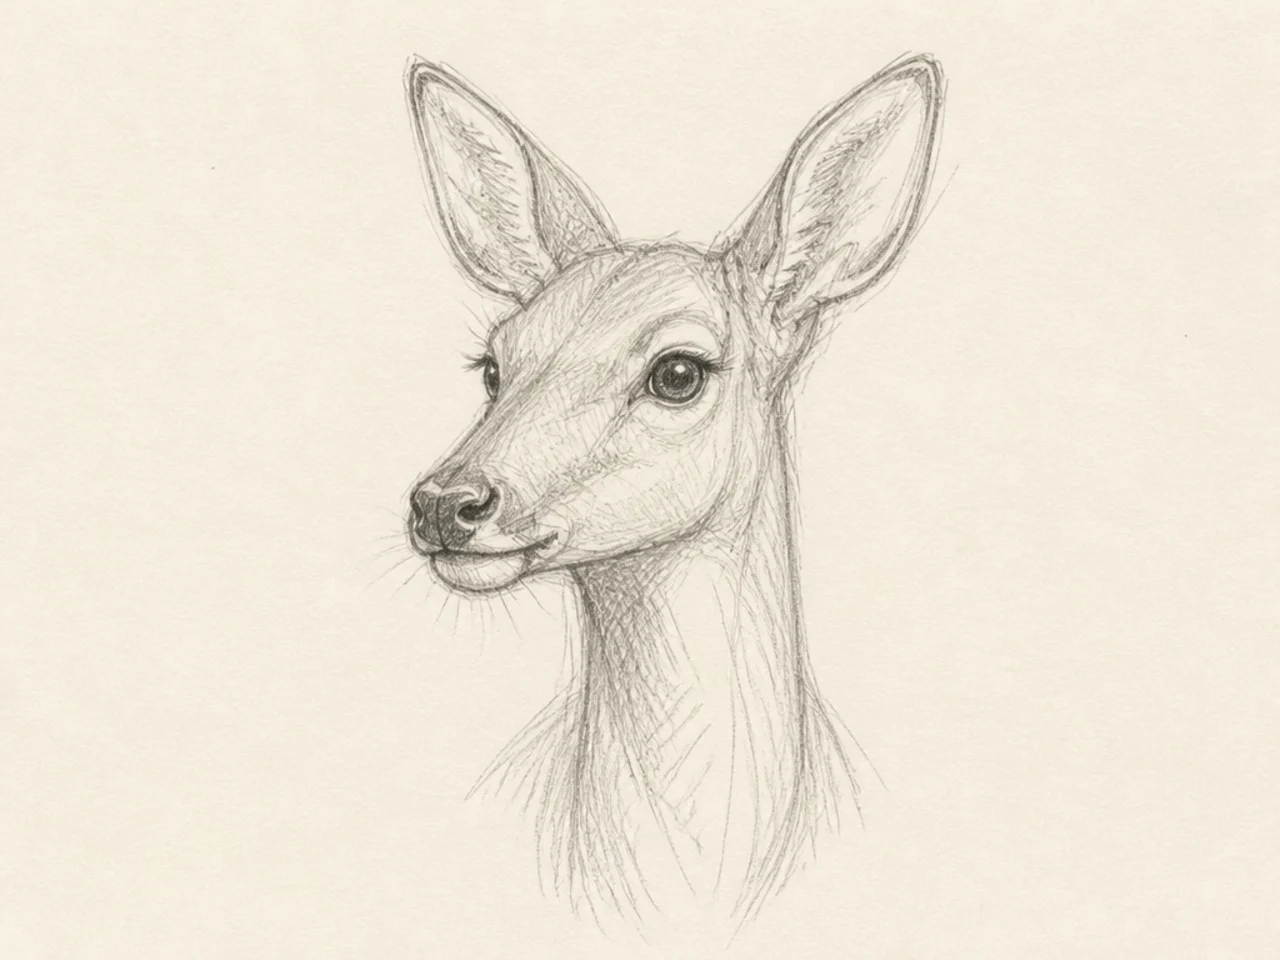
Step 1 sketch the head wedge and long graceful neck. Step 2 place the large eye and the tall ears. Step 3 add loose fur strokes down the neck and a few soft shadow hatches.
A doe portrait sketch captures her slender head and long ears with soft loose lines. The gentle expression suits a light touch. It is an elegant study.
AvoidDon’t add antlers; a doe’s plain head is part of her softness.
Pro tipKeep the doe’s neck long and the ears tall for an elegant portrait.
20 Fawn Quick Sketch
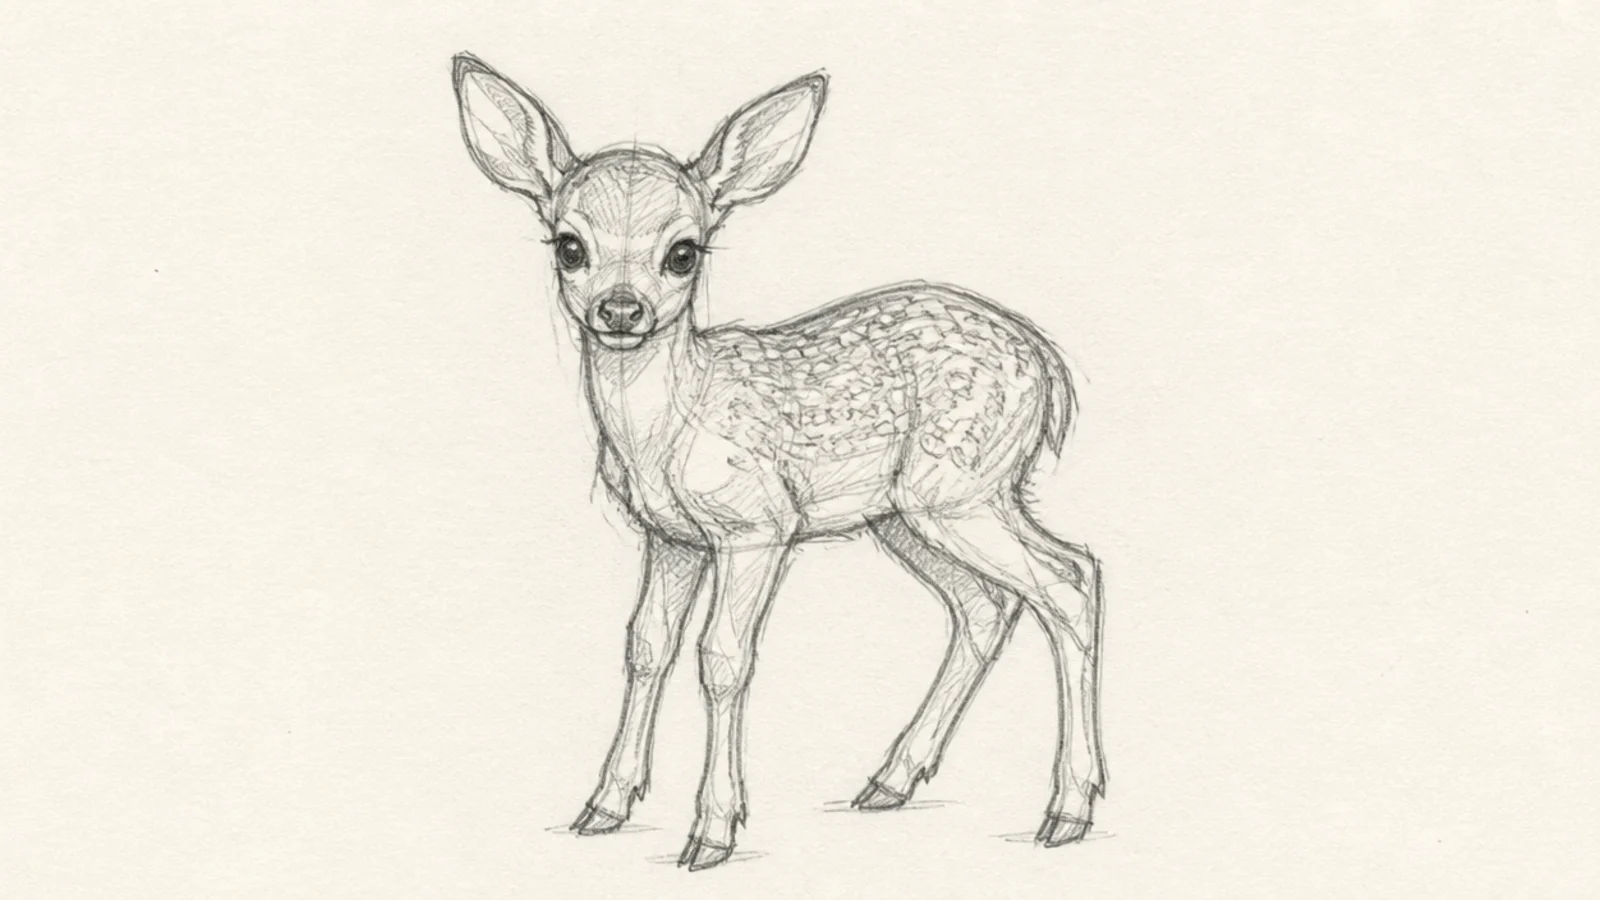
Step 1 gesture a small round body and big head. Step 2 add short bent legs quickly. Step 3 dash in a few spots and tall ears with loose marks.
A fawn quick sketch captures the big-head, short-leg baby proportions fast. It is a fun change of scale from the adults. The spots add quick character.
AvoidDon’t use adult proportions; the baby shapes are the study here.
Pro tipExaggerate the big head and short legs so the fawn reads even in a quick sketch.
21 Buck With Head Raised Sketch
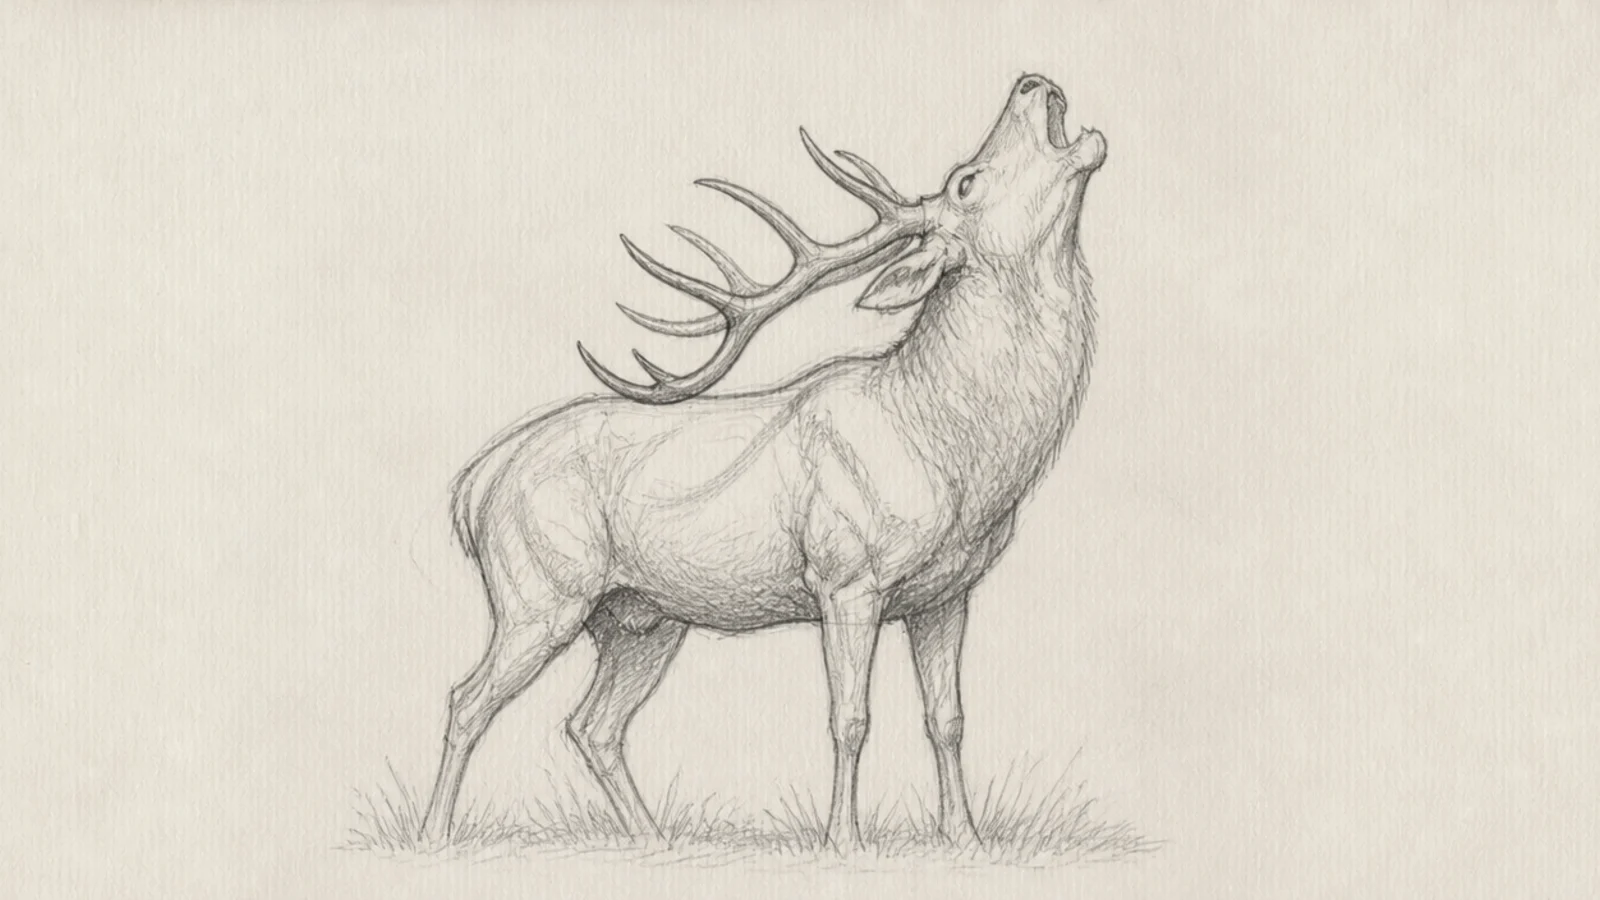
Step 1 draw a gesture line with the neck sweeping up and back. Step 2 lift the muzzle high and open. Step 3 sweep the antlers back over the shoulders and add the standing body.
A buck lifting its head to call is a dramatic, alert gesture. The stretched neck and raised muzzle are expressive. It captures a powerful stag moment.
AvoidDon’t keep the head level; the upward stretch gives the pose its drama.
Pro tipStretch the neck up and back so the raised head reads as a call.
22 Watercolor Underdrawing Sketch
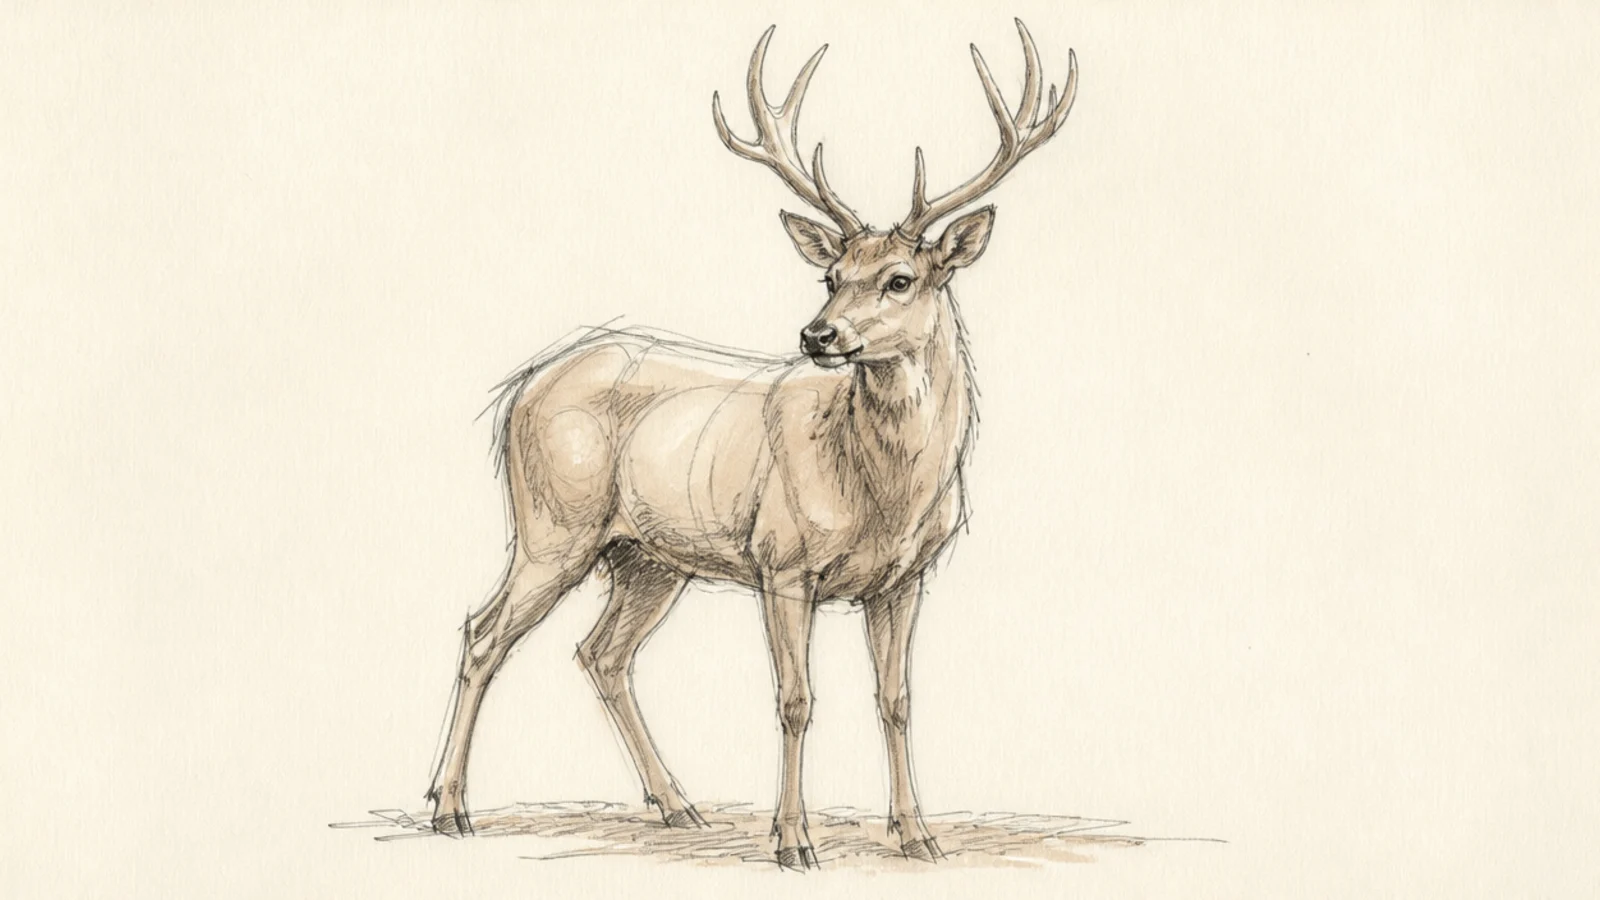
A loose sketch with a light wash over it shows how a sketch becomes a painting. The pencil stays visible under the color. It bridges sketching and finished work.
Step 1 sketch the deer loosely in pencil. Step 2 float a soft wash of warm brown over the body. Step 3 leave the pencil gesture lines showing through the transparent color.
Keep the wash light so your pencil sketch reads clearly underneath.
Don’t cover the pencil; the visible sketch under the wash is the appeal.
23 Minimal Two-Line Sketch
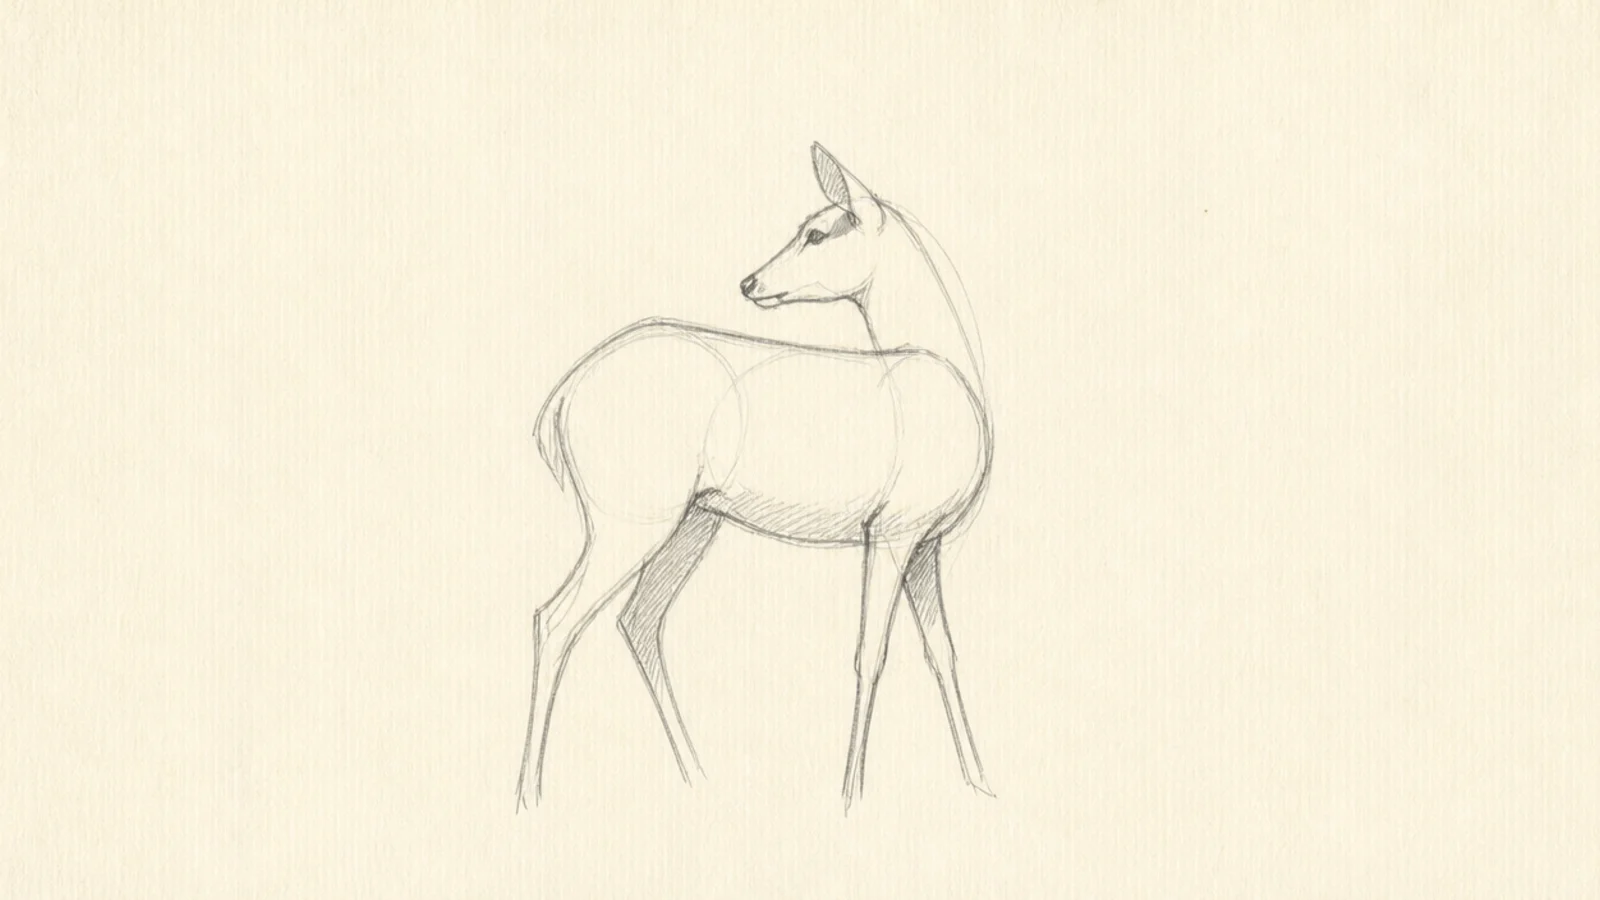
Step 1 draw one line for the back and neck. Step 2 add one line for the underside and a couple for the legs. Step 3 add a single mark for the ear and stop.
A minimal sketch suggests a whole deer in just a few essential lines. It teaches which lines truly matter. The restraint looks modern and confident.
AvoidDon’t add extra lines; the challenge is doing it with the fewest possible.
Pro tipChoose only the few lines that make it read as a deer and leave the rest out.
24 Gesture Herd Sketch
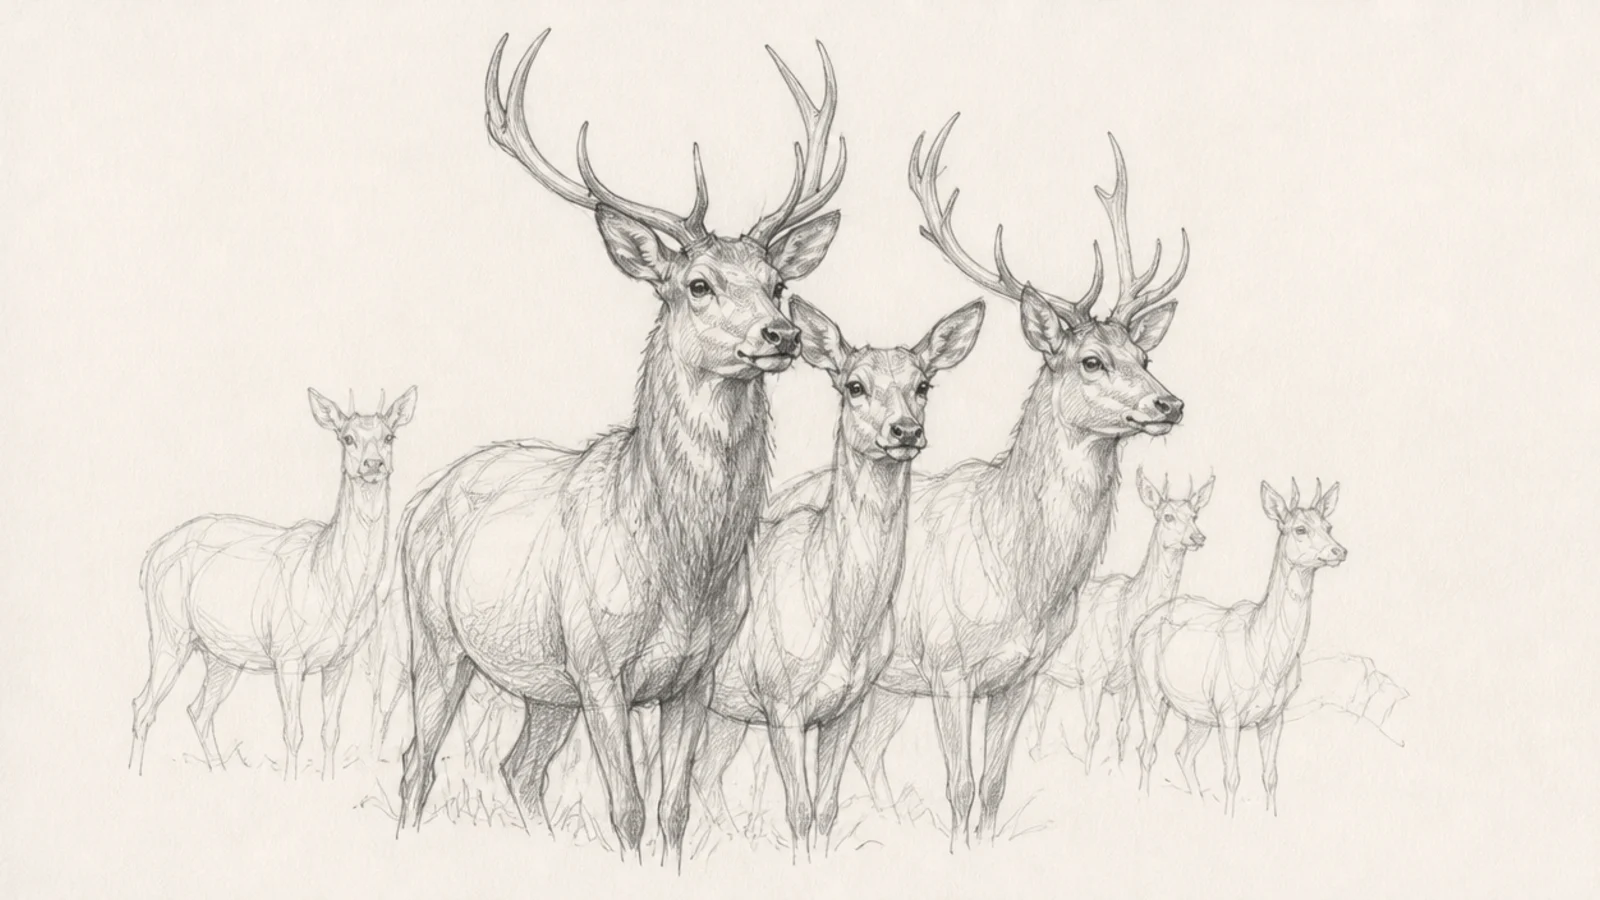
Step 1 gesture two or three deer up close larger. Step 2 add smaller looser deer behind them. Step 3 overlap them and let the far ones fade to a few marks.
A herd sketch fits several loose deer at different distances into one scene. It teaches overlap and depth. The grouped gestures feel like a field observation.
AvoidDon’t draw them all the same size; scale creates the sense of a field.
Pro tipMake the far deer smaller and looser so the herd has real depth.
25 Finished Loose Study
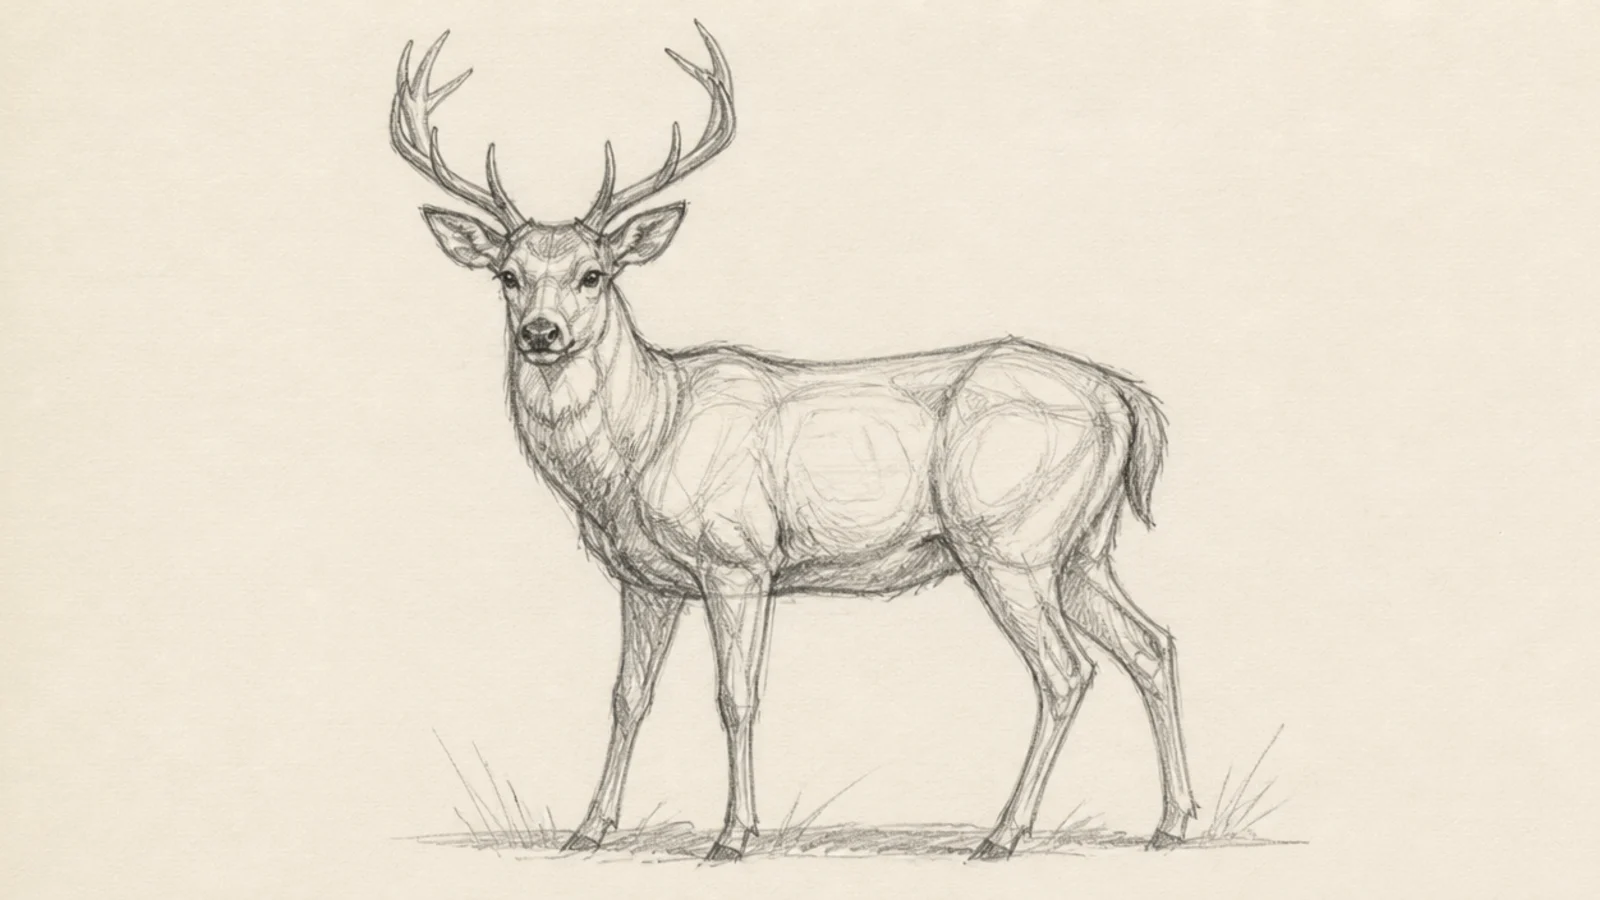
Step 1 build the deer from gesture and construction ovals. Step 2 firm up the true outline over the guides. Step 3 add quick directional hatching in the shadows and stop while it still feels fresh.
A finished loose study pulls it all together — gesture, form, and light shading — while staying a sketch. It shows how far a study can go without stiffening up. It is a satisfying way to close the page.
AvoidDon’t overwork it into a tight rendering; a study should stay breathable.
Pro tipStop shading while the drawing still feels loose to keep its sketchbook energy.



