
DIY notes from real trials
Drawings

6 Easy Steps to Draw a Jellyfish for Beginners

6 Easy Steps to Draw a Jellyfish for BeginnersSave

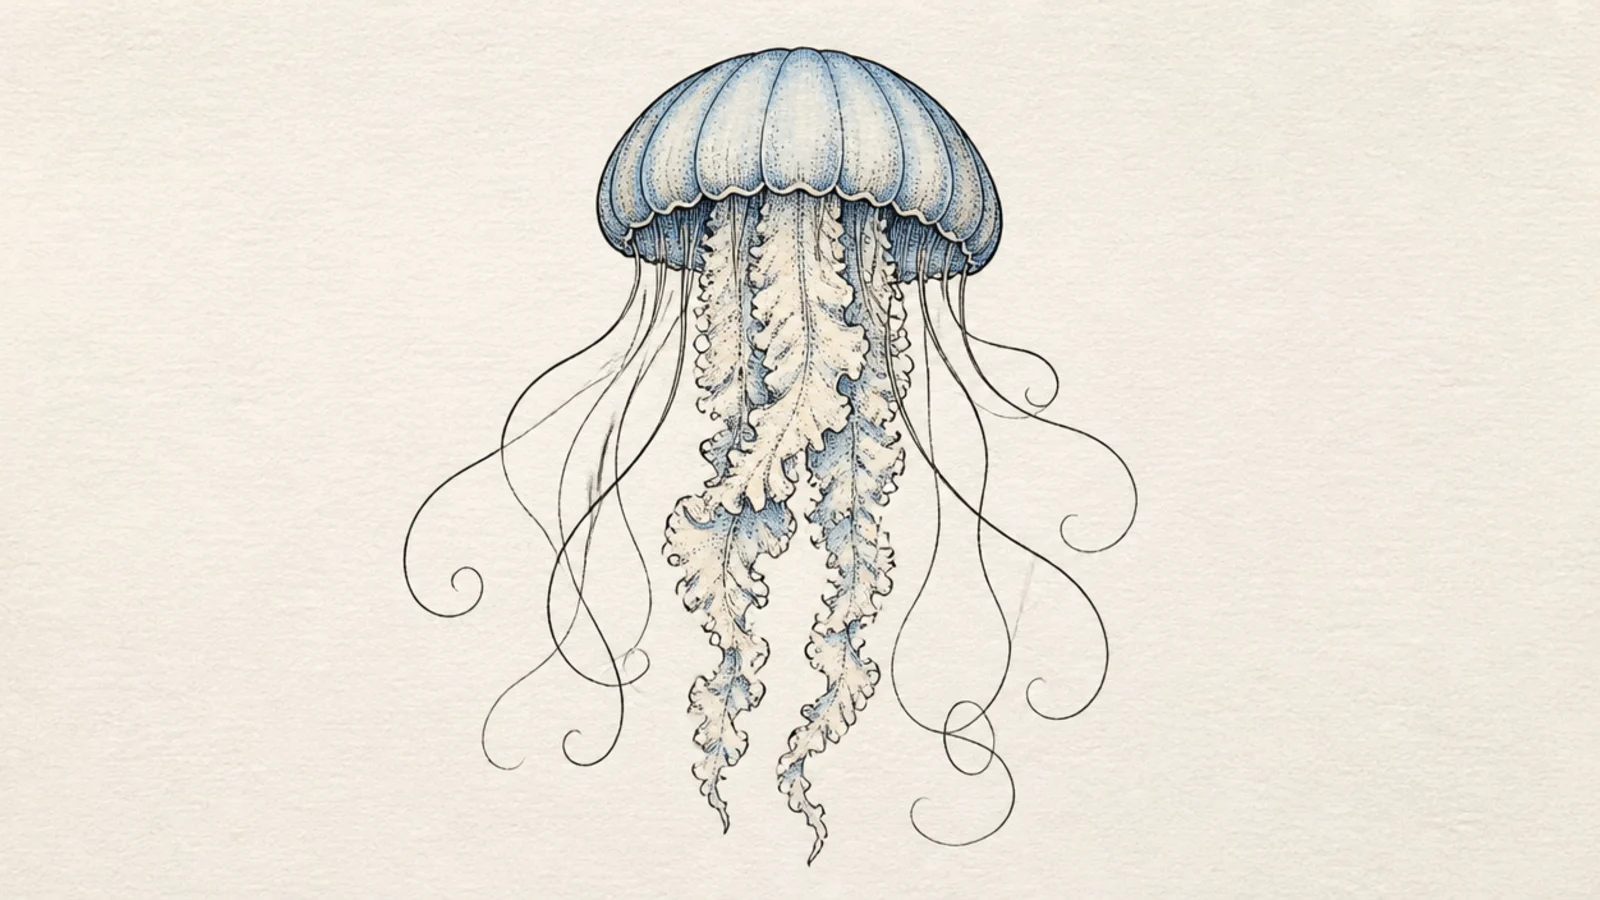
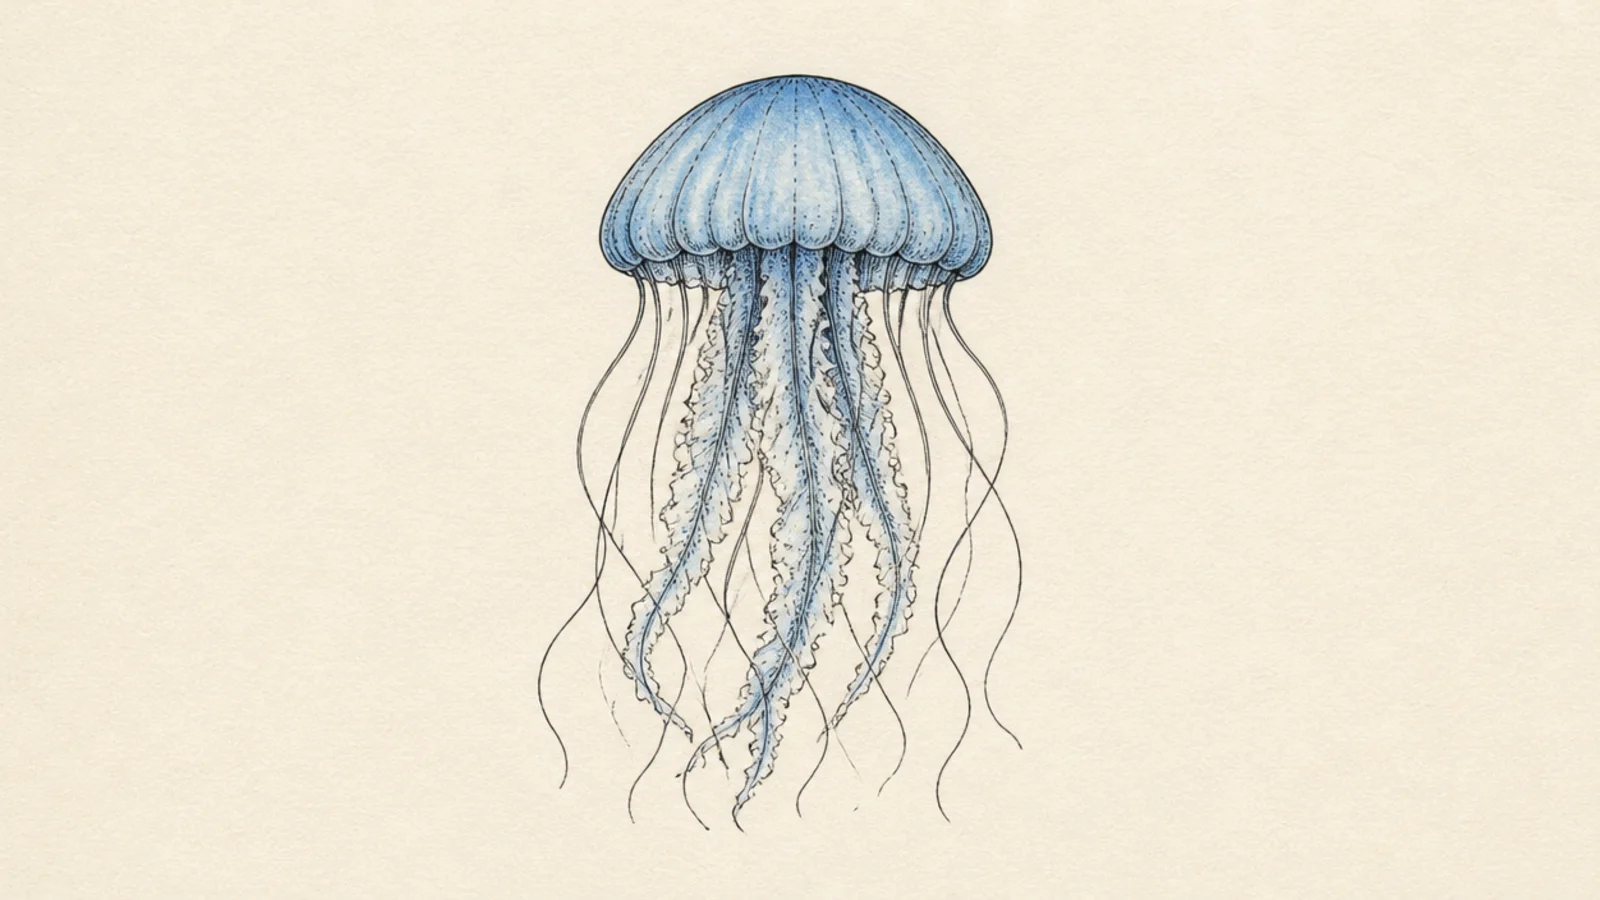
Learning how to draw a jellyfish takes about six simple steps, and none of them need real art skill. You build a bell, add a wavy rim, layer a few tentacles, and finish with light shading. That’s the whole method, and it works with a pencil, a pen, or a marker. Follow the steps below once, then use the variations at the end to make it your own. By your second try, you’ll be drawing jellyfish from memory.

Before you start, gather a pencil, a black fineliner (0.3-0.5mm), and an eraser. Optional color — one blue or purple pencil — makes it glow, but the drawing looks great in black and white too. Work lightly in pencil first so you can fix the shape, then ink over your final lines and erase the guides.

Keep two ideas in mind the whole way through. First, the bell is just a smooth dome, so draw it slowly and round it out until it looks even. Second, tentacles should vary — mix a few thick, ruffled arms with several thin, curly lines, and let them all drift the same direction so the jellyfish looks like it’s floating.

The steps below build the classic jellyfish from start to finish. After the steps, you’ll find eight easy variations so you can change the mood — cute, glowing, minimal, and more — using the same six-step base.

Step by step

  1. Draw the bell dome. Lightly sketch a smooth half-circle or rounded bell shape for the body. Keep it even and symmetrical — go around it a second time to round out any flat spots before moving on.
  2. Add the wavy rim. Along the bottom edge of the bell, draw a gentle wavy line (like a curtain hem) that dips lowest in the middle. This rim is what makes the dome read as a floating jellyfish.
  3. Hang the thick arms. From the center of the rim, draw 3-4 thick, ruffled oral arms. Give them soft frilly edges and let them curve. These central arms are shorter and fuller than the outer tentacles.
  4. Add the thin tentacles. On the outside, add 5-7 thin, curly tentacles of different lengths. Curve them all the same general direction and let a couple cross for depth so the jellyfish looks alive.
  5. Ink and add details. Trace your final lines with the fineliner, then erase the pencil. Add a small blank highlight near the top of the bell and a few tiny dots or a rim line for texture.
  6. Shade lightly. Add soft shading under the bell, along one side, and inside the thick arms — keep it under 15 percent of the page. For a glow, blend one blue or purple pencil from the top of the bell fading down.

1 The Classic Finished Jellyfish
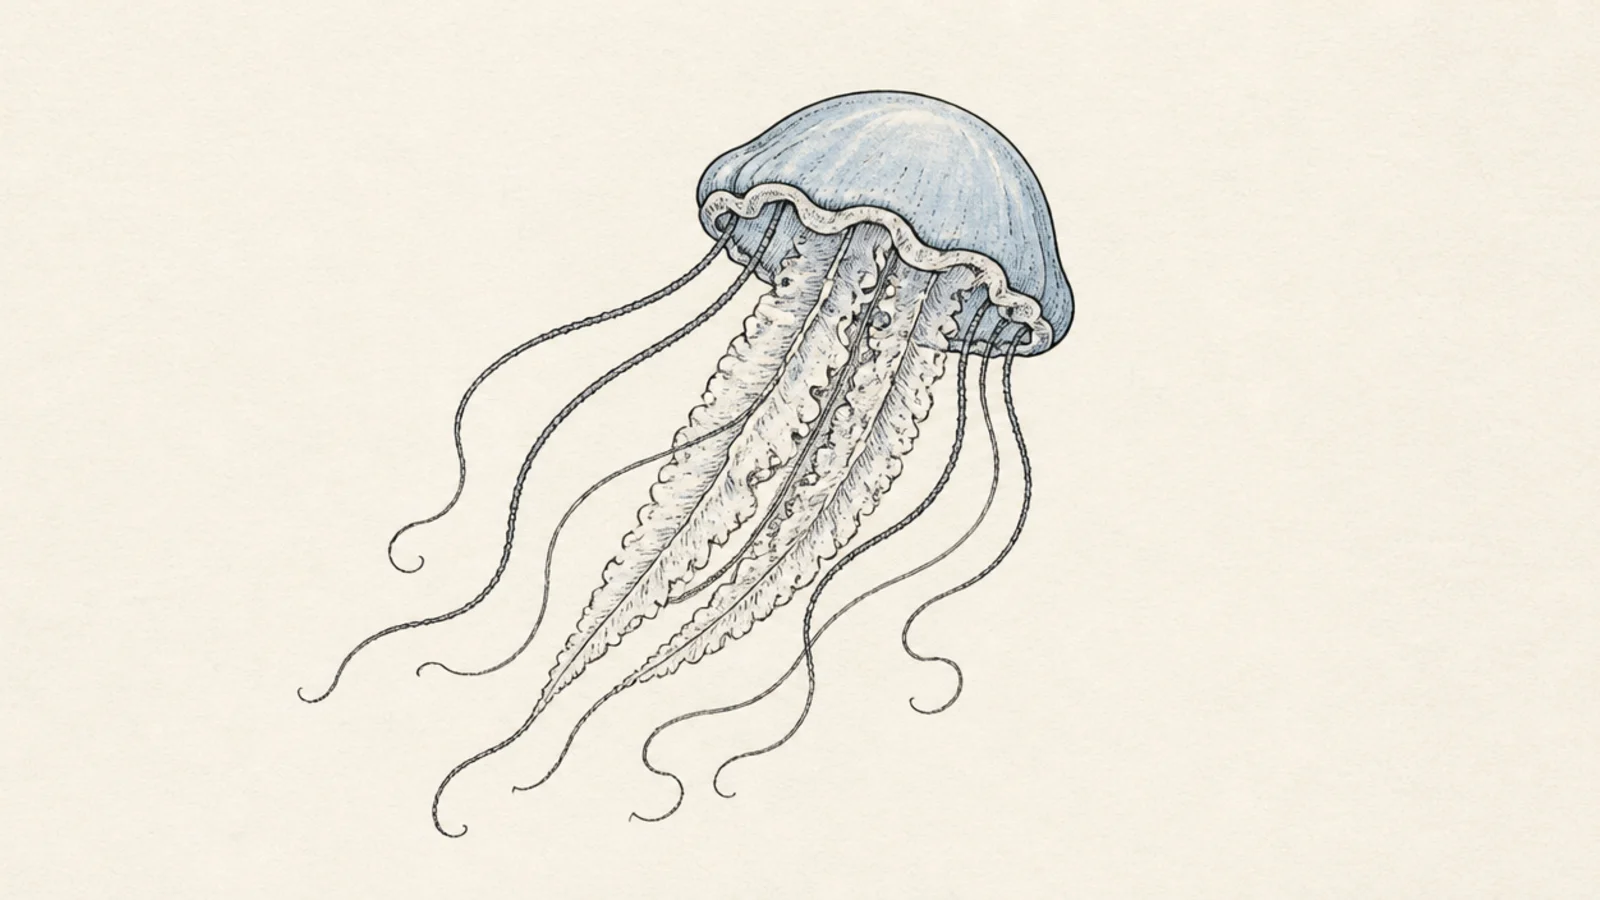
This is the finished result of the six steps — a clean, balanced jellyfish. It’s the base you’ll vary from here. Once you can draw this smoothly, the rest are quick tweaks.

Step 1 follow all six steps exactly. Step 2 keep the shading light and the highlight clear. Step 3 check that all tentacles drift the same direction.

Compare your bell to a circle guide to make sure it’s even before you ink.

Don’t add the tentacles before the bell and rim are solid; the body sets the whole proportion.

2 Cute Face Variation
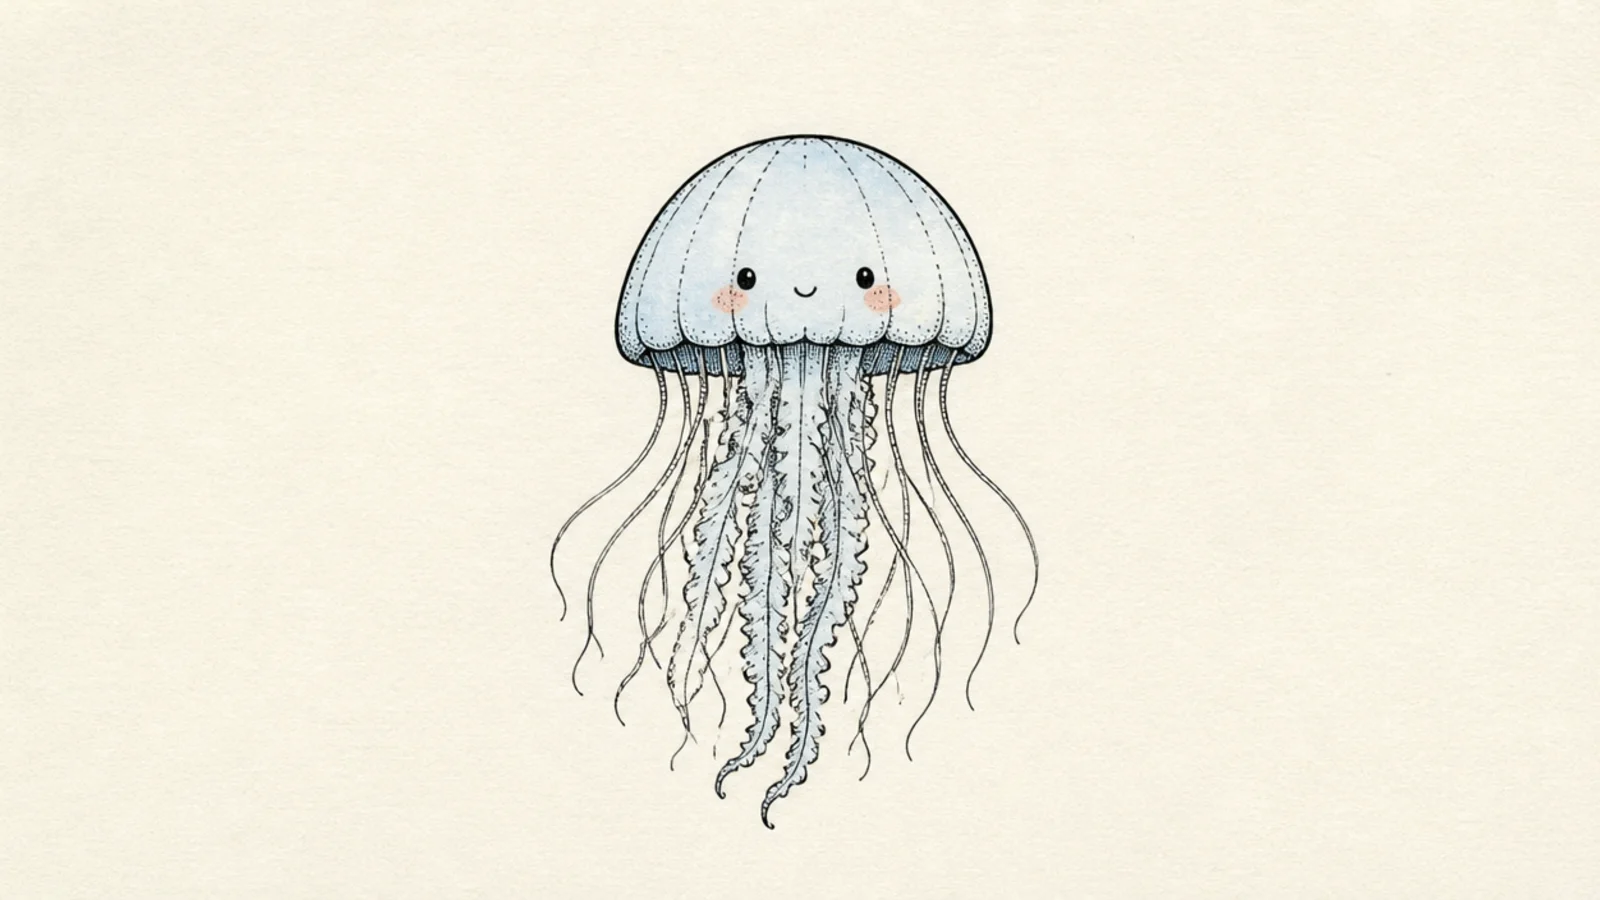
Add two low dot eyes and blush to turn the base into a cute character. It’s the same body with a friendly face. Great for stickers.

Step 1 draw the classic jellyfish. Step 2 add two dot eyes low and wide with a tiny smile. Step 3 add two blush ovals.

Keep the eyes low and spaced apart for the cutest look.

Don’t add a big mouth; a tiny smile keeps it sweet.

3 Glowing Color Variation
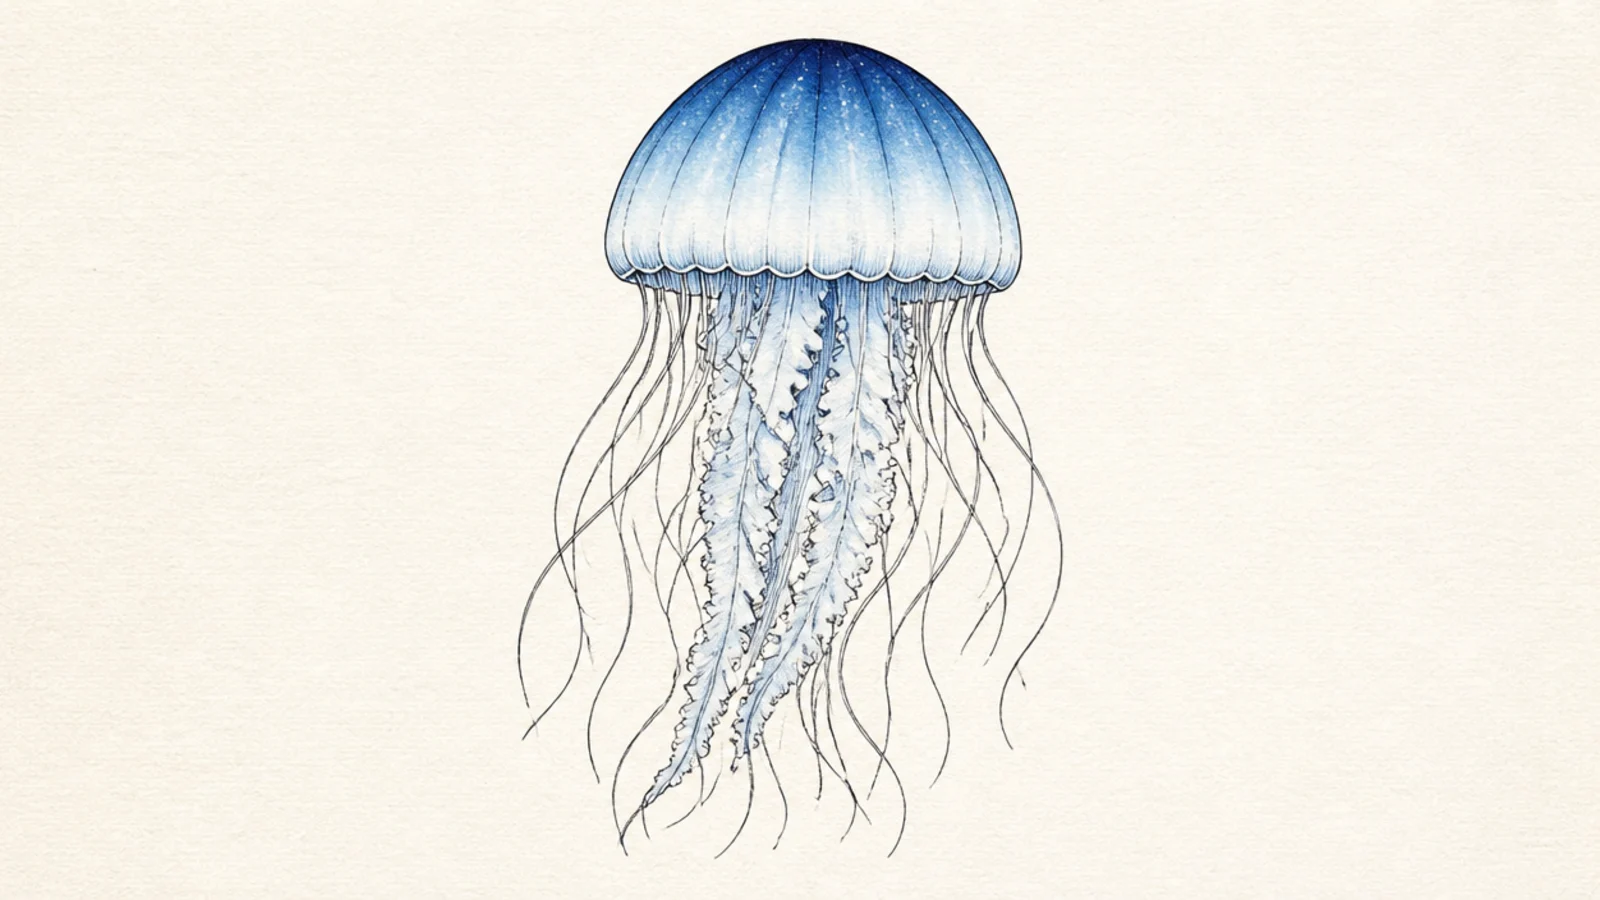
Fade one blue from the top of the bell down to white to make the base jellyfish glow. The single-color gradient looks advanced but is easy. It adds instant mood.

Step 1 draw the classic jellyfish. Step 2 press blue pencil hardest at the top of the bell. Step 3 ease off as you move down so it fades to white.

Layer the color in light passes so the gradient blends smoothly.

Don’t leave a hard line where blue meets white; keep blending.

4 Minimal Outline Variation
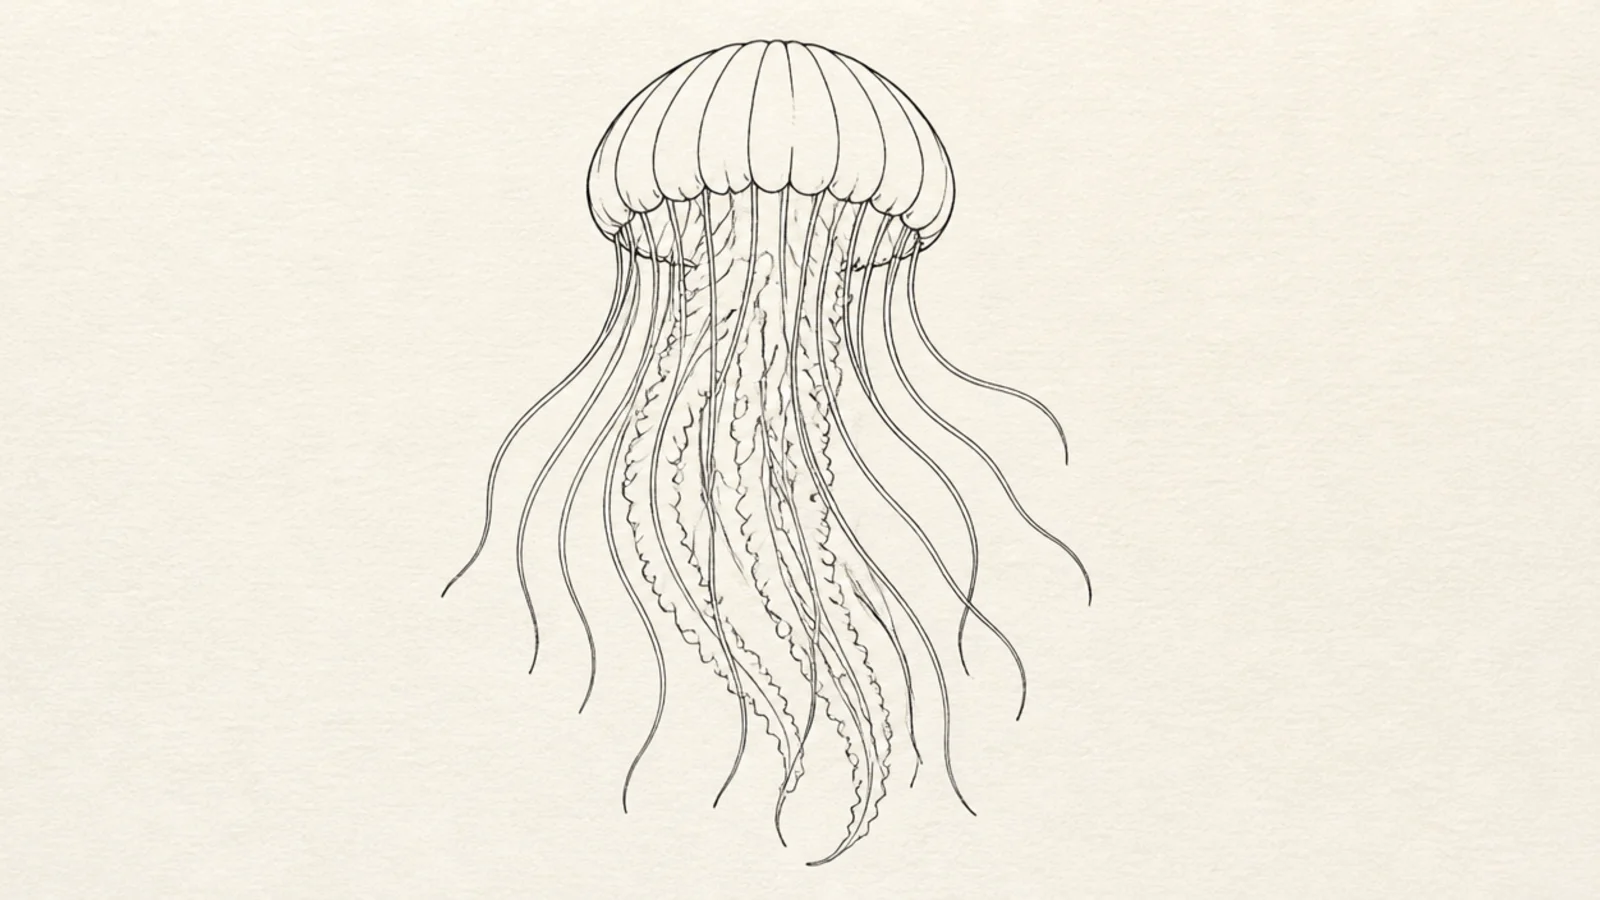
Skip the shading entirely for a clean, coloring-book style outline. It’s the fastest finish. It looks tidy in a journal.

Step 1 draw the classic jellyfish. Step 2 ink it in one even line weight. Step 3 leave it completely unshaded.

Use one steady line weight so the outline looks professional.

Don’t over-trace lines; one clean pass looks best.

5 Moon Jelly Variation
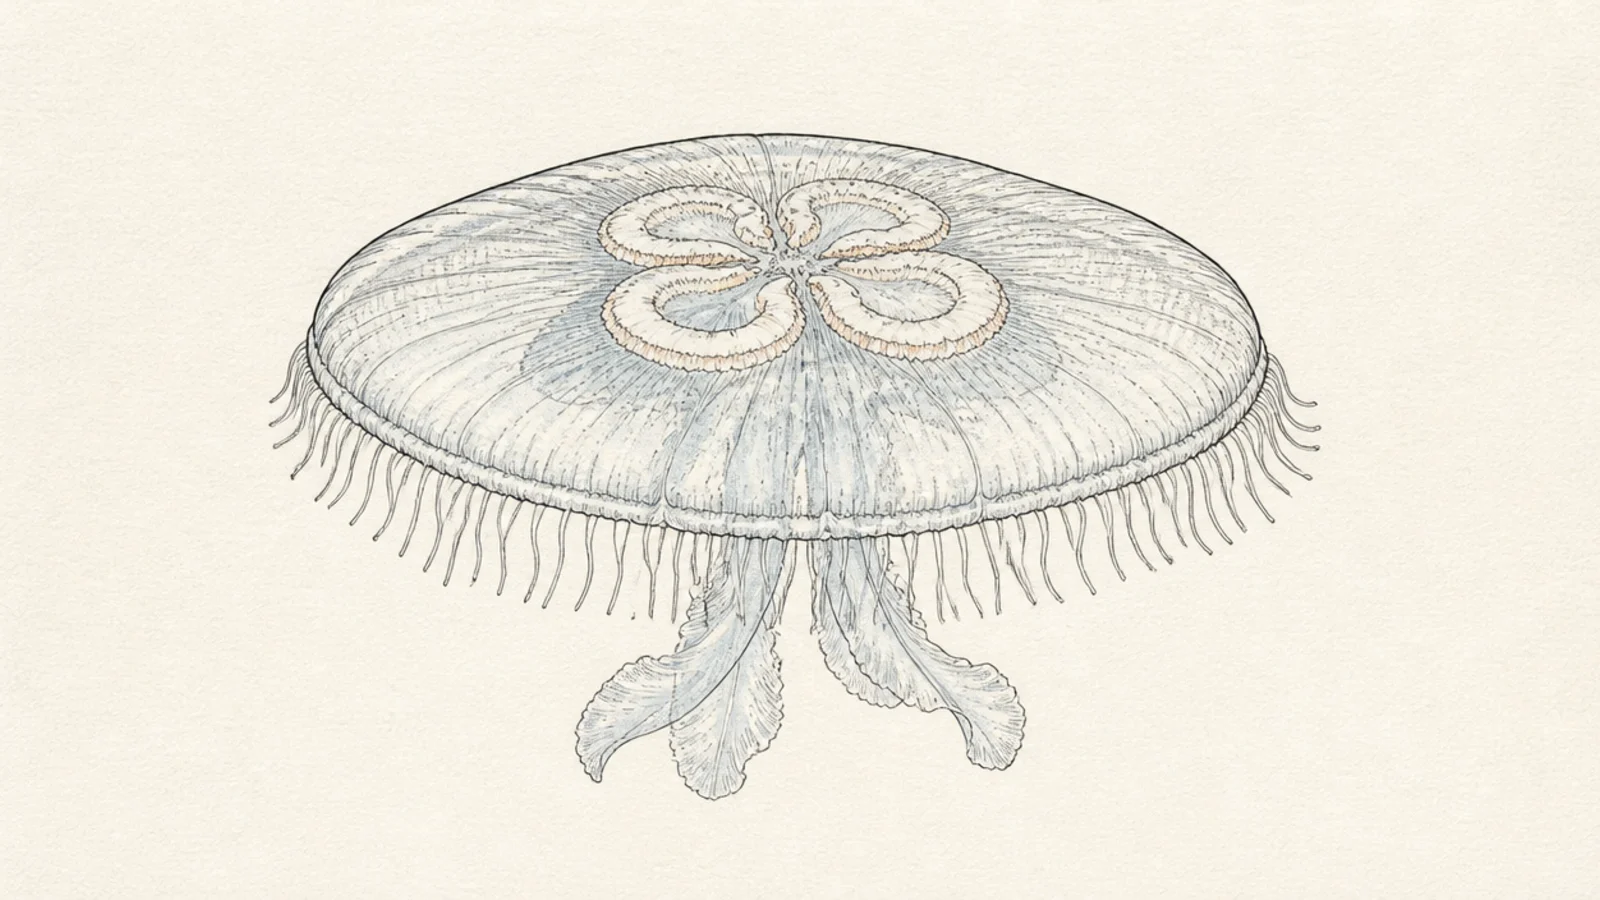
Widen the bell and add four clover rings to turn the base into a moon jelly. It’s a small change with a big difference. It looks delicate and translucent.

Pro tipKeep the rings pale so they look translucent, not printed on.

Step 1 draw a wider, flatter bell. Step 2 add four horseshoe rings in the center. Step 3 use a short tentacle fringe instead of long ropes.

AvoidDon’t use long tentacles; moon jellies have a short fringe.

6 Jellyfish Swarm Variation
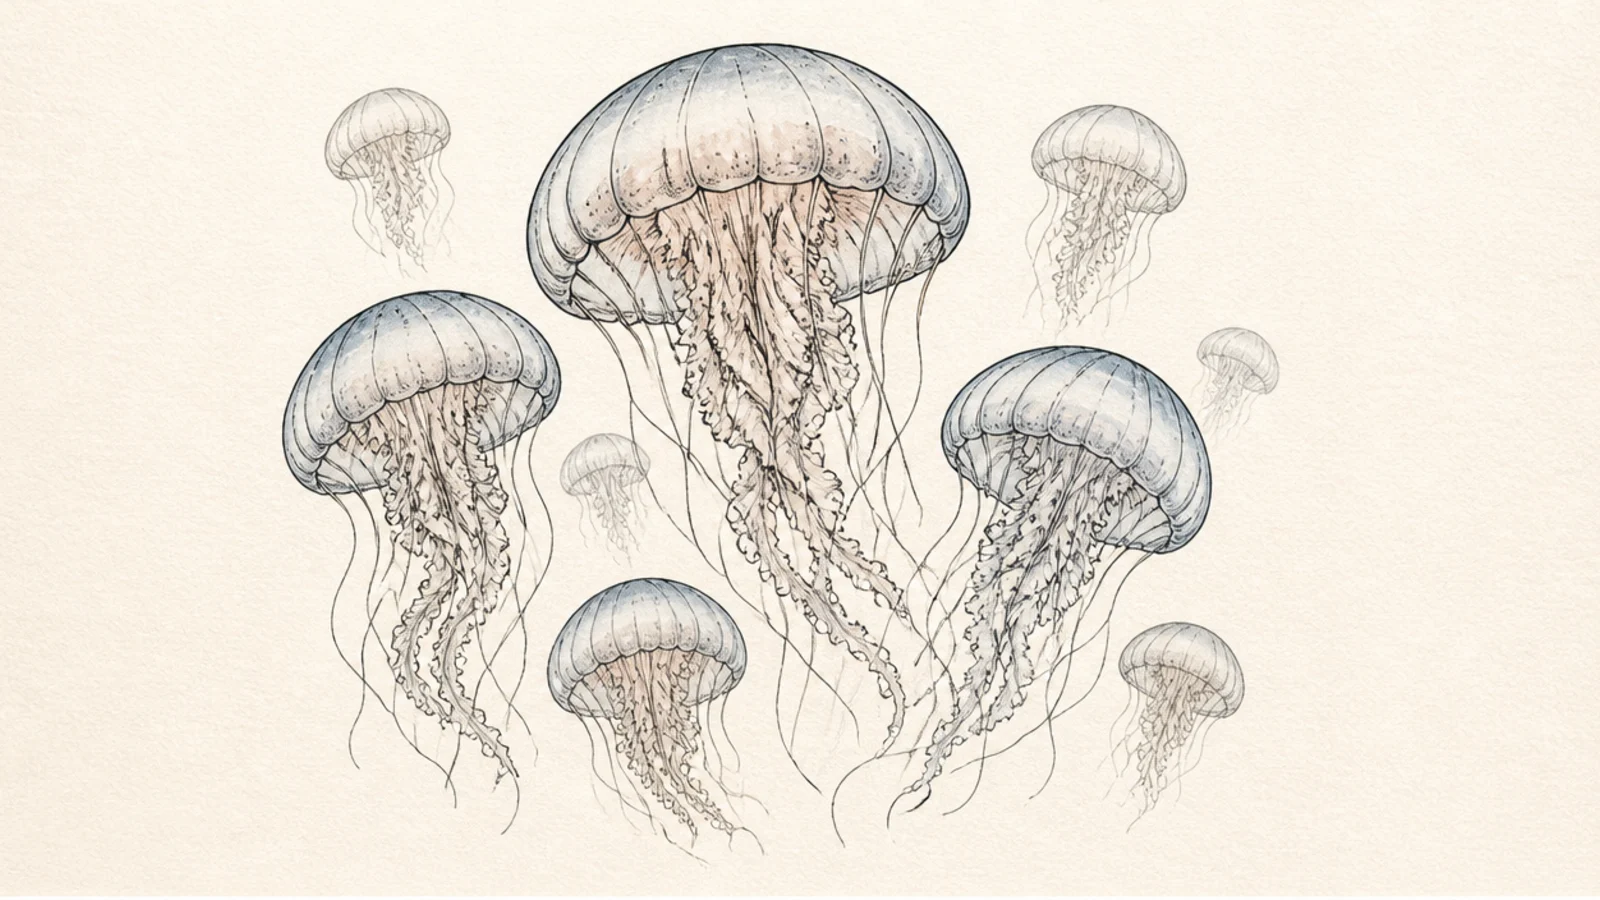
Draw a few of the base jellyfish at different sizes to make a swarm. Overlapping them adds depth. It fills a page fast.

Pro tipOverlap and fade the far ones lighter for depth.

Step 1 draw one larger jellyfish. Step 2 add several smaller ones around it. Step 3 make distant ones paler and simpler.

AvoidDon’t make them all the same size and height; vary them.

7 Silhouette Variation
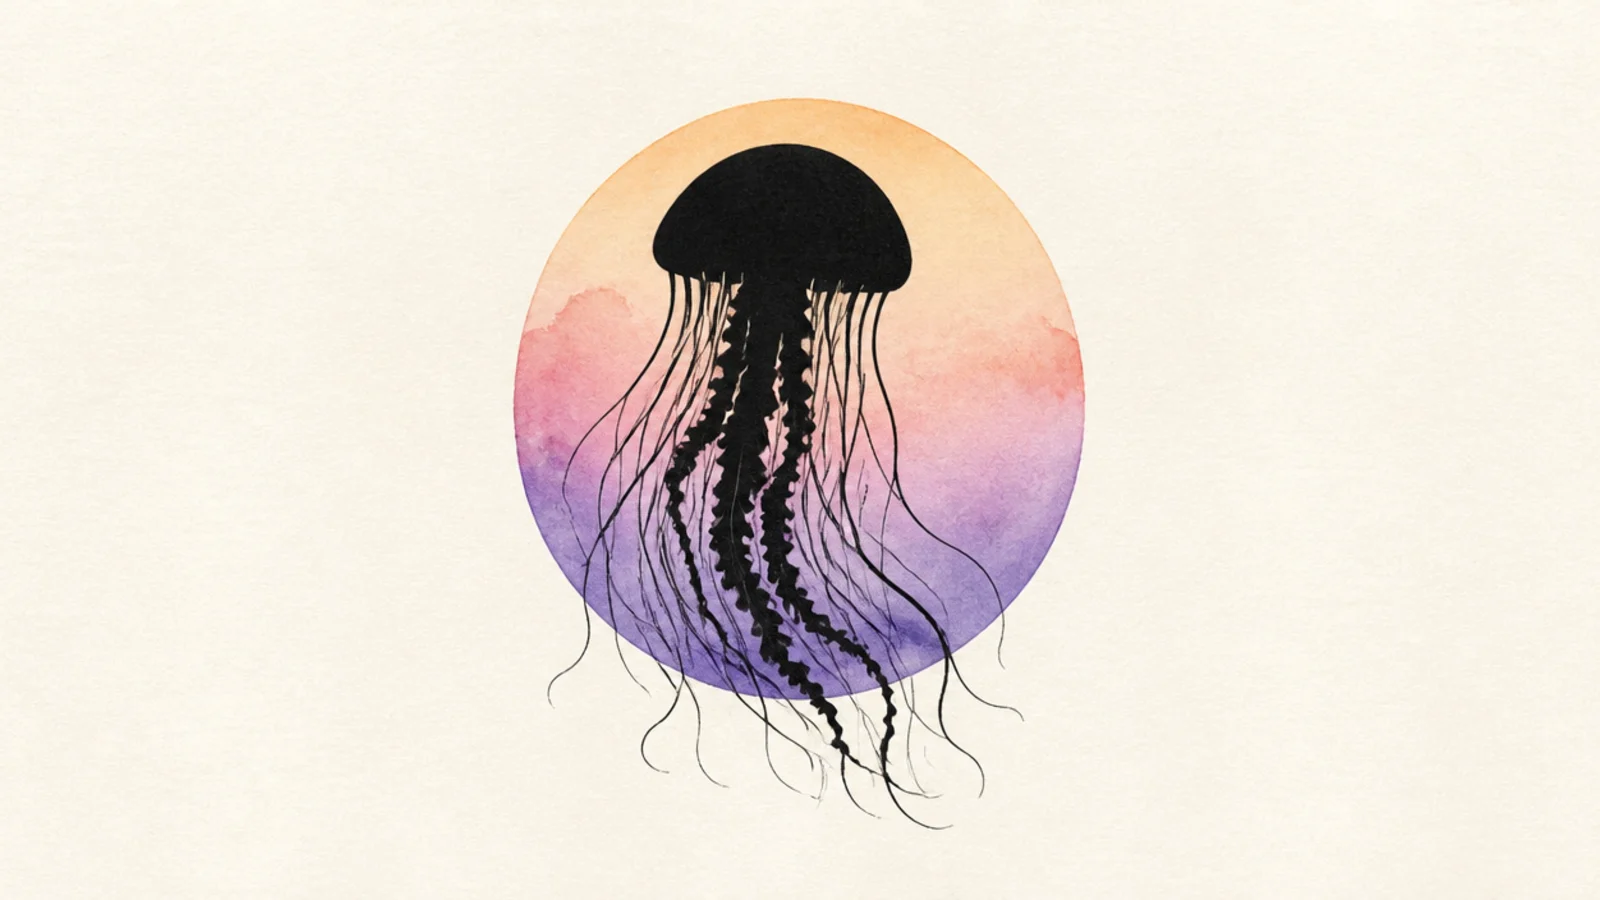
Fill the base shape solid black over a colored wash for a dramatic silhouette. No interior detail needed. It looks striking and is very forgiving.

Step 1 wash a soft gradient background and let it dry. Step 2 draw the jellyfish outline. Step 3 fill it solid black with clean edges.

Keep the silhouette edges crisp against the smooth background.

Don’t add highlights inside; a silhouette stays a flat solid shape.

8 Patterned Bell Variation
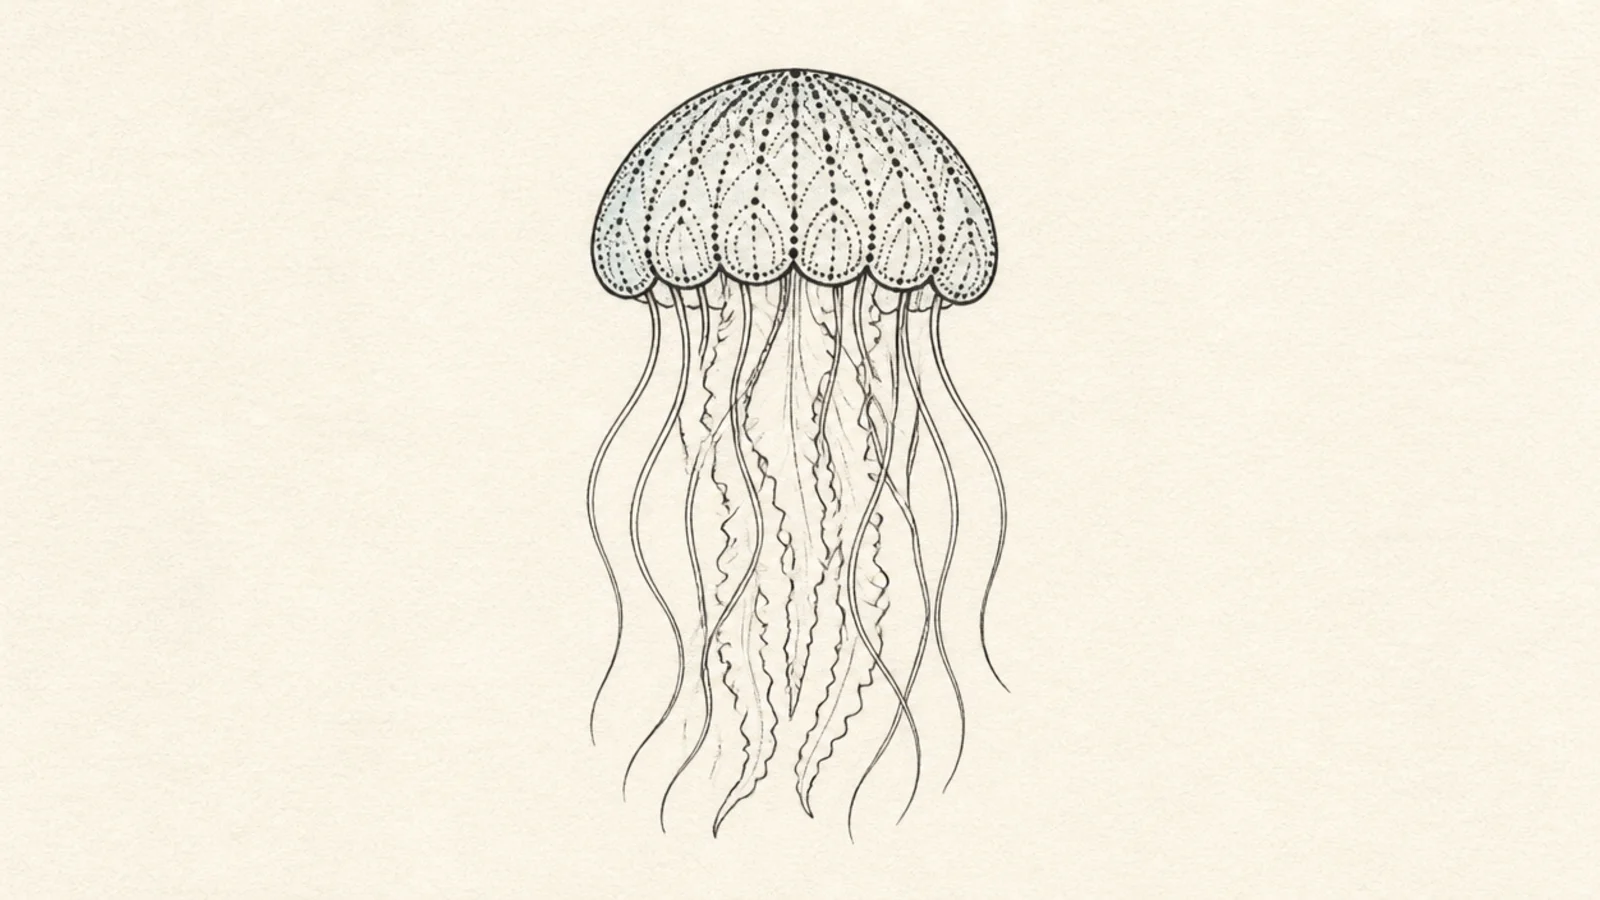
Fill the bell with a simple dot-and-line pattern for a decorative, zentangle feel. The repeating marks add texture with no extra skill. It’s satisfying to draw.

Pro tipFollow the bell’s curve with each row of pattern so it wraps the dome.

Step 1 draw the classic jellyfish. Step 2 fill the bell with rows of dots and small scallops. Step 3 keep the tentacles plain so the pattern stands out.

AvoidDon’t pattern the tentacles too; keeping them plain balances the drawing.

Quick answers

What is the easiest way to draw a jellyfish step by step?
Start with a smooth dome for the bell, add a wavy line along the bottom rim, then hang a few thick ruffled arms in the center and several thin curly tentacles on the sides. Finish with a small highlight and light shading. That six-part order works every time.
What should I use to draw a jellyfish?
A pencil for the rough shape, a black fineliner (0.3-0.5mm) to ink the final lines, and an eraser for the guides. One blue or purple colored pencil is optional for a soft glow, but it looks great in black and white too.
How do I make my jellyfish tentacles look natural?
Vary them. Use a few thick, ruffled oral arms in the center and several thin, curly tentacles on the outside, all different lengths. Curve them the same general direction so the jellyfish looks like it’s drifting rather than standing still.
How do I shade a jellyfish without making it messy?
Keep shading light and limited — just under the bell, along one side, and inside the thick arms. Leave a small blank highlight near the top of the bell for shine. Under 15 percent of the drawing should be shaded.


