Drawing a whole monkey is easy when you build it in the right order — basic shapes first, then the face, arms, legs, and finally the curling tail. Starting with a head circle and a body oval gives you a frame to hang everything on, so the monkey never comes out lopsided. This guide walks you through 6 easy steps to draw a monkey for beginners, then shows a few bonus variations — sitting, hanging, cartoon, and cute — to try once you have the basic body down. Grab a pencil and follow along.
The golden rule for drawing any animal is to work from big shapes to small details. Start with the two largest shapes — a circle for the head and an oval for the body — lightly in pencil, so you can check the proportions before committing. Everything else, the face, the limbs, and the tail, gets built onto that frame. If you start with tiny details like eyes or fingers first, the proportions drift and the monkey looks off.
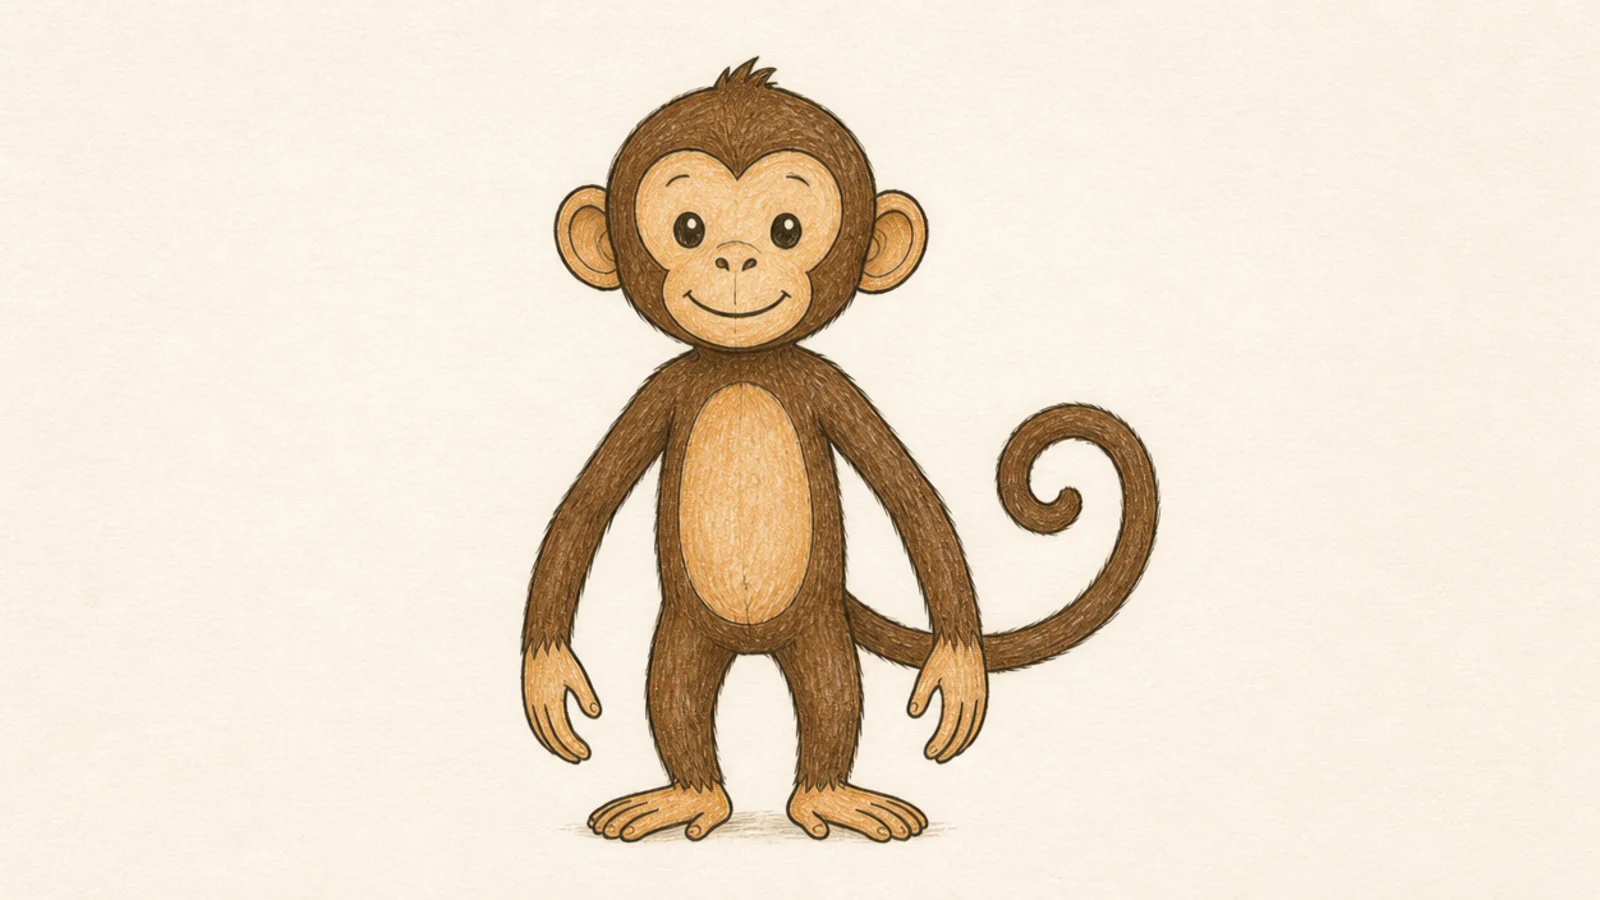
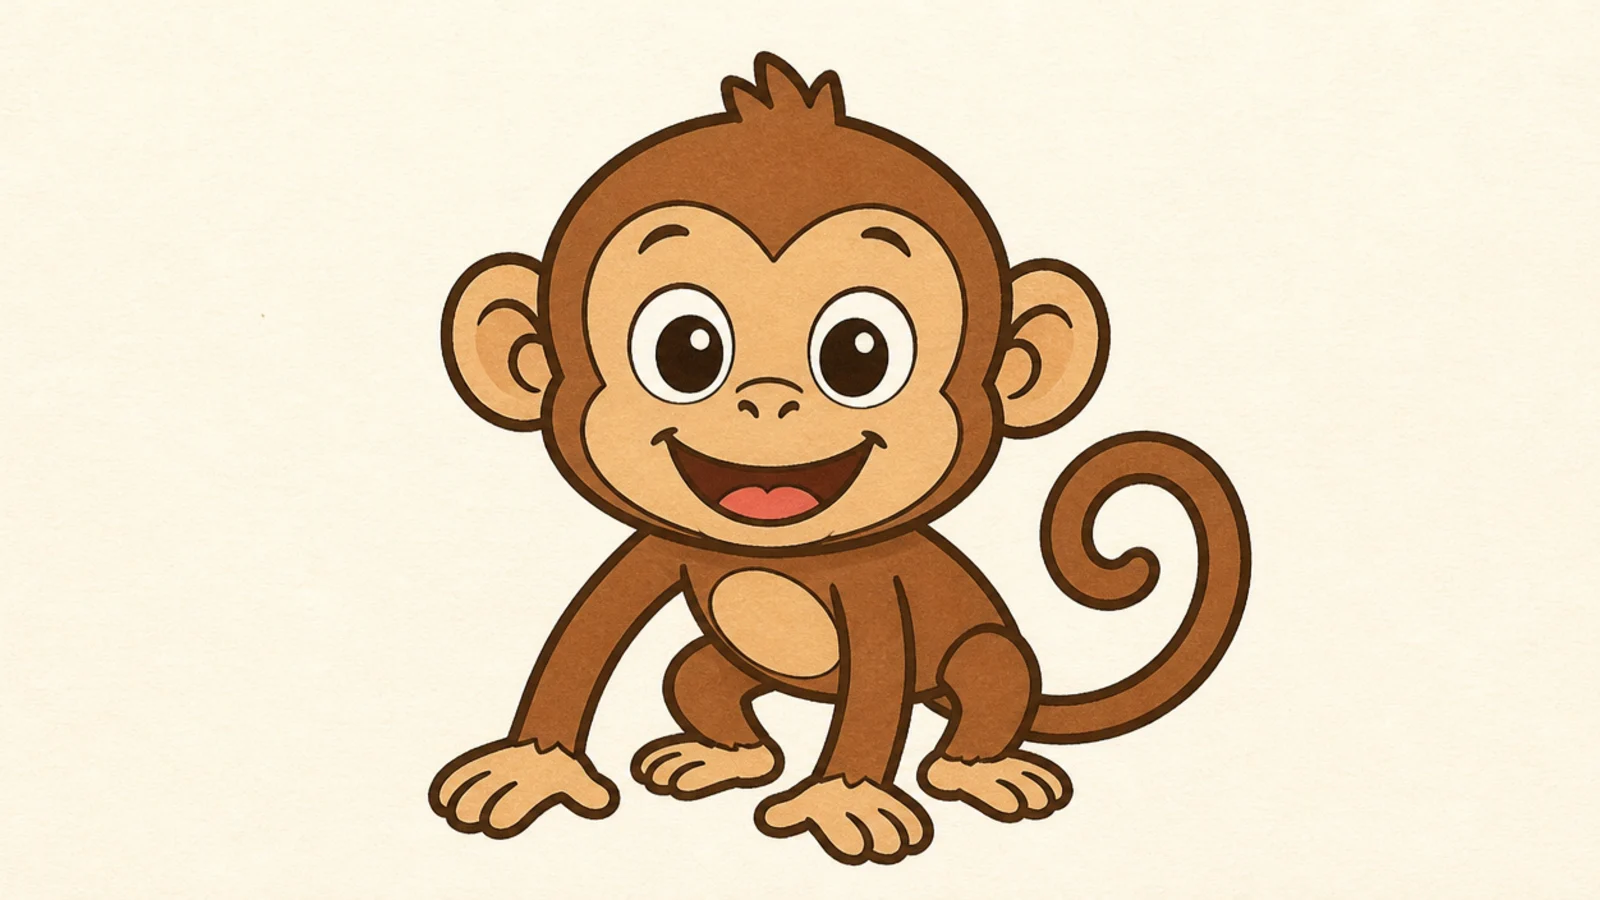
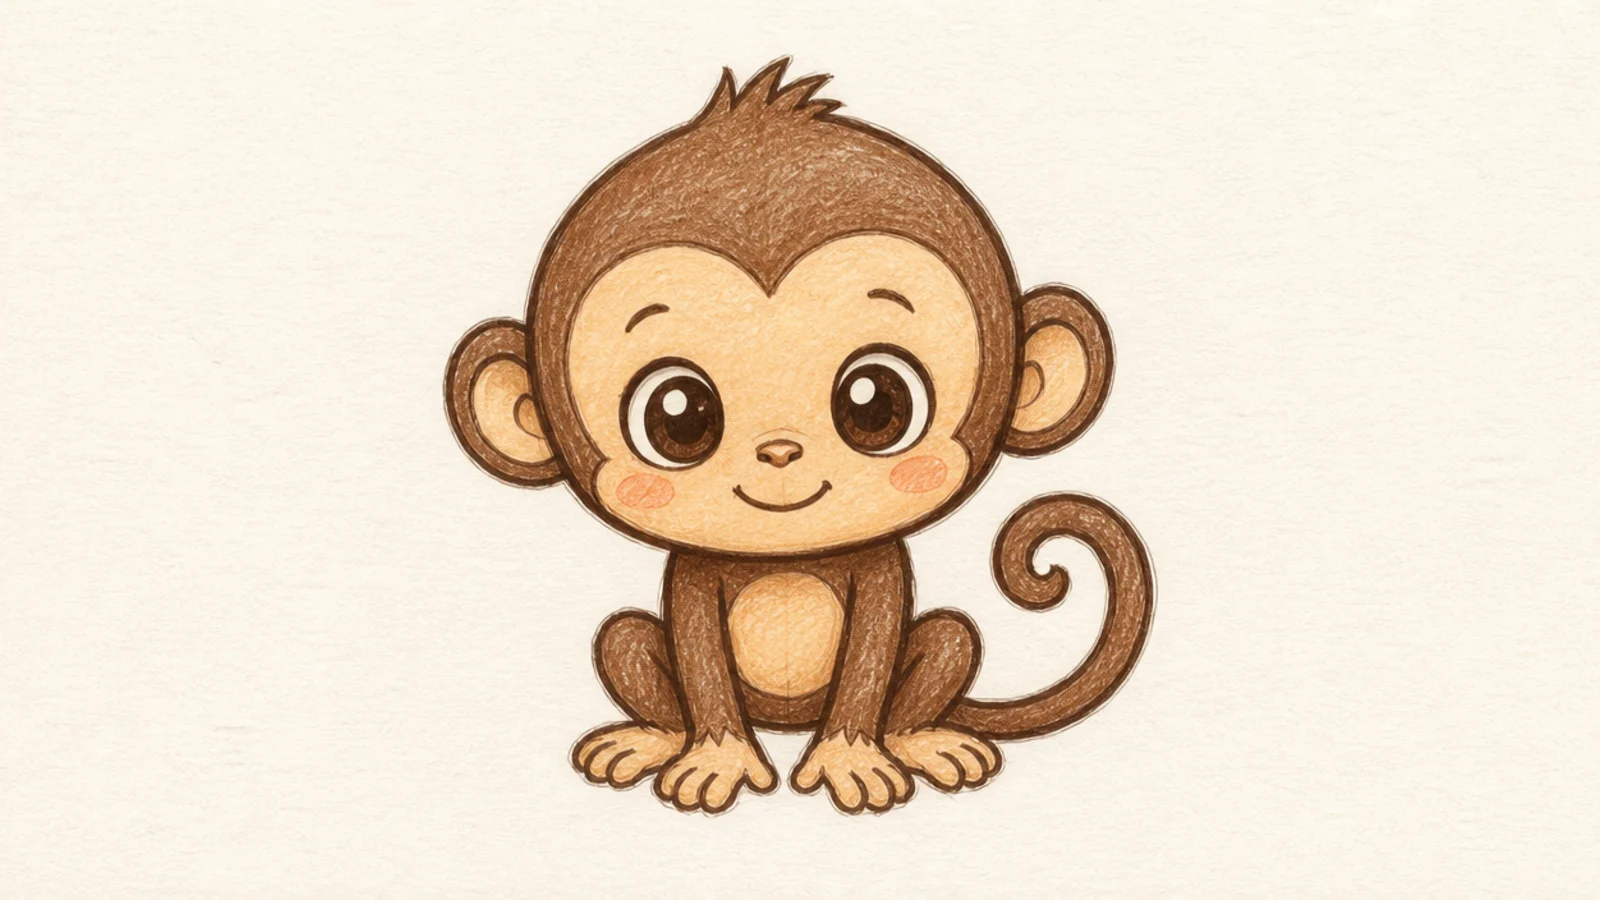
A monkey has a few features that make it read clearly — a heart-shaped face patch, round ears on the sides, long grippy arms, and a curling tail. Keep the hands and feet as simple mitten shapes while you learn, and give the arms a little extra length, since monkey limbs are long. The tail is the finishing touch, one smooth line curling into a loose spiral that instantly says monkey.
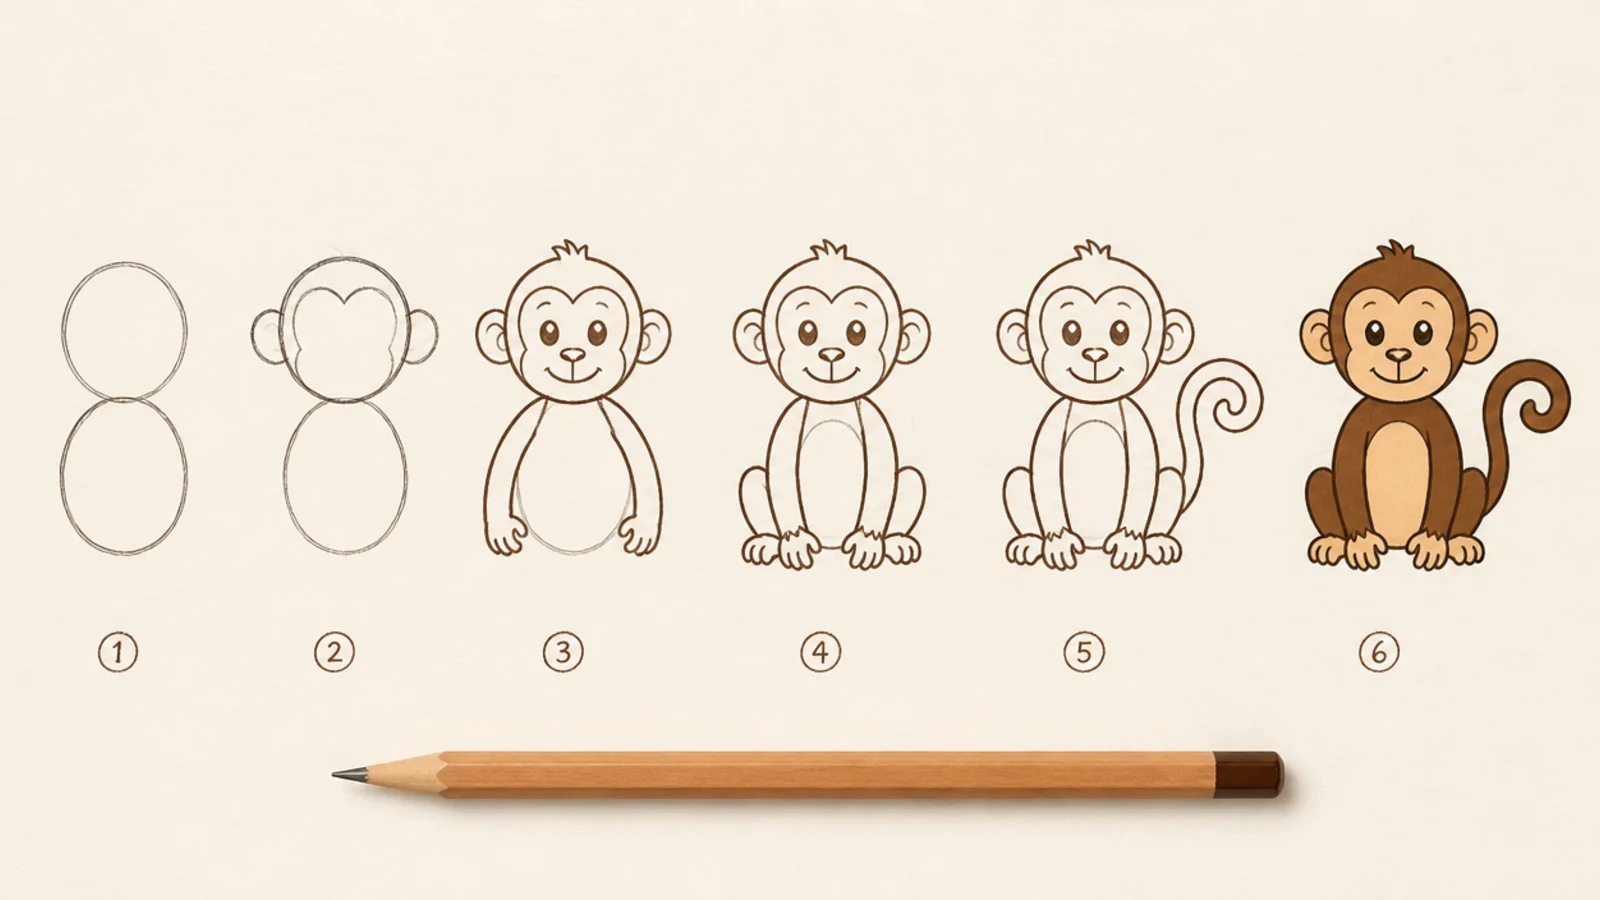
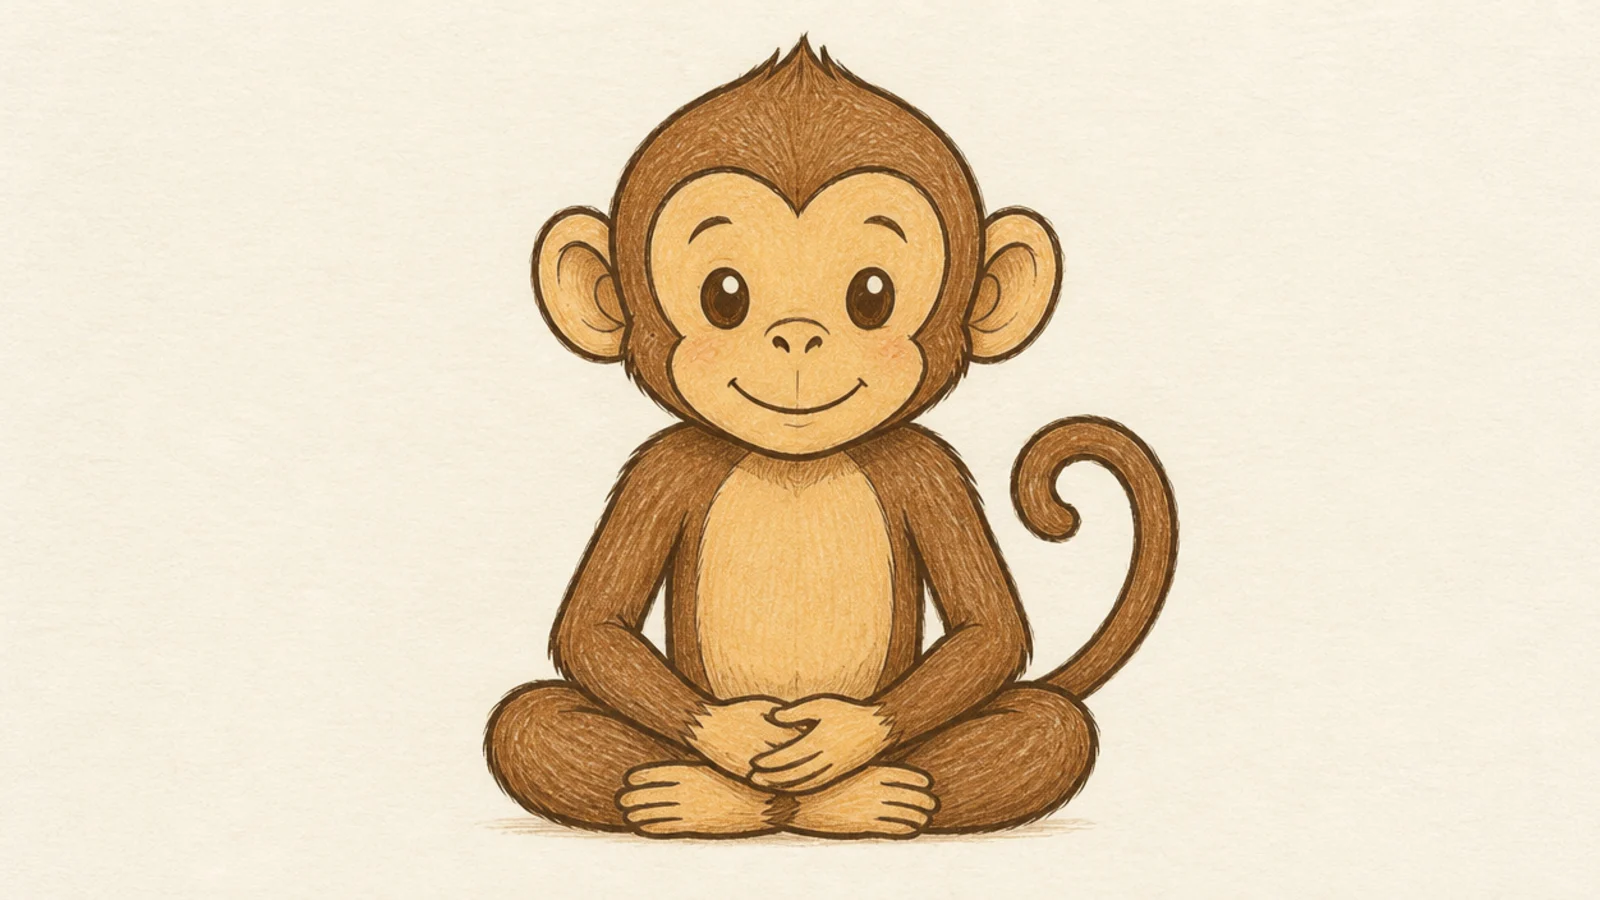
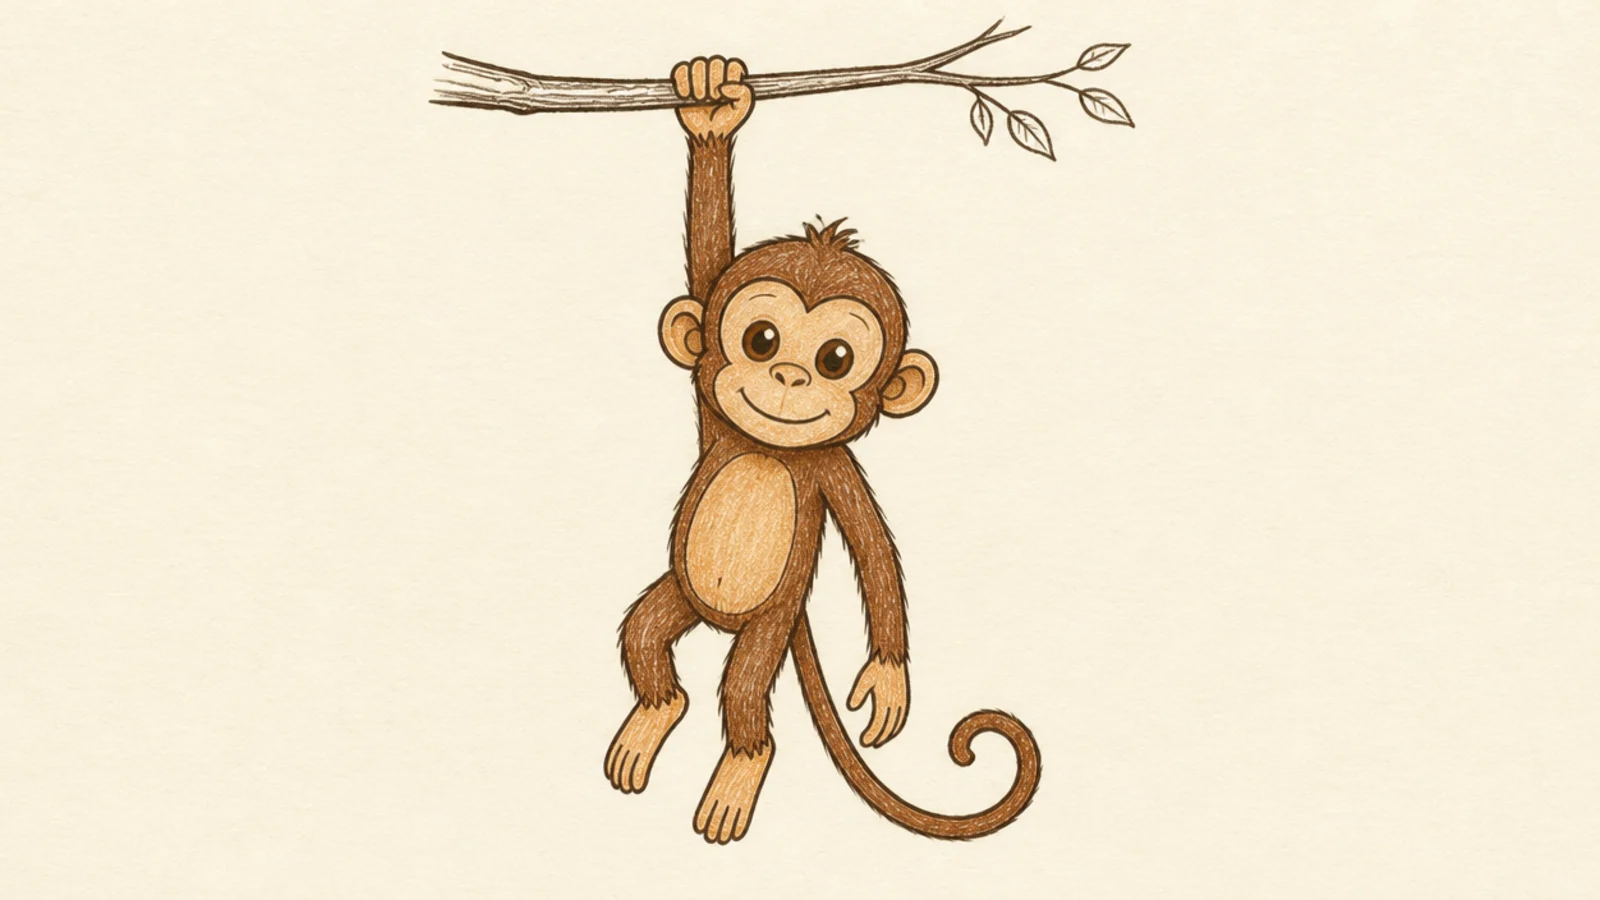
These six steps take you from two simple shapes to a finished monkey, and the bonus variations after show how to adapt the same body for different looks — sitting, hanging, cartoon-bold, and kawaii-cute. Follow the steps once as written to learn the order, then make it your own. Keep your early lines light so they are easy to erase, and do not worry about neatness until the final outline.
Step by step
Draw the basic shapes. Lightly pencil a circle near the top for the head and a larger oval below it for the body, leaving a small gap or overlap between them. Keep these lines faint since they are just a frame. Check that the head is smaller than the body and sits centered above it. Getting these two shapes in proportion now is what keeps the whole monkey balanced later.
Add the face patch, ears, and features. Inside the head circle, draw a heart-shaped patch low down for the lighter face, then add a round ear on each side level with the middle of the head. Place two dot eyes near the top of the patch, a small flat nose below, and a curved mouth. Keep the face patch low so the forehead stays tall, which is what makes it read as a monkey.
Draw the arms and hands. From the top of the body oval, draw two arms as long, slightly curved tubes — a little longer than feels natural, since monkey arms are long. End each in a simple mitten hand, or add a few long curved fingers for a grippy look. Pose the arms however you like — resting, reaching, or one raised — but keep them loose and slightly bent rather than stiff.
Draw the legs and feet. From the bottom of the body oval, draw two legs as shorter tubes, bent at the knee if the monkey is sitting. Add mitten feet, a little longer than the hands, since monkey feet are grippy too. Keep the legs and feet in proportion with the arms so the body looks balanced, and let the pose — seated, standing, or crouched — guide their angle.
Add the curling tail. Draw one smooth line curving out from the lower back of the body, then spiral the end into a loose curl like a question mark, tapering it thinner toward the tip. Draw it in a single confident stroke so the curl looks natural. This tail is the feature that instantly turns your shapes into a monkey, so give it a nice, flowing curve.
Clean up, outline, and color. Erase the leftover construction lines and any overlaps, then trace the final outline in one clean pass with a fineliner or a firmer pencil line. Fill the body, arms, legs, and tail a medium brown, and leave the face patch, ears, hands, and feet a lighter tan. Add a small shadow under the chin and along one side if you want a little form, and your monkey is done.
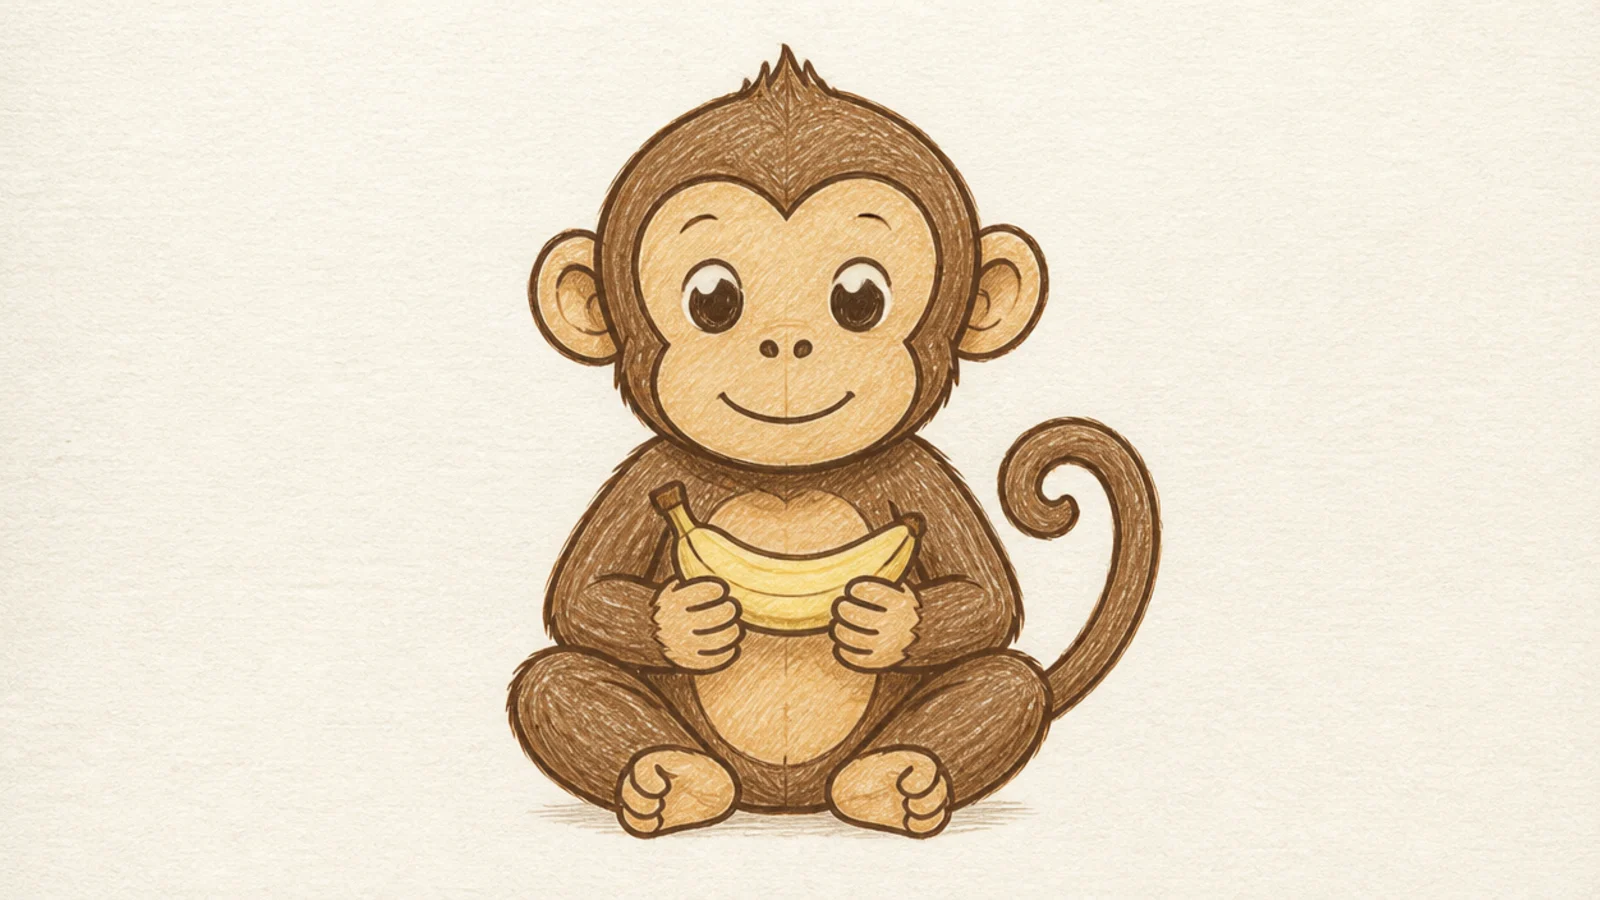
The sitting monkey given a banana to hold. The prop adds instant story and fun. It is a satisfying finished piece.
Follow the steps for a sitting monkey, then bring both hands together in front and draw a curved banana with a small stem.
Pro tipDraw the banana as a simple crescent with a stem tip.
AvoidDon’t overdetail the banana; a plain curve reads clearly.
Quick answers
How do you draw a monkey step by step for beginners?
Start with a head circle and a body oval, add the heart-shaped face patch, ears, and features, then draw the arms, the legs, and finally the curling tail before cleaning up and coloring. Building a monkey drawing from the big shapes outward keeps the proportions balanced and makes each step set up the next.
What shapes do you use to draw a monkey?
Two main shapes to start — a circle for the head and an oval for the body — plus a heart-shaped patch for the face, round circles for the ears, tube shapes for the arms and legs, and mitten shapes for the hands and feet. A single curling line makes the tail. Basic shapes are all a beginner monkey needs.
How do I draw monkey arms and hands?
Draw the arms as long, slightly curved tubes coming from the shoulders, a little longer than you would expect since monkey limbs are long. End each arm in a simple mitten hand while you are learning, or add long curved fingers for a grippy look. Keeping the arms long and loose is what makes them read as a monkey’s.
How do I draw the monkey tail?
Draw one smooth line curving out from the lower body and spiral the end into a loose curl, like a question mark, tapering it thinner toward the tip. Keep it a single confident stroke rather than a stiff line. The curl is the finishing touch that instantly makes the whole drawing read as a monkey.