
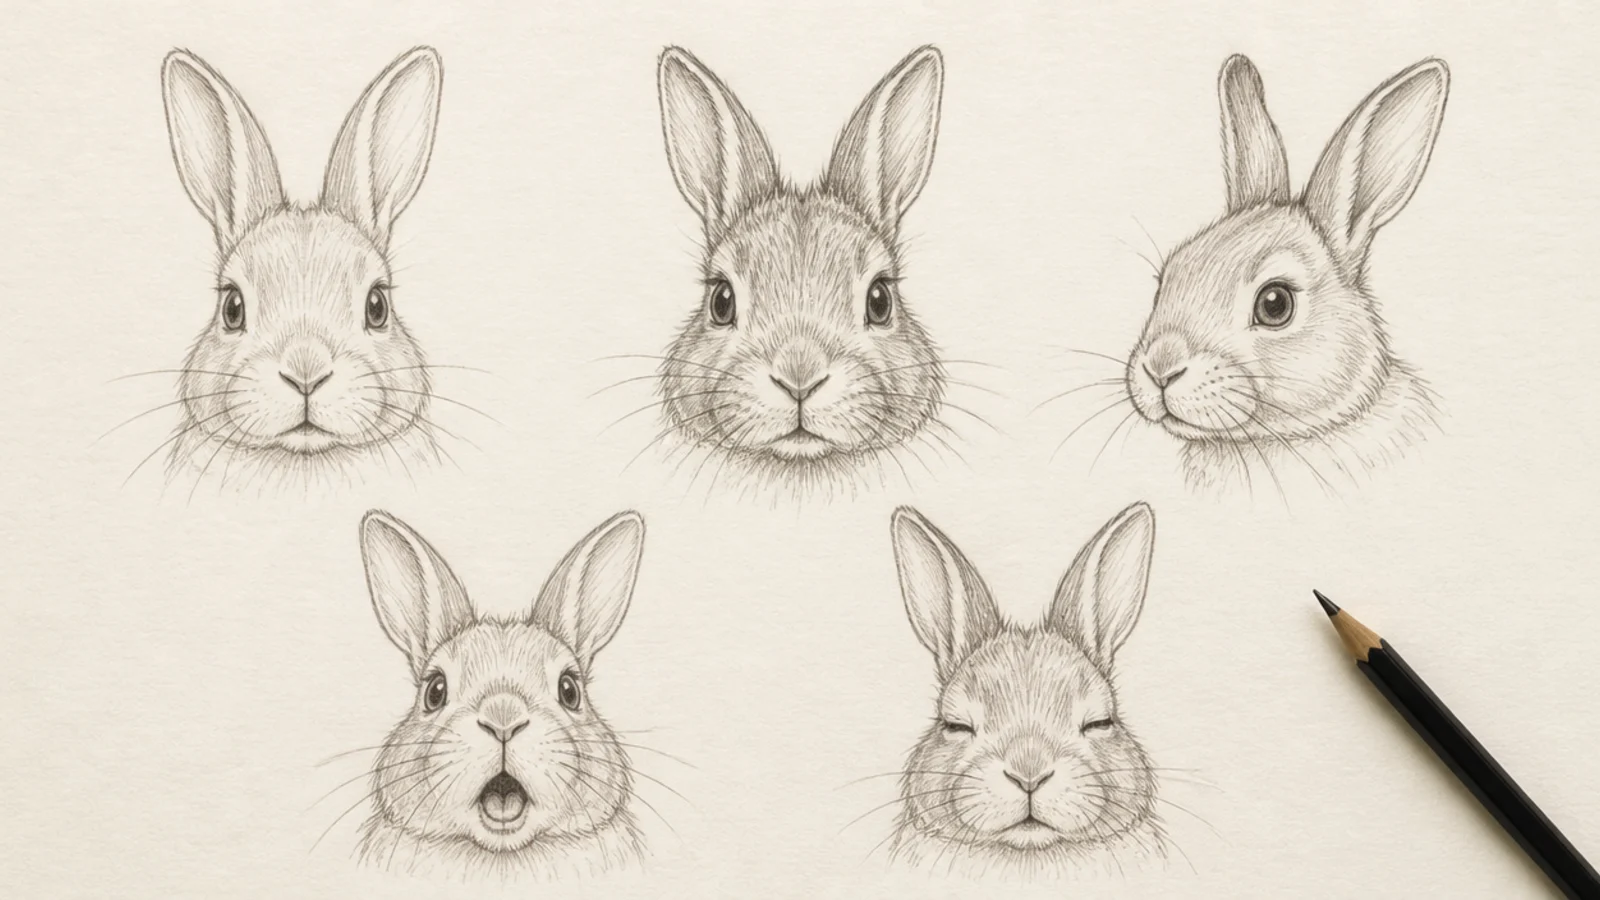
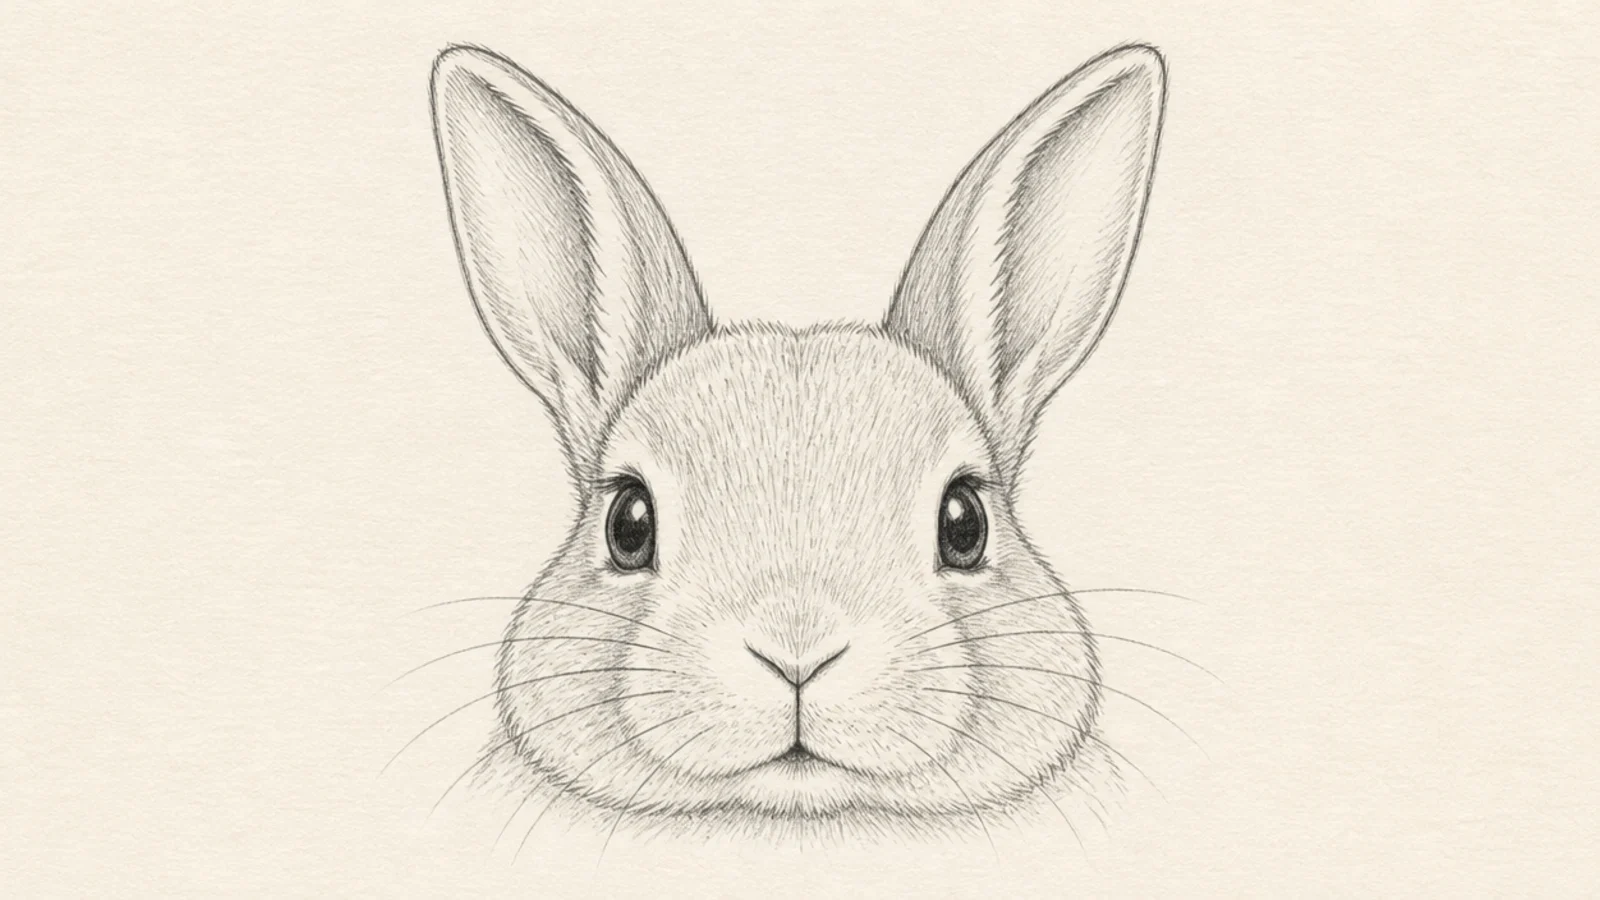
1 Basic Front Bunny Face
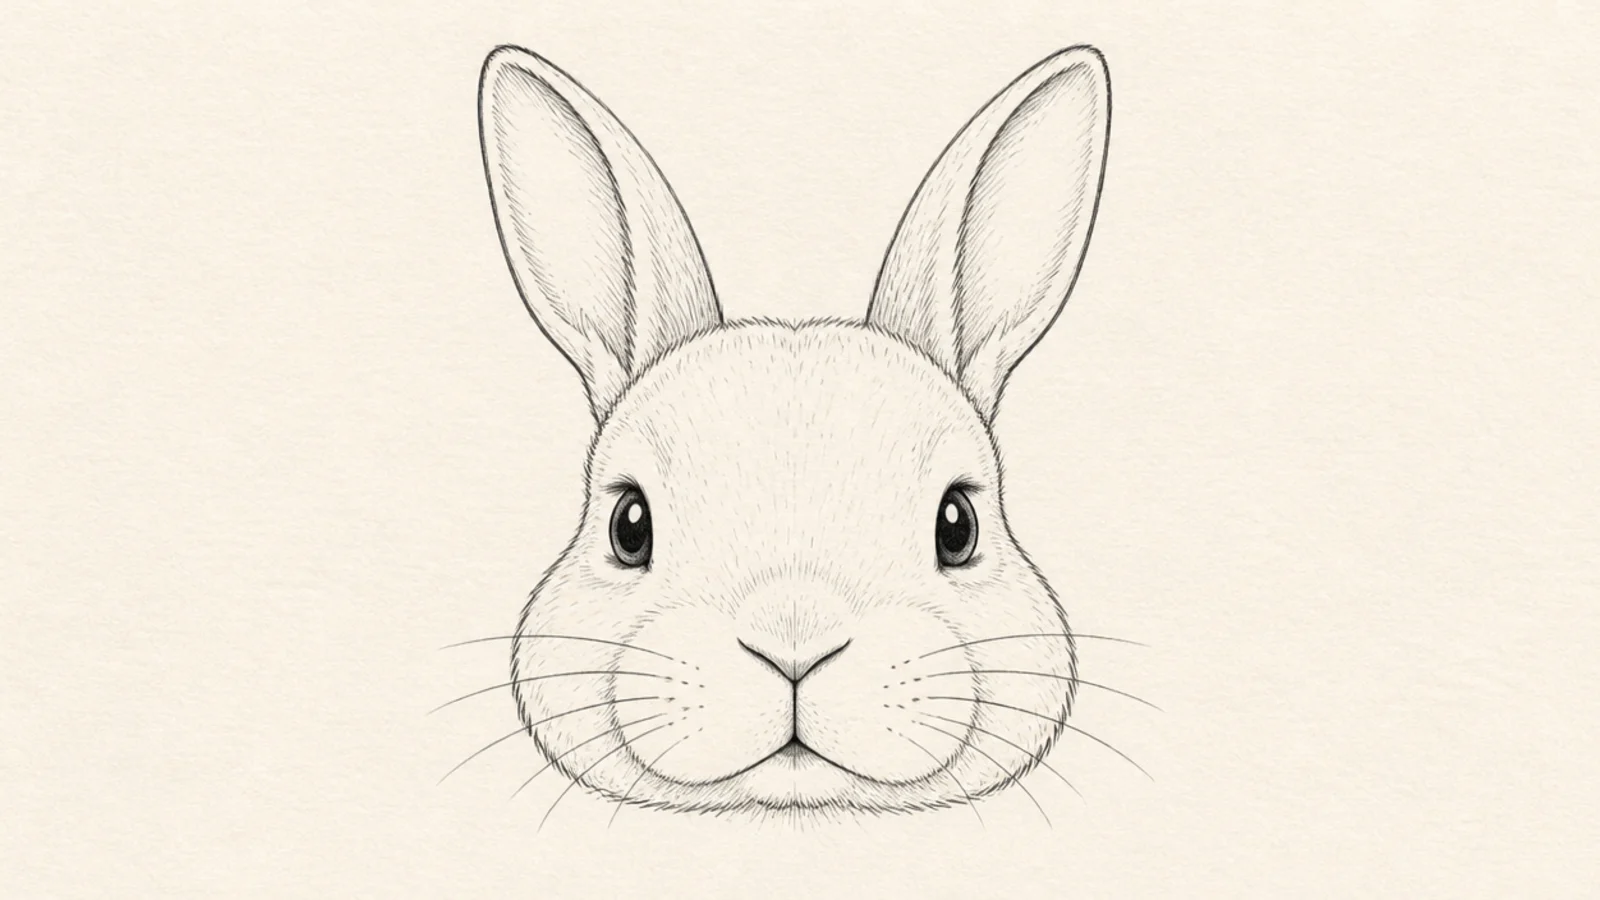
This is the base every other face builds on — a simple front-facing bunny. The Y nose, two eyes, and two ears read instantly as a rabbit. Master it and the rest are small changes.
Step 1 draw a rounded head and two ears. Step 2 add a small Y nose in the center with a split mouth. Step 3 place two even eyes to the sides and add whisker pads.
Draw the nose first, then build the eyes and mouth around it.
Don’t set the eyes close together; wide-set eyes make it a rabbit.
2 Nose and Whiskers Study
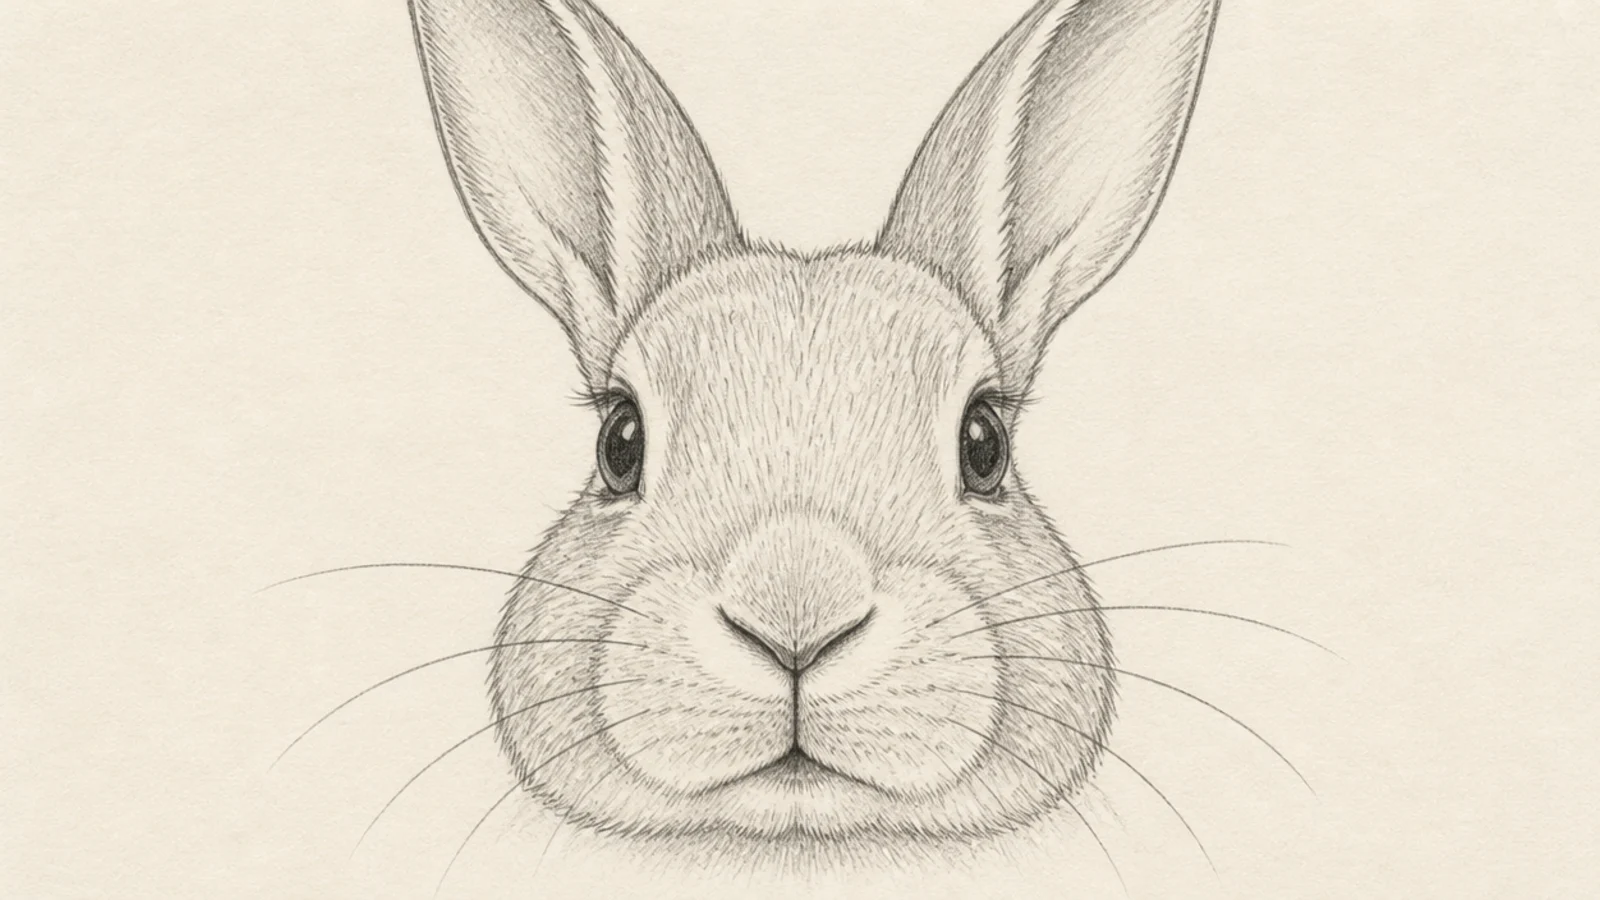
A close look at the nose and whiskers teaches the heart of the face. The Y nose, split lip, and rounded pads are the bunny signature. It is worth practicing alone.
Step 1 draw the soft Y nose. Step 2 split two short lines down for the lip and add rounded pads. Step 3 sweep three or four long whiskers from each pad.
Pro tipTaper each whisker by lifting your pen as you sweep it outward.
AvoidDon’t draw stiff straight whiskers; gentle arcs look natural.
3 Eye Placement Study
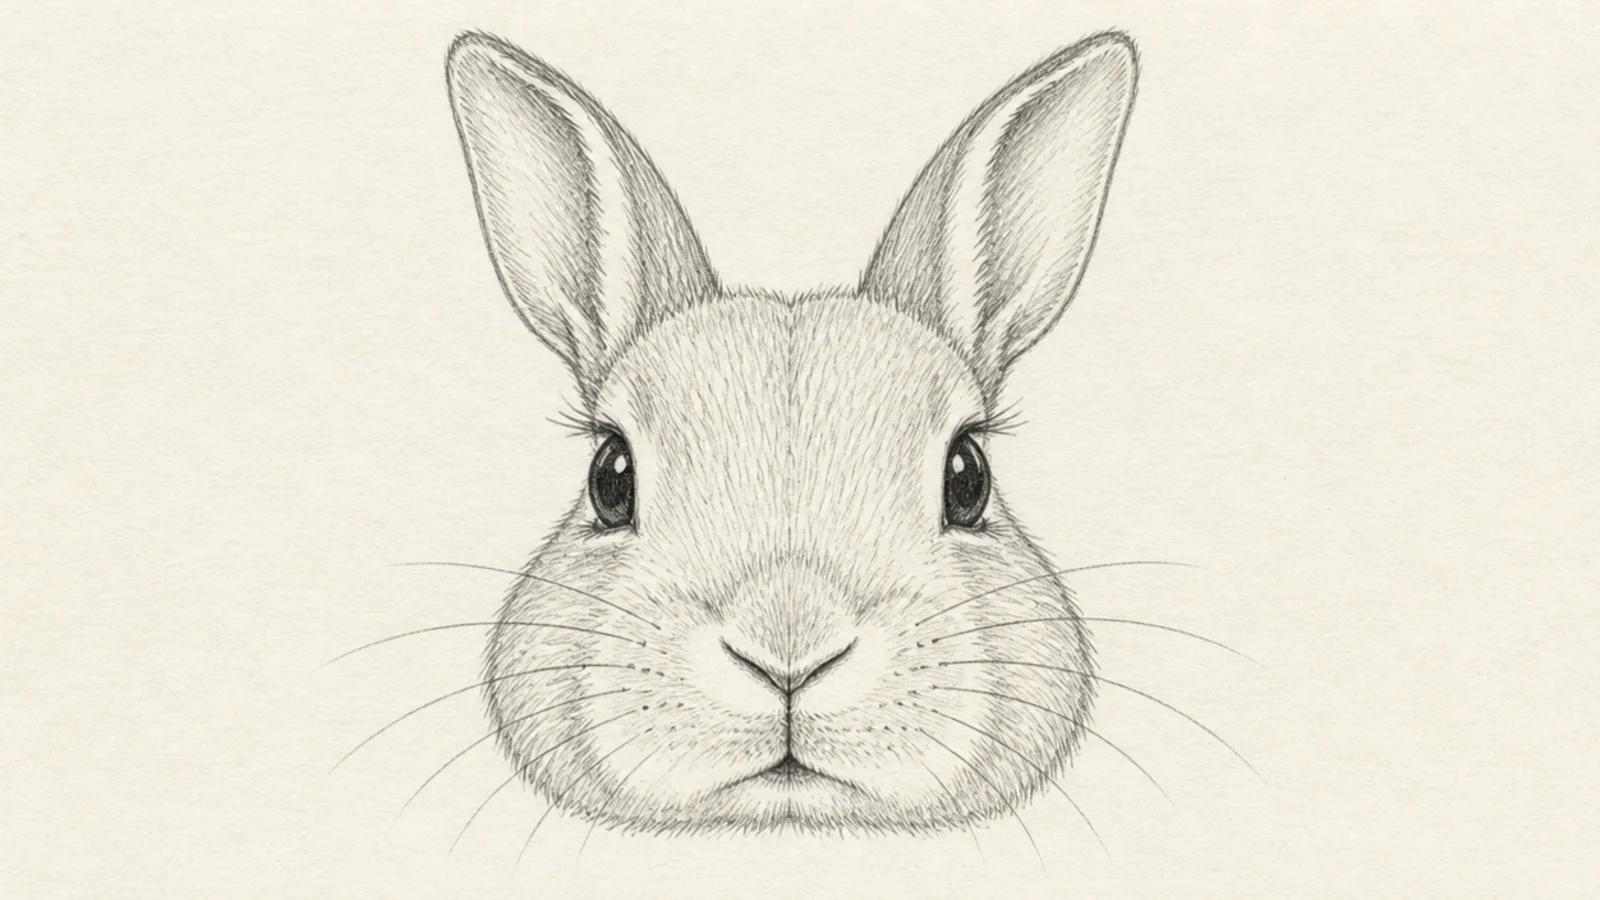
This face focuses on getting the eyes in the right place. High and to the sides is what separates a rabbit from a cat. It is the key to a believable bunny face.
Step 1 draw the head with a light center line and a horizontal eye line high up. Step 2 place one eye on each side of center. Step 3 add a small highlight to each.
Pro tipUse a light horizontal guide line to keep the two eyes level.
AvoidDon’t drop the eyes to the muzzle; rabbit eyes sit high on the head.
4 Simple Cute Bunny Face
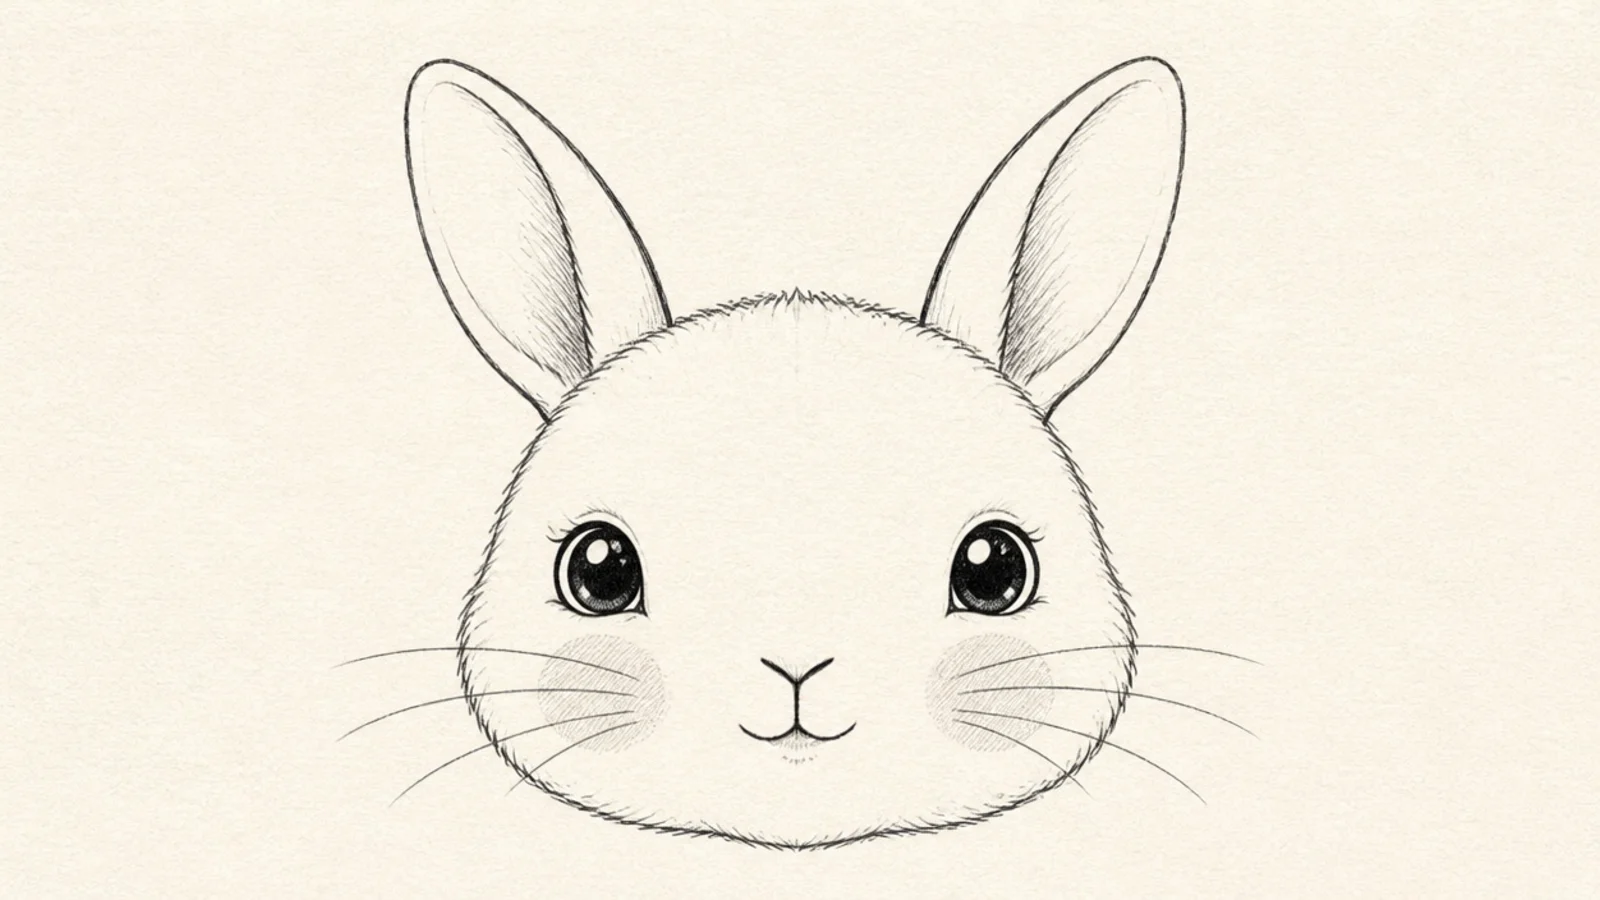
A cute bunny face sets the features low and large for a sweet baby look. Big eyes and blush make it adorable. It is the friendliest simple face.
Step 1 draw a round head and two ears. Step 2 add two big low eyes with highlights and a tiny Y nose. Step 3 add blush cheeks and a small smile.
Pro tipSet the big eyes low and wide apart with space between for cuteness.
AvoidDon’t crowd the features high; low and spaced reads as sweet.
5 Realistic Shaded Face
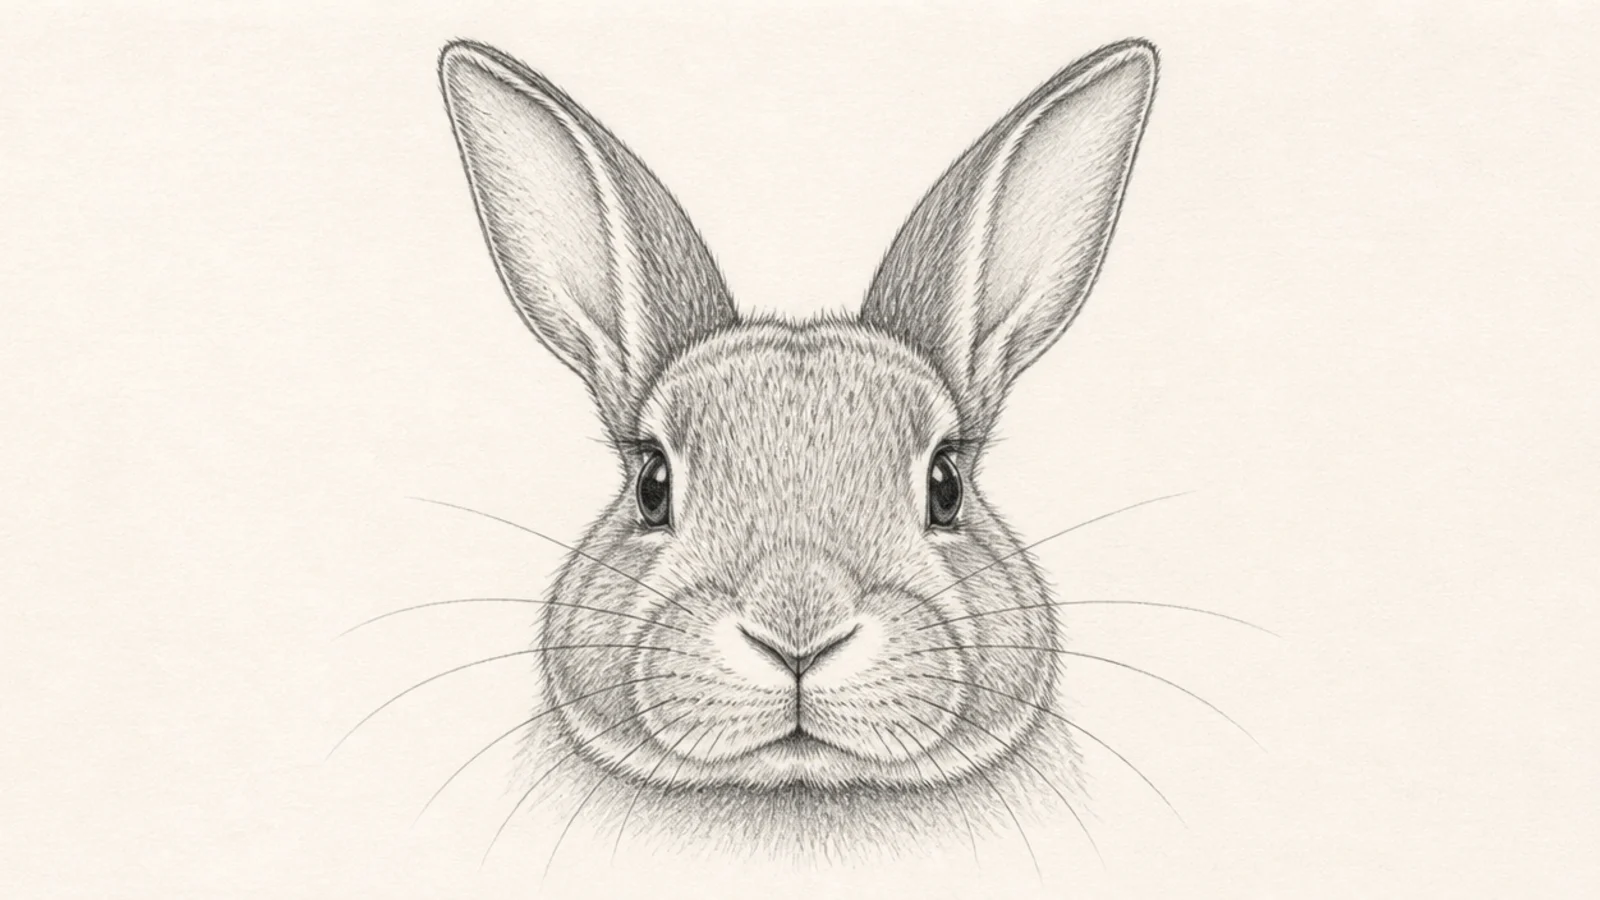
A realistic face adds soft fur and value to the features. Shading around the nose, eyes, and cheeks gives real form. It reads as a lifelike bunny.
Step 1 draw the features in accurate placement. Step 2 shade softly under the chin, around the eyes, and inside the ears. Step 3 add short fur strokes over the cheeks and forehead.
Pro tipFollow the fur direction — radiating out from the nose across the cheeks.
AvoidDon’t outline hard; soft fur strokes read as a real face.
6 Three-Quarter Bunny Face
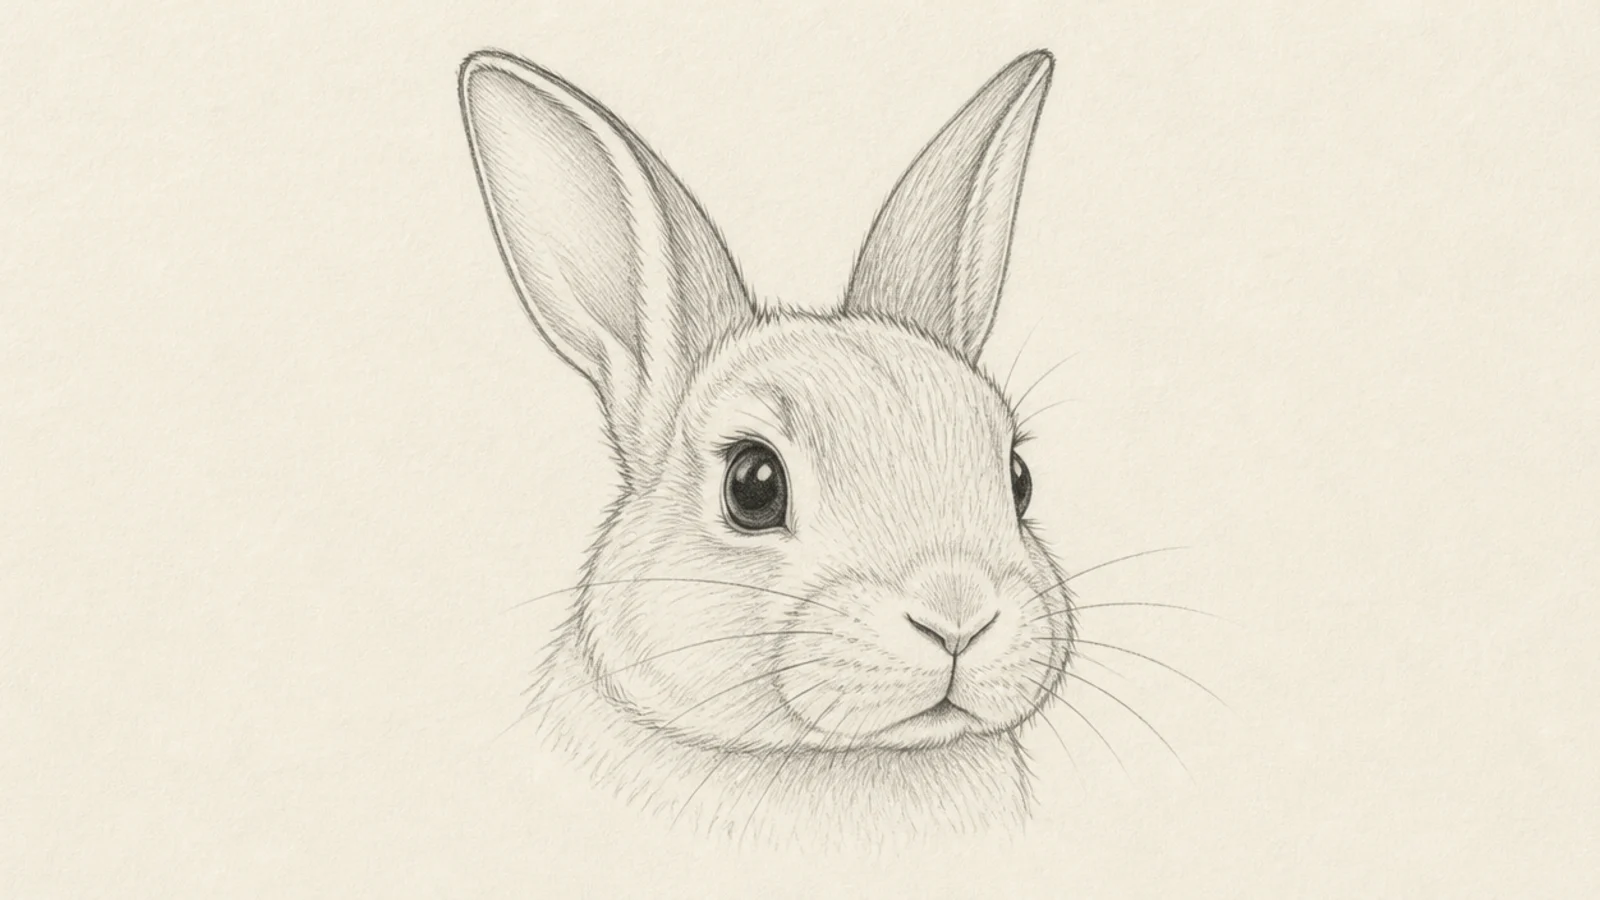
A three-quarter face shows the muzzle turning, which looks natural and dimensional. One eye sits closer and larger than the other. It adds life to the face.
Step 1 curve the center line to one side. Step 2 draw the near eye a touch larger and the far eye smaller. Step 3 push the nose to the turning side and shorten the far cheek.
Pro tipMake the far side of the face narrower to show the turn.
AvoidDon’t keep both sides equal; the far side must be narrower.
7 Surprised Bunny Face
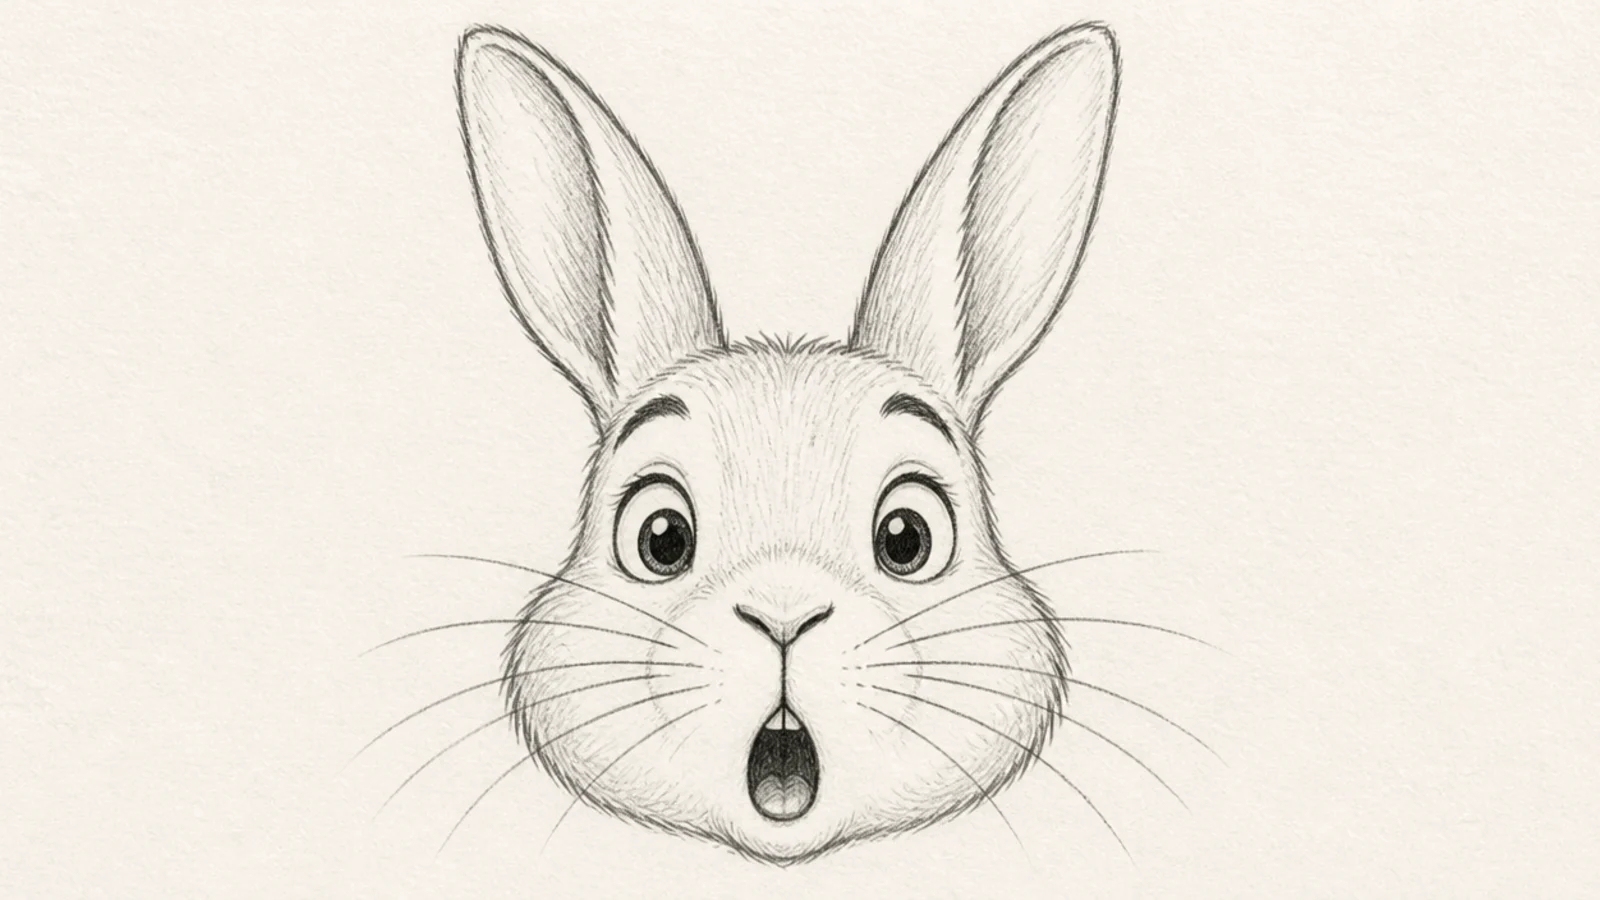
A surprised face with wide eyes and an O mouth is expressive and fun. The big round eyes read as startled. It shows emotion clearly.
Step 1 draw the head with ears straight up. Step 2 make both eyes big and round with highlights. Step 3 add a small round open mouth and raised brows.
Stand the ears bolt upright to match the surprised eyes.
Don’t draw a smile; a small round O mouth reads as surprise.
8 Content Closed-Eyes Face
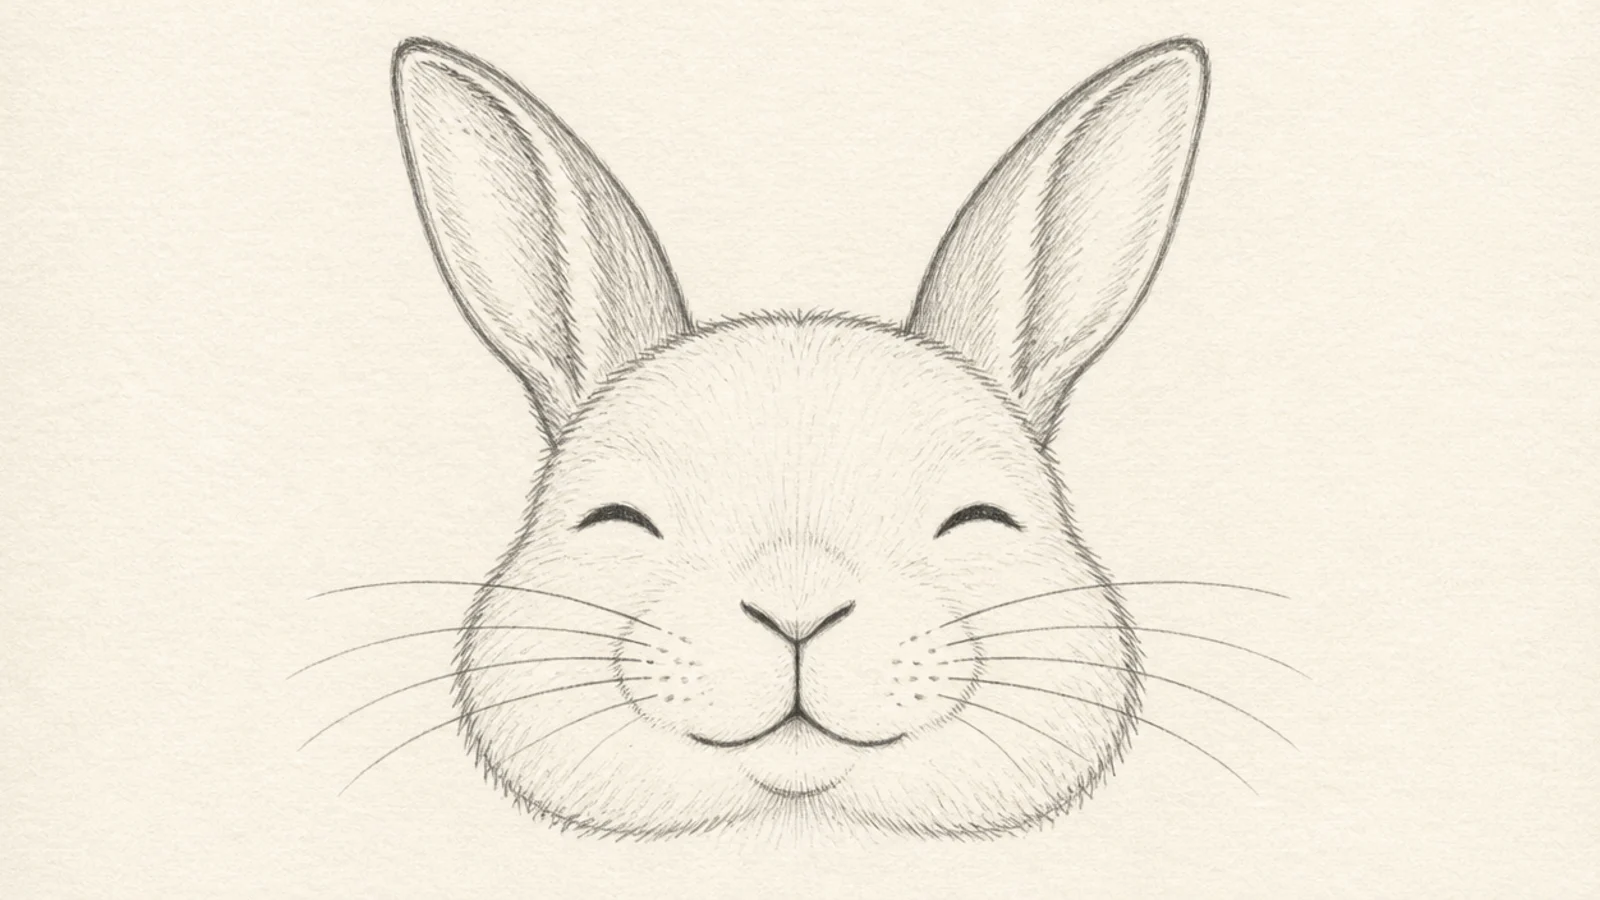
A content face with closed curved eyes is peaceful and sweet. The upward curves read as a happy, relaxed bunny. It is the easiest expression.
Step 1 draw the head and ears. Step 2 add two upward-curved closed eyes. Step 3 add a tiny nose and a soft smile.
Pro tipCurve the closed eyes gently upward for a happy, content look.
AvoidDon’t draw straight closed eyes; the upward curve reads as content.
9 Curious Head-Tilt Face
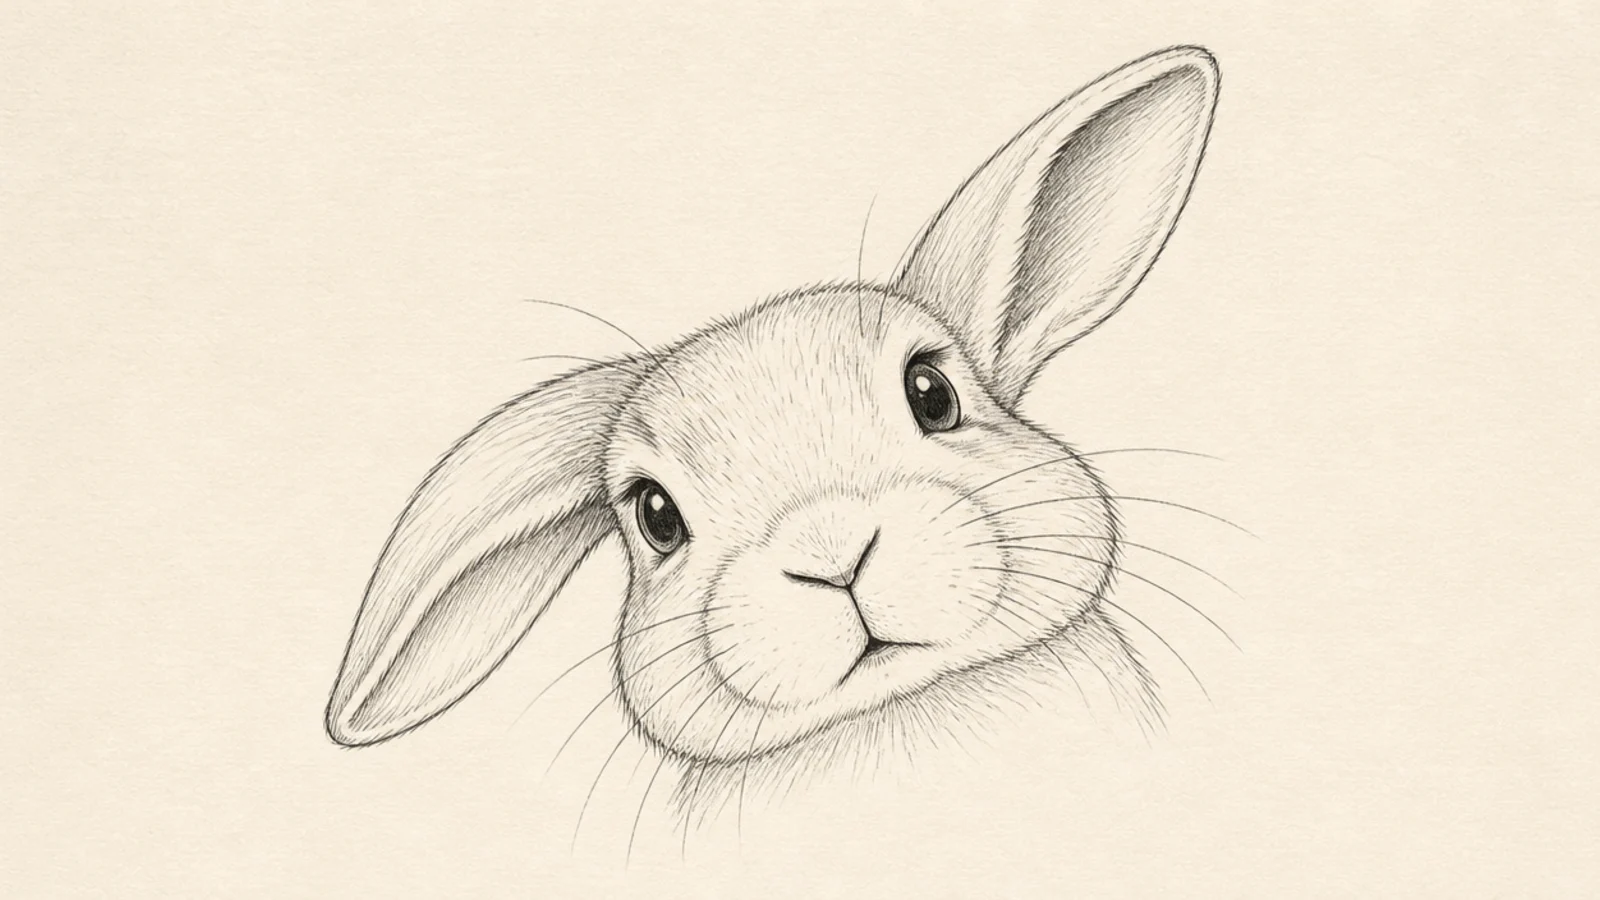
A tilted face reads as curious and charming. The small head tilt adds instant personality. It pairs a leaning face with matching ears.
Step 1 tilt the whole head to one side. Step 2 tip the features and eye line to match. Step 3 let one ear lean lower than the other.
Tilt the eye line with the head so the whole face leans together.
Don’t keep the features level when the head tilts; angle them all.
10 Grumpy Bunny Face
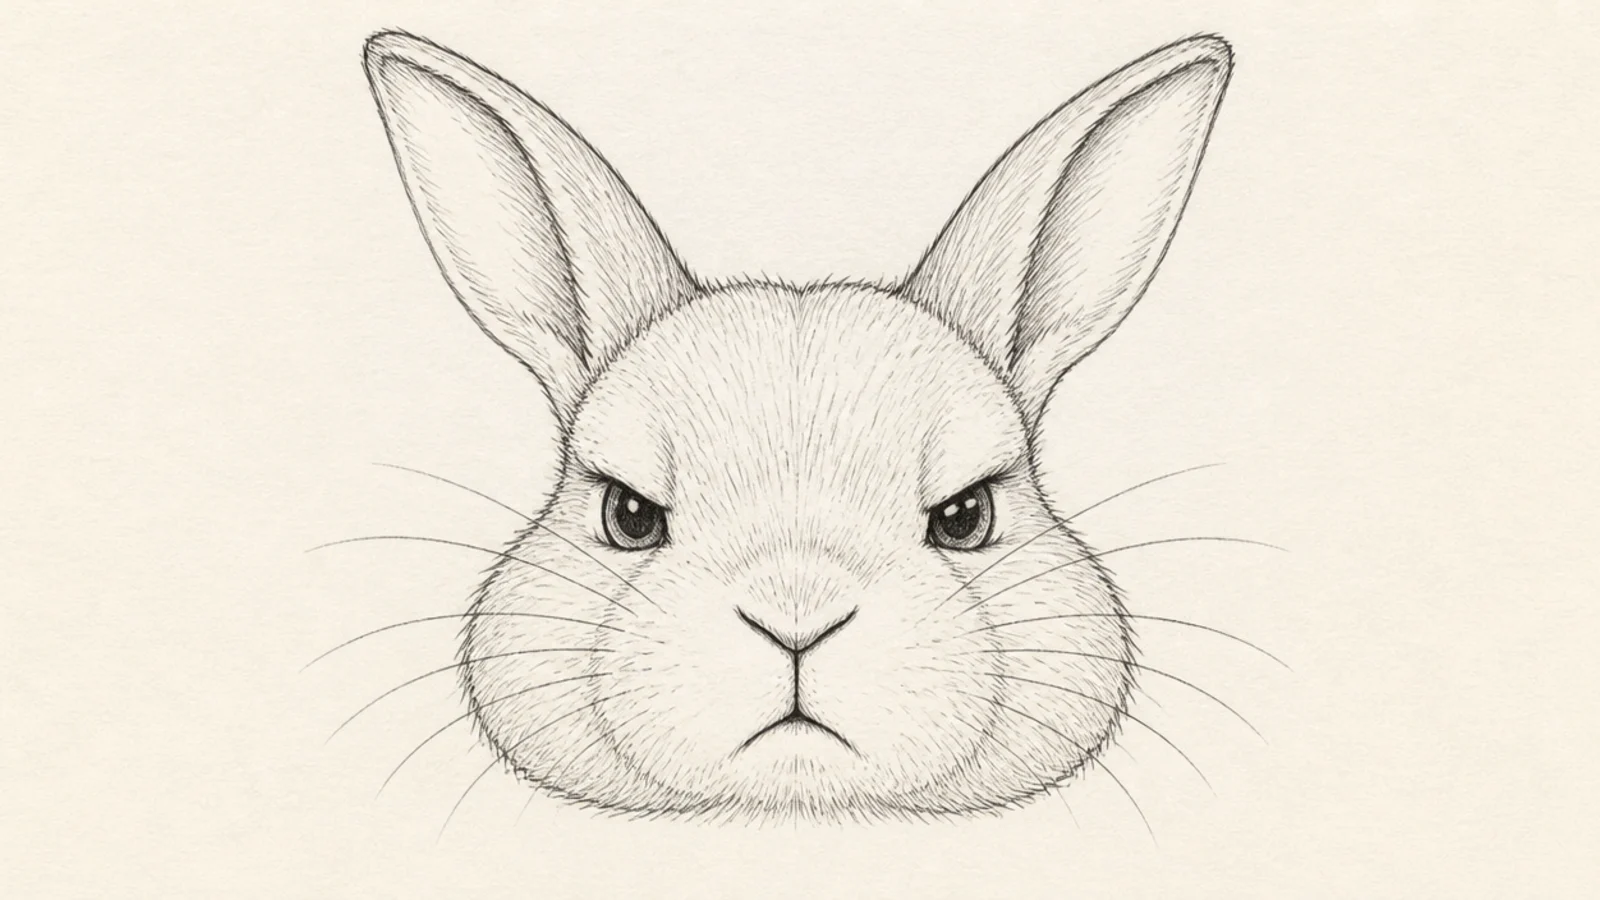
A grumpy face with lowered brows and a small frown is funny, not mean. The pouty look adds loads of character. It reads as a moody little bunny.
Step 1 draw the head and ears. Step 2 add two eyes with softly angled brows above. Step 3 add a small downturned mouth and puffed cheeks.
Pro tipKeep the brows softly angled so it looks pouty, not truly angry.
AvoidDon’t use sharp angry brows; a soft angle keeps it cute-grumpy.
11 Sleepy Bunny Face
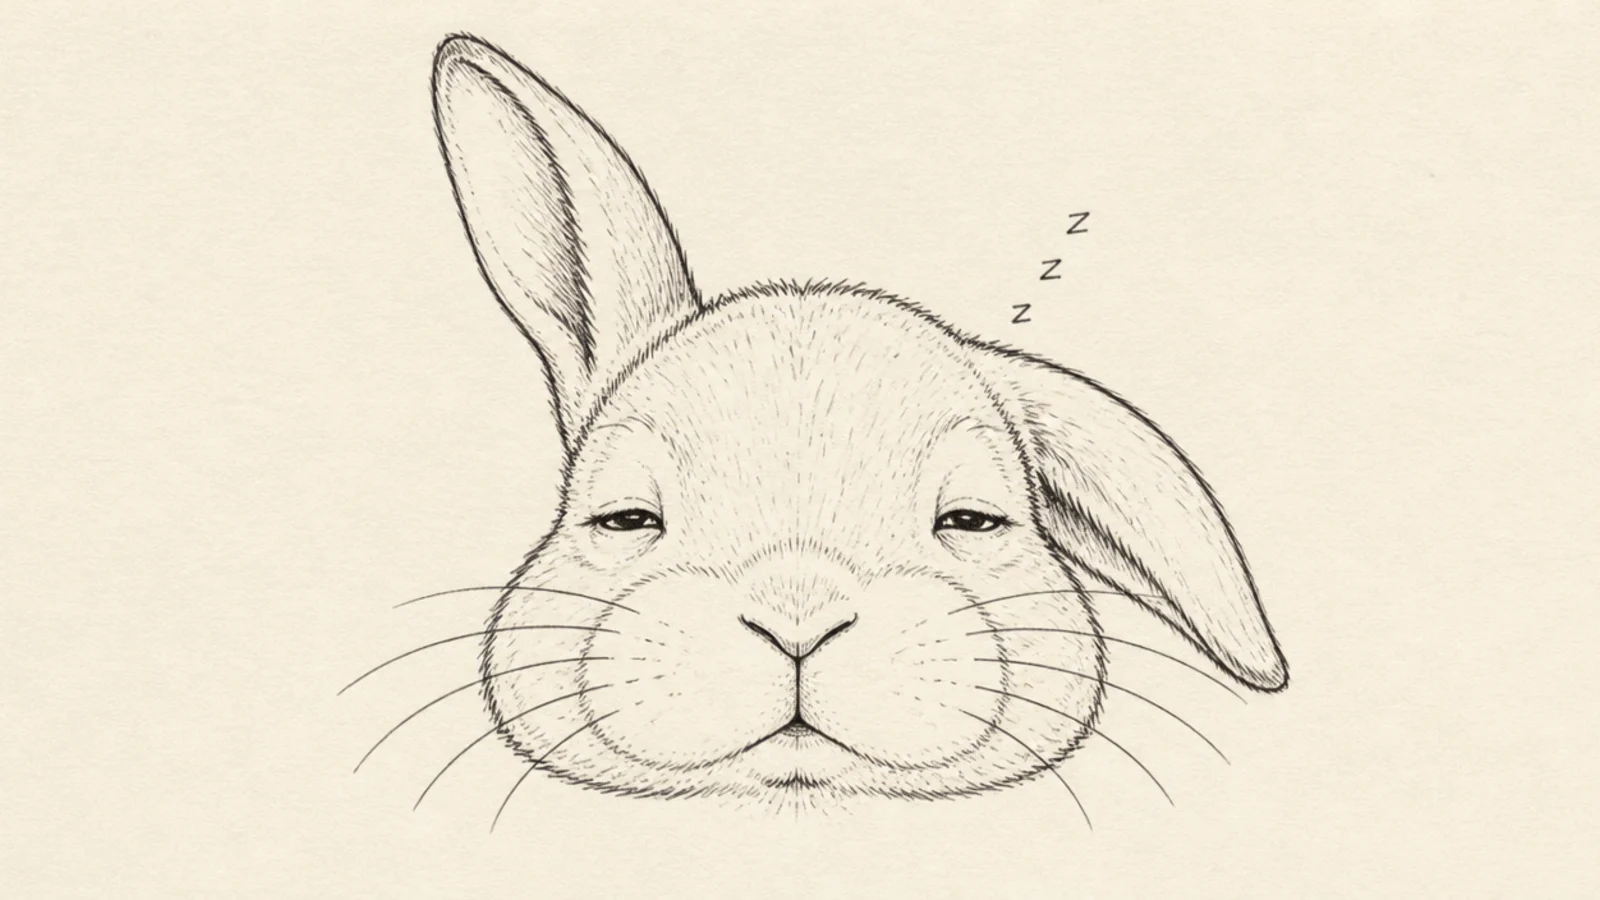
A sleepy face with half-closed eyes is cozy and calm. The drooping lids and relaxed features read as drowsy. It is a gentle, soft expression.
Step 1 draw the head with one ear flopped. Step 2 add half-closed drooping eyes. Step 3 add a small relaxed nose and mouth with tiny sleep marks.
Pro tipDroop the upper lids halfway down the eyes for a drowsy look.
AvoidDon’t open the eyes fully; half-closed lids read as sleepy.
12 Buck-Tooth Grin Face
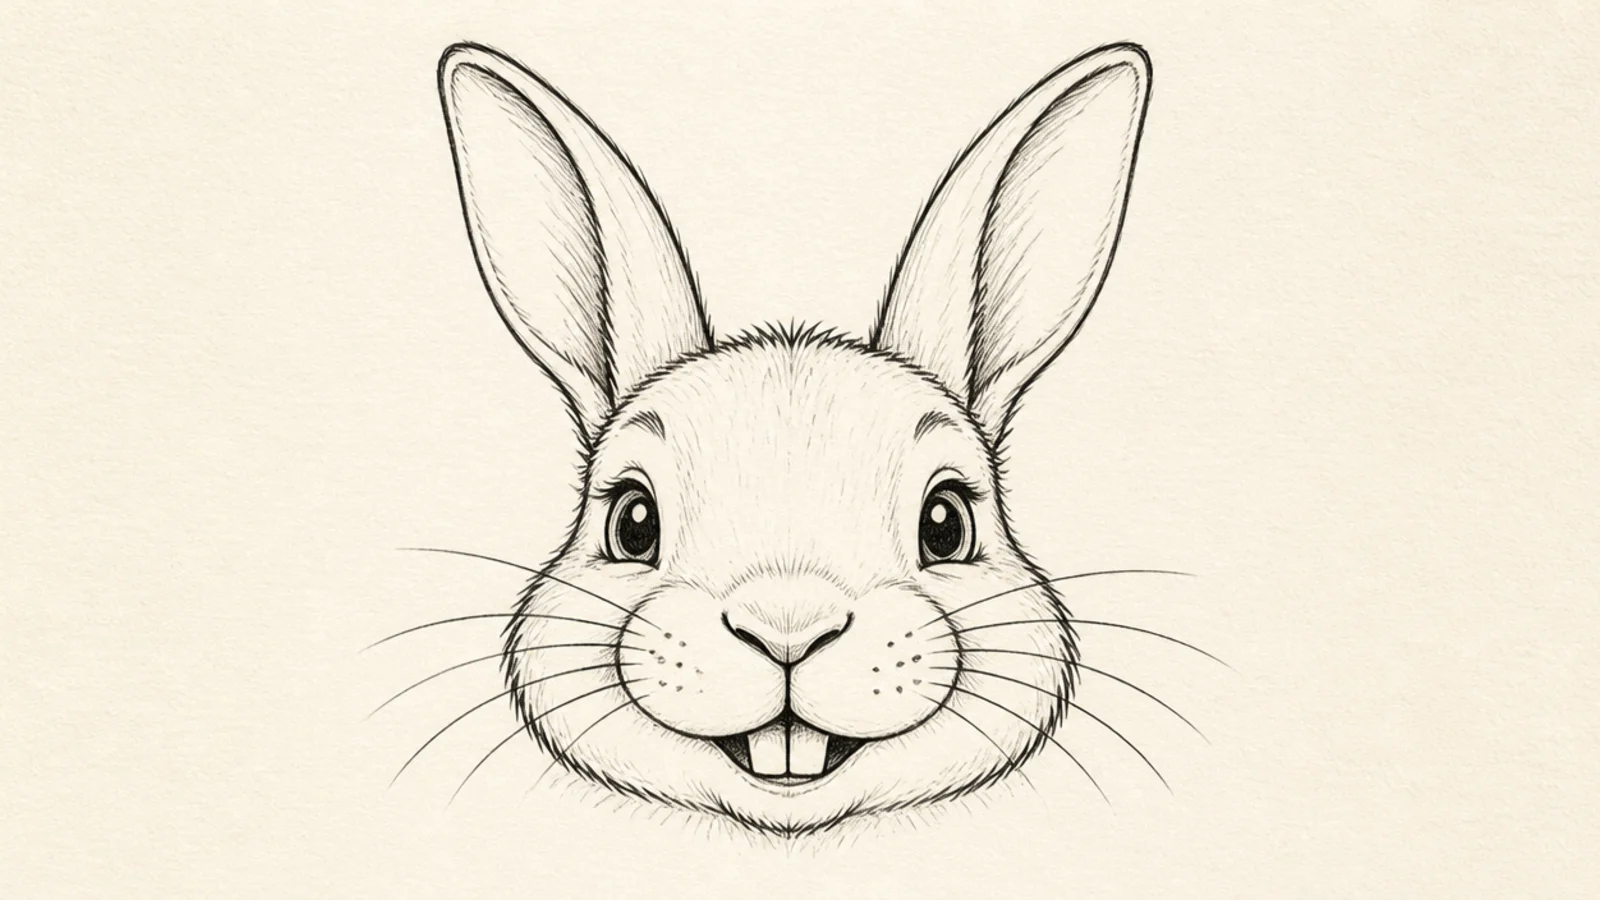
A grinning face with two front teeth is playful and full of character. The little teeth are a classic bunny detail. It reads as a cheerful, toothy smile.
Step 1 draw a smiling bunny face. Step 2 under the mouth add two small square front teeth. Step 3 add happy eyes and whisker pads.
Pro tipDraw the two teeth as small squares centered under the mouth.
AvoidDon’t draw many teeth; two front teeth read as a bunny grin.
13 Whisker-Focus Face
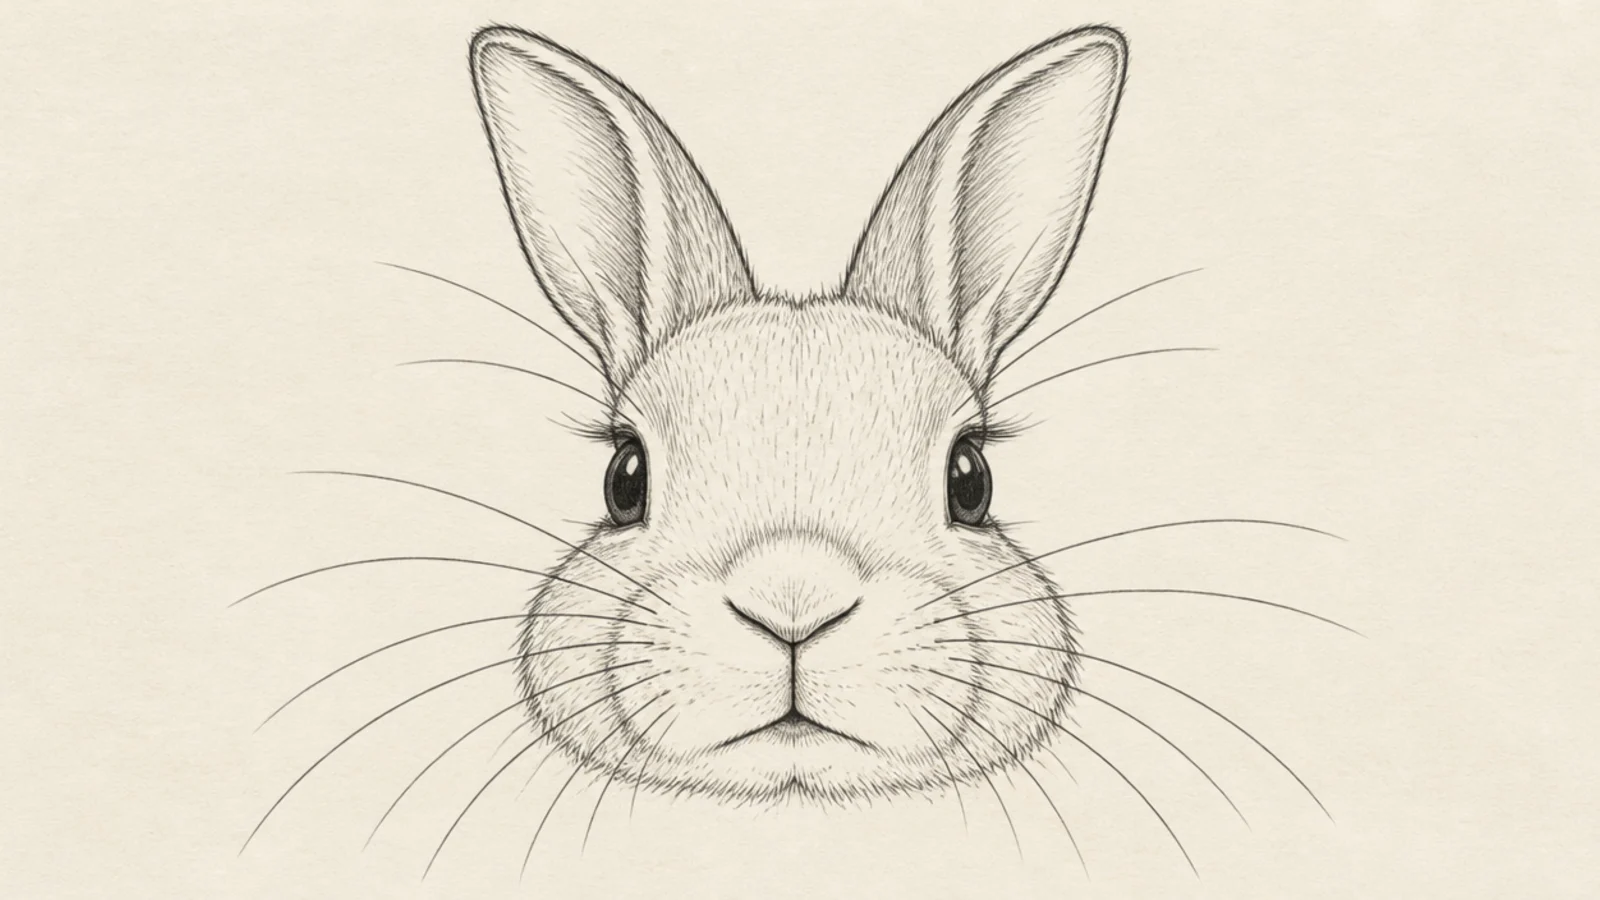
A face with long, sweeping whiskers makes the whiskers the feature. The arcs add elegance and movement. It teaches confident whisker strokes.
Step 1 draw a simple bunny face with rounded pads. Step 2 sweep several long whiskers from each pad in varied arcs. Step 3 add a couple of shorter brow whiskers above the eyes.
Pro tipVary the whisker lengths and angles so they look natural, not combed.
AvoidDon’t make all the whiskers the same; variety looks real.
14 Fluffy-Cheek Face
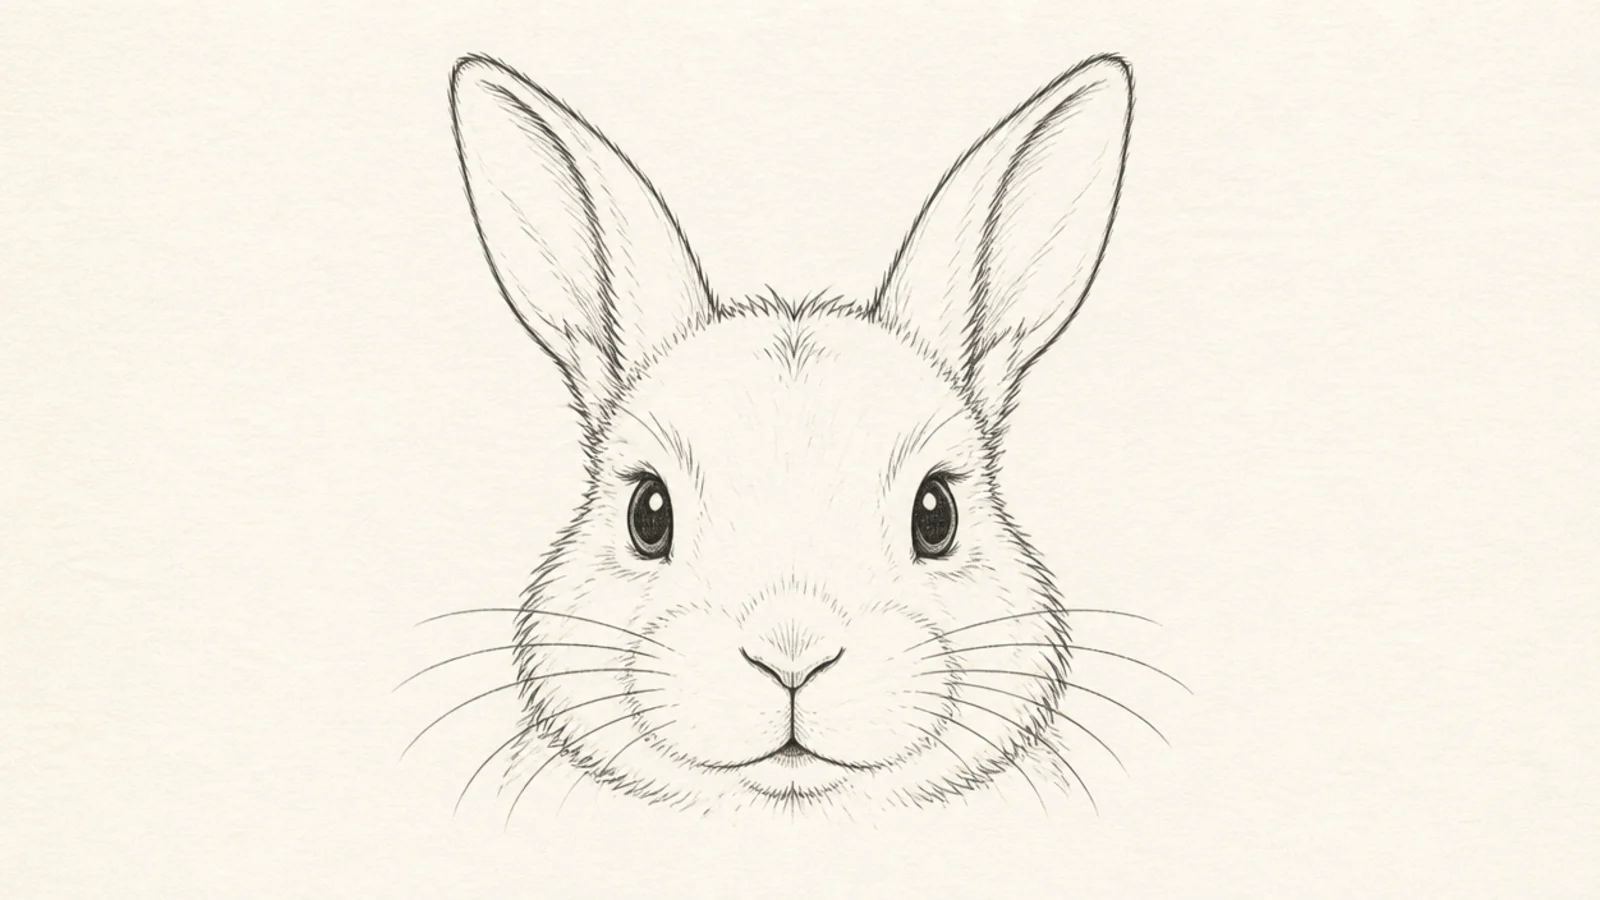
A face with fluffy cheeks looks soft and huggable. Breaking the cheek outline into fur adds texture. It reads as a plush, gentle bunny.
Step 1 draw the face features. Step 2 break the cheek and jaw outline into soft fur flicks. Step 3 add a little fur tuft on the forehead between the ears.
Flick the cheek fur outward and downward following the face’s curve.
Don’t draw a smooth cheek line; broken fur reads as fluffy.
15 Lop-Framed Face
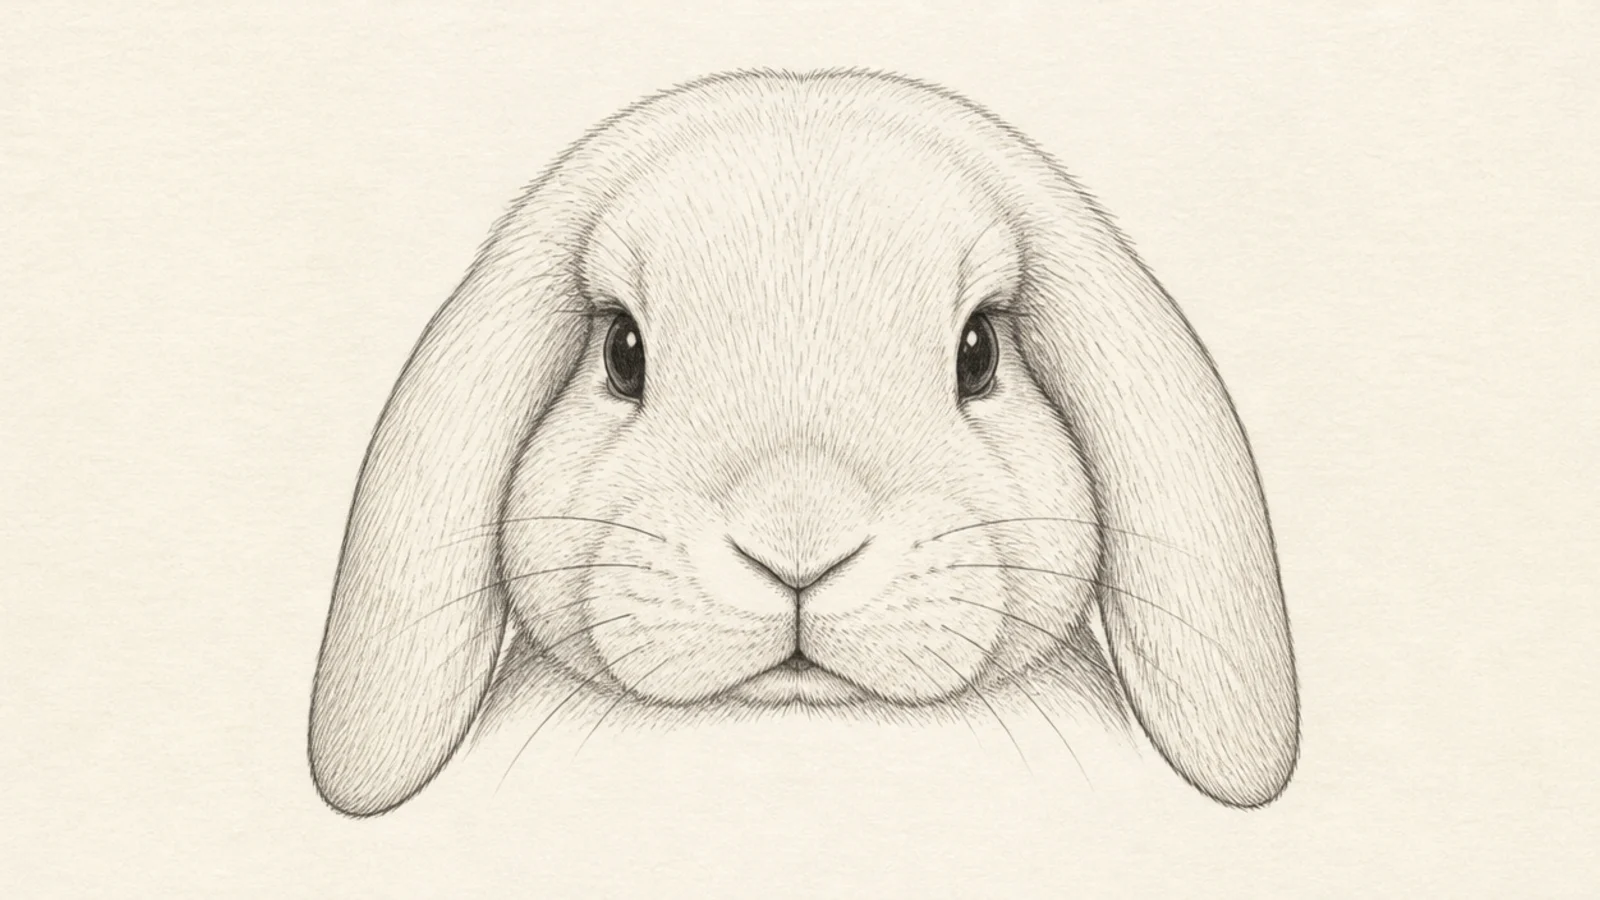
A face framed by drooping lop ears is soft and sweet. The heavy ears cradle the cheeks. It gives the face a gentle, pet-rabbit feel.
Step 1 draw the round face. Step 2 hang two wide lop ears down the sides framing the cheeks. Step 3 add the features low and soft between them.
Let the lop ears overlap the sides of the face slightly to frame it.
Don’t stand the ears up; drooping ears frame the lop face.
16 Baby Big-Eyes Face
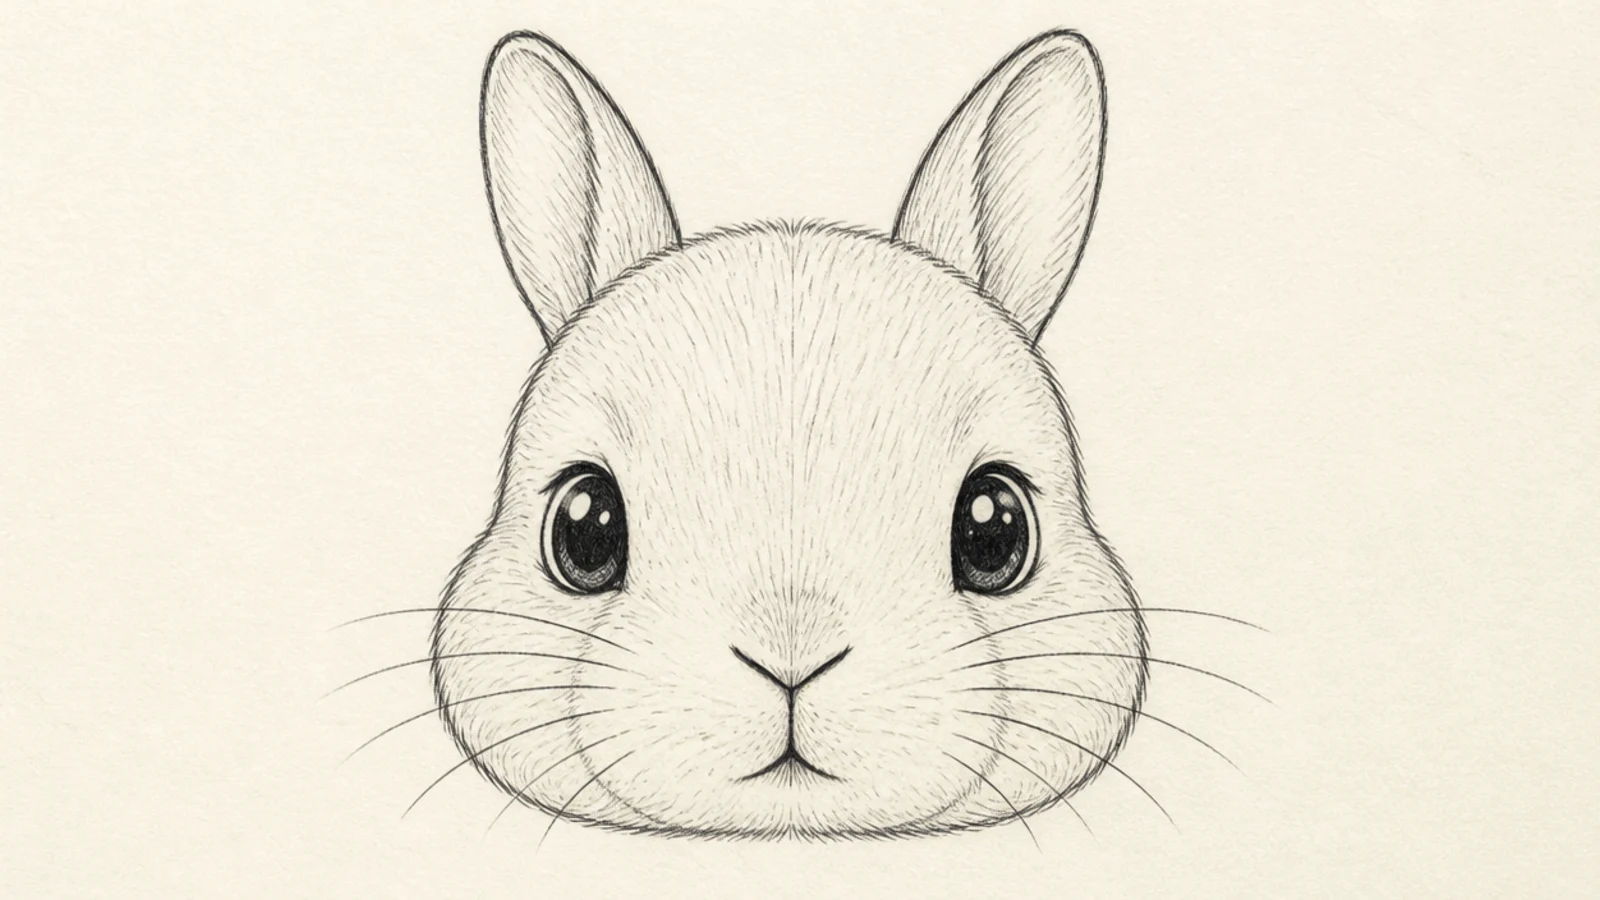
A baby face with oversized eyes is precious and doll-like. The huge glossy eyes read as very young. It is expressive and adorable.
Step 1 draw a round head with short ears. Step 2 draw two large oval eyes with several highlights. Step 3 add a tiny nose and mouth low on the face.
Make the eyes large with a big and small highlight each to sparkle.
Don’t add small eyes; oversized eyes read as a baby bunny.
17 Profile Bunny Face
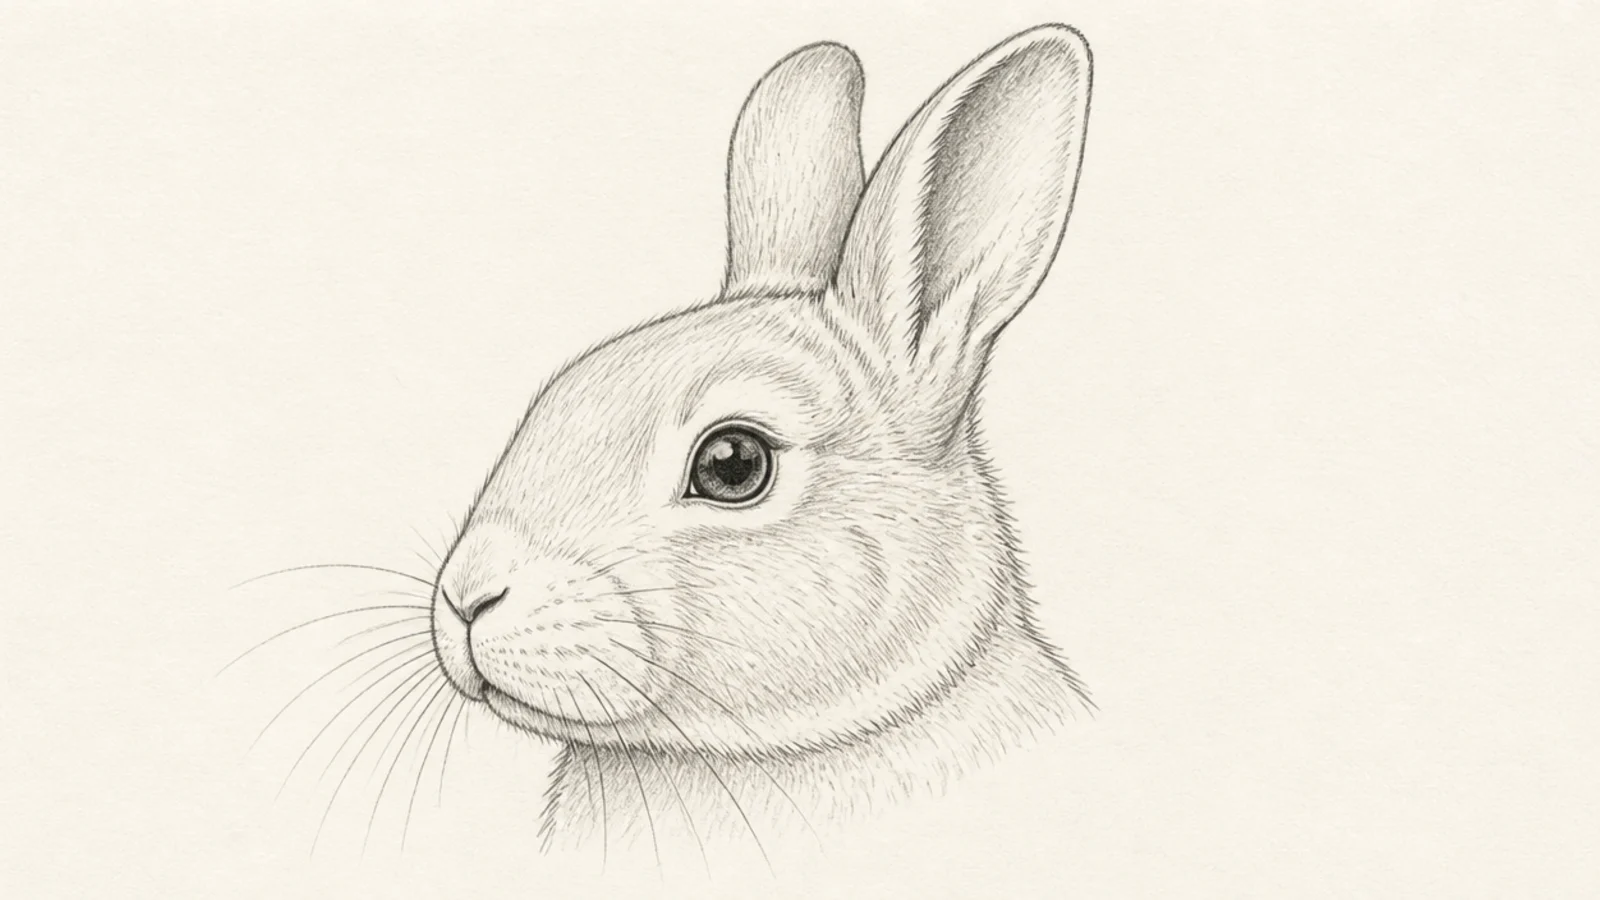
A profile face shows the muzzle and one ear cleanly. Only one eye and the nose bump show, which is simple and elegant. It is a nice classic study.
Step 1 draw the head profile with a small nose bump at the front. Step 2 add one upright ear and one eye set back. Step 3 add whiskers sweeping forward from the nose.
Give the profile a soft nose bump so it clearly faces sideways.
Don’t add the far eye and ear; a profile shows only the near side.
18 Winking Bunny Face
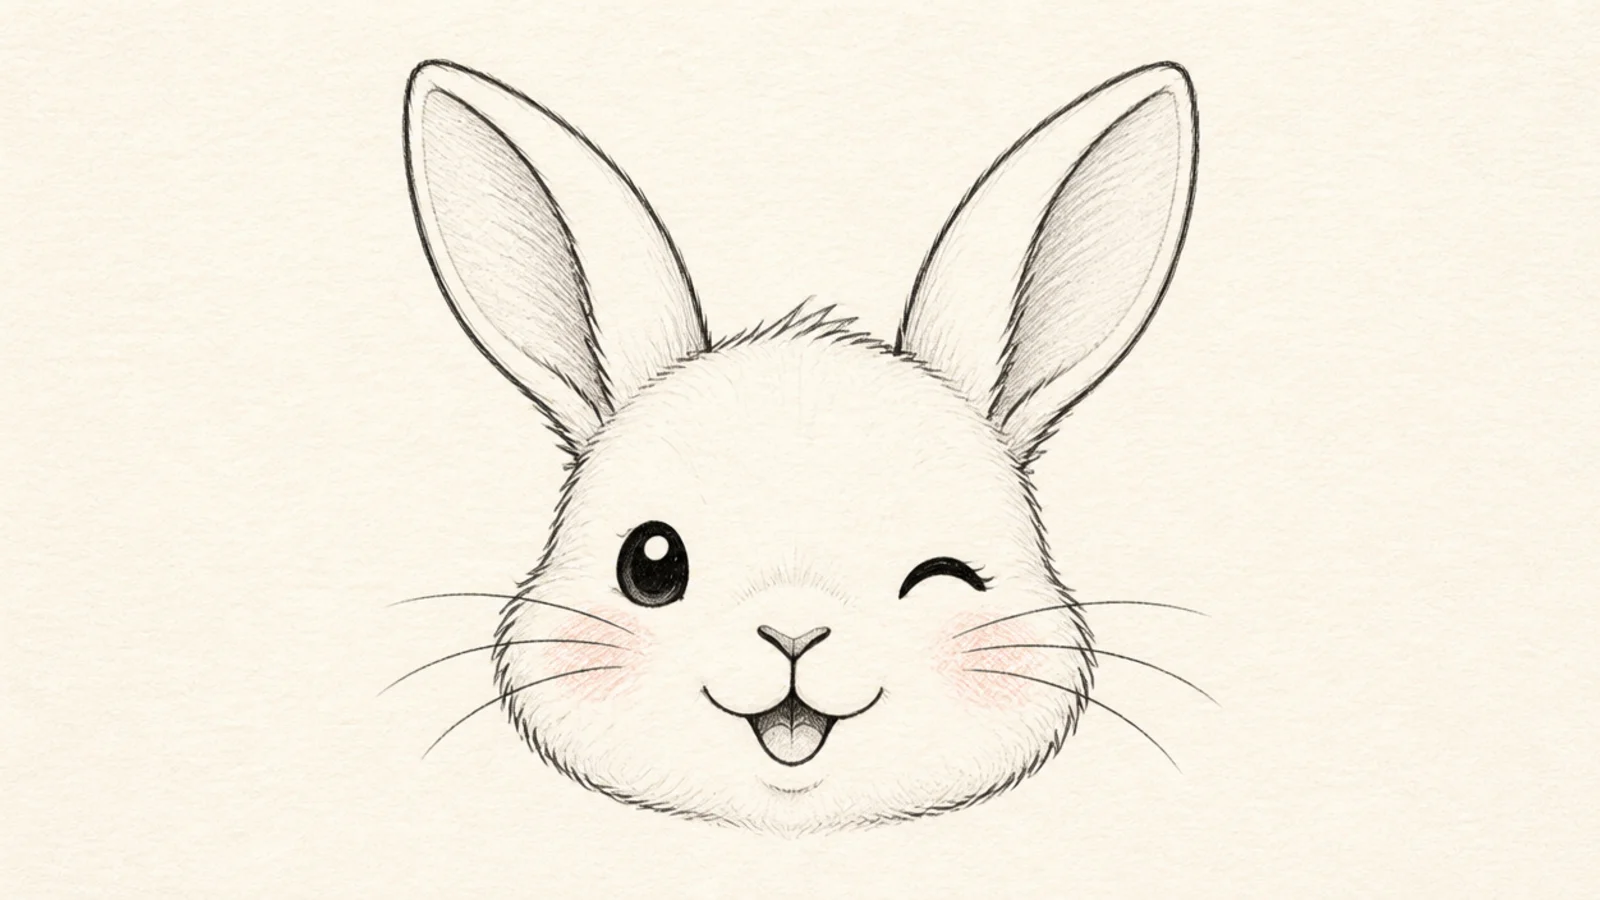
A winking face is playful and cheeky. One open eye and one happy closed eye add personality. It reads as fun and friendly.
Step 1 draw the bunny face. Step 2 make one eye a big open dot and the other an upward curve. Step 3 add a small open smile and blush.
Pair the wink with a bigger smile so the whole face feels playful.
Don’t close both eyes; one open eye makes the wink read.
19 Detailed Nose Close-Up
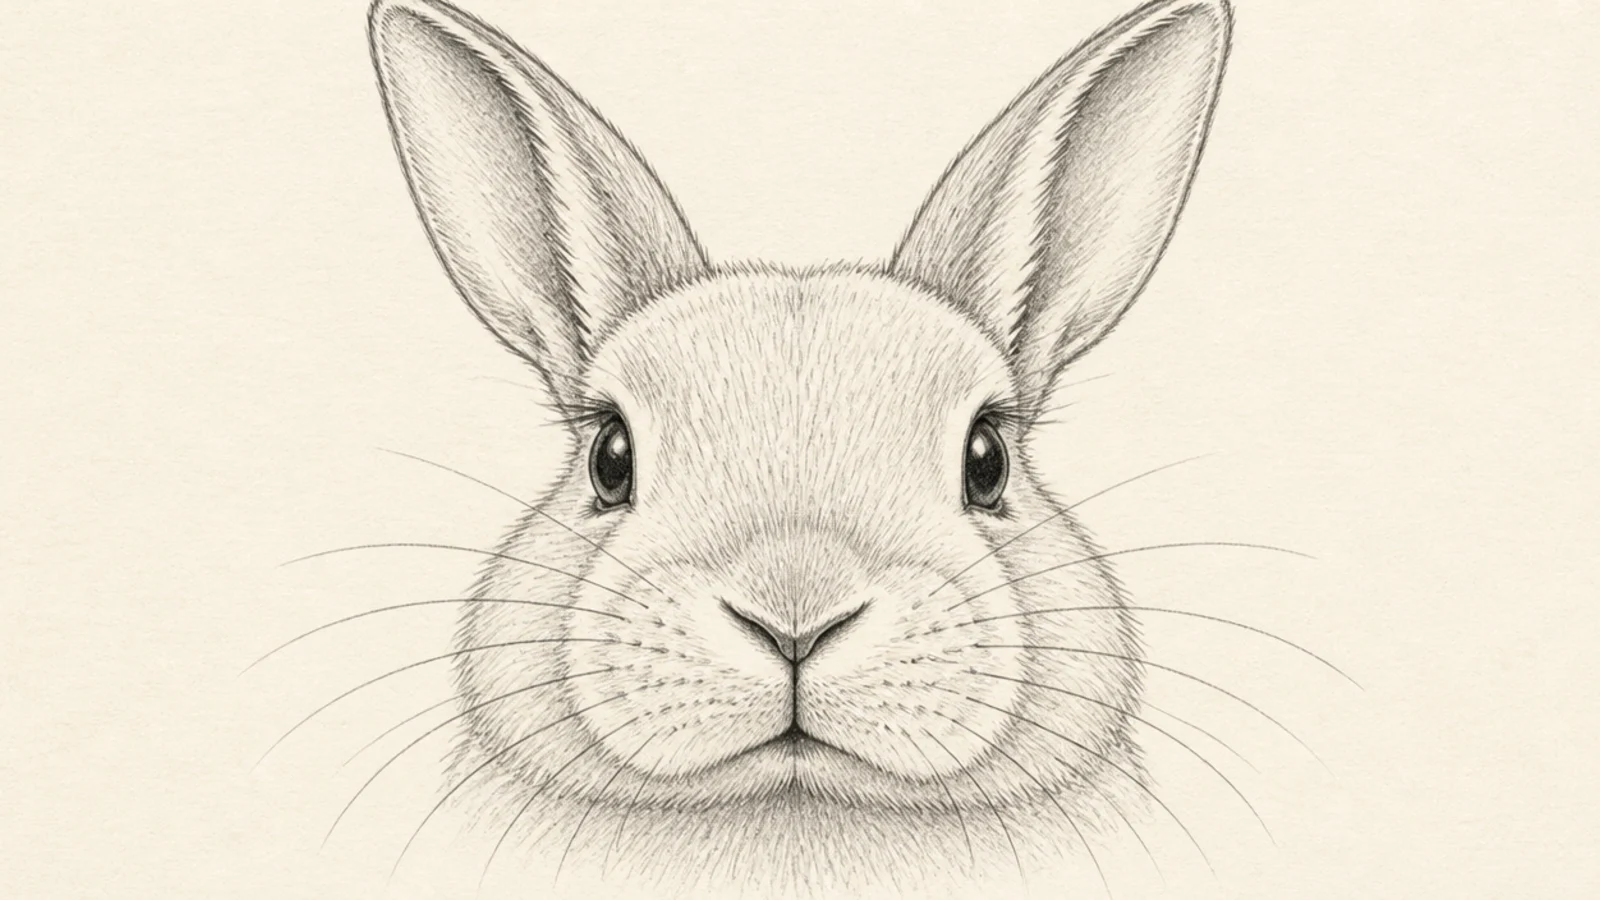
A detailed close-up of the nose teaches soft realistic rendering. The Y nose, split lip, and fur around it come alive up close. It is a rewarding little study.
Step 1 draw the soft Y nose large. Step 2 add the split upper lip and shade the nostril creases. Step 3 surround it with short soft fur and a few whisker roots.
Soften the nose edges and shade the creases for a real, moist look.
Don’t draw a hard triangle; the soft shaded Y looks real.
20 Symmetry-Grid Face
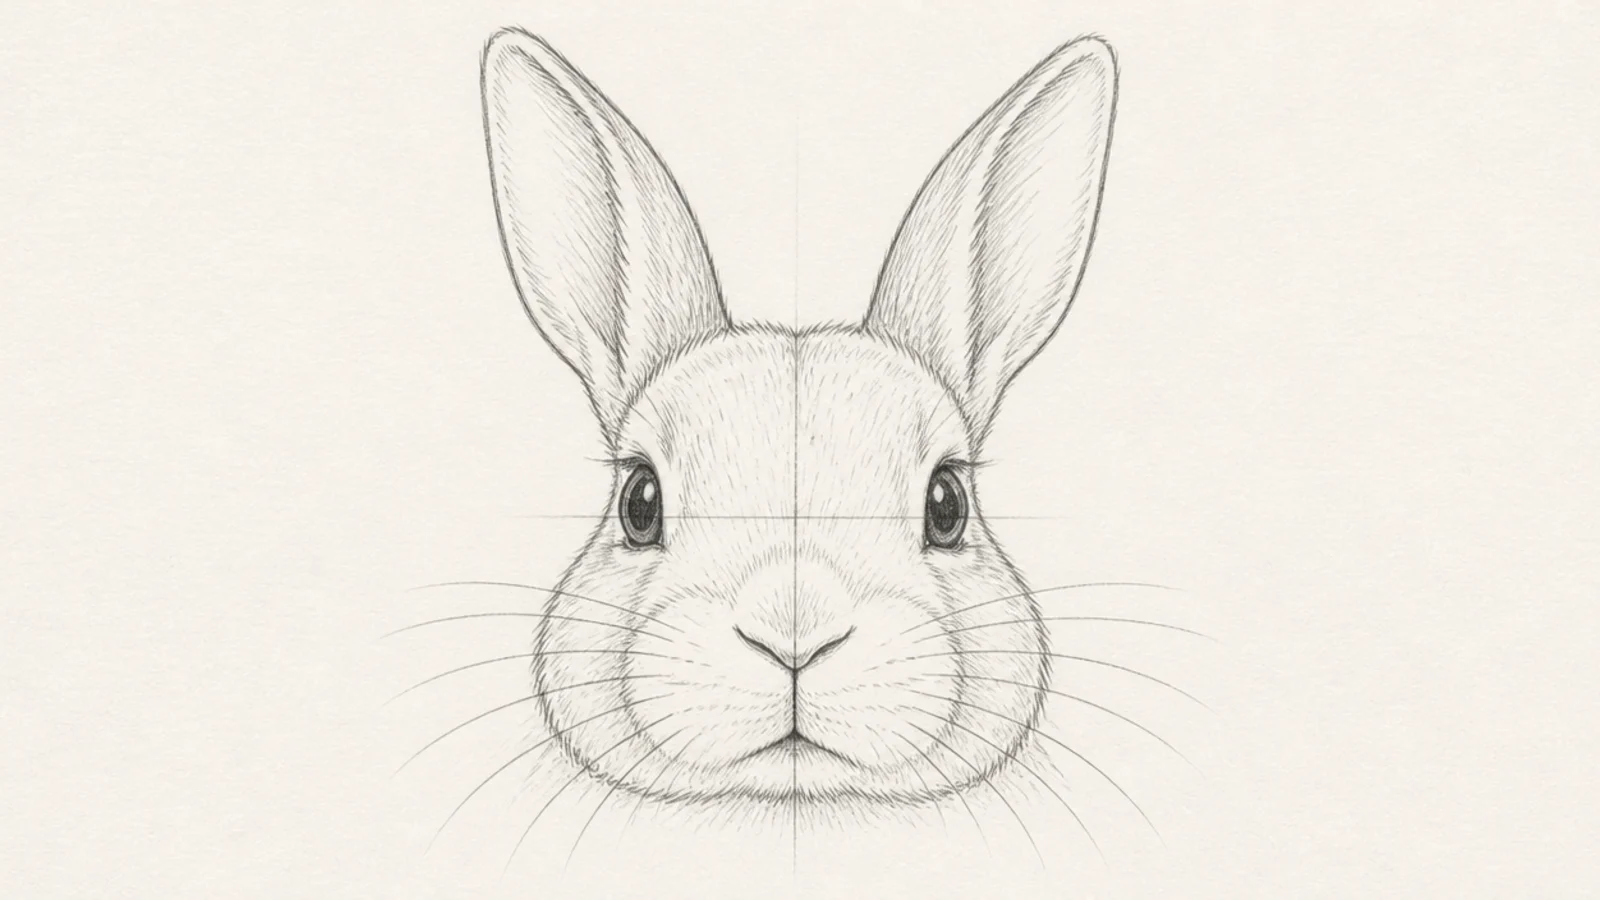
Drawing the face over a light grid keeps every feature even and placed. The center line and eye line make symmetry foolproof. It is the best way to learn placement.
Step 1 draw a light vertical center line and a horizontal eye line. Step 2 place the nose on the center, the eyes on the eye line, and the ears balanced. Step 3 erase the grid at the end.
Pro tipMirror each feature across the center line so the face stays symmetrical.
AvoidDon’t skip the guides; the grid is what keeps the face even.



