Drawing a rabbit head is far easier when you follow the right order — build the basic head shapes first, add the ears, place the features on guide lines, then finish with fur and shading. That sequence keeps you from fussing over an eye before the head is even the right shape. This guide walks you through 5 simple steps that work for a cute or a realistic rabbit head, plus a few bonus variations to try once you have the basic head down. Grab a pencil and build it up one step at a time.
The most important rule for drawing any head is to build the structure before the details. Establish the head as simple shapes — a circle for the skull and a smaller rounded muzzle — and add light guide lines before you touch an eye or a nose. If you place features first and worry about the head shape later, they never fit. This method is built around that order so each step sets up the next.
Before you start, keep your setup simple — a pencil for the light construction, a slightly softer pencil for the final lines and fur, and an eraser to clean up the guides. Have a reference nearby for the ear shape and the eye, since those are where a rabbit head reads as a rabbit. Work lightly at first so the early shapes erase away cleanly.
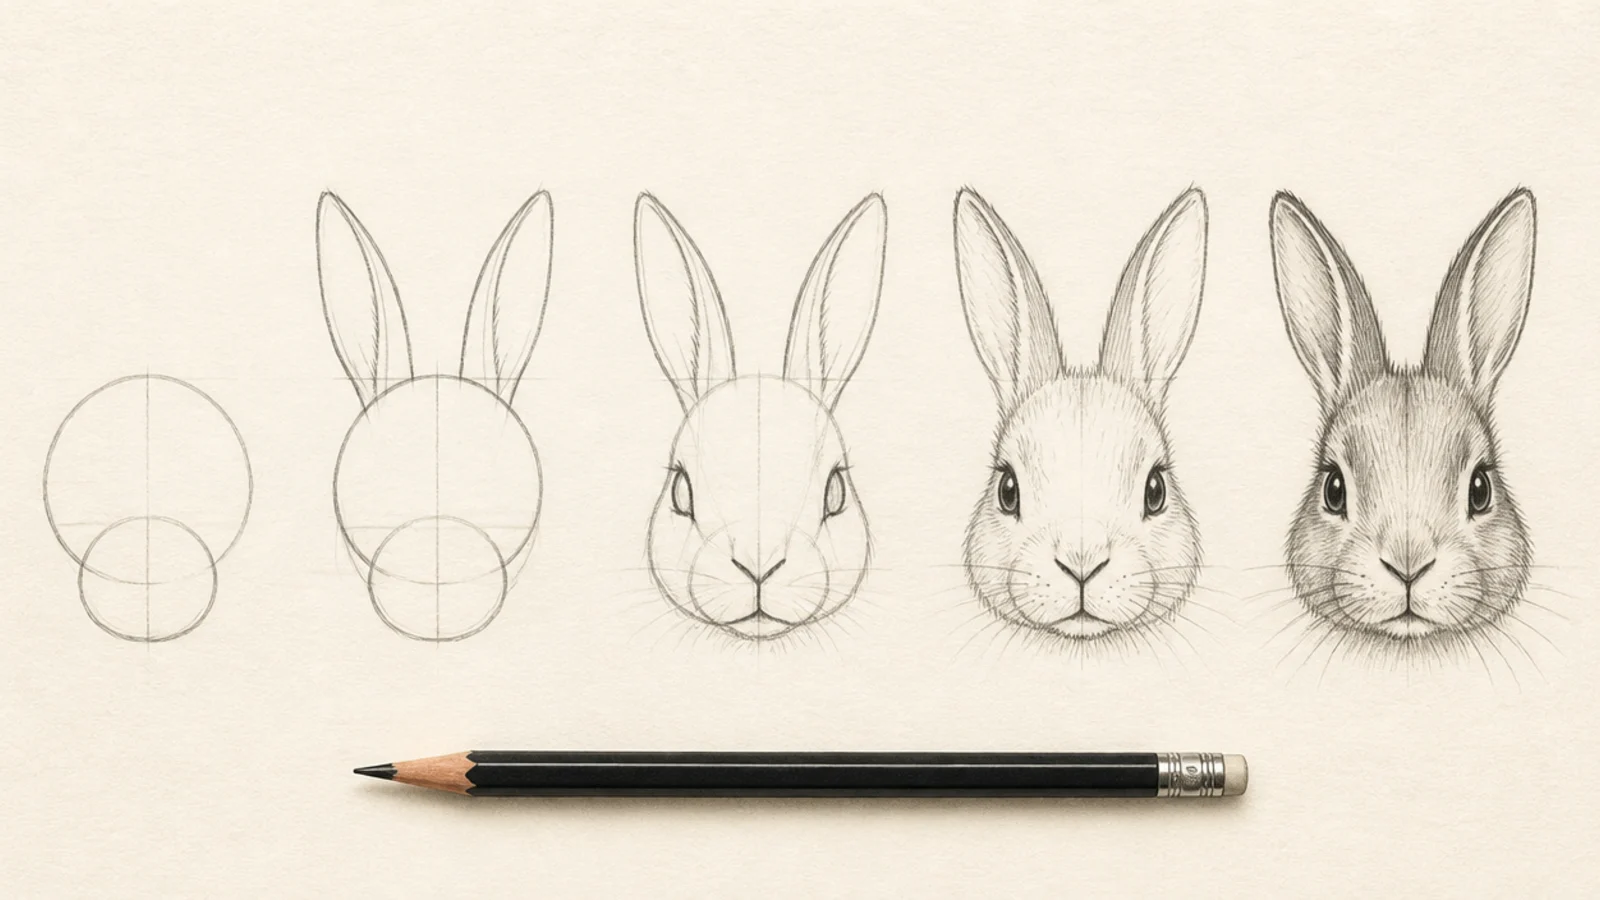
These five steps take you from a blank page to a finished rabbit head, and the bonus variations after show how to adapt the same method for different looks — a front view, a three-quarter turn, a lop, a cartoon, and a realistic shaded version. Follow the steps once as written, then make the head your own.
Step by step
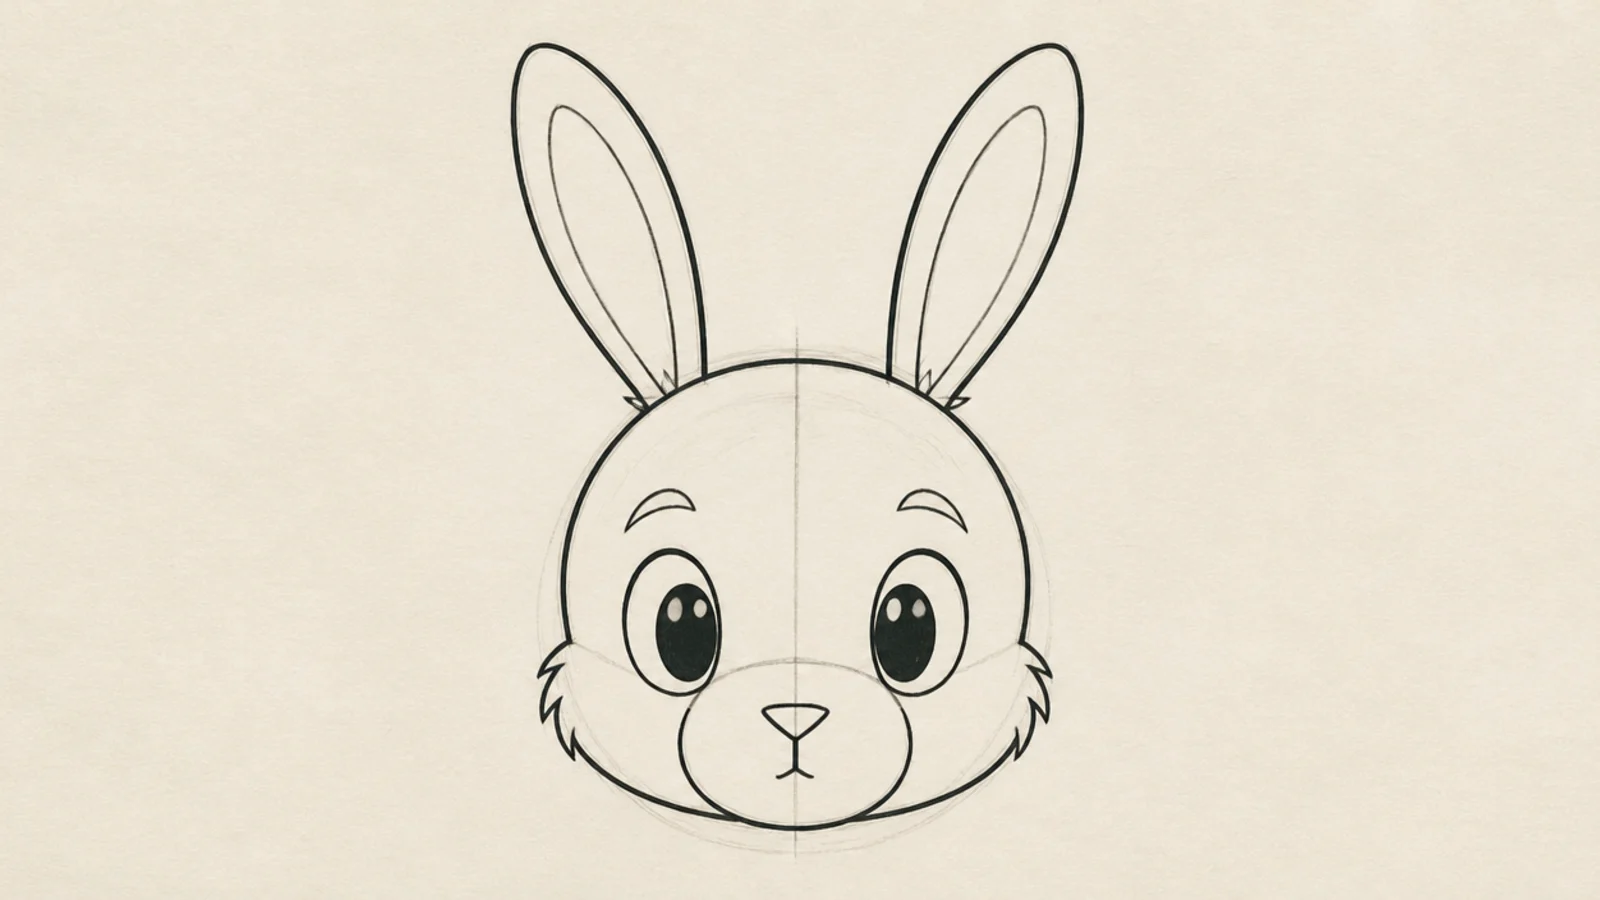
Build the basic head shapes. Lightly draw a circle for the skull, then add a smaller rounded shape at the lower front for the muzzle, overlapping the circle. Keep both shapes loose and light since they are just construction. This simple circle-plus-muzzle is the whole foundation of the head, so get the proportion right — the muzzle is smaller and sits low — before moving on.
Add the ears and guide lines. Attach two long ears at the top of the skull, rooted close together and tapering toward the tips, with a thinner inner curve in each. Then draw a light vertical center line down the face and a horizontal eye line across the upper part of the skull. These guides will place every feature evenly, so keep them light enough to erase later.
Place the features. On the eye line, add one eye on each side of the center line, set high and wide for a true rabbit look. Put a small soft Y-shaped nose where the center line meets the muzzle, and split two short lines down for the mouth. Add the rounded whisker pads on either side of the nose. Check that the two eyes are level and evenly spaced before committing.
Add fur and details. Firm up the outline, breaking it into short fur flicks on the cheeks, forehead, and around the ear bases instead of a hard line. Sweep a few long whiskers out from each pad in gentle arcs, and add a small tuft of fur between the ears. Add a bright highlight to each eye so it looks alive. Now erase the guide lines cleanly.
Shade for form. Decide where the light comes from, then shade the opposite side — softly under the chin, along one side of the muzzle, inside the ears, and around the far cheek. Keep the lit forehead and cheek bare for the highlight. Build the shading gradually with light layers and follow the fur direction. This final light-and-dark pass turns a flat head into one with real, rounded form.
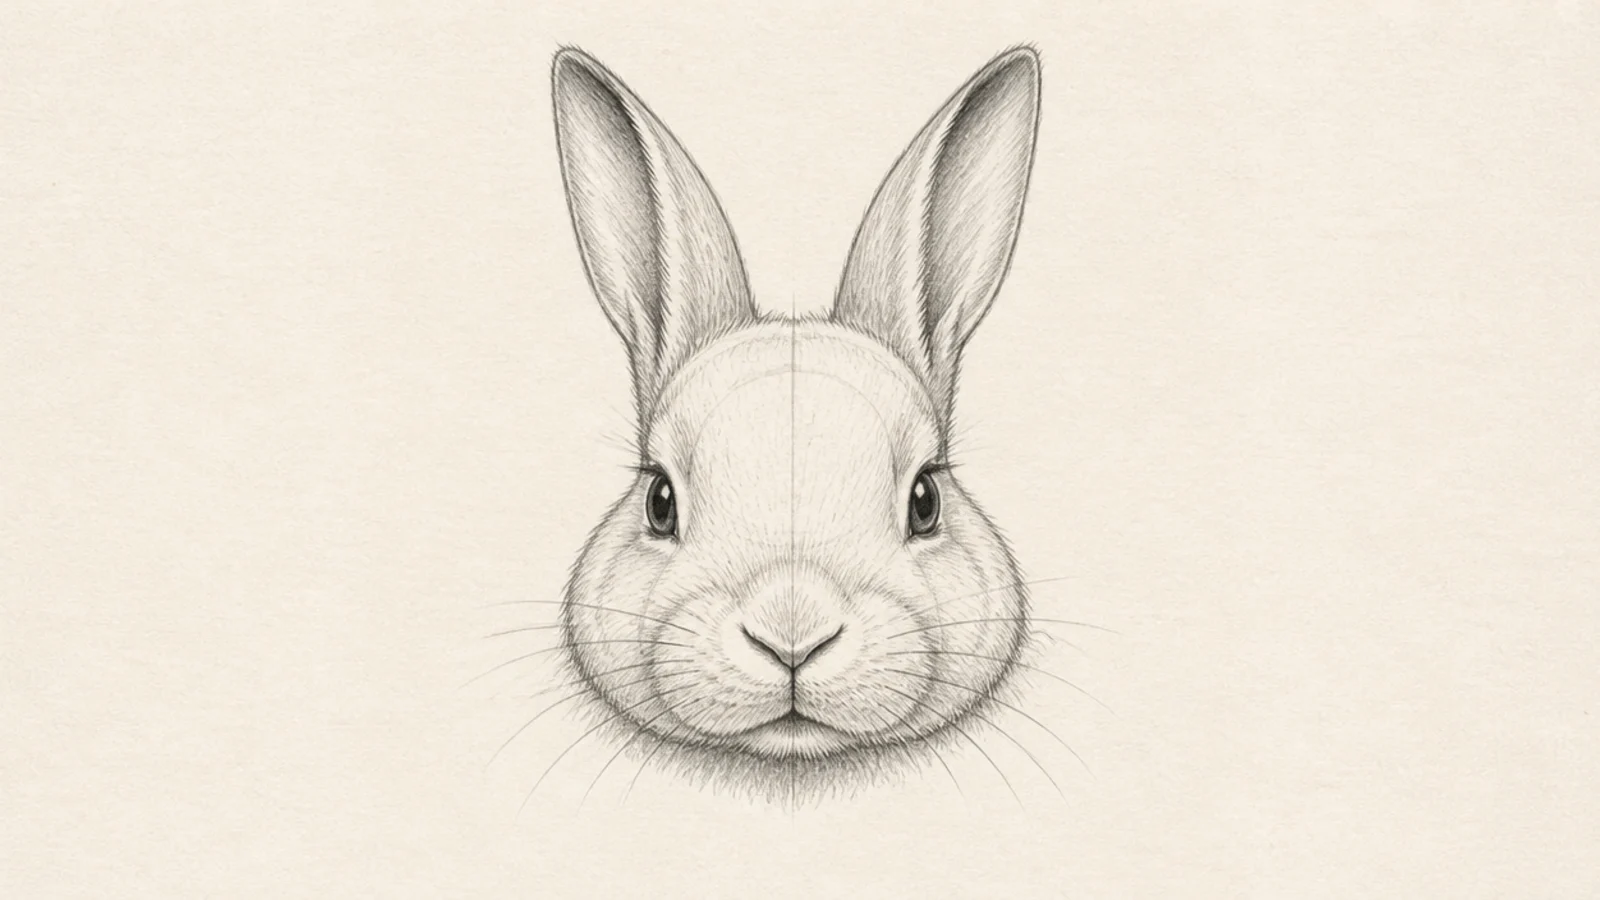
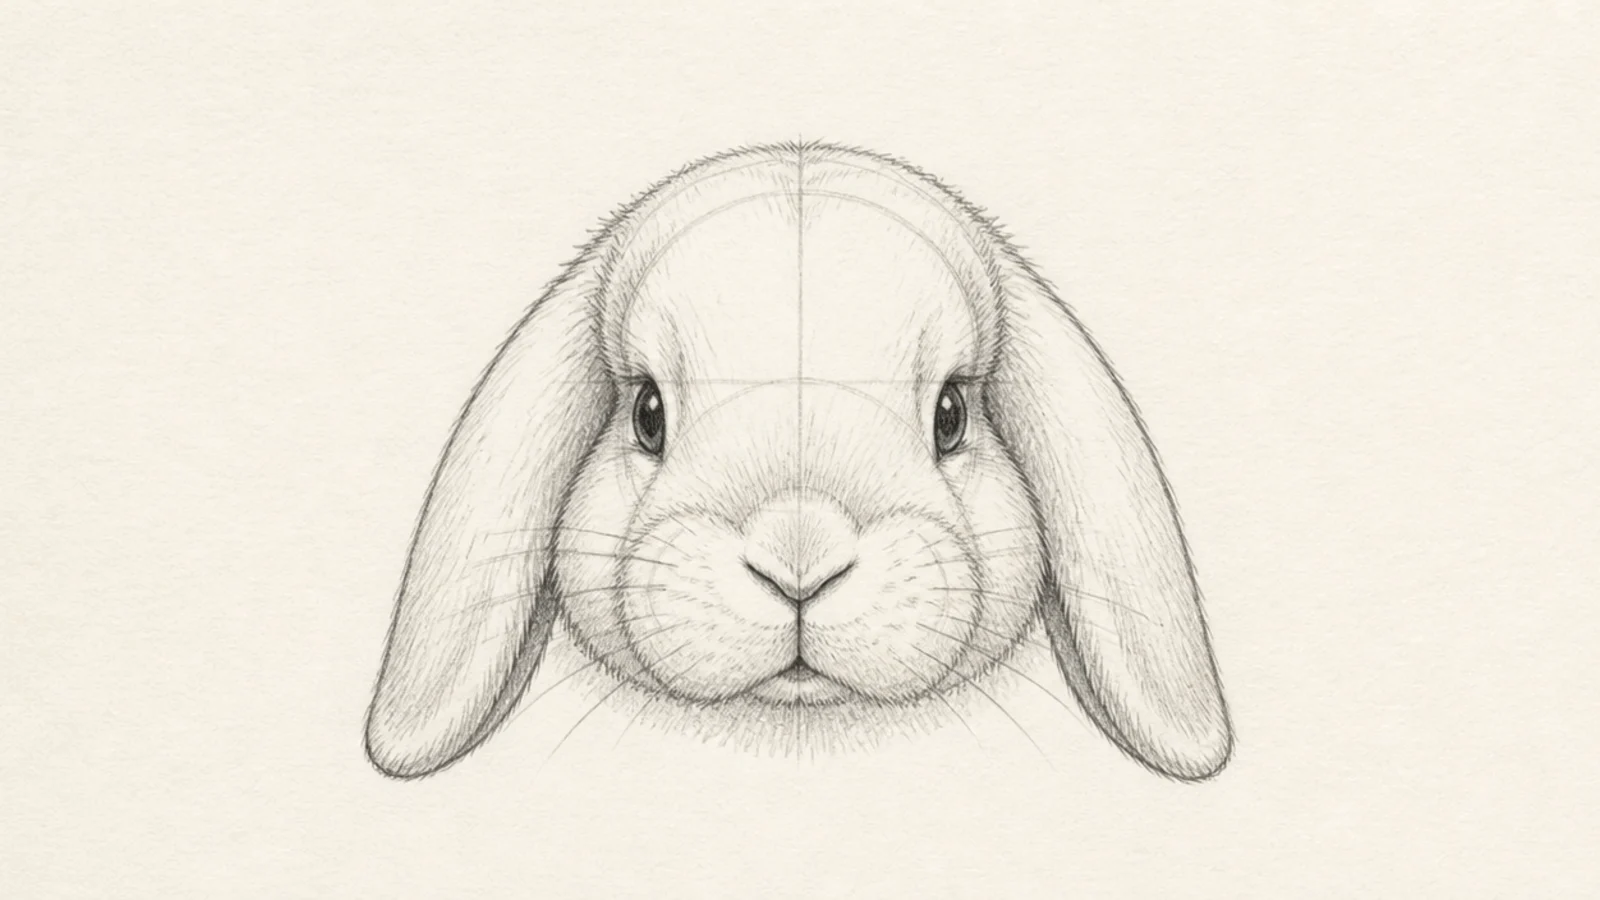
The same method drawn straight-on for a symmetrical head. Both ears and eyes balance evenly across the center line. It is the clearest way to show the features.
Follow all five steps keeping the center line vertical and the two sides mirrored. Balance the ears and eyes evenly left and right.
Pro tipMirror each feature across the center line so the front view stays even.
AvoidDon’t lopside the ears; symmetry is what sells a front view.
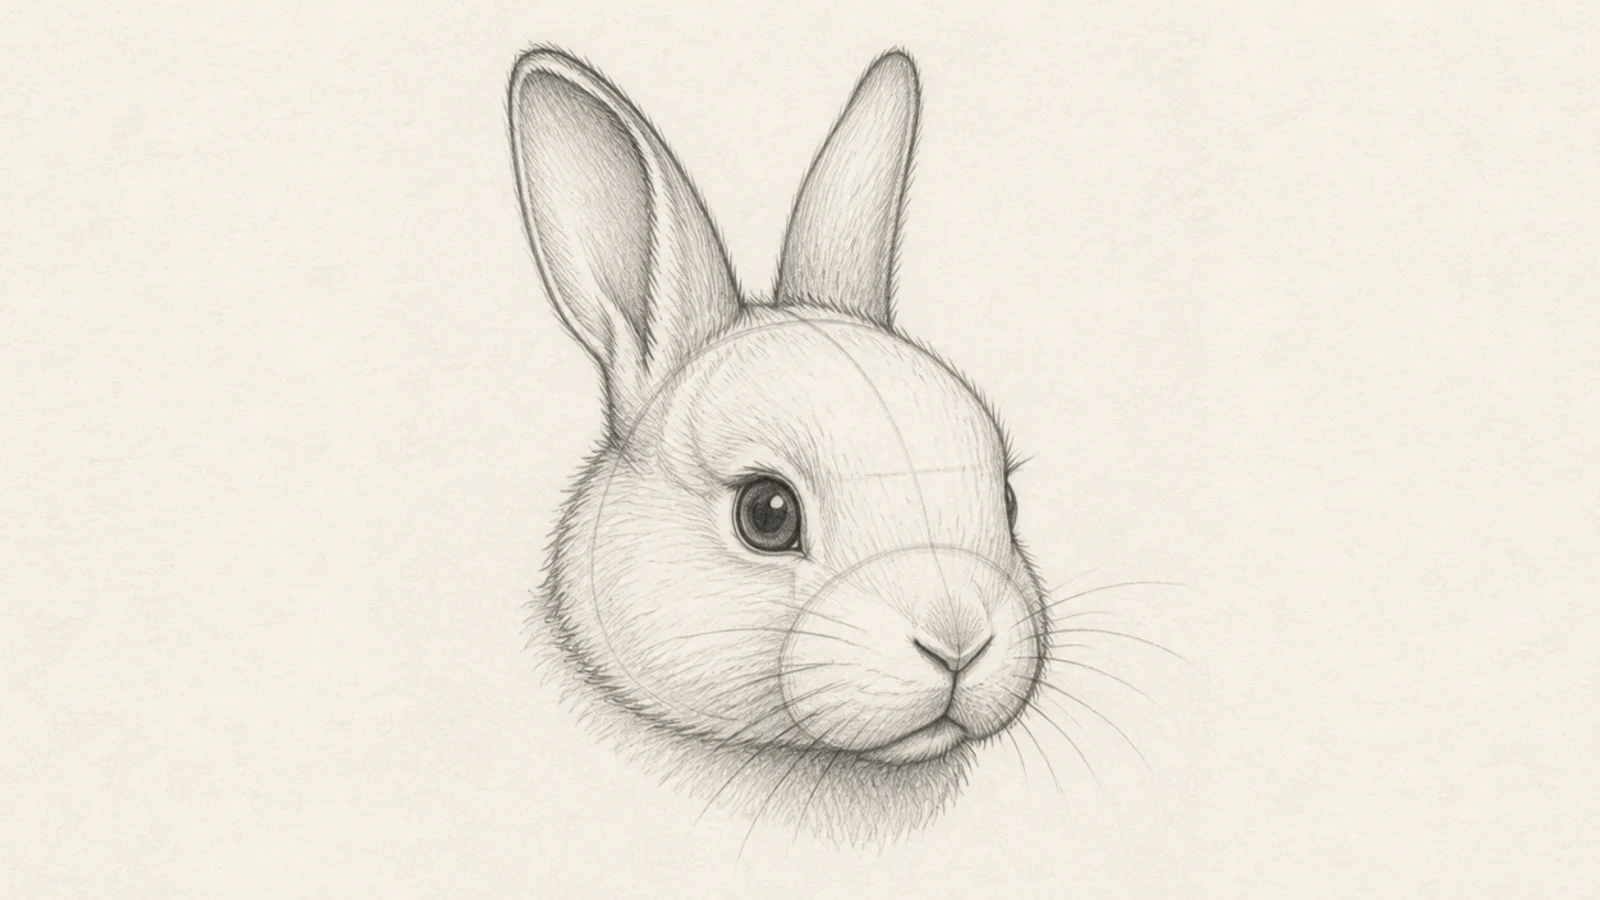
The method turned to a three-quarter angle for a natural, dimensional head. One eye sits closer and larger than the other. It looks lifelike and less flat.
Curve the center line to one side, make the far eye and cheek smaller, and set the far ear slightly behind. Push the nose toward the turning side.
Make the far side of the head narrower to show the turn.
Don’t keep both sides equal; the far side must be narrower.
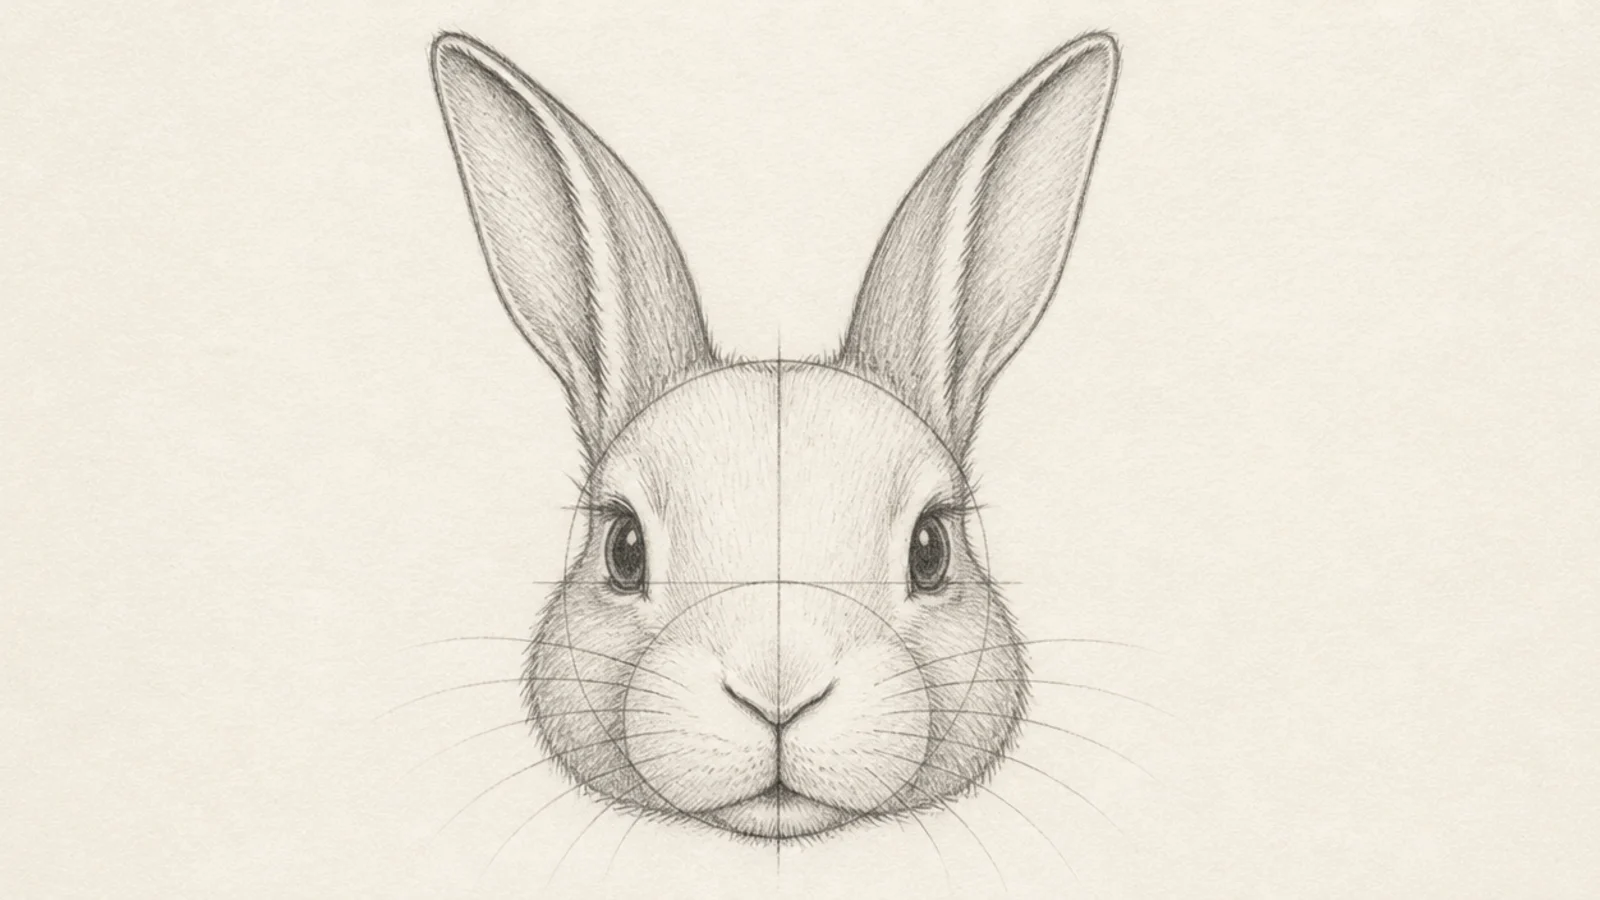
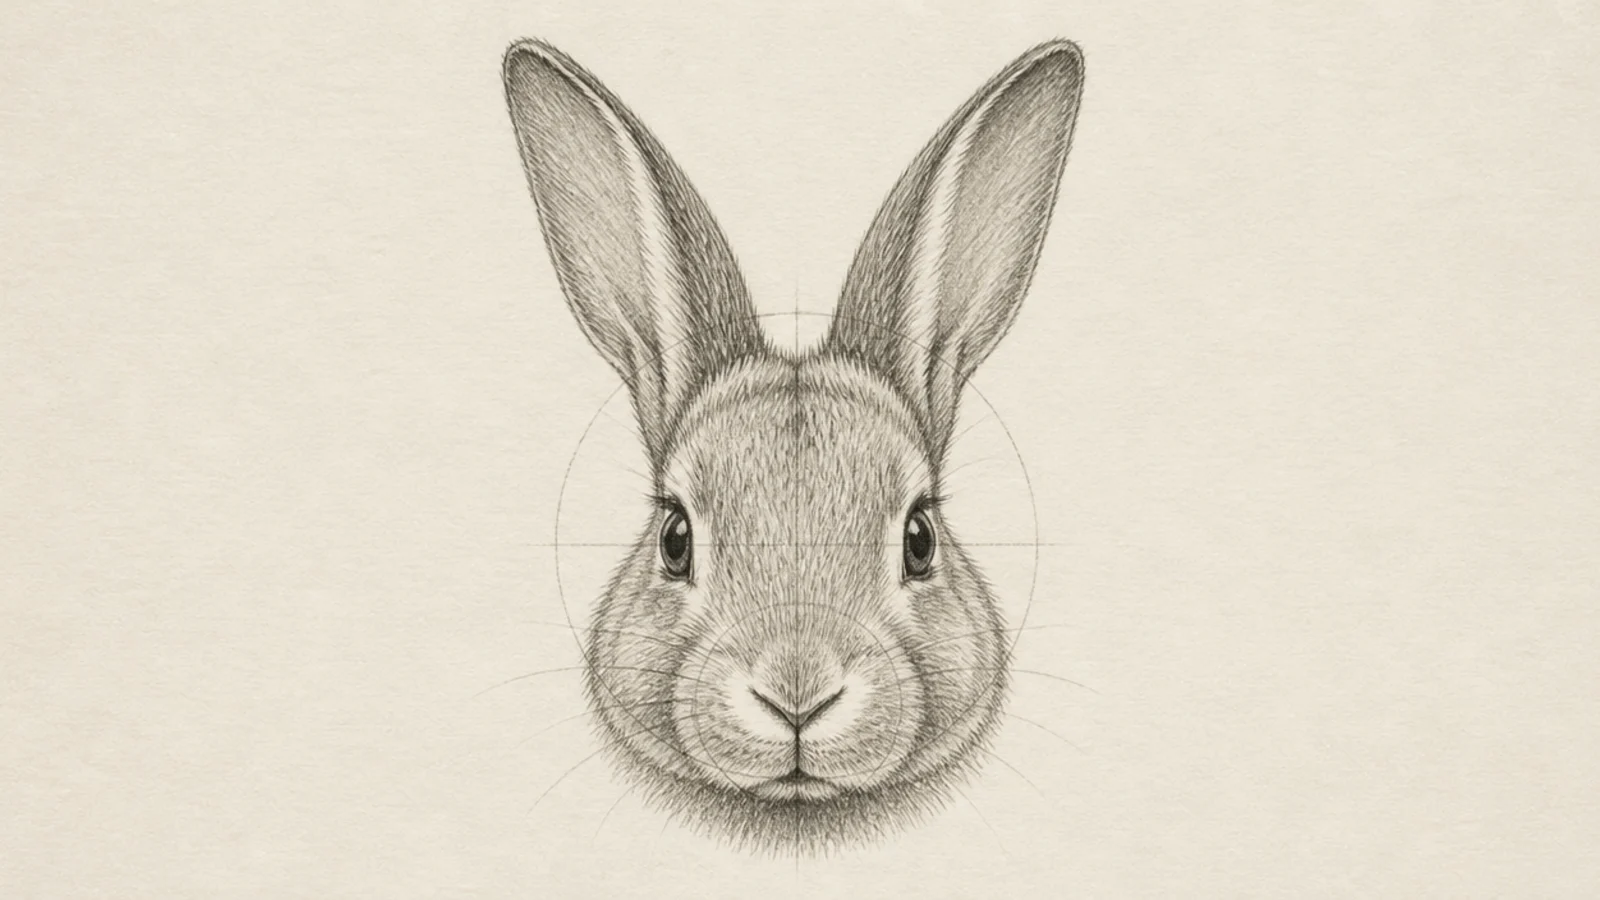
The method taken all the way to realism with full fur and value. Careful shading and directional fur give a lifelike head. It rewards patience.
Follow the steps with accurate placement, then build fur in many short directional strokes and shade with a full range from bright highlight to dark shadow.
Pro tipLayer the fur and value gradually over several passes for depth.
AvoidDon’t rush the shading; realism comes from patient layering.
Quick answers
How do you draw a rabbit head step by step?
Draw a circle for the skull and a smaller rounded muzzle, add light center and eye guide lines, then attach two tapering ears at the top. Place the eyes high and to the sides and a small Y nose on the center line, then finish with fur flicks and soft shading. Building the structure before the features is what makes the head look right.
What shape is a rabbit's head?
A rabbit’s head is basically a rounded skull with a smaller, slightly pointed muzzle at the front. From the front it reads as a soft rounded shape narrowing toward the nose; from the side it shows a gentle curve from the forehead down to the nose. Starting with a circle plus a muzzle captures it simply.
Where do you put the eyes on a rabbit head?
High on the skull and toward the sides, not low and close together at the front. That wide-set, high placement gives a rabbit its gentle look and wide vision. Use a light horizontal eye line across the upper head to keep both eyes level and evenly spaced from the center.
How do I make my rabbit head look furry?
Break the outline into short fur flicks instead of a single hard line, especially on the cheeks, forehead, and where the ears meet the head, and add light strokes that follow the fur’s direction. Keep the lit areas barer and cluster strokes in the shadows. Soft, directional strokes read as fur far better than a clean outline.