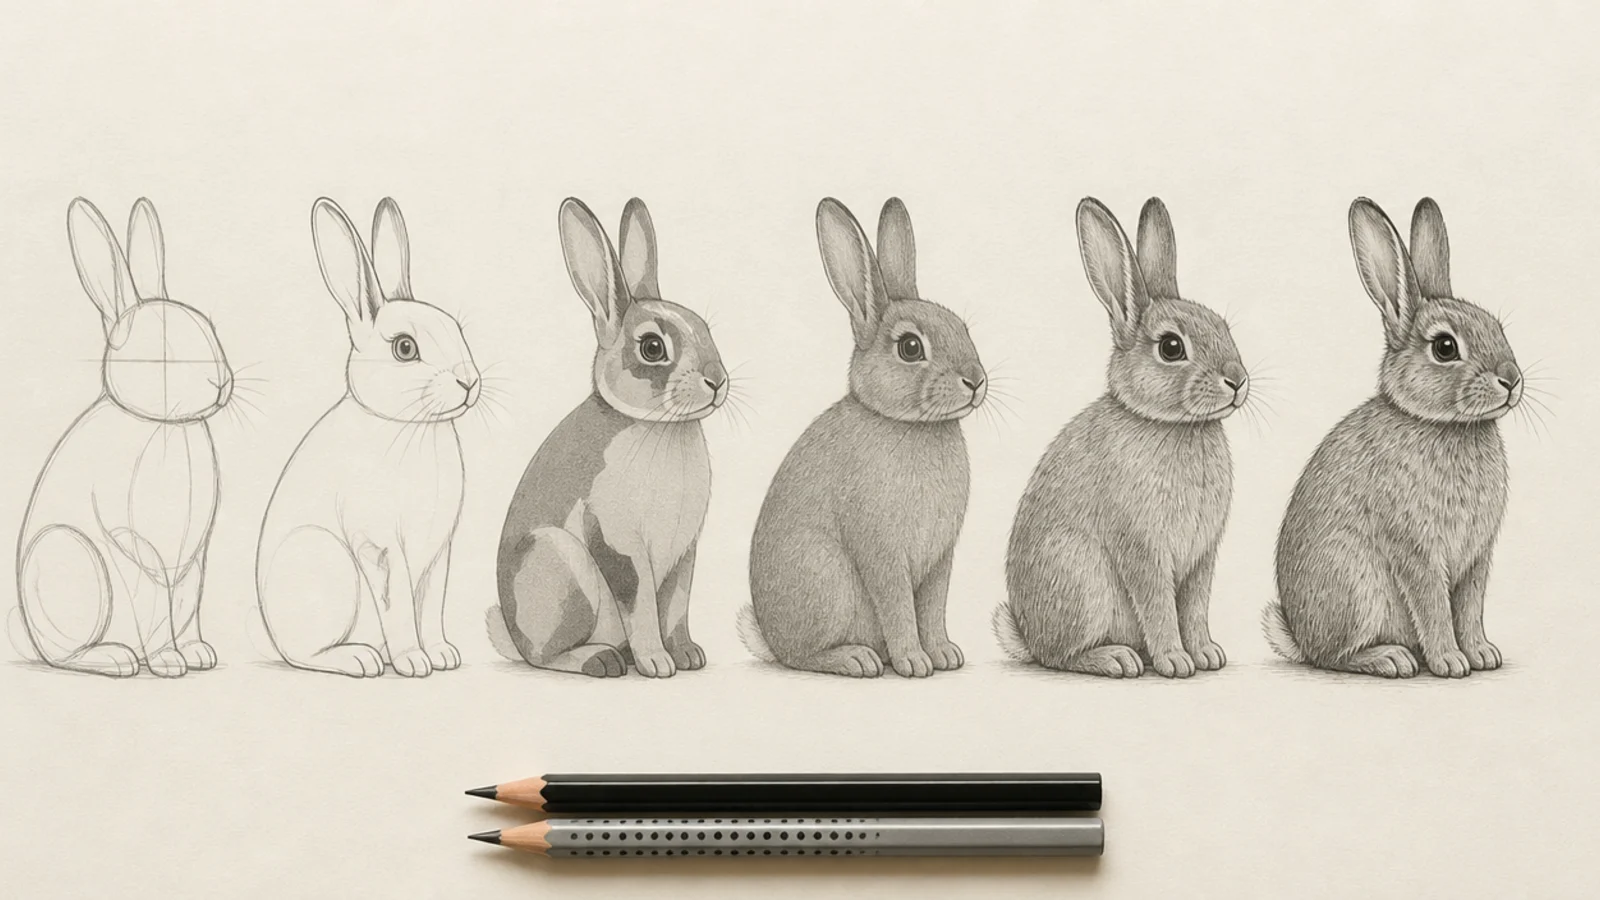
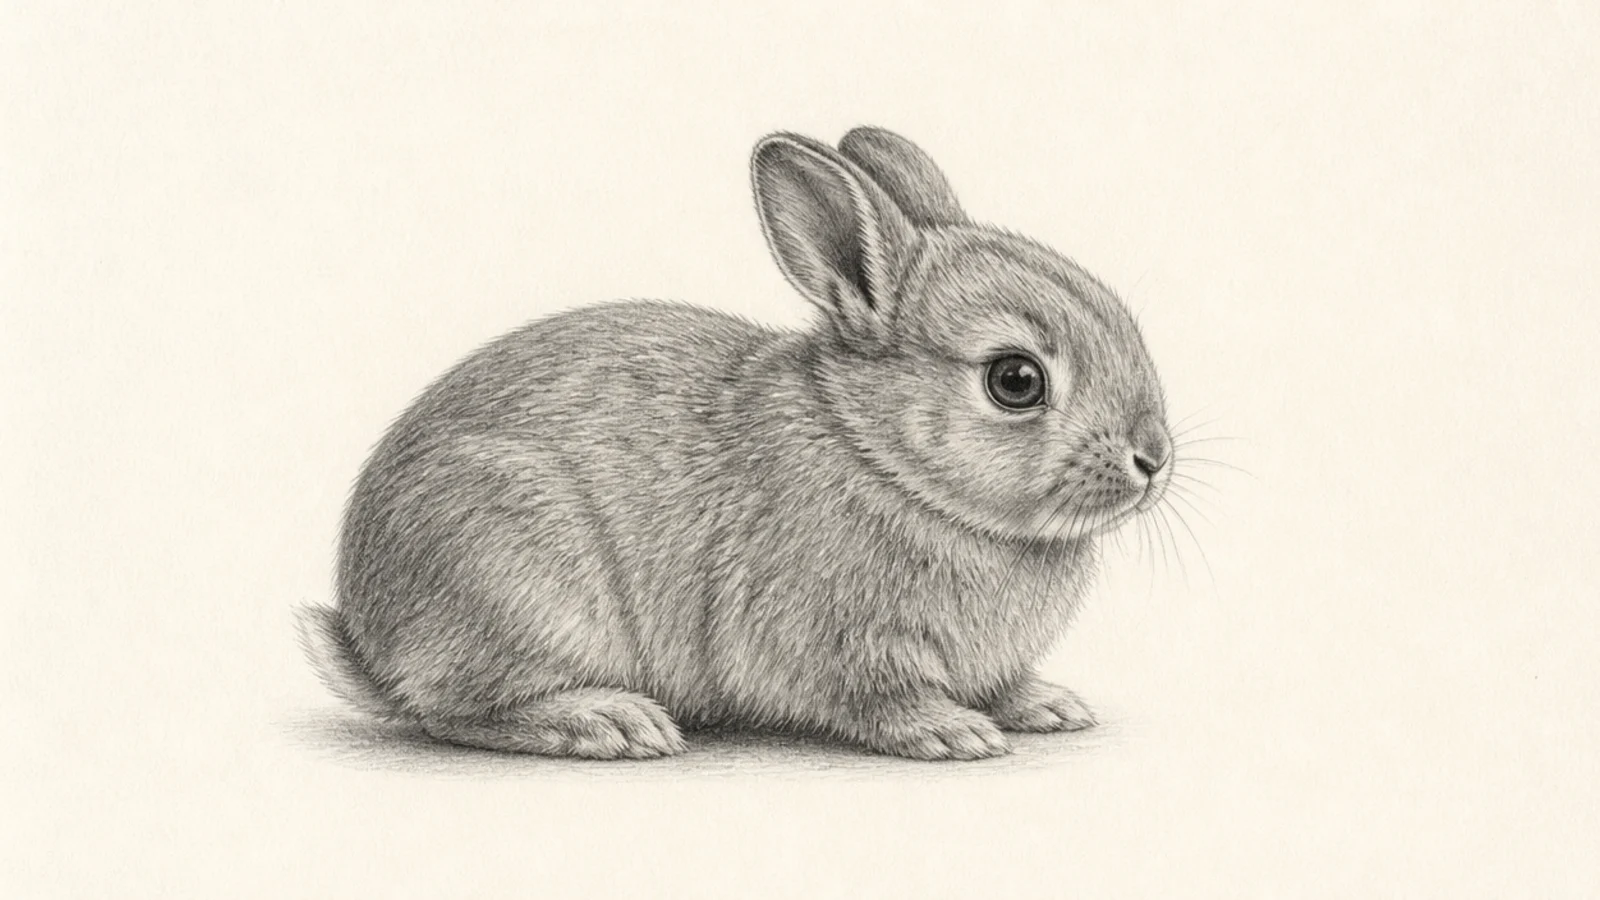
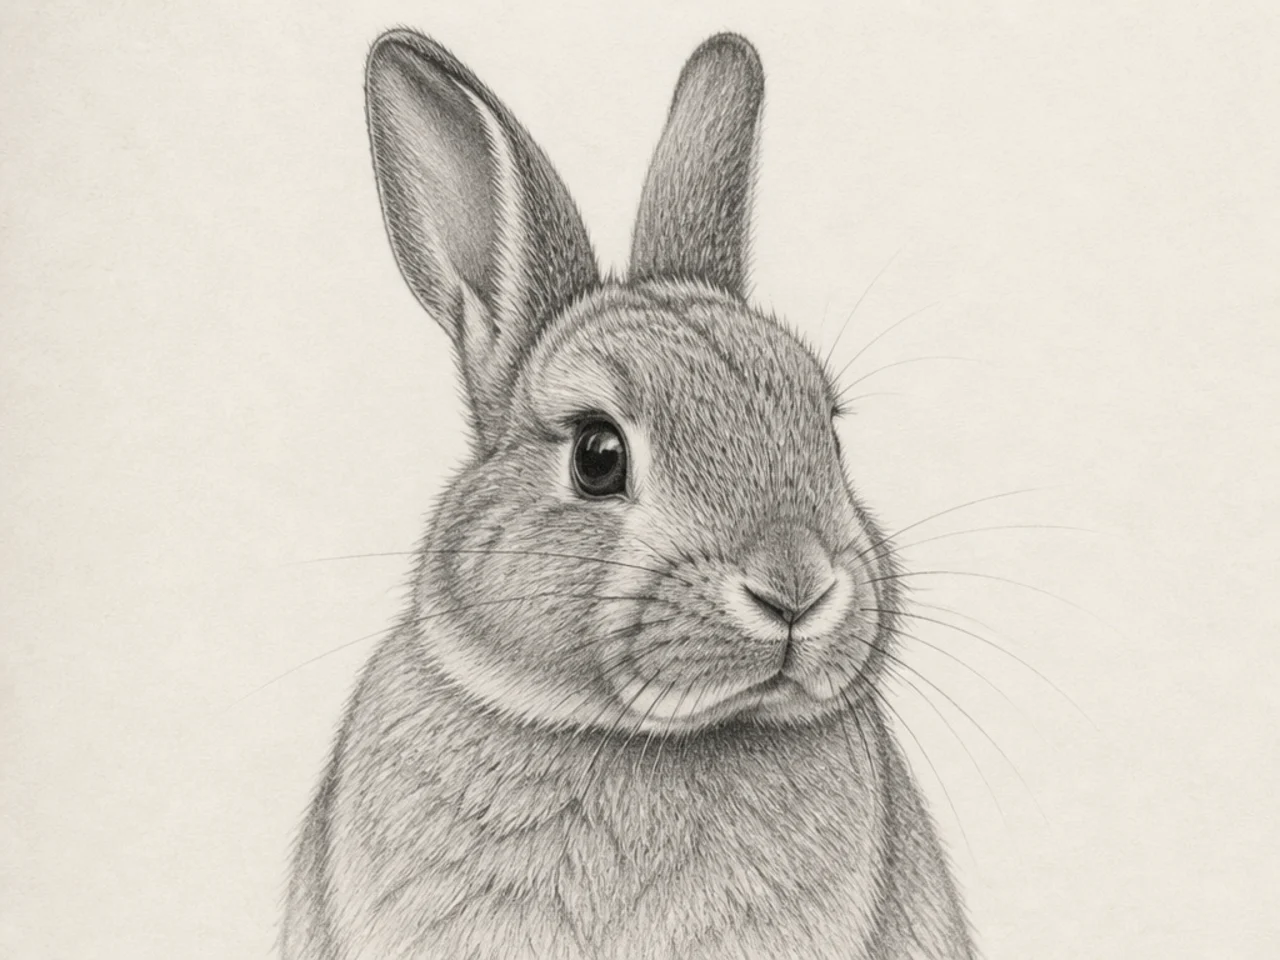
A realistic rabbit looks hard, but it comes together when you work in the right order — block the proportions, refine the features, map the values, then build fur from base tone up to fine directional strokes and final details. That sequence stops you rendering a single patch of fur before the whole animal is right. This guide walks you through 6 simple steps for a lifelike bunny with soft fur and believable shading, plus a few bonus variations to try once you have the method down. Sharpen a pencil and build it up slowly.
The golden rule of realism is to work from big to small and light to dark. Establish the large shapes and correct proportions first, then the mid values, and only then the fine fur and darkest accents. If you start stroking individual hairs before the proportions and light are right, you lock in mistakes. This rabbit method is built around that order so each step supports the next.
Before you start, keep your setup simple and have a reference photo close. A range of pencils from hard to soft, a kneaded eraser for lifting highlights, and patience are all you need. These six steps take you from a blank page to a finished rabbit, and the bonus variations after adapt the method to a sitting bunny, a lop, a baby, and more. Follow the steps once as written, then make it yours.
Step by step
Block the basic proportions. Lightly block the rabbit with simple shapes — a small ball for the head, a larger mass for the body, wedges for the haunches — over a quick line of action. Focus only on getting the proportions right, especially the small head, the long body, and the long hind feet. Keep everything light and loose; this is the skeleton the whole drawing hangs on, so measure it against your reference before going further.
Refine the outline and features. Firm up the true outline over your blocked shapes and place the features accurately — the side-set eye, the soft Y nose, the ears, and the leg positions. Add light center and eye guide lines on the head if it helps. Check the proportions one more time now, because errors are easy to fix here and hard to fix once you start shading. Erase the roughest construction lines.
Map the values and light. Decide where the light comes from and lightly map the value zones — the highlights, the mid tones, and the shadow areas under the chin, belly, haunch, and inside the ears. Squint at your reference to simplify the lighting into a few shapes. Mark these zones faintly so you have a plan before you commit any real tone. This planning step is what keeps the finished rabbit reading as a solid, lit form.
Lay the base tone. Cover the rabbit with a light, even base tone, leaving the brightest highlights as bare paper. You can lay it with light pencil strokes or a stump, keeping it soft and unified. This mid-light layer gives the fur something to build on and stops the final darks from looking like they sit on white paper. Keep it light — you will darken from here, and it is hard to lighten later.
Build the fur in layers. Now build the coat with short strokes that follow the fur’s direction over each form — down the back, radiating on the cheeks, sweeping along the haunch. Work in layers from light to dark, deepening the shadow zones you mapped and letting strokes overlap. Break the outline with stray fur flicks so the edge looks soft. Take several passes rather than trying to finish an area at once; the layering is what creates depth.
Refine the final details. Bring the rabbit to life with the final touches. Add the bright eye highlight and a soft reflection, deepen the darkest darks under the chin, inside the ears, and where forms overlap, and lift a few light hairs with a kneaded eraser. Draw the whiskers last in confident sweeping arcs. Step back and add accents only where they lift the form. This final light-and-dark pass is what turns careful shading into a living animal.
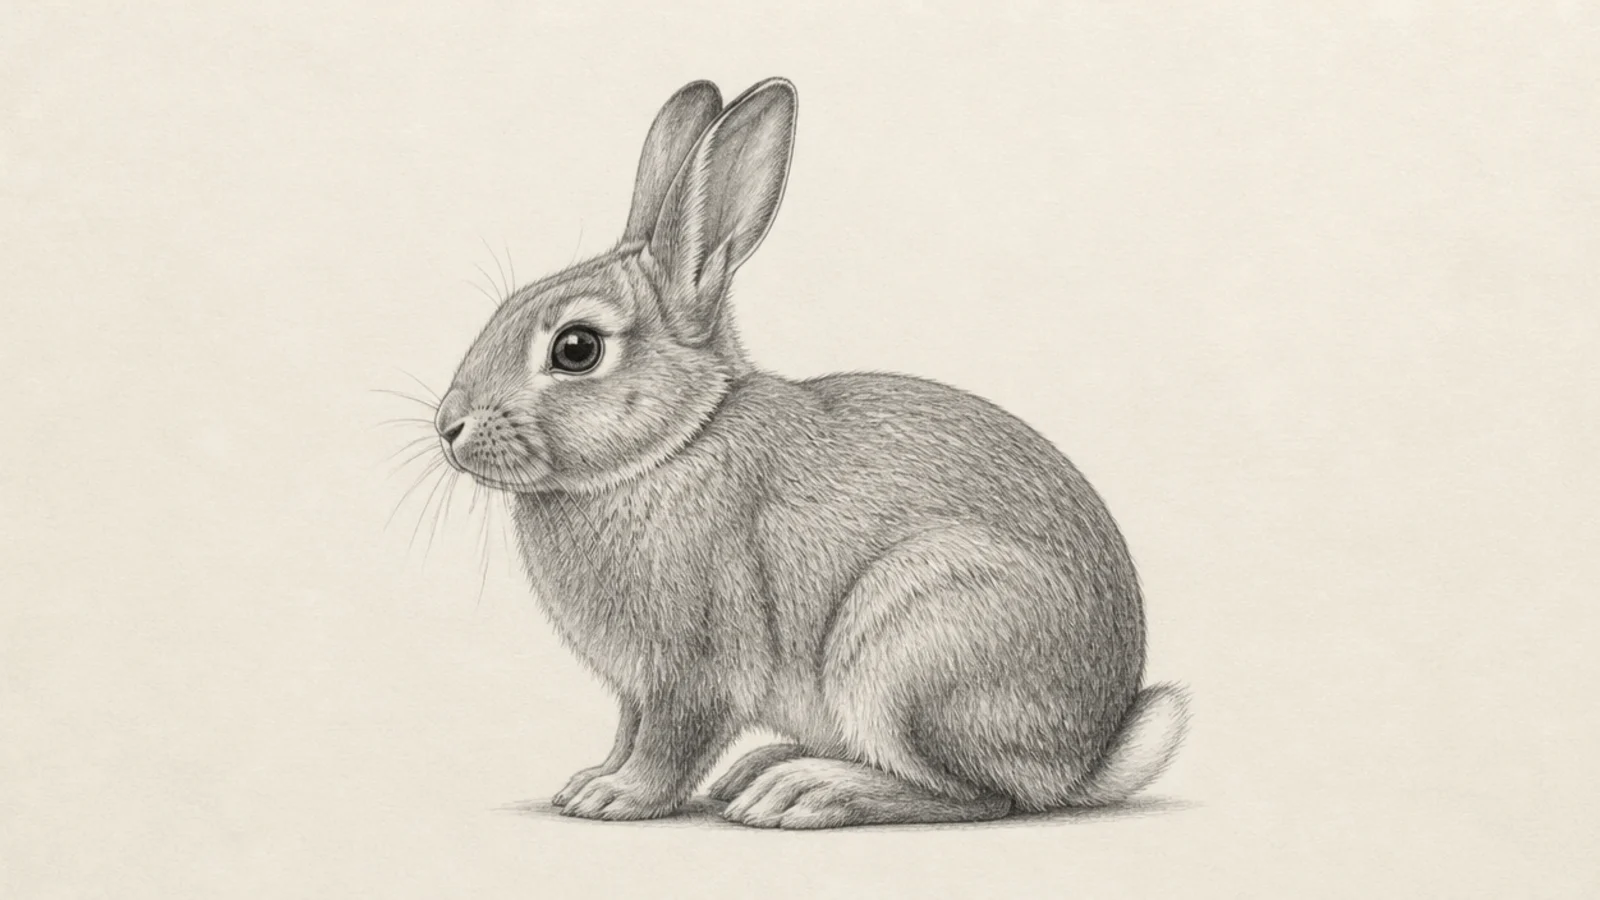
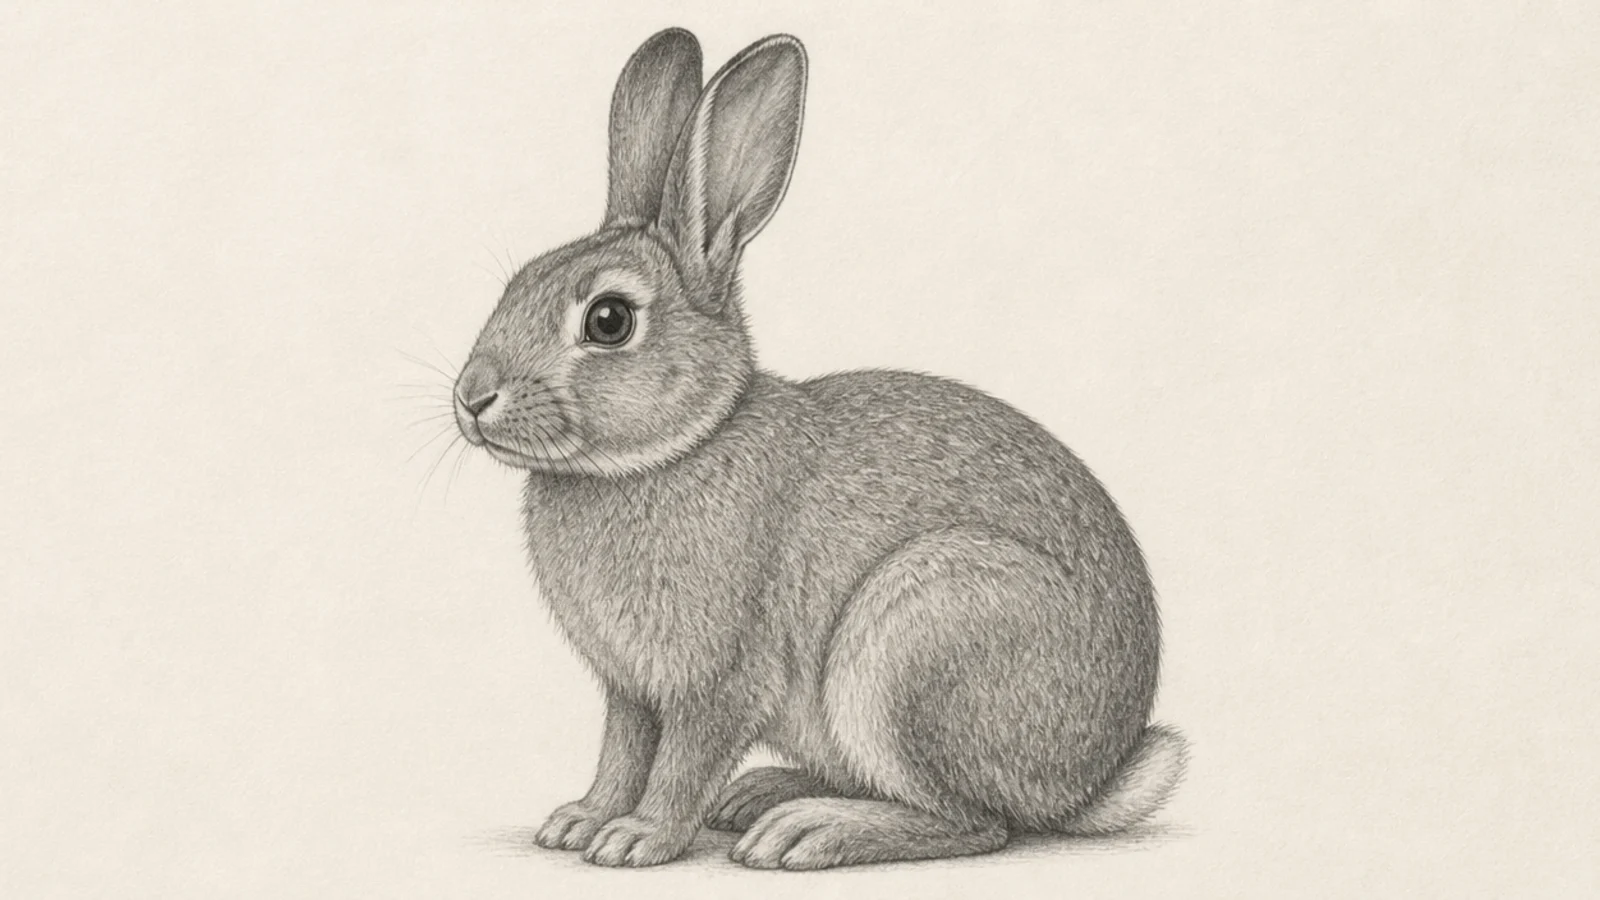
The full method applied to the classic sitting pose. The upright body shows the coat, ears, and haunch clearly. It is the most useful realistic rabbit to master.
Follow all six steps on a sitting bunny, keeping the head small and the haunch large. Sweep the fur down the back and along the rounded haunch.
Pro tipFollow the fur down the back and around the haunch for believable form.
AvoidDon’t flatten the haunch; its round form carries the sitting pose.
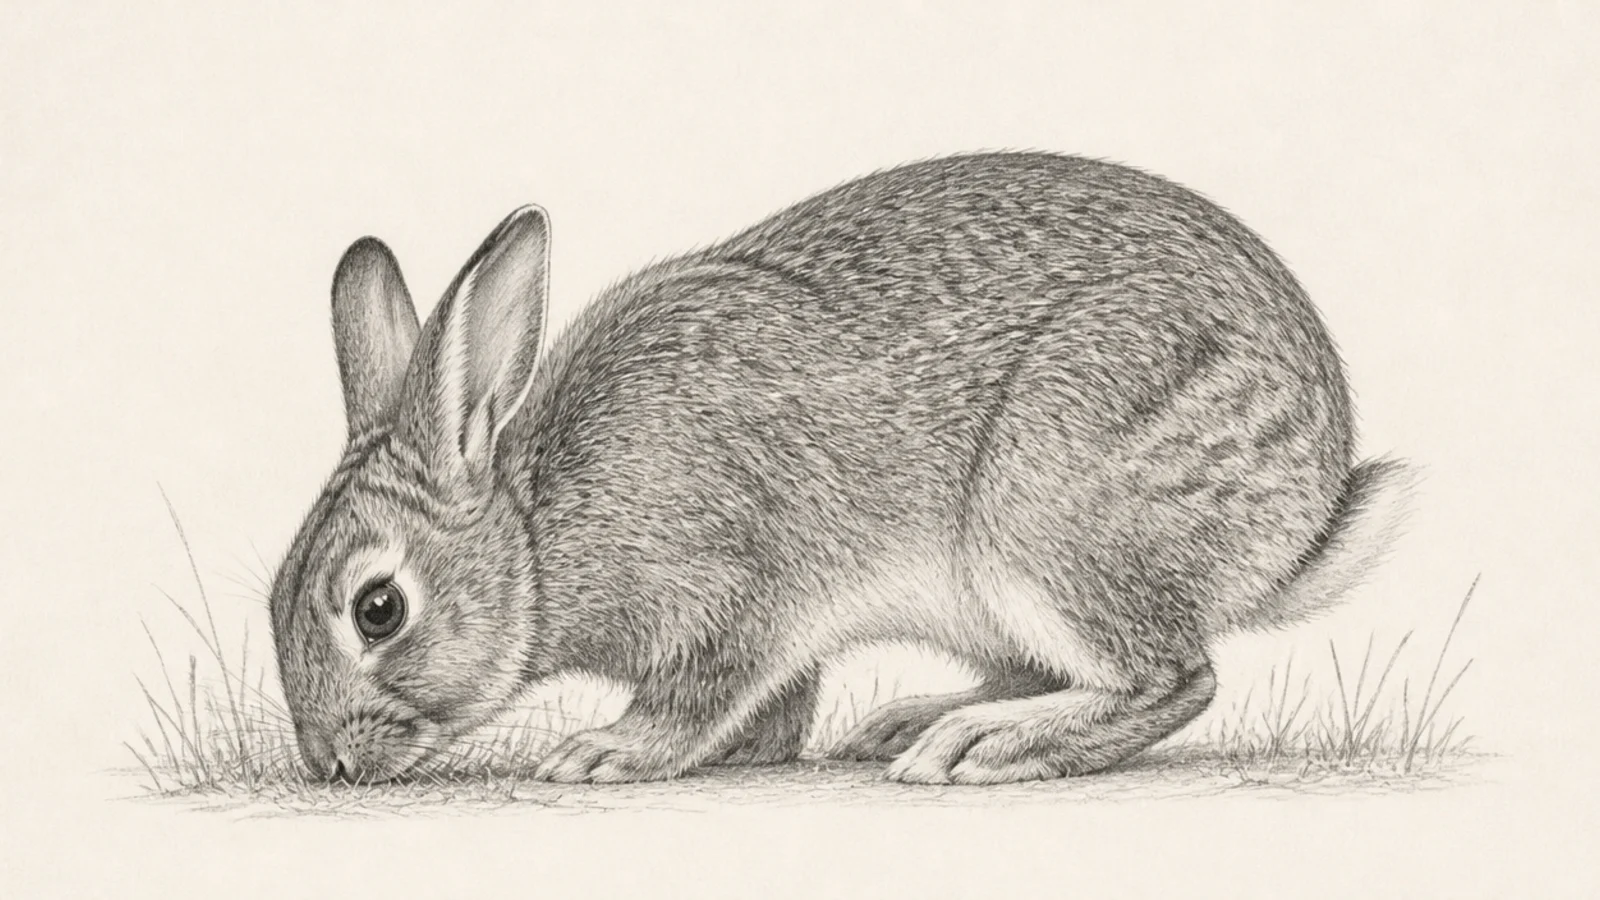
The method on a grazing pose set in a little grass. The lowered head and natural setting feel lifelike. It teaches fur plus a simple environment.
Draw the rounded grazing body with the head down, then build the coat and add a few soft grass blades. Keep the background light so the rabbit stands out.
Pro tipKeep the grass soft and light so the detailed rabbit stays the focus.
AvoidDon’t over-render the grass; it should support, not compete.
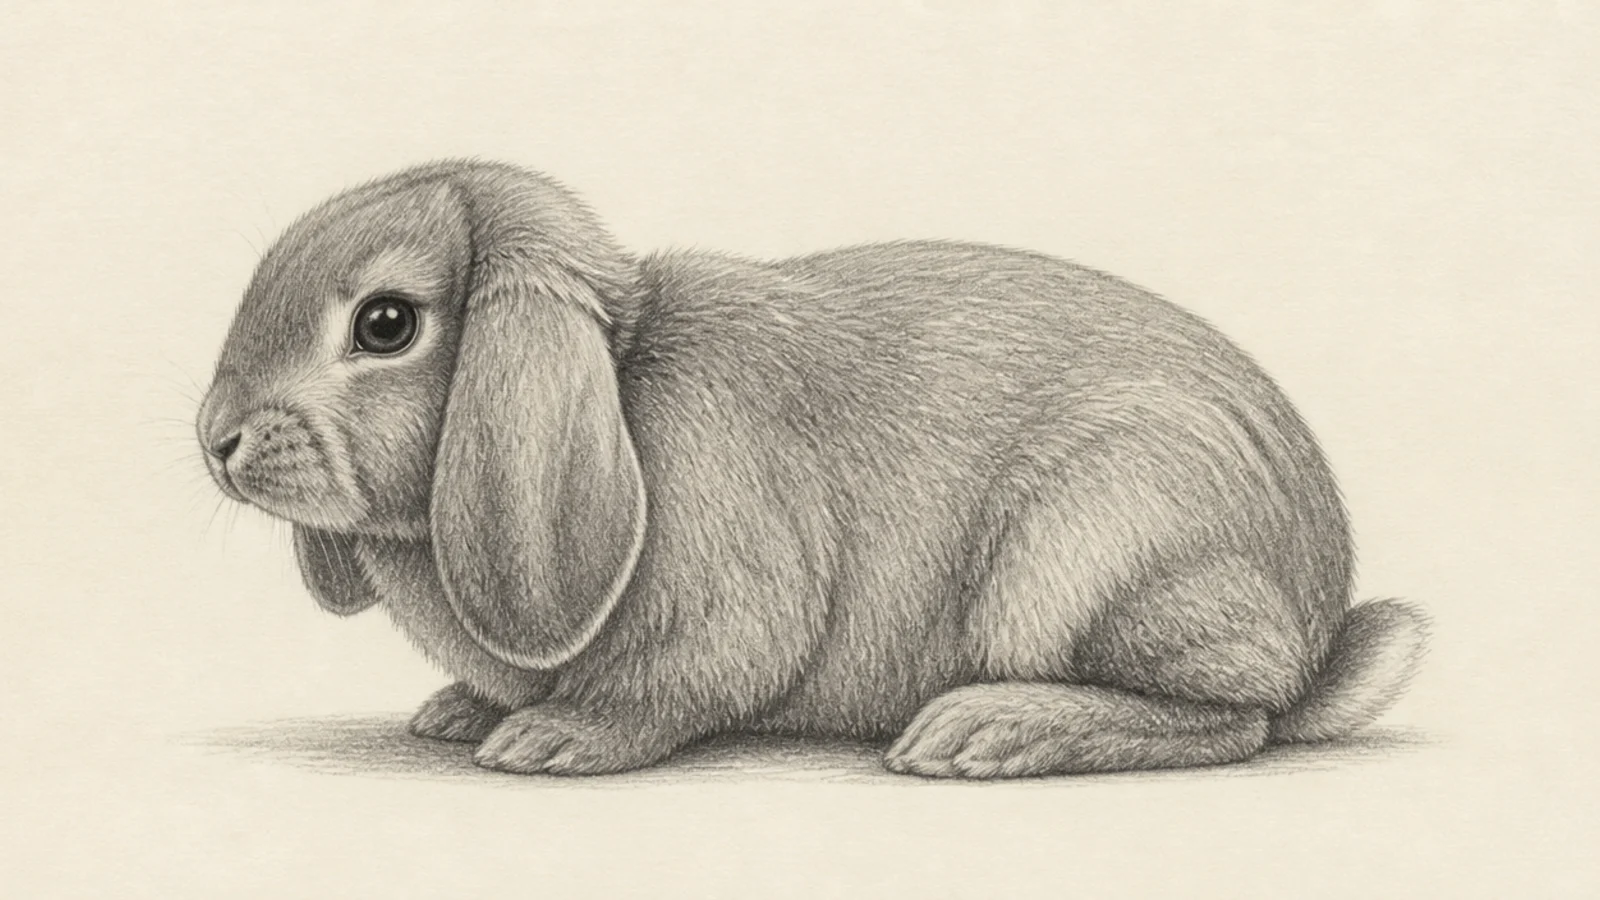
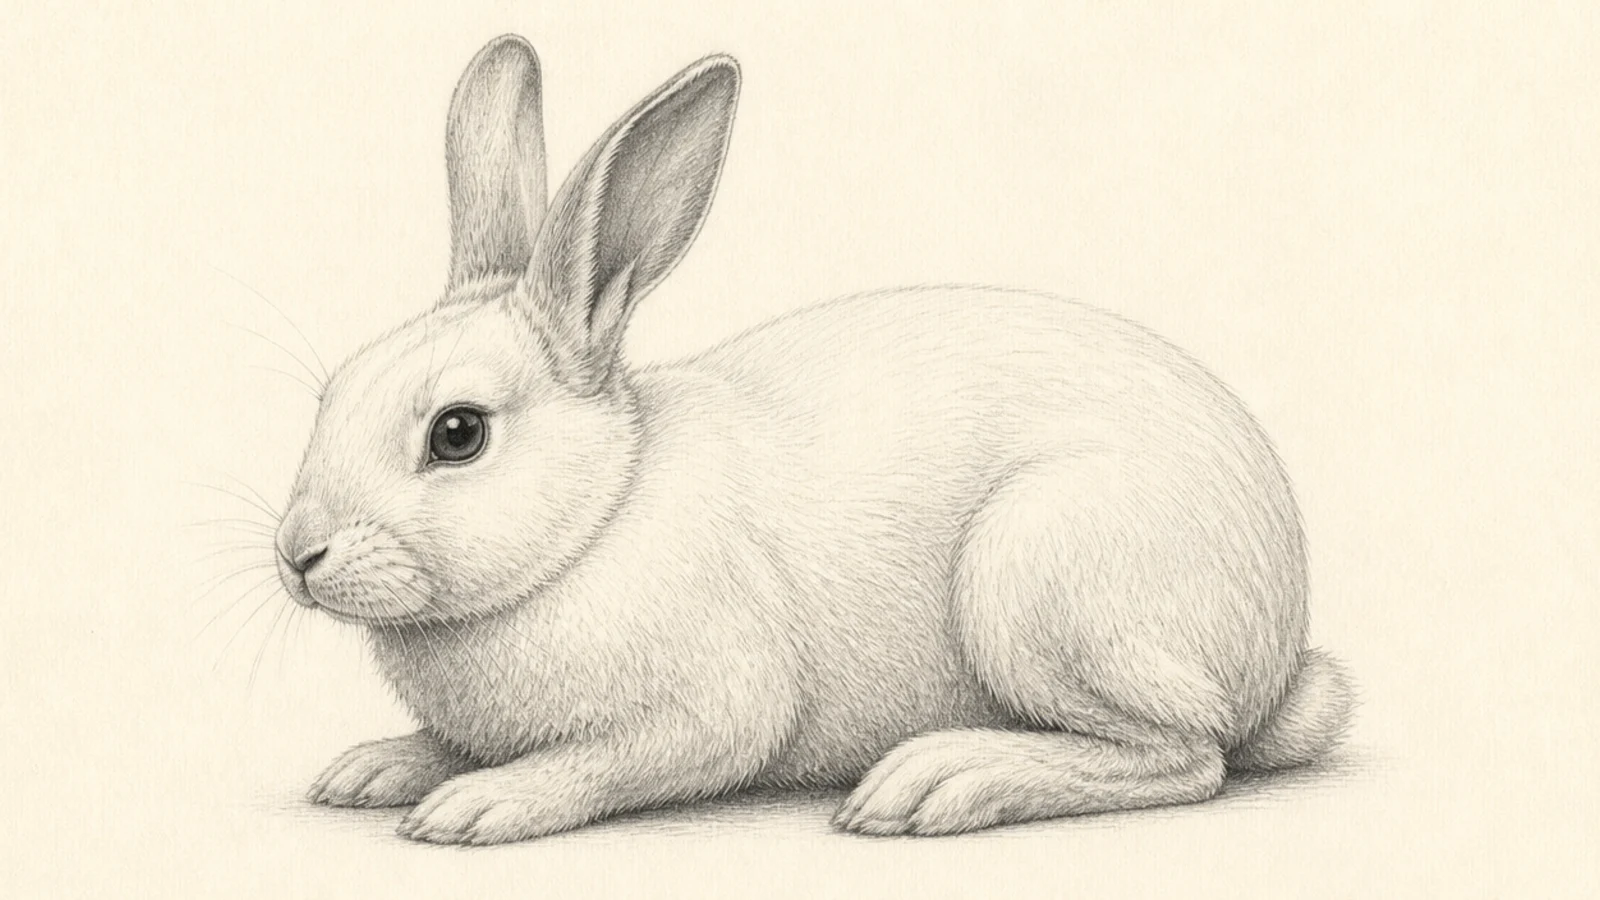
The method on a white rabbit, where you draw the shadows to reveal the fur. Leaving the paper white for the coat is a key realism skill. It looks soft and luminous.
Leave the lit fur as bare paper and build only soft cool grey shadows in the recesses. Keep the darkest values gentle so the coat still reads as white.
Pro tipDraw the shadows, not the white, and keep them soft and slightly cool.
AvoidDon’t shade the whole coat grey; reserve the lit fur as white paper.
Quick answers
How do you draw a realistic rabbit step by step?
Block the proportions with light shapes, refine the outline and features accurately, map your light direction and values, lay a soft base tone, then build fur with short directional strokes and finish with the eye highlight, whiskers, and darkest darks. Working big to small and light to dark is what makes the rabbit look lifelike rather than flat.
How do you draw realistic rabbit fur?
Use short strokes that follow the fur’s real direction over each part of the body — down the back, radiating out on the cheeks, sweeping along the haunch — and layer them from light to dark in several passes. Keep the pencil sharp, vary the stroke length, and let the strokes break the outline so the edge looks soft. Never fill fur as one flat tone.
What makes a rabbit drawing look realistic instead of cartoon?
Accurate proportion and real fur and value. A realistic rabbit keeps the head small relative to the body, sets the eye to the side with a glossy highlight, lengthens the hind feet, and builds the coat from many directional strokes with a full range from bright highlight to dark shadow. Cartoon exaggerates and simplifies; realism measures and renders.
How do you draw a realistic rabbit eye?
Draw a large dark round eye set to the side of the head, then place a bright highlight where the light source reflects and a softer secondary reflection opposite it. Keep the pupil and iris subtle within the dark, add a shaded upper lid, and surround it with short fur. The crisp highlight against the dark eye is what makes it look wet and alive.