
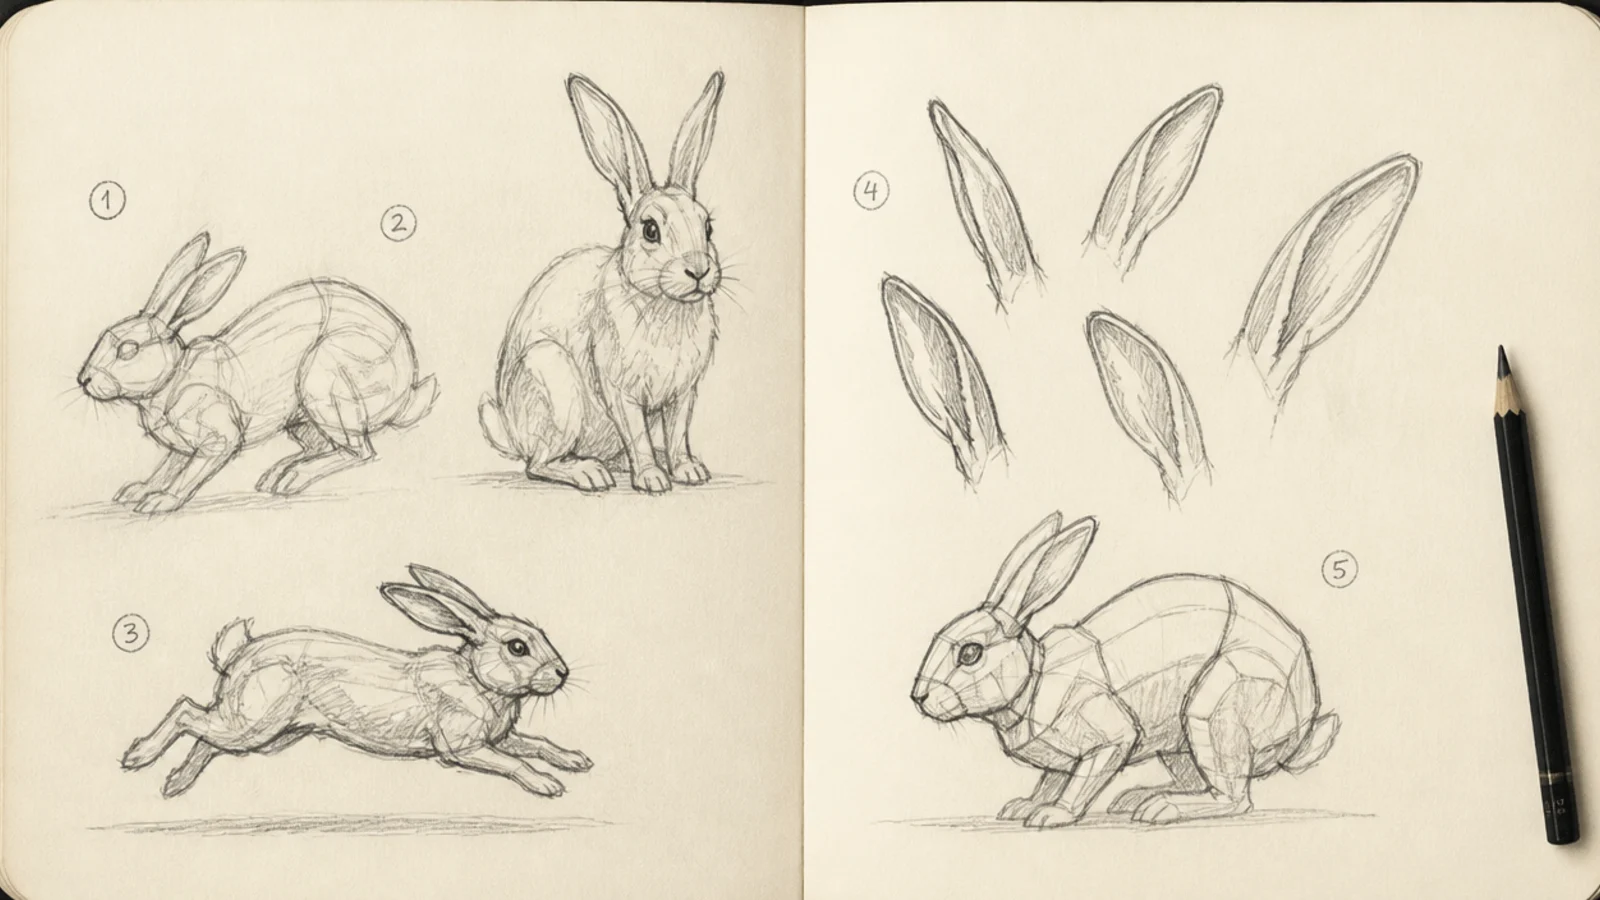
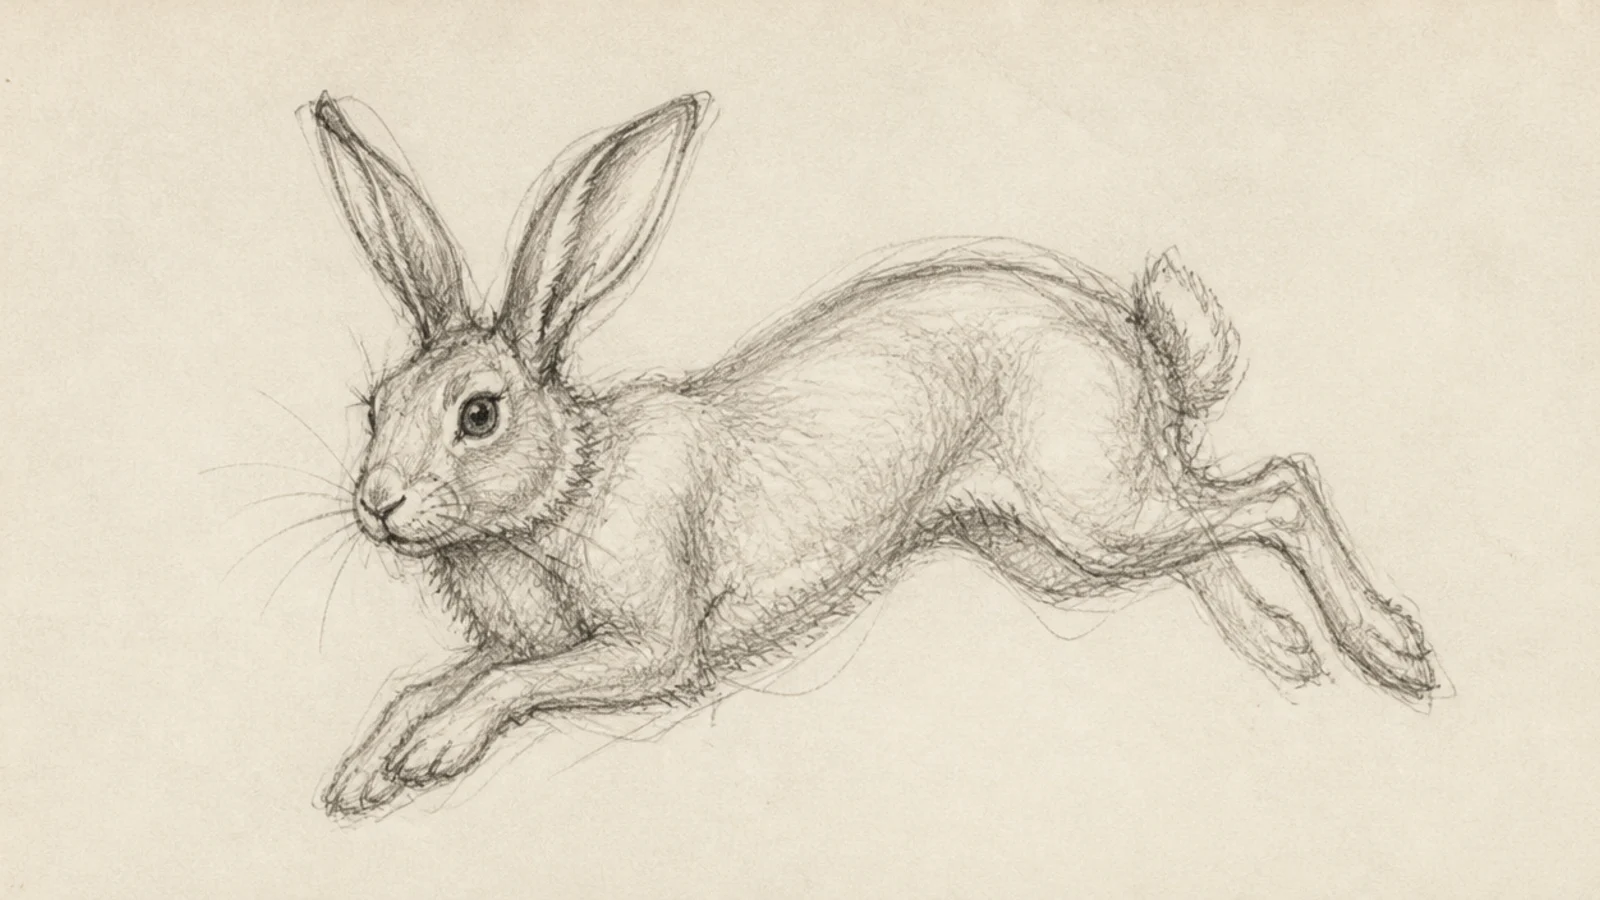
1 Line-of-Action Gesture
This is the foundation of every sketch — the rabbit caught in one flowing line of action. The single stroke captures the pose’s energy before any shapes. Master it and every sketch improves.
Step 1 draw one flowing line through the spine from nose to haunch. Step 2 add a quick ball for the head and a mass for the body. Step 3 suggest the ears and stop.
Pro tipDraw the action line in one confident stroke without stopping.
AvoidDon’t add detail; the gesture is only the flowing line and big masses.
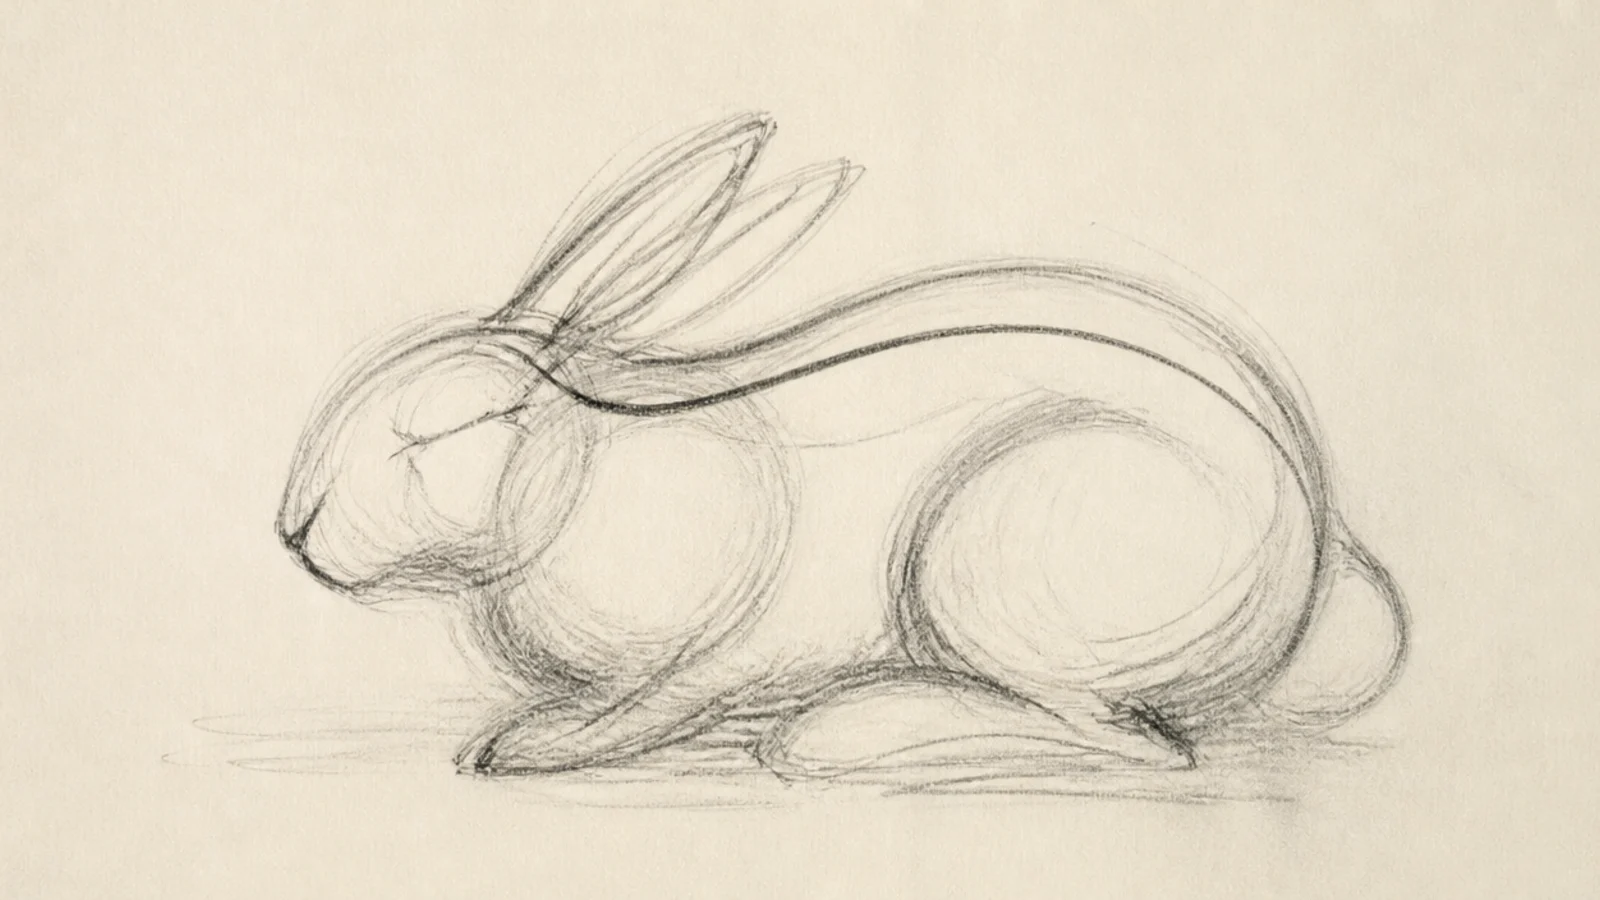
2 Loose Contour Sketch
A loose contour sketch follows the rabbit’s outline with a searching, overlapping line. The many light lines find the true edge. It has a lively, unfinished beauty.
Step 1 lightly follow the outline with a loose searching line. Step 2 let lines overlap and repeat where you adjust. Step 3 leave the searching marks visible.
Let your line overlap and wander; the searching marks are the charm.
Don’t erase the extra lines; they give the sketch its energy.
3 Quick Two-Minute Pose
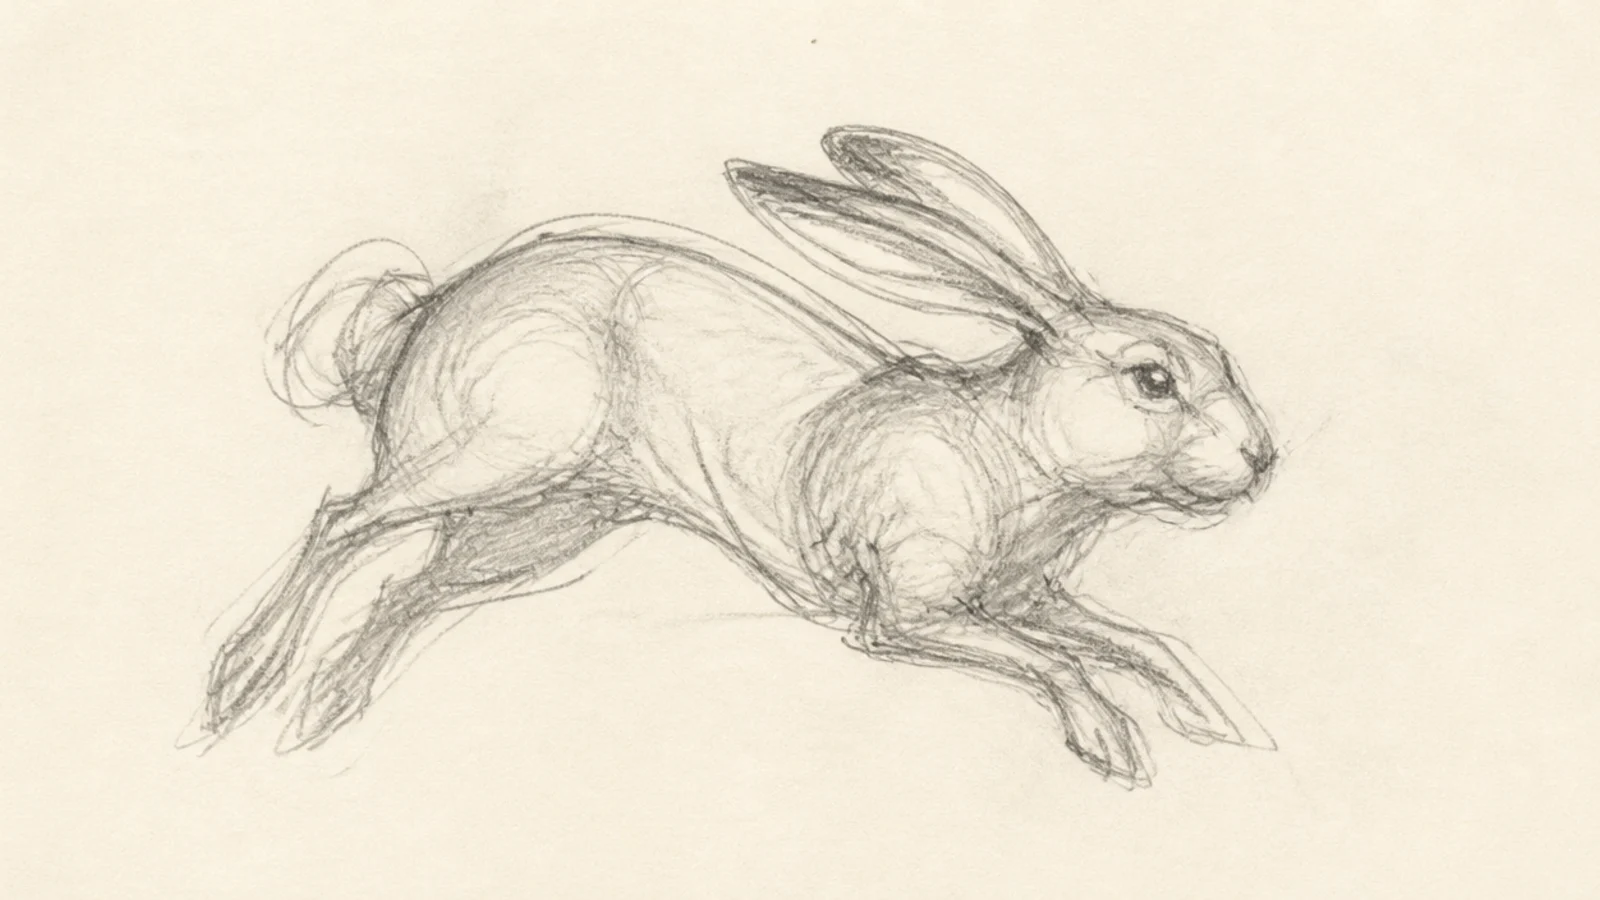
A two-minute pose captures the whole rabbit fast. The time limit forces you to catch the essentials only. It builds speed and confidence.
Step 1 set a two-minute limit. Step 2 lay the gesture, then the big masses. Step 3 add just enough — ears, a hint of face — before time runs out.
Pro tipRace the clock so you capture the pose, not the detail.
AvoidDon’t refine; two minutes is for the essence only.
4 Scribble Study
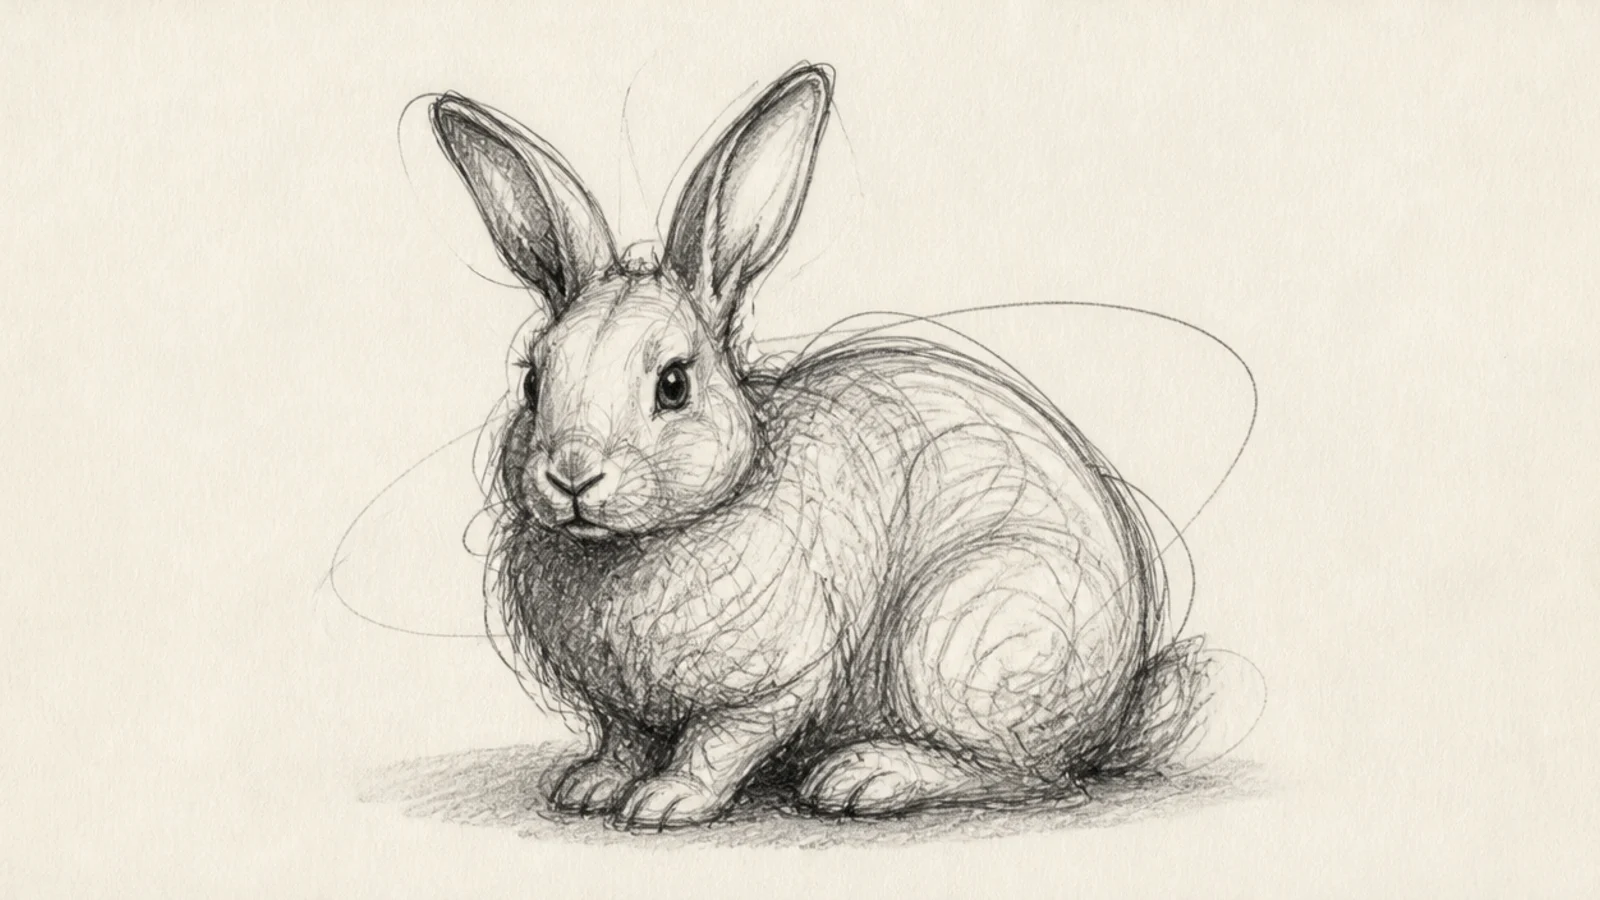
A scribble study builds the rabbit from loose, energetic tangles of line. The scribbles find the mass and shadow at once. It is freeing and expressive.
Step 1 scribble the big masses lightly with circular motion. Step 2 build up darker scribble where shadows fall. Step 3 pull a few firmer lines out of the tangle for edges.
Keep the pencil moving in loose loops to build mass and value together.
Don’t tighten up; the loose scribble is the whole approach.
5 Basic Mass Block-In
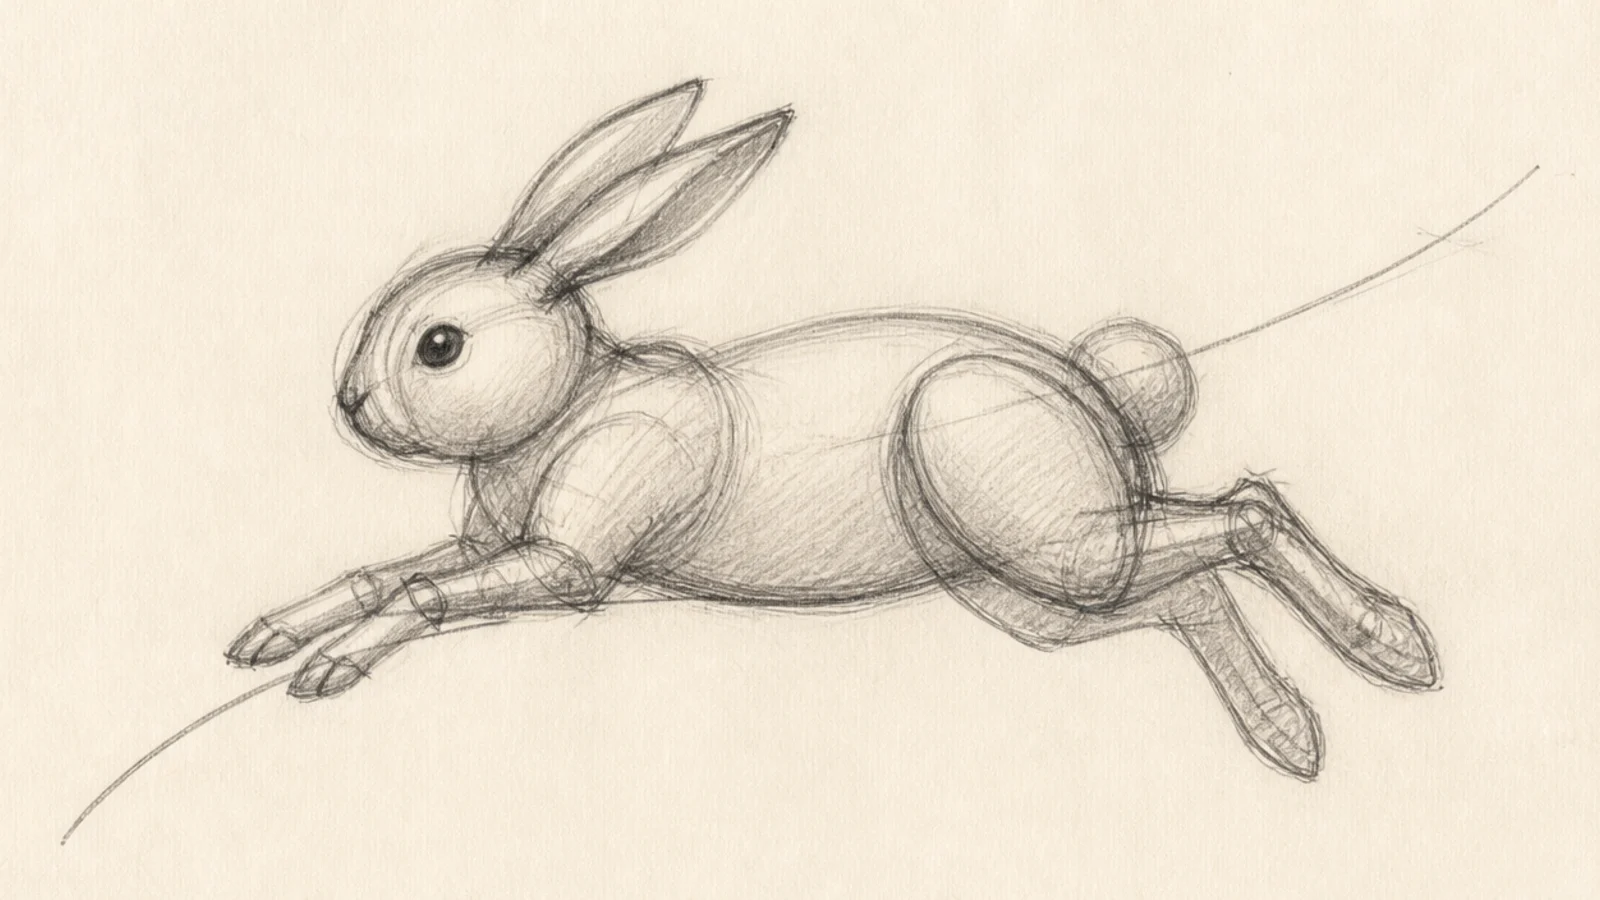
A mass block-in reduces the rabbit to a few simple 3D masses. Seeing the ball head and egg body as forms builds structure. It is the bridge from gesture to solid drawing.
Step 1 draw the gesture. Step 2 block a ball head, an egg body, and wedge haunches over it. Step 3 keep the masses simple and slightly overlapping.
Think of the masses as solid 3D forms, not flat shapes.
Don’t outline flatly; block simple volumes for real structure.
6 Hopping Gesture
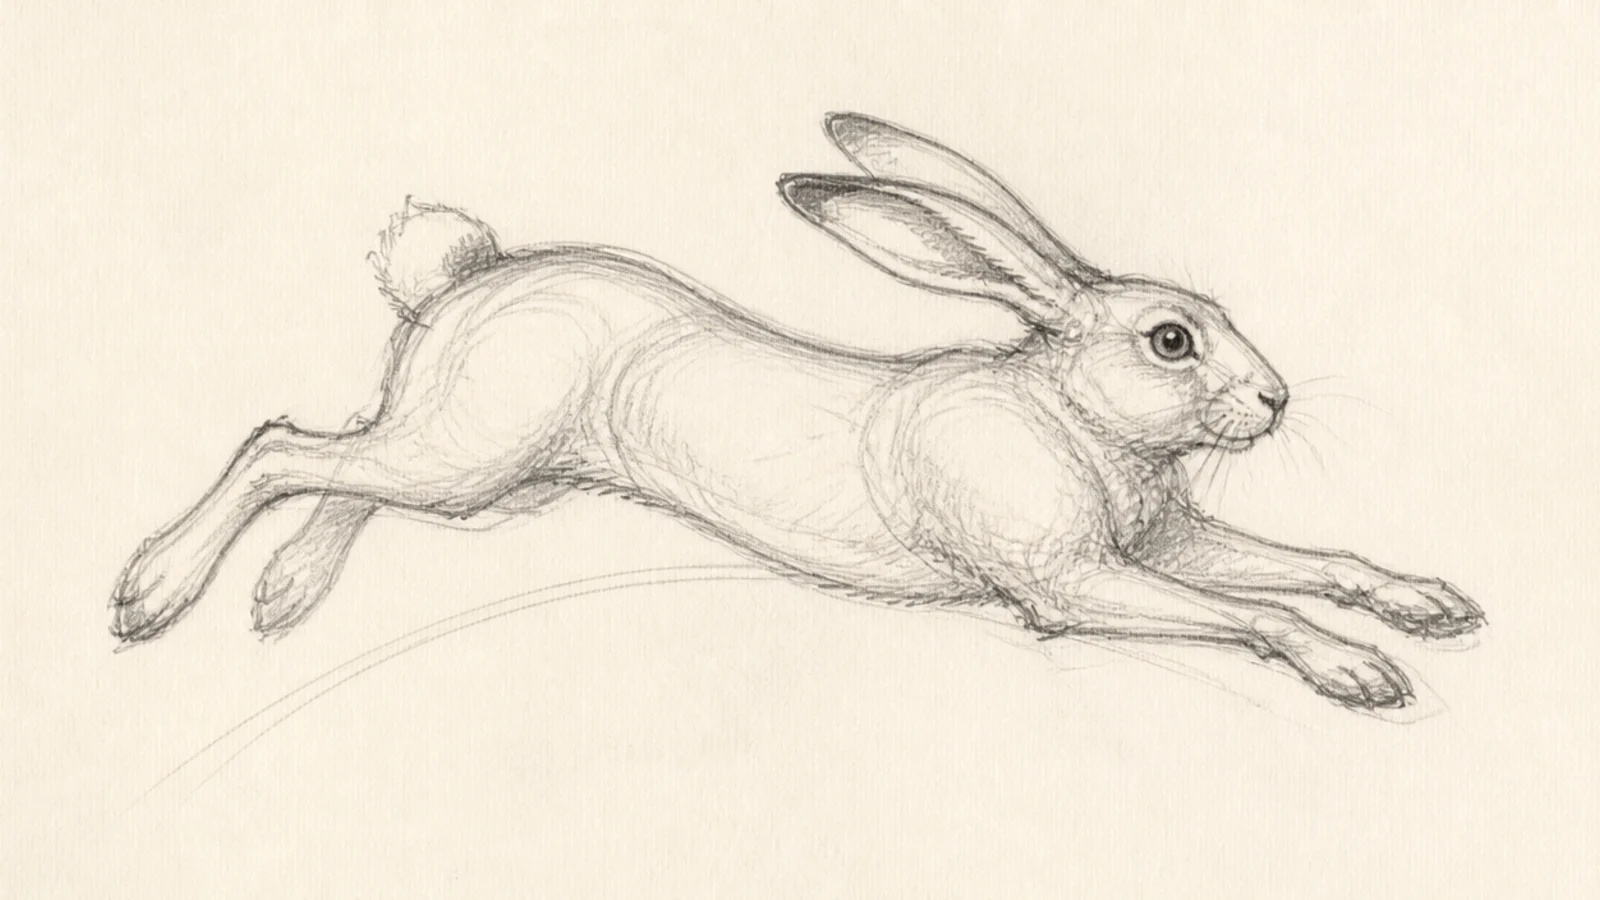
A hopping gesture catches the spring and stretch of a jump. The arcing line of action shows the leap’s energy. It is exciting to sketch fast.
Step 1 draw a long arcing line of action for the leap. Step 2 stretch the body mass along it. Step 3 flick the legs out front and back and sweep the ears.
Pro tipExaggerate the arc of the spine to capture the spring of the hop.
AvoidDon’t draw it stiff and level; the arc carries the motion.
7 Grazing Gesture
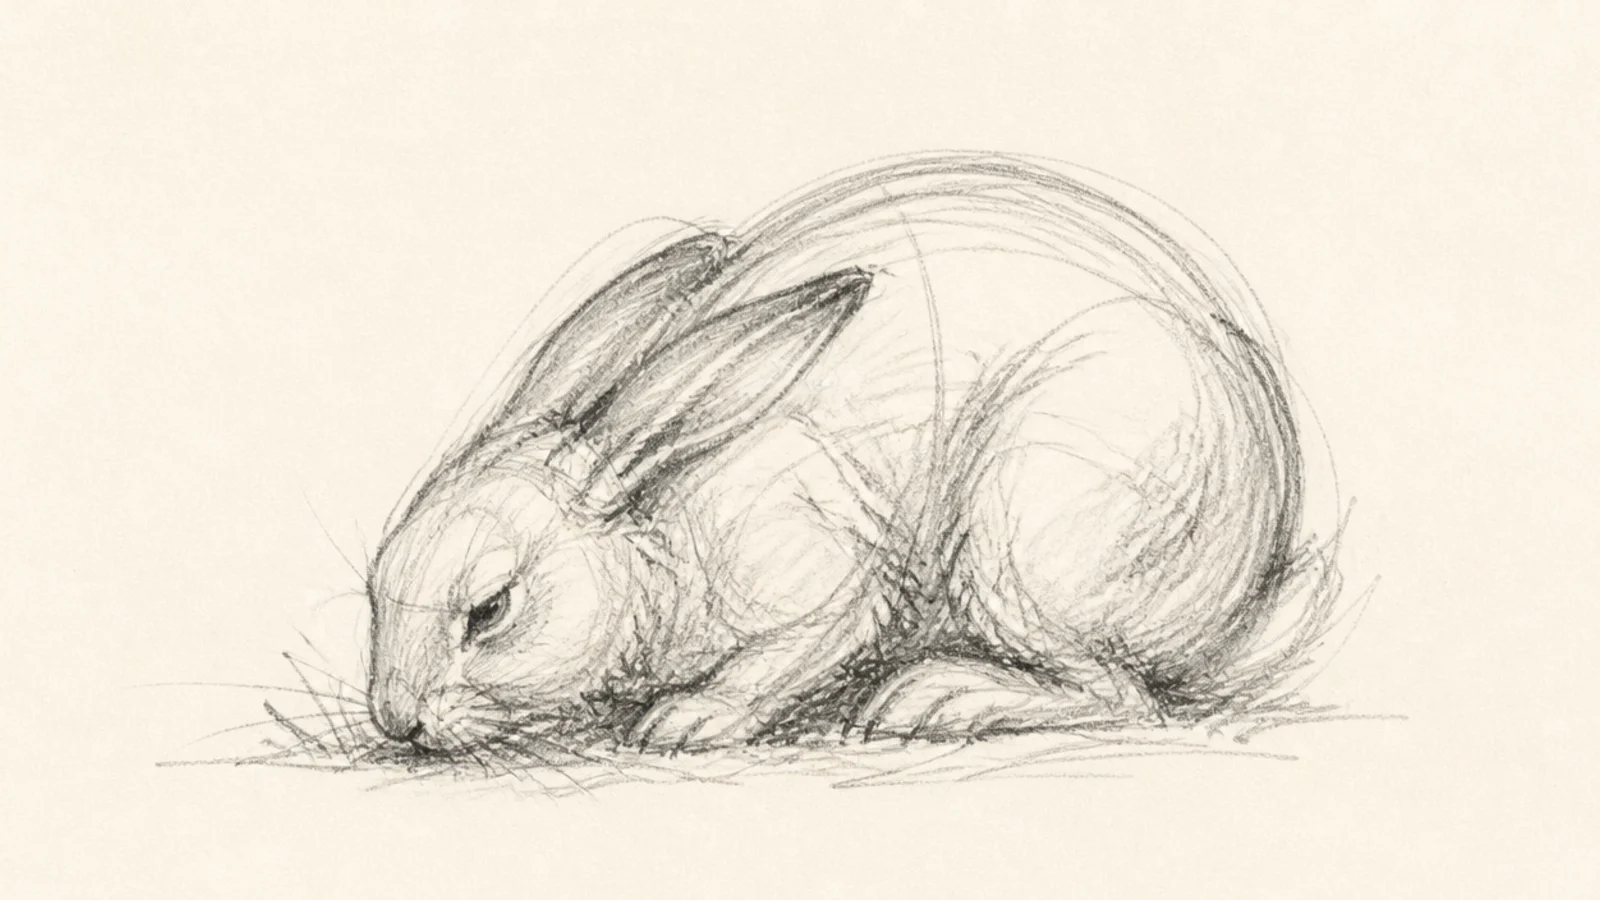
A grazing gesture captures the round, settled curl of a feeding rabbit. The C-curve of the spine reads as calm. It is a lovely quiet study.
Step 1 draw a C-curved line of action with the head down. Step 2 round the body mass over it. Step 3 tuck the legs and sweep the ears back.
Curl the line of action into a soft C for the grazing pose.
Don’t straighten the back; the curl is what reads as grazing.
8 Sitting Study
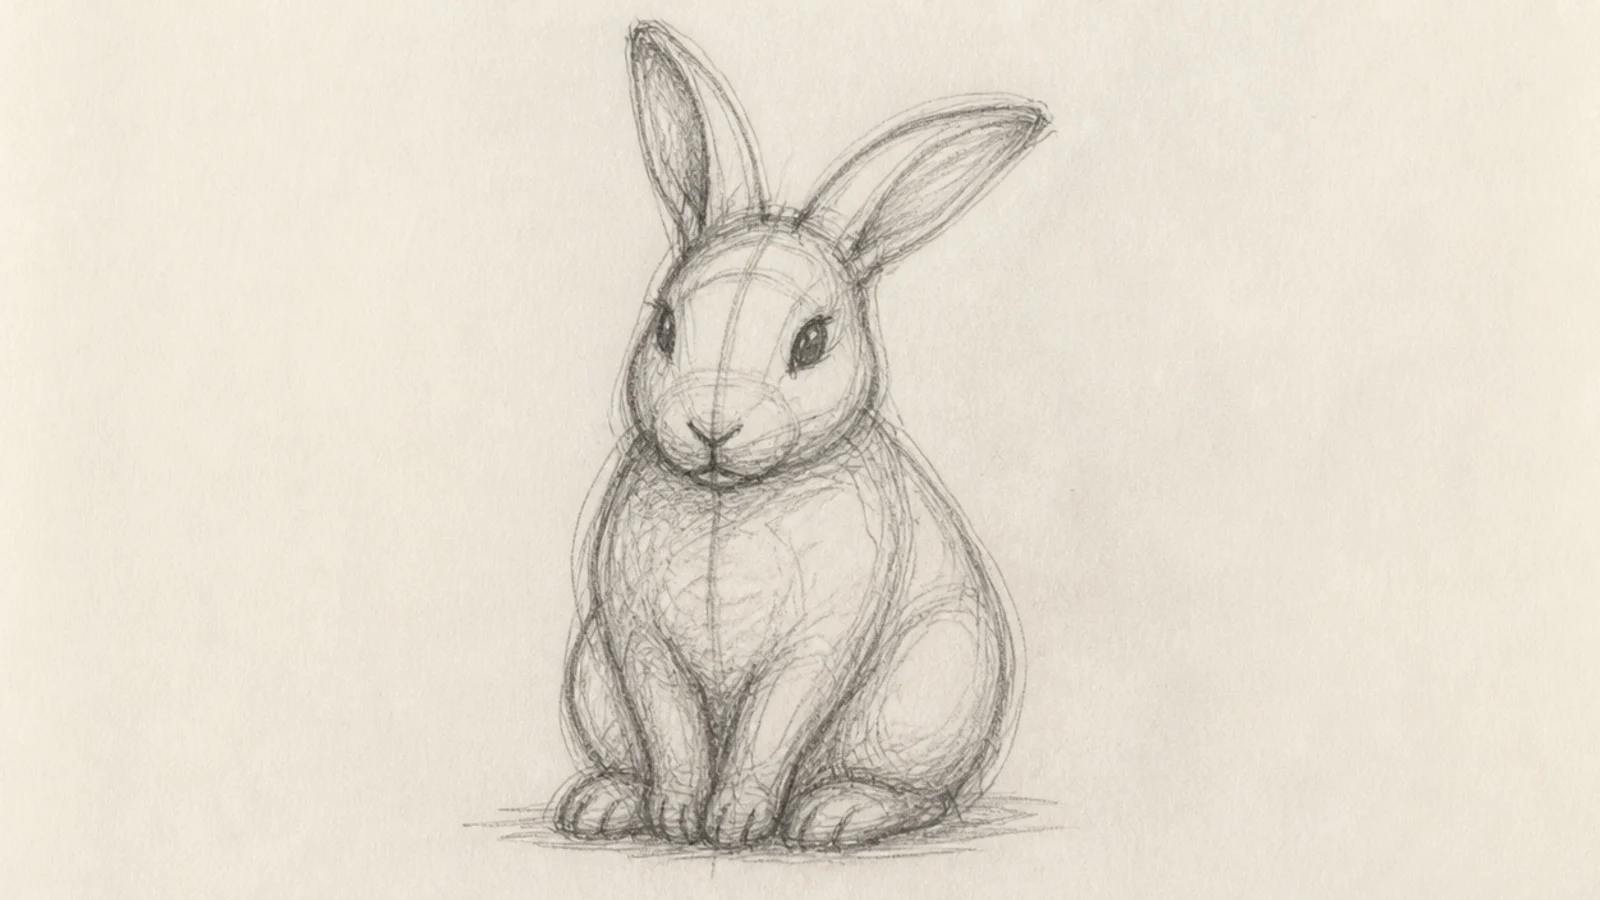
A sitting study sketches the upright classic pose with searching lines. The vertical gesture and stacked masses build the sit. It is a solid everyday study.
Step 1 draw a vertical line of action. Step 2 stack an egg body and ball head along it. Step 3 loosely add ears, front paws, and tucked feet.
Keep the vertical gesture line as the spine of the sitting pose.
Don’t skip the gesture; the vertical line keeps the sit upright.
9 Fur Texture Study
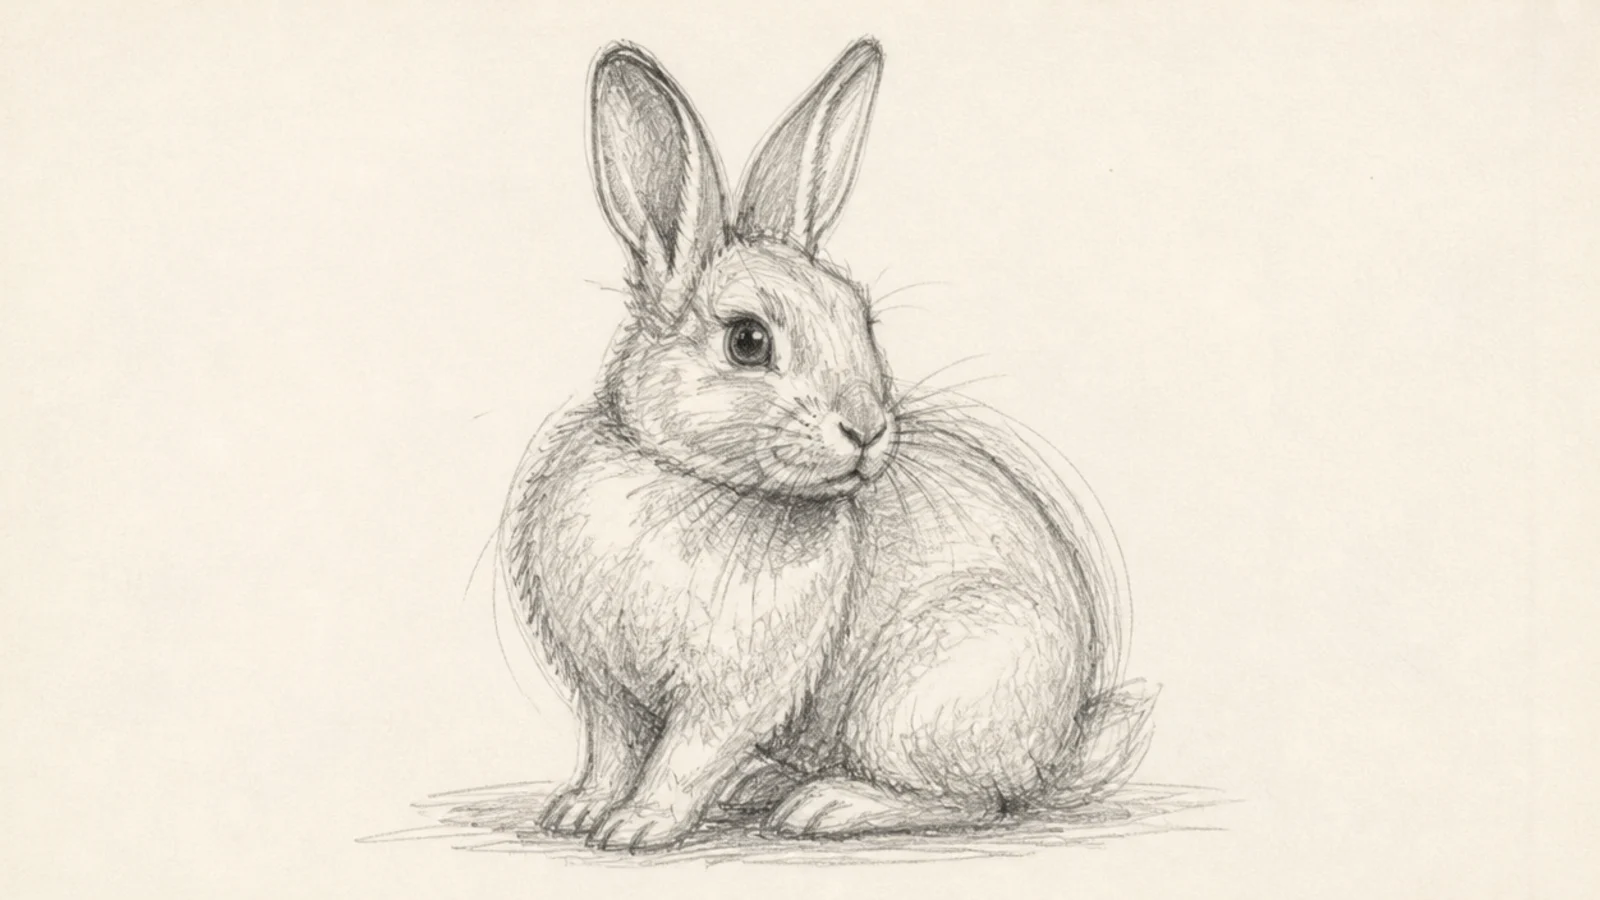
A fur texture study practices suggesting a coat with loose strokes. Short flicks in the fur’s direction build softness. It teaches texture without tightening up.
Step 1 lightly sketch the rabbit’s form. Step 2 add short flicking strokes in the fur direction over the body. Step 3 leave the lit areas bare and cluster strokes in shadow.
Flick the fur strokes the way the coat lies over each form.
Don’t render every hair; suggest the fur with loose directional flicks.
10 Ear Study Page
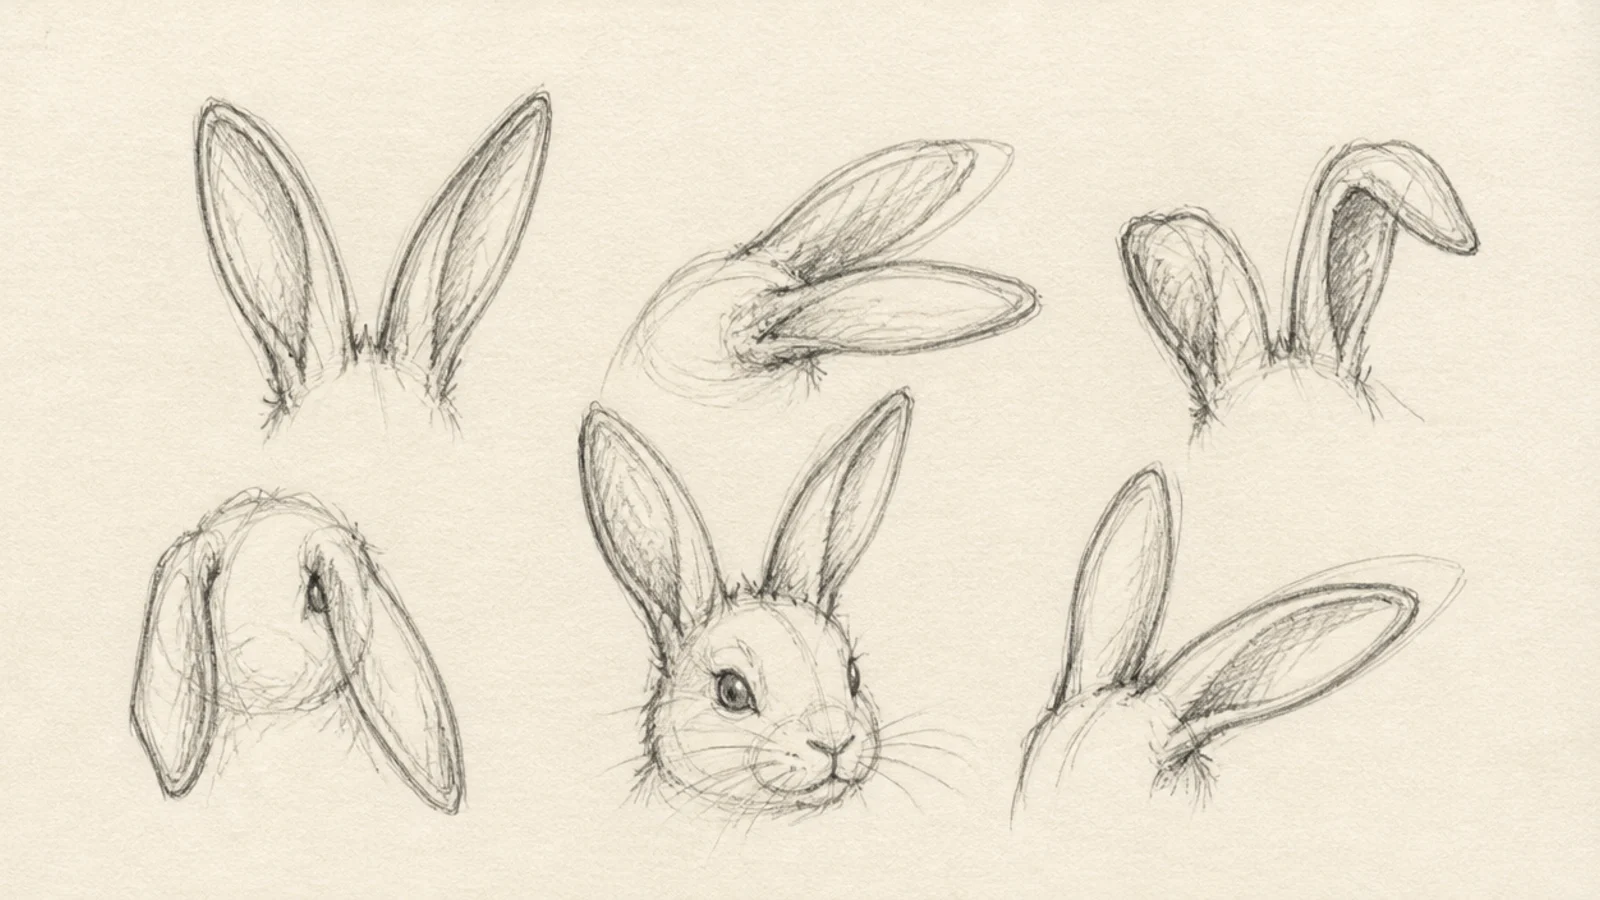
An ear study page sketches ears in many positions on one sheet. Repeating the shape builds fluency. It is a focused, useful practice page.
Step 1 sketch several ear pairs across the page. Step 2 vary each — up, back, lop, swiveled. Step 3 keep them quick and loose, not polished.
Pro tipFill the page with quick variations rather than one careful ear.
AvoidDon’t perfect one ear; the page is for loose repetition.
11 Head Study Page
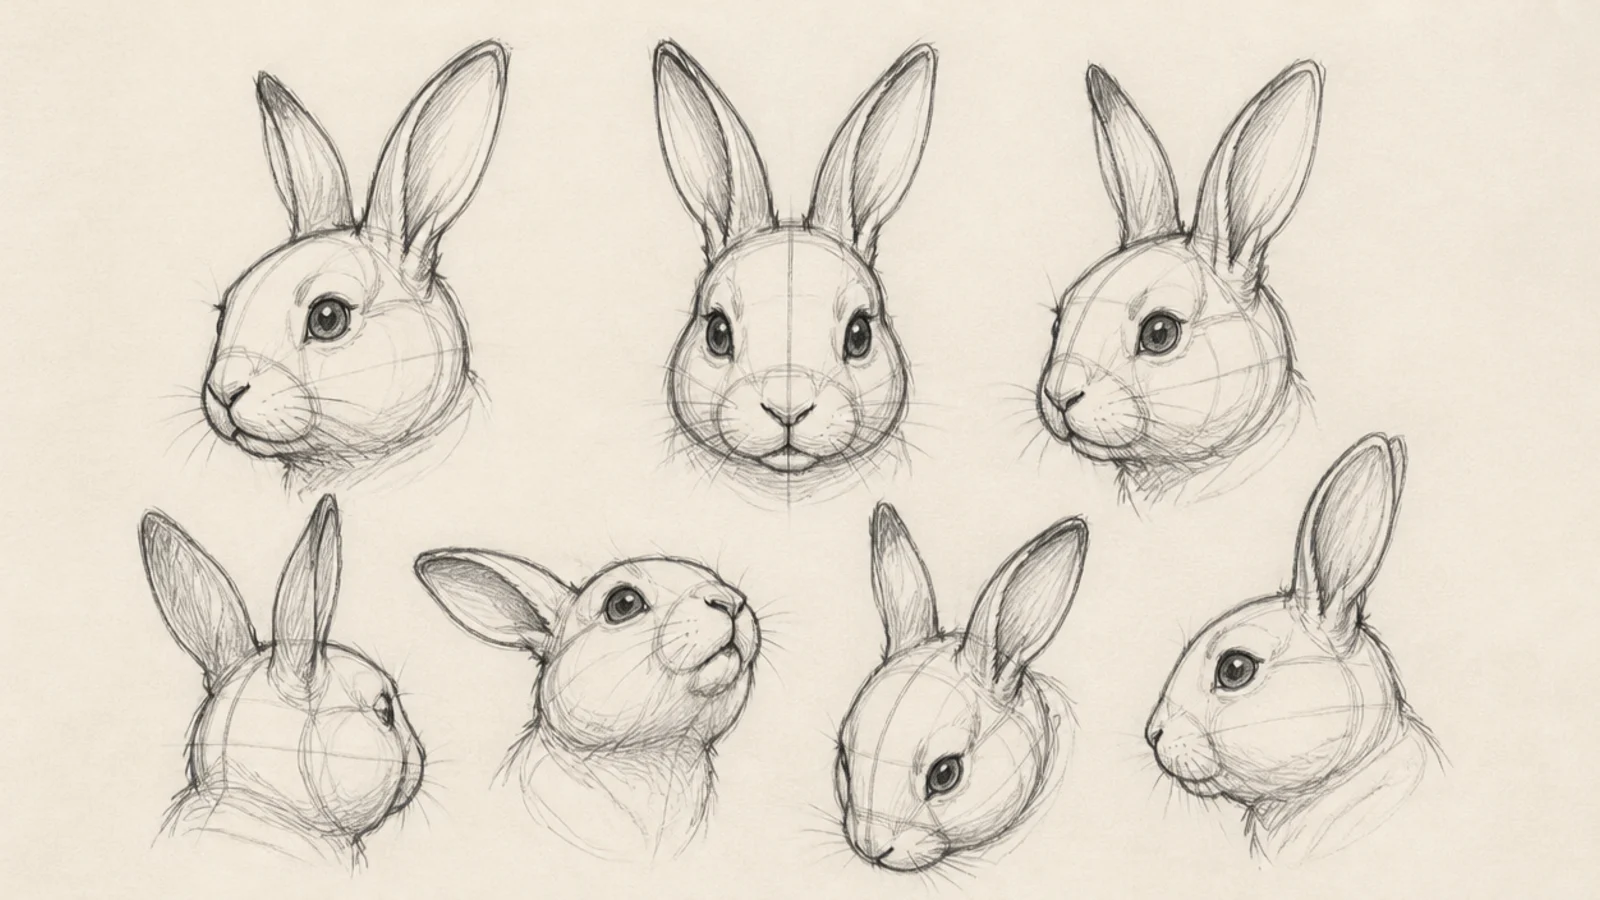
A head study page sketches the head from many angles on one sheet. Turning the head around builds understanding. It is a great warm-up page.
Step 1 sketch several ball heads across the page. Step 2 add a center and eye line to each at a different angle. Step 3 drop in the features loosely.
Rotate the head a little in each sketch to learn it in the round.
Don’t draw the same angle twice; vary each head.
12 Foot and Paw Study
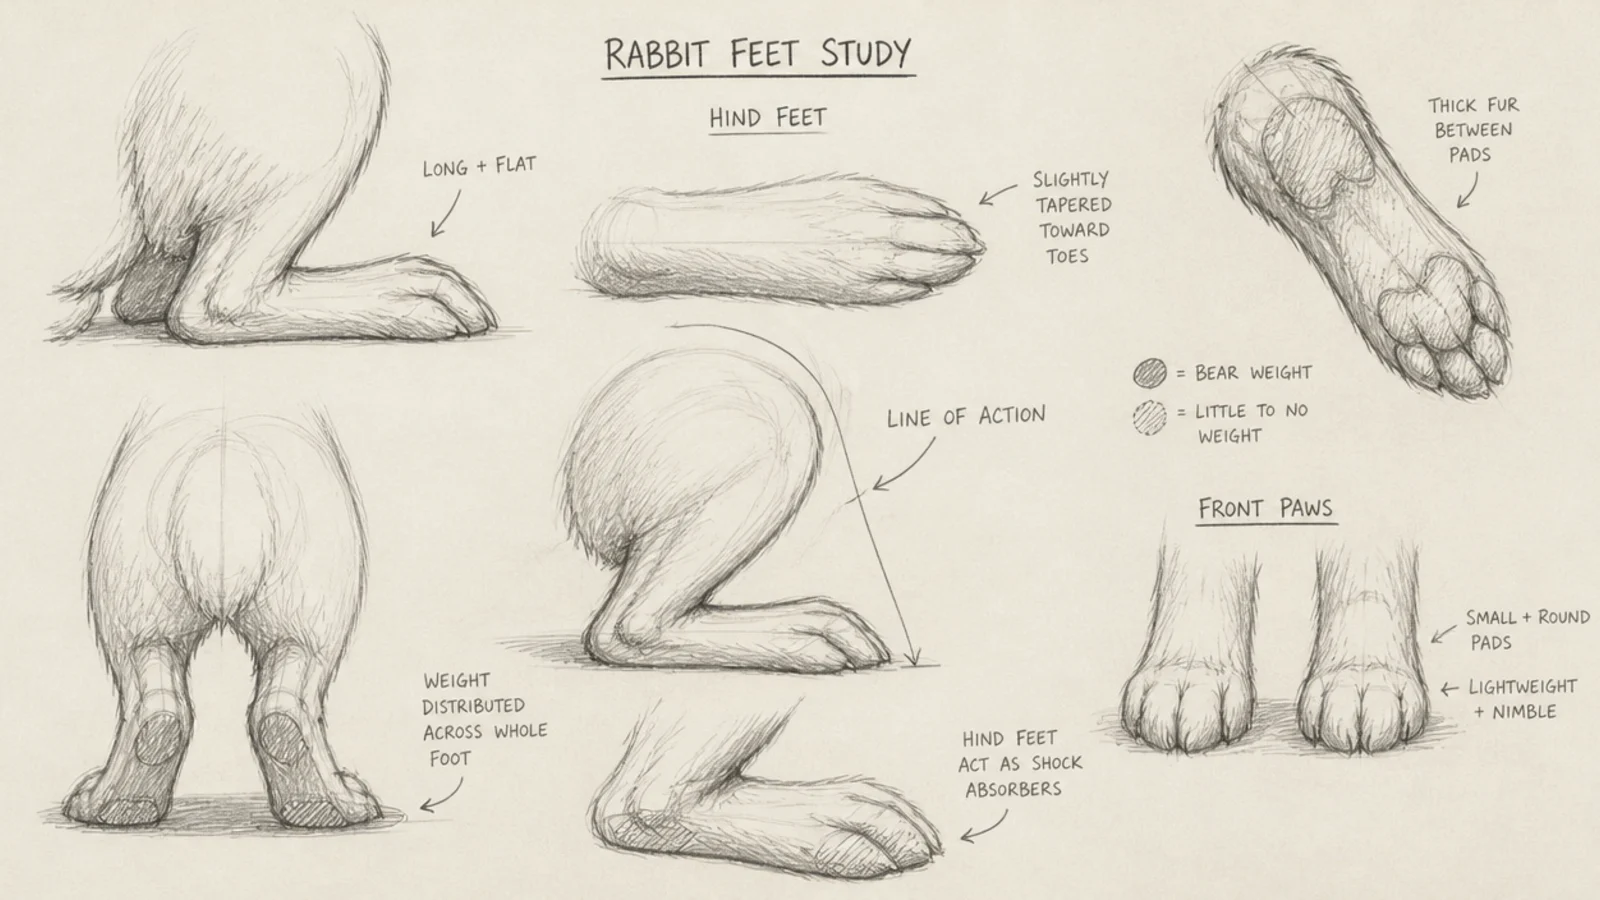
A foot and paw study zooms in on the parts people rush. The long hind feet and small front paws deserve their own page. It sharpens the details that sell a pose.
Step 1 sketch the long flat hind feet from a few angles. Step 2 sketch the small front paws. Step 3 note where they press and bear weight.
Pro tipStudy the long hind foot flat on the ground; it carries the rabbit’s weight.
AvoidDon’t shrink the hind feet; they are longer than beginners expect.
13 Multiple-Pose Thumbnail Page
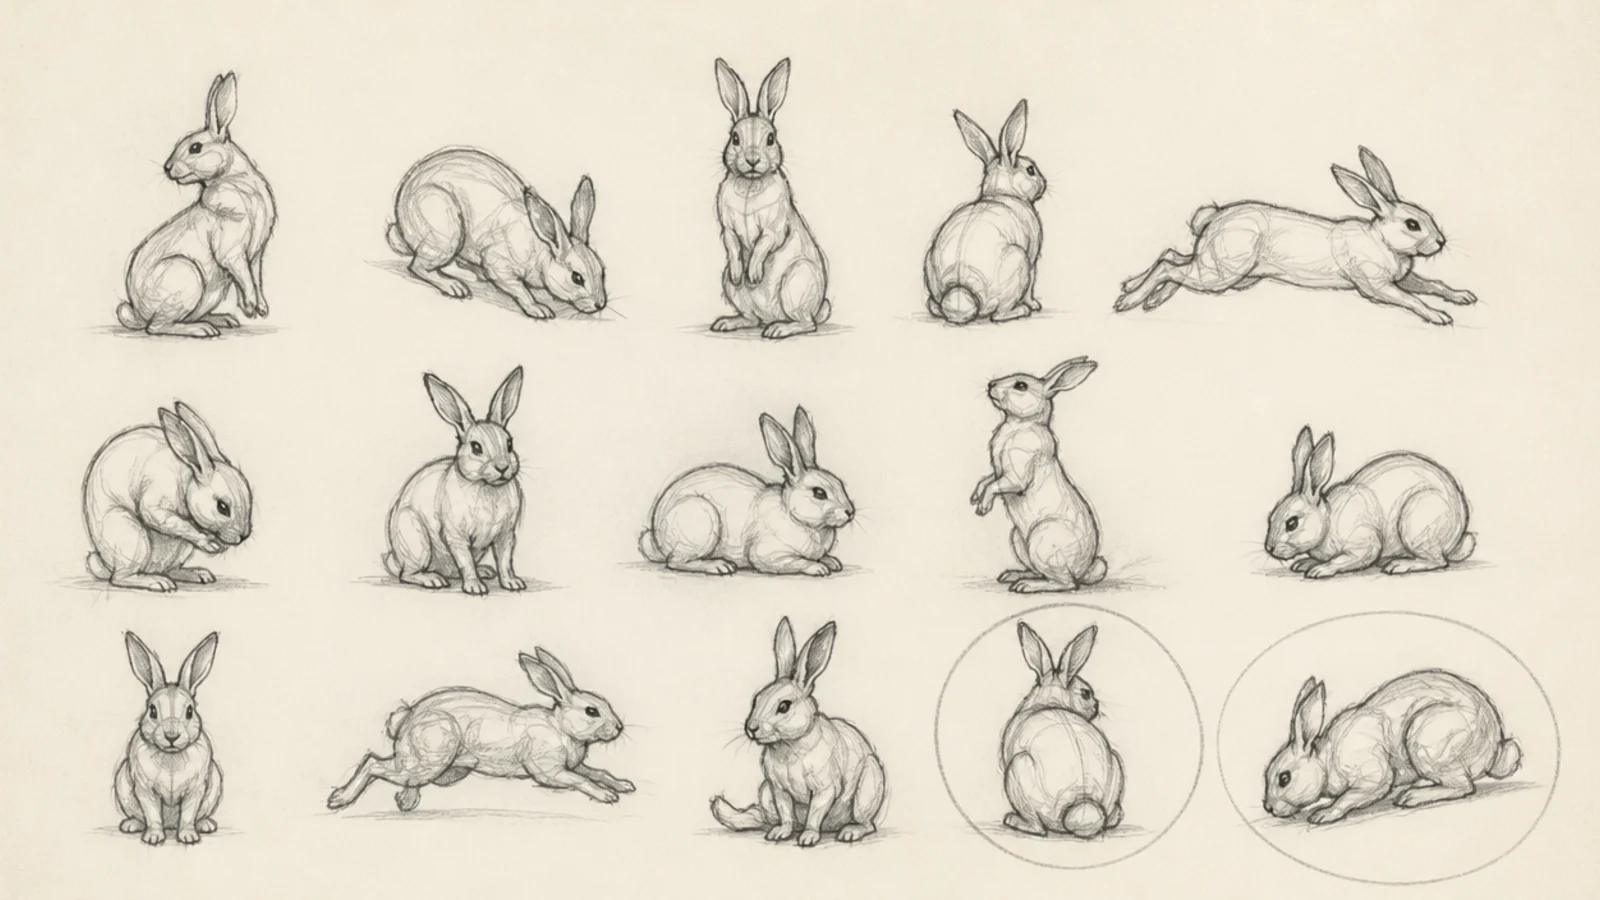
A thumbnail page sketches many tiny poses to explore ideas fast. Small size keeps them loose and quick. It is how you find the best pose before a bigger drawing.
Step 1 draw a grid of small boxes. Step 2 sketch a different quick rabbit pose in each. Step 3 circle the ones you like best.
Keep each thumbnail tiny so you sketch the pose, not the detail.
Don’t make them big; small thumbnails stay loose and fast.
14 Running Gesture
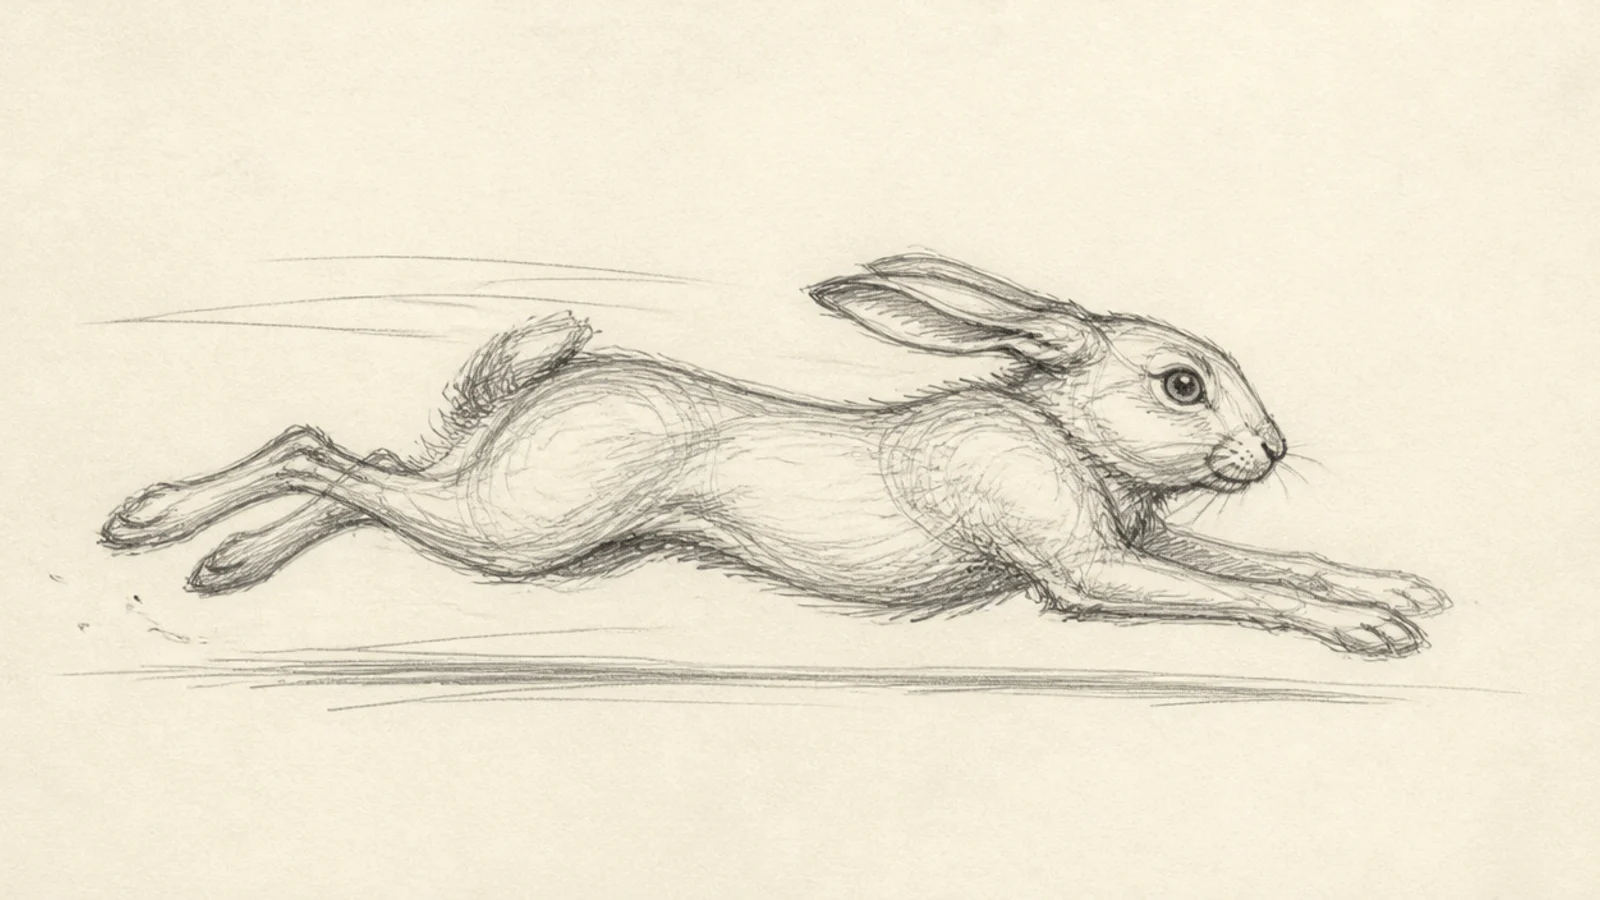
A running gesture captures full-speed motion in a stretched line. The long low action line reads as a dash. It is thrilling to sketch quickly.
Step 1 draw a long low stretched line of action. Step 2 extend the body mass along it. Step 3 reach the legs far front and back and pin the ears with speed lines.
Pro tipStretch the gesture line long and low for maximum speed.
AvoidDon’t compress the body; length and stretch show the run.
15 Sleeping Rabbit Sketch
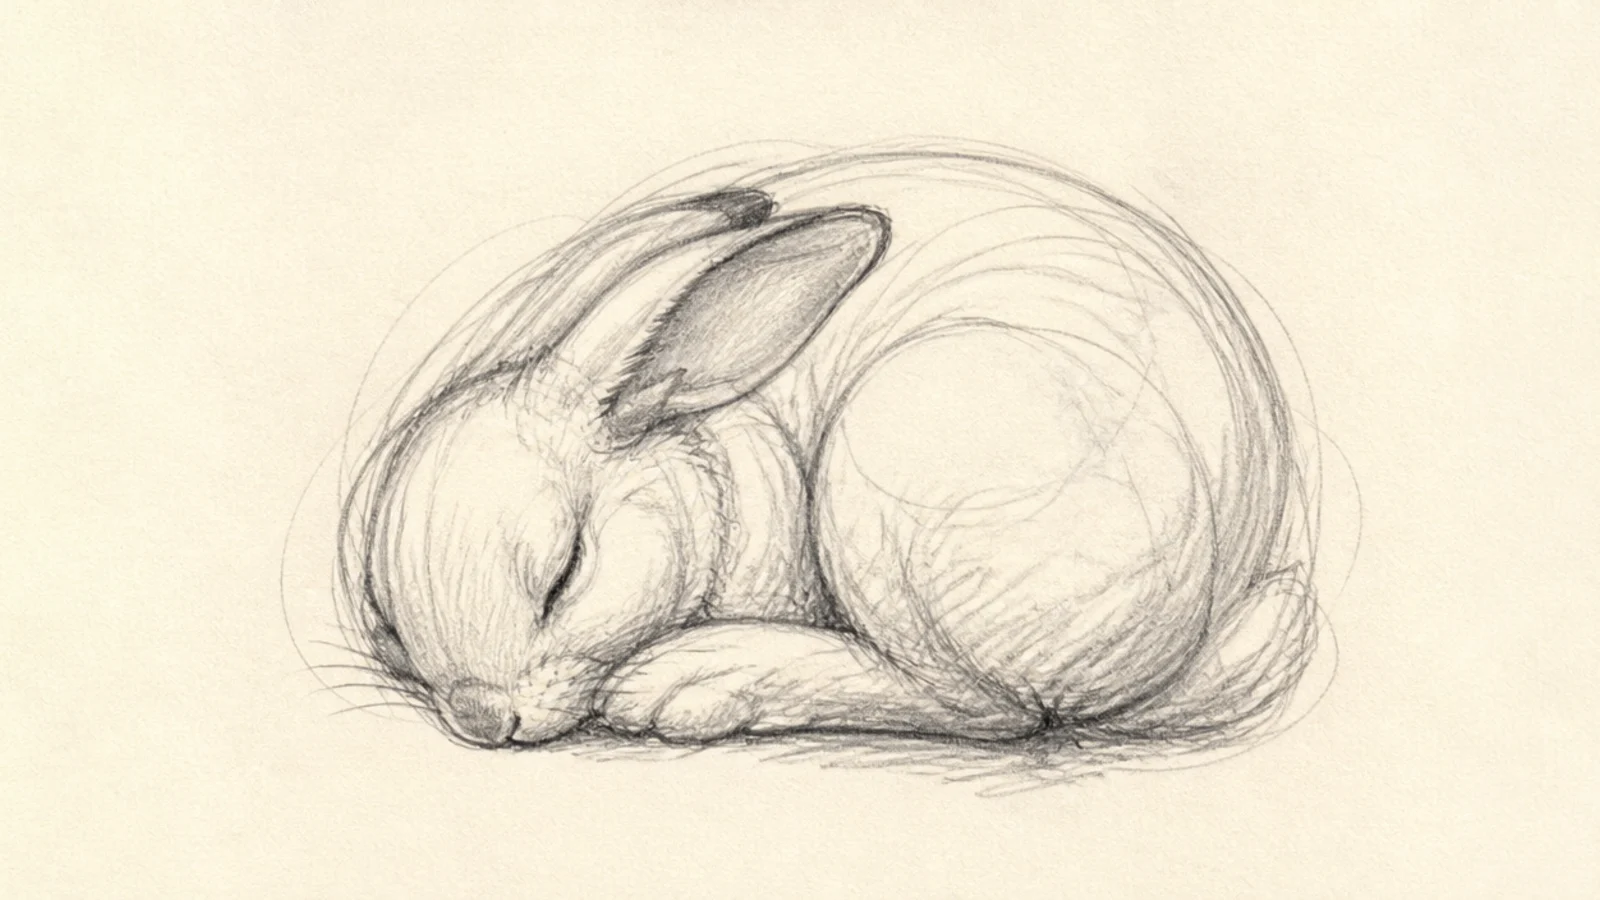
A sleeping sketch captures the soft curl of a resting rabbit. The closed loop of the body is calm and simple. It is a gentle, soft study.
Step 1 draw a curled looping line of action. Step 2 round the body mass into the curl. Step 3 tuck the head and soften every line.
Loop the action line into a near-circle for the sleeping curl.
Don’t add sharp lines; soft looping strokes read as sleep.
16 Value Thumbnail
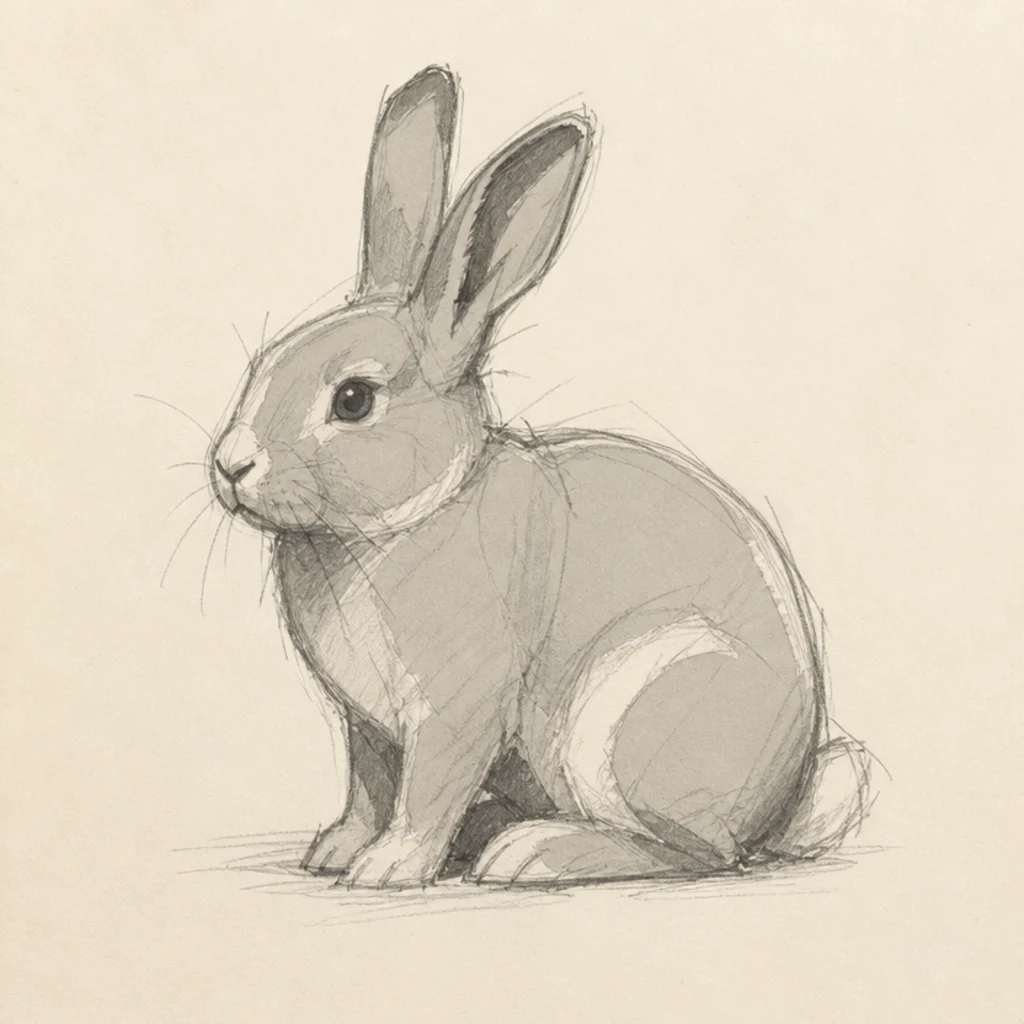
A value thumbnail blocks the rabbit into just three tones. Simplifying to light, mid, and dark plans the lighting fast. It trains you to see value, not line.
Step 1 sketch a small rabbit shape. Step 2 leave the lights white and block a mid grey over most of it. Step 3 add dark only in the deepest shadows.
Limit yourself to three values so you plan the light clearly.
Don’t blend many greys; three flat values keep it a clear plan.
17 Line-Weight Study
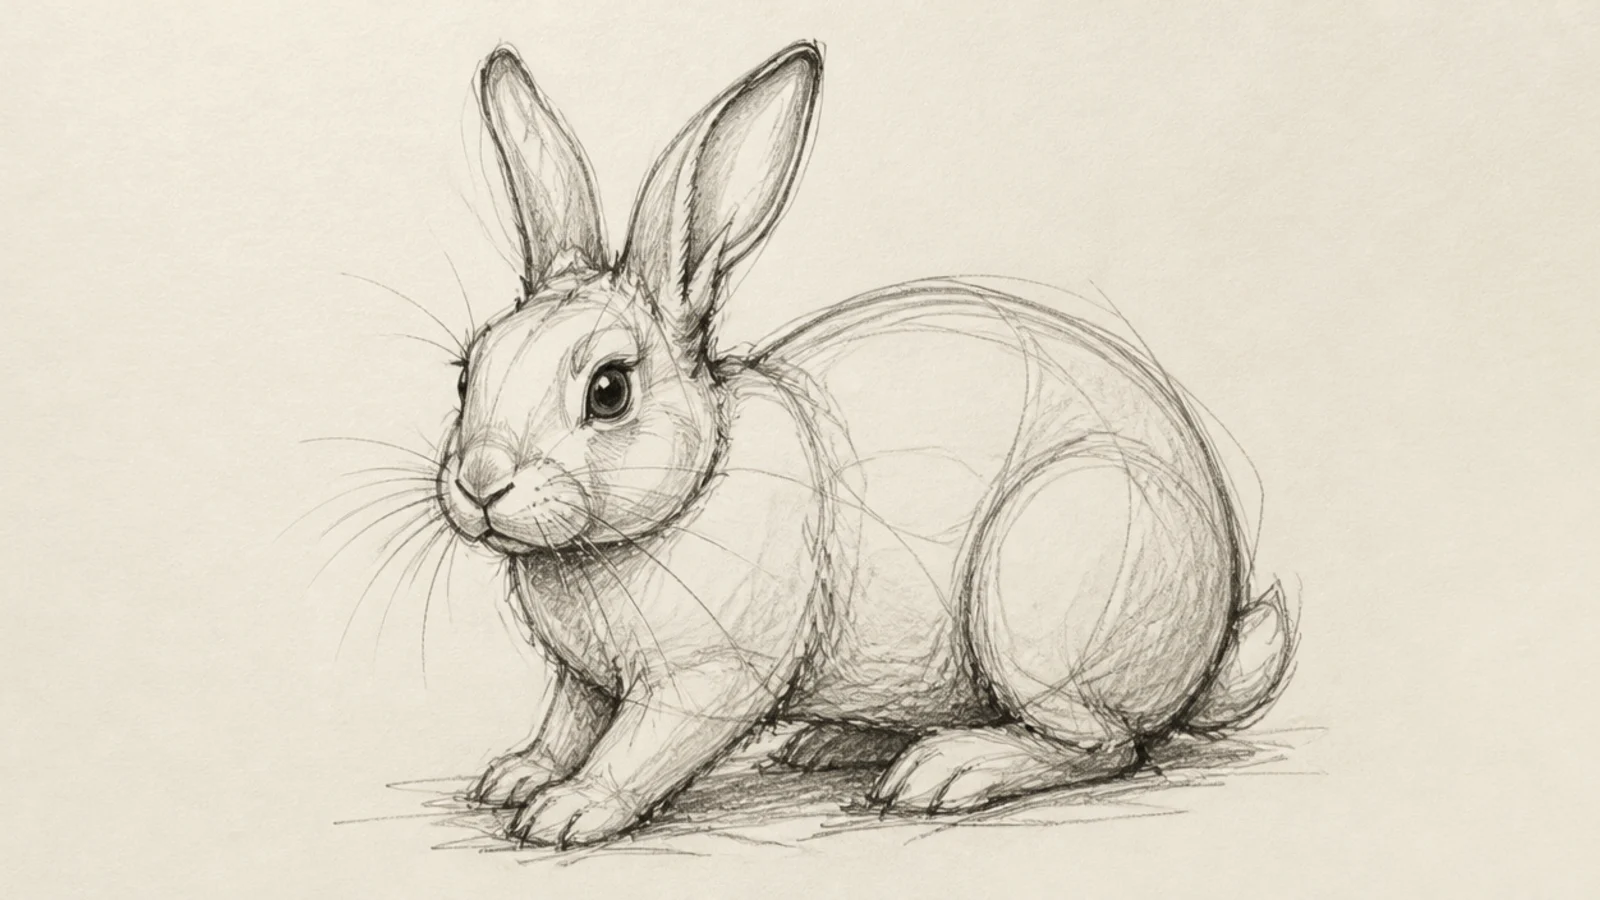
A line-weight study varies the thickness of the outline for depth. Heavier lines on the shadow side push the rabbit forward. It makes a simple contour look pro.
Step 1 sketch the rabbit contour. Step 2 press harder on the underside and shadowed edges. Step 3 lighten the line on the lit, top edges.
Thicken the line where the form turns away from the light.
Don’t keep one even line; varied weight adds depth.
18 Cross-Contour Study
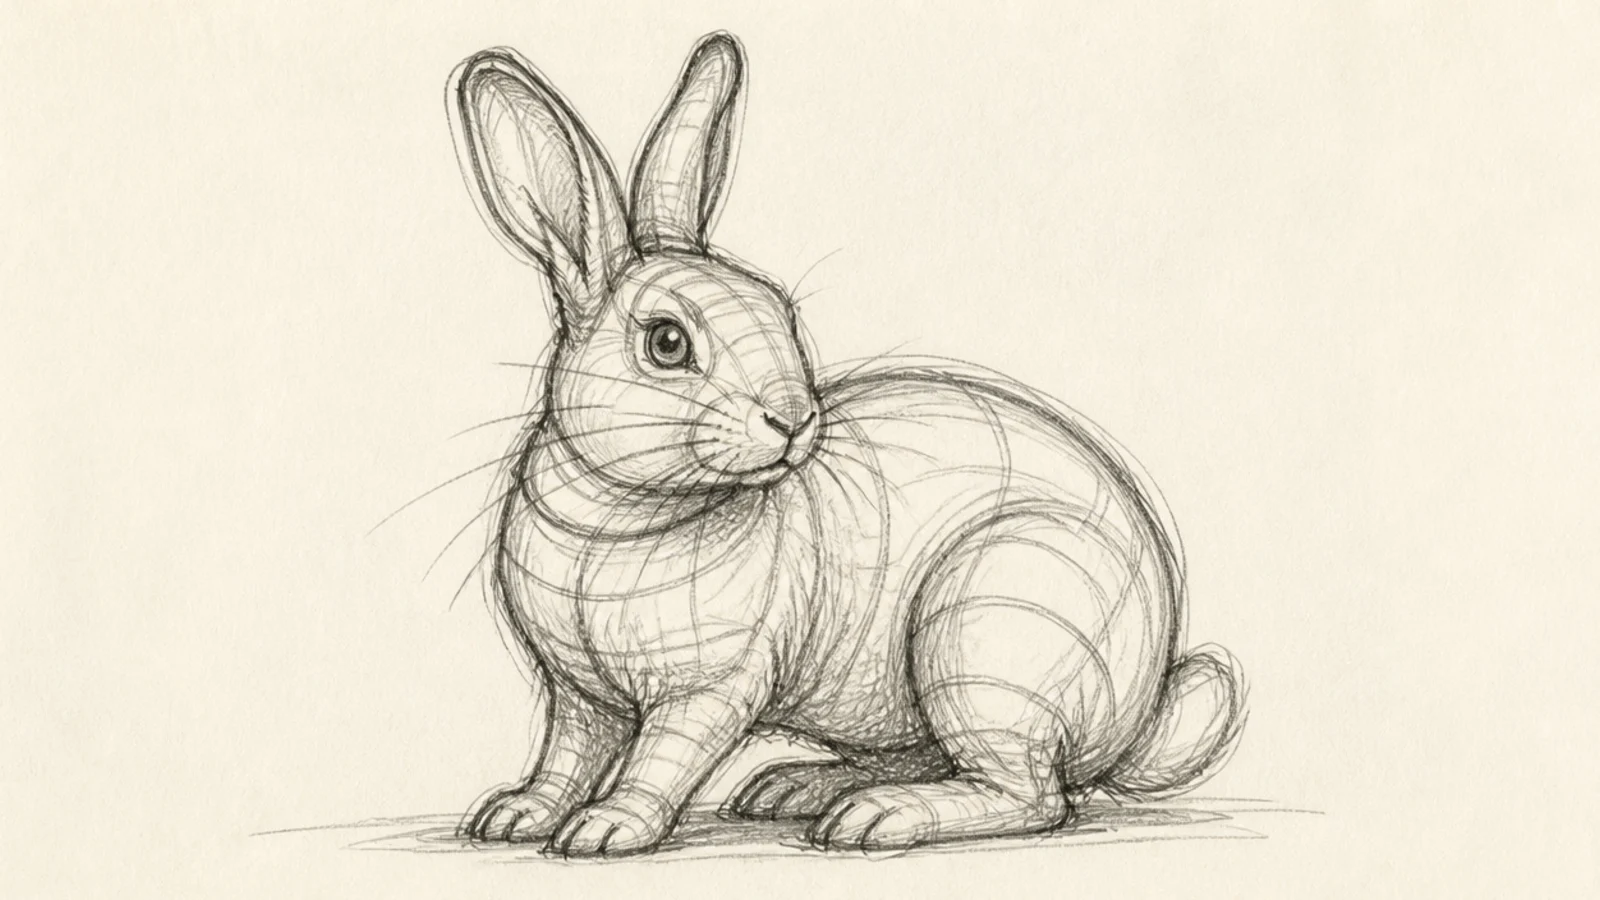
A cross-contour study draws lines that wrap around the rabbit’s form. The wrapping lines reveal the 3D volume. It teaches you to feel the surface.
Step 1 sketch the rabbit lightly. Step 2 draw curved lines wrapping over the body like contour bands. Step 3 follow the roundness of each form.
Let the wrapping lines bend with the surface to show its roundness.
Don’t draw the wrap lines flat; they must curve over the form.
19 Continuous-Line Sketch
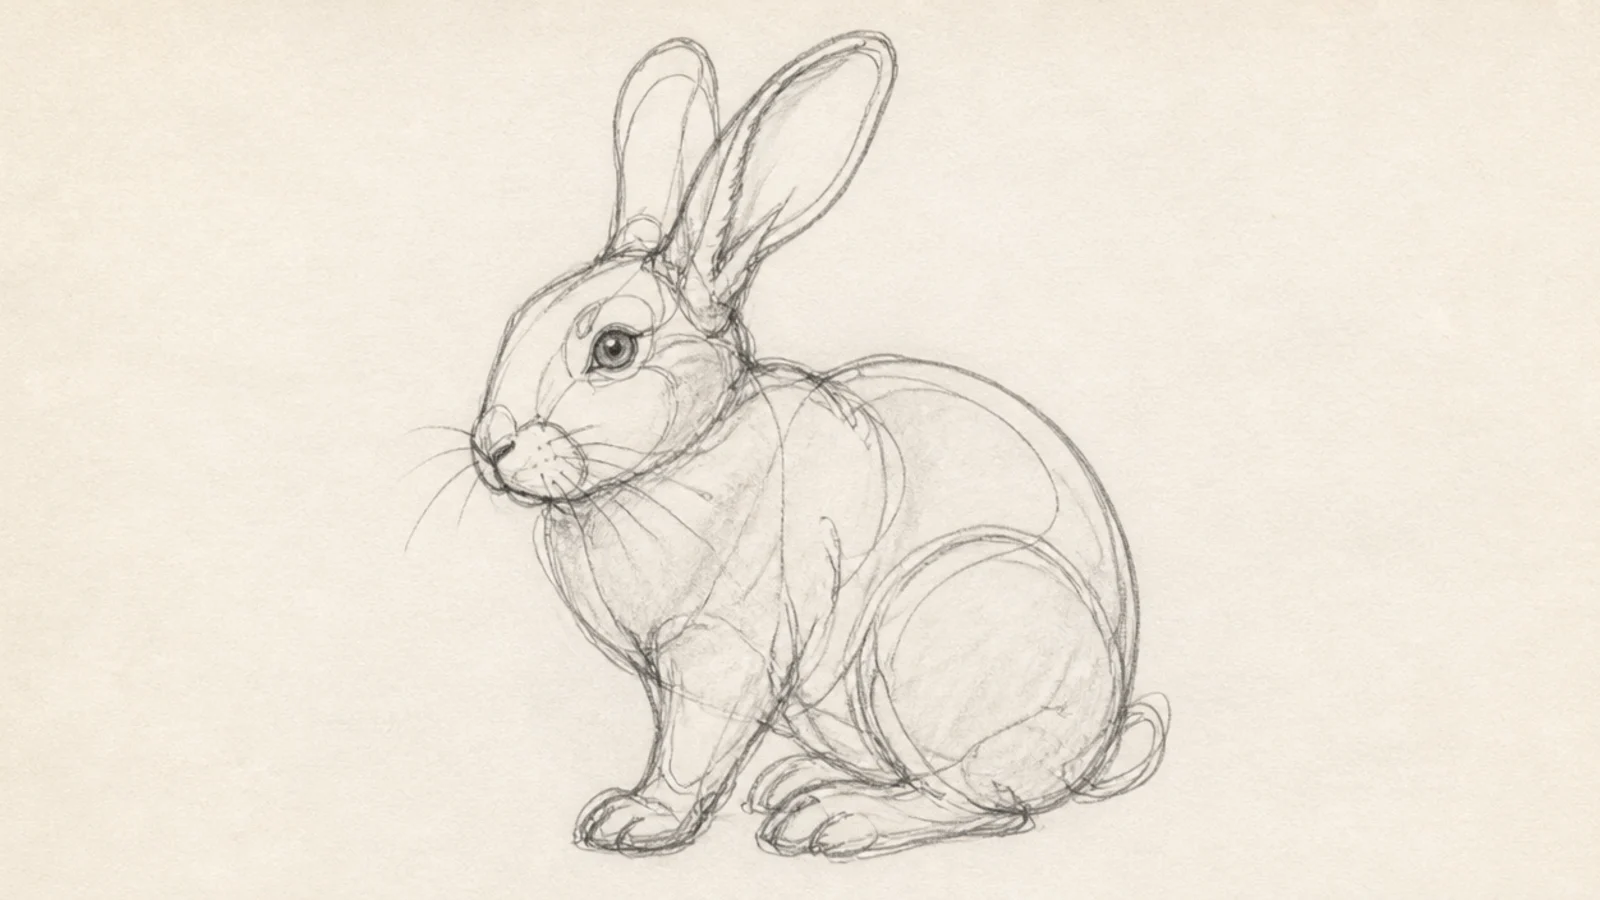
A continuous-line sketch draws the whole rabbit without lifting the pen. The unbroken line is playful and elegant. It builds confidence and flow.
Step 1 start at the nose and trace the whole rabbit in one path. Step 2 loop back through overlaps rather than lifting. Step 3 end where you can and leave it raw.
Keep the pen down the whole time and let the line loop through itself.
Don’t lift the pen; the single unbroken line is the exercise.
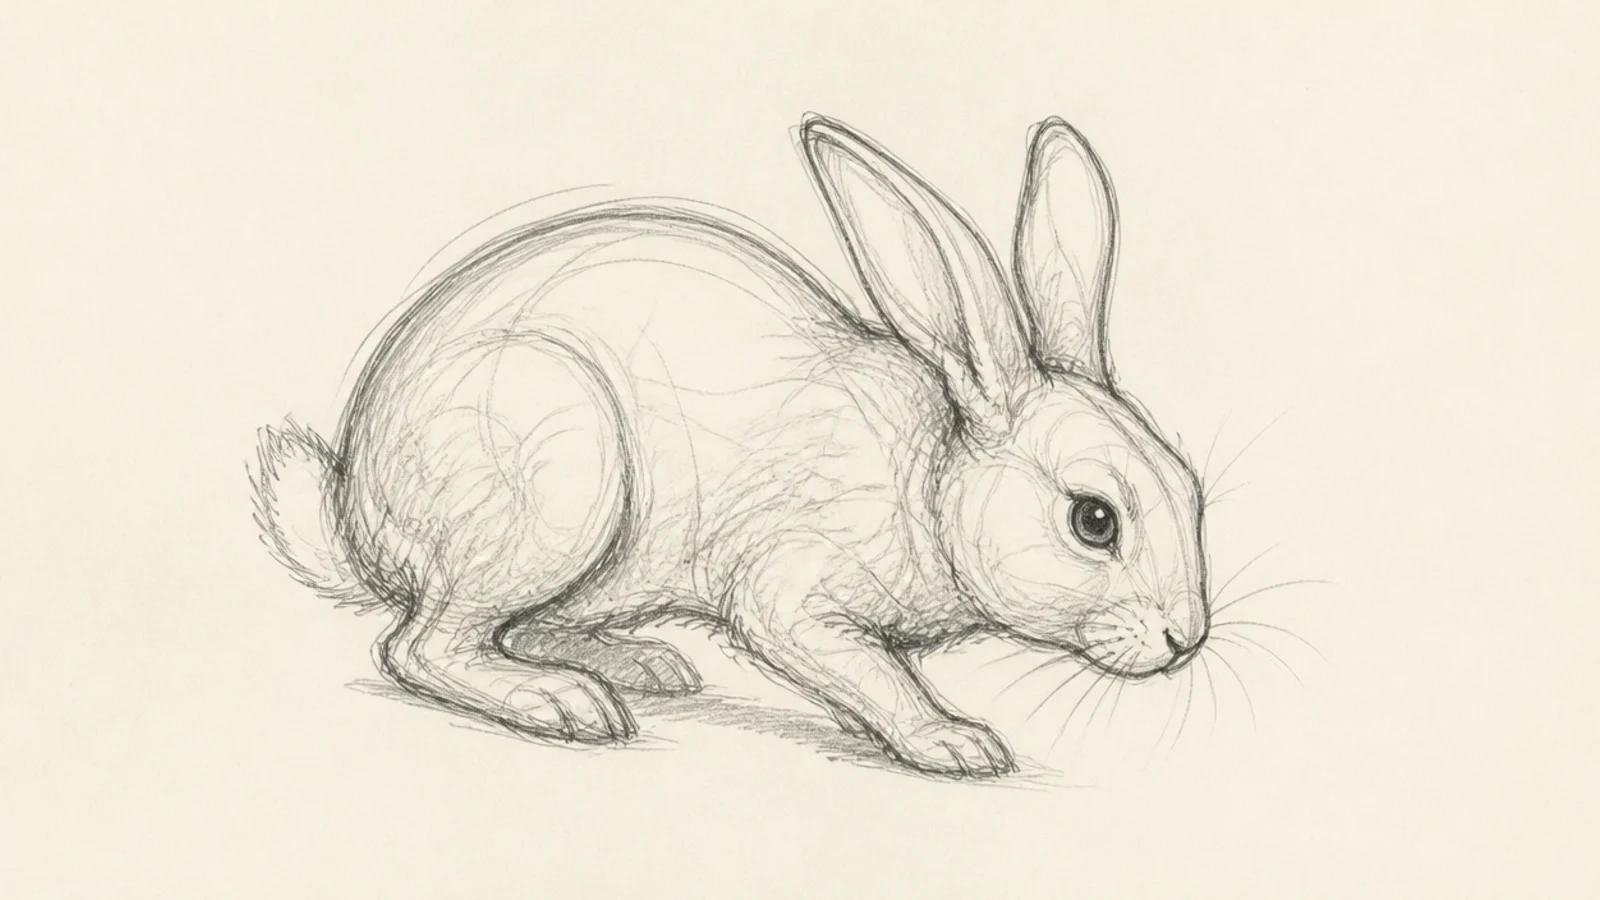
20 Refined Finished Sketch
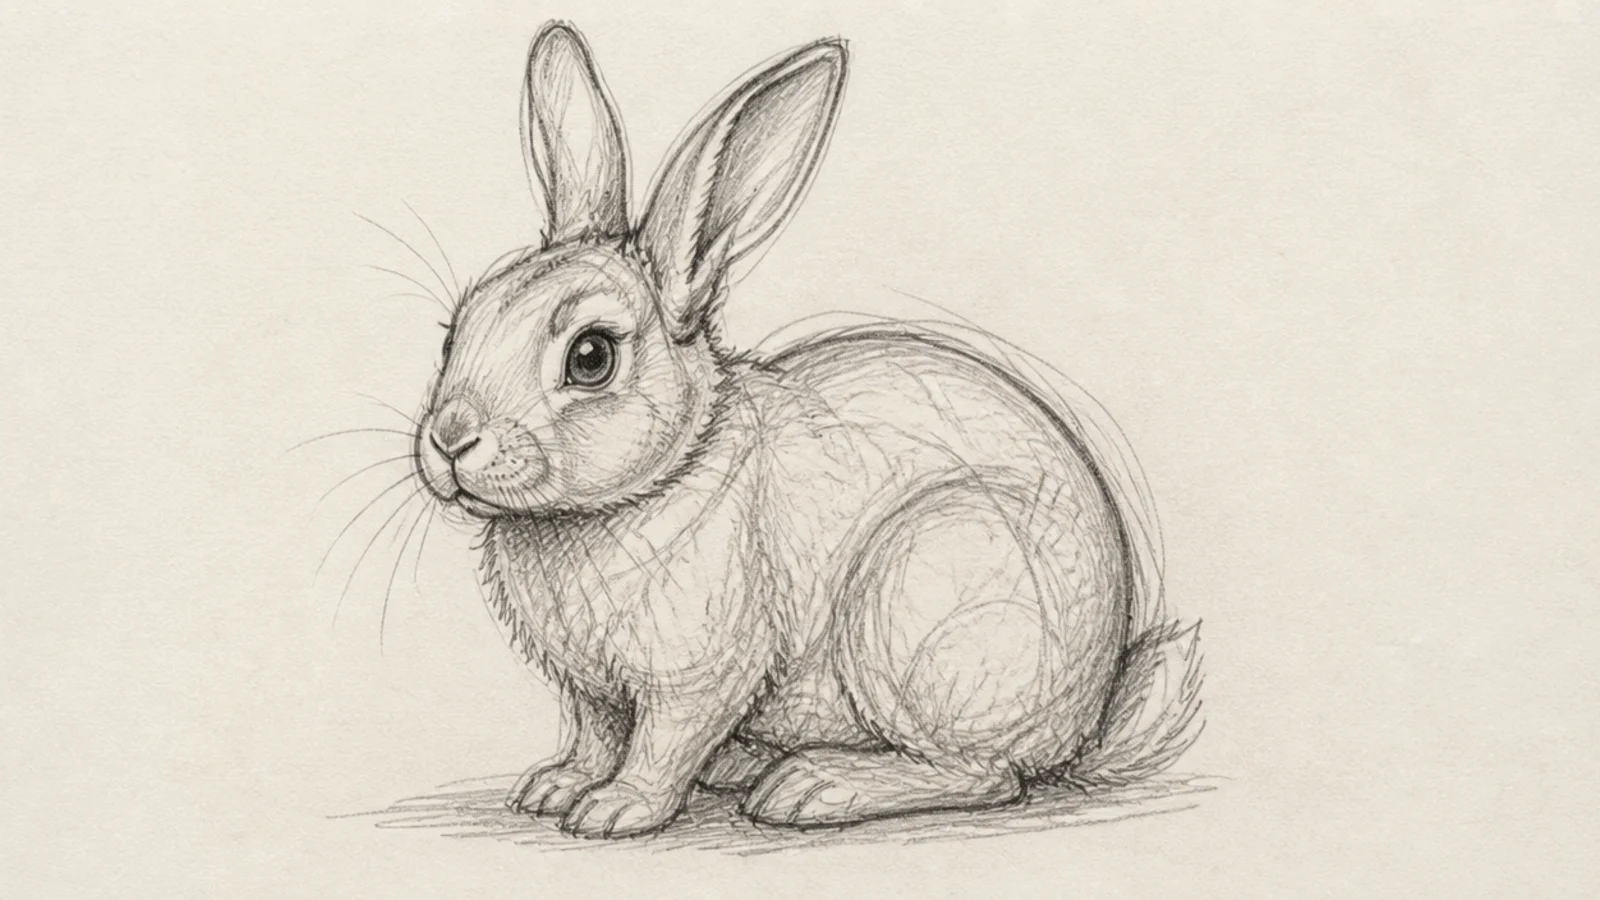
A refined sketch takes a loose start and firms up the best lines. Building from gesture to a cleaner drawing shows the full process. It looks polished but stays lively.
Step 1 lay a loose gesture and masses. Step 2 firm up the true edges with a confident line over the searching ones. Step 3 add light shading and keep some loose marks.
Pro tipPress the final lines over your searching lines rather than erasing them.
AvoidDon’t erase all the loose marks; a little looseness keeps it alive.
21 Loose Ink Sketch
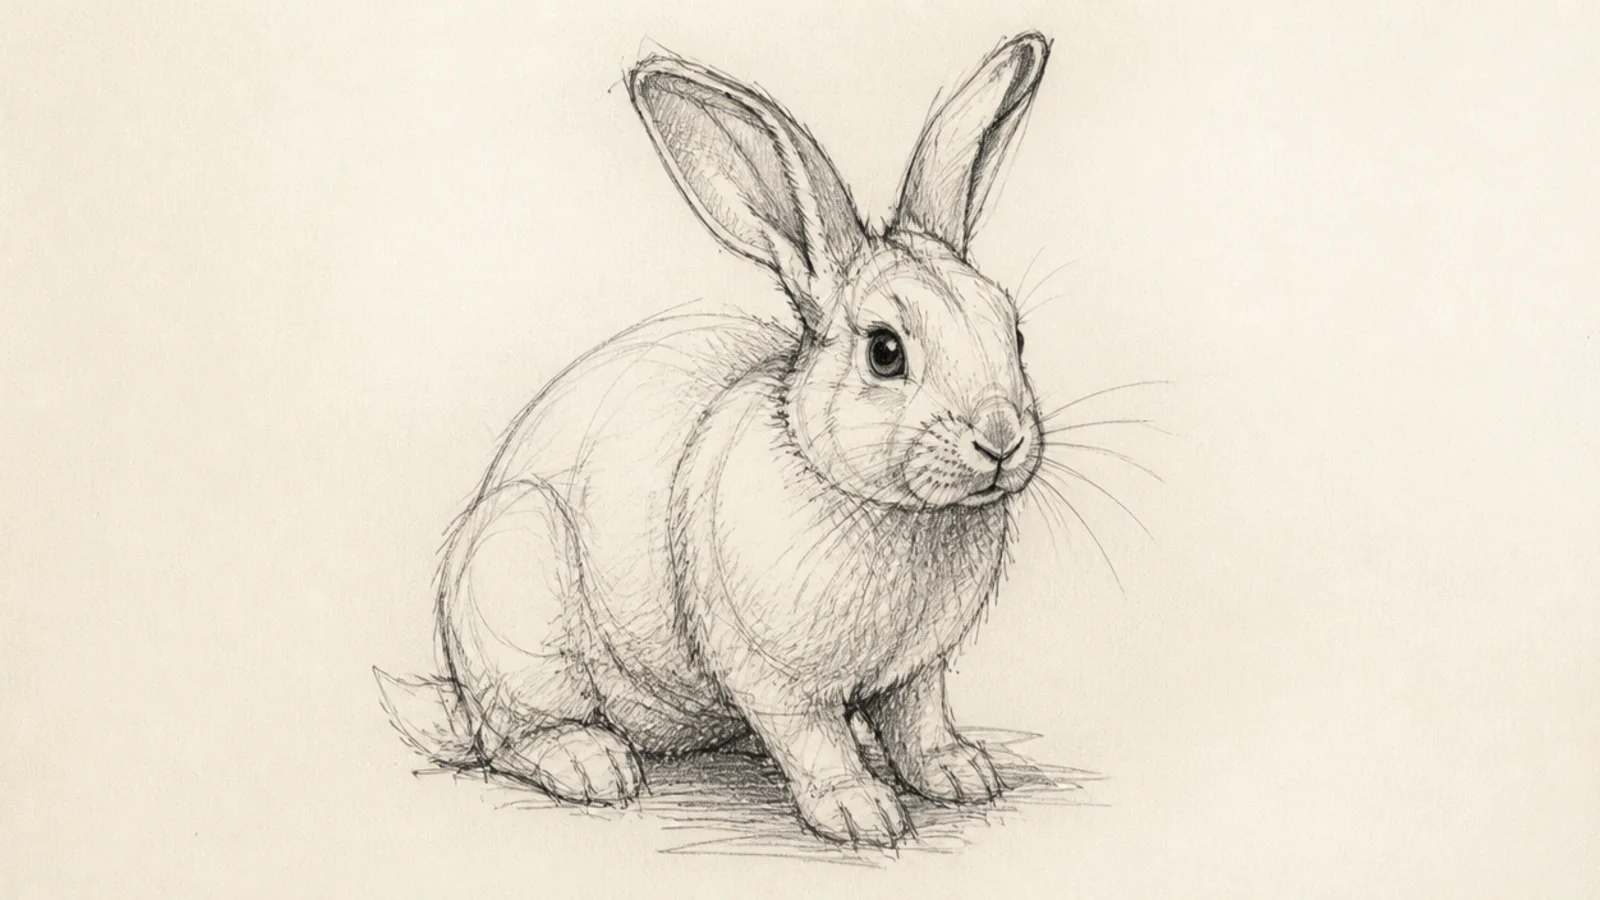
A loose ink sketch commits to confident pen lines with no erasing. The permanence builds decisiveness. It has a crisp, lively energy.
Step 1 sketch the rabbit in your head first. Step 2 draw straight in pen with quick confident strokes. Step 3 add a little hatching for shadow and accept every line.
Pro tipCommit to each ink line; you cannot erase, so draw with intent.
AvoidDon’t fuss over mistakes; ink sketches live with their lines.
22 Loose Charcoal Sketch
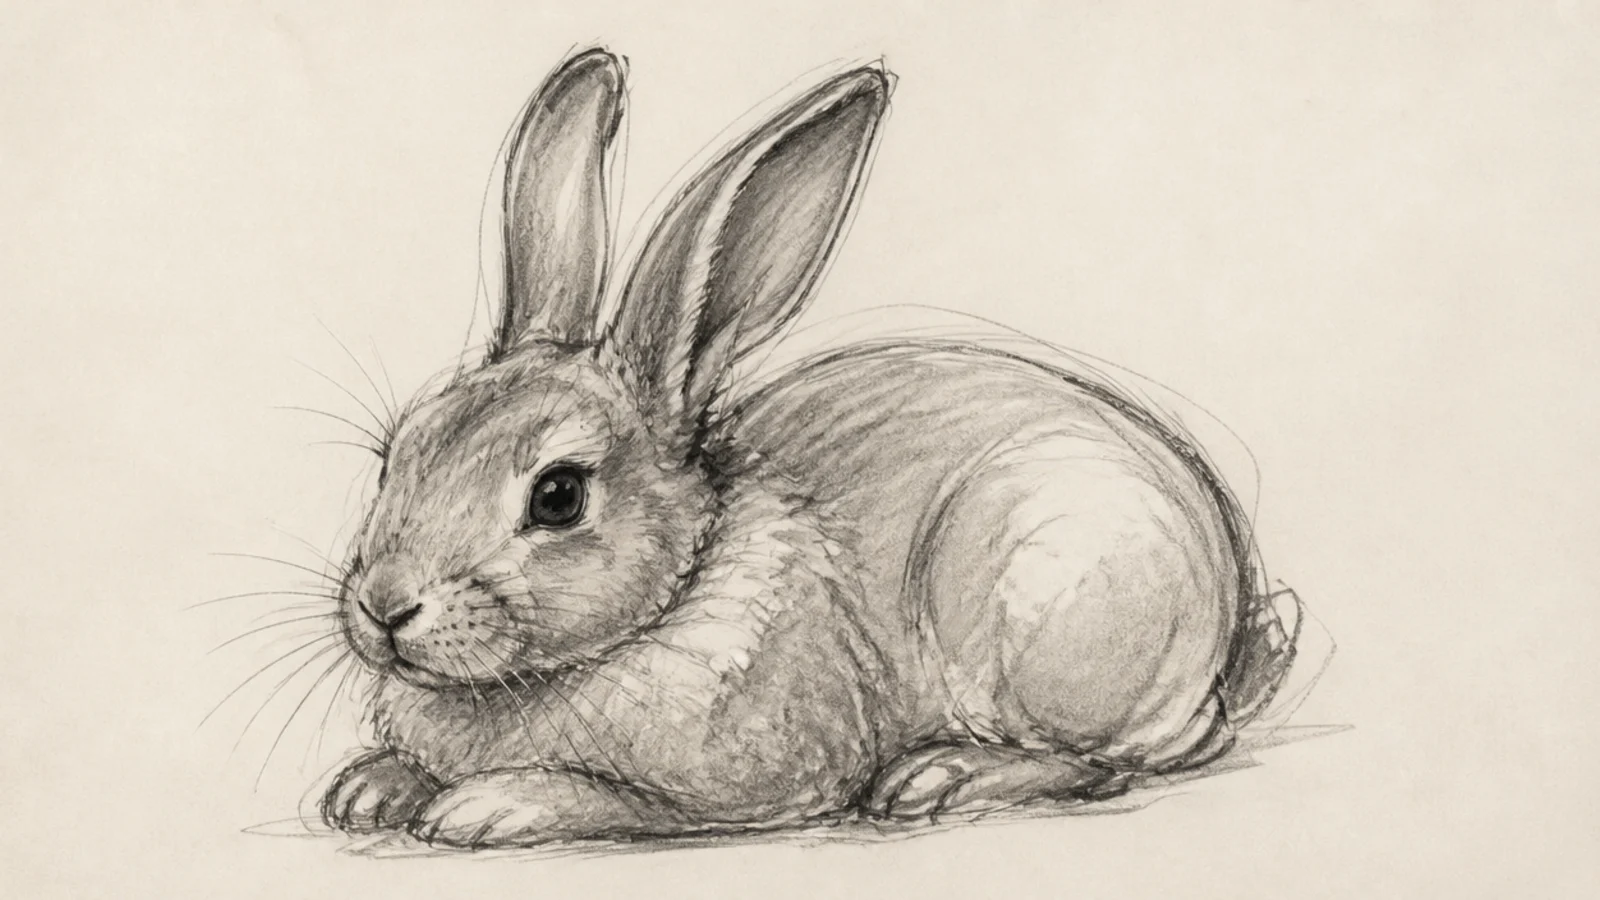
A charcoal sketch builds soft, smoky mass and rich darks fast. The broad medium suits loose, expressive fur. It feels bold and atmospheric.
Step 1 block the masses with the side of the charcoal. Step 2 smudge softly for the mid tones. Step 3 lift highlights with an eraser and add dark accents.
Use the side of the charcoal for mass and the tip for accents.
Don’t work too tight; charcoal shines when kept loose and broad.
23 Mixed Study Page
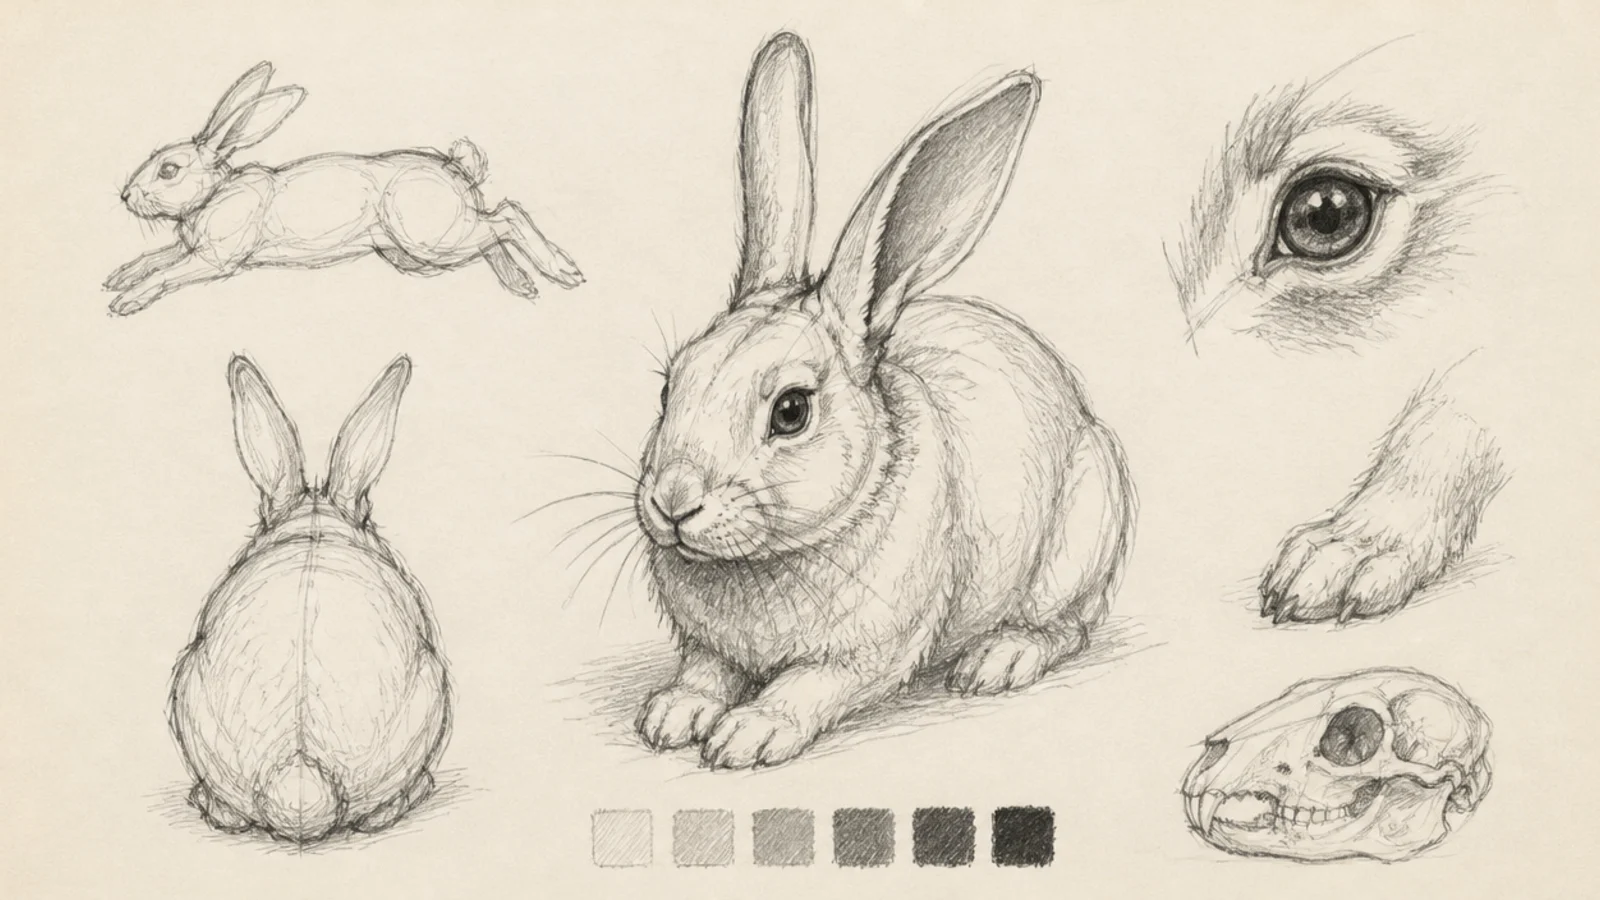
A mixed study page combines gestures, details, and notes on one sheet. The lived-in page is how real sketchbooks look. It ties your studies together.
Step 1 scatter a few gesture sketches across the page. Step 2 add a detail study or two — an ear, a paw. Step 3 fill gaps with small notes and value swatches.
Let the page fill naturally with a mix of quick studies and notes.
Don’t center one drawing; a full mixed page is the goal.
24 Sketch From Life
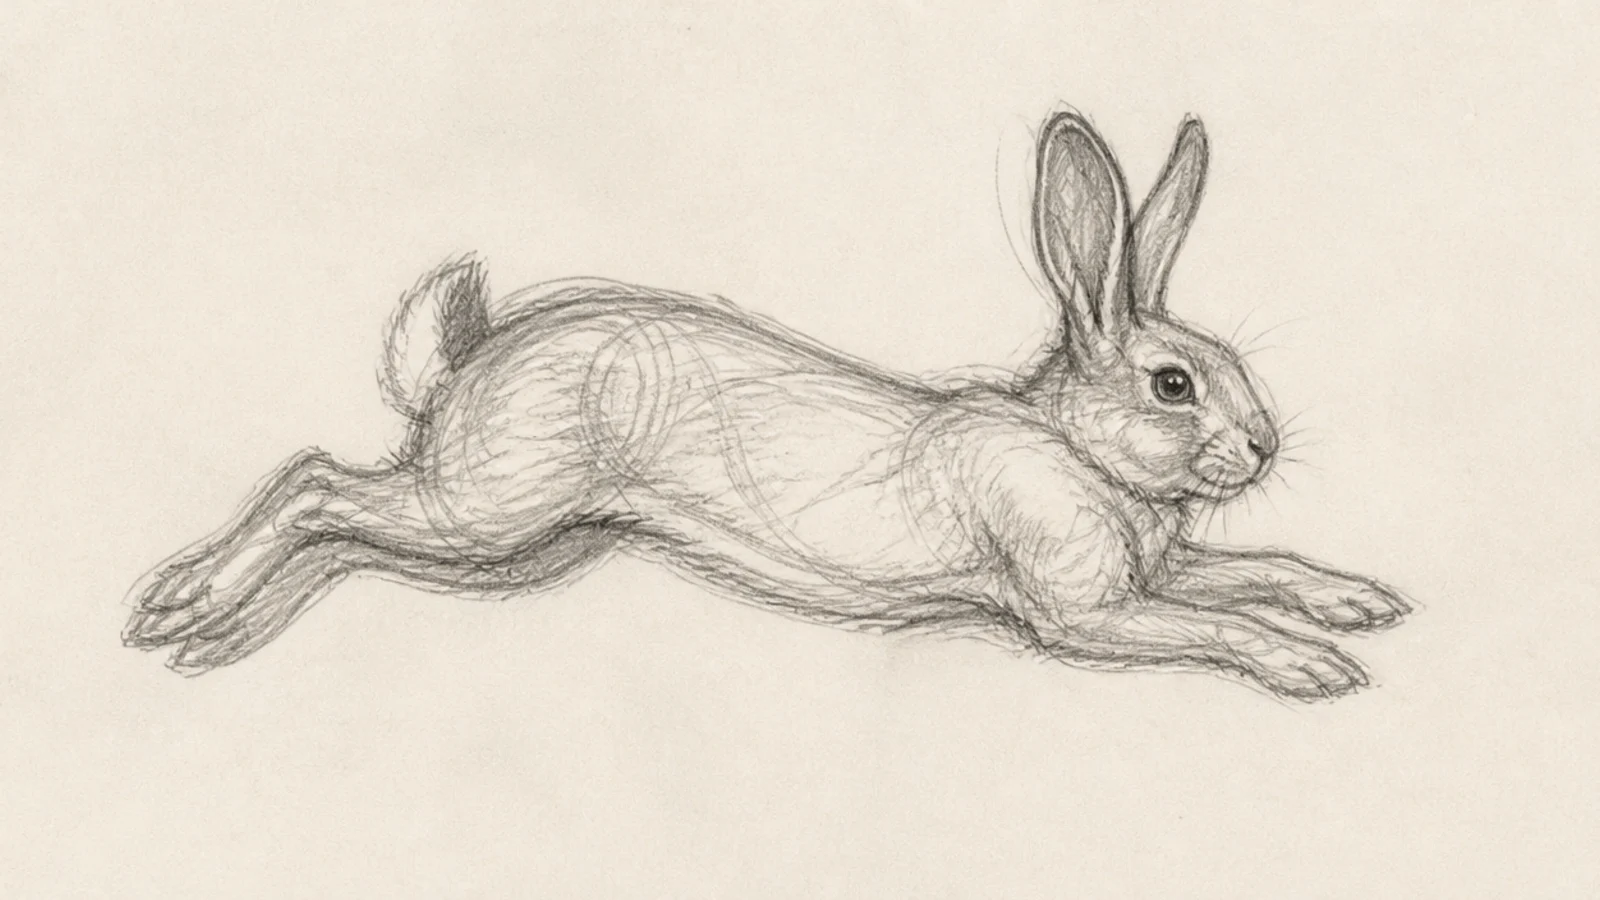
A sketch from life captures a real, moving rabbit in fast marks. Drawing a shifting animal forces pure gesture. It teaches more than any static reference.
Step 1 watch the rabbit and pick a repeating pose. Step 2 sketch the gesture fast whenever it returns to that pose. Step 3 layer more info each time it repeats.
Wait for the rabbit to repeat a pose and build the sketch over several returns.
Don’t chase every movement; capture one repeating pose.
25 Sketchbook Composition
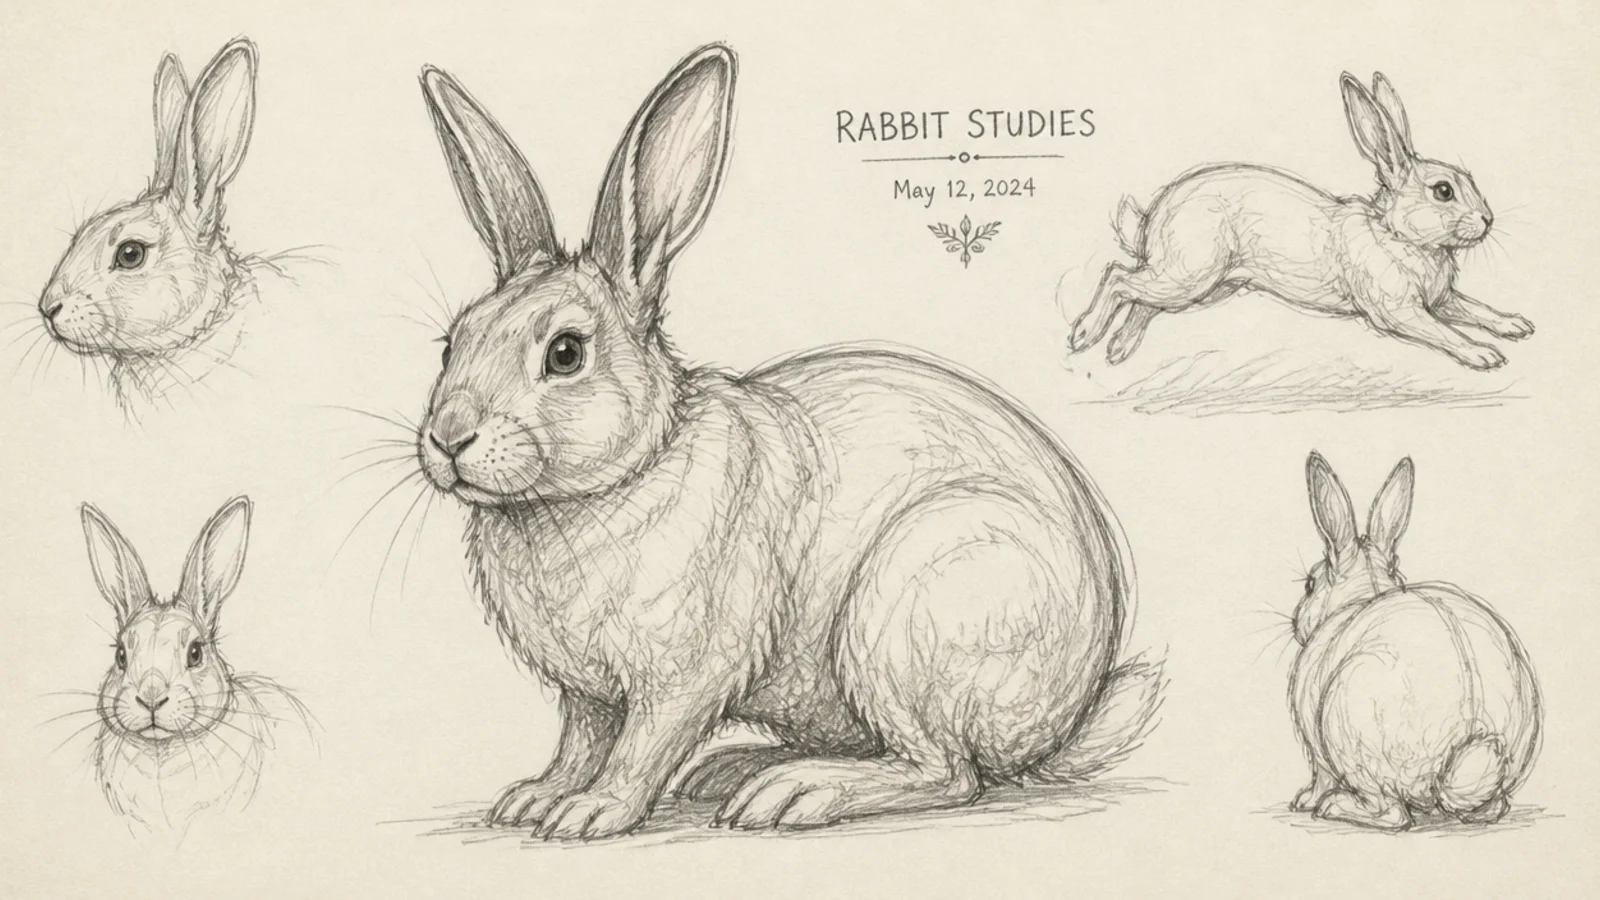
A composed spread arranges several rabbit sketches into a pleasing page. Thinking about layout turns studies into art. It is a satisfying way to close a sketchbook session.
Step 1 place a larger feature sketch off-center. Step 2 balance it with smaller studies around the page. Step 3 leave breathing room and add a small title area.
Pro tipVary the sizes and leave white space so the page feels composed.
AvoidDon’t crowd every corner; negative space makes the page read as art.



