
1 Single Strawberry Blossom
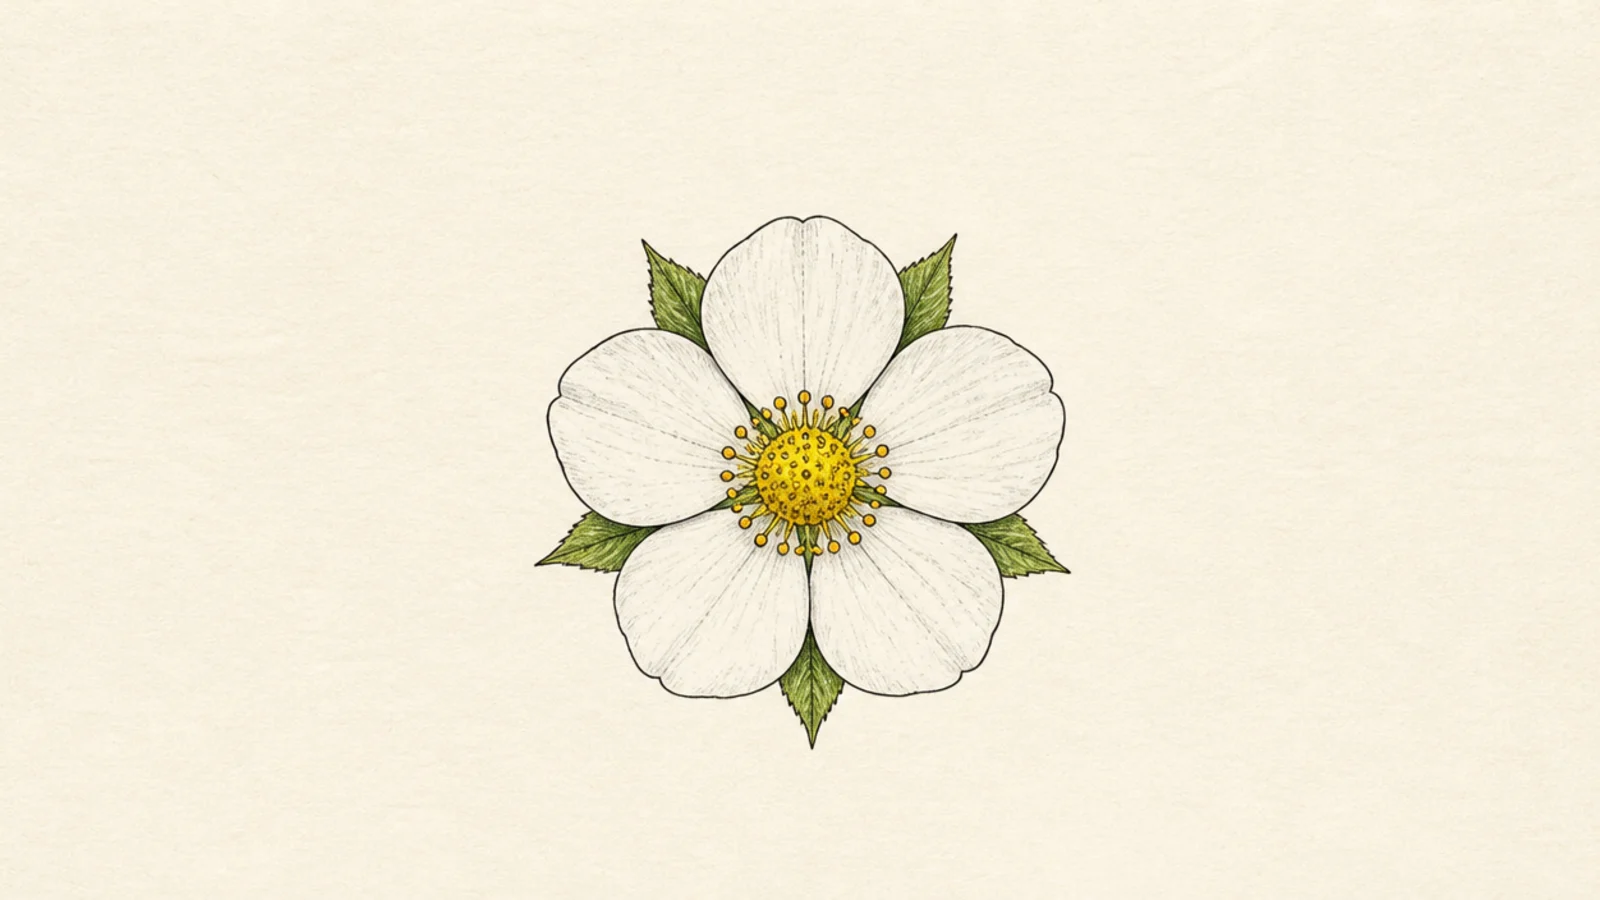
A single blossom is the simplest flower and the base for the whole list — five petals and a yellow center. It teaches the center-then-petals order you will reuse everywhere. Master this and every other idea is a small tweak.
Step 1 draw a small round yellow center. Step 2 add five rounded white petals evenly around it. Step 3 fill the center with tiny dots and add small green sepals behind.
Place one petal at the top first, then space the other four around it.
Don’t overlap the petals; strawberry petals sit slightly separated.
2 Blossom With a Bud
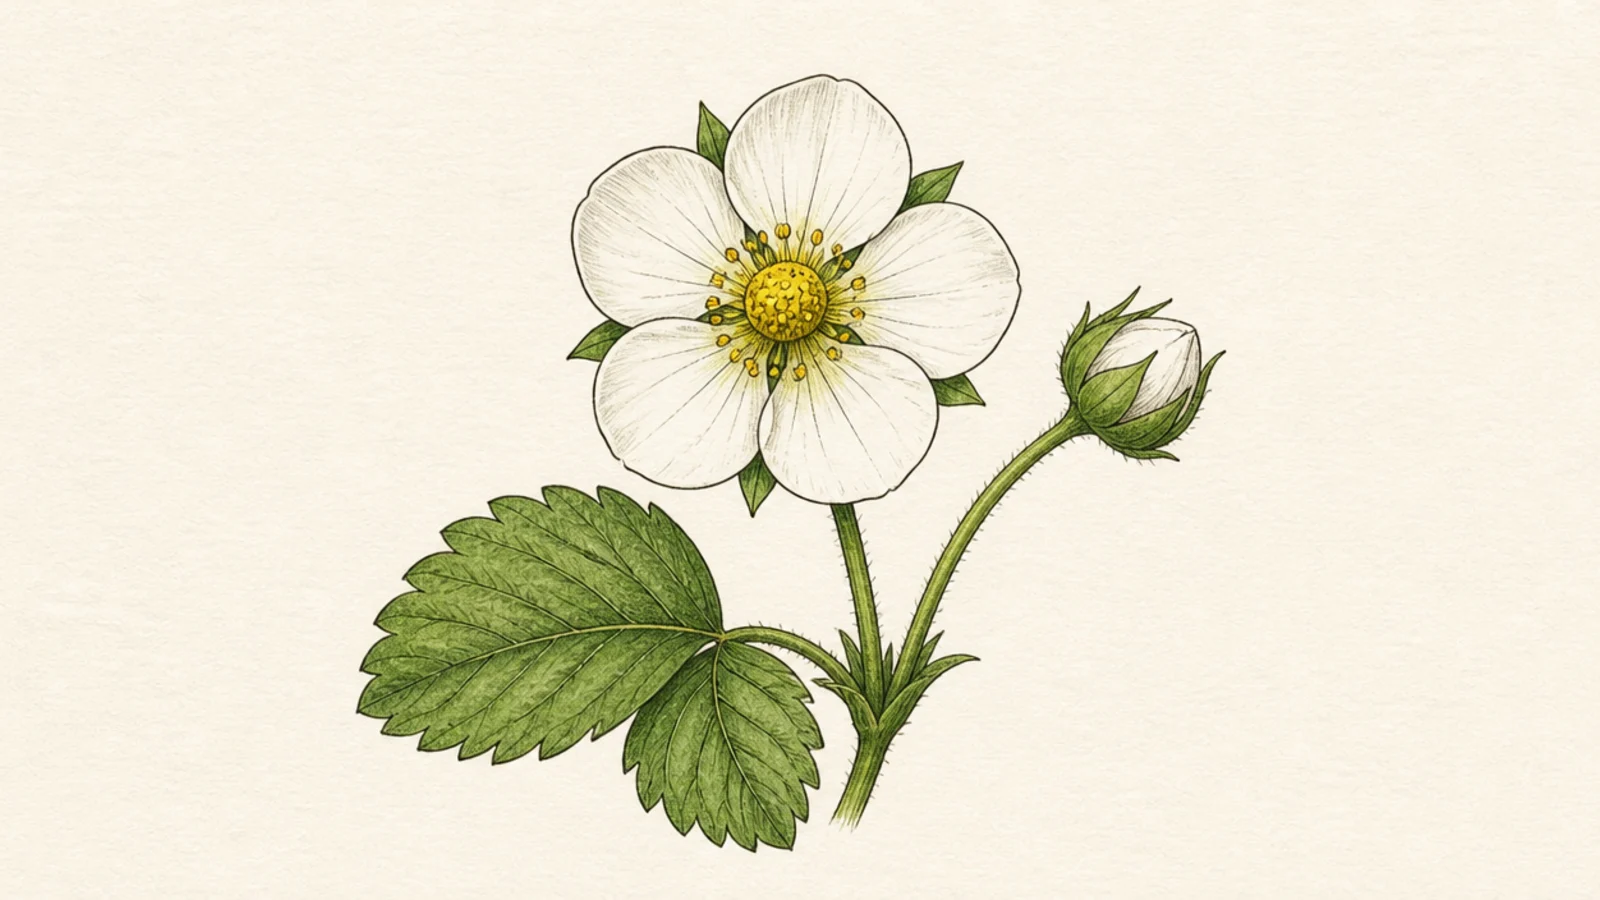
Step 1 draw an open blossom. Step 2 add a small teardrop bud on a side stem. Step 3 wrap the bud with a few green sepals and add a leaf.
An open flower beside a closed bud shows the plant at two stages. The little bud adds a natural touch. It looks alive and growing.
AvoidDon’t make the bud as big as the flower; keep it small and closed.
Pro tipDraw the bud as a small teardrop peeking from its green sepals.
3 Blossom Cluster
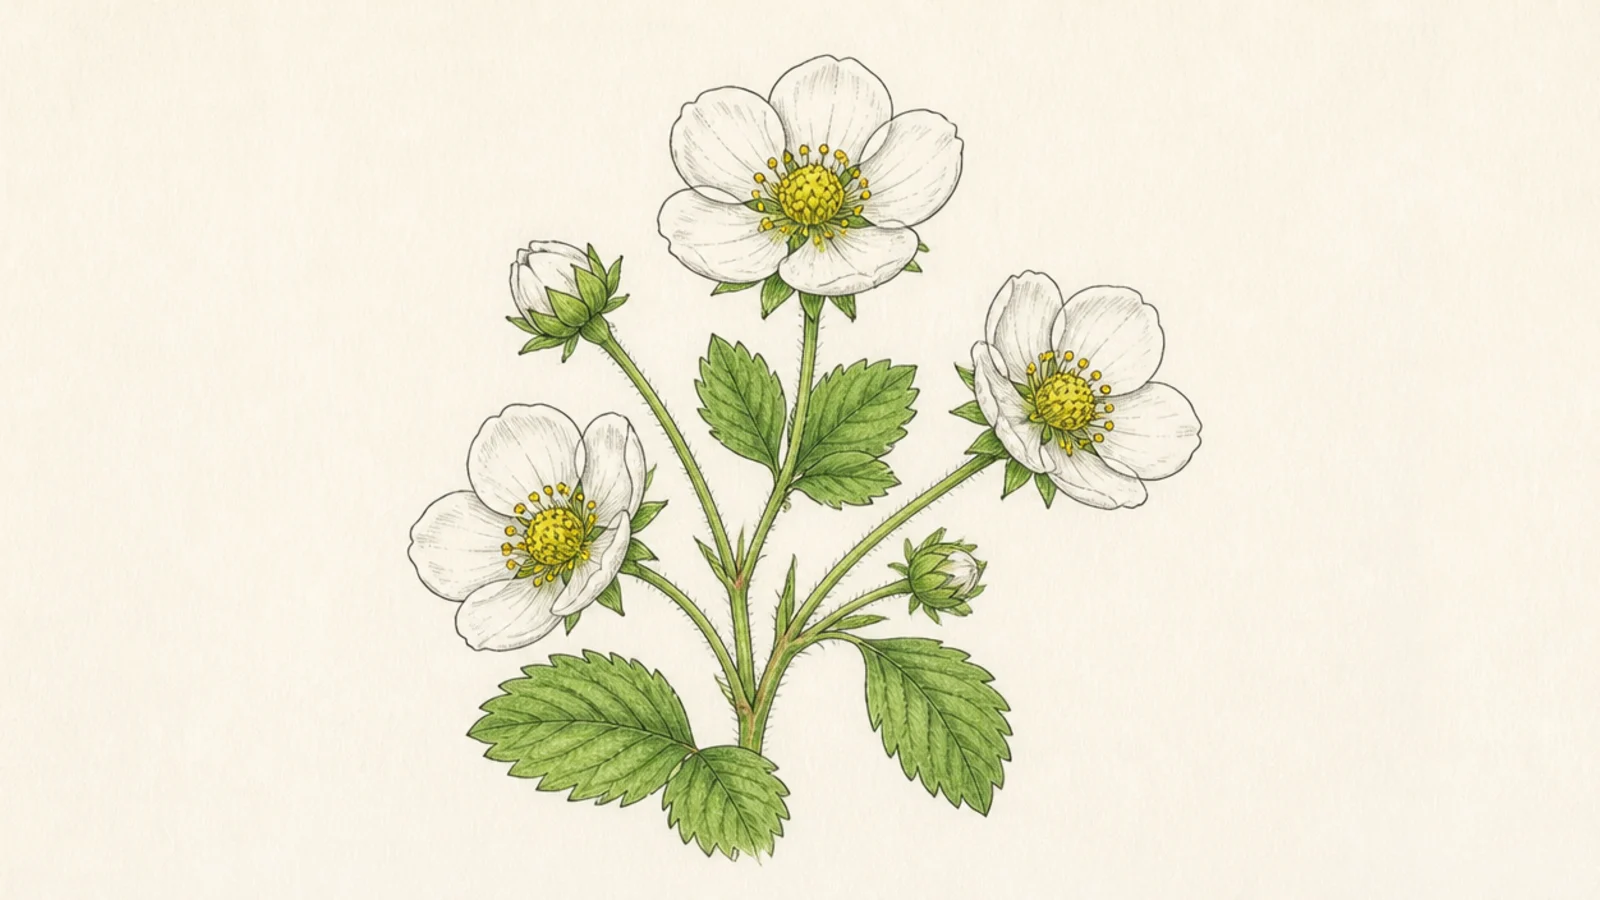
Step 1 draw a branching stem with three tips. Step 2 add an open blossom at each tip. Step 3 add a few buds and leaves between them.
A cluster of three blossoms on branching stems looks full and pretty. Grouping the flowers is more finished than one. It captures the plant in bloom.
AvoidDon’t line the flowers up flat; varied angles look natural.
Pro tipVary the three flowers' angles so some face out and some tilt.
4 Flower and Berry Together
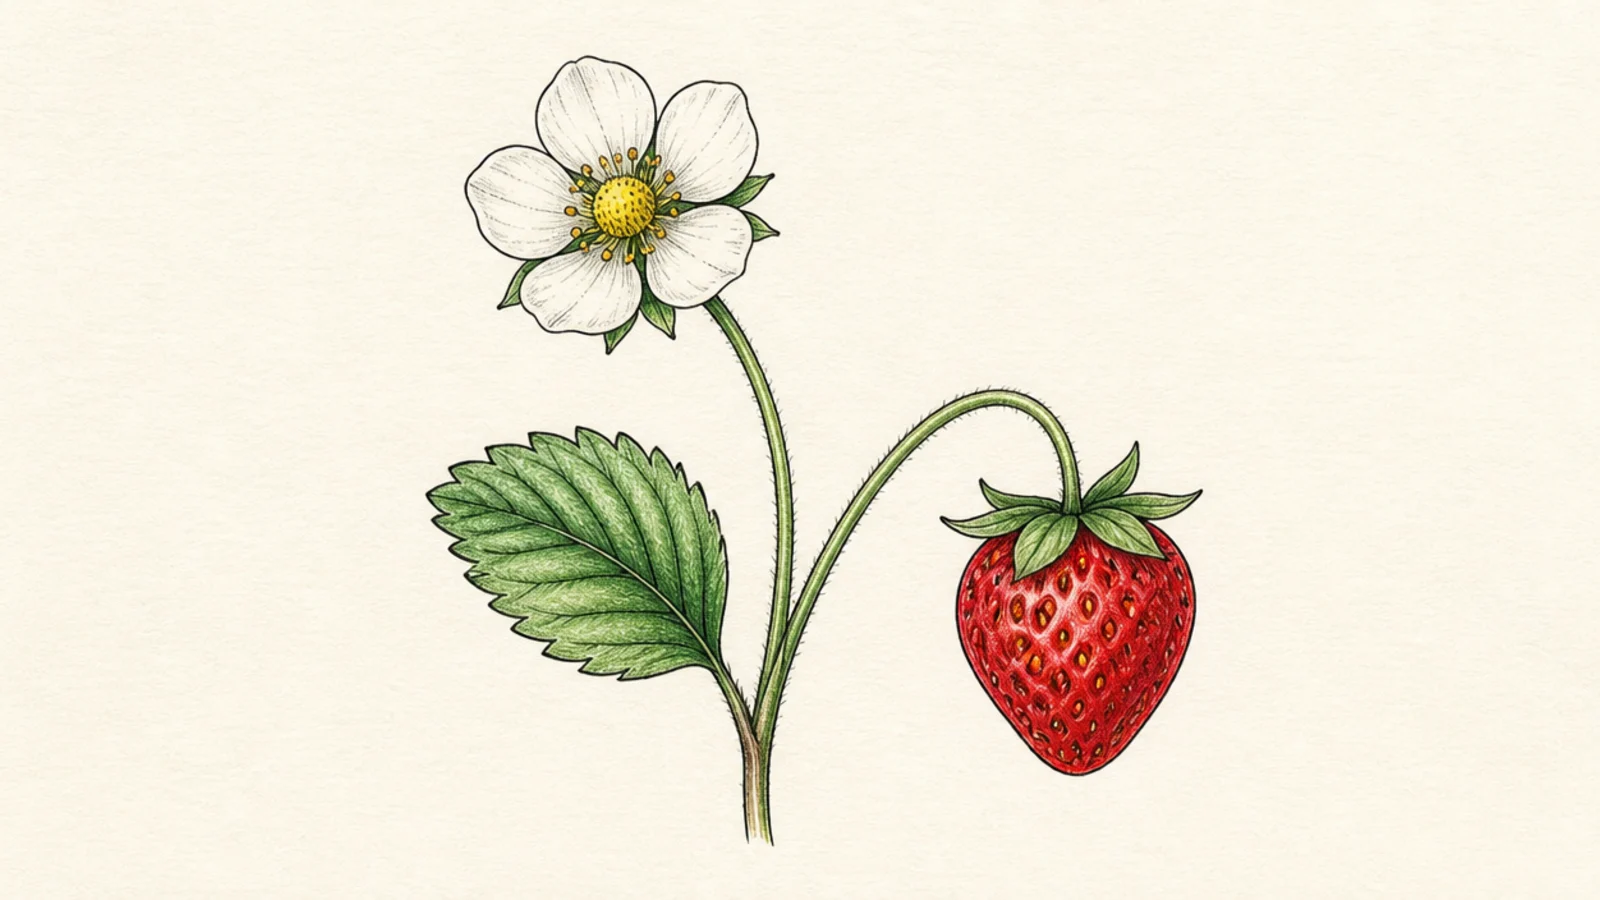
Step 1 draw a stem that forks. Step 2 add a white blossom on one branch. Step 3 add a red berry with a leaf cap on the other and a leaf between.
A blossom and a ripe berry on one stem shows flower and fruit together. The pairing tells the plant’s story. It is a satisfying, complete little sprig.
AvoidDon’t float them separately; the shared stem ties the story together.
Pro tipShow the flower above and the heavier berry nodding lower.
5 Top-Down Blossom
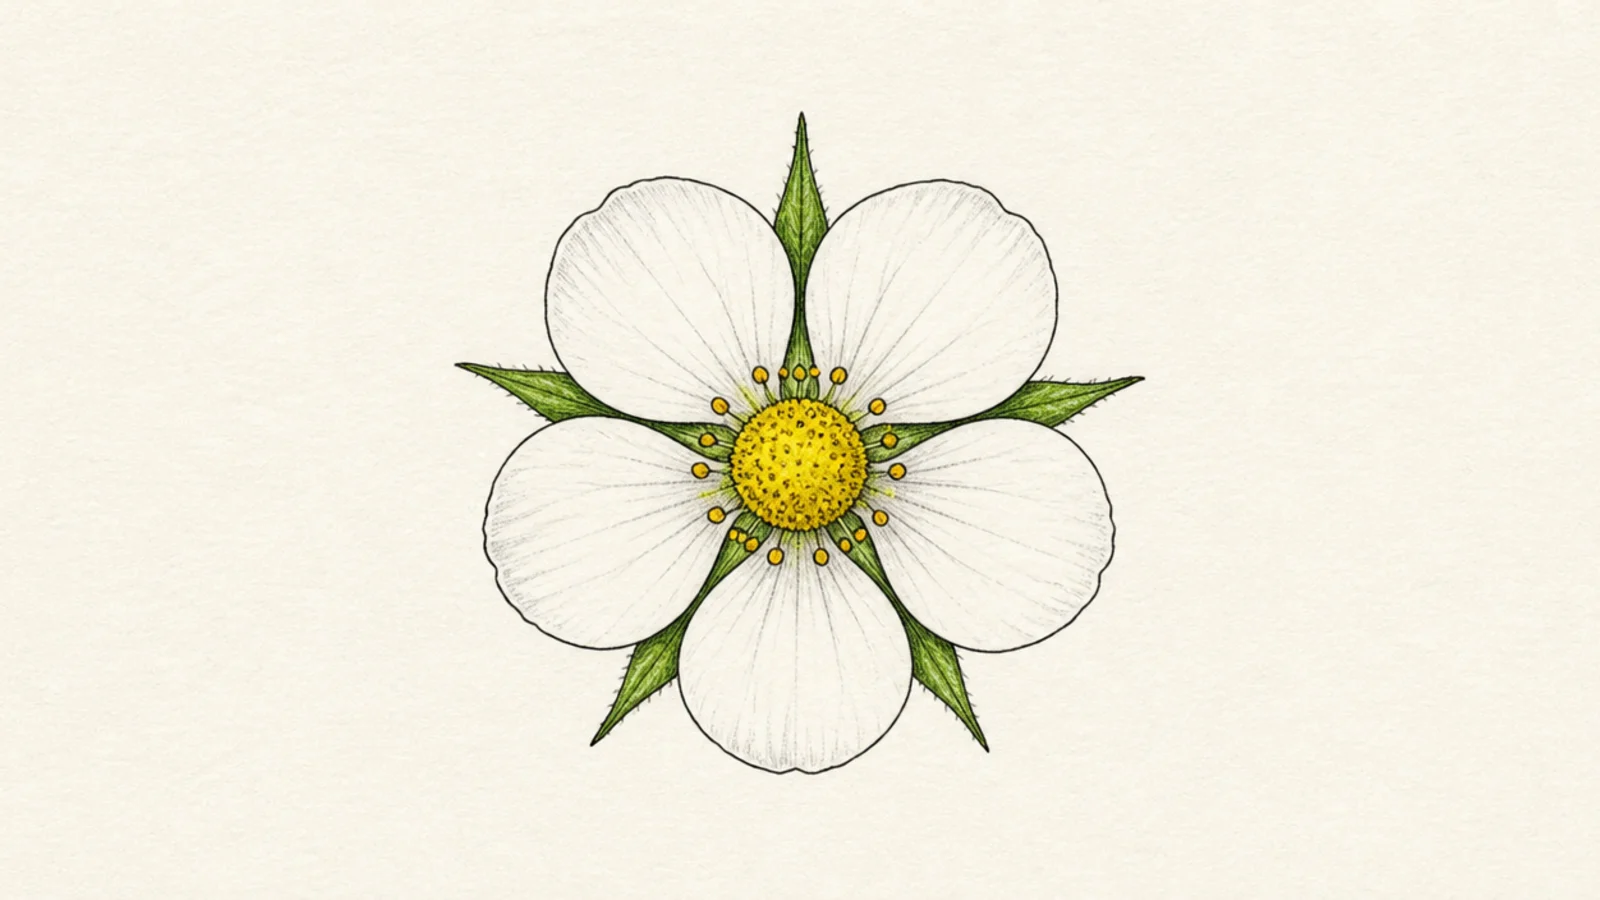
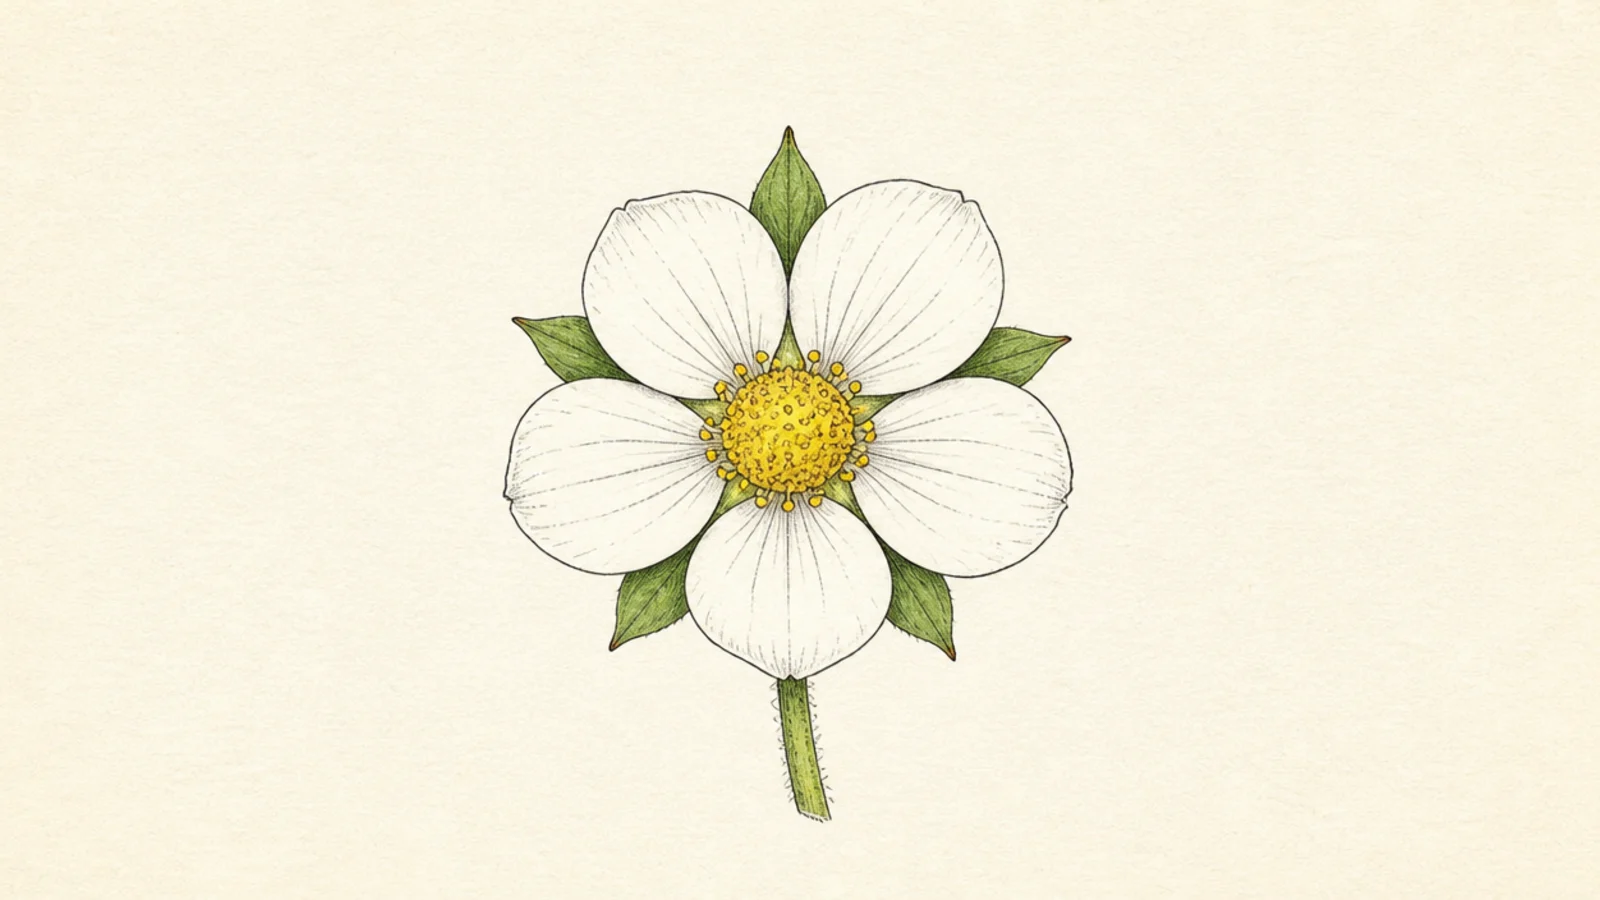
Step 1 draw the round center in the middle. Step 2 add five even petals radiating out flat. Step 3 fill the center with dots and add sepal points between the petals.
A blossom seen straight from above shows the perfect five-petal symmetry. The flat view is clean and graphic. It is great symmetry practice.
AvoidDon’t crowd the petals; even gaps keep the top view balanced.
Pro tipSpace the five petals like points of a star for even symmetry.
6 Side-View Blossom
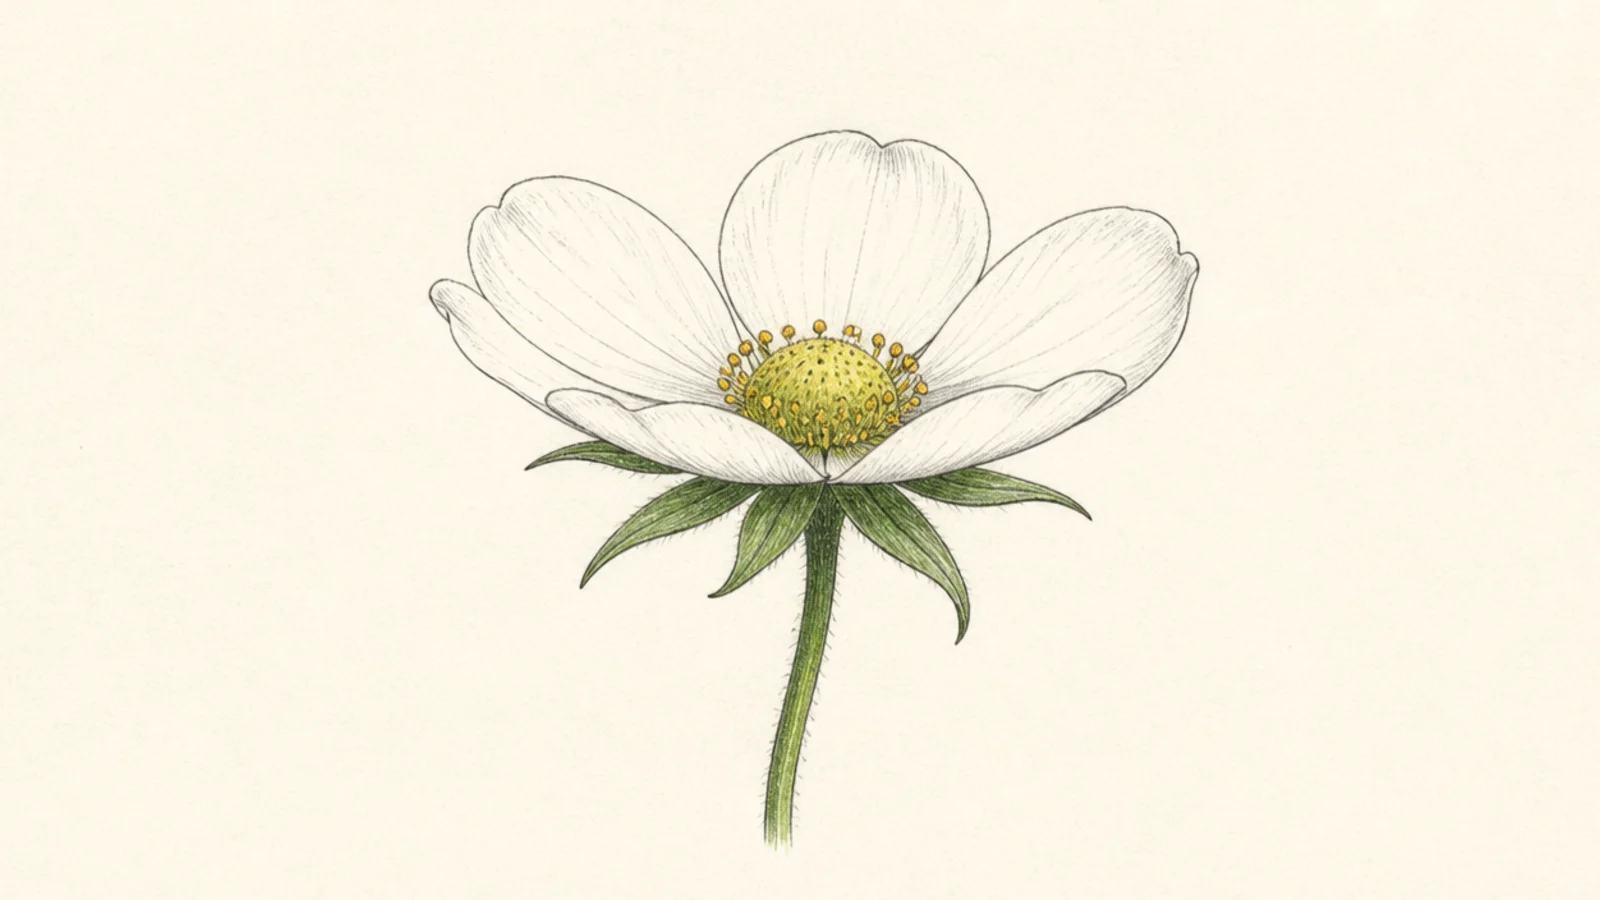
Step 1 draw the center as a small oval seen from the side. Step 2 fan the visible petals along the top and sides. Step 3 add the green sepals and stem below.
A side view shows the flower turning, with the green sepals and stem visible. It is more natural than a flat view. It looks graceful and real.
AvoidDon’t draw all five petals full; a side view hides the back ones.
Pro tipShow only the petals facing you and let the back ones hide behind.
7 Strawberry Flower Wreath
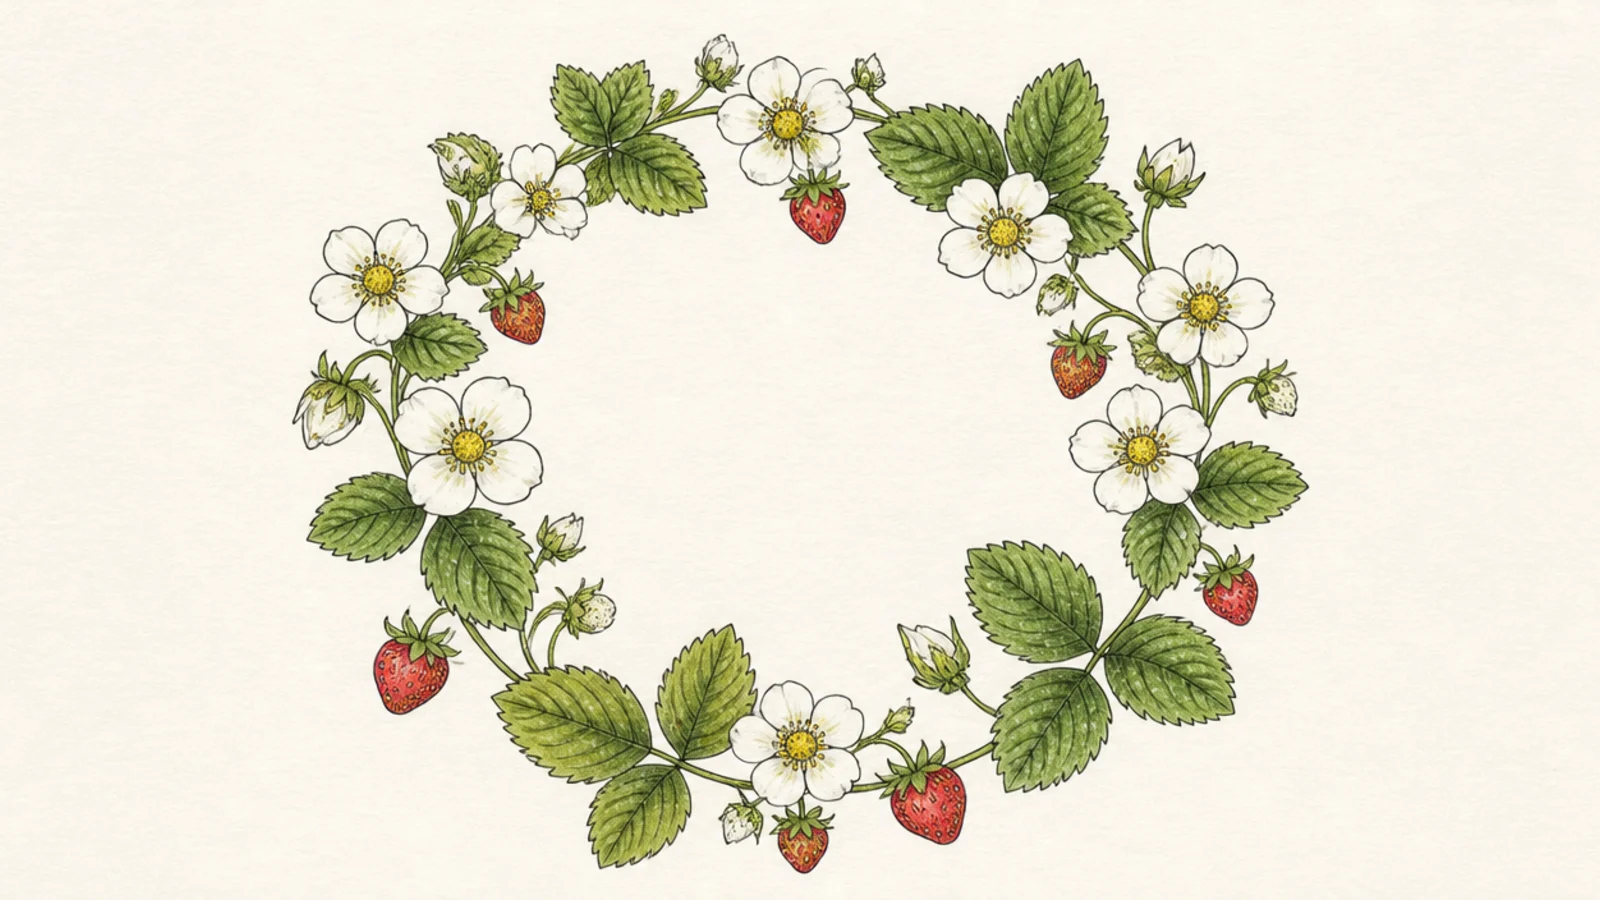
A ring of blossoms makes a pretty wreath to frame a page or title. Each little flower is quick. Together they look decorative.
Step 1 lightly draw a circle guide. Step 2 space blossoms, leaves, and tiny berries around it. Step 3 erase the guide and leave the center open.
Draw flowers at the top, bottom, and sides first, then fill the gaps.
Don’t crowd the ring; leave space so the wreath looks open.
8 Blossom With Dewdrops
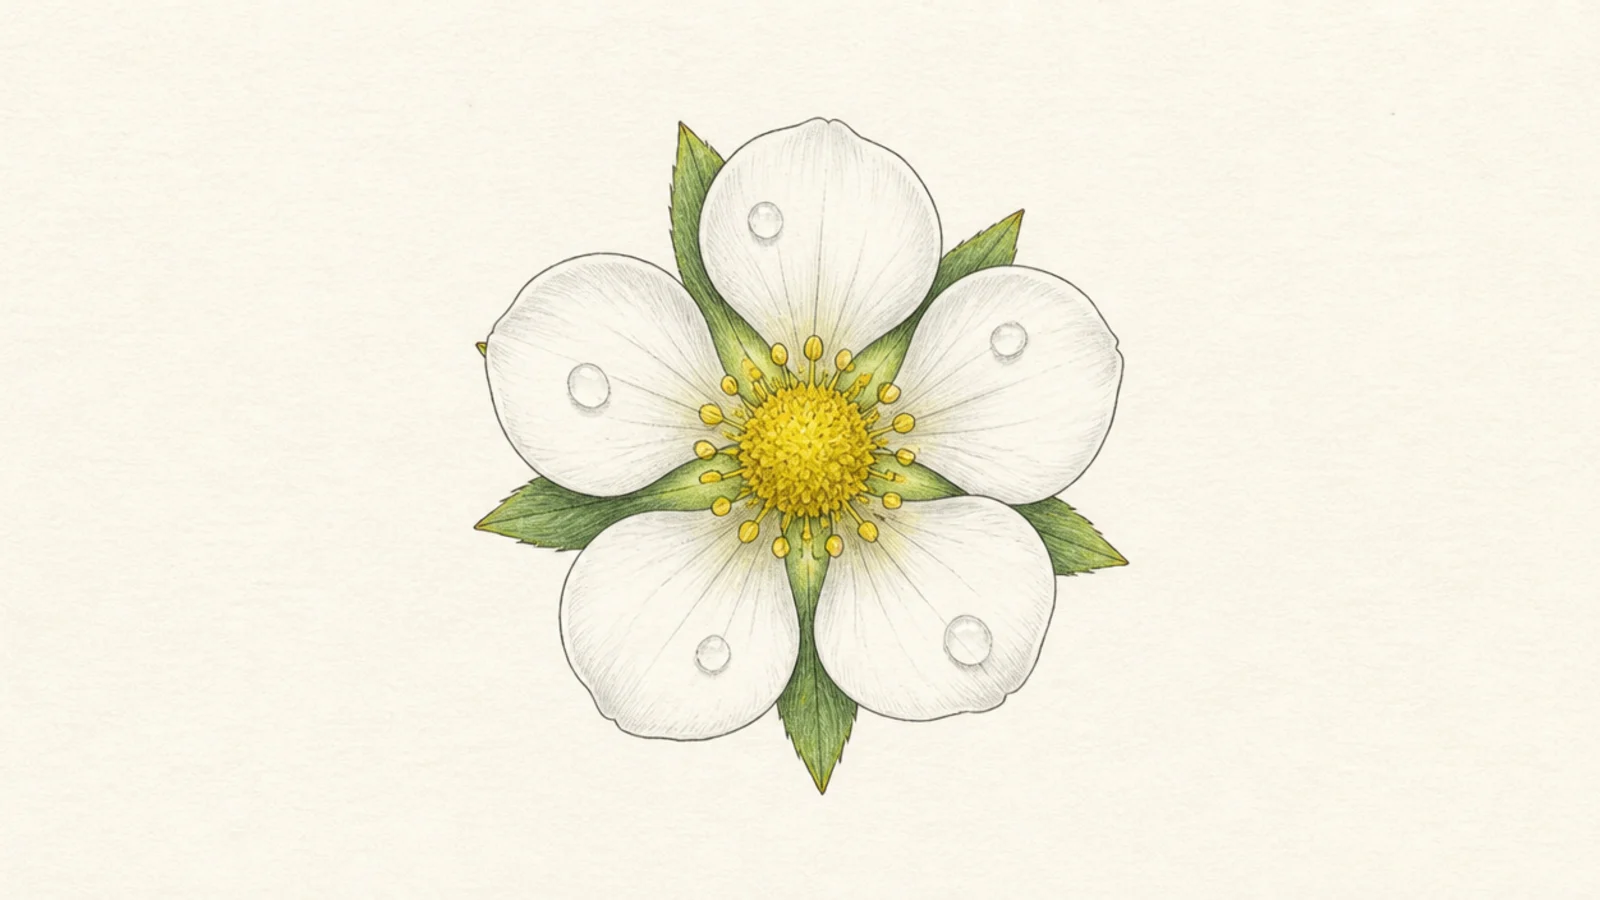
A blossom with tiny dewdrops looks fresh and morning-bright. The little water beads add sparkle. It feels delicate and alive.
Step 1 draw an open blossom. Step 2 add a few small oval dewdrops on the petals. Step 3 leave a white highlight in each drop for shine.
Add one white highlight to each dewdrop so it looks wet and round.
Don’t add too many drops; a few keep it delicate.
9 Blossom Line Art
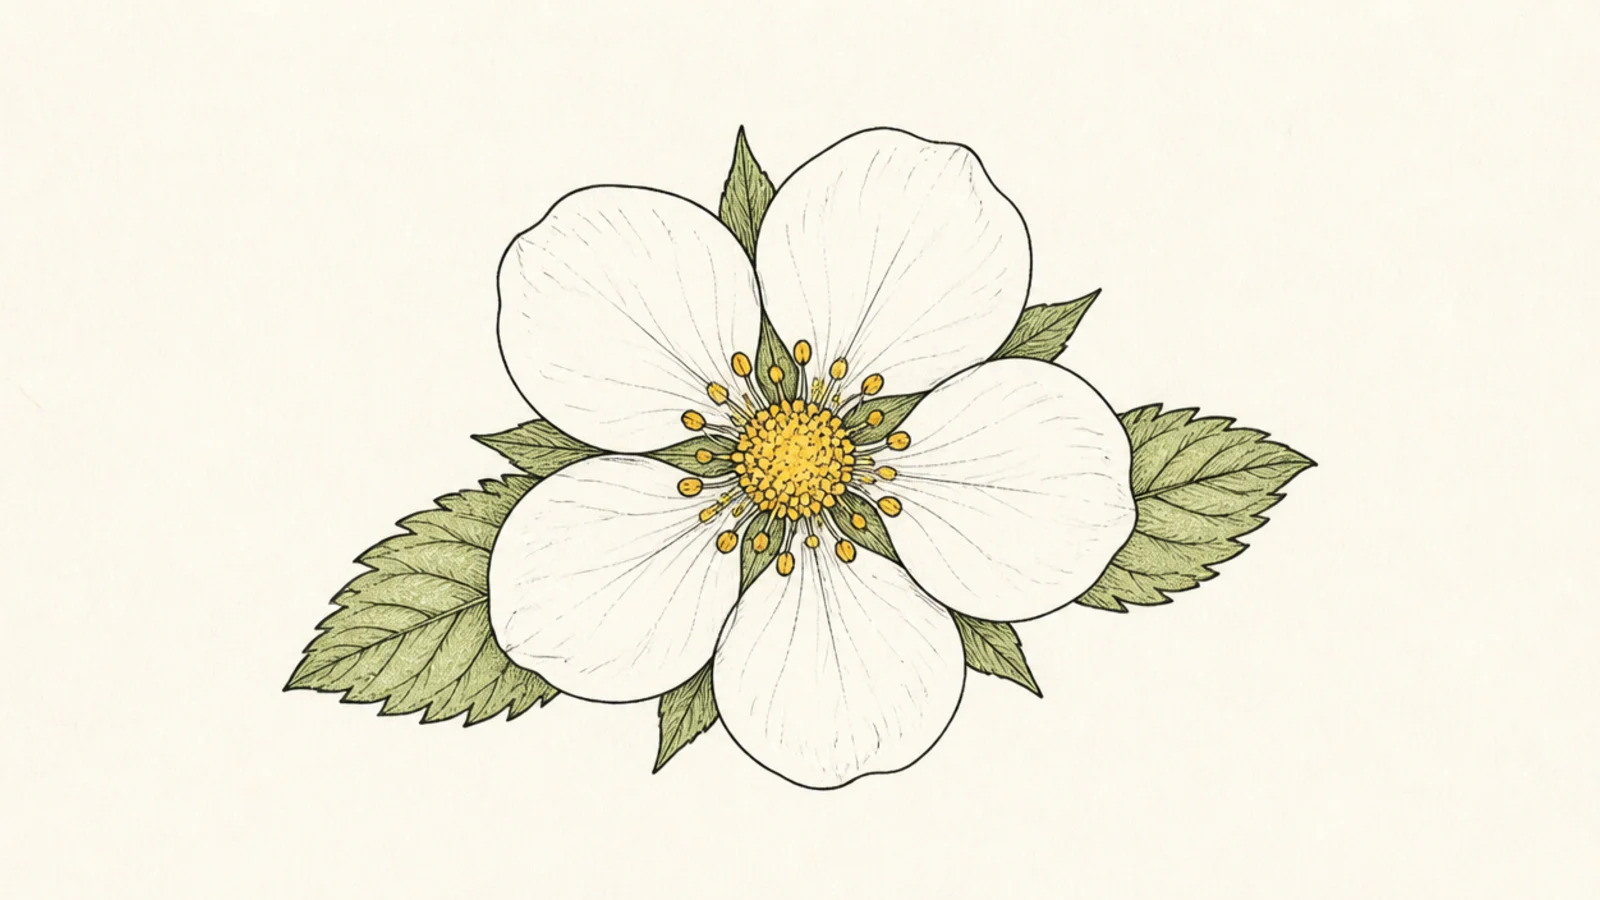
Step 1 sketch the flower lightly. Step 2 trace once with a fineliner in a steady pass. Step 3 erase the pencil and leave it unfilled.
A crisp line-art blossom with no fill looks clean and modern. It puts all the focus on the shape. It is the easiest to keep neat.
AvoidDon’t over-trace; one clean pass looks best.
Pro tipUse one even line weight so the line art looks crisp.
10 Pressed Blossom Study
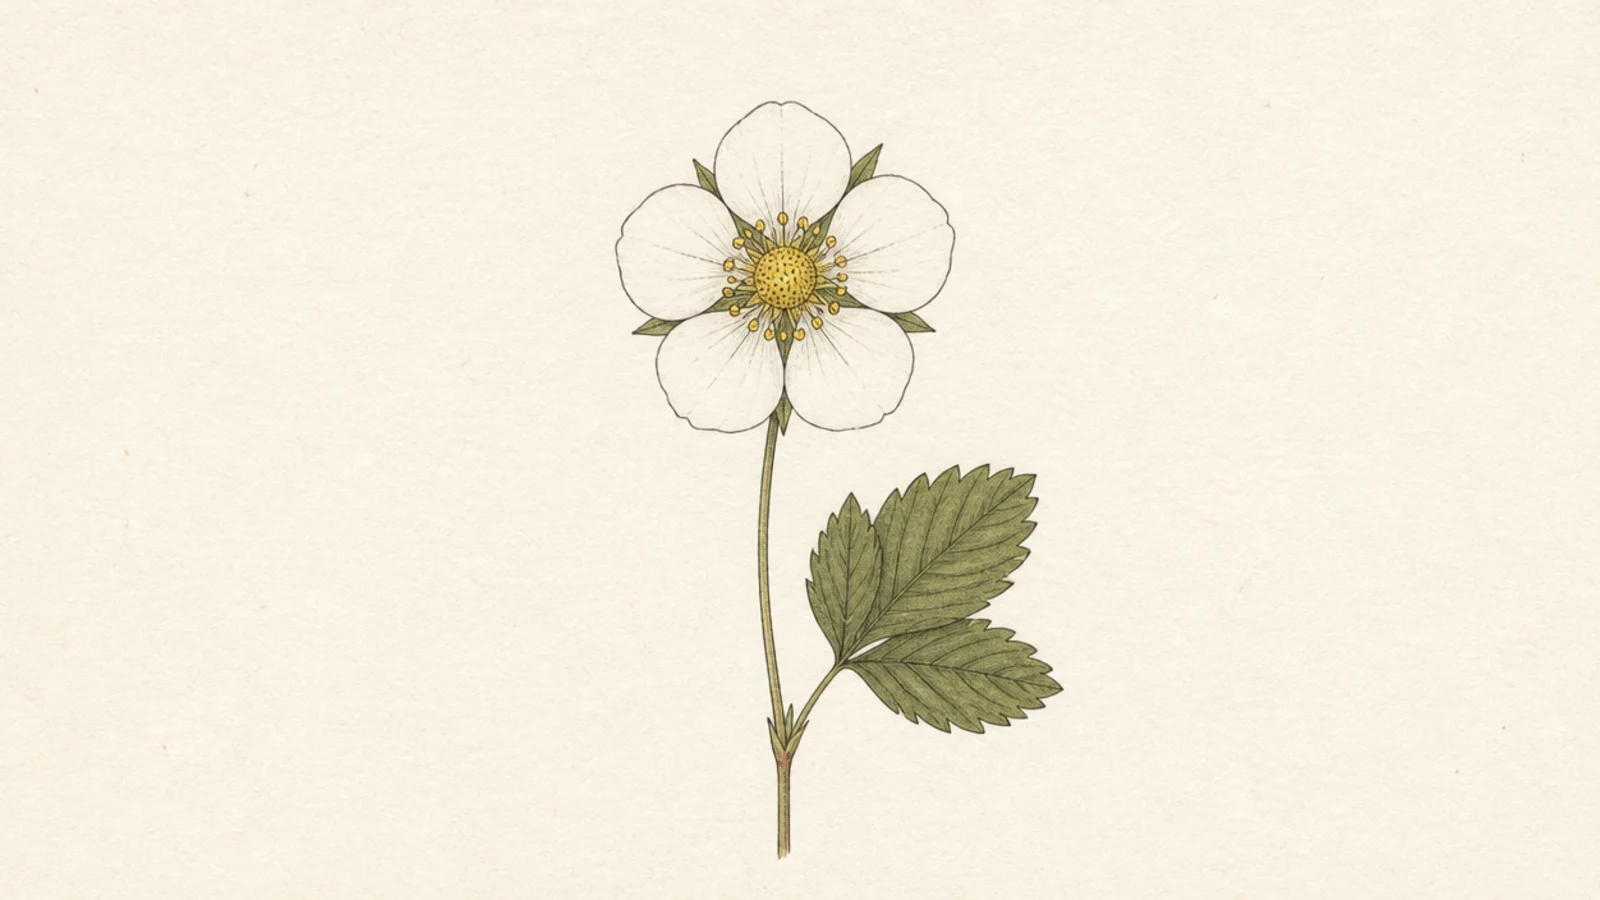
A flat pressed-botanical blossom looks like a keepsake from a scrapbook. The delicate stem and flat petals feel vintage. It is soft and nostalgic.
Step 1 draw a blossom with a long thin stem and a leaf. Step 2 keep everything flat with no shading. Step 3 use soft faded color as if pressed and dried.
Fade the colors slightly, like a real pressed flower.
Don’t add glossy highlights; pressed flowers look flat and matte.
11 Blossom With a Bee
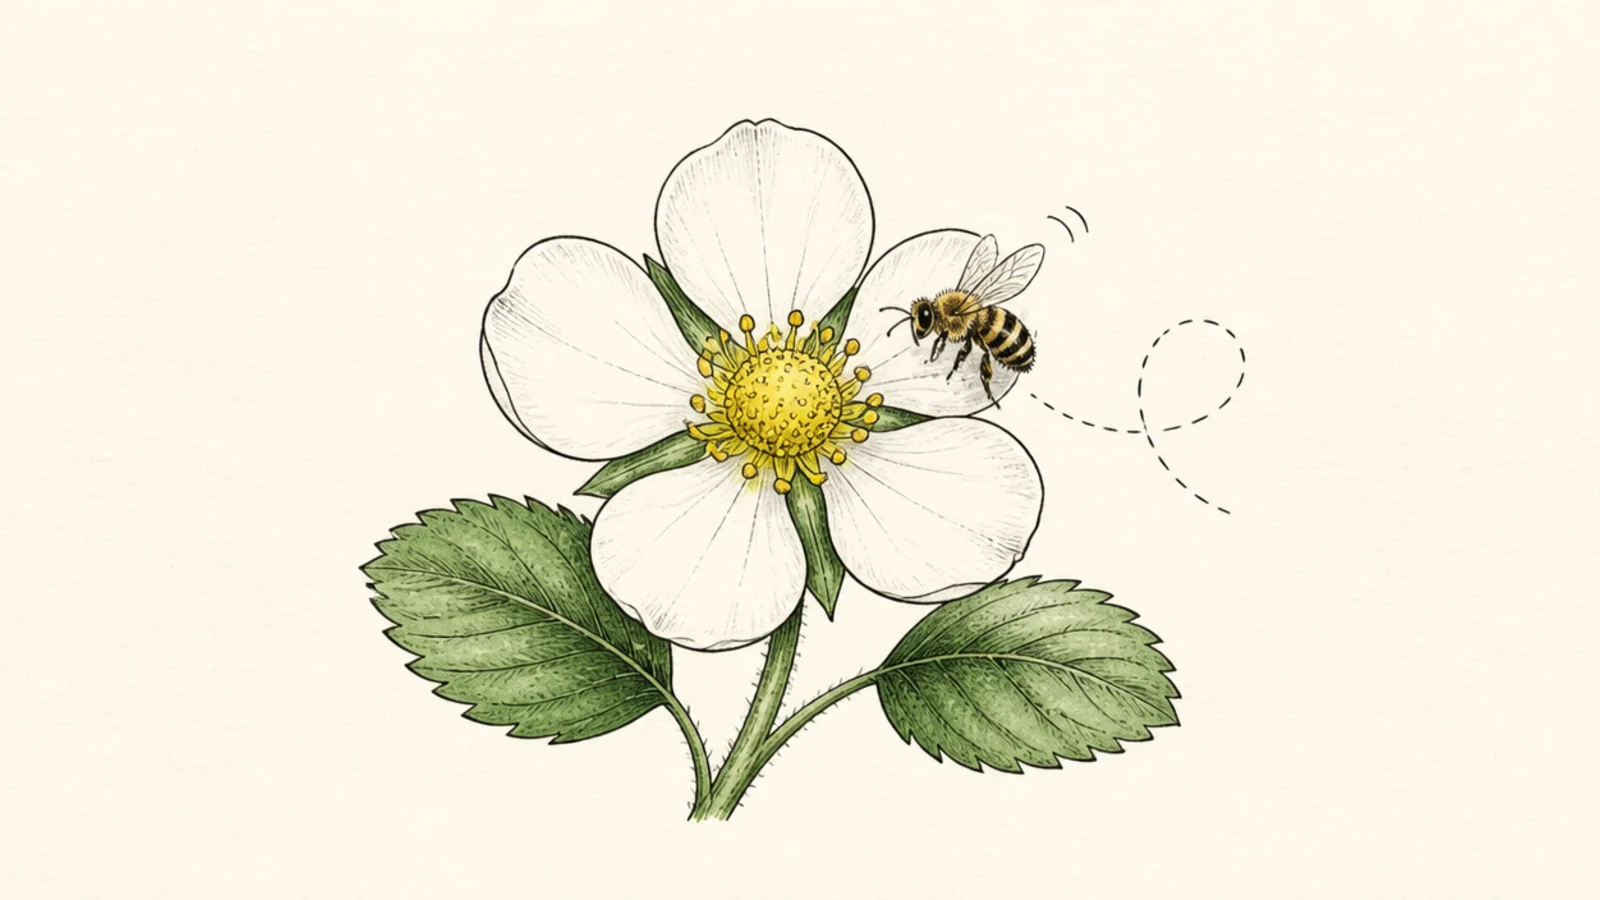
Step 1 draw an open blossom. Step 2 add a small bee hovering at the center. Step 3 add a dashed flight line and tiny motion marks by its wings.
A bee visiting the blossom adds life and shows pollination. The little visitor brings movement. It is a sweet, storytelling detail.
AvoidDon’t make the bee too big; a small bee keeps the flower the focus.
Pro tipPlace the bee right at the yellow center to show it pollinating.
12 Flowering Strawberry Branch
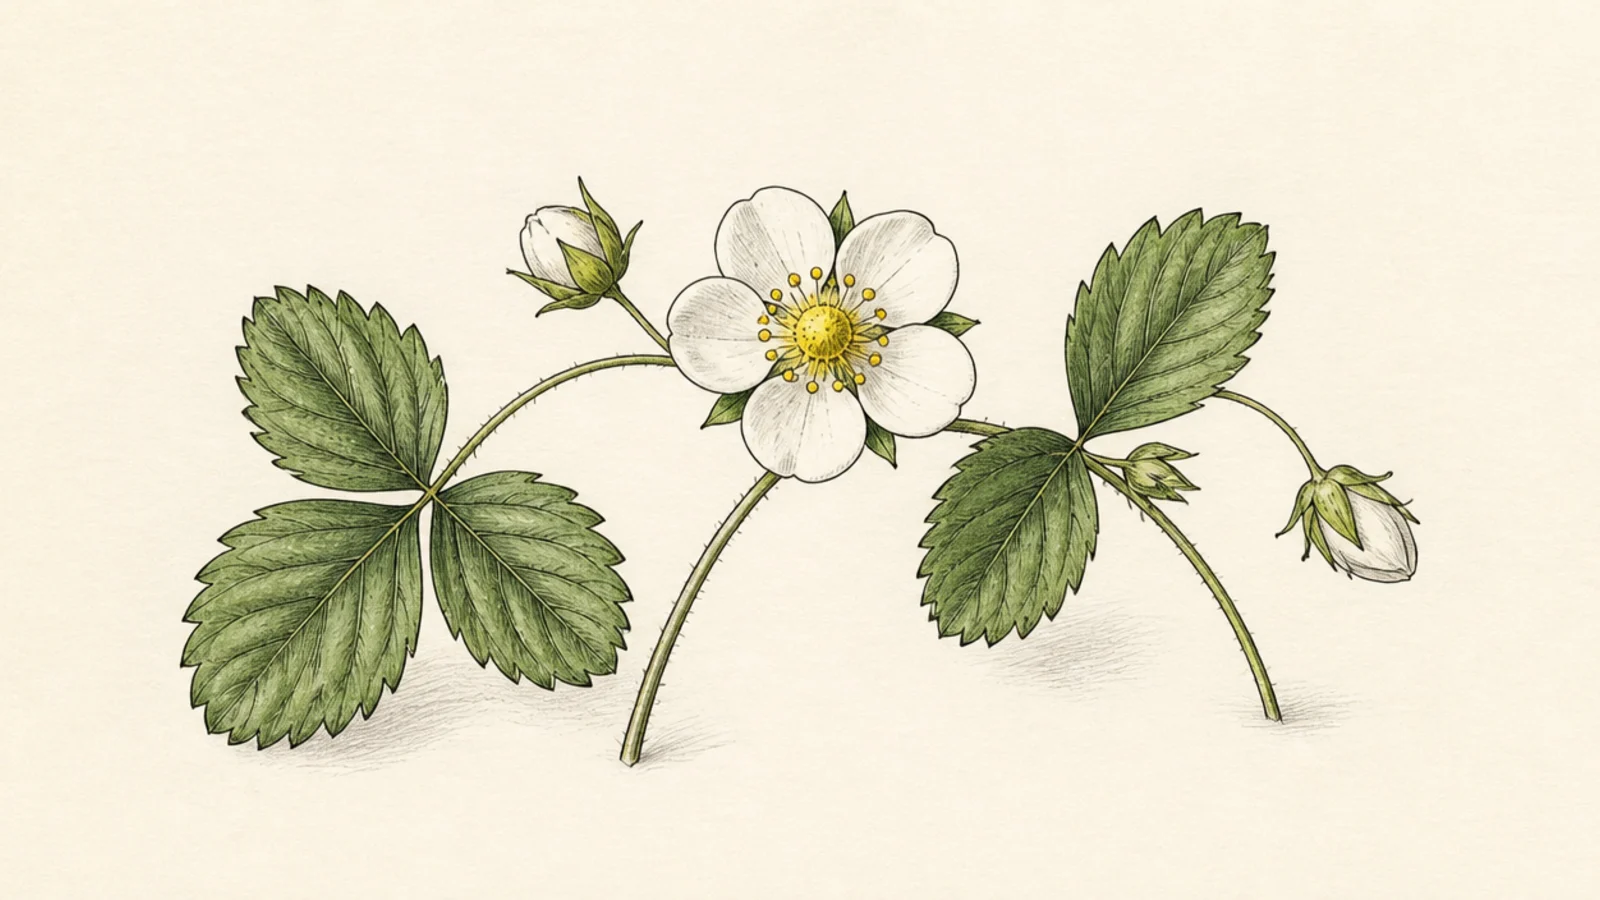
Step 1 draw one arching branch. Step 2 add blossoms, buds, and leaf trios along it. Step 3 add fine veins and a light shadow for depth.
An arching branch with flowers, buds, and leaves looks like a botanical print. The trailing shape is graceful. It is elegant and study-like.
AvoidDon’t crowd the branch; botanical prints breathe with space.
Pro tipArch the branch across the page and space the elements evenly.
13 Soft Watercolor Blossom
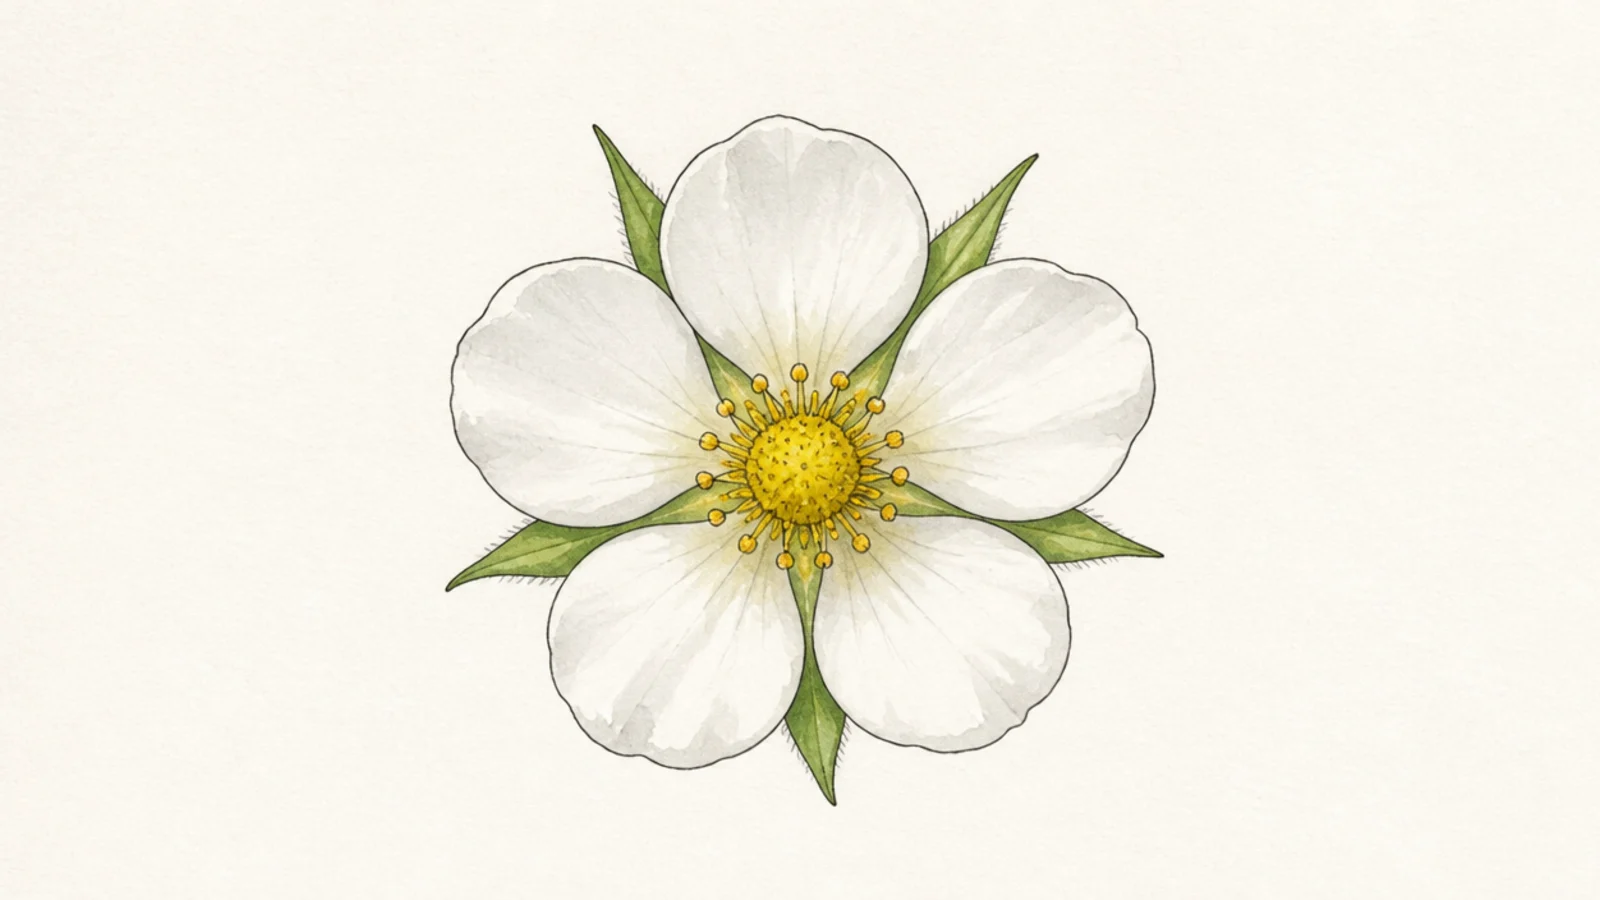
Step 1 draw a light blossom outline. Step 2 wash the petals a very pale warm white-grey and the center soft yellow. Step 3 add a hint of green behind and leave white highlights.
A blossom in soft watercolor feels gentle and dreamy. The light washes glow. It is pretty and delicate.
AvoidDon’t paint the petals grey and heavy; keep them light.
Pro tipKeep the petal washes very pale so the flower stays white and airy.
14 Blossom Corner Doodle
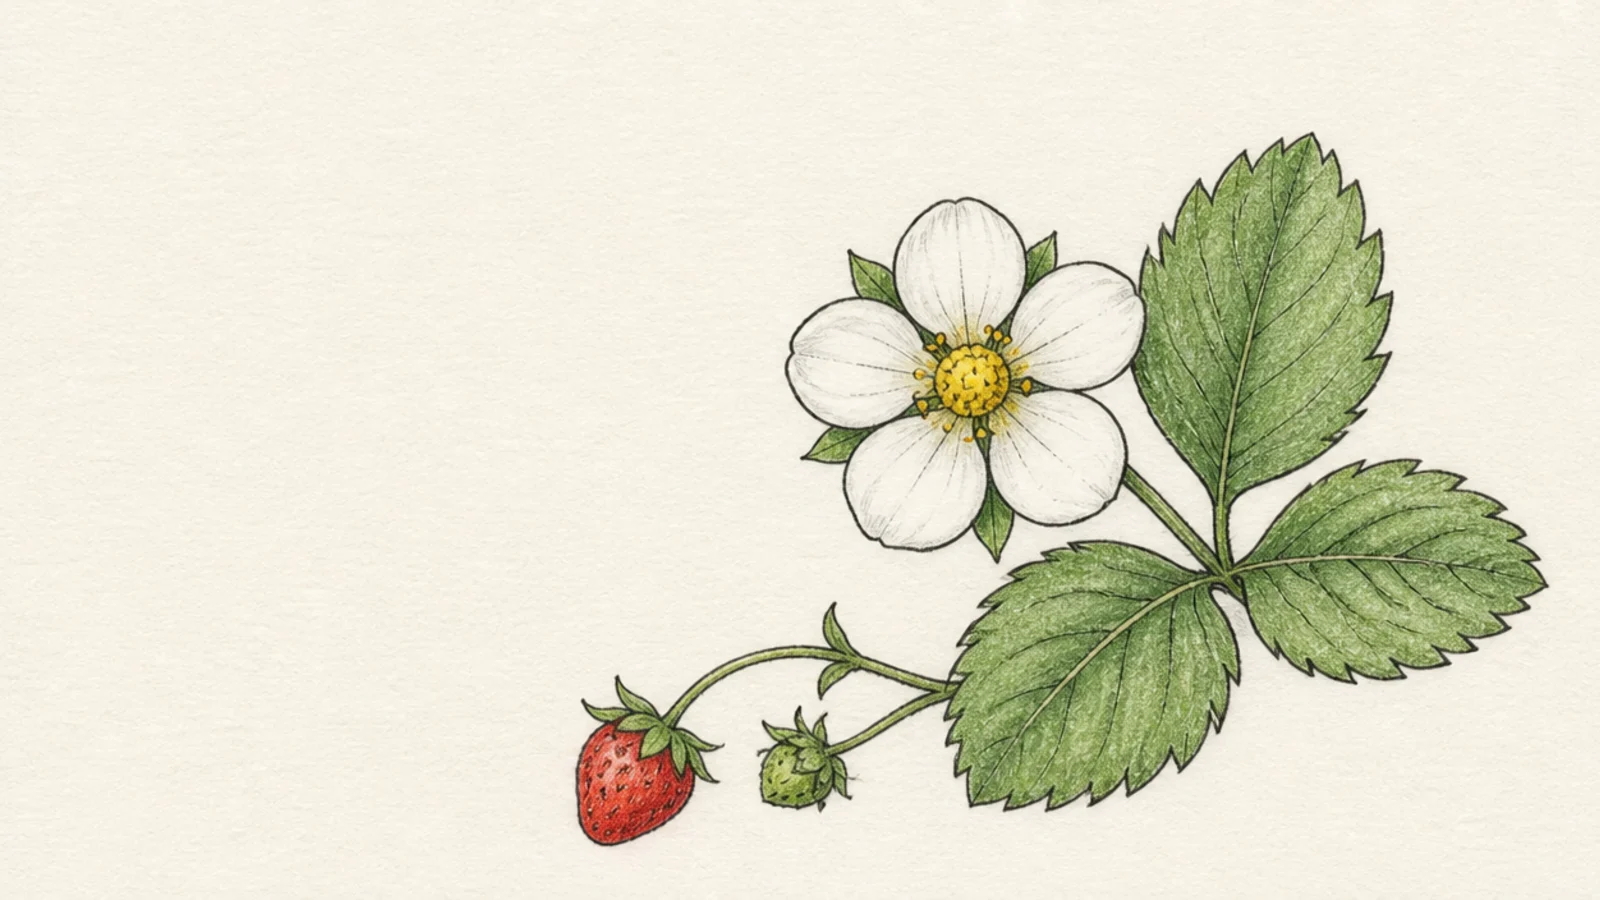
A blossom tucked into a corner with a few leaves is the perfect page accent. Small and simple, it decorates without taking over. It adds charm to any page.
Step 1 in a corner, draw a small blossom. Step 2 add a couple of leaves and a tiny berry trailing along the edge. Step 3 keep it light and simple.
Let the leaves trail along the page edge to frame the corner.
Don’t make it big; a corner accent should stay small.
15 Full Flowering Sprig
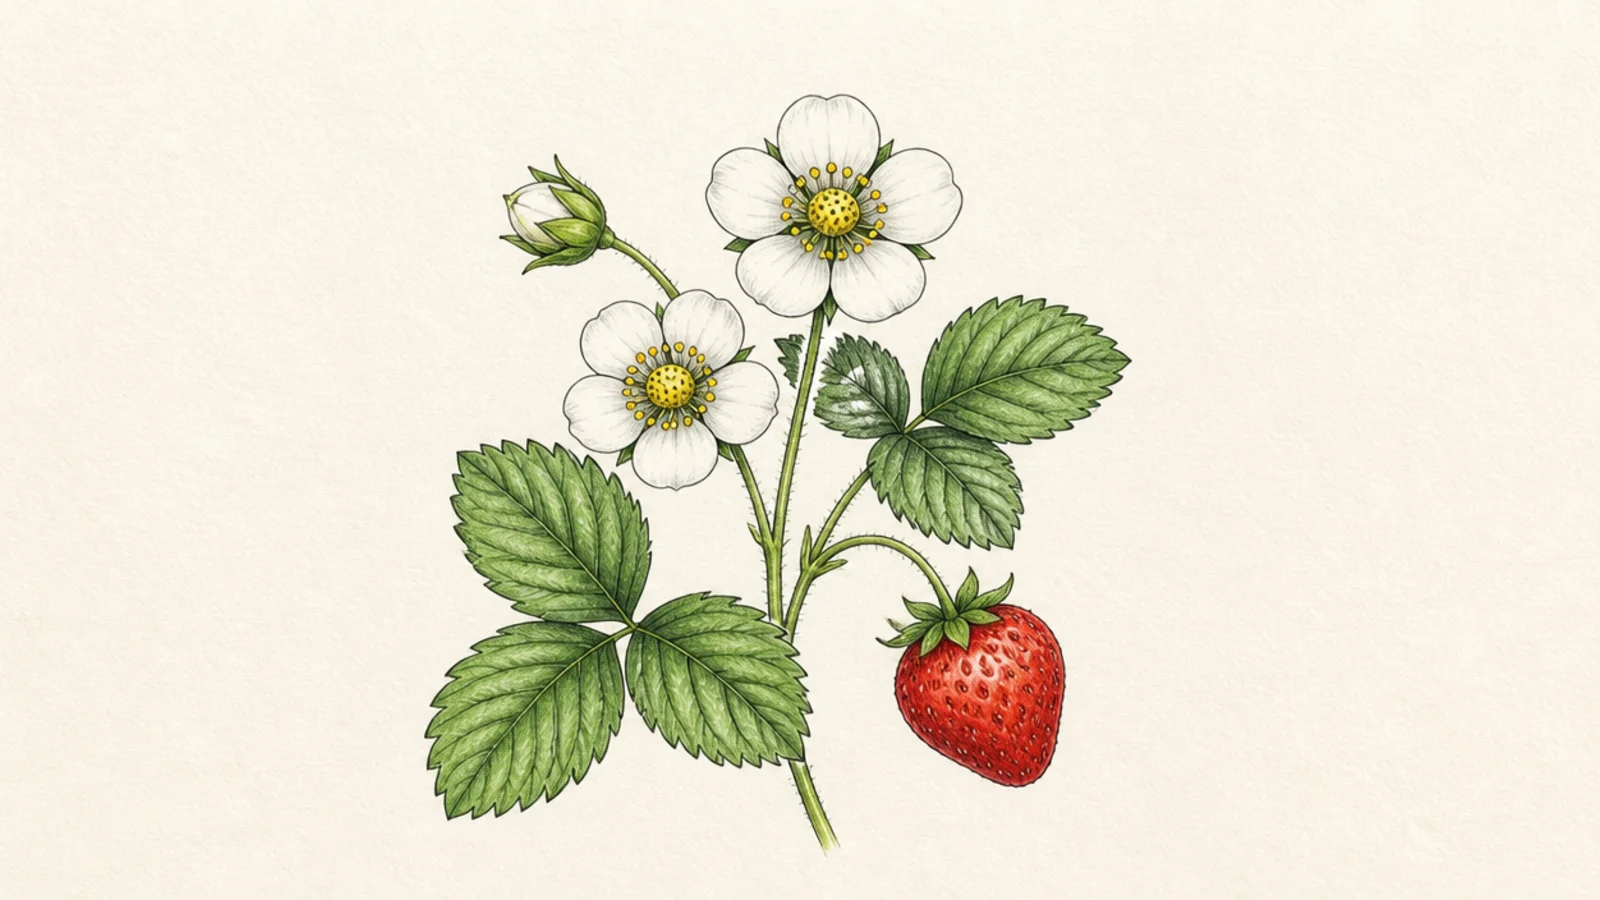
A full sprig with flowers, buds, leaves, and a ripe berry is the grand finale. It brings together everything from the list. It is a complete little portrait of the plant in bloom.
Step 1 draw a main stem. Step 2 add two open blossoms, a bud, leaf trios, and one red berry. Step 3 add veins, center dots, and light shading to finish.
Include a flower, a bud, and a berry so the sprig shows every stage.
Don’t leave it flat; a little shading gives the sprig real depth.



