
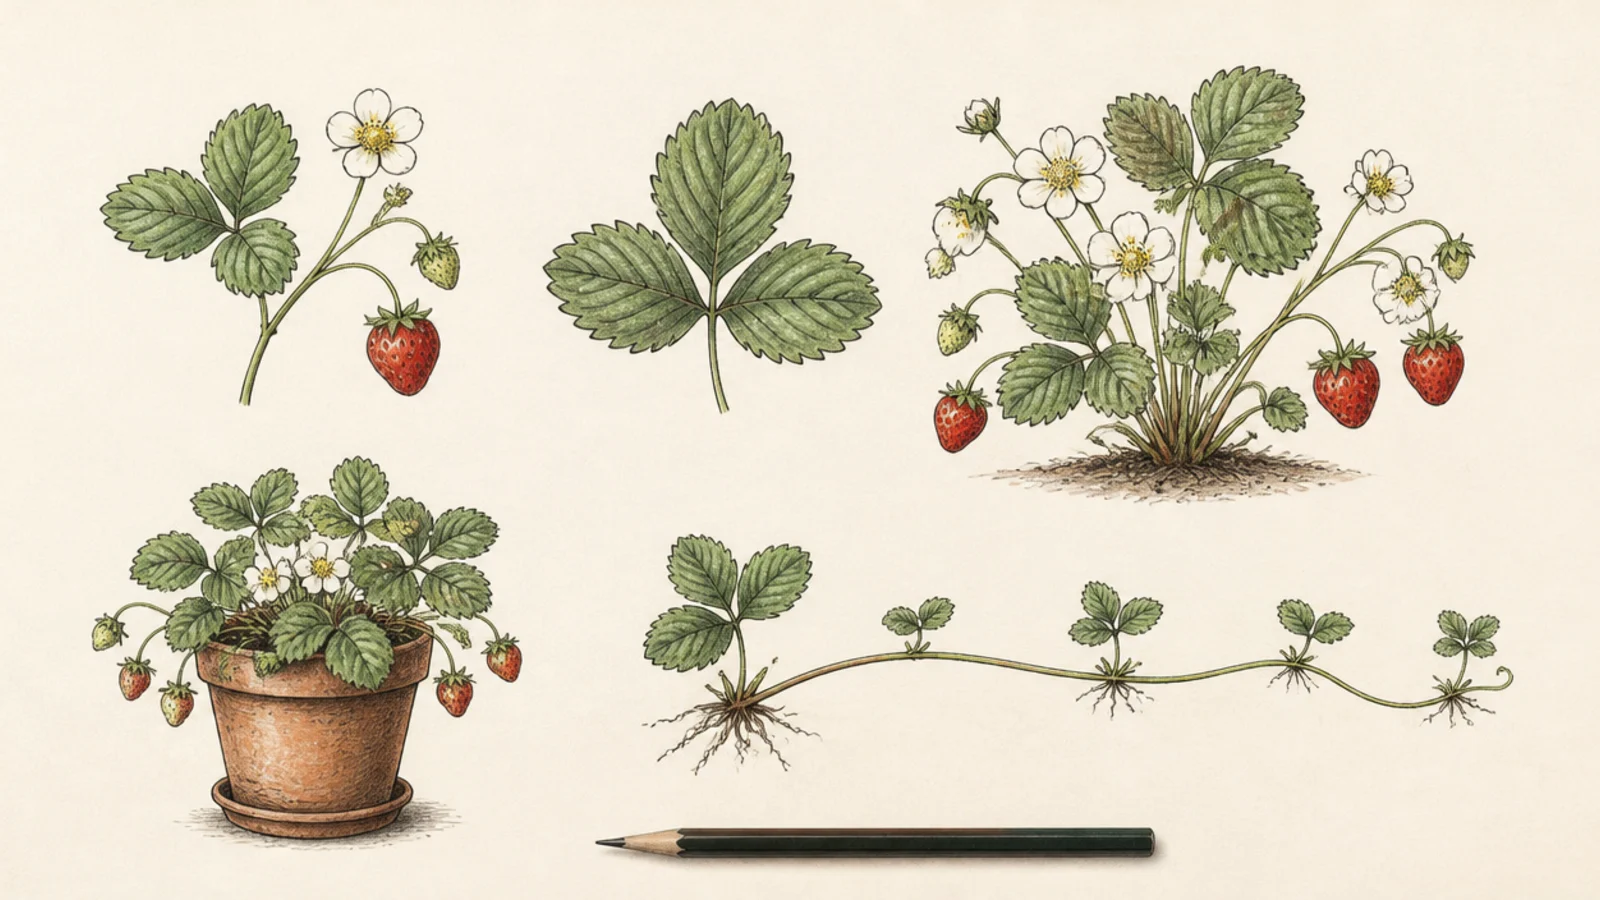
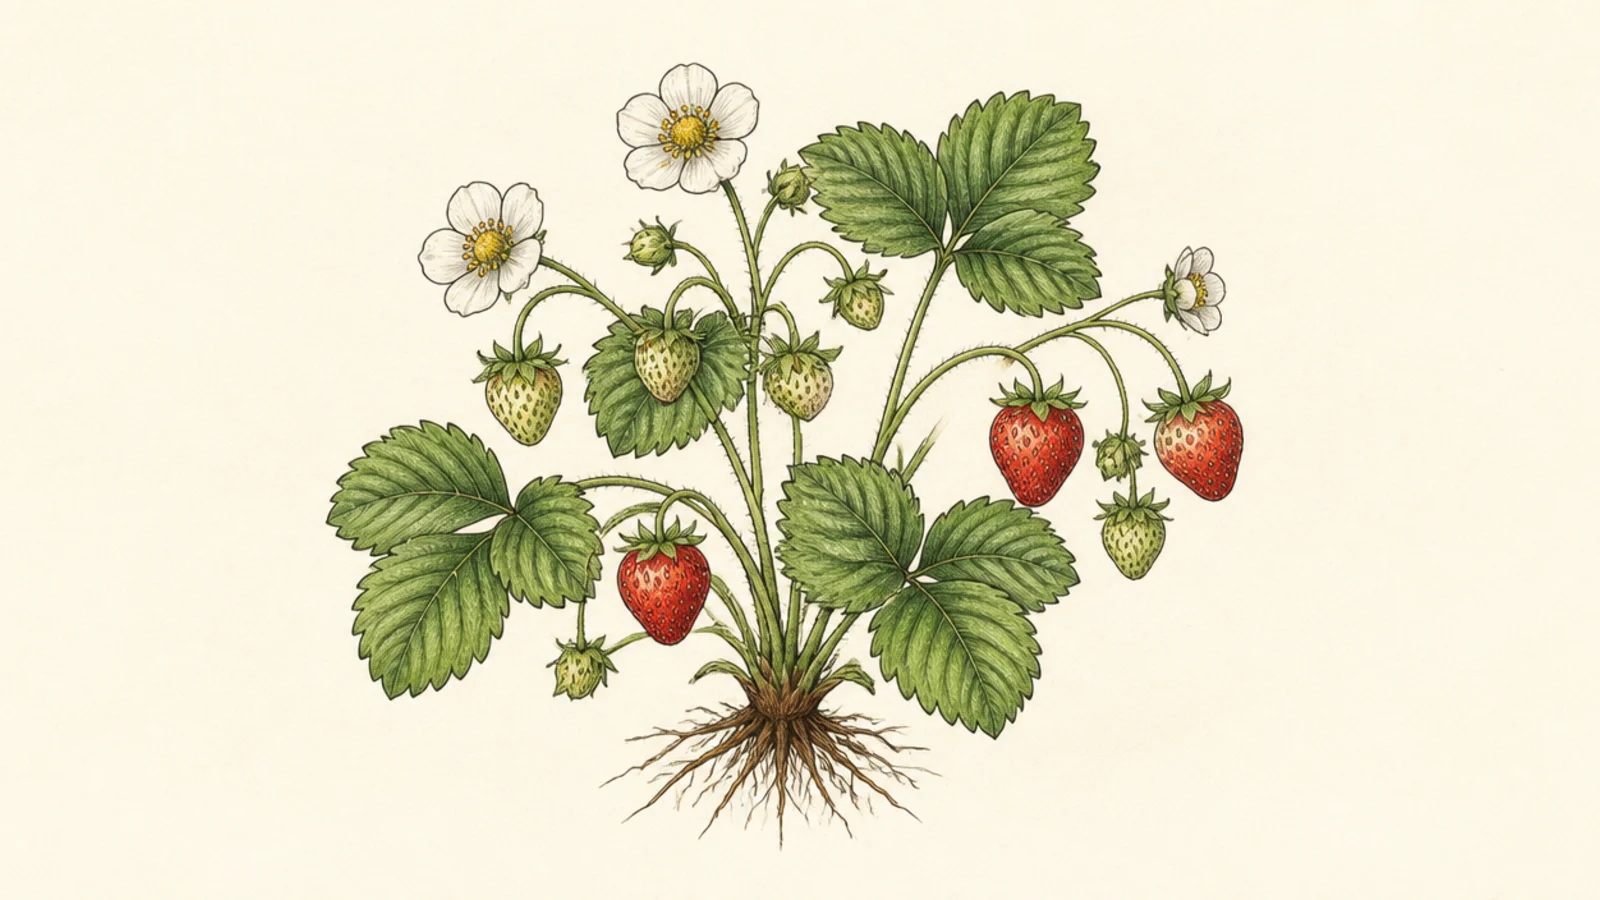
1 Single Strawberry Sprig
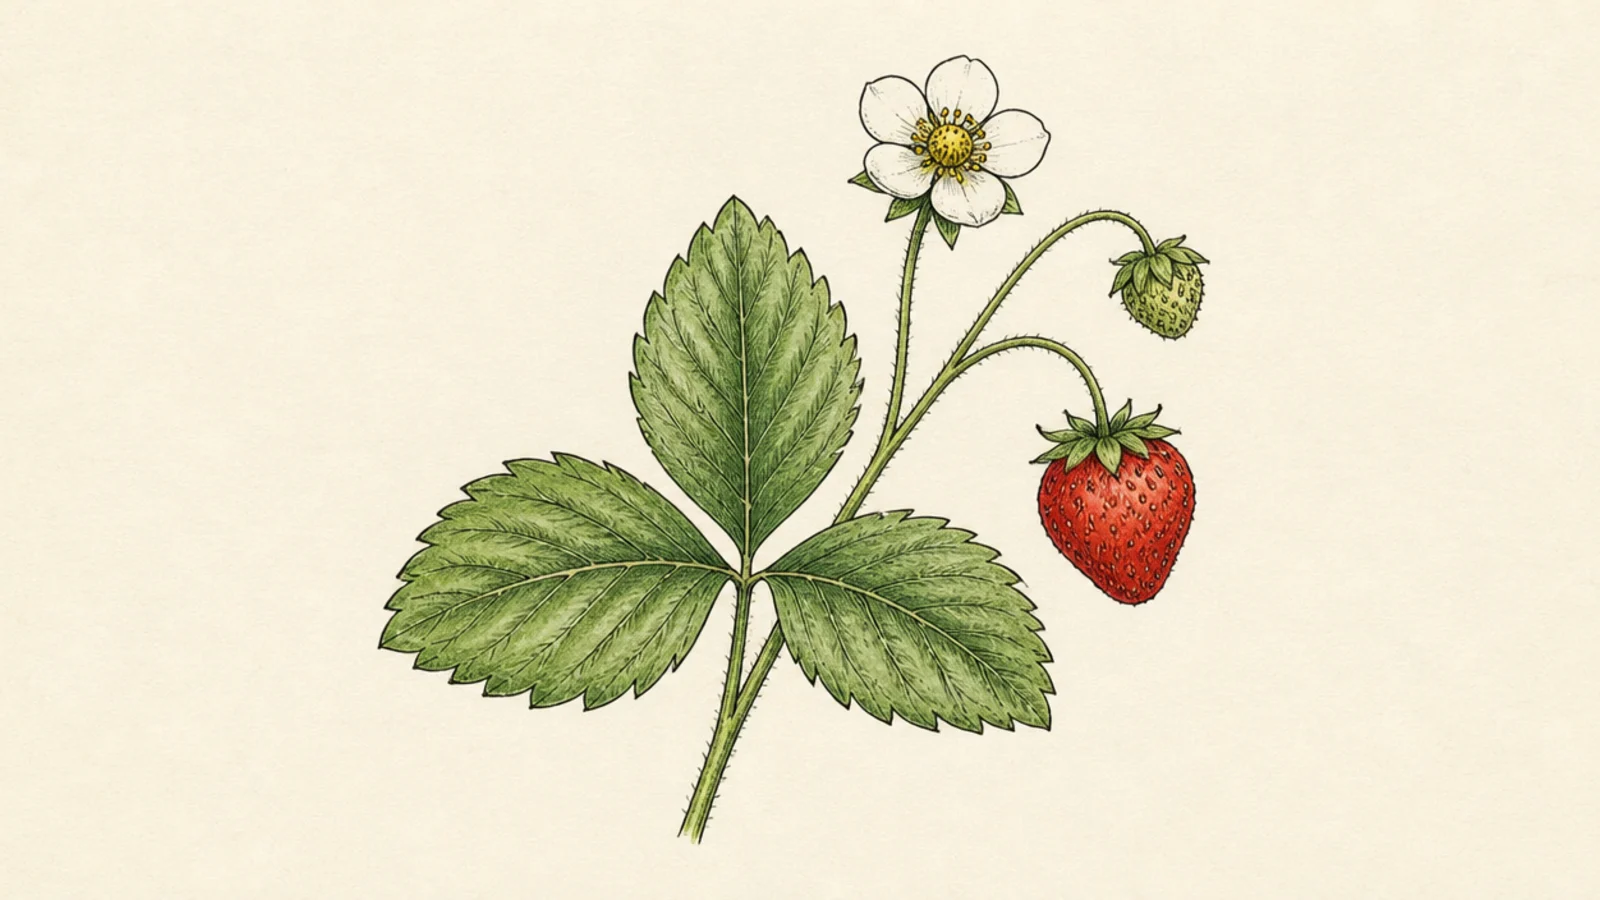
Step 1 draw a short main stem. Step 2 add a leaf of three toothed leaflets. Step 3 add one red berry on a thin stem and a small white blossom.
A single sprig is the simplest whole-plant idea and the base for the list. It has one leaf trio, one berry, and one blossom — all the plant’s parts in miniature. Master this and the bigger plants are just more of the same.
AvoidDon’t draw the leaves as smooth ovals; the toothed edge makes it a strawberry.
Pro tipKeep the three leaflets close together on one short stem so they read as one leaf.
2 Strawberry Leaf Study
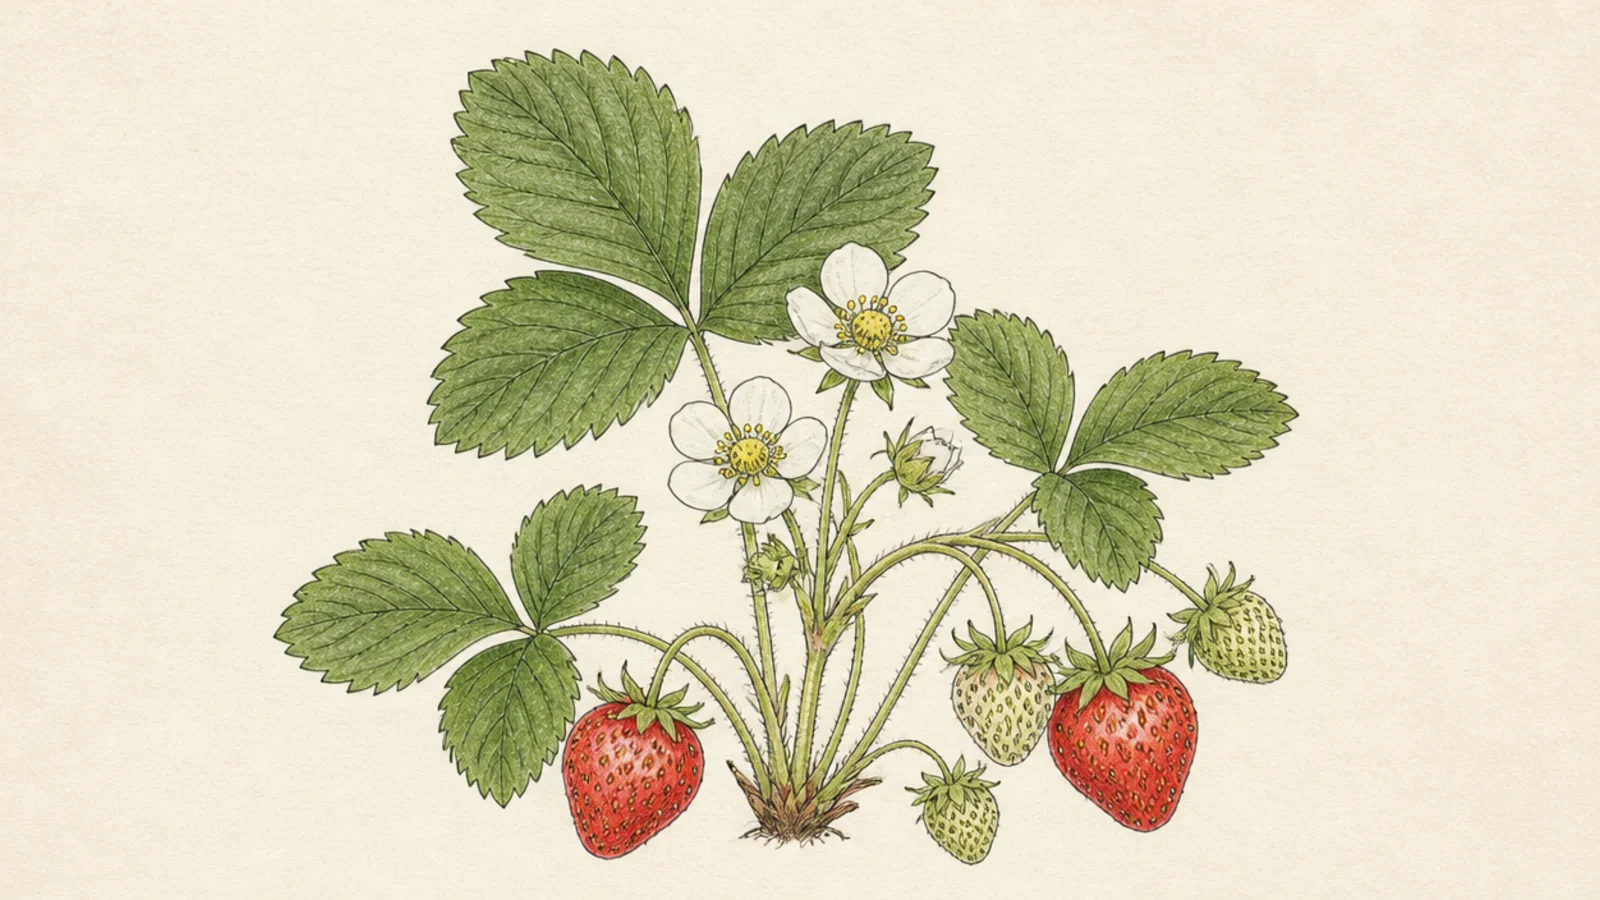
A close study of the signature leaf-of-three teaches the plant’s most recognizable feature. The toothed edges and veins are great practice. It looks like a field-guide page.
Step 1 draw three oval leaflets joined at one point. Step 2 add a saw-toothed edge to each. Step 3 draw a central vein and branching side veins on every leaflet.
Make the teeth even and pointing slightly forward for a natural leaf edge.
Don’t leave the edges smooth; the jagged margin is the whole point.
3 Flowering Strawberry Plant
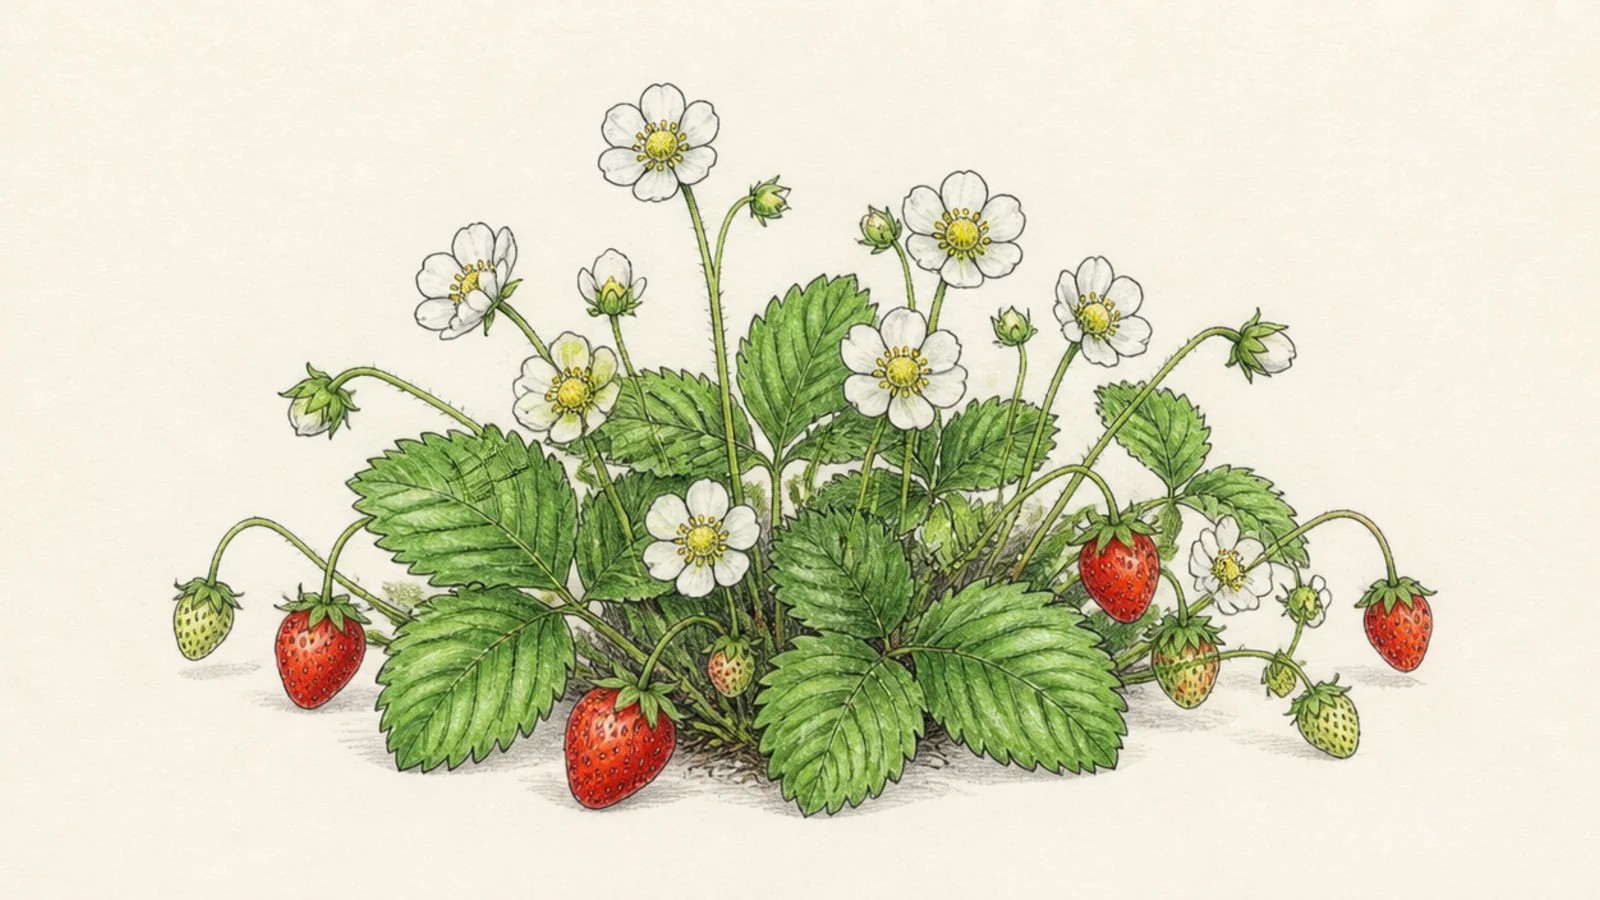
Step 1 draw a low mound of leaf trios. Step 2 add several five-petal white flowers on thin stems above the leaves. Step 3 add tiny yellow centers and a few buds.
A plant in full bloom shows the pretty white-flower stage before fruit. The cluster of blossoms is cheerful. It captures the plant in spring.
AvoidDon’t add ripe berries here; the blooming stage comes before fruit.
Pro tipCluster the flowers just above the leaves where they naturally sit.
4 Fruiting Strawberry Plant
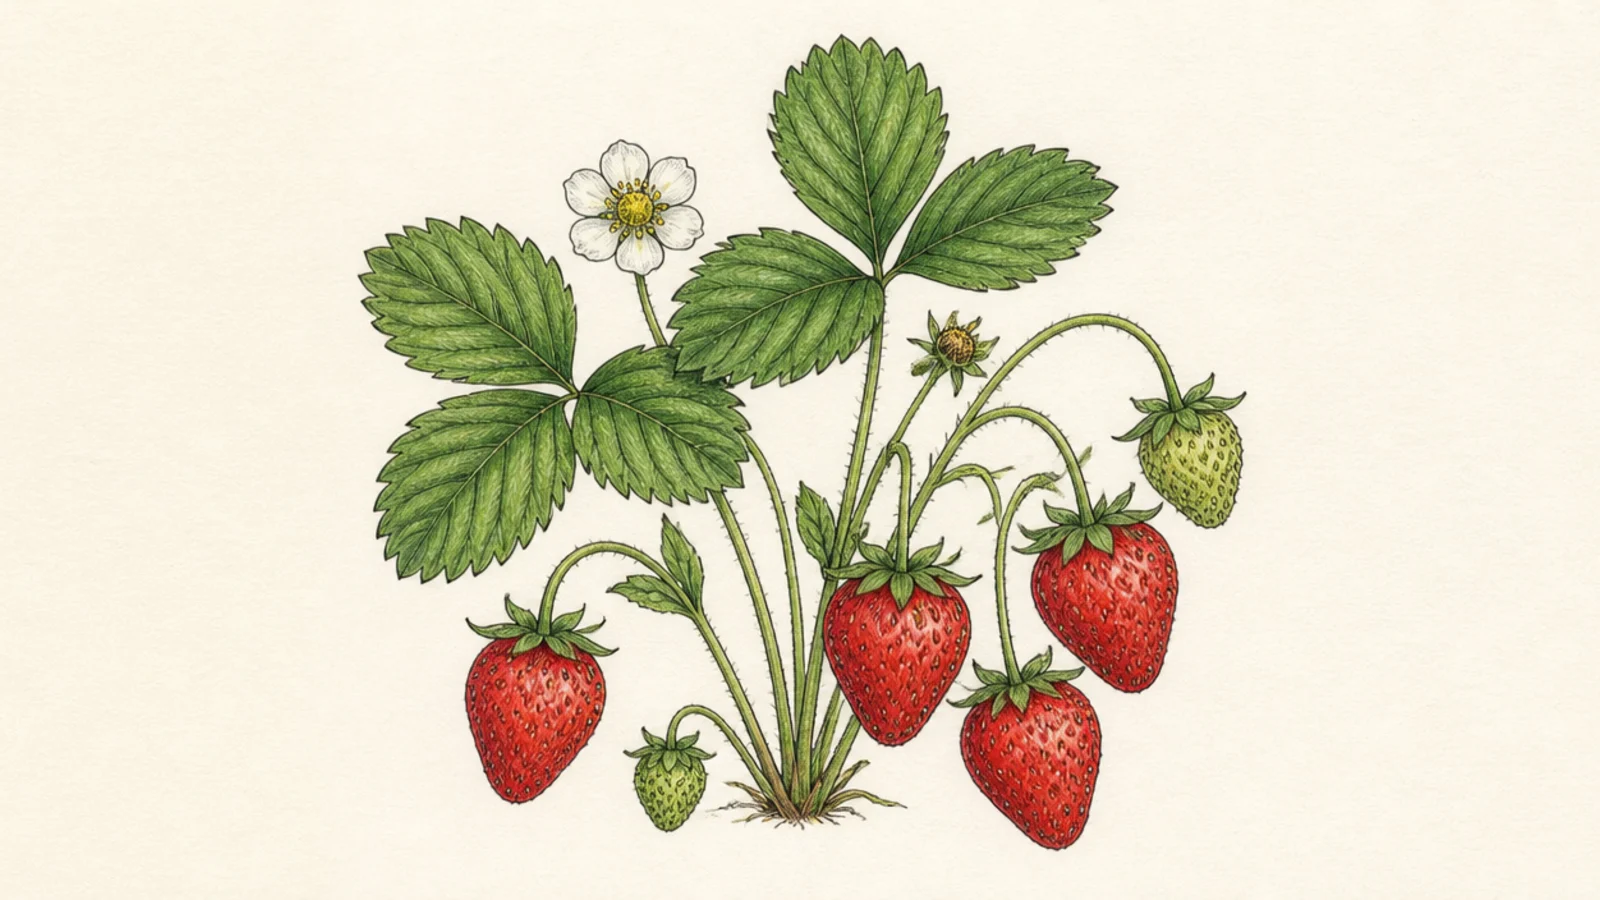
Step 1 draw a leafy plant mound. Step 2 hang several berries on thin stems, letting them nod downward. Step 3 mix in one or two green unripe berries and a leftover blossom.
A fruiting plant heavy with red berries is the classic harvest look. The nodding berries feel weighty and ripe. It is satisfying and abundant.
AvoidDon’t make all berries red; a few green ones look more natural.
Pro tipLet the heavy berries droop below the leaves as if weighed down.
5 Trailing Runner
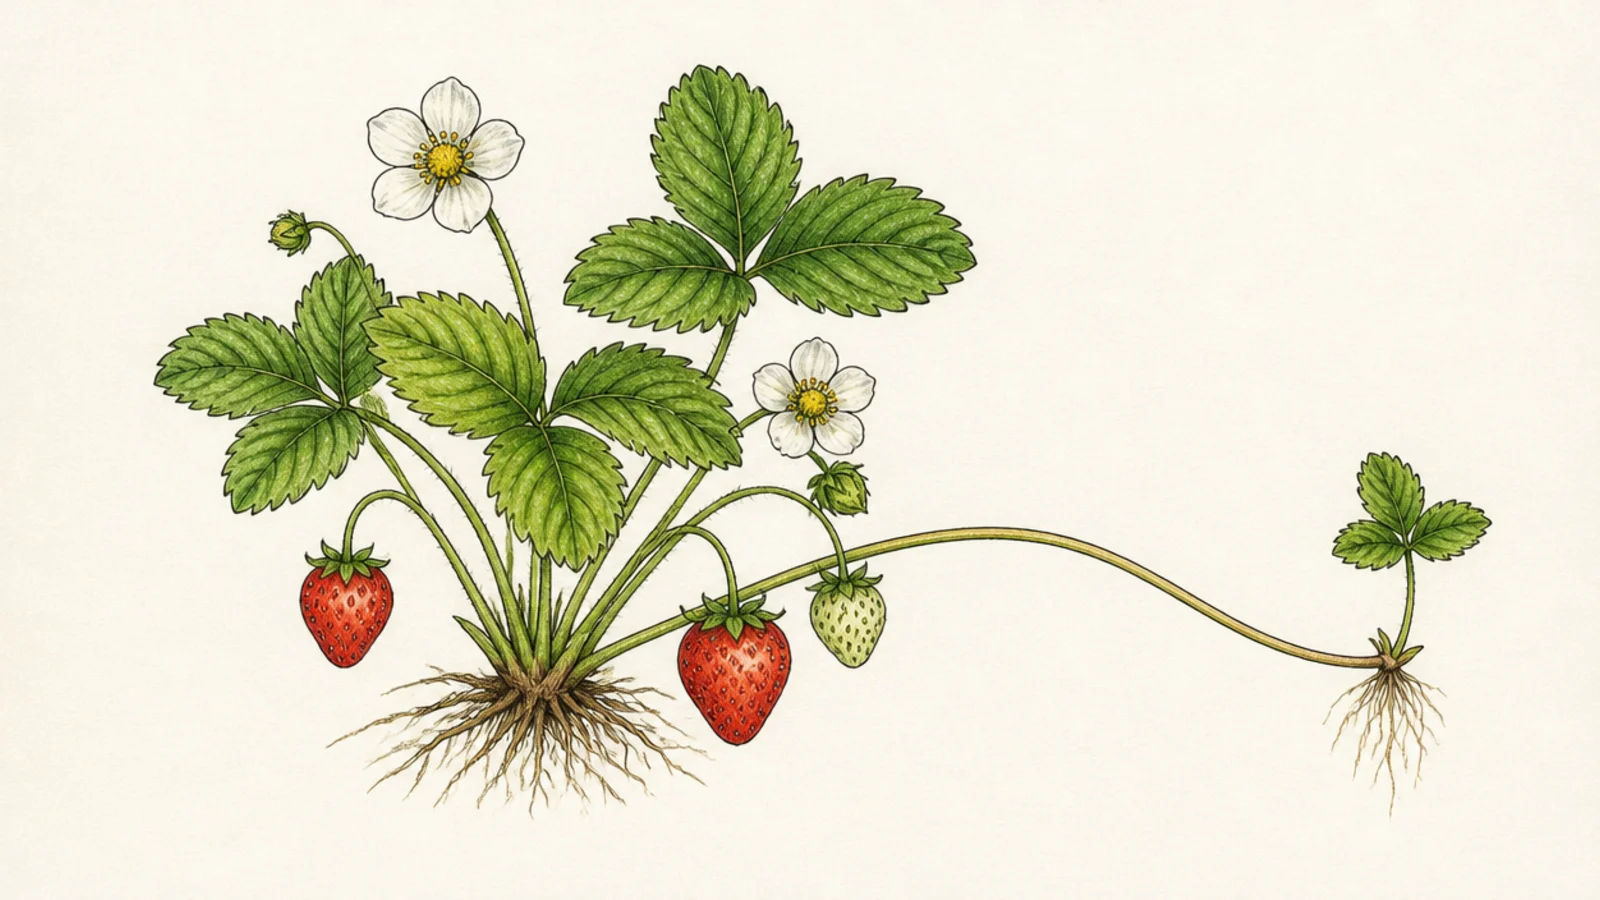
Step 1 draw the main plant. Step 2 send a long thin runner curving sideways. Step 3 add a small new leaf cluster with tiny roots at the runner’s end.
A runner trailing out to a baby plant shows how strawberries spread. The long stem and little offshoot are a lovely botanical detail. It tells a growing story.
AvoidDon’t make the runner thick; runners are slender, trailing stems.
Pro tipCurve the runner gracefully and thin it toward the new plant.
6 Potted Strawberry Plant
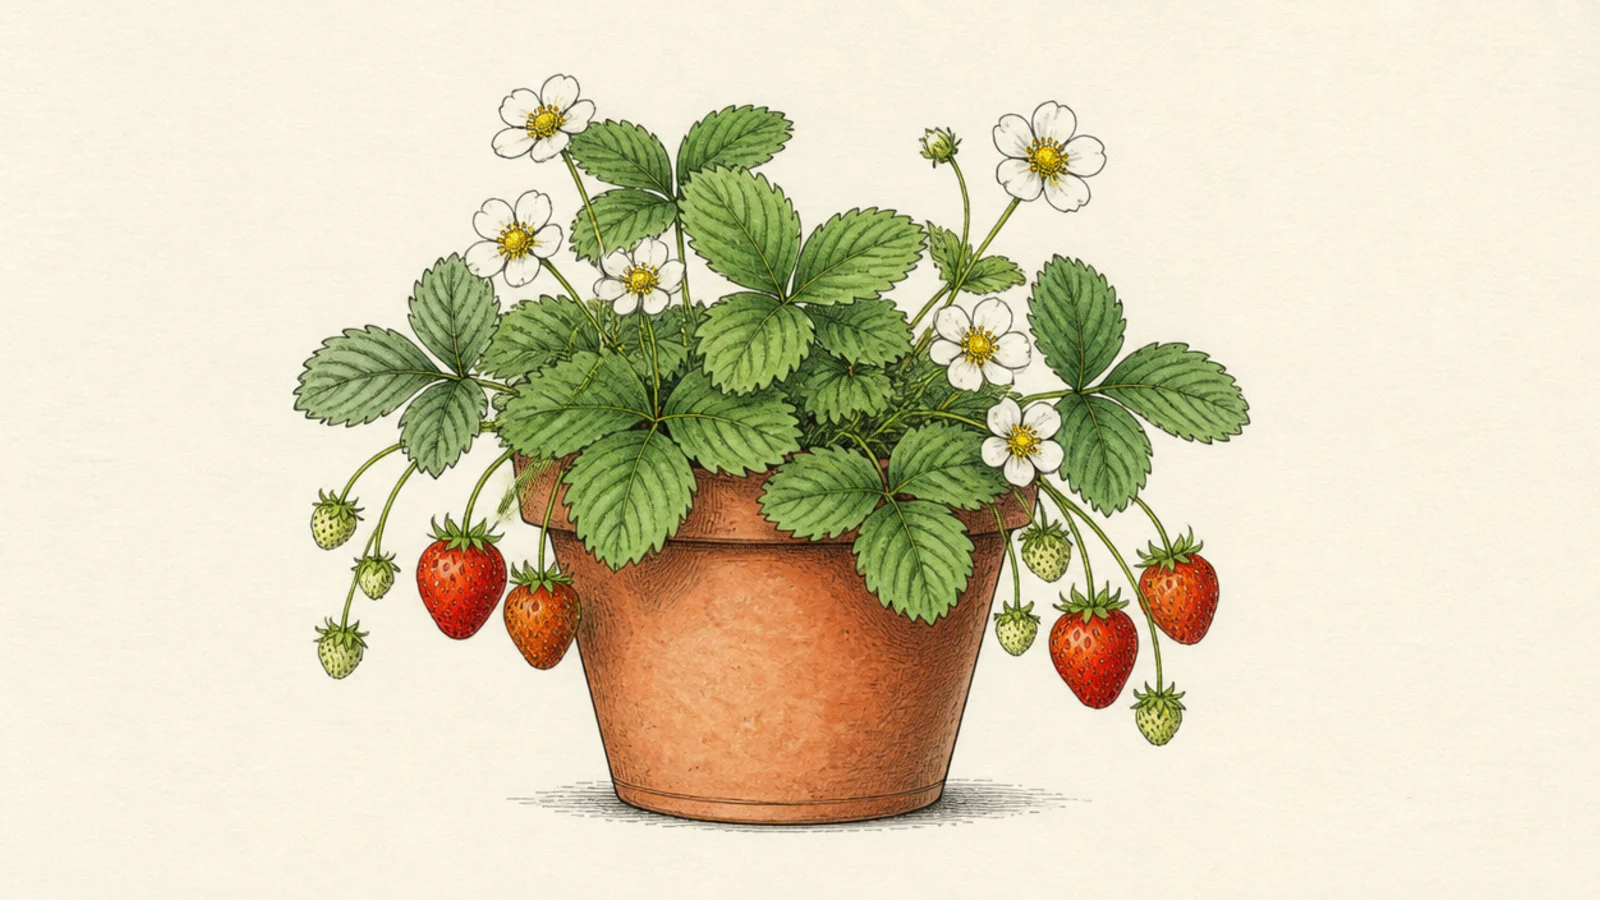
Step 1 draw a terracotta pot as a trapezoid with a rim. Step 2 fill the top with leaf trios spilling over the edge. Step 3 hang a few red berries over the rim and add blossoms.
A potted strawberry plant is cozy and complete, like a windowsill garden. The pot grounds the plant. It feels homey and cared-for.
AvoidDon’t keep the plant stiff and upright; a little spill looks alive.
Pro tipLet some leaves and berries spill over the pot’s rim for a full, lush look.
7 Cross-Section in Soil
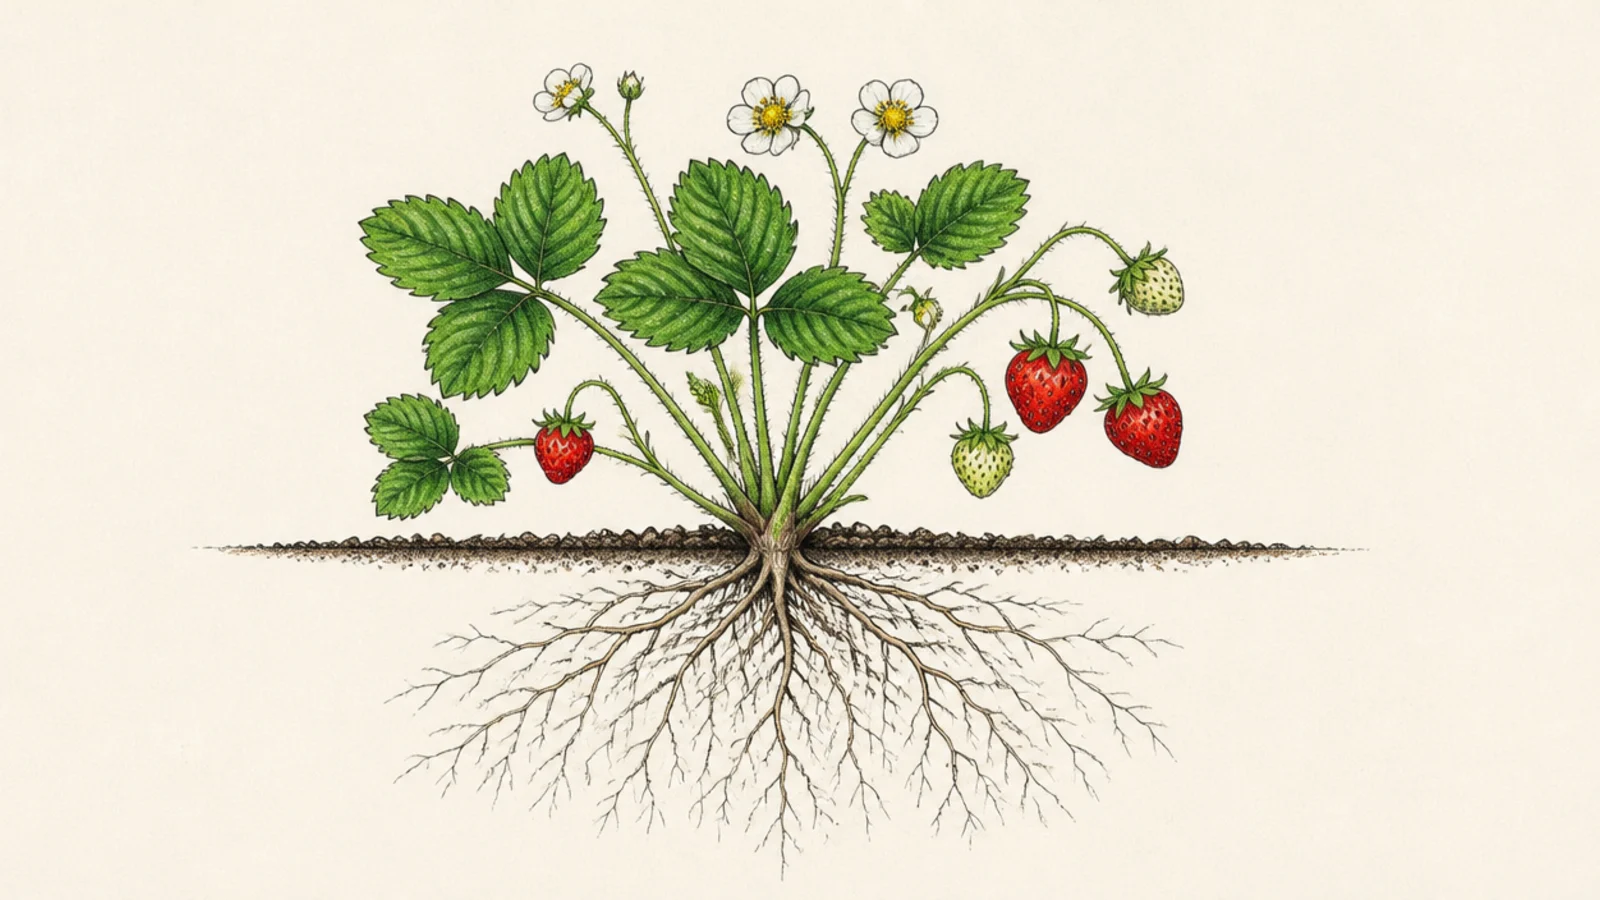
Step 1 draw a soil line across the page. Step 2 draw the leafy plant and berries above it. Step 3 add a spreading root system below the line.
Showing the roots below a soil line makes an educational, whole-plant diagram. The hidden roots add interest. It looks like a botany illustration.
AvoidDon’t draw one straight root; strawberry roots branch and spread.
Pro tipDraw the roots as branching, tapering lines that spread out and down.
8 Hanging Basket Plant
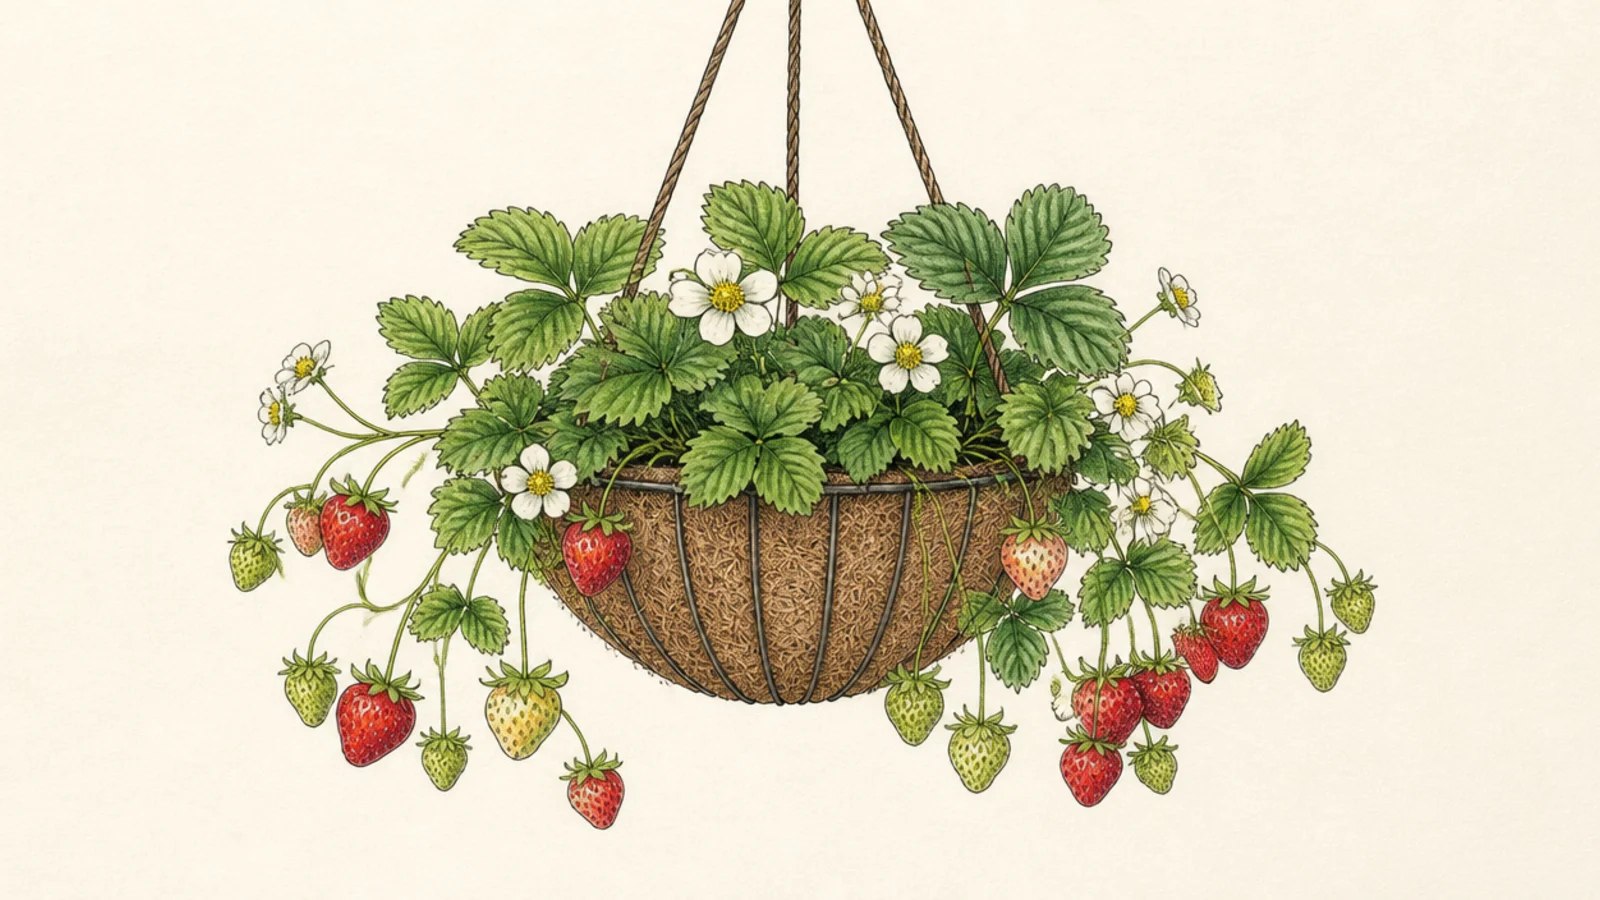
Step 1 draw a rounded basket with hanging cords. Step 2 fill it with leaves. Step 3 let stems with berries and blossoms trail down over the sides.
A strawberry plant cascading from a hanging basket is decorative and full. The trailing berries look lush. It is a pretty garden feature.
AvoidDon’t keep everything inside the basket; the trailing fruit is the charm.
Pro tipLet the fruiting stems trail well below the basket for a cascading look.
9 Botanical Branch Illustration
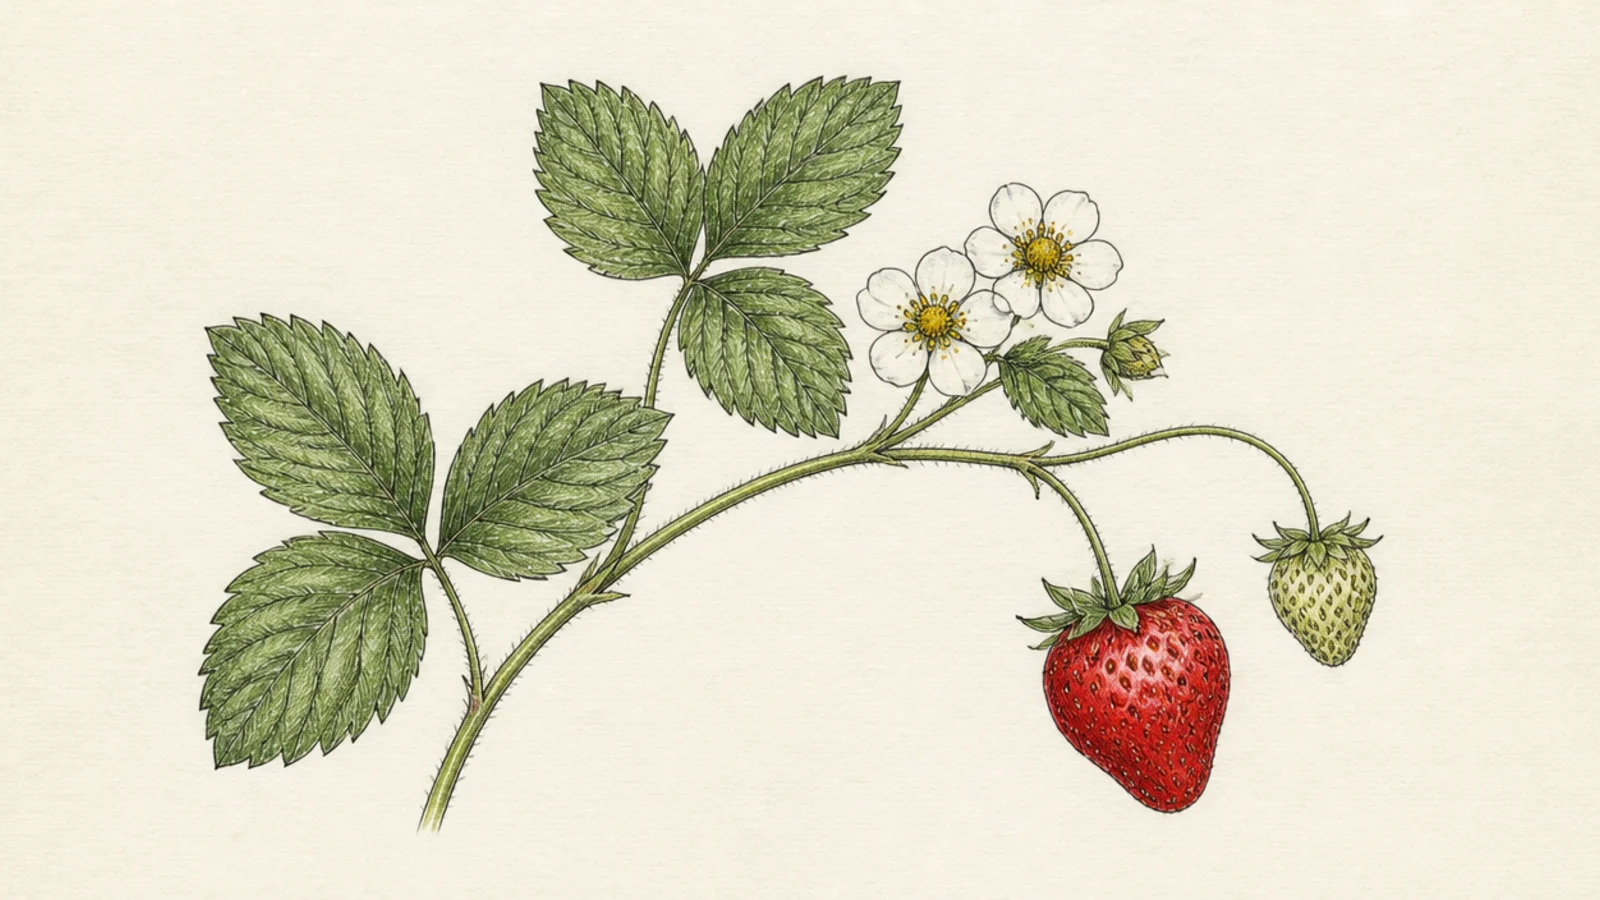
Step 1 draw one arching branch. Step 2 add detailed leaf trios, a blossom cluster, and a ripe berry along it. Step 3 add fine veins and light shading for depth.
A single detailed branch in botanical style shows every part cleanly. The careful rendering feels like a vintage print. It is elegant and study-like.
AvoidDon’t crowd the branch; botanical prints breathe with space.
Pro tipArch the branch across the page and space the elements evenly like a print.
10 Wild Strawberry Plant
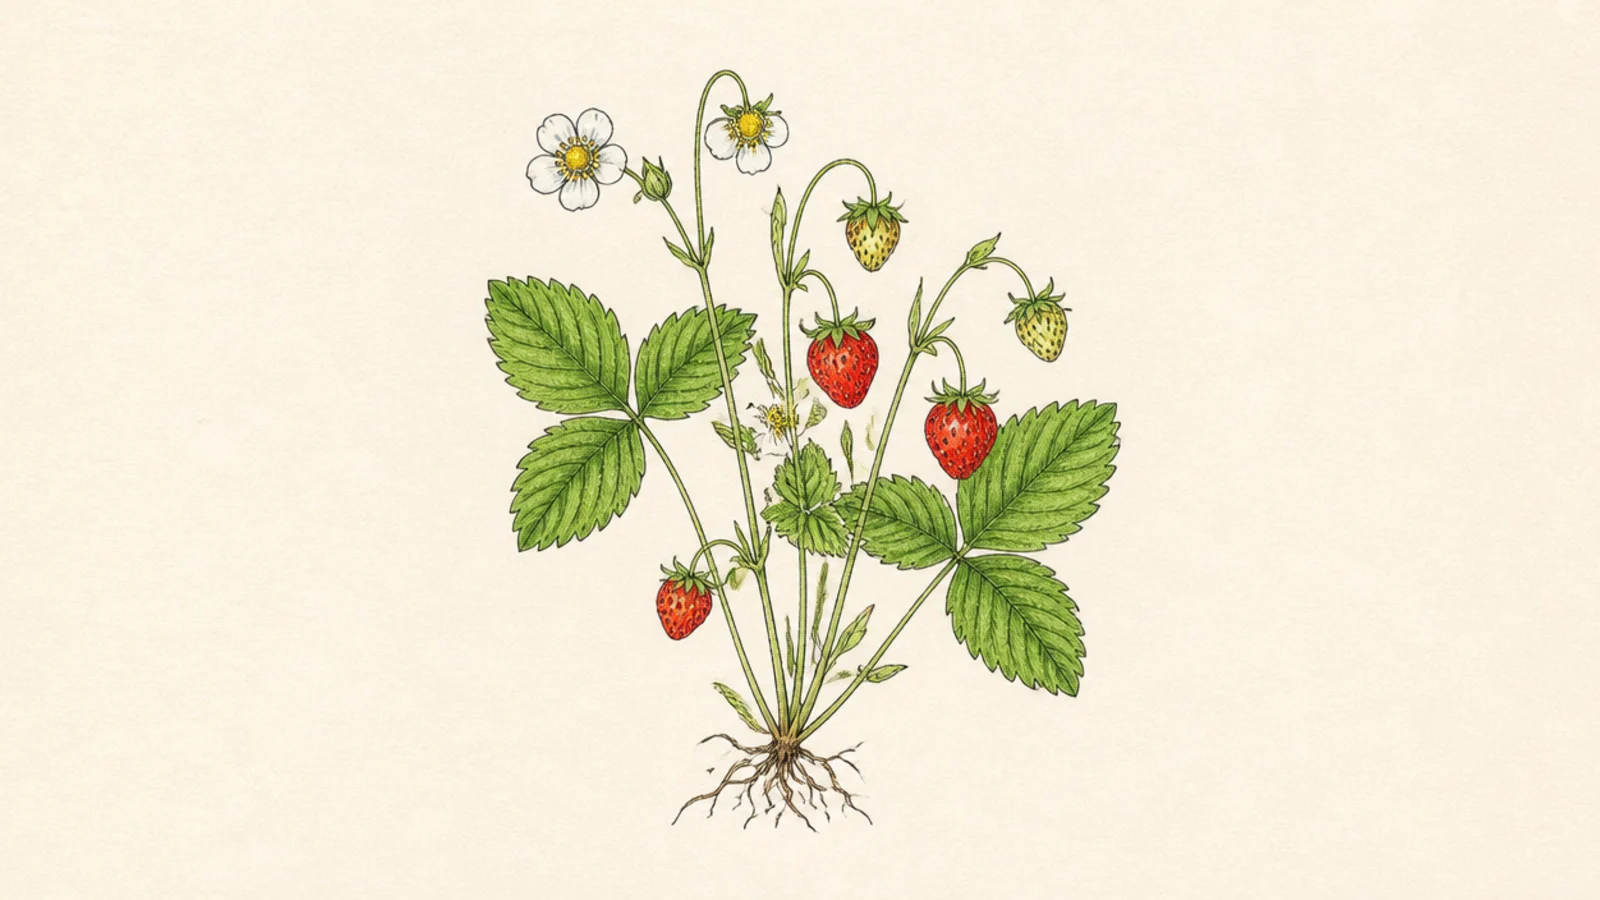
A wild strawberry plant is daintier, with smaller leaves and tiny berries. The delicate scale is charming. It feels like a woodland find.
Step 1 draw small, fine leaf trios low to the ground. Step 2 add thin stems with little white flowers. Step 3 hang several tiny berries, smaller than a garden strawberry.
Keep every part small and fine to show it is a wild variety.
Don’t draw big berries; wild strawberries are tiny.
11 Strawberry Patch Row
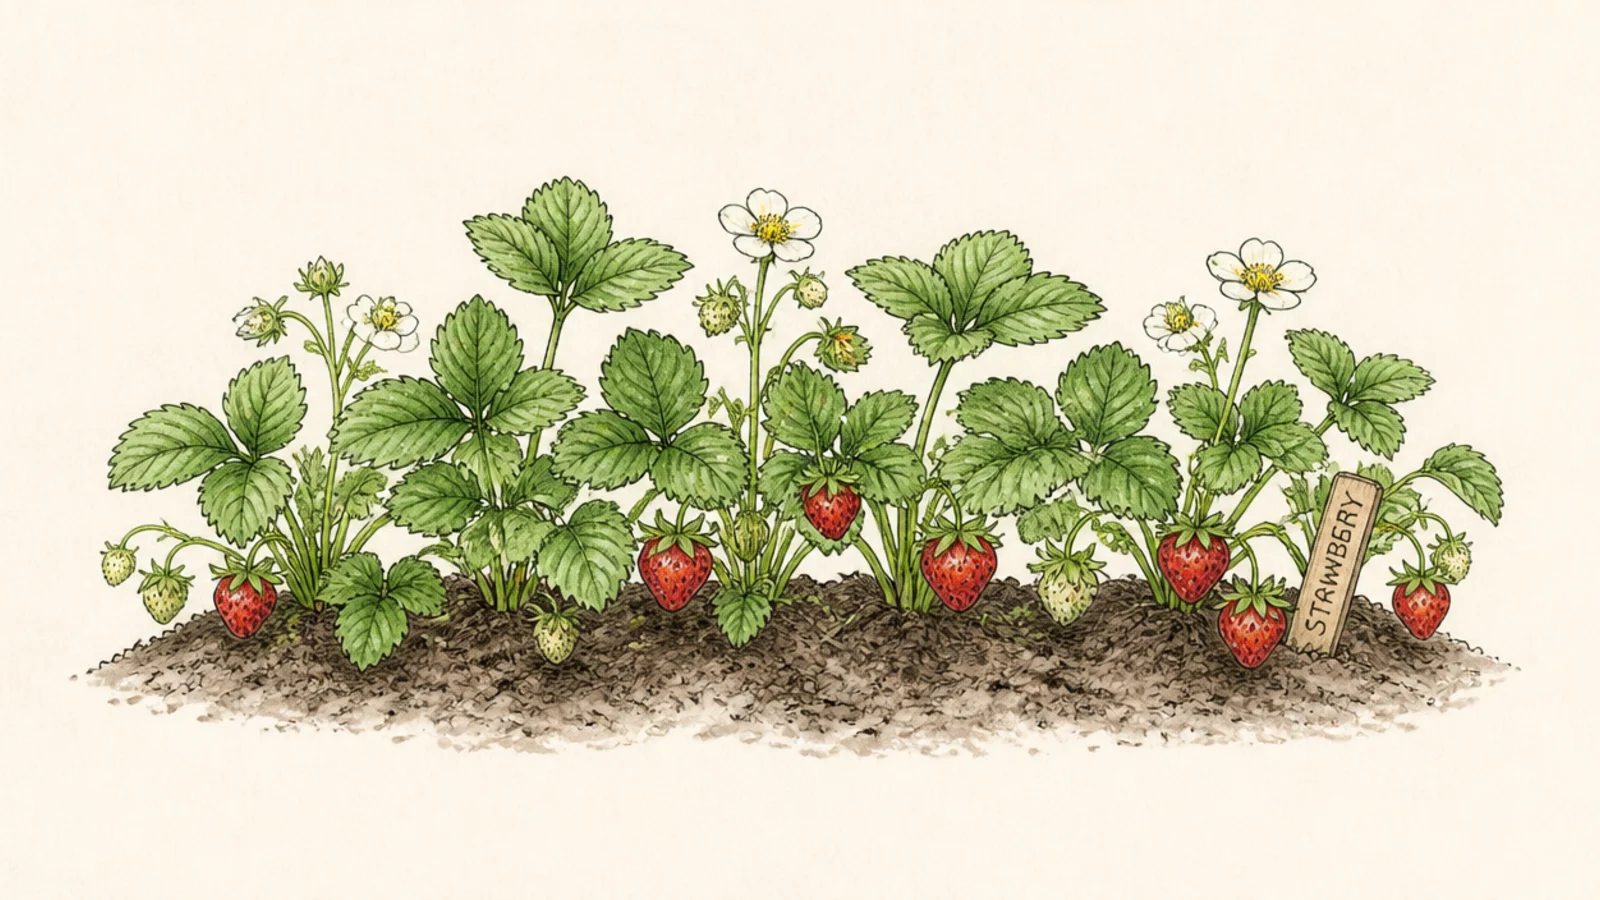
Step 1 draw a low soil mound or row line. Step 2 add several leafy plants along it. Step 3 dot red berries throughout and add a small garden marker or fence.
A row of plants in a patch shows strawberries growing in the garden. The repeating plants suggest a whole bed. It feels like a real garden scene.
AvoidDon’t space the plants evenly apart; a little overlap looks fuller.
Pro tipOverlap the plants slightly so the row reads as a full patch.
12 Plant With a Pollinating Bee
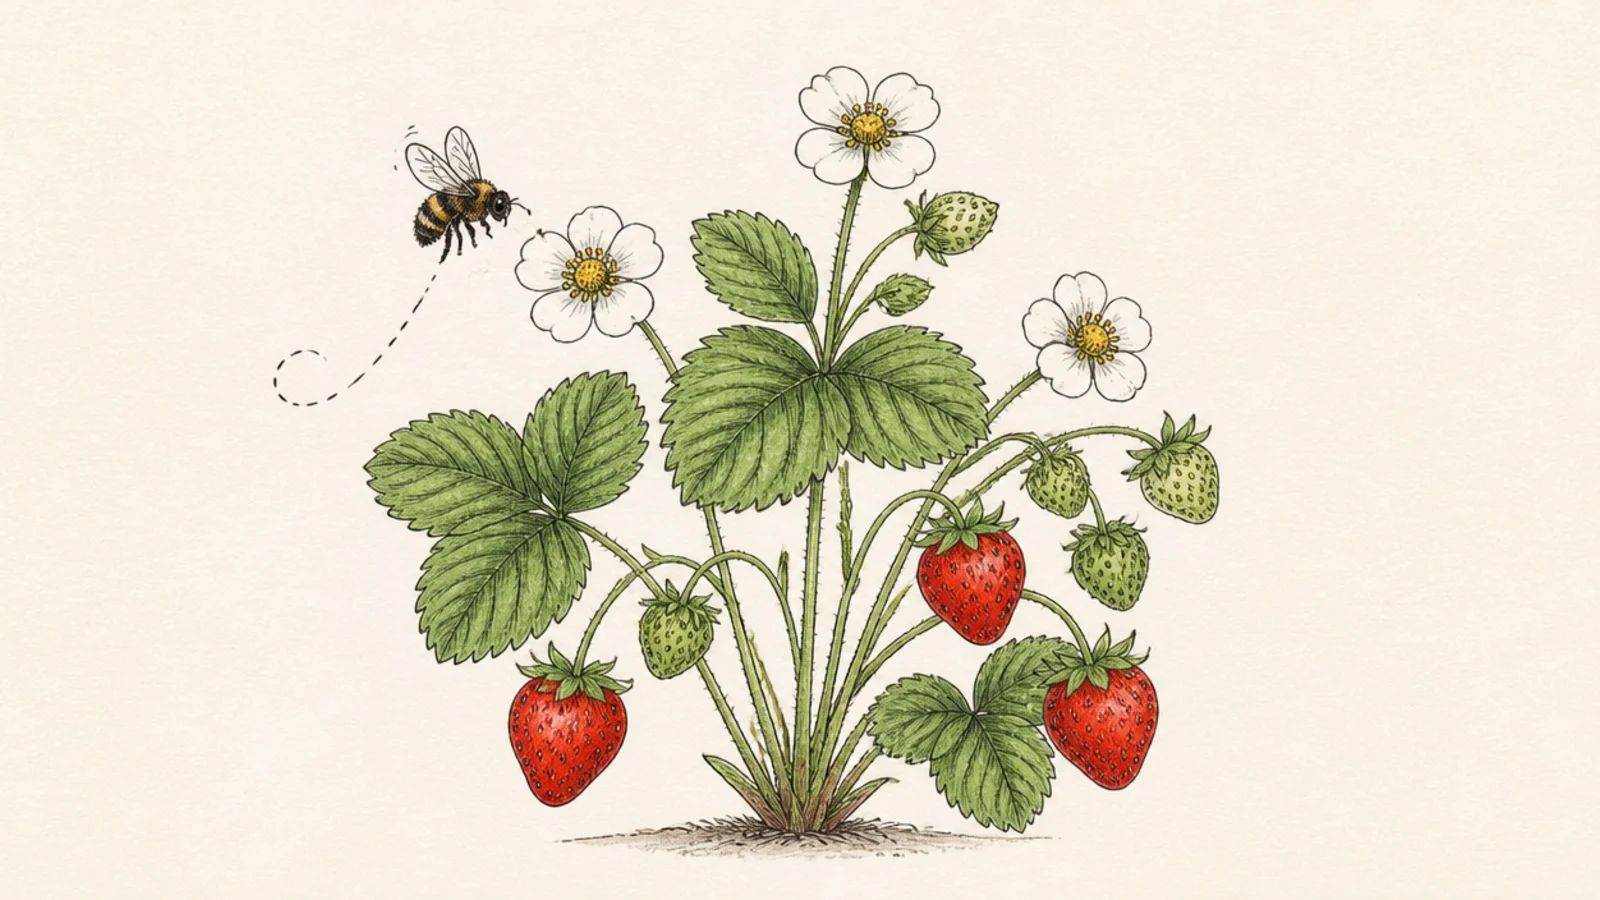
A bee visiting a blossom adds life and shows pollination in action. The little visitor brings movement. It is a sweet, storytelling detail.
Step 1 draw a flowering plant. Step 2 add a small bee hovering at one blossom. Step 3 add a dashed flight line and tiny motion marks by its wings.
Place the bee right at an open flower to show it pollinating.
Don’t make the bee too big; a small bee keeps the plant the focus.
13 Growth Stages Row
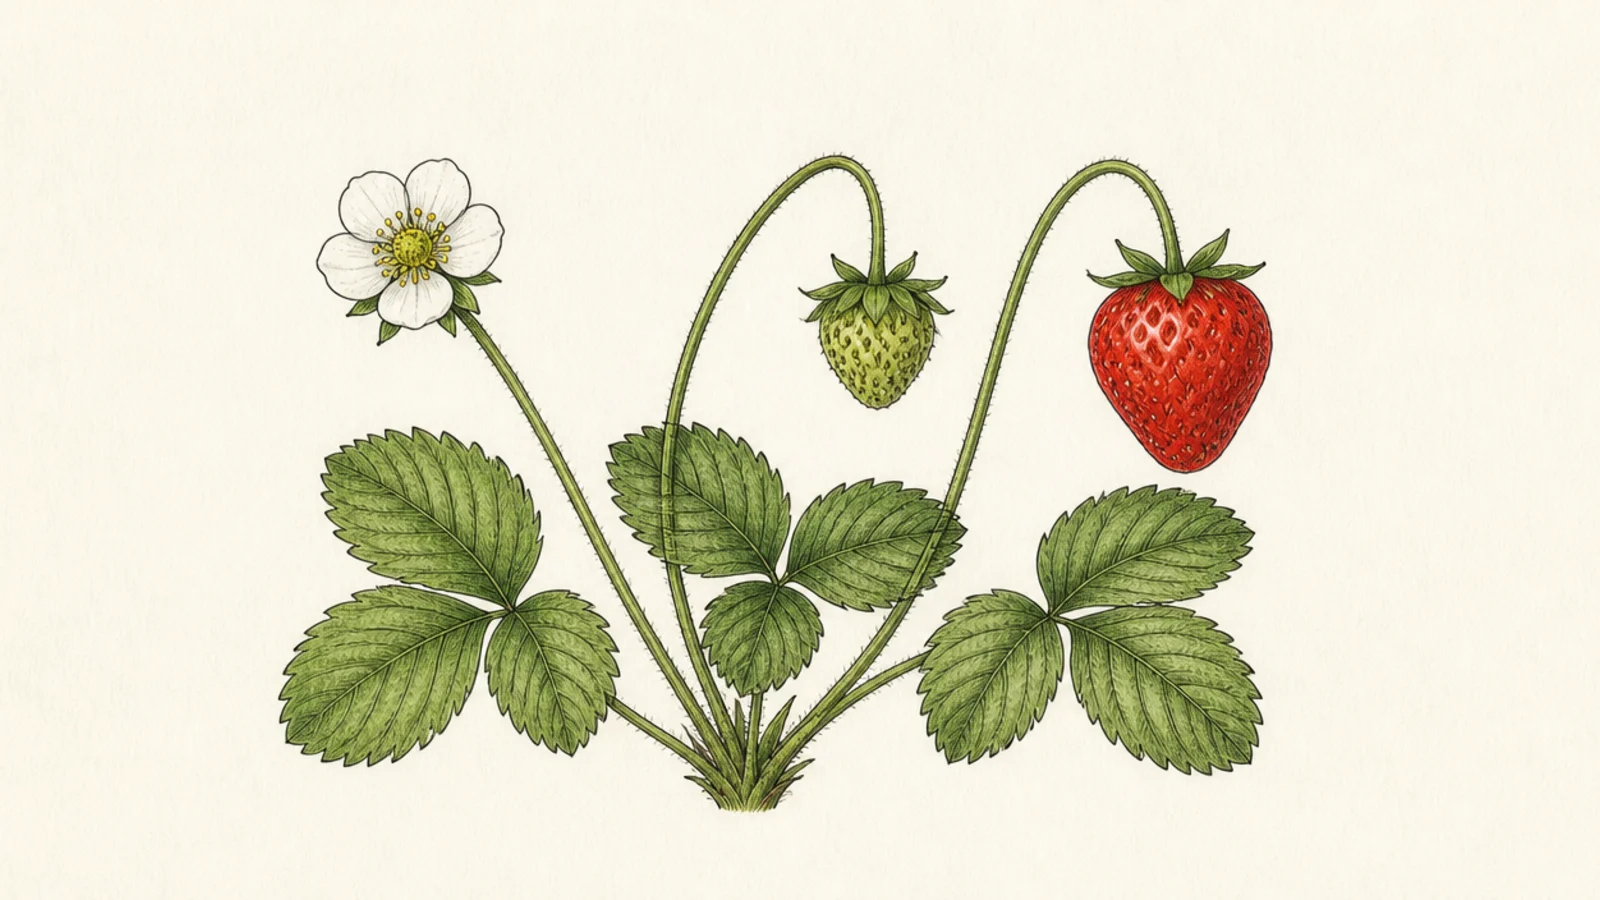
Step 1 draw a white blossom on the left. Step 2 draw a small green berry in the middle. Step 3 draw a full red ripe berry on the right, all on matching stems.
A row showing blossom to green berry to ripe red berry is a clever growth chart. The progression is satisfying. It looks educational and tidy.
AvoidDon’t vary the framing; consistent stems make the progression obvious.
Pro tipKeep the three stages the same size and style so the change reads clearly.
14 Garden Corner Scene
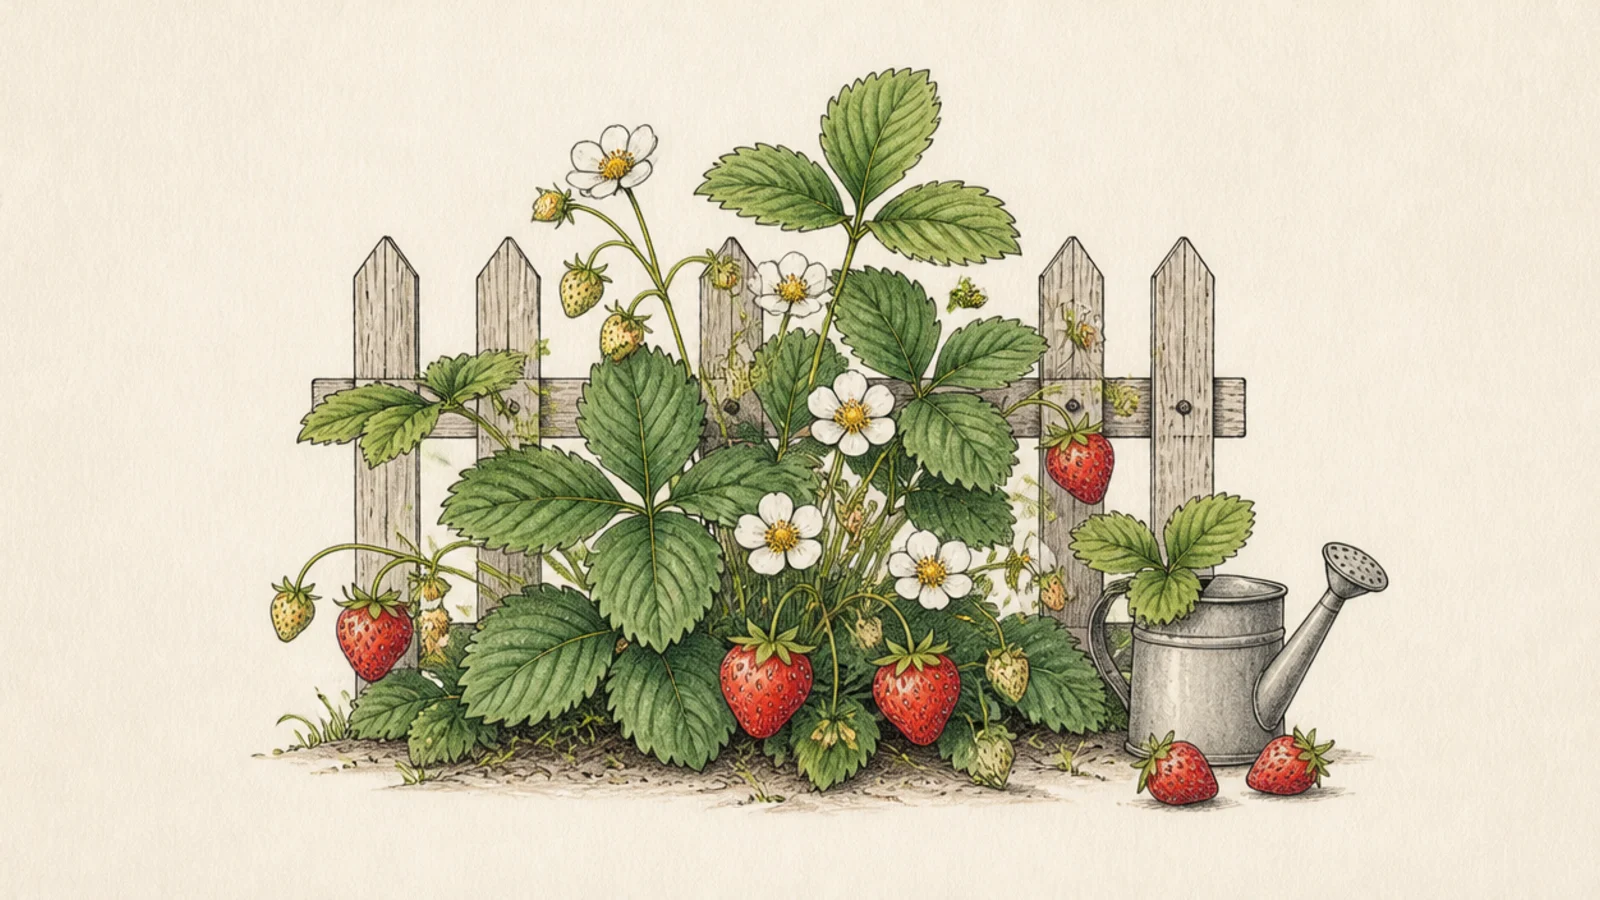
Step 1 draw a low fence corner. Step 2 add strawberry plants growing along it. Step 3 add a little watering can and a few berries for a homey touch.
A garden corner with plants, a fence, and a watering can is a cozy full scene. The props tell a gardening story. It is warm and inviting.
AvoidDon’t clutter the corner; a few props feel calmer than many.
Pro tipKeep the plants the biggest element so the scene stays about strawberries.
15 Full Detailed Strawberry Plant
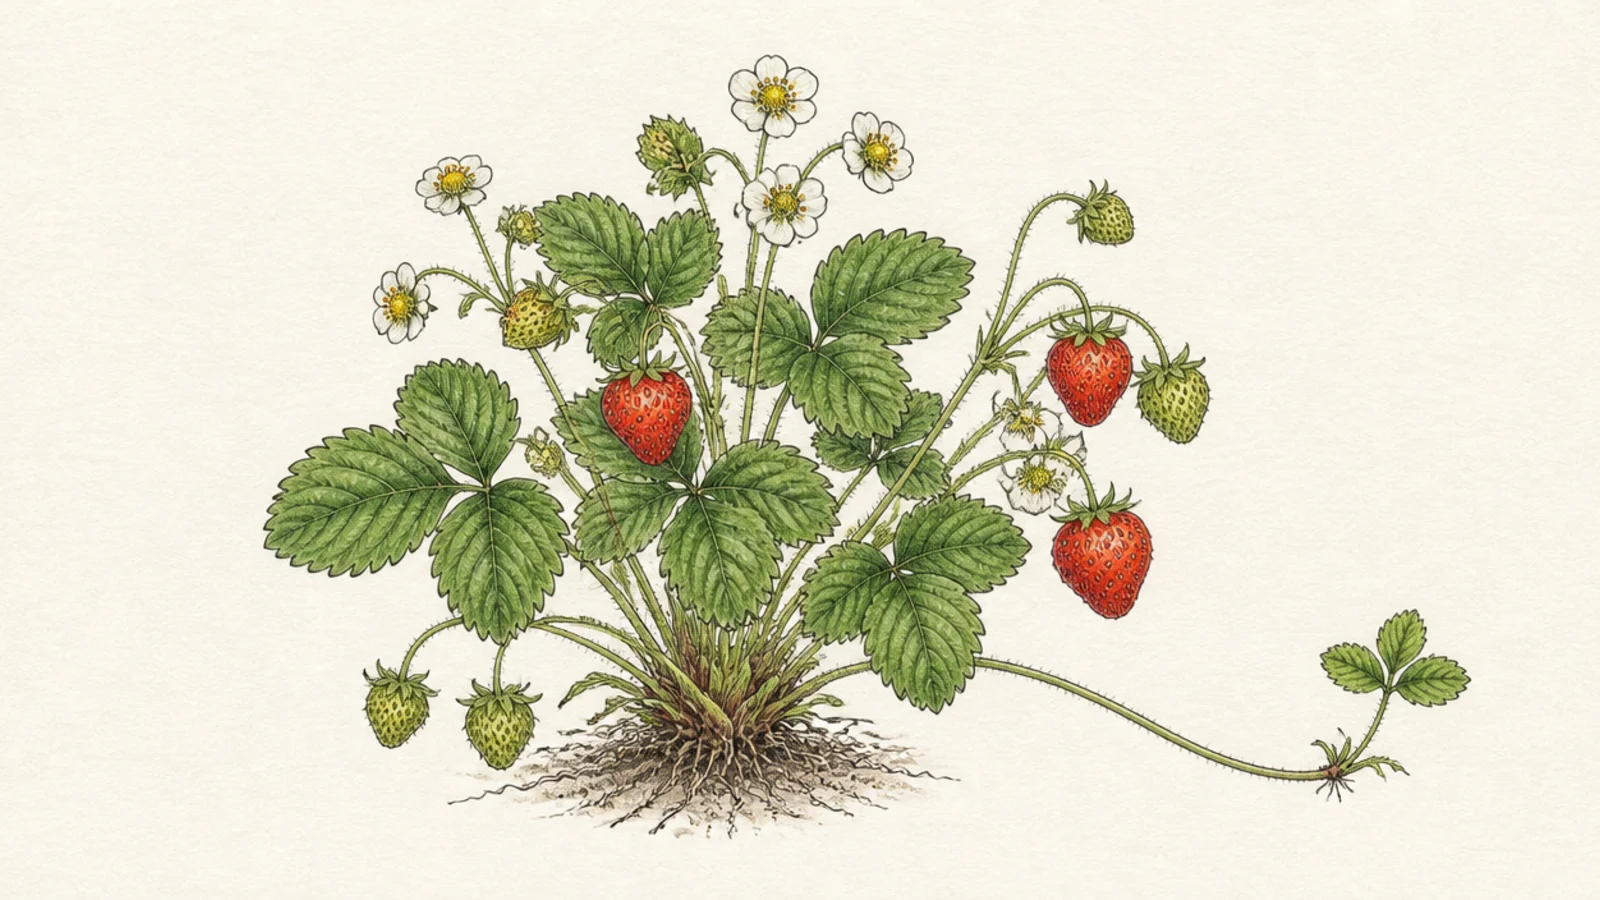
Step 1 draw a full mound of leaf trios. Step 2 add flower clusters, green and red berries on nodding stems, and a runner trailing out. Step 3 add light shading and veins to finish.
A full plant with every part — leaves, runners, flowers, and ripe fruit — is the grand finale. It brings together everything from the list. It is a complete botanical portrait.
AvoidDon’t leave it flat; a little shading gives the full plant real depth.
Pro tipInclude every stage — flower, green berry, red berry, runner — for a living plant.



