
1 Classic Layered Shortcake Slice
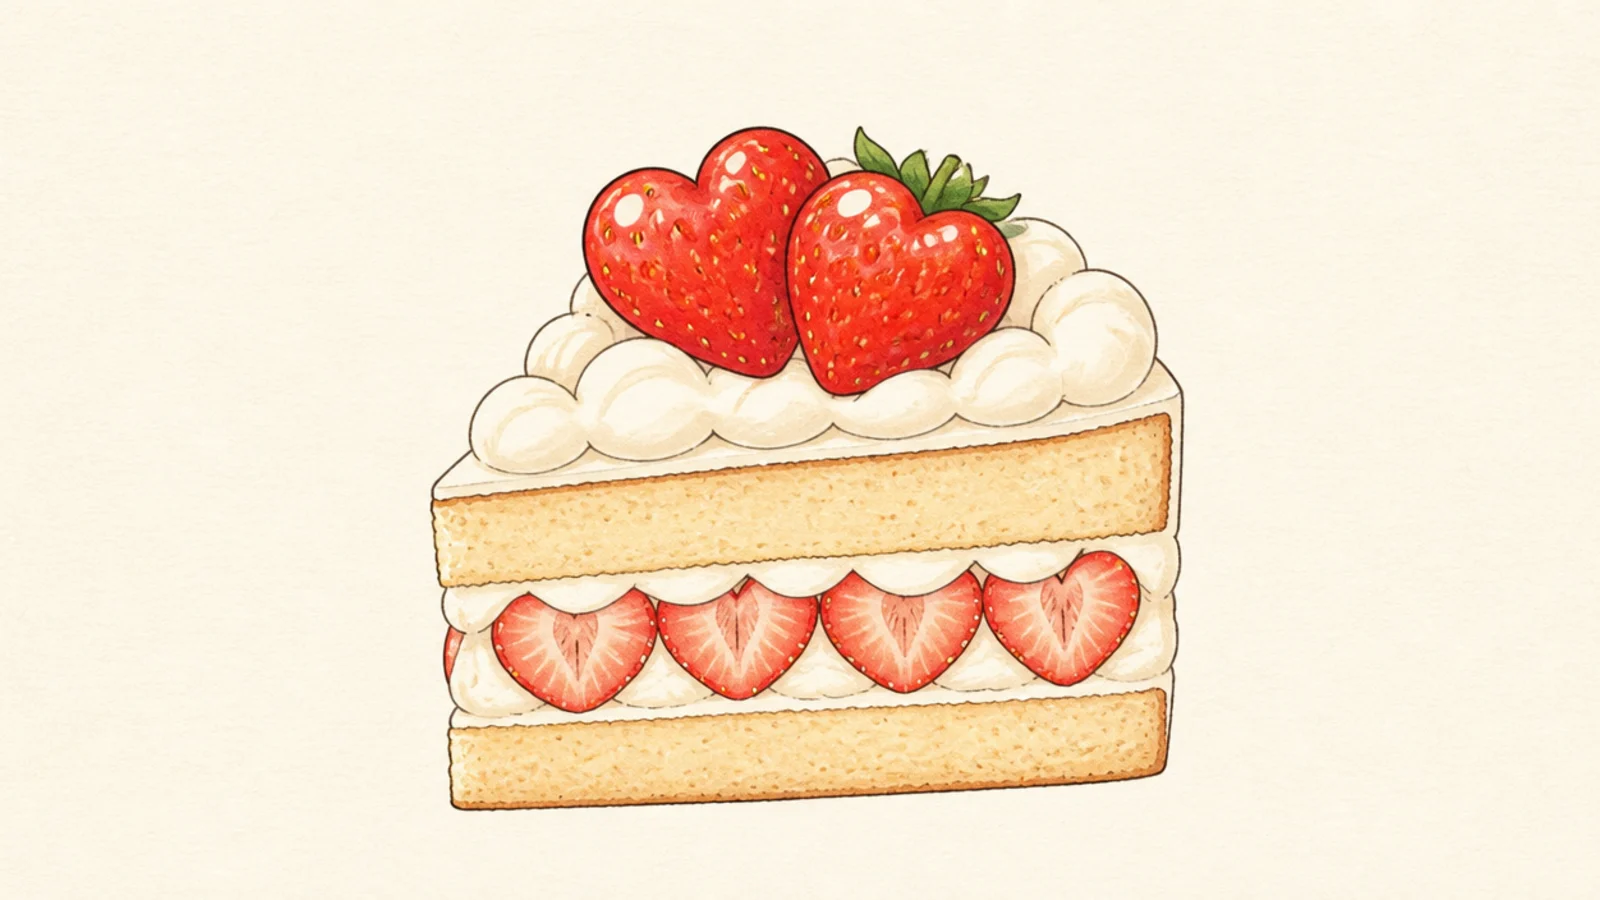
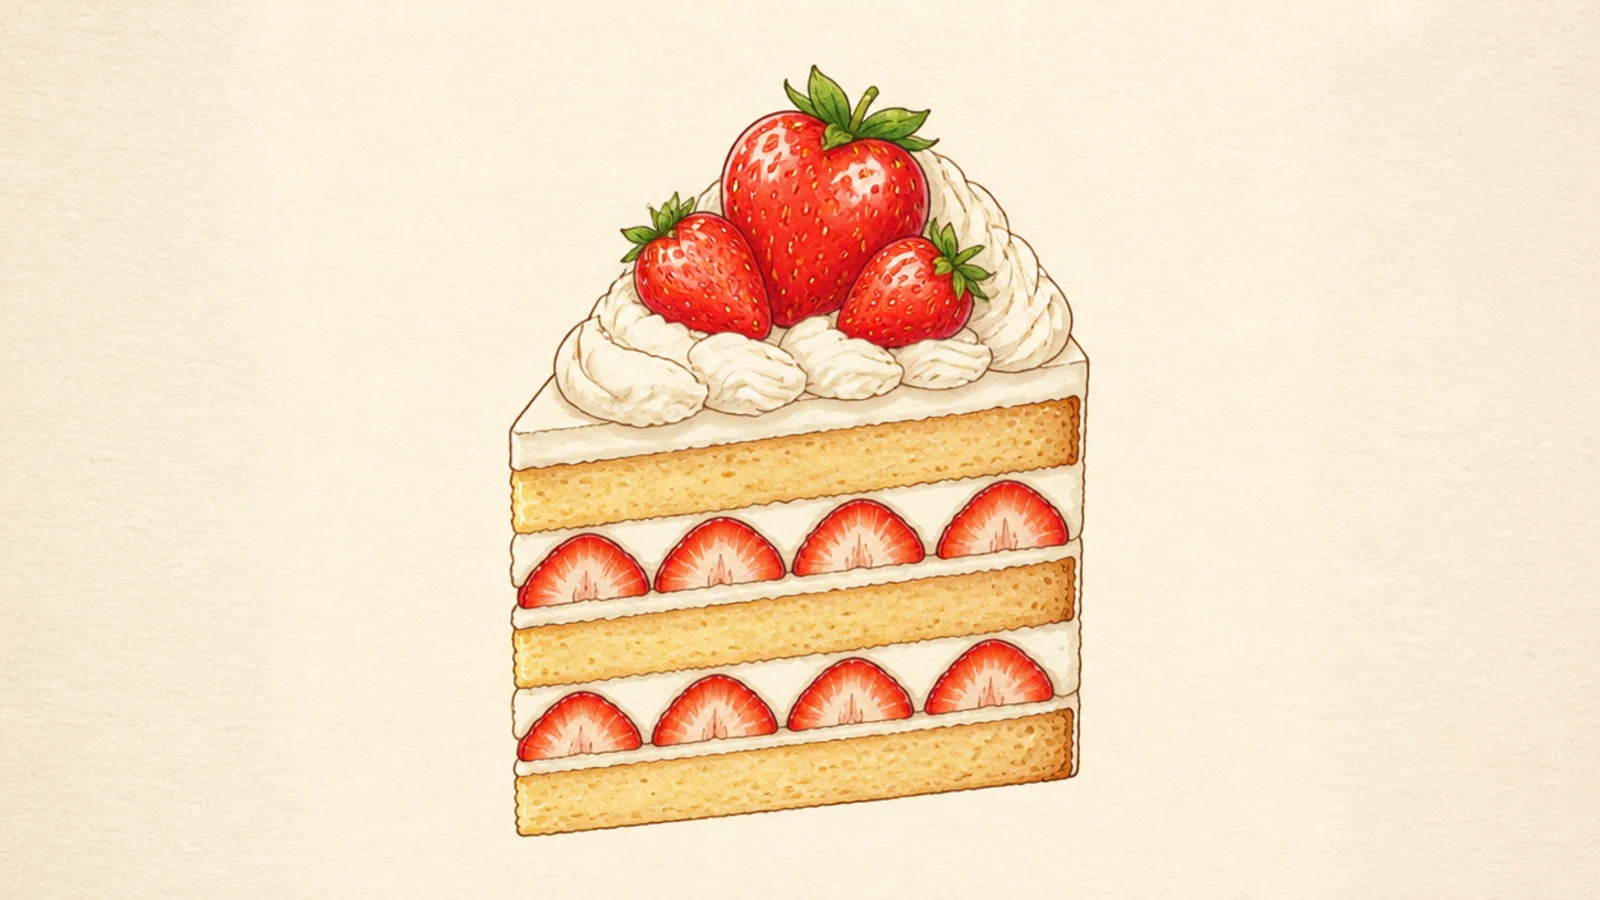
This is the classic shortcake and the base for the whole list — two sponge layers with cream between and berries on top. It teaches the stack-cream-berry order you will reuse everywhere. Master this and every other idea is a small tweak.
Step 1 draw two soft rounded rectangles for the sponge with a gap between. Step 2 fill the gap and the top with scalloped cream. Step 3 add heart-shaped strawberries on top and a couple peeking in the cream.
Let the cream layer bulge slightly past the cake edges so it looks piled high.
Don’t draw the layers with sharp corners; soft rounded edges look like cake.
2 Single Shortcake Slice on a Plate
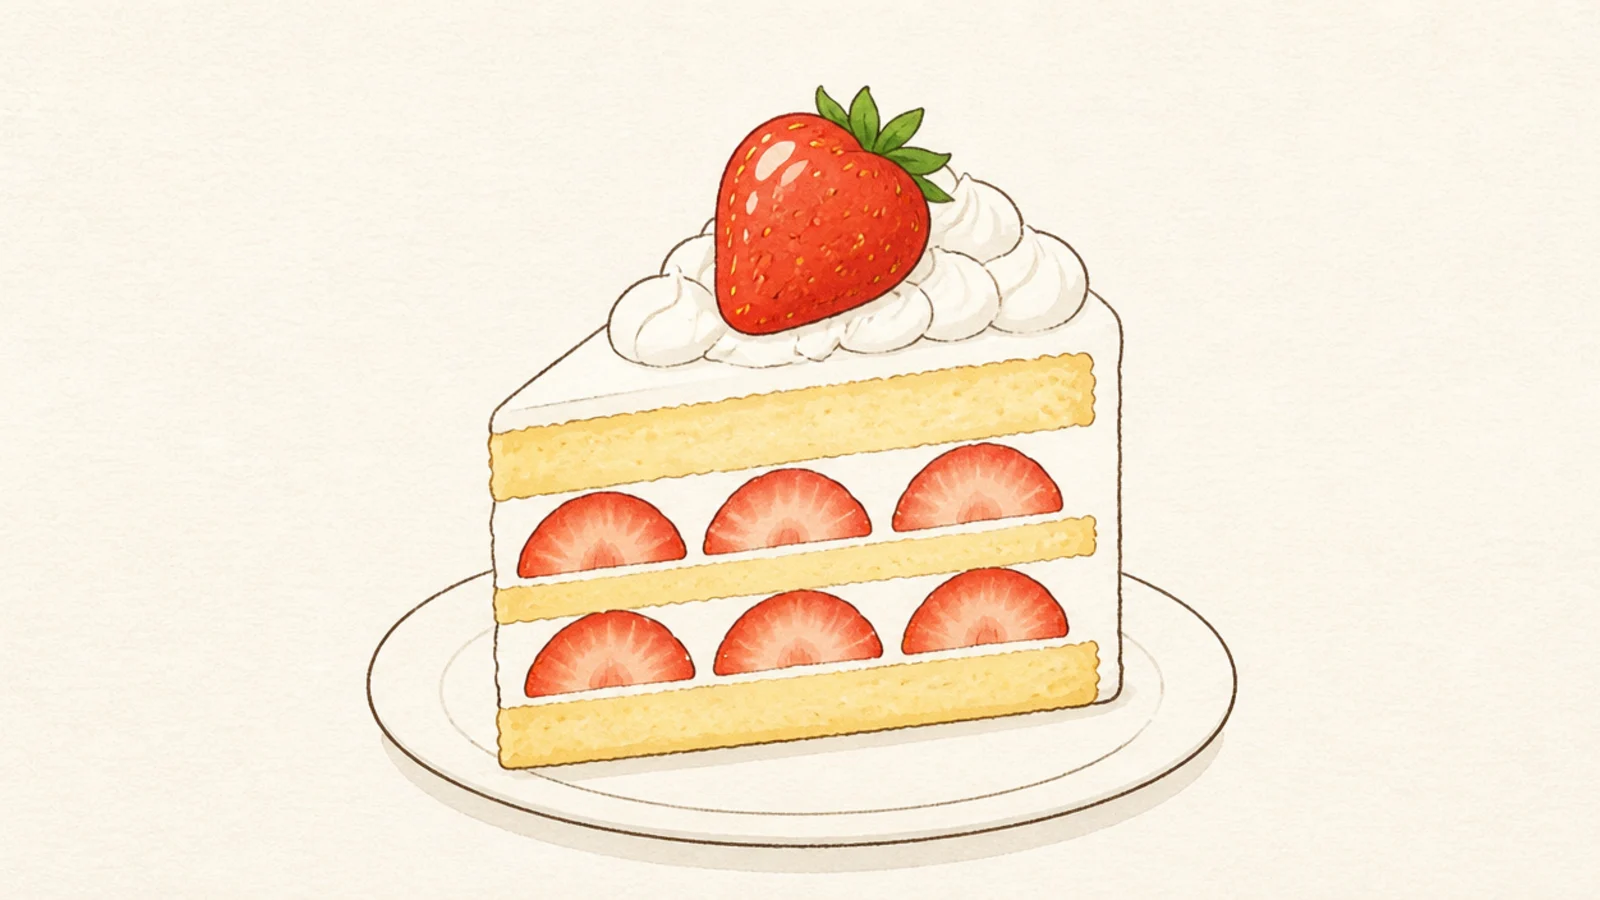
Step 1 draw a tall triangle wedge lying on its side. Step 2 add horizontal cream and sponge stripes across it. Step 3 top the point with one berry and set it on a thin plate ellipse.
A wedge-shaped slice on a plate is the quickest full dessert to draw. The triangle shape makes the layers easy to line up. It looks like a real bakery slice.
AvoidDon’t make the plate a full circle; a flat ellipse reads as a plate in perspective.
Pro tipAngle the front face of the wedge slightly so you see the layered side clearly.
3 Old-Fashioned Biscuit Shortcake
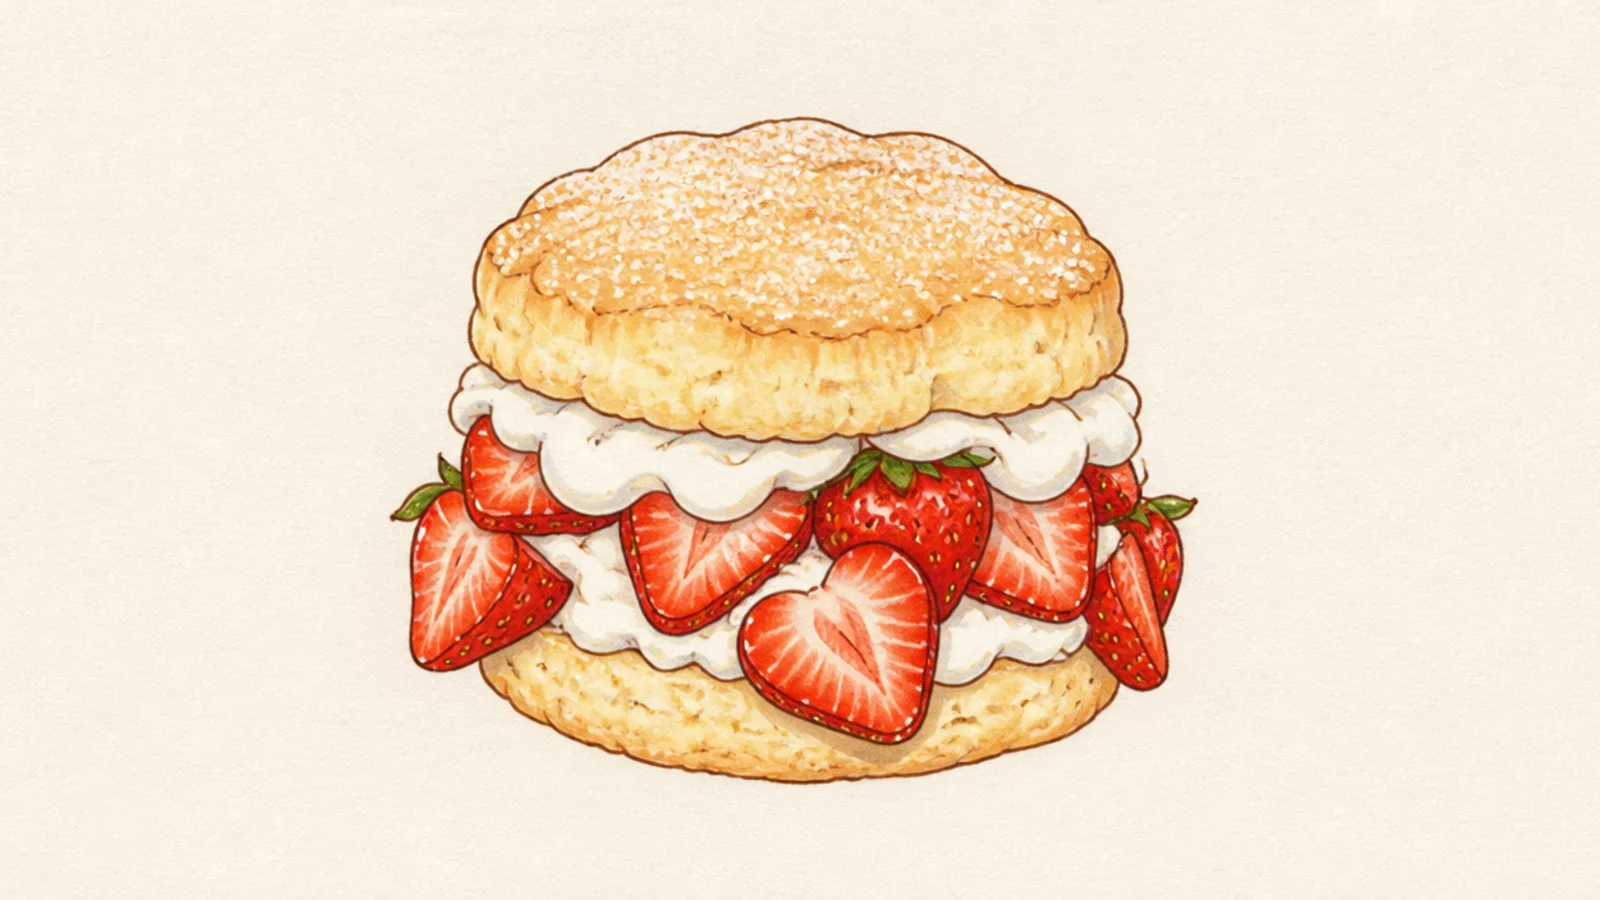
Step 1 draw a round biscuit split into a top and bottom half. Step 2 pile cream and cut strawberries in the gap so they spill over the edge. Step 3 dust the top with a few tiny dots for sugar.
The traditional American shortcake is a split biscuit, not sponge, with berries tumbling out. The rougher biscuit texture is a fun change. It feels homemade and rustic.
AvoidDon’t make the biscuit perfectly round; a bumpy edge reads as real biscuit.
Pro tipGive the biscuit a slightly craggy, uneven edge so it looks baked, not smooth.
4 Shortcake in a Jar
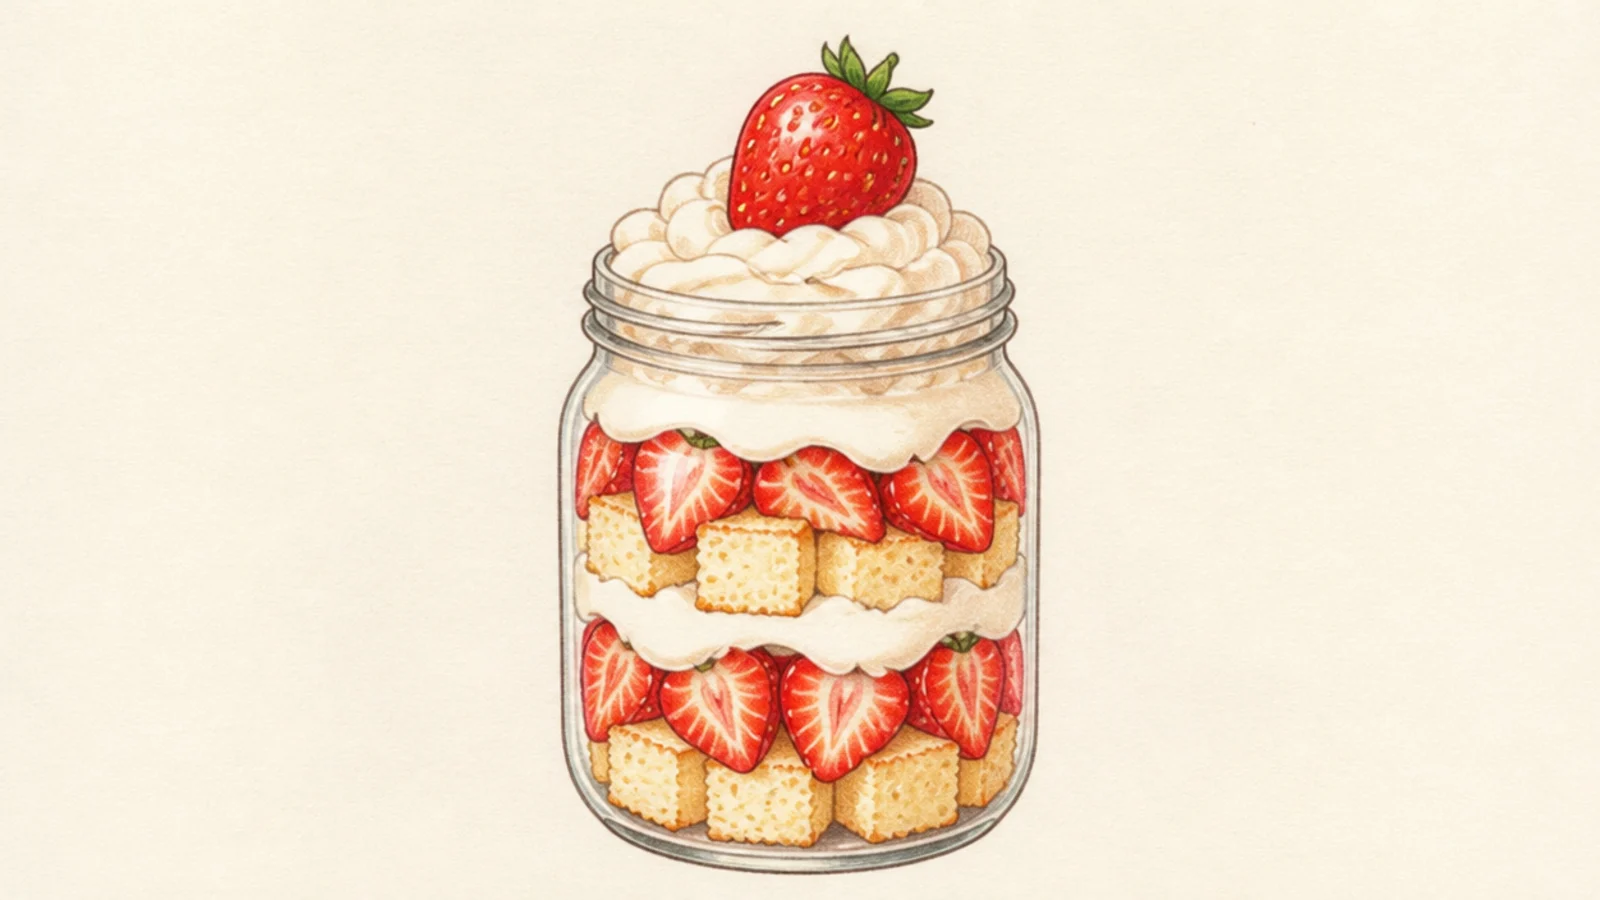
Step 1 draw a simple jar outline with a rim. Step 2 fill it with alternating bands of sponge cubes, cream, and sliced strawberries. Step 3 top with a cream swirl and a whole berry.
A shortcake layered inside a mason jar is trendy and easy because the glass hides tricky edges. The visible layers look satisfying. It is a cute cafe-style dessert.
AvoidDon’t draw the jar layers as flat straight lines; a gentle wave looks real.
Pro tipDraw the layers slightly wavy where they meet so they look scooped, not ruled.
5 Shortcake Cupcake
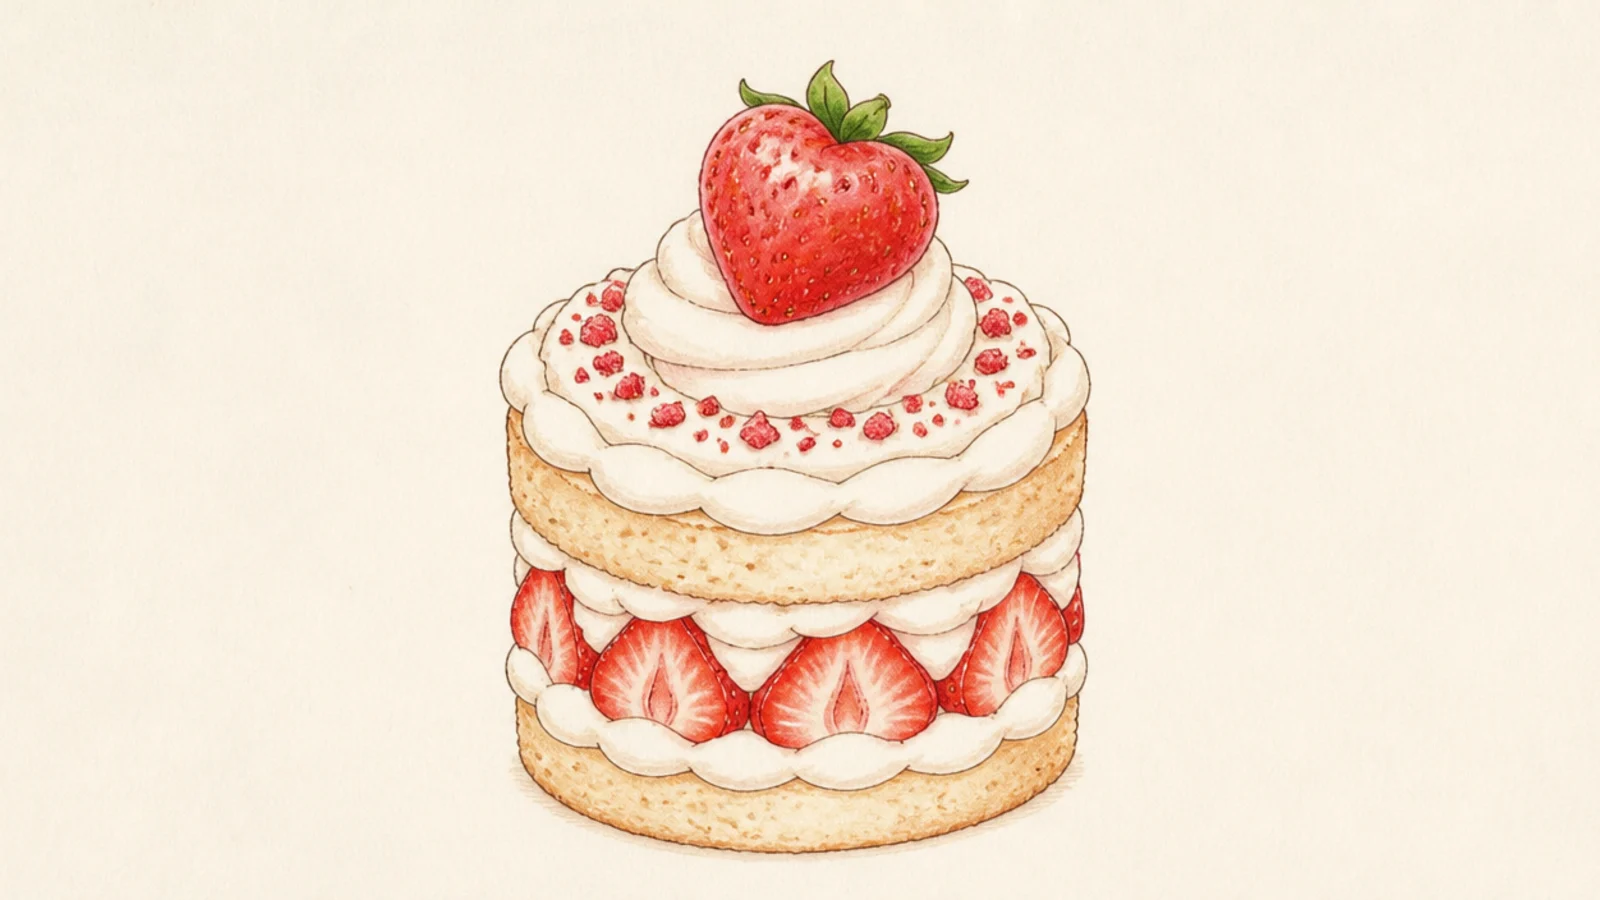
Step 1 draw a ridged cupcake wrapper as a trapezoid with vertical lines. Step 2 pipe a tall spiral cream swirl on top. Step 3 crown the swirl with one berry and a few sprinkles.
A shortcake-style cupcake gives you the same flavors in a tidy little package. The wrapper and swirl are quick to draw. It is perfect for a small doodle.
AvoidDon’t make the swirl a smooth cone; visible spiral ridges read as piped cream.
Pro tipDraw the cream swirl as a stacked spiral getting smaller toward a peak.
6 Tall Triple-Layer Stack
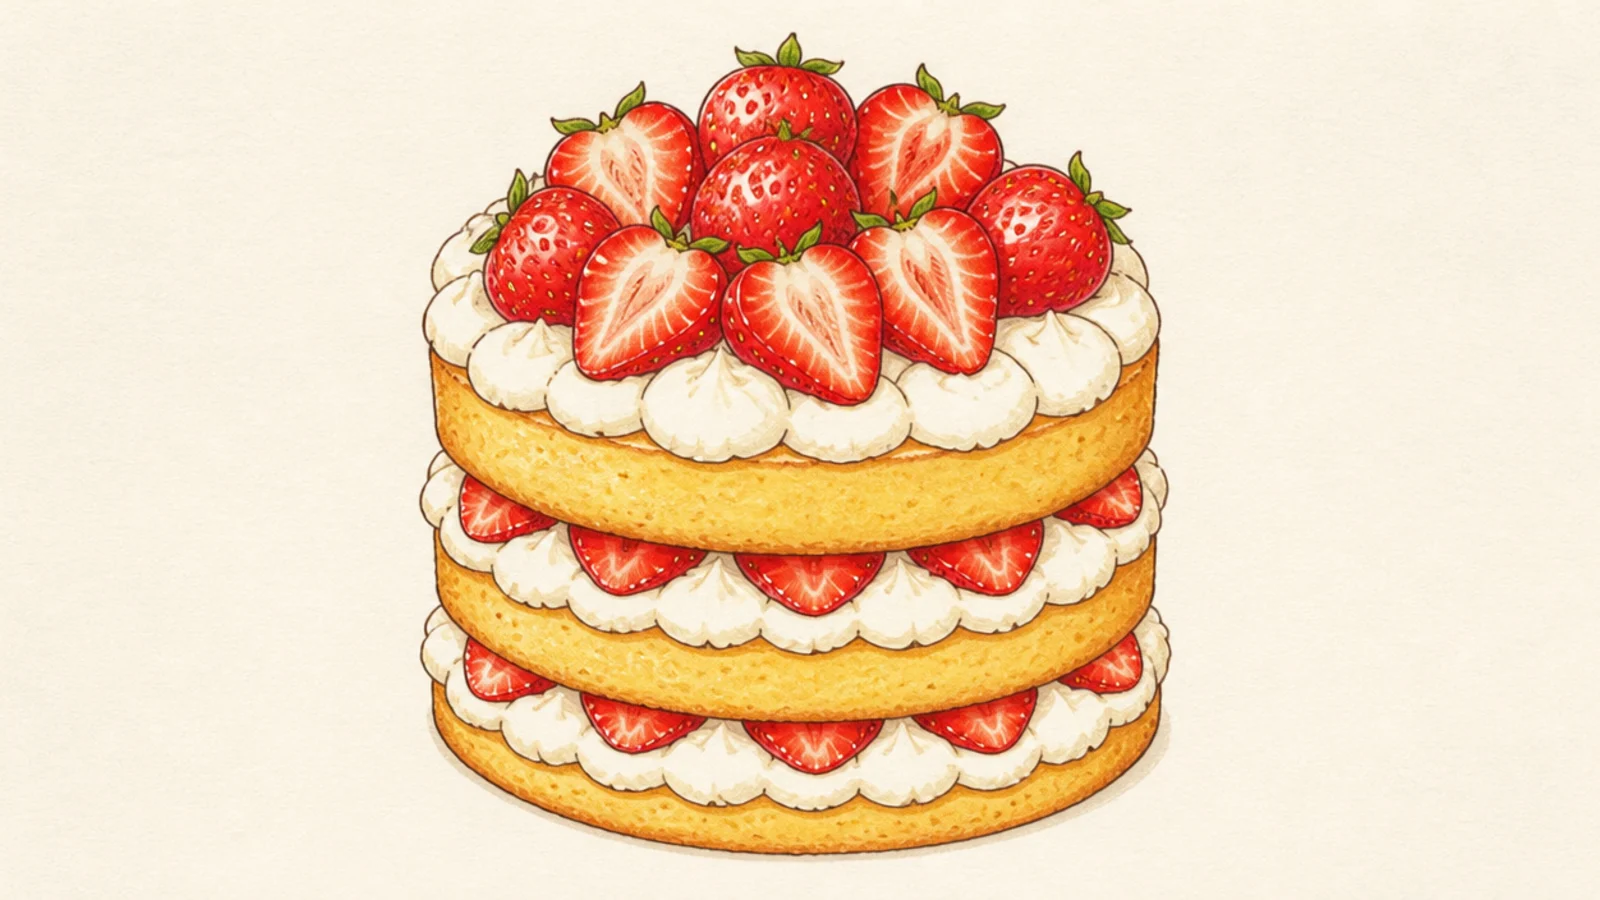
Step 1 stack three sponge bands with cream between each. Step 2 let each cream layer squish out a little at the sides. Step 3 pile whole and halved strawberries on the very top.
A tall triple stack looks impressive and just repeats the two-layer idea one more time. The height makes it feel celebratory. It is a showpiece dessert.
AvoidDon’t stack the layers dead straight; a tiny wobble looks handmade and real.
Pro tipMake each layer the same height so the tall stack looks balanced, not leaning.
7 Shortcake Bite on a Fork
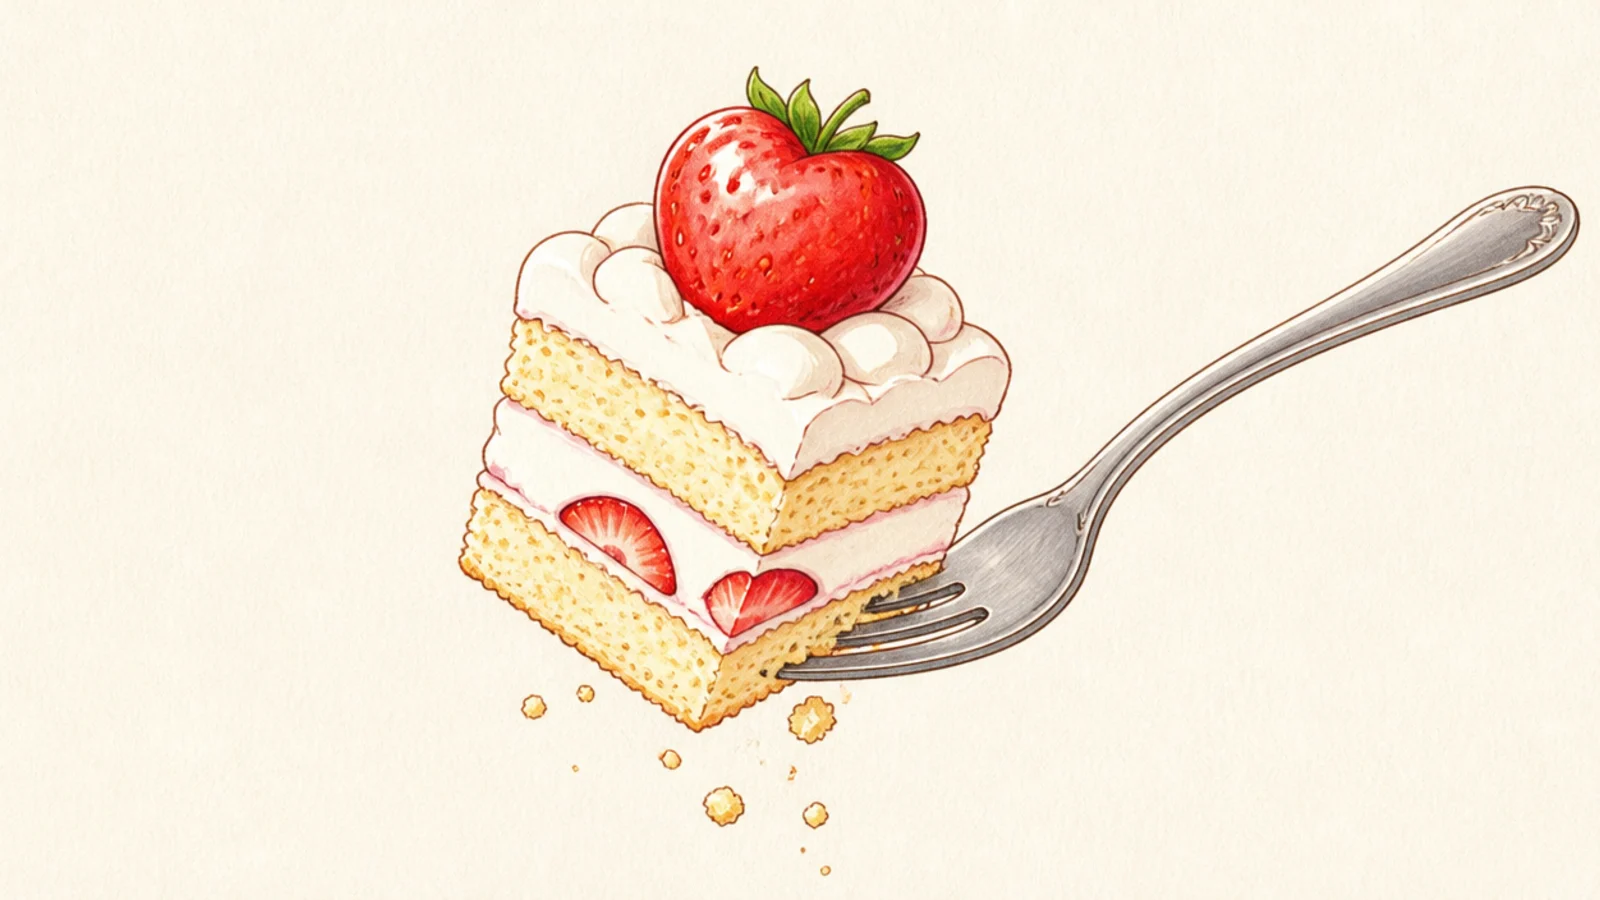
A single bite on a fork is a playful, close-up way to draw shortcake. The small chunk shows the layers clearly. It tells a little eating story.
Step 1 draw a fork tilted upward. Step 2 add a soft cube of layered cake and cream speared on the tines. Step 3 add a tiny berry piece and a crumb or two falling.
Show the cut layers on the front face of the cake cube so it reads as shortcake.
Don’t hide the layers; the visible stripes are what identify the dessert.
8 Whipped Cream Swirl Shortcake
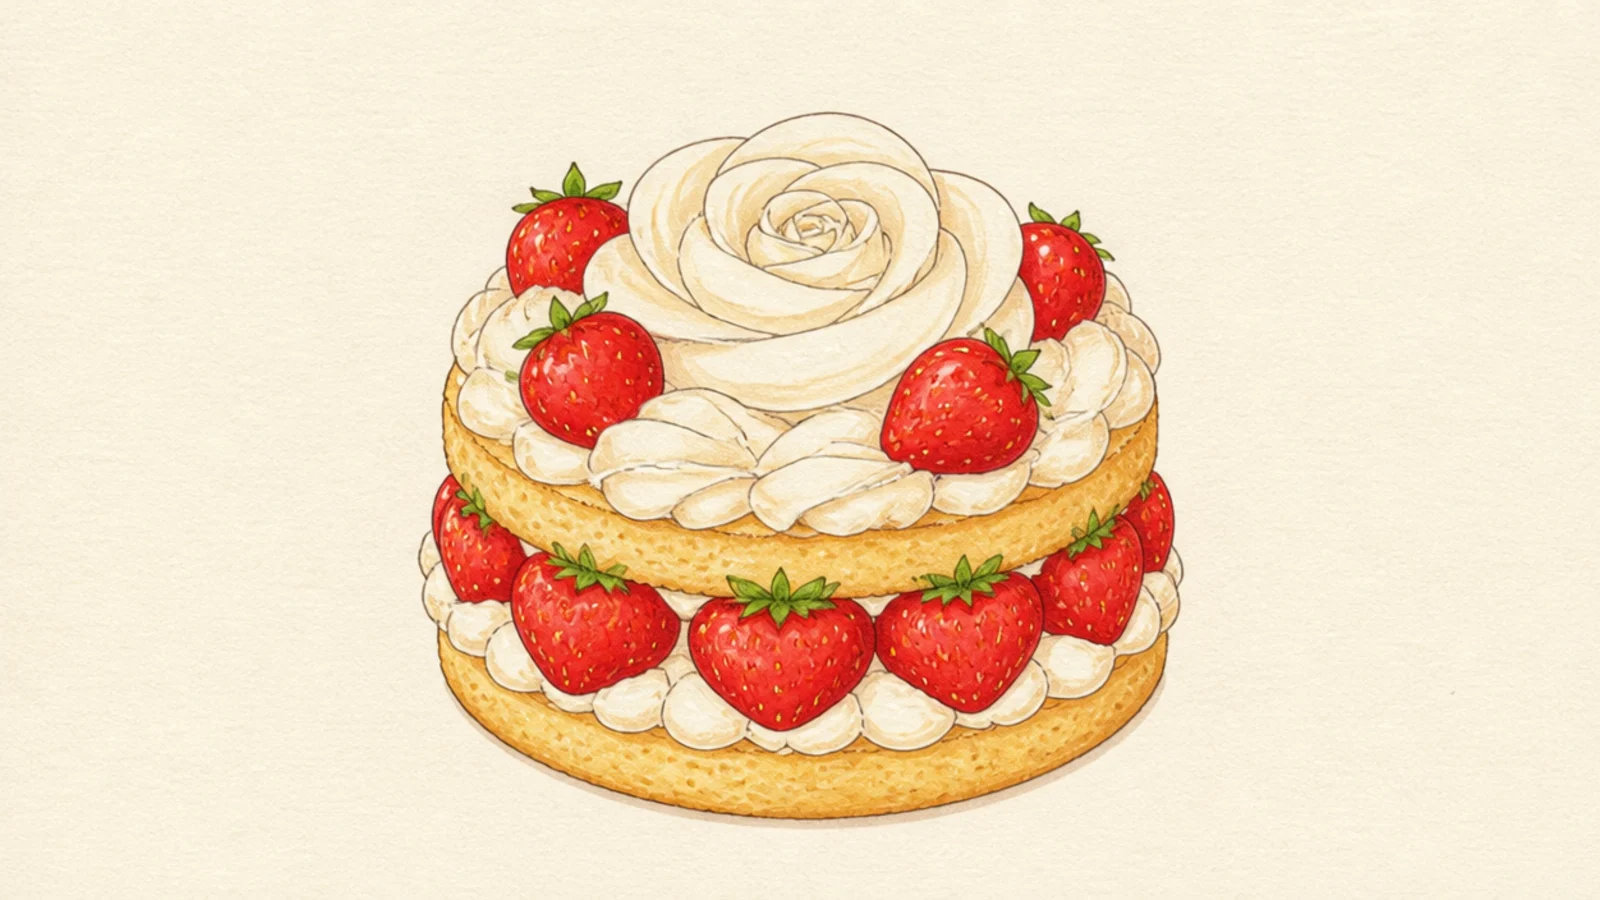
Step 1 draw a low round cake base. Step 2 pipe a large rose-like cream swirl covering the top. Step 3 nestle strawberries into the swirl and add highlights on the cream bumps.
This look makes the piped cream the star with a big generous swirl. It is great practice for drawing fluffy cream. The abundant topping looks indulgent.
AvoidDon’t leave the cream flat white; small highlights make it look three-dimensional.
Pro tipCurve the swirl inward like a soft rose so it looks piped from a star tip.
9 Layered Shortcake Parfait
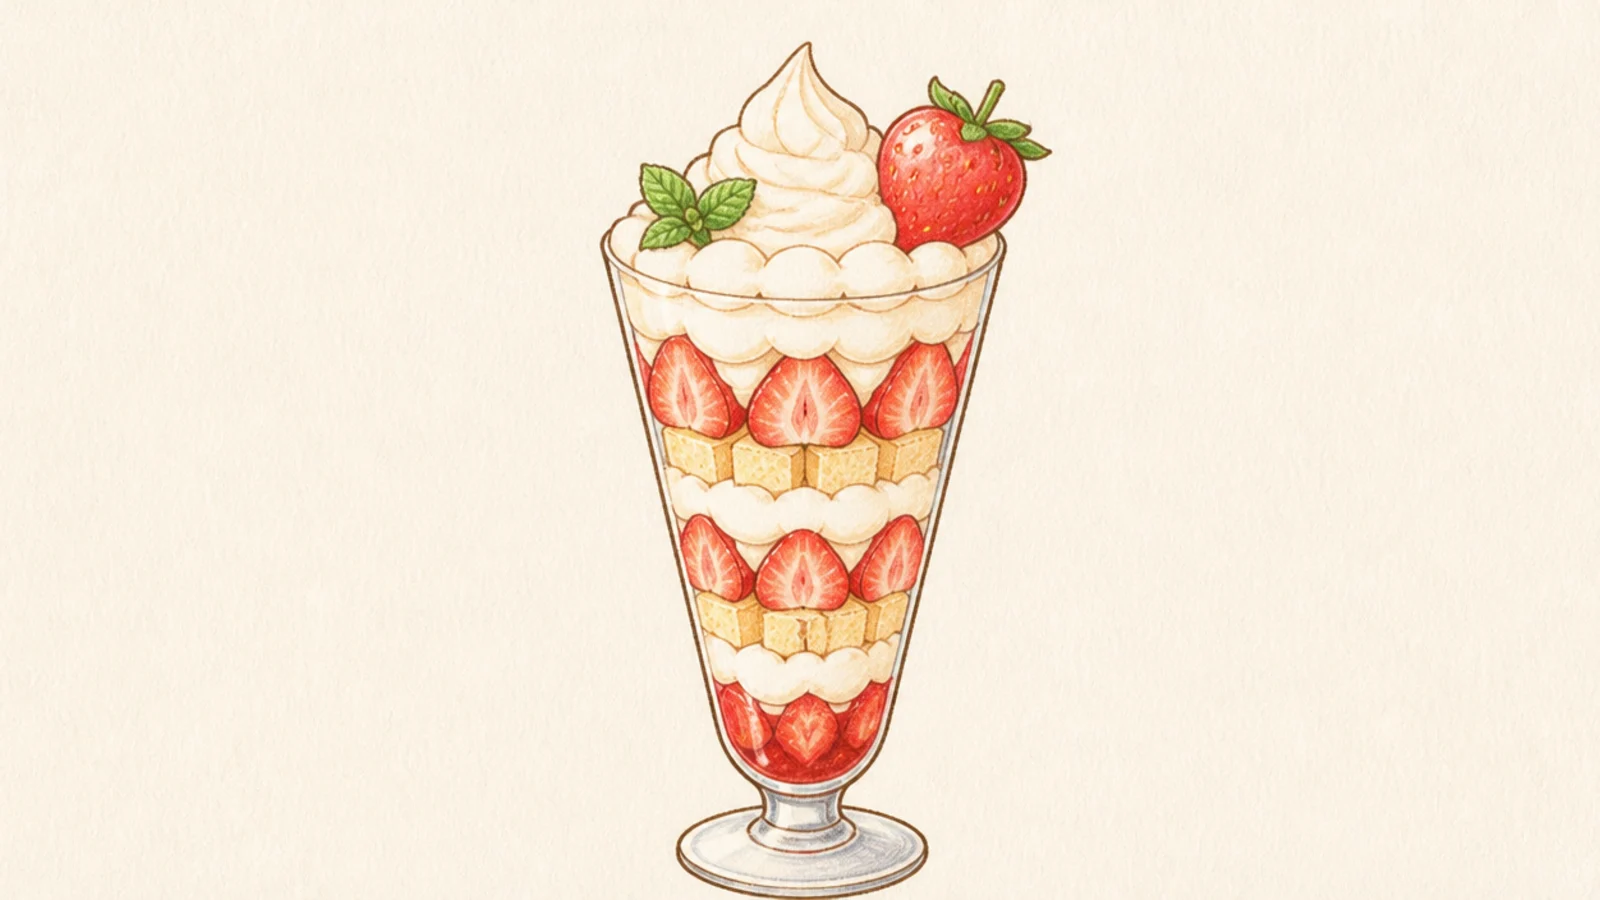
Step 1 draw a tall stemmed glass. Step 2 fill it with clear stripes of cream, cake cubes, and berry slices. Step 3 top with a swirl, a mint sprig, and one whole berry on the rim.
A parfait in a tall glass stacks the shortcake vertically for an elegant look. The narrow glass frames the layers neatly. It feels fancy but stays simple.
AvoidDon’t overcrowd the glass; a few clean layers read better than a jumble.
Pro tipKeep the layers thin and repeating so the parfait looks tall and full.
10 Kawaii Shortcake Slice With a Face
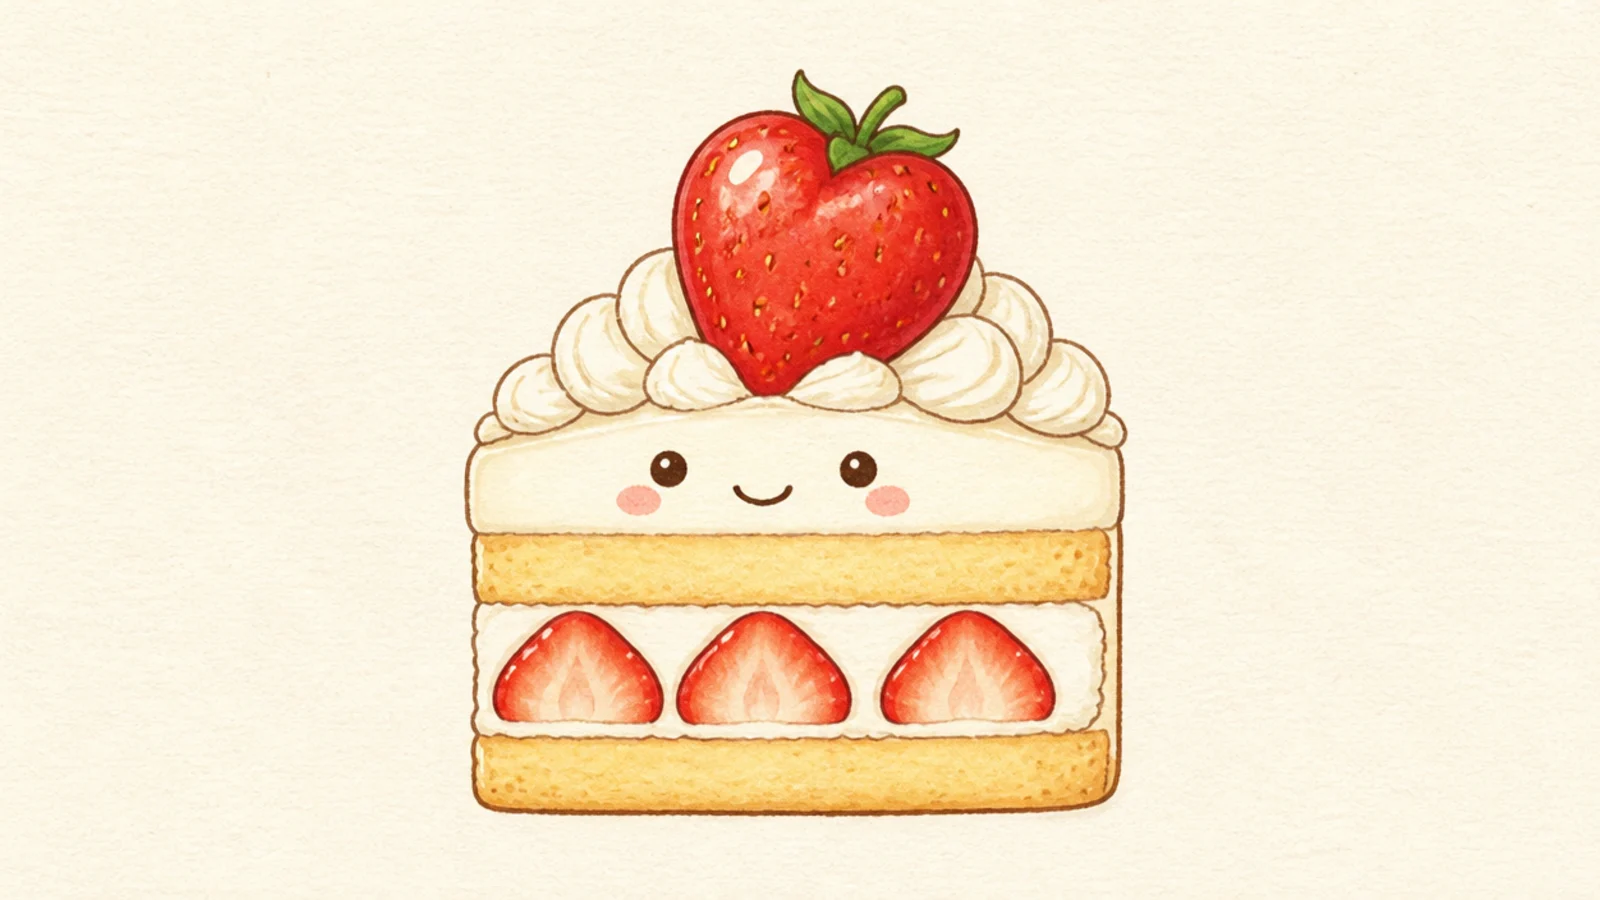
Adding a little face turns a plain slice into an adorable character. It is the gateway to the cute shortcake mascots ahead. Perfect for stickers and cards.
Step 1 draw a simple layered slice. Step 2 add two low dot eyes and a tiny smile on the front sponge. Step 3 add blush cheeks and keep the berry on top as a little hat.
Set the eyes low and wide apart for a sweet, babyish face.
Don’t add a big mouth; a tiny smile keeps it cute and clean.
11 Round Shortcake Mascot
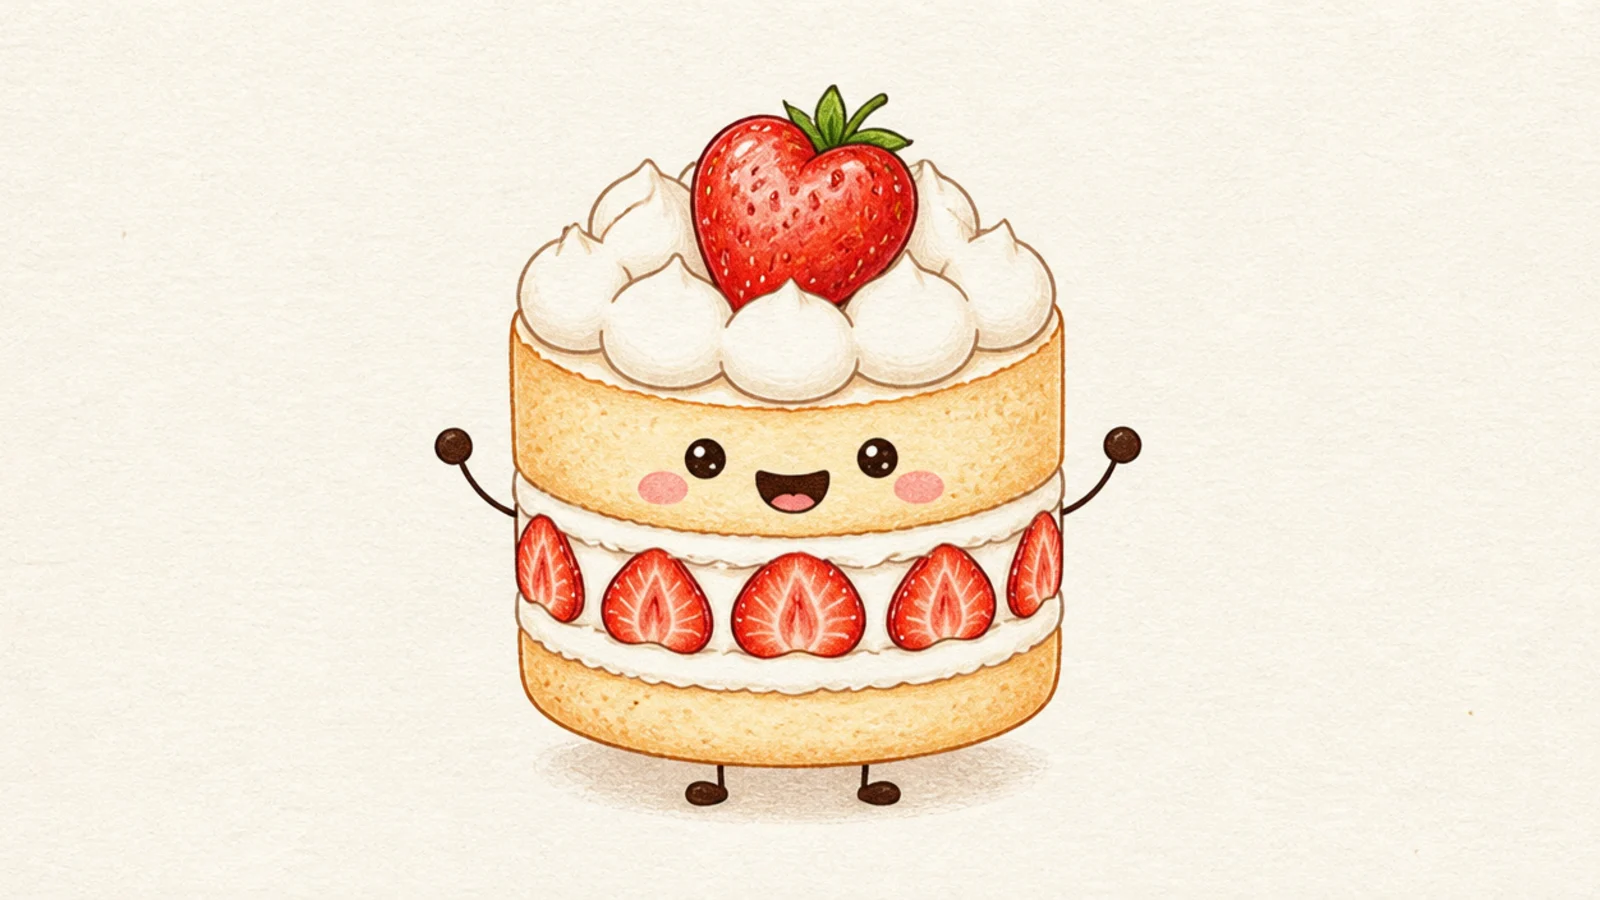
Step 1 draw a rounded cream-topped cake as the body. Step 2 add two little stick arms and dot feet. Step 3 give it a big smile, blush, and a berry sitting on its head.
A whole round shortcake turned into a bouncy mascot with arms is pure fun. The chubby body is easy and huggable. It is a friendly food character.
AvoidDon’t make the arms long; short little limbs look cuter on food characters.
Pro tipKeep the body extra round and the limbs tiny for a cute, plump mascot.
12 Chibi Shortcake Friend
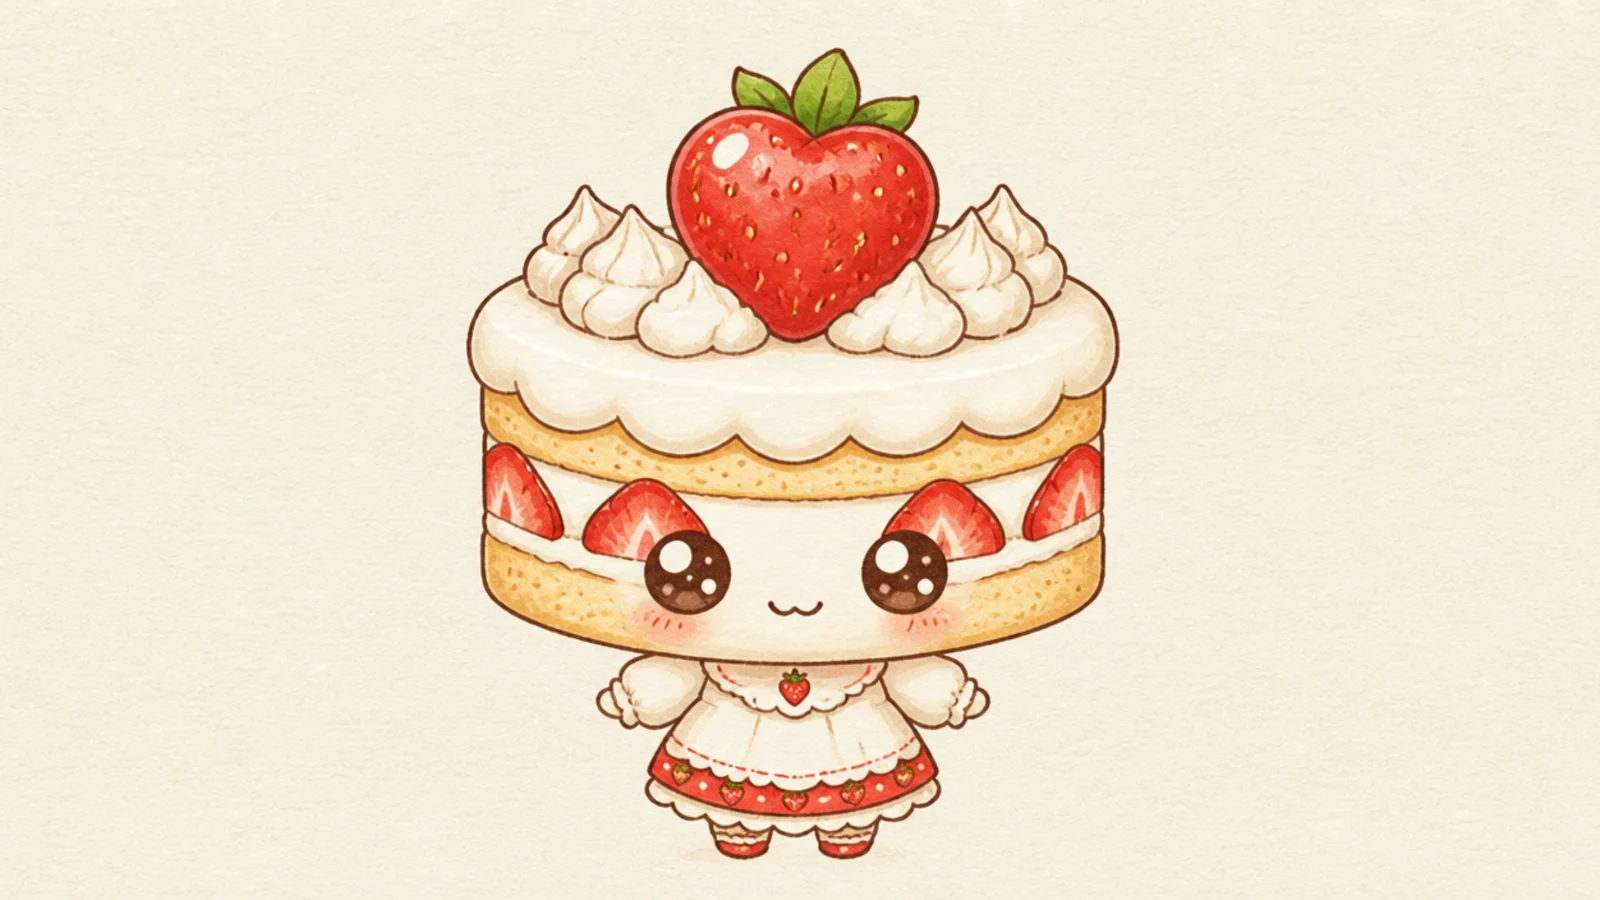
Step 1 draw a big rounded shortcake head with cream and a berry. Step 2 add two large glossy eyes with highlights and a tiny mouth. Step 3 add a tiny body with stubby arms below.
A chibi shortcake friend has big sparkly eyes and an oversized head for maximum cuteness. The exaggerated proportions read as adorable. It is a sweet original mascot.
AvoidDon’t shade the eyes flat; the highlights are what make chibi eyes shine.
Pro tipAdd two white highlights in each eye so they sparkle and look alive.
13 Berry-Hat Cutie
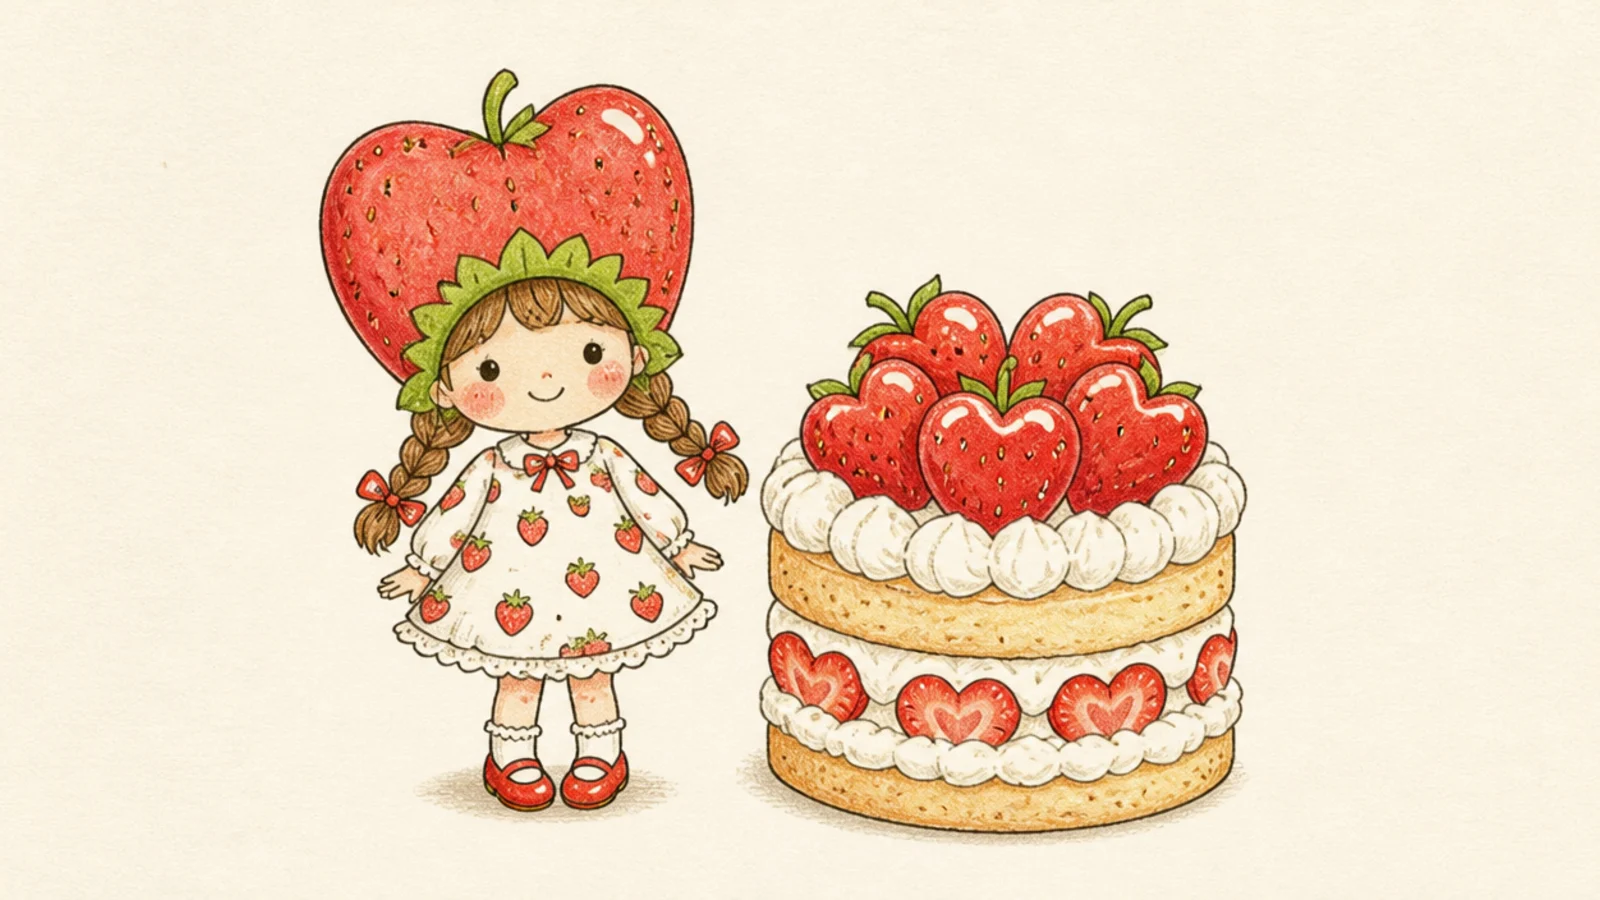
Step 1 draw a round head with a big strawberry-shaped hat. Step 2 add simple dot eyes, blush, and a smile. Step 3 add a small berry-print dress and pigtails.
A cheerful little girl doodle in a strawberry hat nods to classic dessert mascots in your own style. The berry hat ties her to the shortcake theme. It is playful and sweet.
AvoidDon’t over-detail the dress; a couple of berry dots suggest the print.
Pro tipMake the strawberry hat clearly heart-shaped with a green leafy brim.
14 Heart-Shaped Shortcake
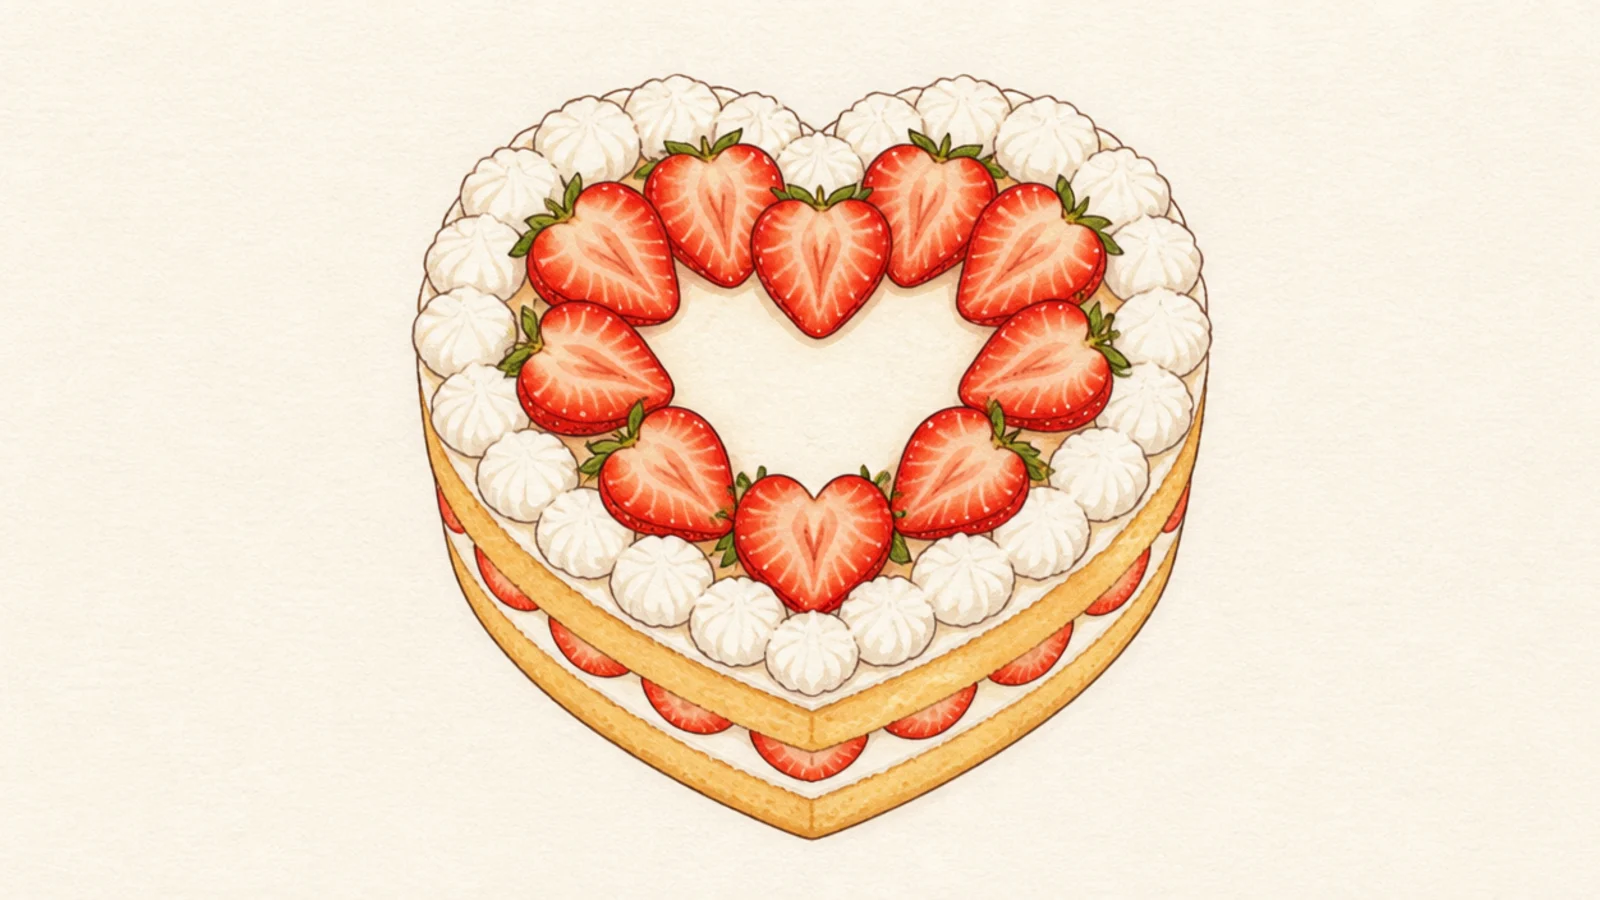
Step 1 draw a heart-shaped cake base seen from above. Step 2 pipe cream dollops around the heart’s edge. Step 3 arrange strawberry halves in a ring inside and one whole berry in the center.
A heart-shaped shortcake is romantic and perfect for cards. The heart outline is the only change from a round cake. It feels special and gift-worthy.
AvoidDon’t crowd the center; leave space so the berry arrangement stands out.
Pro tipPipe evenly spaced cream dollops around the rim like a border of dots.
15 Mini Shortcake Bites
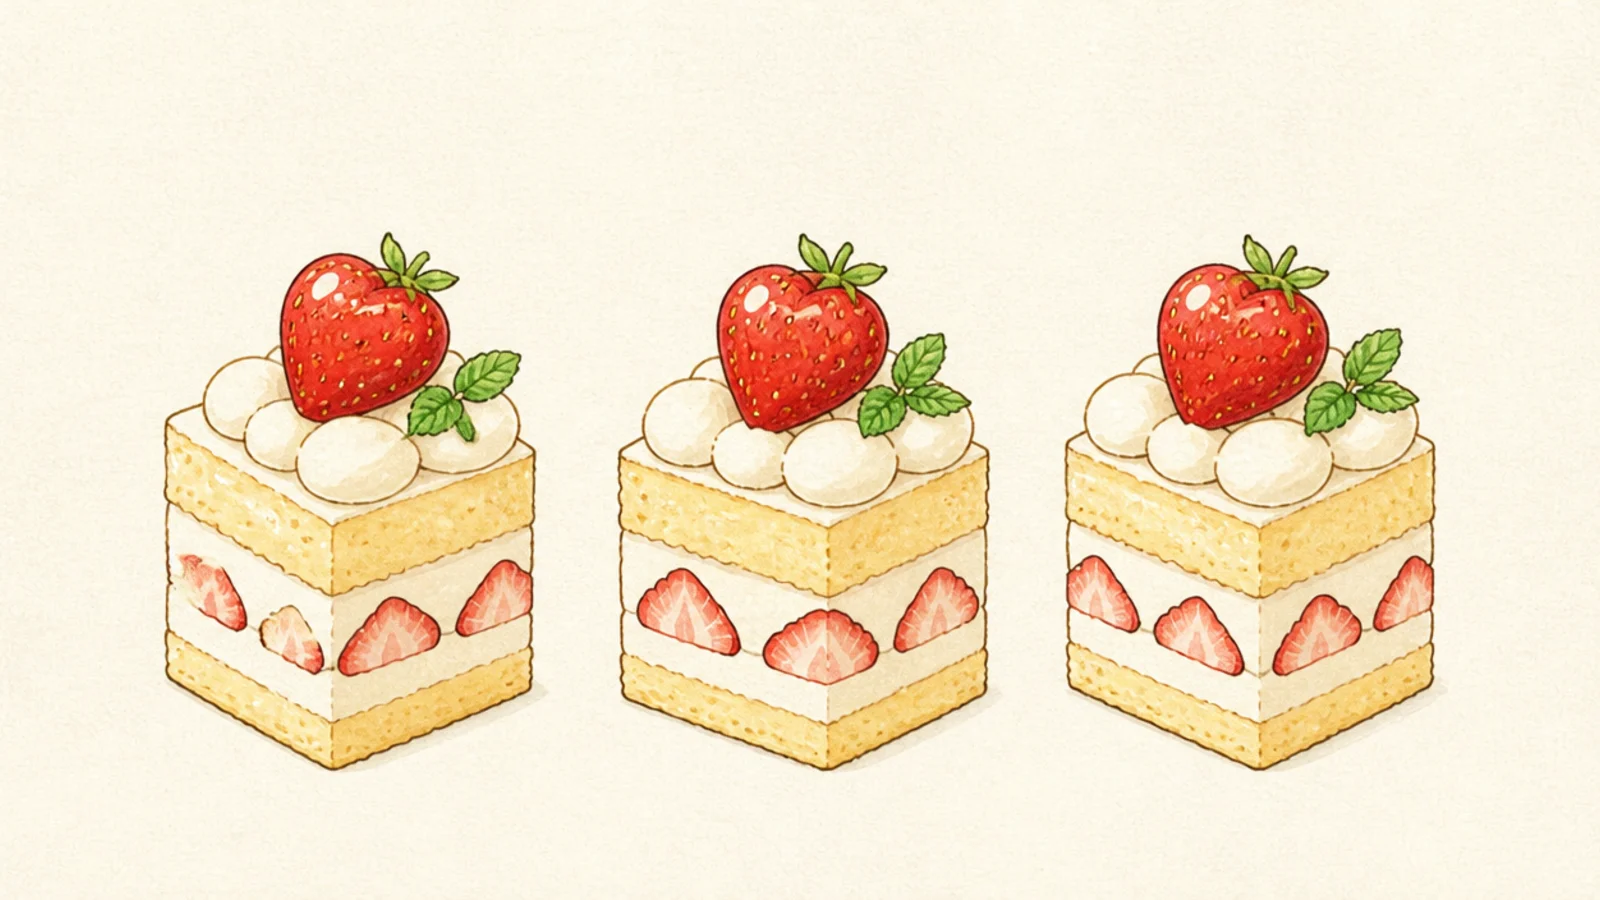
Step 1 draw three small layered cubes in a row. Step 2 add a tiny cream dollop on each. Step 3 top each with a single small strawberry and a mint leaf.
A trio of mini shortcake bites is quick and charming, like petit fours. Each little cube is fast to draw. Together they look like a tasty set.
AvoidDon’t make them all the same; small differences keep the set lively.
Pro tipVary the berry angle on each bite so the three do not look identical.
16 Strawberry Shortcake Roll
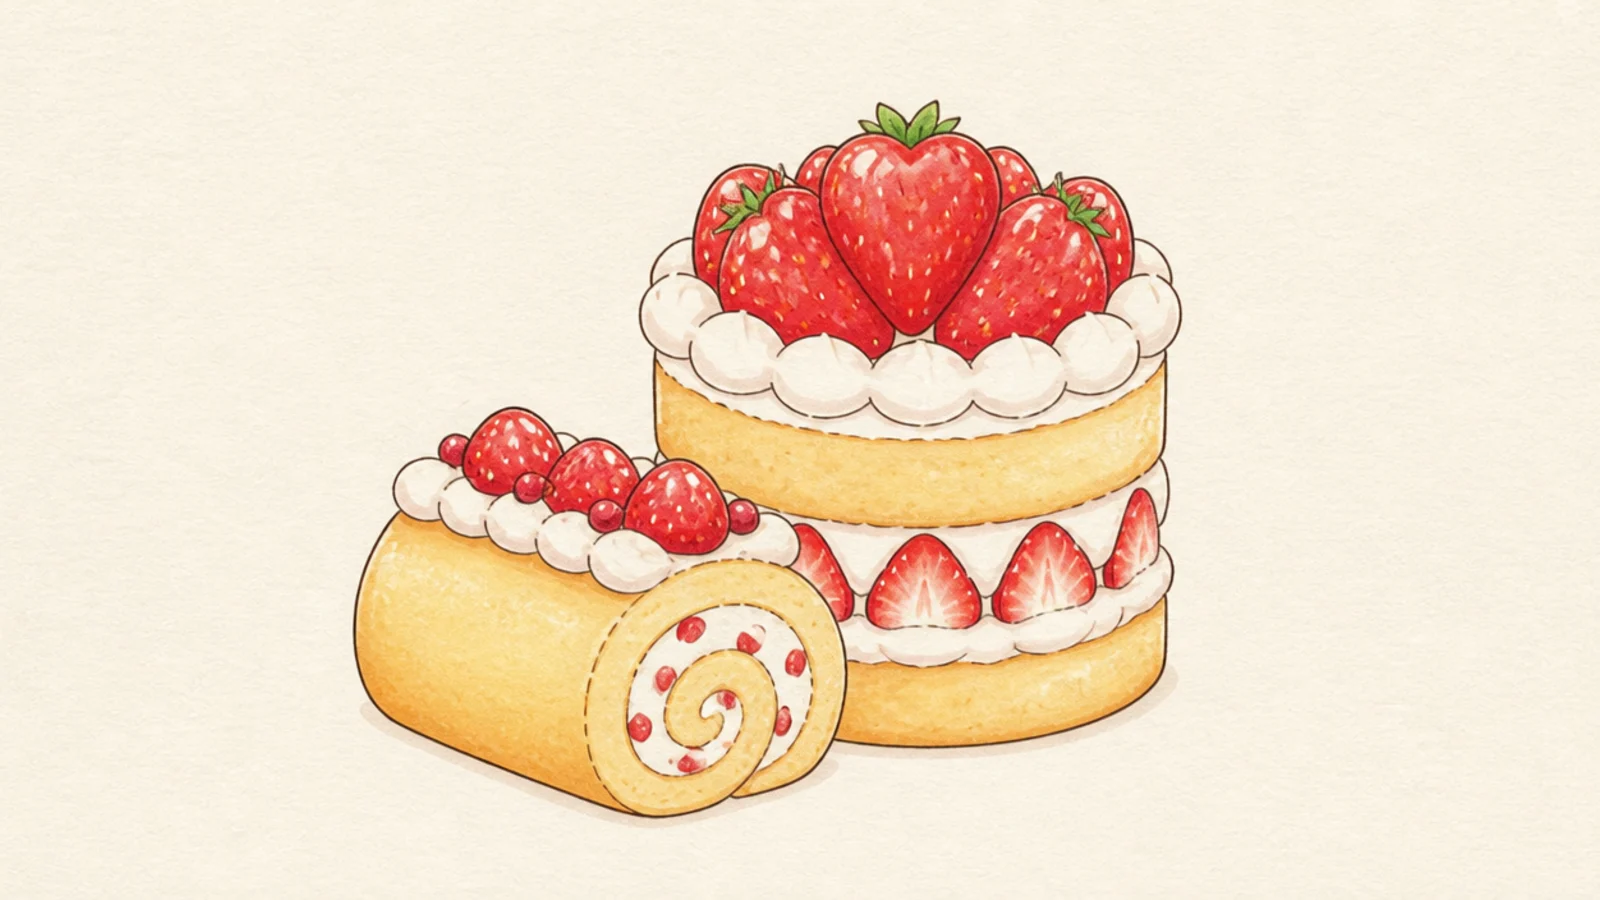
Step 1 draw a short cylinder for the roll. Step 2 draw a spiral of cream and berry dots on the cut end. Step 3 add a cream line and berries along the top.
A rolled sponge cake shows a pretty spiral of cream and berries in cross-section. The swirl inside is satisfying to draw. It is a bakery-window classic.
AvoidDon’t make the spiral too tight; a relaxed curl looks like a real roll.
Pro tipDraw the inner spiral as one smooth curl so the roll reads clearly.
17 Shortcake Ice Cream Bar
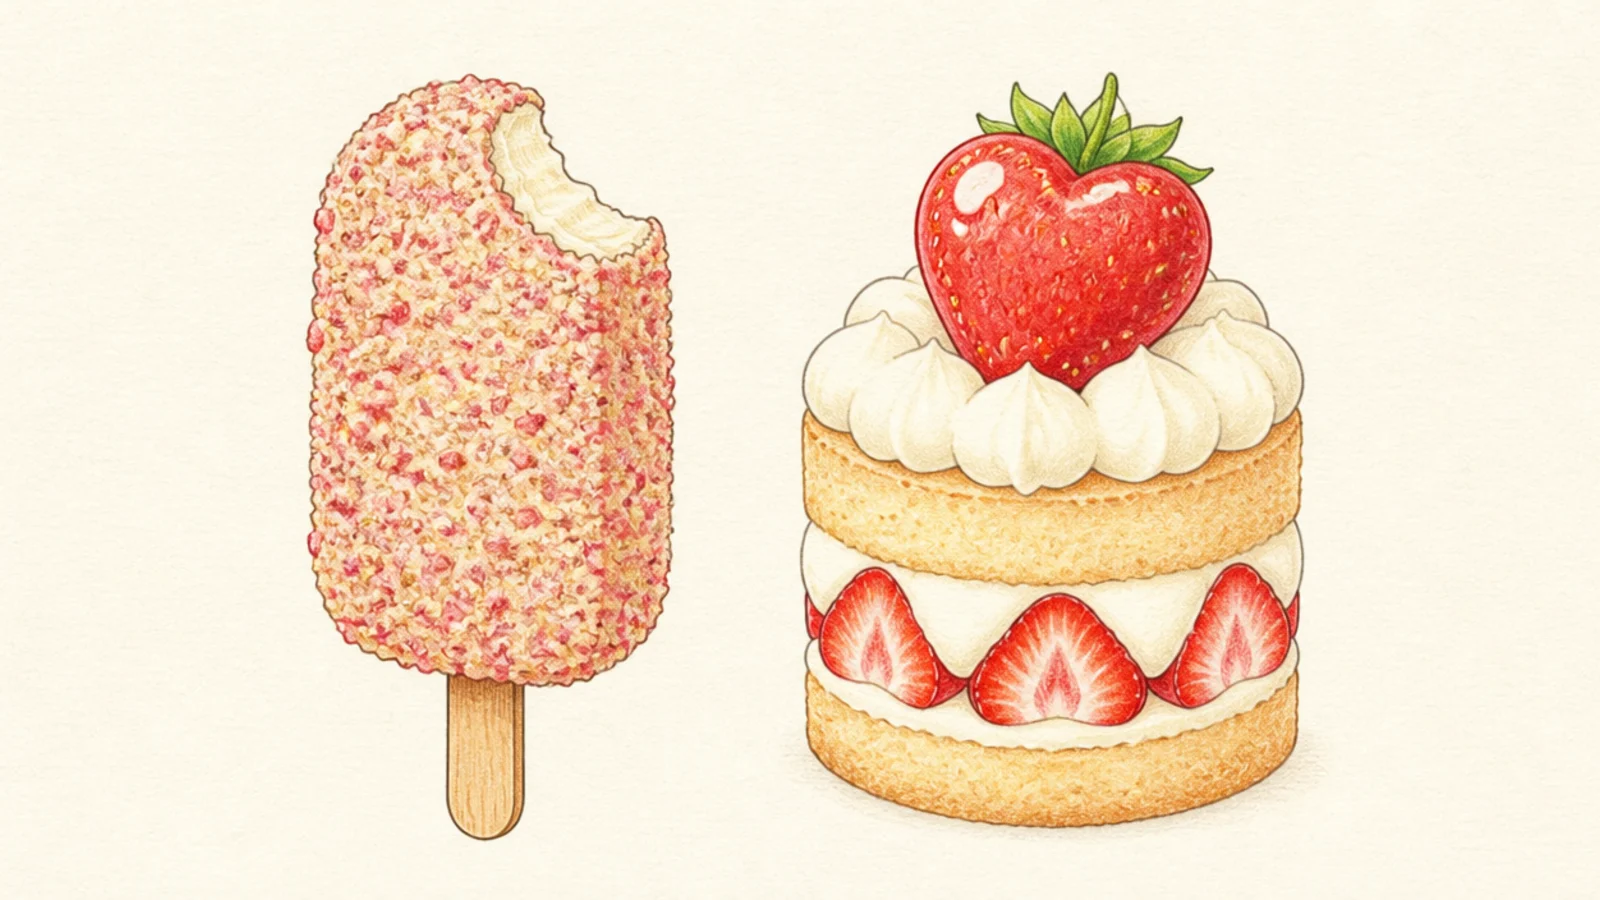
Step 1 draw a rounded rectangle bar on a stick. Step 2 cover it with pink and white crumb dots. Step 3 add a bite taken out of one corner showing the vanilla inside.
The nostalgic crumb-coated shortcake bar on a stick is a fun, textured subject. The speckled crumb coating is easy dotting practice. It is a summery treat.
AvoidDon’t line the crumbs up in rows; random scatter looks like real crumbs.
Pro tipScatter the crumb dots unevenly in pink and cream for the classic coating.
18 Shortcake Garnished With Mint
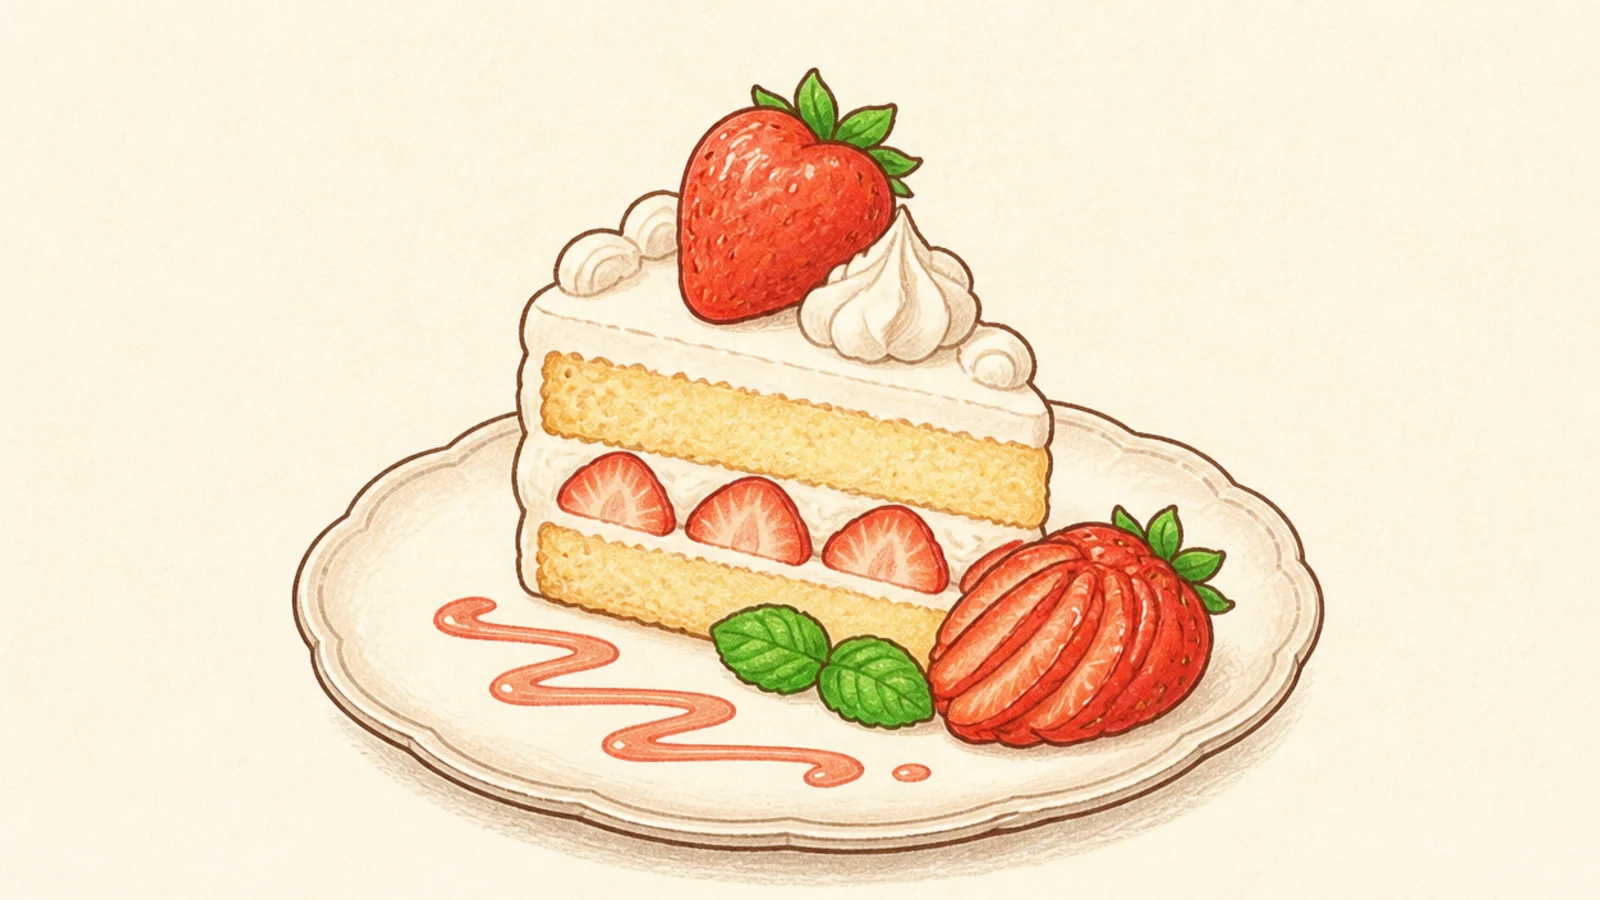
A restaurant-plated shortcake with a mint sprig and a fanned berry looks polished. The garnish teaches simple plating. It feels like a dessert-menu photo.
Step 1 draw a neat layered slice. Step 2 fan a sliced strawberry beside it. Step 3 add a small two-leaf mint sprig and a drizzle of sauce on the plate.
Fan the strawberry slices in an overlapping arc for an elegant garnish.
Don’t overfill the plate; a little empty space looks more refined.
19 Shortcake Birthday Cake
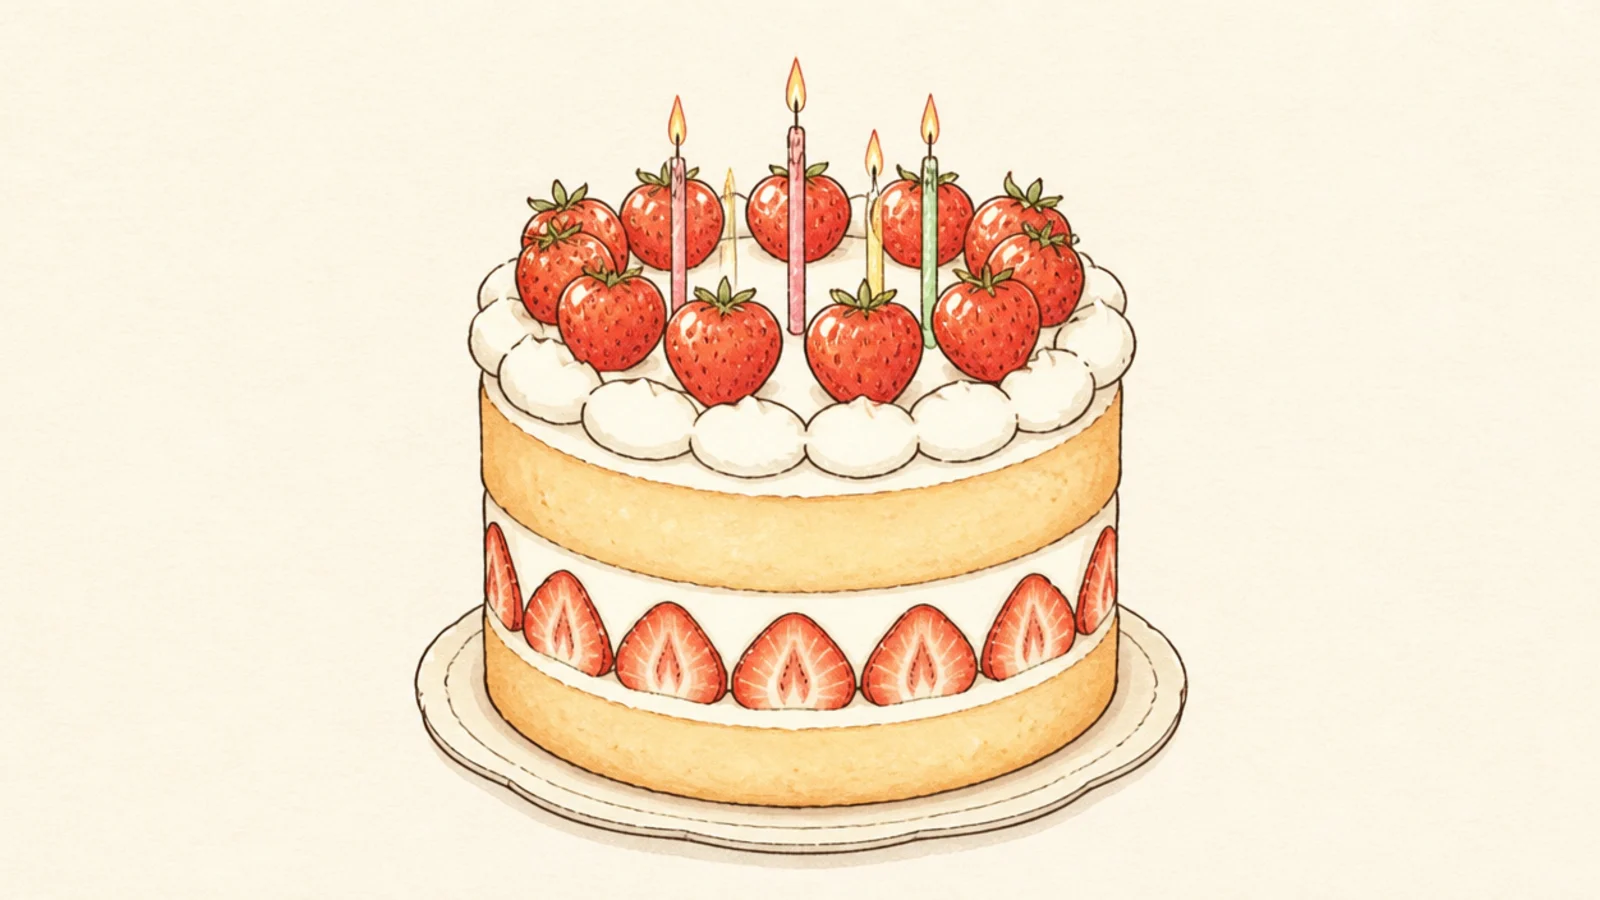
A whole shortcake with candles turns the dessert into a birthday centerpiece. The candles add celebration with little effort. It is cheerful and giftable.
Step 1 draw a tall round shortcake with a cream-covered top. Step 2 ring the top edge with strawberries. Step 3 add a few thin candles with little flames in the middle.
Space the candles evenly and give each a small teardrop flame.
Don’t crowd too many candles; a few evenly spaced ones look tidy.
20 Tilted-Angle Shortcake Slice
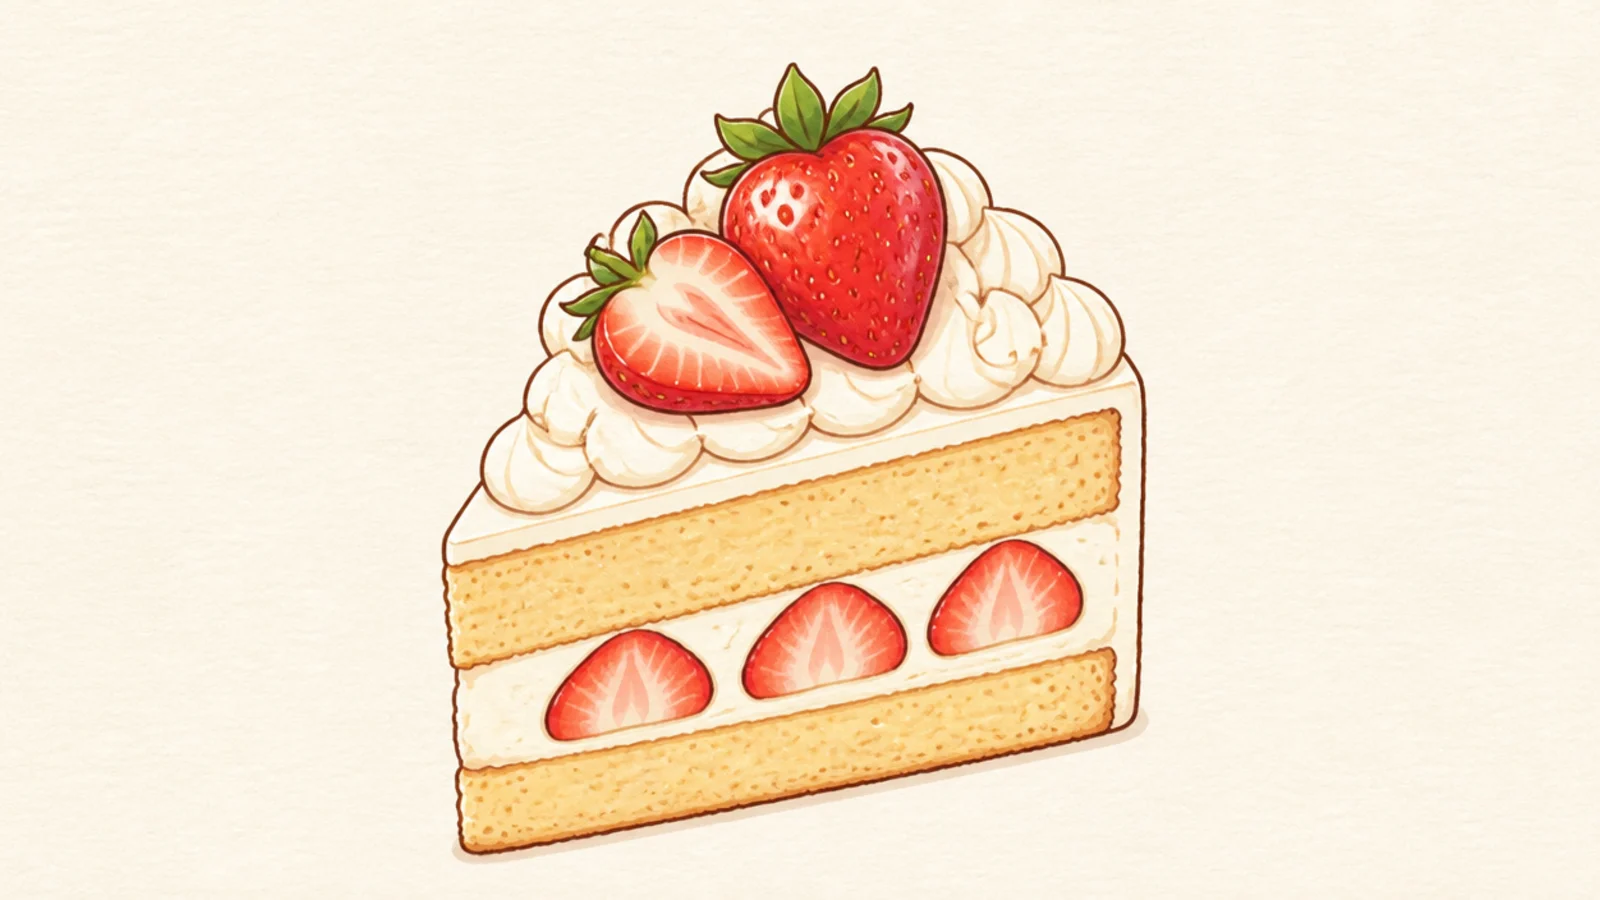
Drawing the slice at a three-quarter angle shows both the top and the layered side. The added dimension looks more advanced. It is great perspective practice.
Step 1 draw the top surface as a slanted diamond. Step 2 drop the front and side faces down to show the layers. Step 3 add cream and berries on top following the tilt.
Keep all the layer lines parallel to the top edge so the perspective holds.
Don’t let the side layers go flat; angle them to match the tilted top.
21 Shortcake Trifle Bowl
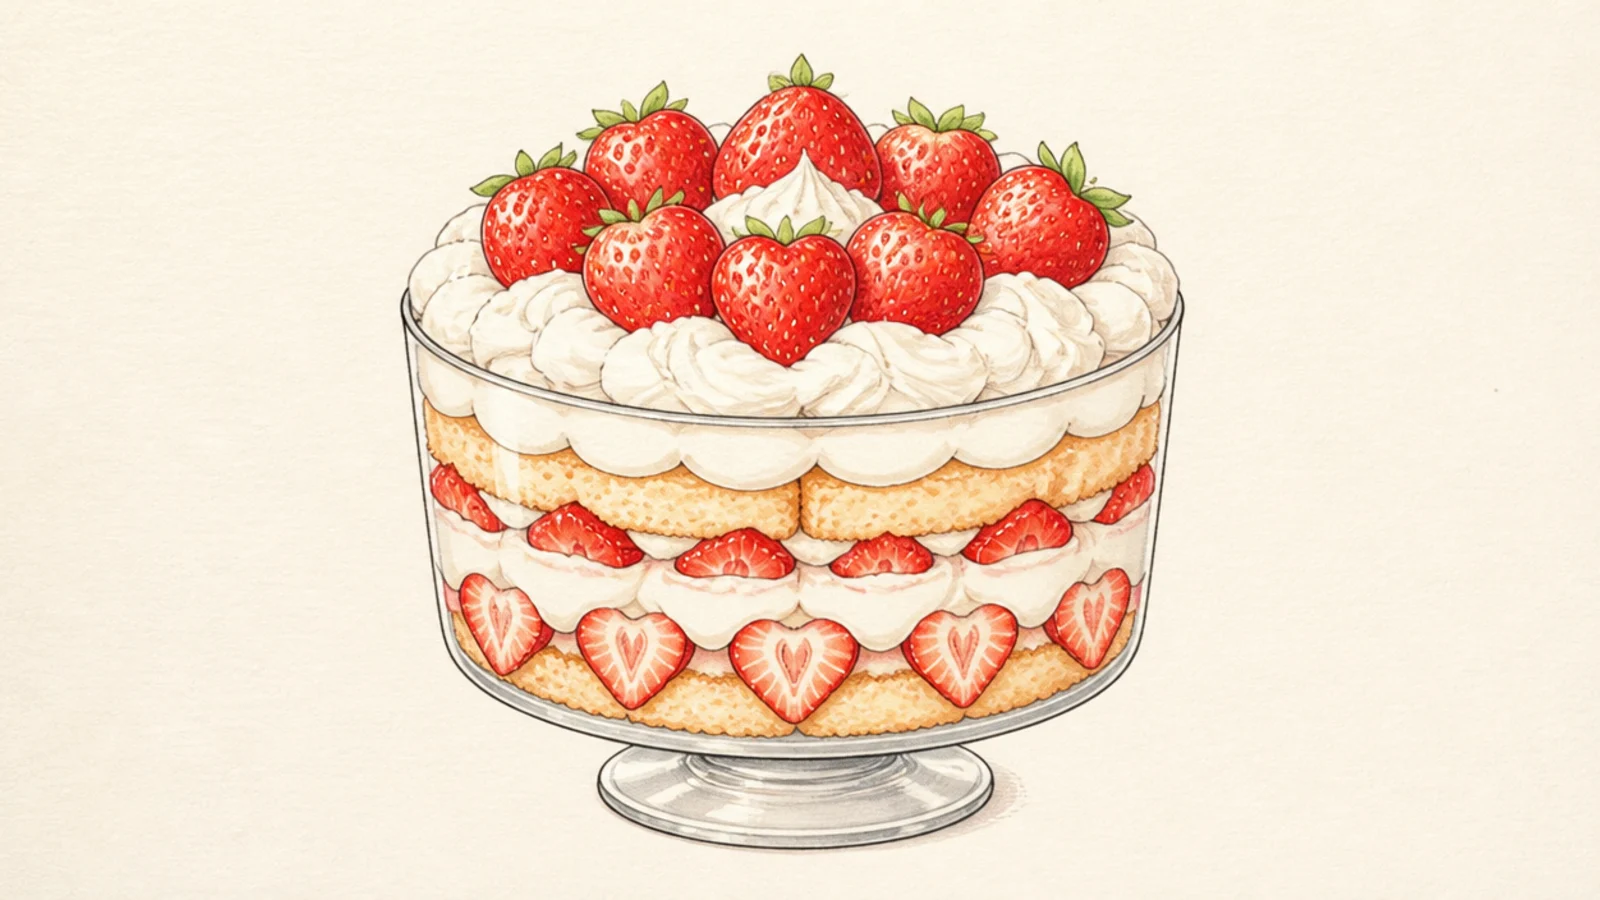
Step 1 draw a wide footed glass bowl. Step 2 fill it with thick layers of cake, cream, and berries pressed against the glass. Step 3 top with a cream cloud and a berry crown.
A big glass trifle bowl piles the shortcake into generous layers for a crowd. The wide bowl shows off the stripes. It looks abundant and festive.
AvoidDon’t blur the layers together; keep clear bands so it reads as a trifle.
Pro tipPress some berry slices flat against the glass so the layers show through.
22 Shortcake Sticker Set
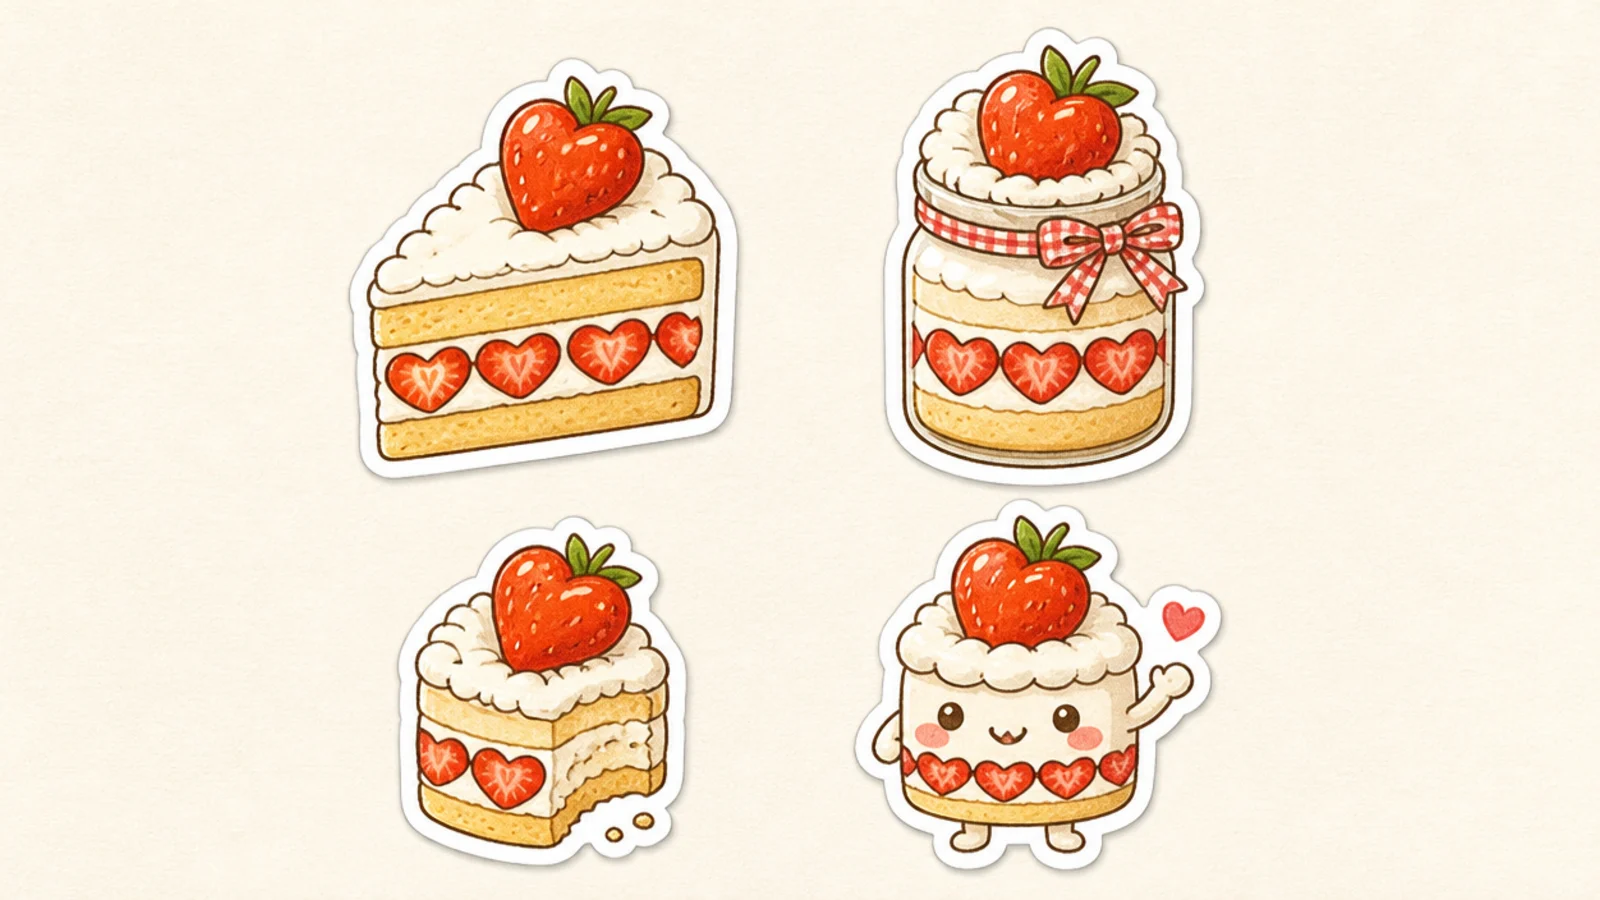
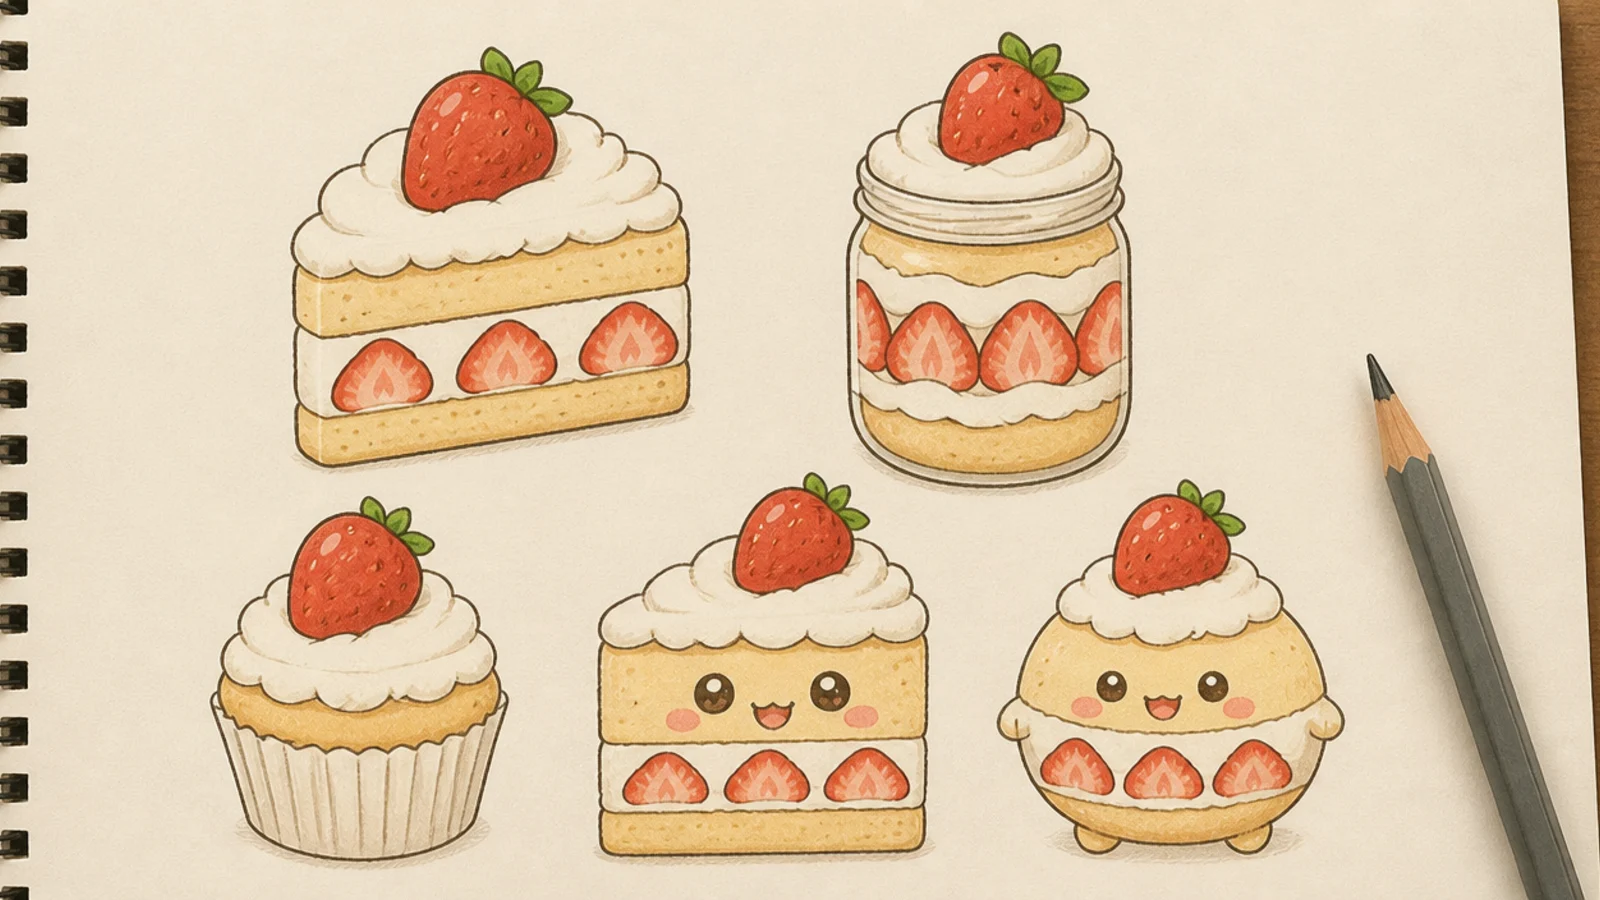
Step 1 draw four small shortcakes in a loose grid — a slice, a jar, a bite, and a mascot. Step 2 keep the same line weight and colors. Step 3 trace a thick white outline around each.
A few matching shortcake doodles make an adorable mini sticker sheet. Repeating the style ties them together. It is satisfying to draw a matched set.
AvoidDon’t mix wildly different styles; small variations look best.
Pro tipKeep every sticker the same size and style so they read as one set.
23 Glaze-Dripped Shortcake
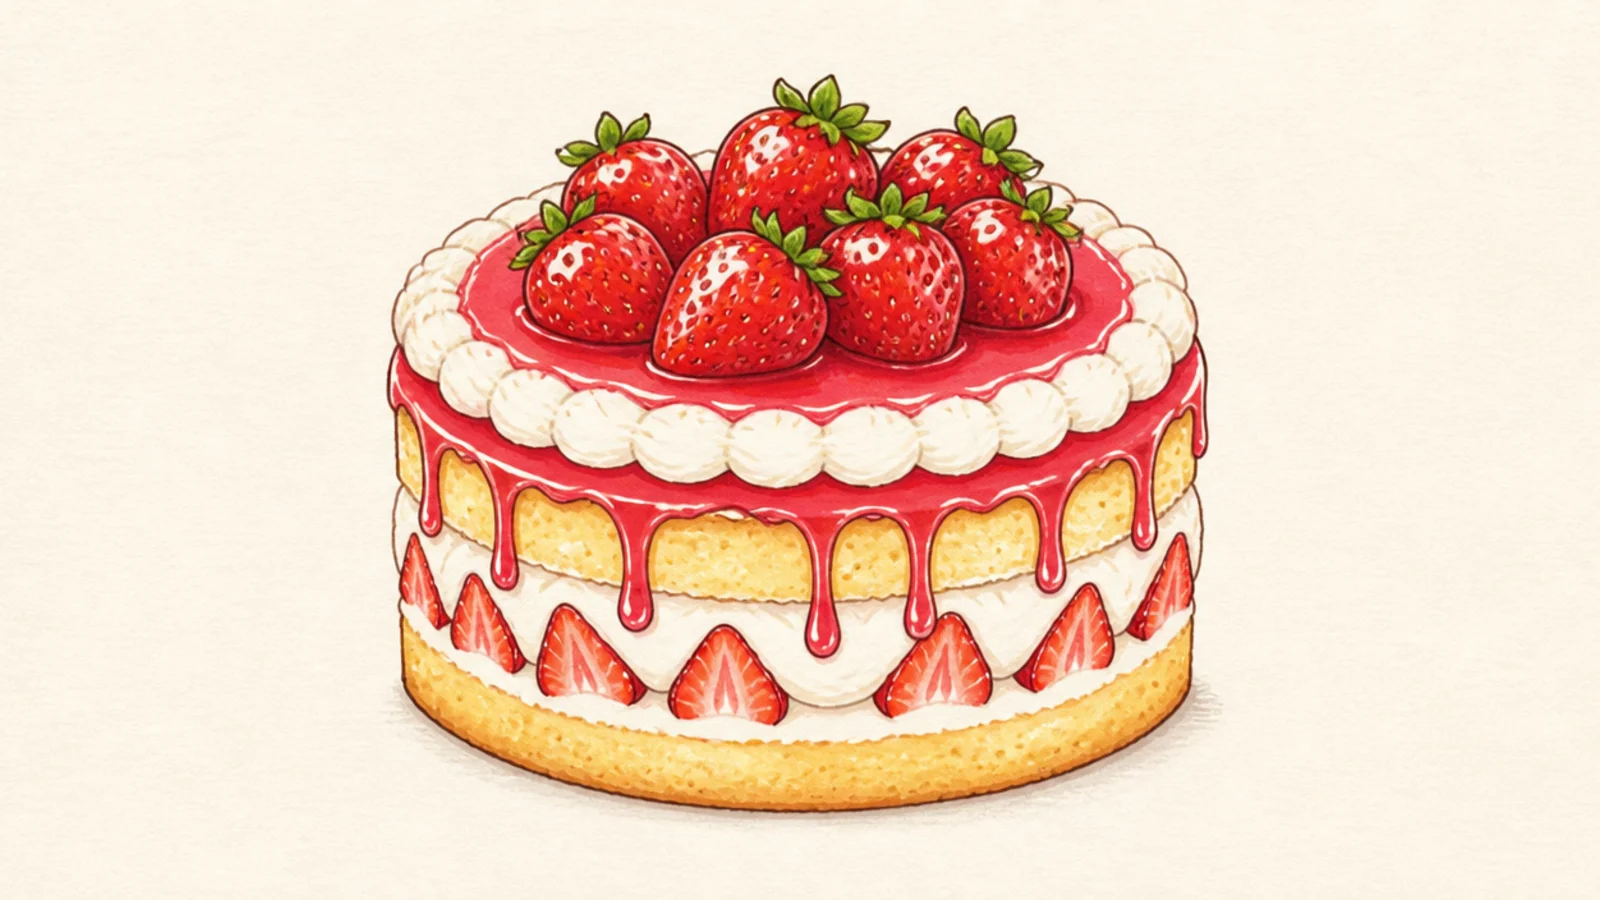
A shortcake with shiny strawberry glaze dripping down the sides looks luscious. The drips are fun, gravity-led shapes. It adds a glossy, modern touch.
Step 1 draw a round layered cake. Step 2 draw a wavy glaze edge on top with drips of different lengths running down. Step 3 add whole berries on top and highlights on the glaze.
Vary the drip lengths and round their bottoms so they look like falling liquid.
Don’t make the drips even and pointed; uneven rounded drips look wet.
24 Shortcake Tea-Party Scene
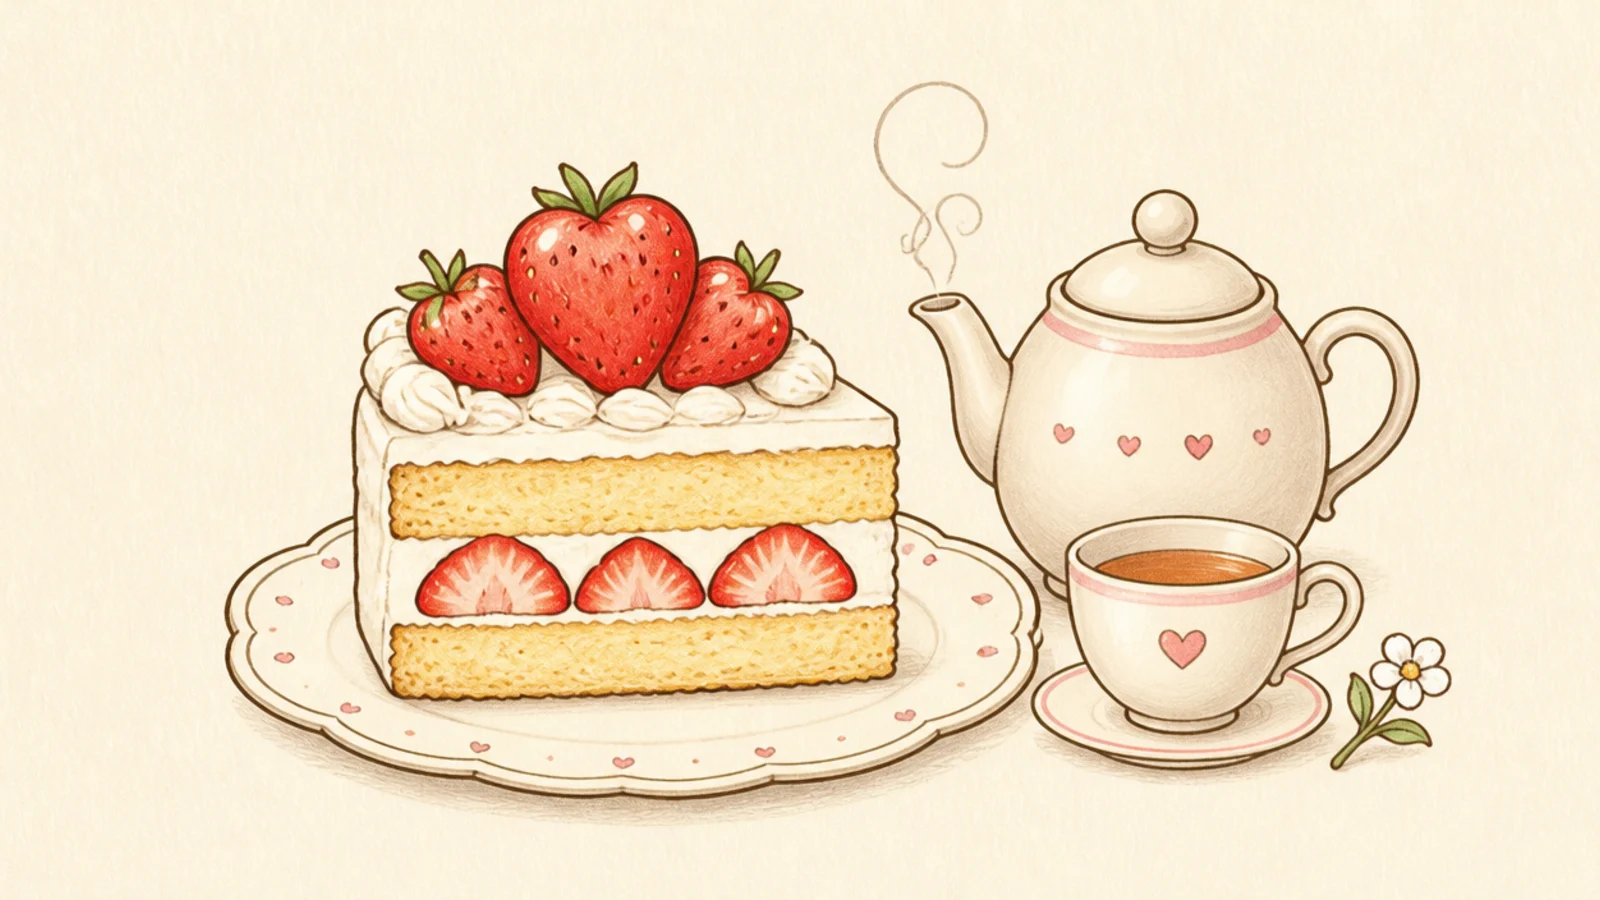
Step 1 draw a shortcake slice on a plate. Step 2 add a small teacup and a round teapot beside it. Step 3 add steam curls and a tiny flower for a cozy table.
A little tea-party scene pairs a shortcake slice with a teacup and teapot. The grouping tells a cozy story. It is a lovely, more complete drawing.
AvoidDon’t clutter the table; a few well-placed items feel calmer.
Pro tipKeep the shortcake as the biggest item so it stays the focus.
25 Shortcake Love Note
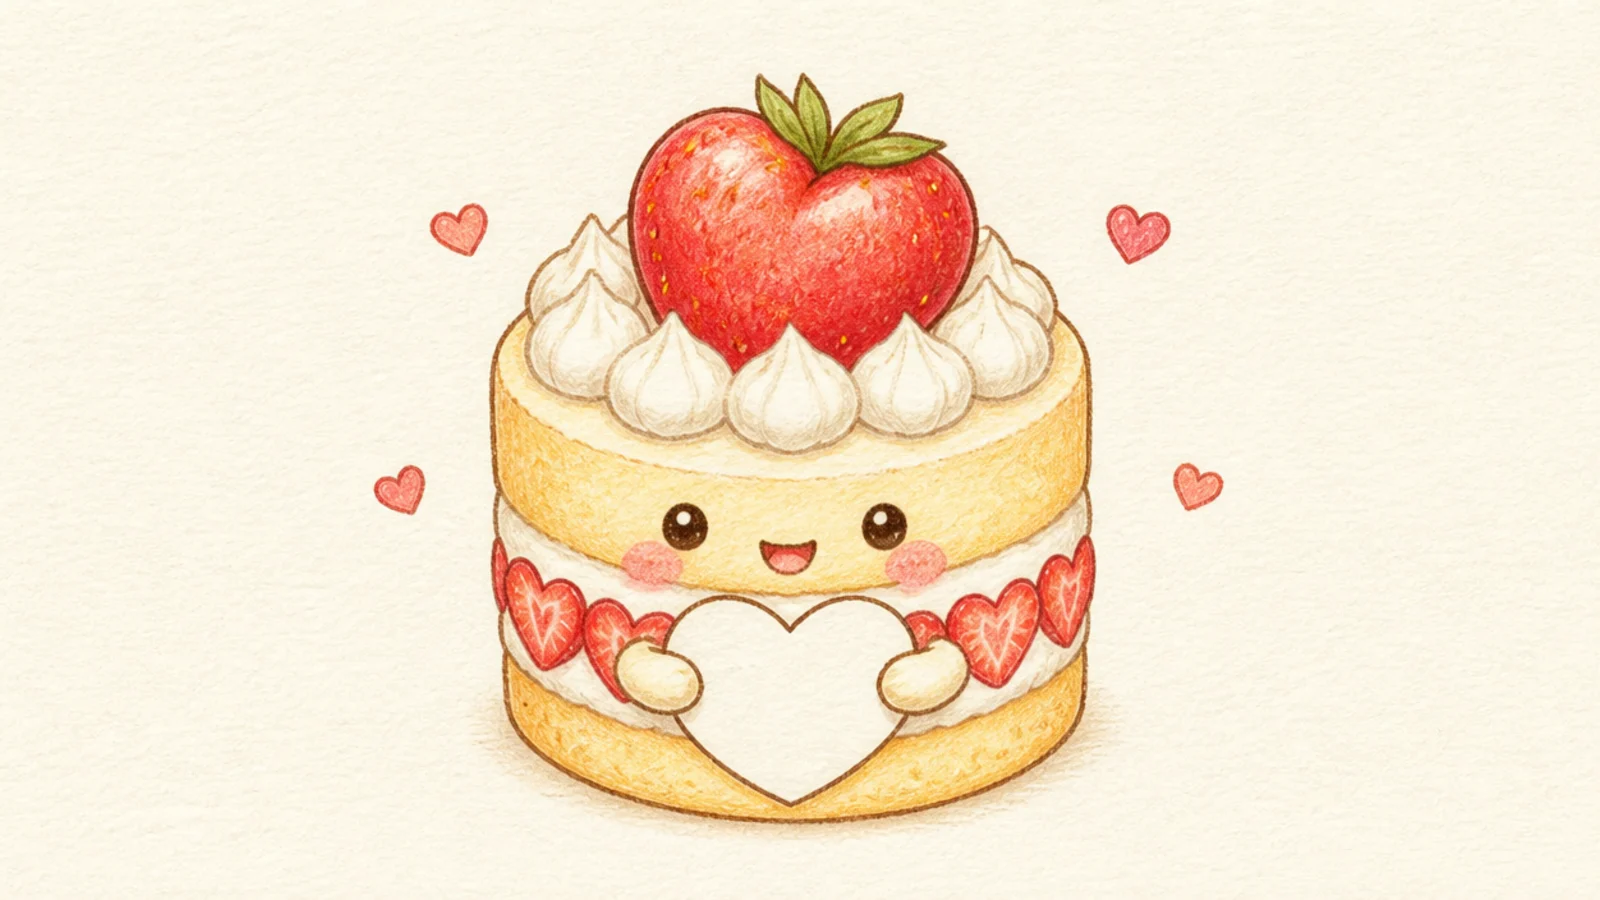
A shortcake mascot holding a little heart sign is the sweetest way to close the list. The heart adds a message-ready touch. It is perfect for cards and notes.
Step 1 draw a round shortcake mascot with a face. Step 2 add two little arms holding a small heart or blank sign. Step 3 add blush, a berry hat, and a few floating hearts.
Leave the little sign blank so you can add your own short message.
Don’t overfill the sign; keep it small so a short word fits neatly.



