
1 Classic Strawberry Cake Slice
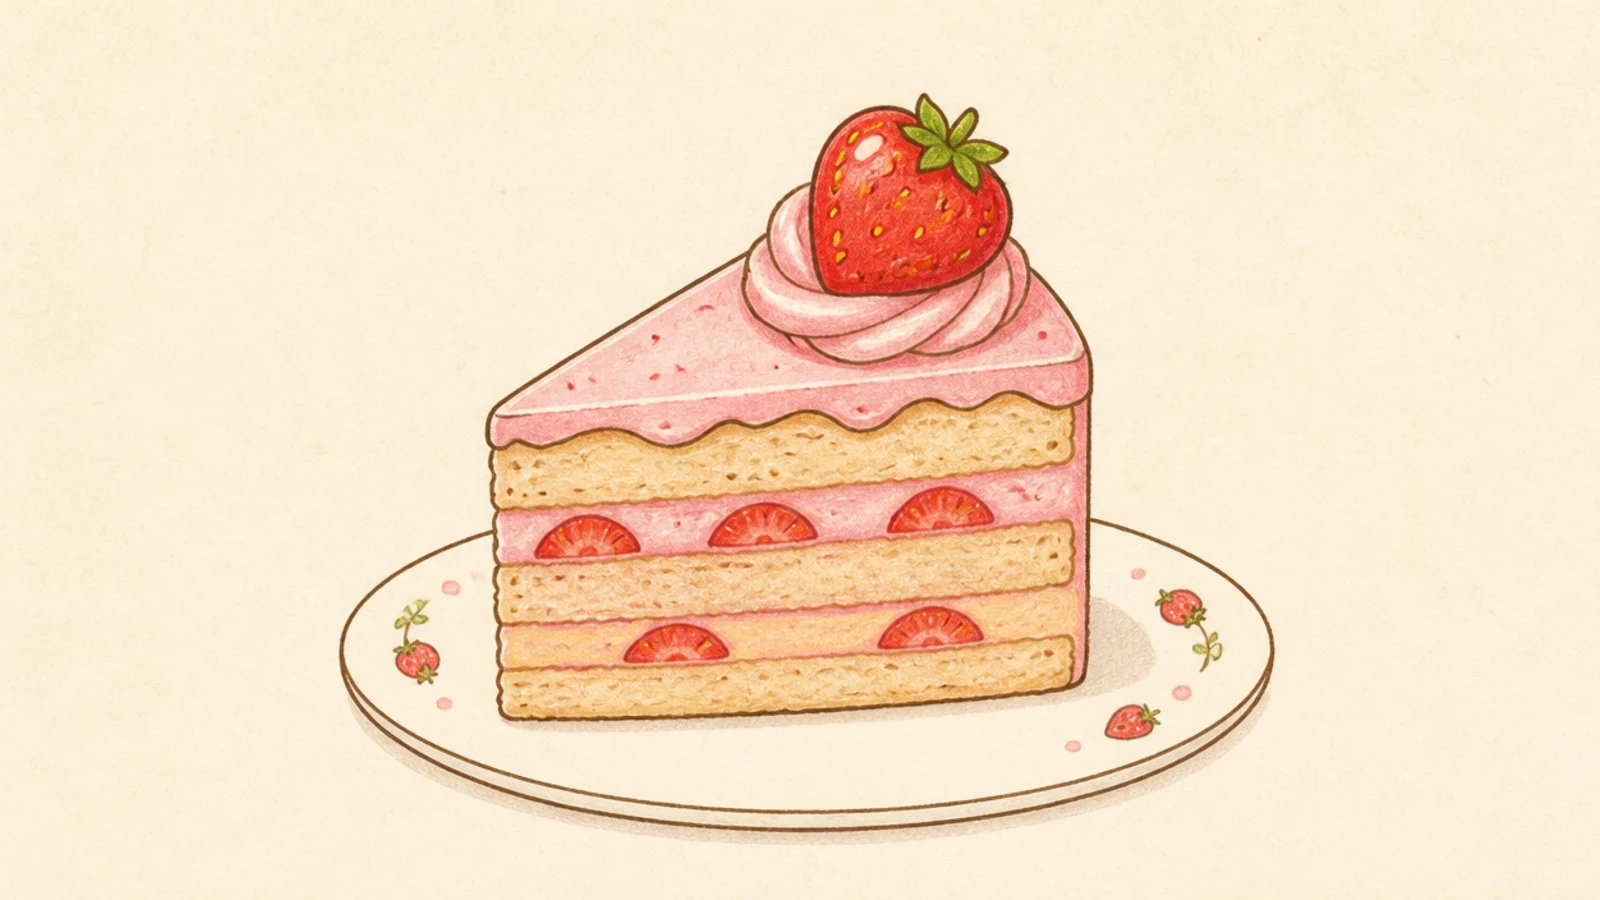
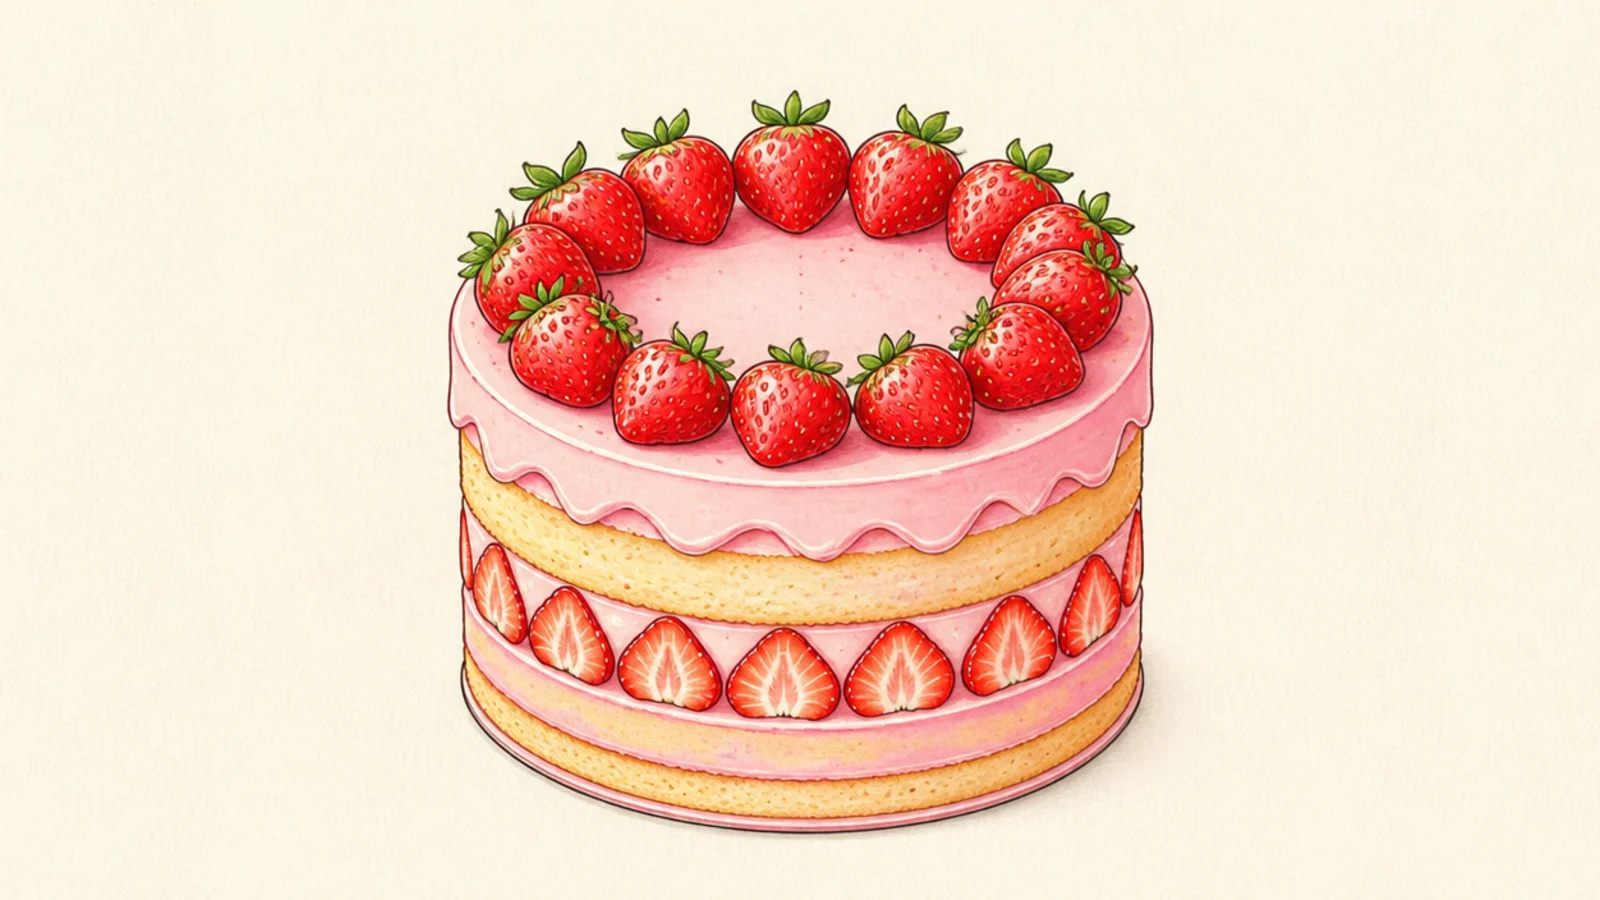
This is the classic slice and the base for the whole list — stacked sponge with frosting and a berry on top. It teaches the stack-frost-berry order you will reuse everywhere. Master it and every other idea is a small change.
Step 1 draw a tall triangular wedge lying on its side. Step 2 add horizontal sponge and pink filling stripes across it. Step 3 frost the top, add one strawberry, and set it on a plate.
Pro tipLet the top frosting curve up into a soft peak so it looks freshly spread.
AvoidDon’t draw the layers with sharp corners; soft rounded edges read as cake.
2 Whole Round Strawberry Cake
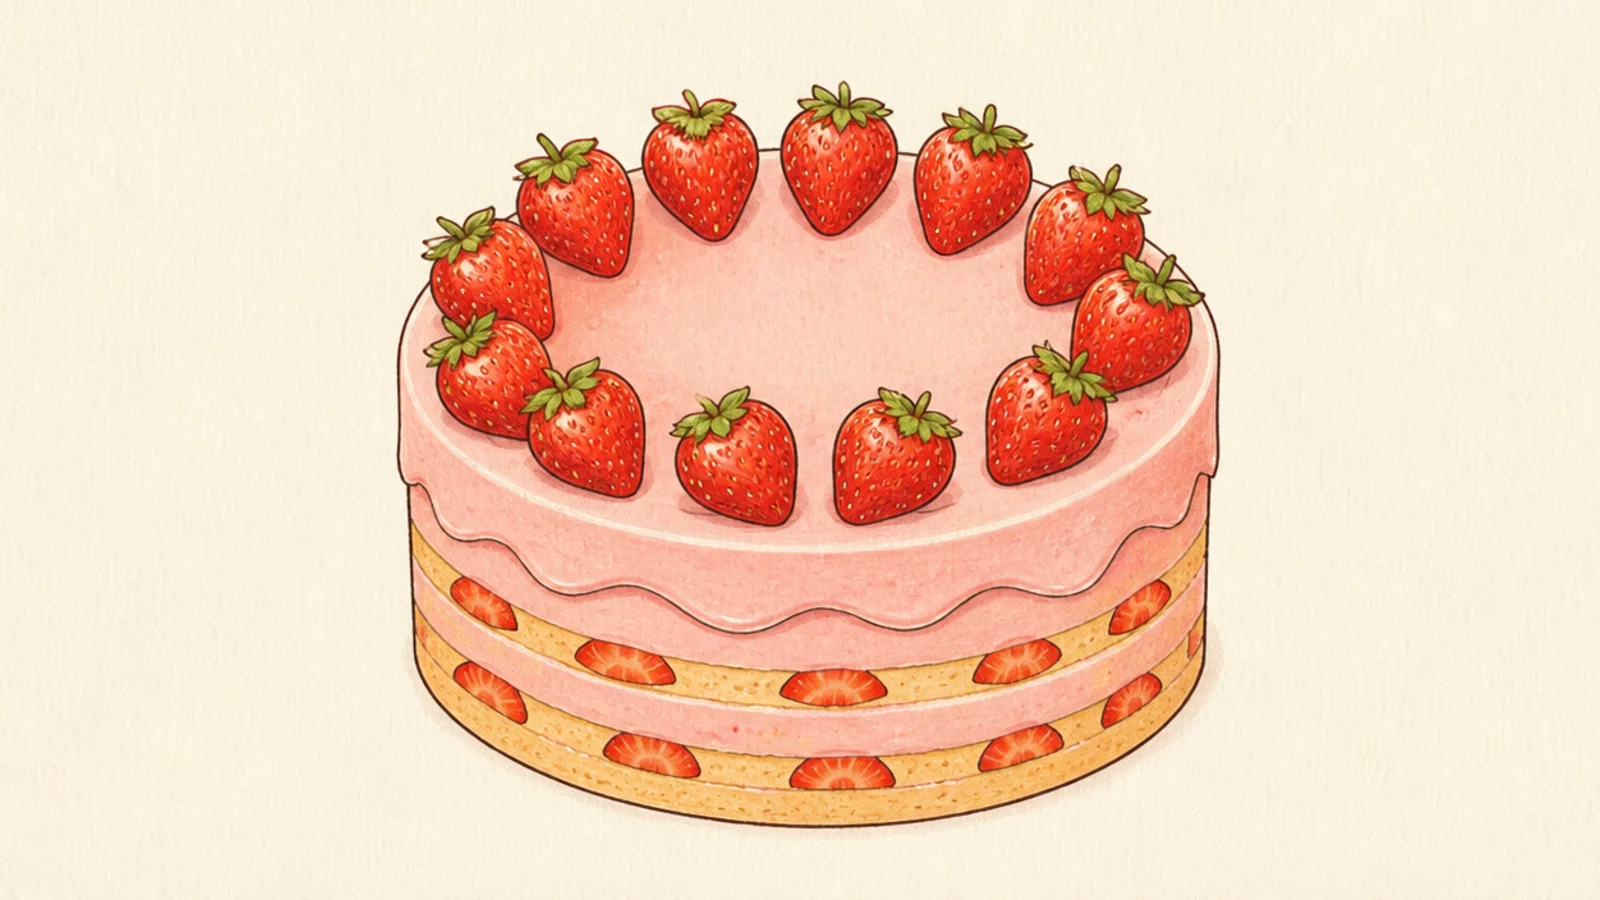
A whole round cake is the centerpiece version and simpler than it looks. The cylinder shape is easy once you start with an oval. It looks generous and celebratory.
Step 1 draw an oval top with two side lines and a curved bottom for the cylinder. Step 2 wrap smooth frosting around it. Step 3 ring the top edge with strawberries and add a few in the center.
Pro tipSpace the top-edge berries evenly like numbers on a clock for a tidy ring.
AvoidDon’t make the top a full circle; a flattened oval reads as the top in perspective.
3 Two-Tier Strawberry Cake
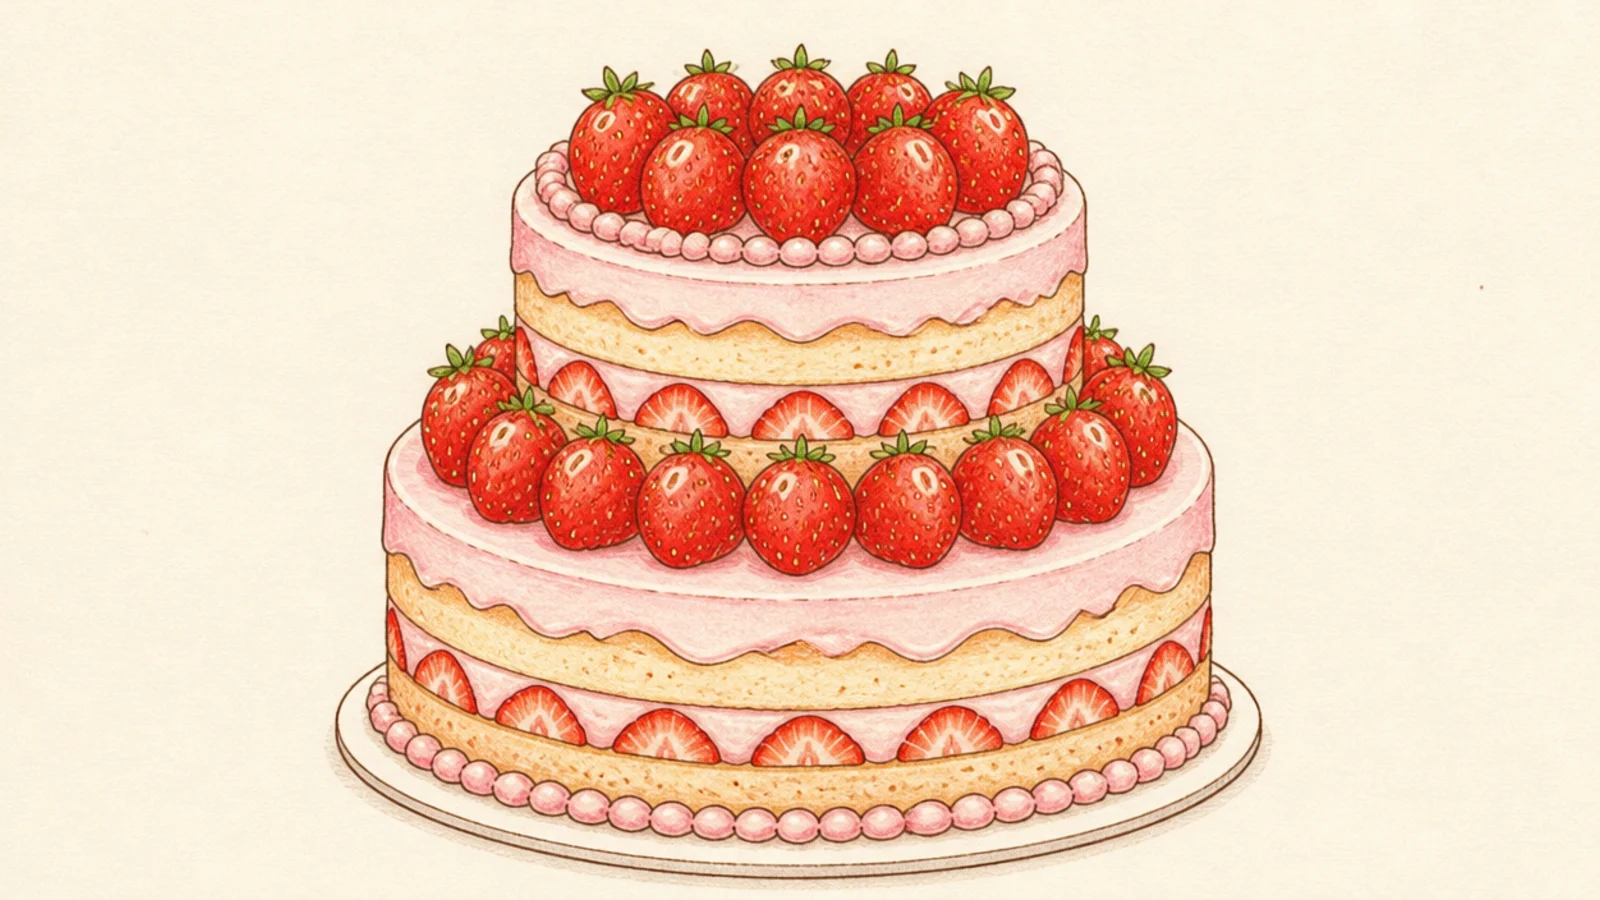
A two-tier cake stacks the whole-cake idea twice for an impressive result. The extra tier adds height and occasion. It feels like a party cake.
Step 1 draw a wide cylinder for the base tier. Step 2 center a smaller cylinder on top. Step 3 frost both, ring each tier’s edge with berries, and add a border of piped dots.
Center the top tier carefully so the cake looks balanced, not leaning.
Don’t make the tiers the same width; a clear size step reads as tiered.
4 Naked Layer Cake
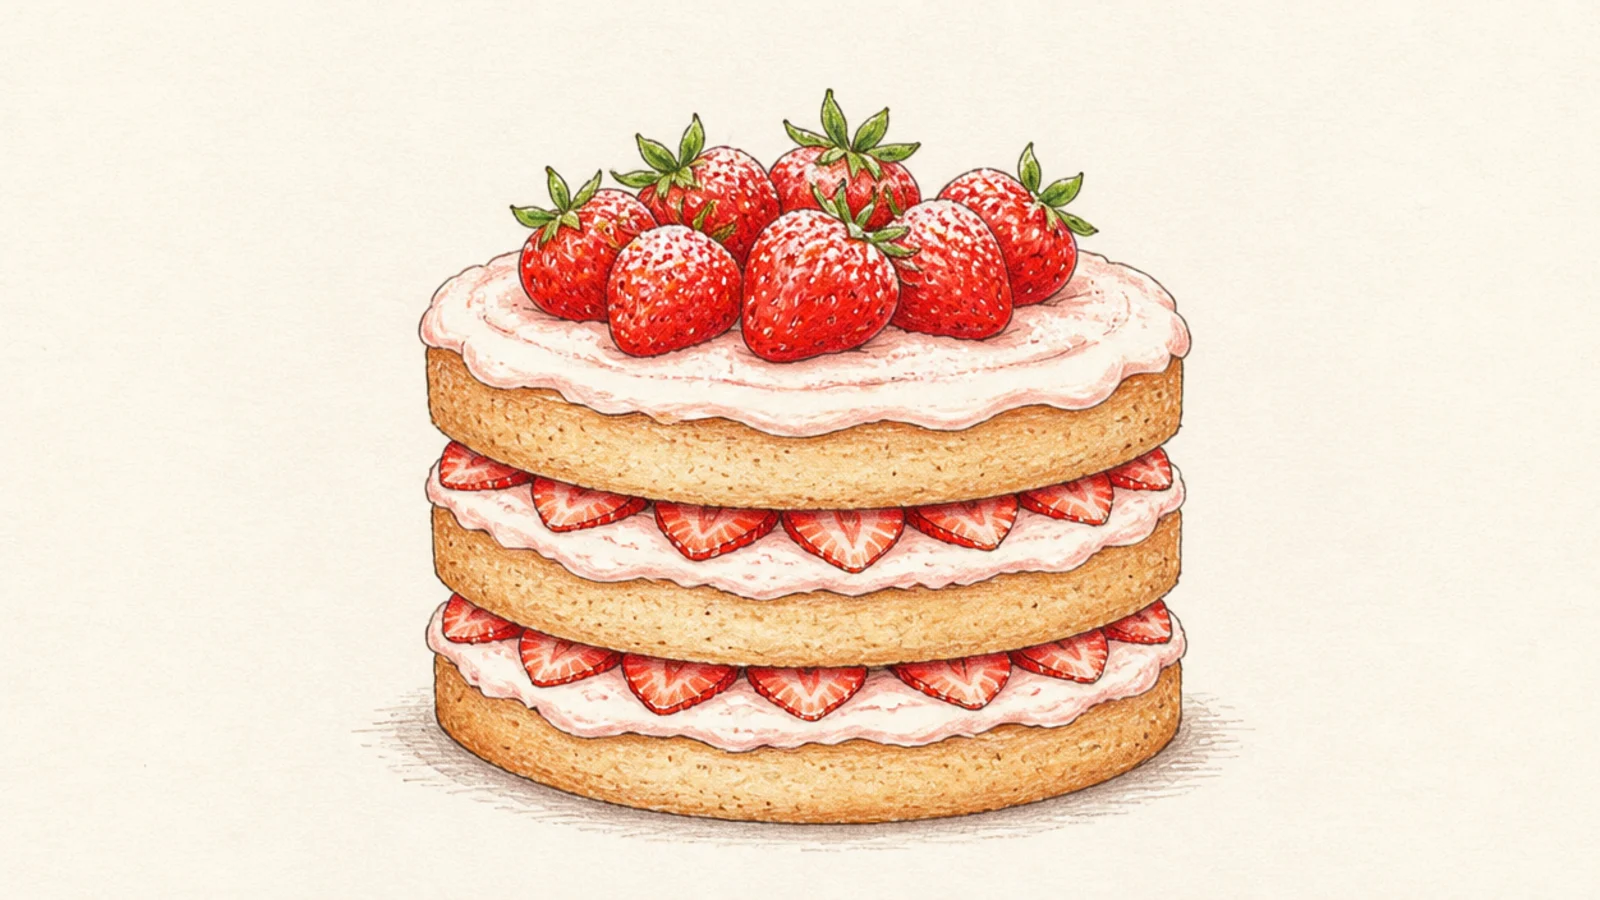
A naked cake shows the bare sponge with cream only between the layers, for a rustic look. The exposed layers are fun to draw. It feels homemade and trendy.
Step 1 stack three sponge bands with visible gaps. Step 2 fill each gap with cream and sliced strawberries peeking out. Step 3 pile whole berries on top with a light dusting of sugar.
Let the sponge edges look slightly rough so the naked cake feels handmade.
Don’t frost the sides; the whole point is the bare, visible sponge.
5 Strawberry Drip Cake
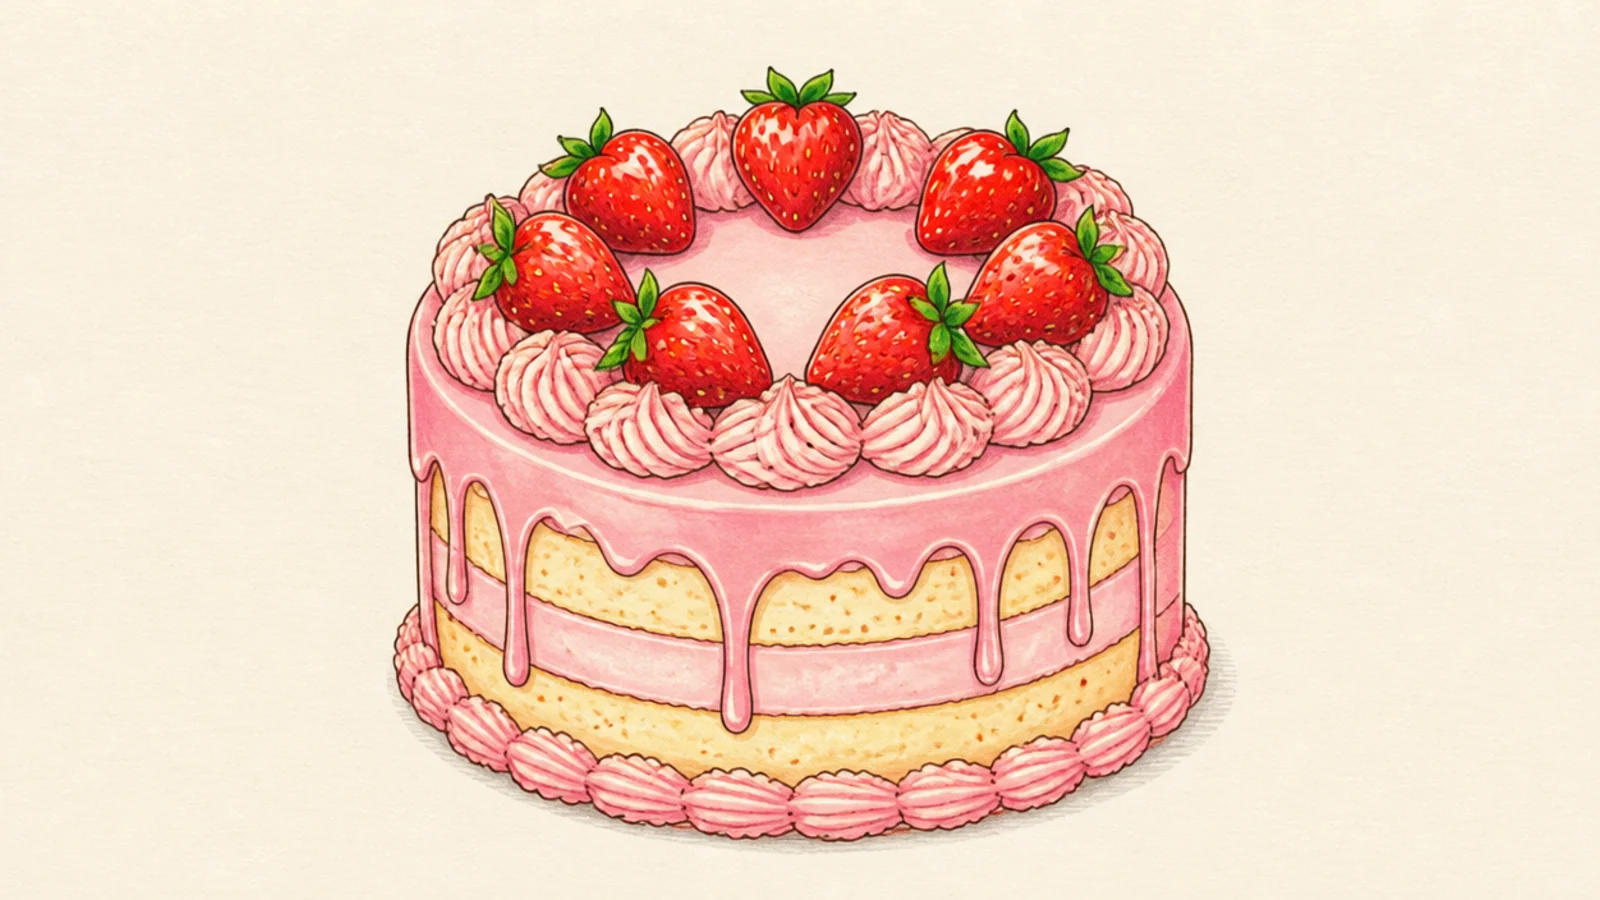
A drip cake with pink glaze running down the sides looks modern and luscious. The drips are fun, gravity-led shapes. It is a showstopper that stays simple.
Step 1 draw a frosted round cake. Step 2 add a wavy glaze edge on top with drips of different lengths down the sides. Step 3 crown it with whole berries and a piped border.
Pro tipVary the drip lengths and round their bottoms so they look like falling glaze.
AvoidDon’t make the drips even and pointed; uneven rounded drips look wet.
6 Heart-Shaped Strawberry Cake
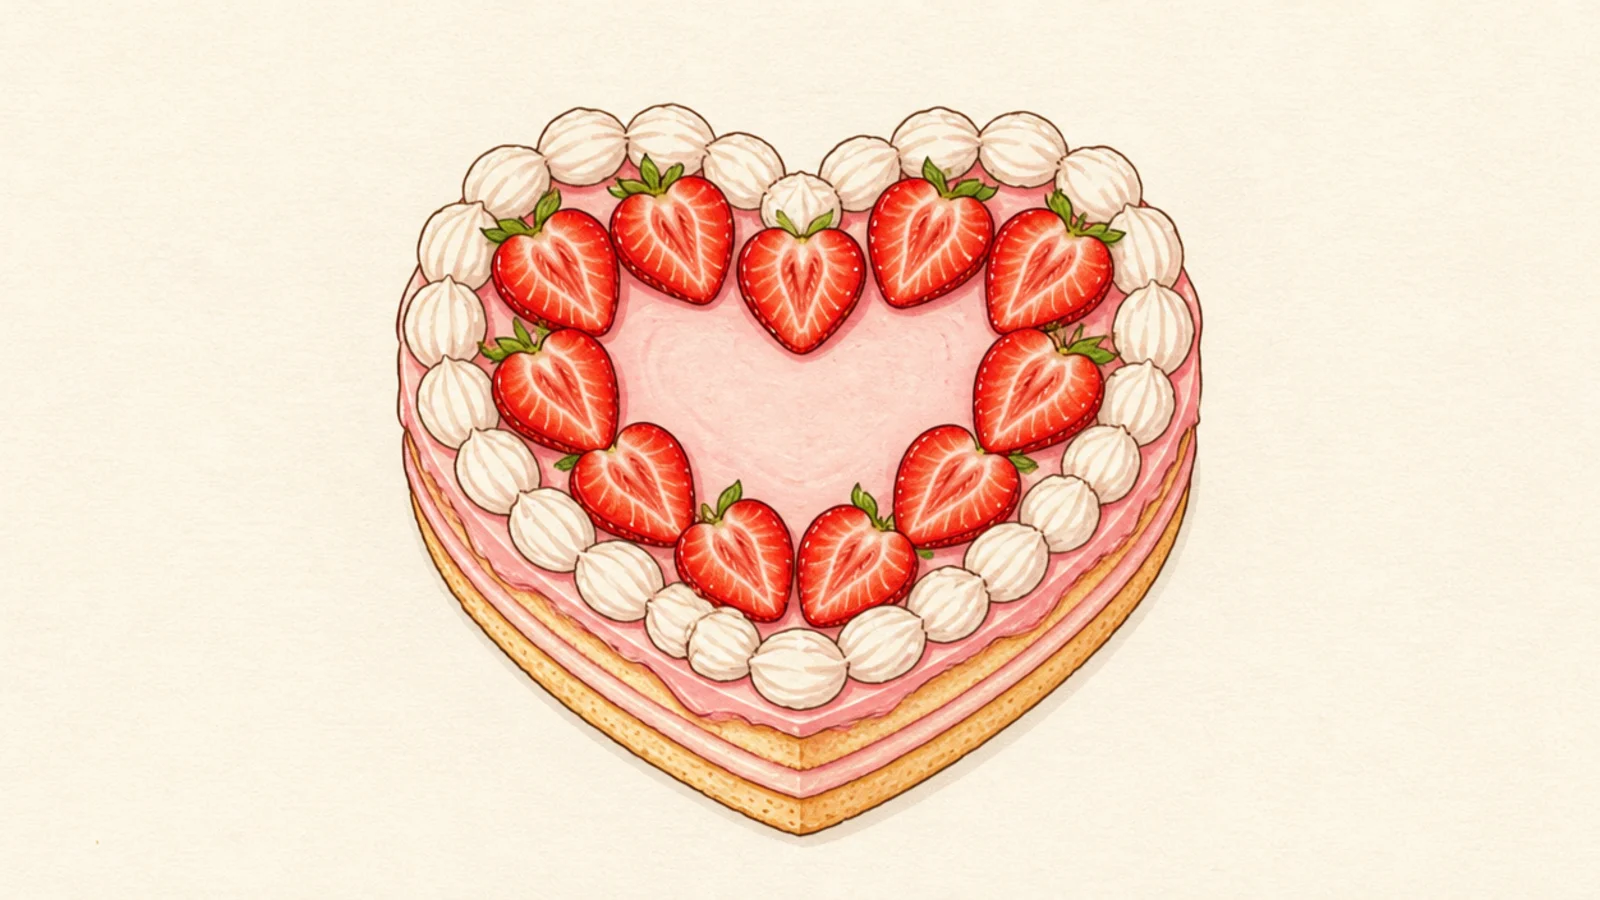
A heart-shaped cake is romantic and perfect for cards or Valentine’s. The heart outline is the only change from a round cake. It feels special and gift-worthy.
Step 1 draw a heart-shaped top seen from above. Step 2 pipe a cream border around the edge. Step 3 arrange strawberry halves in a ring inside and one whole berry in the center.
Pipe evenly spaced cream dollops around the heart’s rim like a dotted border.
Don’t crowd the center; leave space so the berry arrangement stands out.
7 Strawberry Cupcake
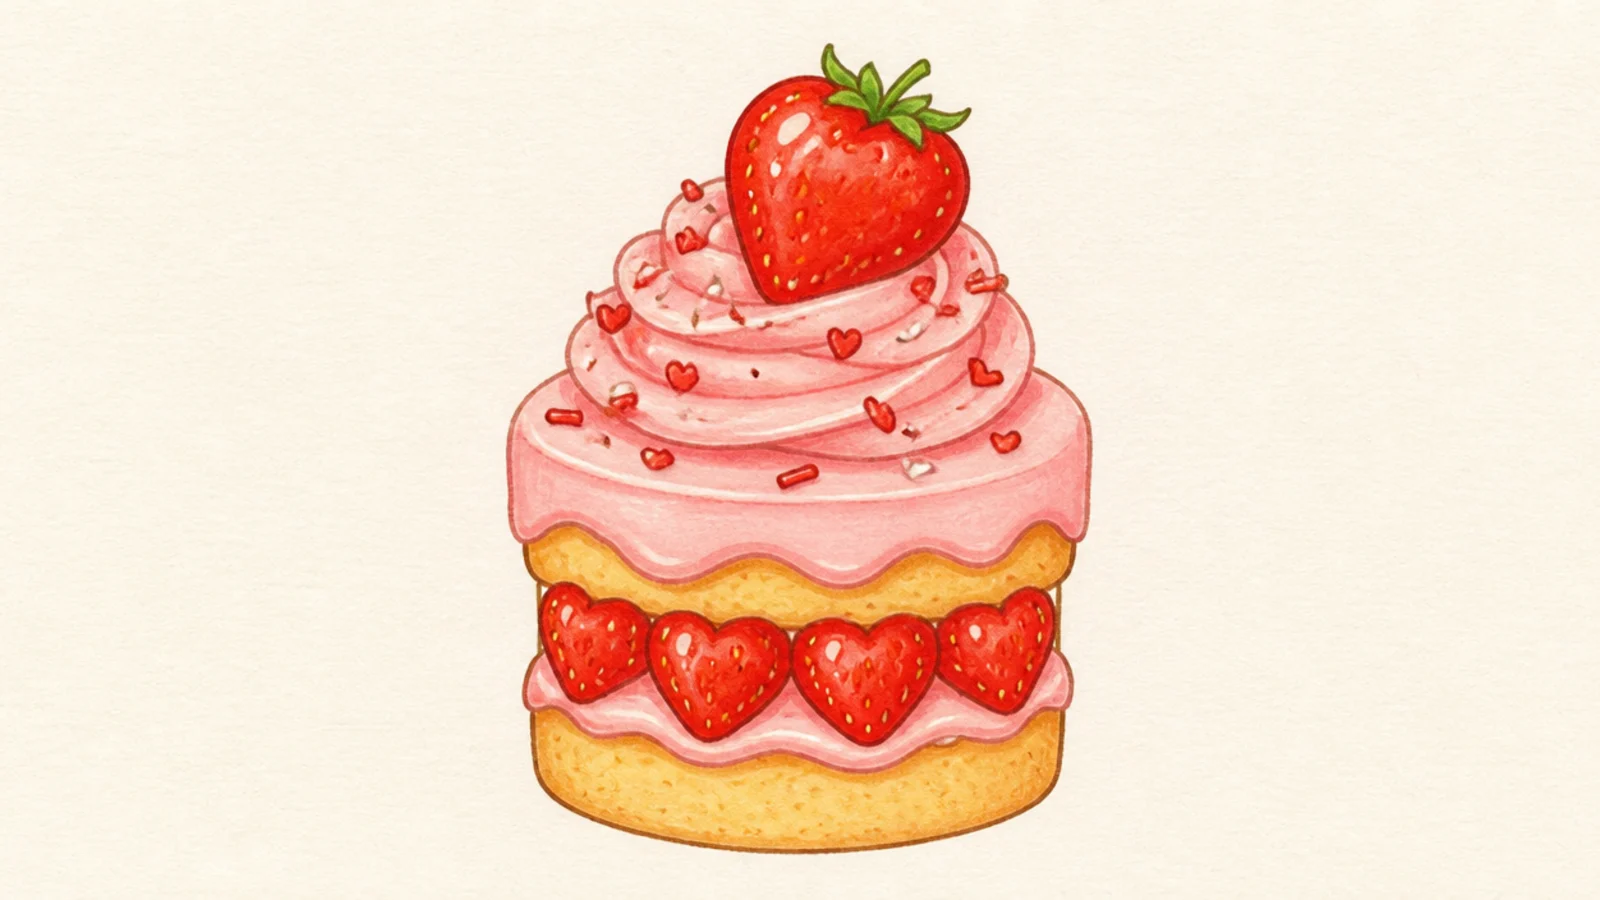
A strawberry cupcake gives you the same look in a tidy little package. The wrapper and frosting swirl are quick to draw. It is perfect for a small doodle.
Step 1 draw a ridged wrapper as a trapezoid with vertical lines. Step 2 pipe a tall spiral of pink frosting on top. Step 3 crown the swirl with one berry and a few sprinkles.
Draw the swirl as a stacked spiral getting smaller toward a peak.
Don’t make the swirl a smooth cone; visible spiral ridges read as piped frosting.
8 Strawberry Bundt Cake
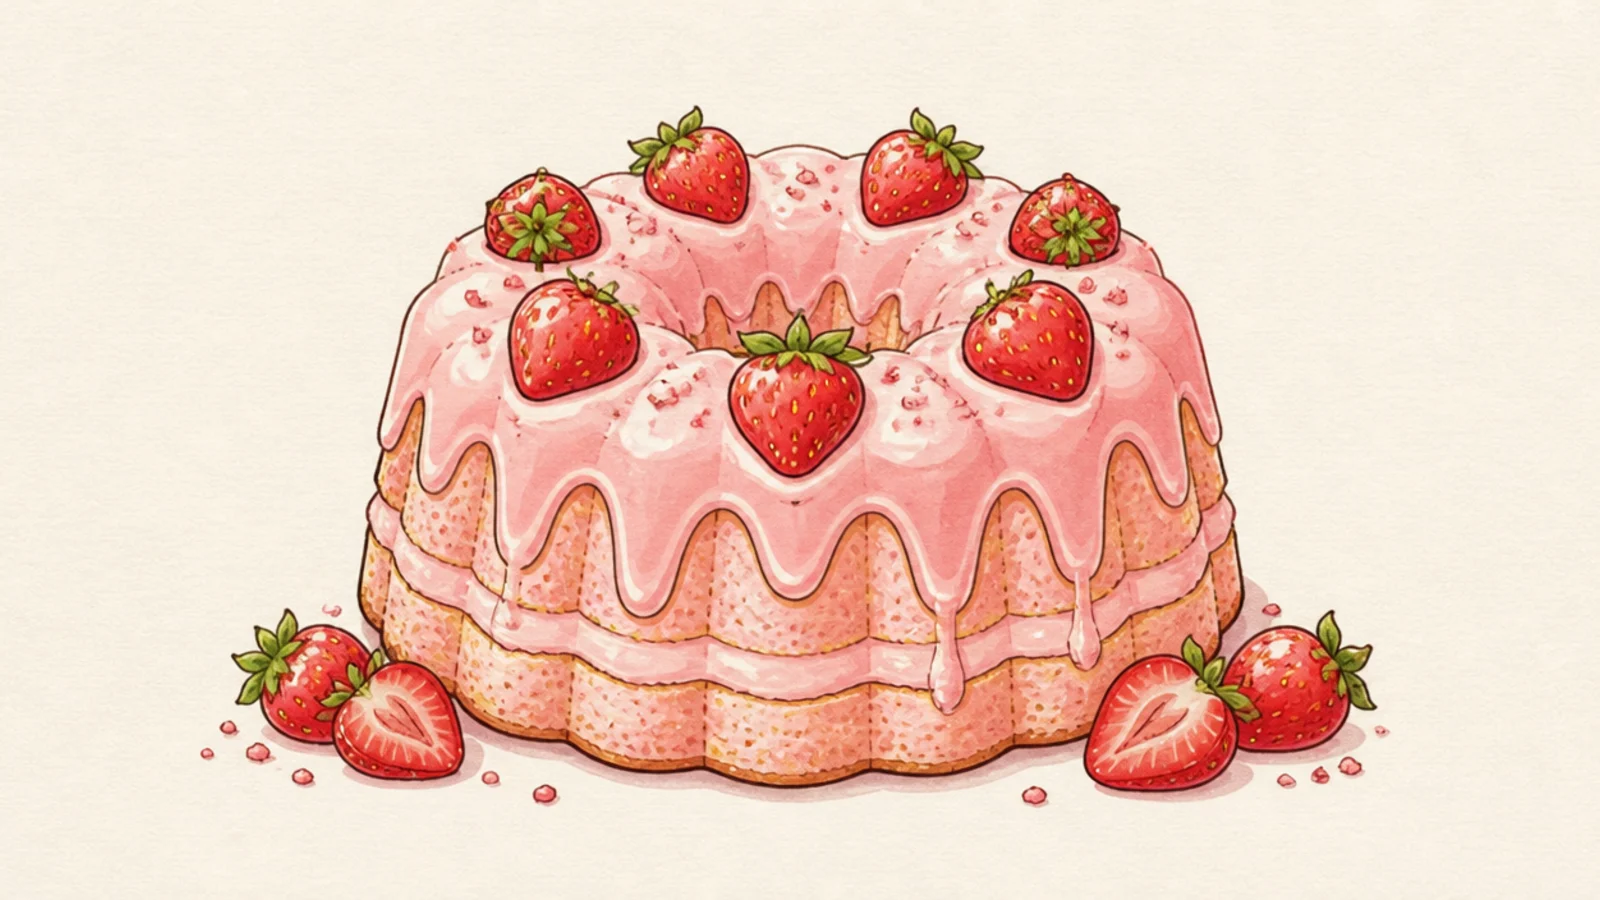
A ring-shaped bundt cake is an elegant change from round layers. The fluted ring is a satisfying shape. Glaze and berries finish it beautifully.
Step 1 draw a rounded ring shape with a hole in the middle. Step 2 add vertical flute lines around the outside. Step 3 drizzle wavy glaze over the top and scatter berries around the ring.
Curve the flute lines to follow the ring so it looks three-dimensional.
Don’t forget the center hole; the ring shape is what makes it a bundt.
9 Strawberry Cream Roll
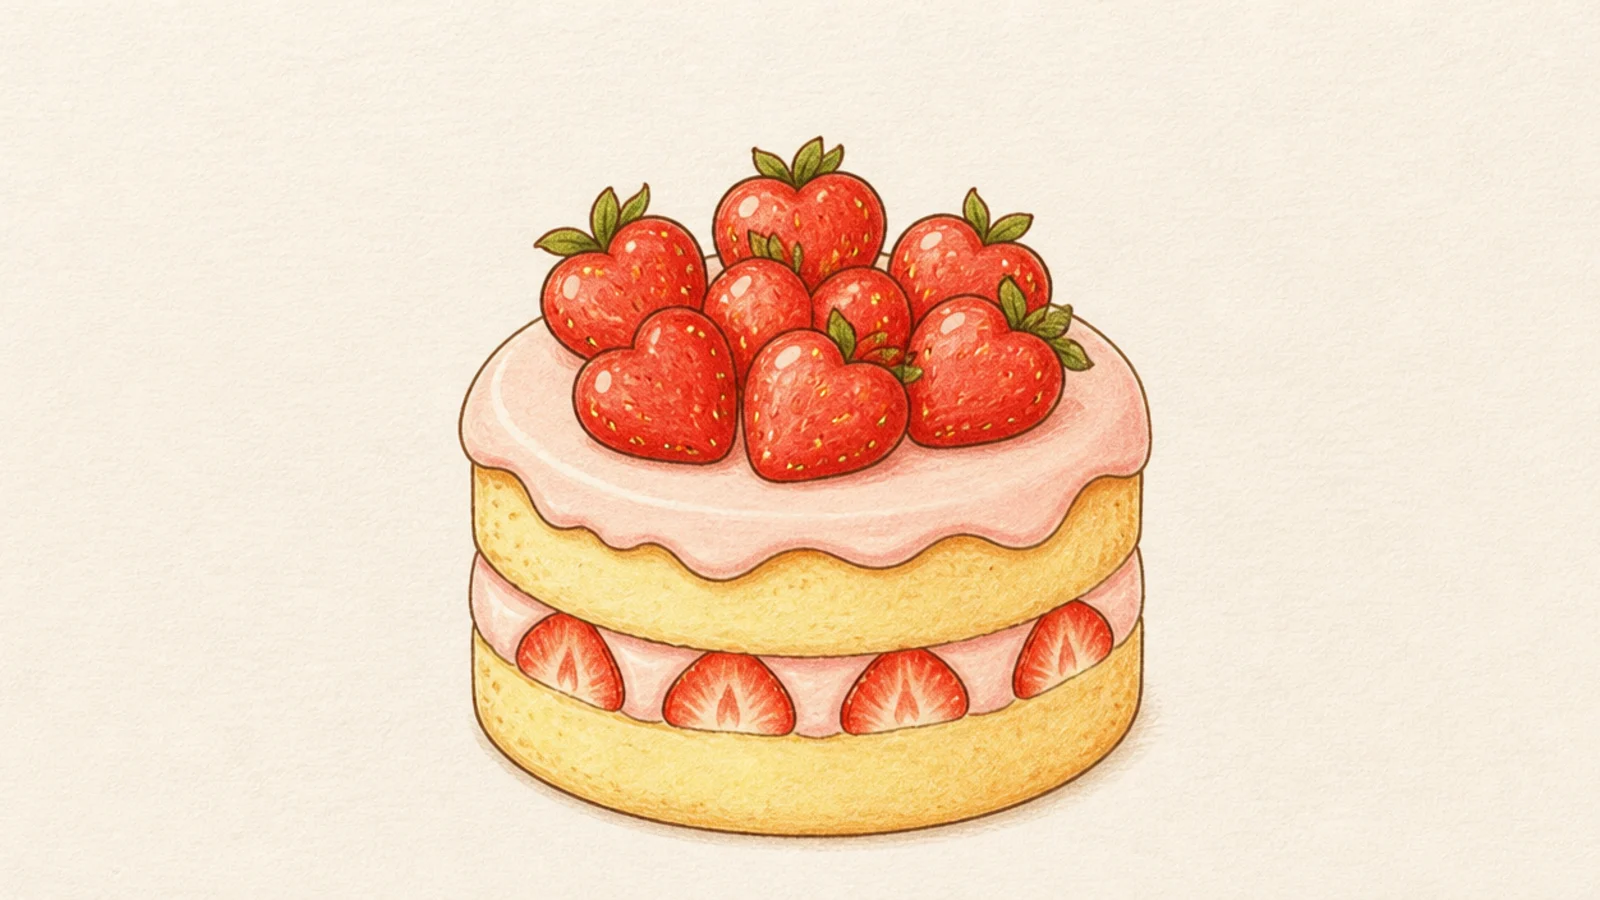
A rolled sponge shows a pretty spiral of cream and berries in cross-section. The swirl inside is satisfying to draw. It is a bakery-window classic.
Step 1 draw a short cylinder for the roll. Step 2 draw a spiral of cream and berry dots on the cut end. Step 3 add a dusting of sugar and berries along the top.
Pro tipDraw the inner spiral as one smooth curl so the roll reads clearly.
AvoidDon’t make the spiral too tight; a relaxed curl looks like a real roll.
10 Mini Cake Trio
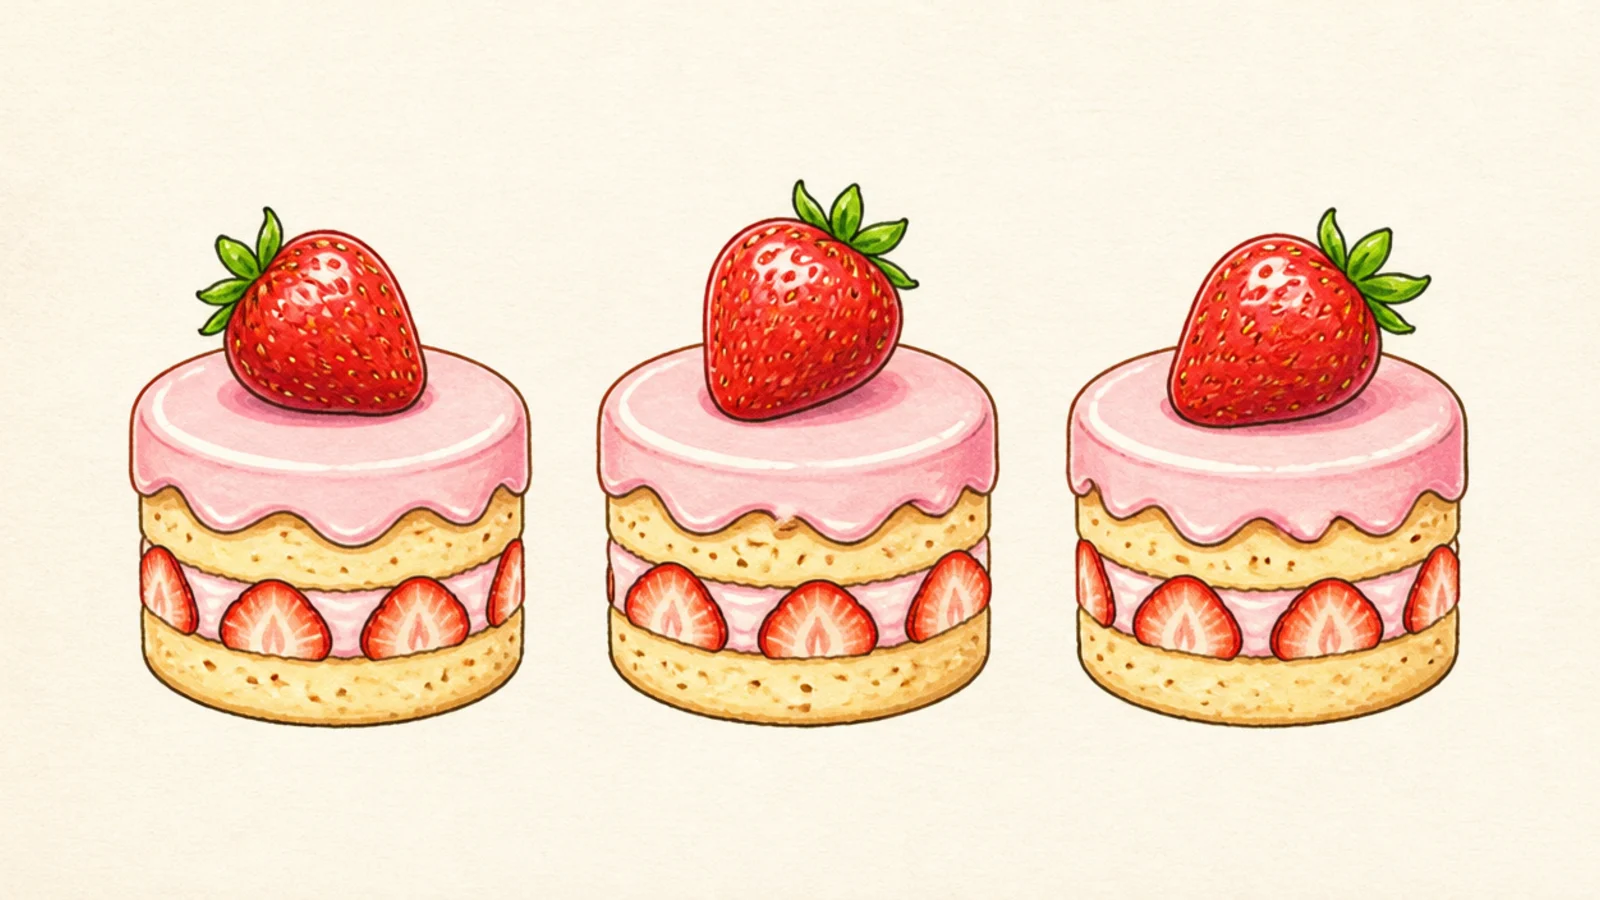
A trio of mini cakes is quick and charming, like petit fours. Each little cake is fast to draw. Together they look like a tasty set.
Step 1 draw three small round cakes in a row. Step 2 frost each and add a wavy glaze top. Step 3 top each with a single strawberry and vary the berry angle.
Pro tipVary the berry angle on each cake so the three do not look identical.
AvoidDon’t make them all the same; small differences keep the set lively.
11 Kawaii Cake Slice With a Face
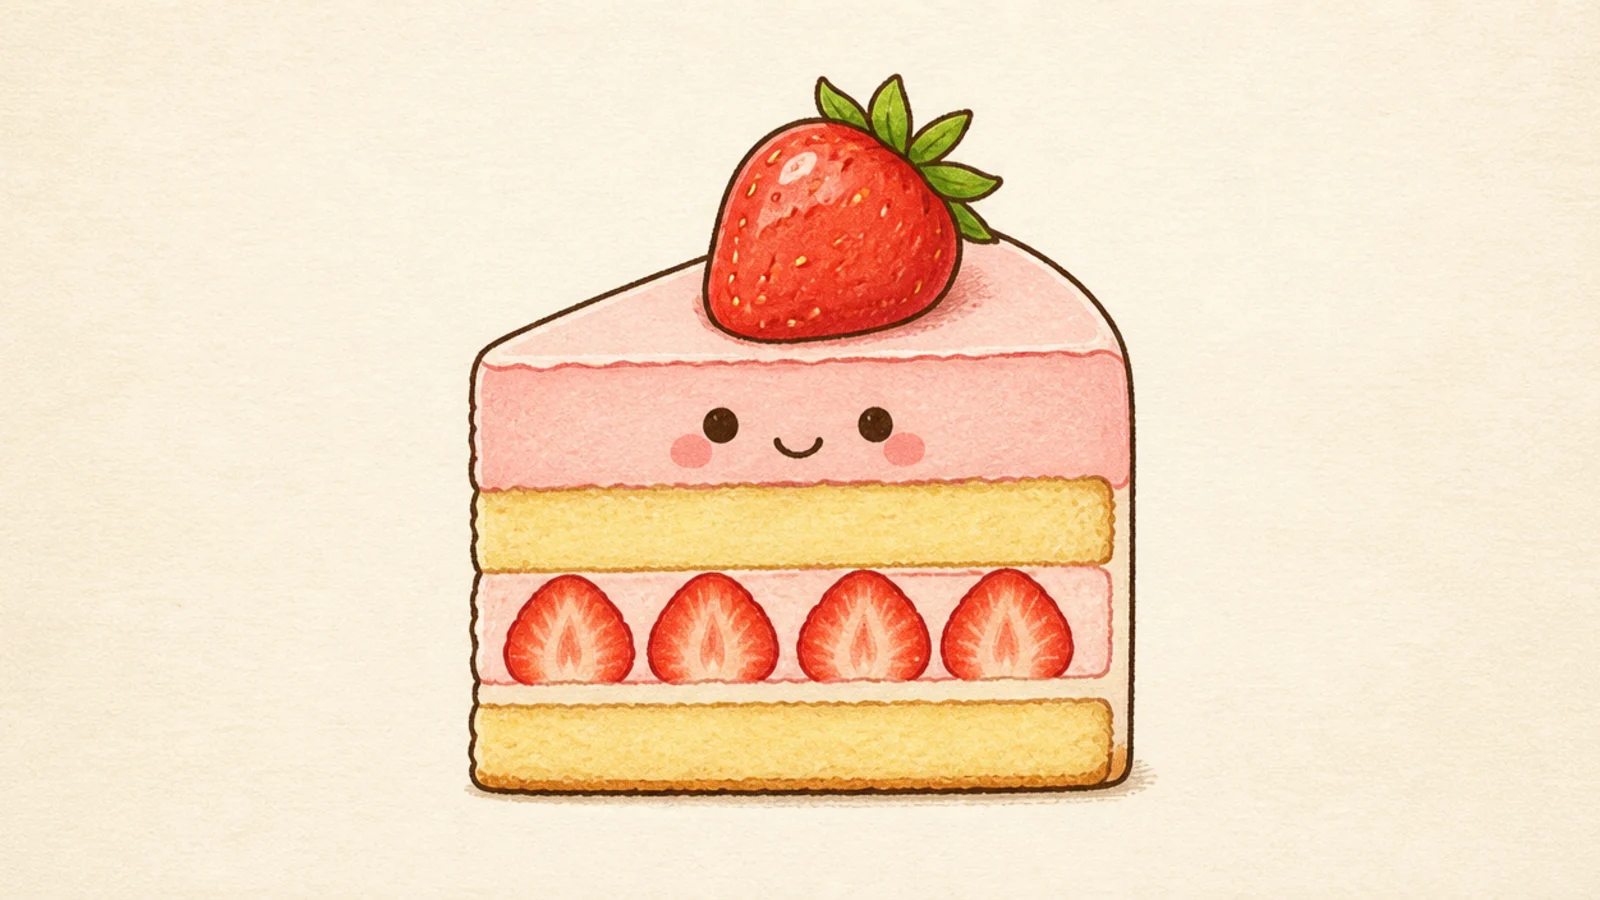
Adding a little face turns a plain slice into an adorable character. It is the gateway to cute cake mascots. Perfect for stickers and cards.
Step 1 draw a simple layered slice. Step 2 add two low dot eyes and a tiny smile on the front. Step 3 add blush cheeks and keep the berry on top as a little hat.
Pro tipSet the eyes low and wide apart for a sweet, babyish face.
AvoidDon’t add a big mouth; a tiny smile keeps it cute and clean.
12 Strawberry Cake on a Stand
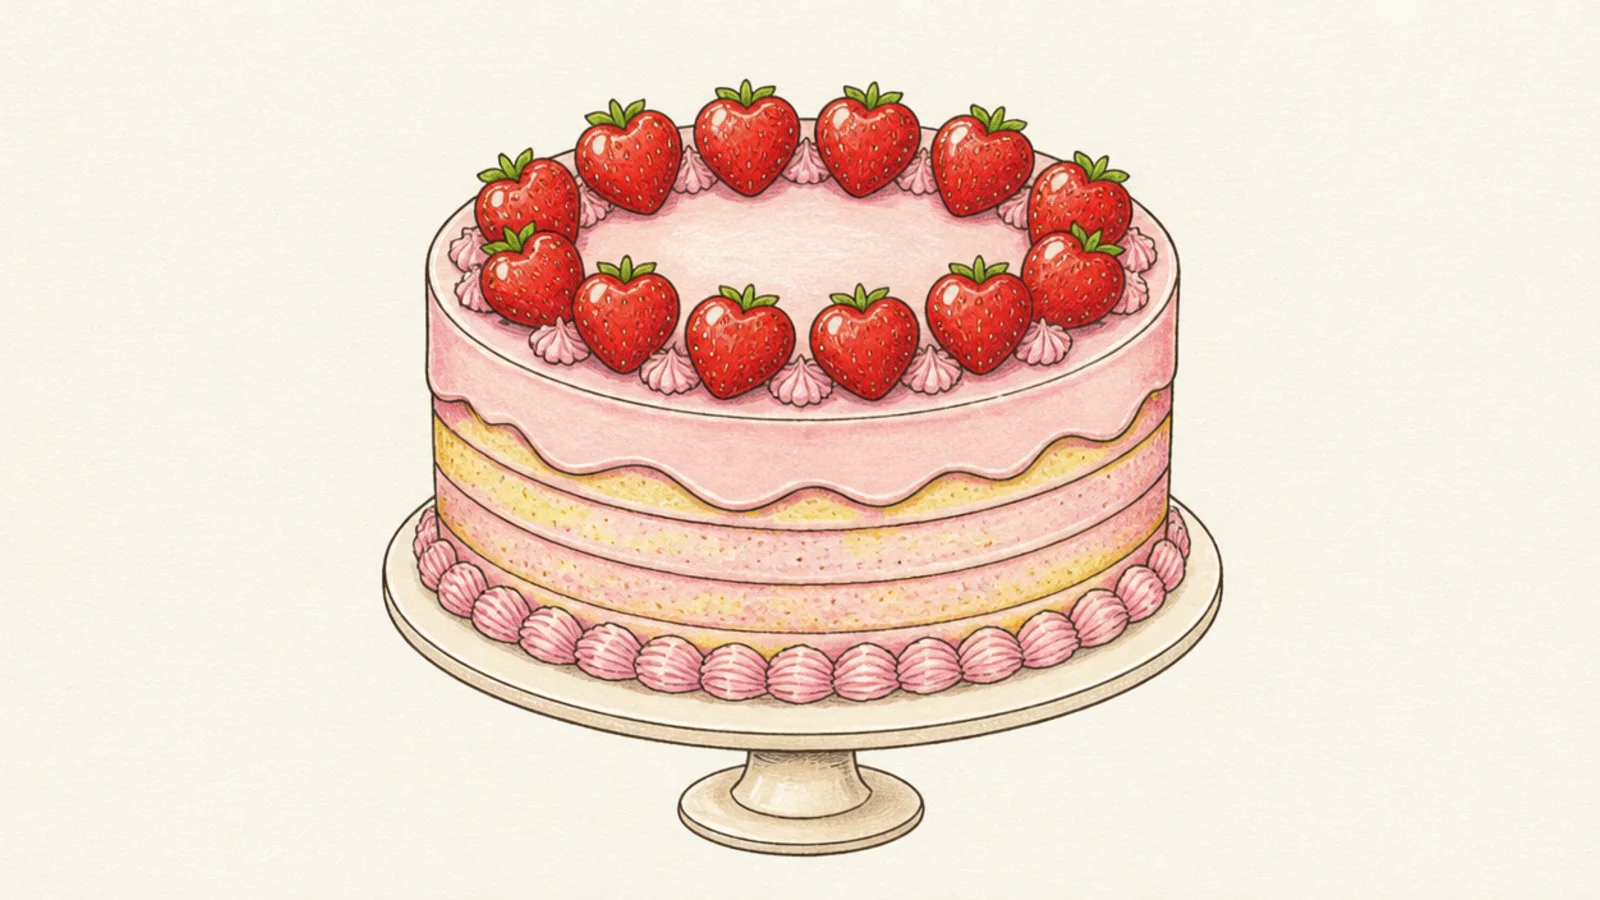
A cake lifted onto a footed stand looks like a bakery display. The pedestal adds elegance instantly. It makes the cake feel special.
Step 1 draw a whole round cake. Step 2 add a flat plate under it with a short stem and a round base. Step 3 ring the cake with berries and add a piped bottom border.
Pro tipKeep the stand symmetrical so the cake sits level and looks displayed.
AvoidDon’t make the stem too thin; a sturdy stem holds the cake convincingly.
13 Cake With a Slice Removed
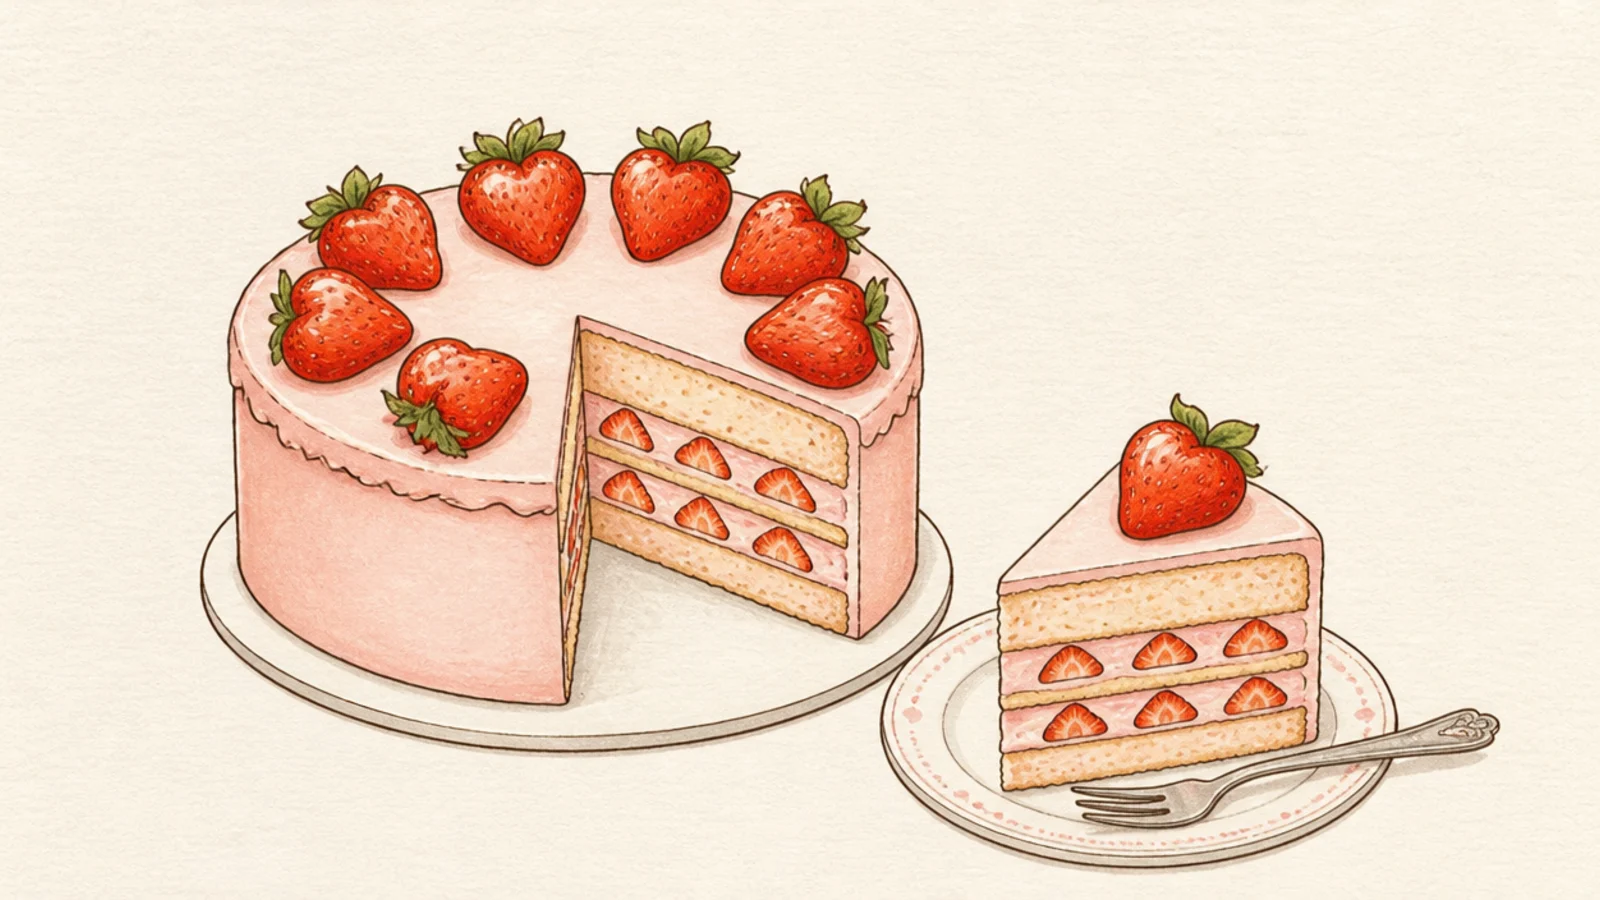
A whole cake with one slice pulled out shows the layers inside. The cut face reveals the sponge and filling. It looks inviting and real.
Step 1 draw a whole round cake. Step 2 cut a wedge gap and show the layered inside faces. Step 3 place the removed slice beside it on a plate with a fork.
Pro tipShow the same layer stripes on both the cake’s cut face and the loose slice.
AvoidDon’t leave the cut face blank; the visible layers make it look sliceable.
14 Strawberry Sheet Cake
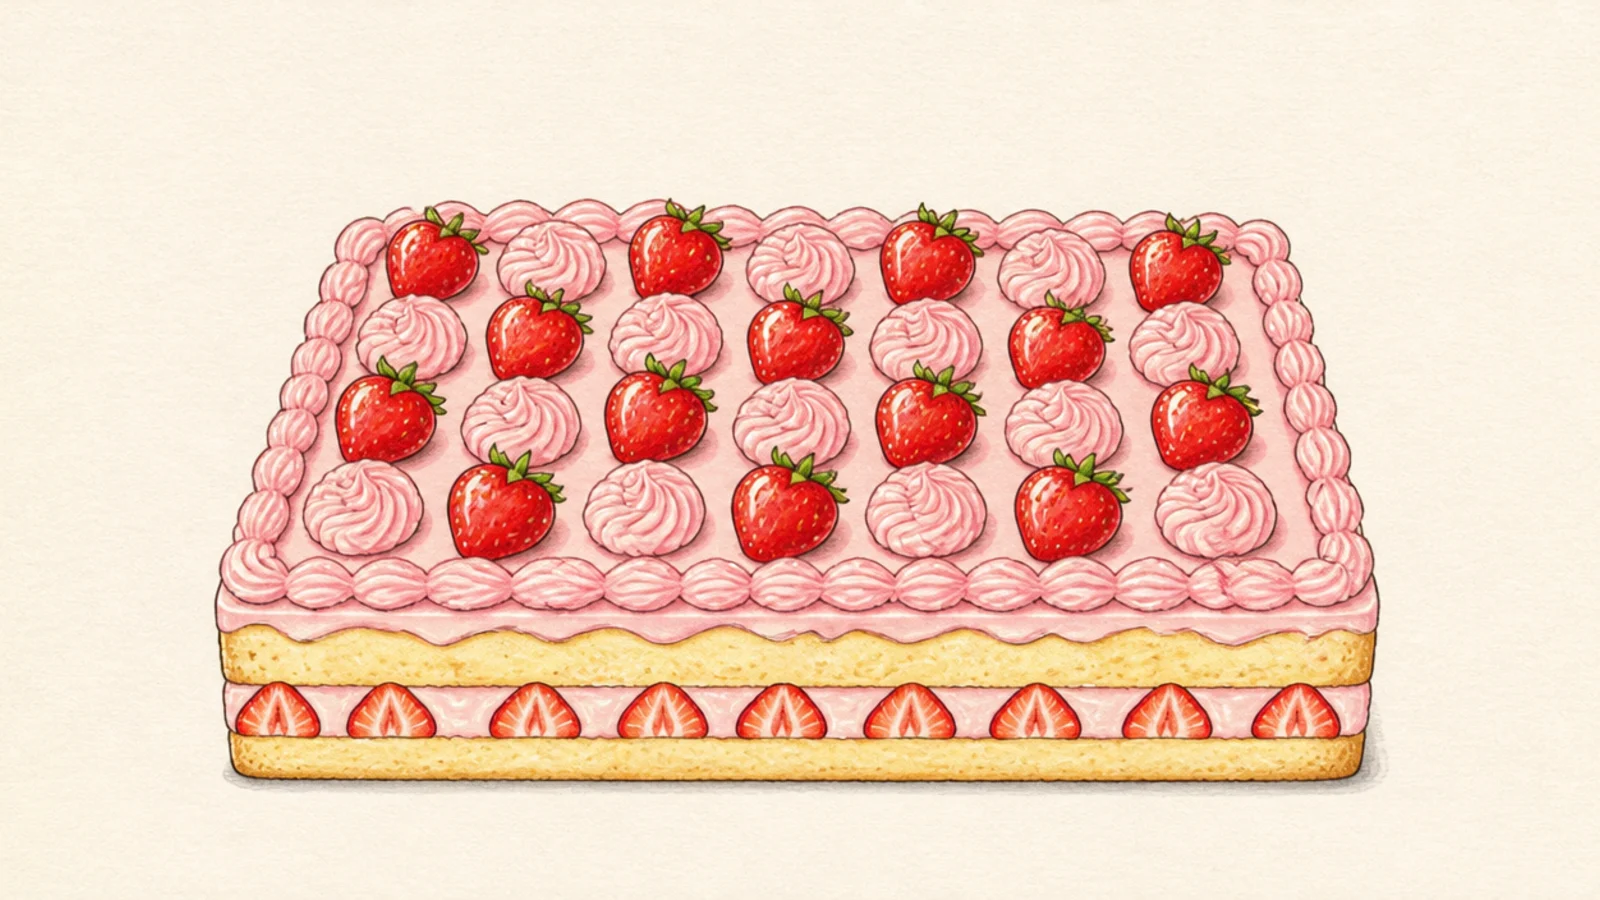
A rectangular sheet cake is a party classic and easy to draw as a box shape. The flat top is great for decoration. It feels celebratory and generous.
Step 1 draw a low rectangular box in slight perspective. Step 2 frost the top and add a piped border around the edge. Step 3 arrange rows of strawberries and a few cream rosettes on top.
Keep the top surface a parallelogram so the box sits in believable perspective.
Don’t draw it as a flat rectangle; a little depth makes it read as a cake.
15 Strawberry Cake Pop
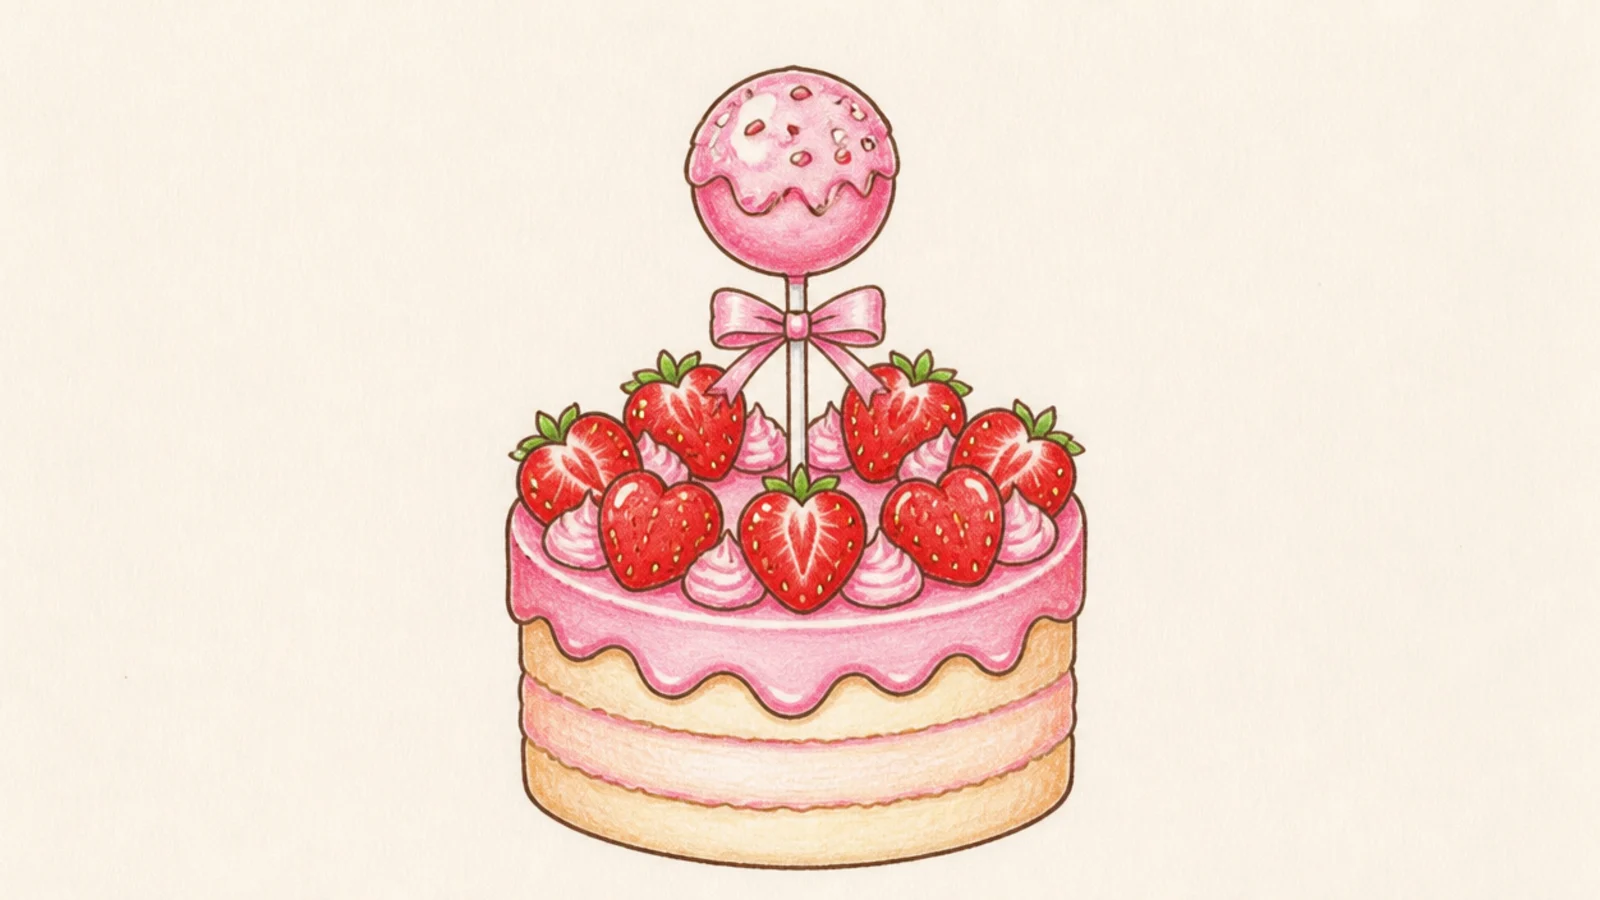
A cake pop on a stick is a tiny, fun subject built from one circle. The stick and sprinkles finish it fast. It is adorable and giftable.
Step 1 draw a round ball on a thin stick. Step 2 add a wavy drip line where the pink coating dips. Step 3 scatter small sprinkles and add a bow at the base of the stick.
Add one white highlight on the ball so the coating looks glossy.
Don’t line up the sprinkles; a random scatter looks more natural.
16 Chibi Cake Character
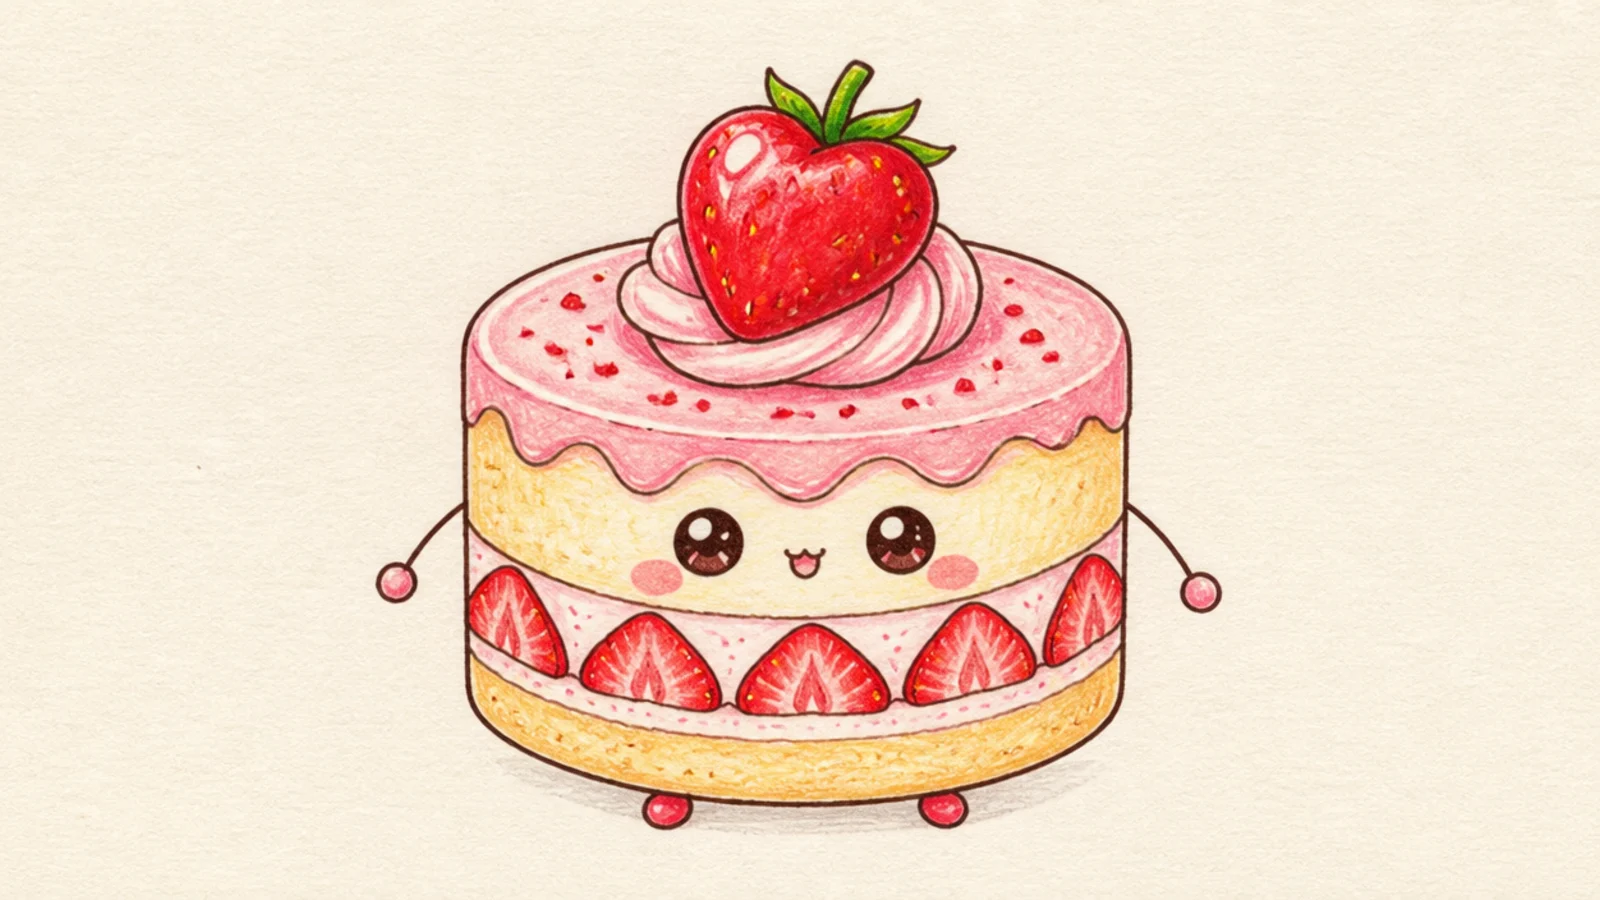
A whole strawberry cake turned into a chibi character with big eyes is pure fun. The chubby body is easy and huggable. It is a friendly food mascot.
Step 1 draw a round frosted cake as the body with a berry on top. Step 2 add two big glossy eyes with highlights and a tiny mouth. Step 3 add little stick arms and dot feet.
Add two white highlights in each eye so they sparkle and look alive.
Don’t make the arms long; short little limbs look cuter on food characters.
17 Layer-by-Layer Cross Section
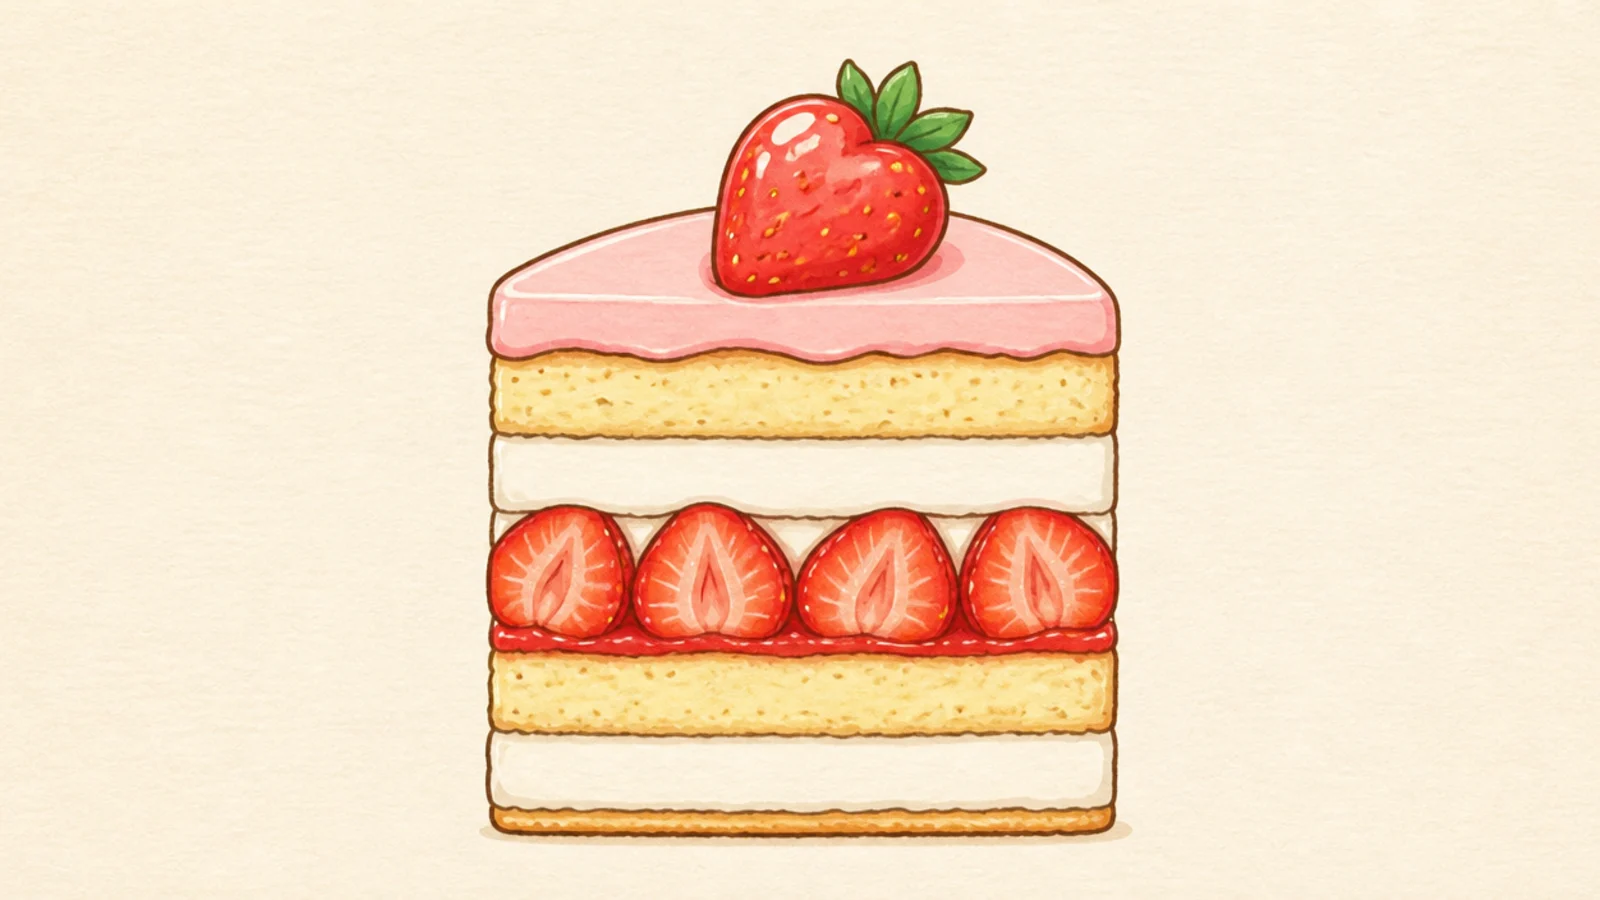
A clean cross-section shows every layer as a labeled-looking band. It is great practice for even, tidy layers. It looks precise and appetizing.
Step 1 draw a tall slice with a flat front face. Step 2 divide it into clear even bands — sponge, cream, berry, sponge, cream. Step 3 add seed dots in the berry band and a whole berry on top.
Pro tipKeep the bands the same thickness so the cross-section looks neat and even.
AvoidDon’t let the bands wobble in width; even stripes look cleanest here.
18 Birthday Strawberry Cake
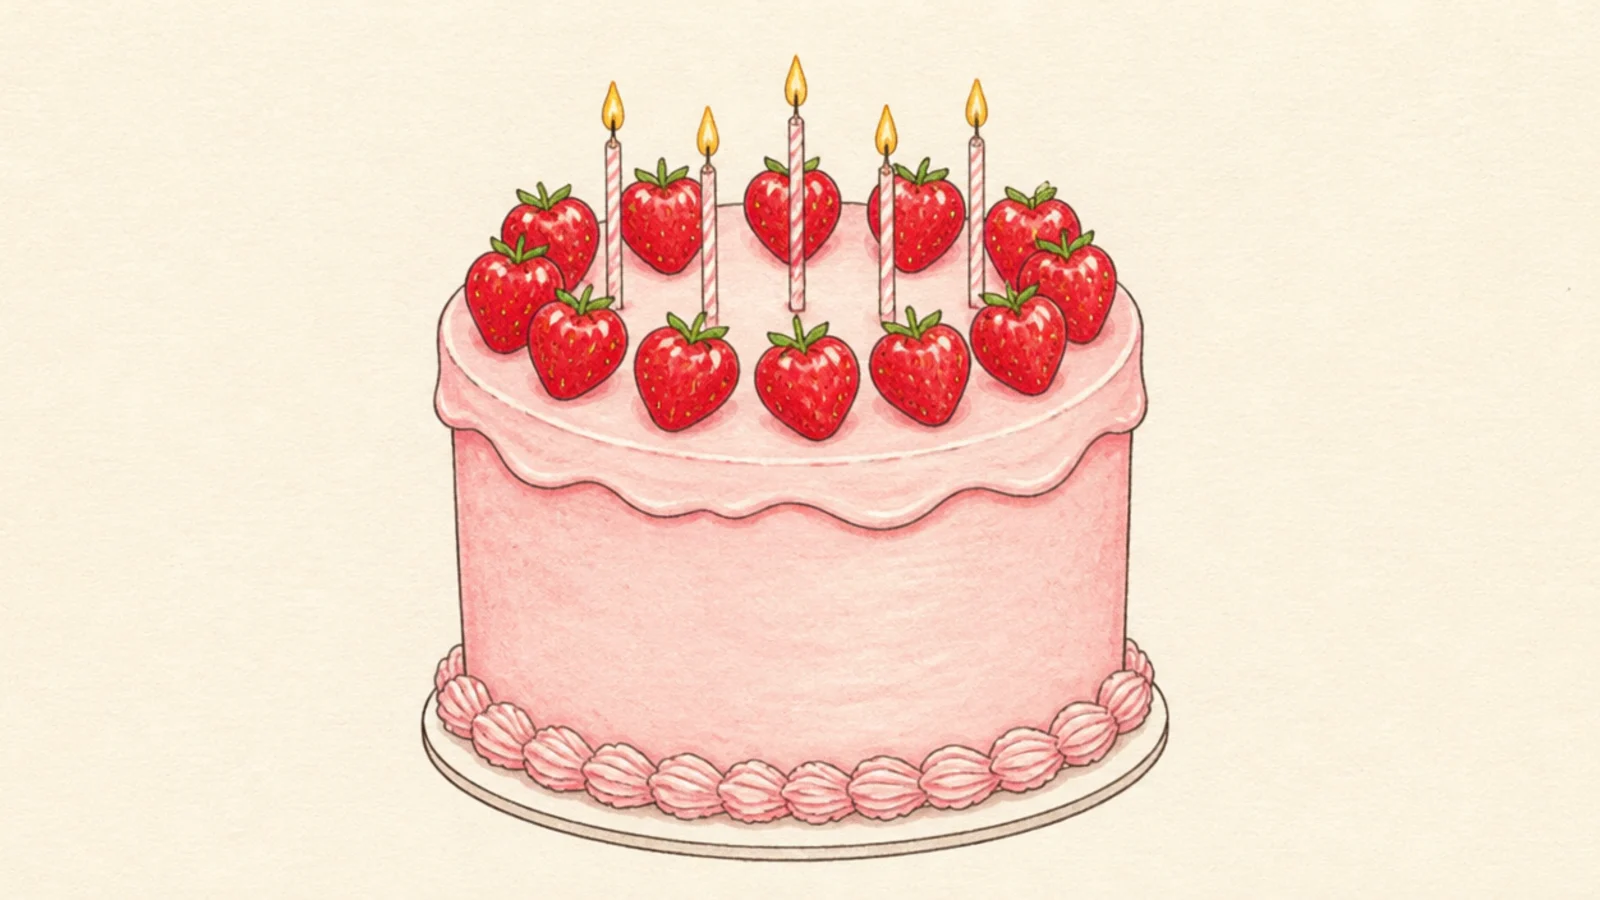
A whole cake with candles turns the dessert into a birthday centerpiece. The candles add celebration with little effort. It is cheerful and giftable.
Step 1 draw a tall round frosted cake. Step 2 ring the top edge with strawberries. Step 3 add a few thin candles with teardrop flames and a piped bottom border.
Space the candles evenly and give each a small teardrop flame.
Don’t crowd too many candles; a few evenly spaced ones look tidy.
19 Strawberry Cake Sticker Set
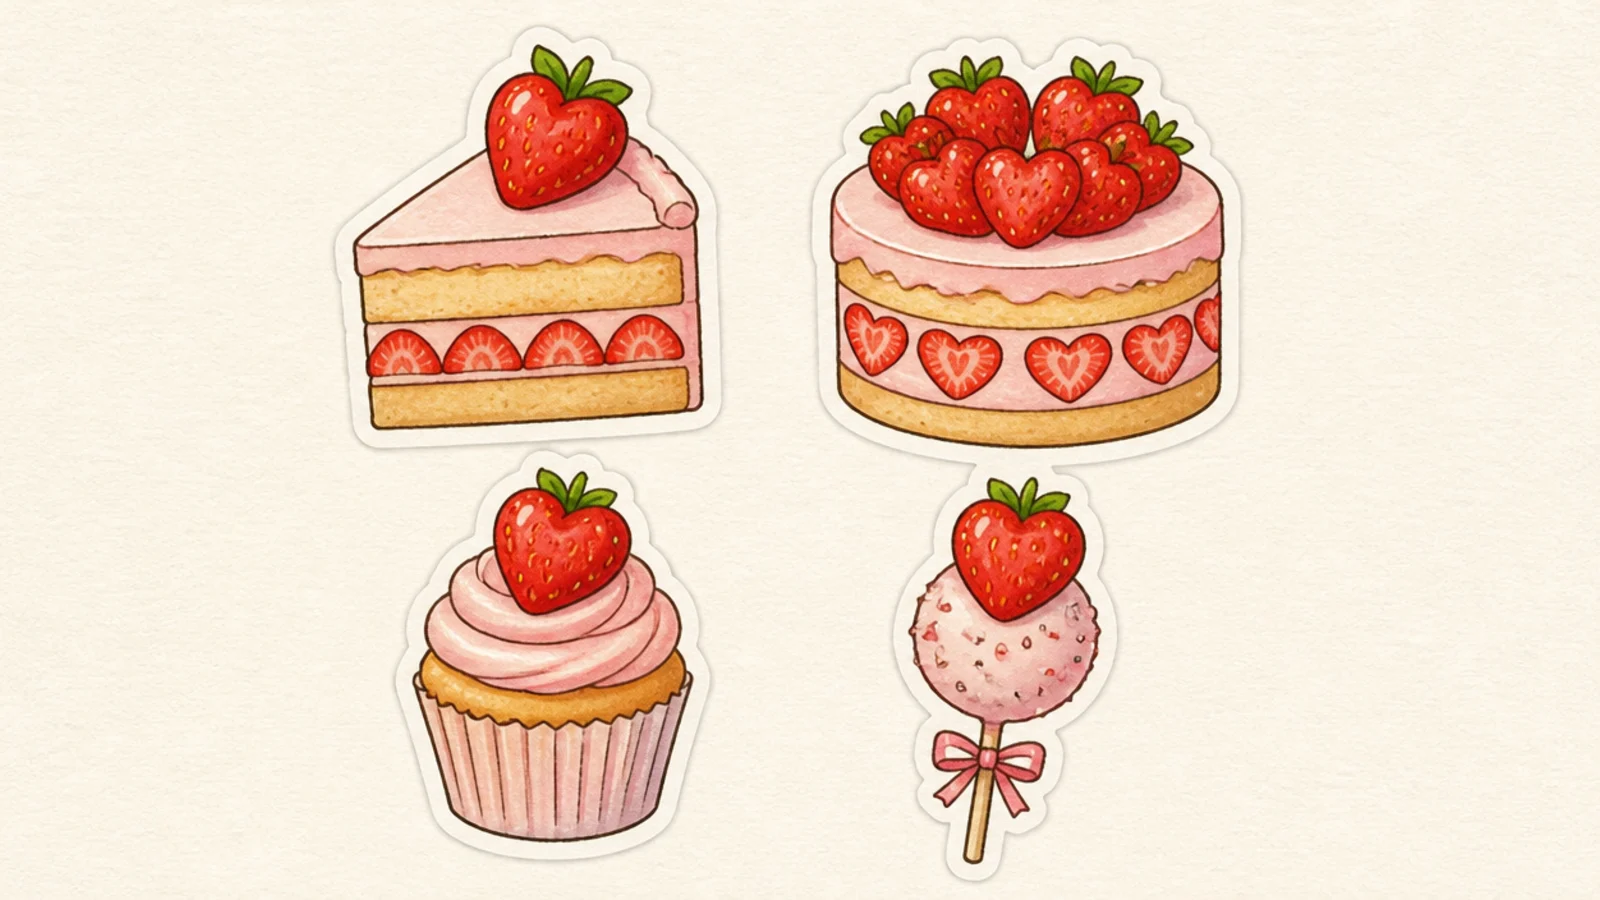
A few matching cake doodles make an adorable mini sticker sheet. Repeating the style ties them together. It is satisfying to draw a matched set.
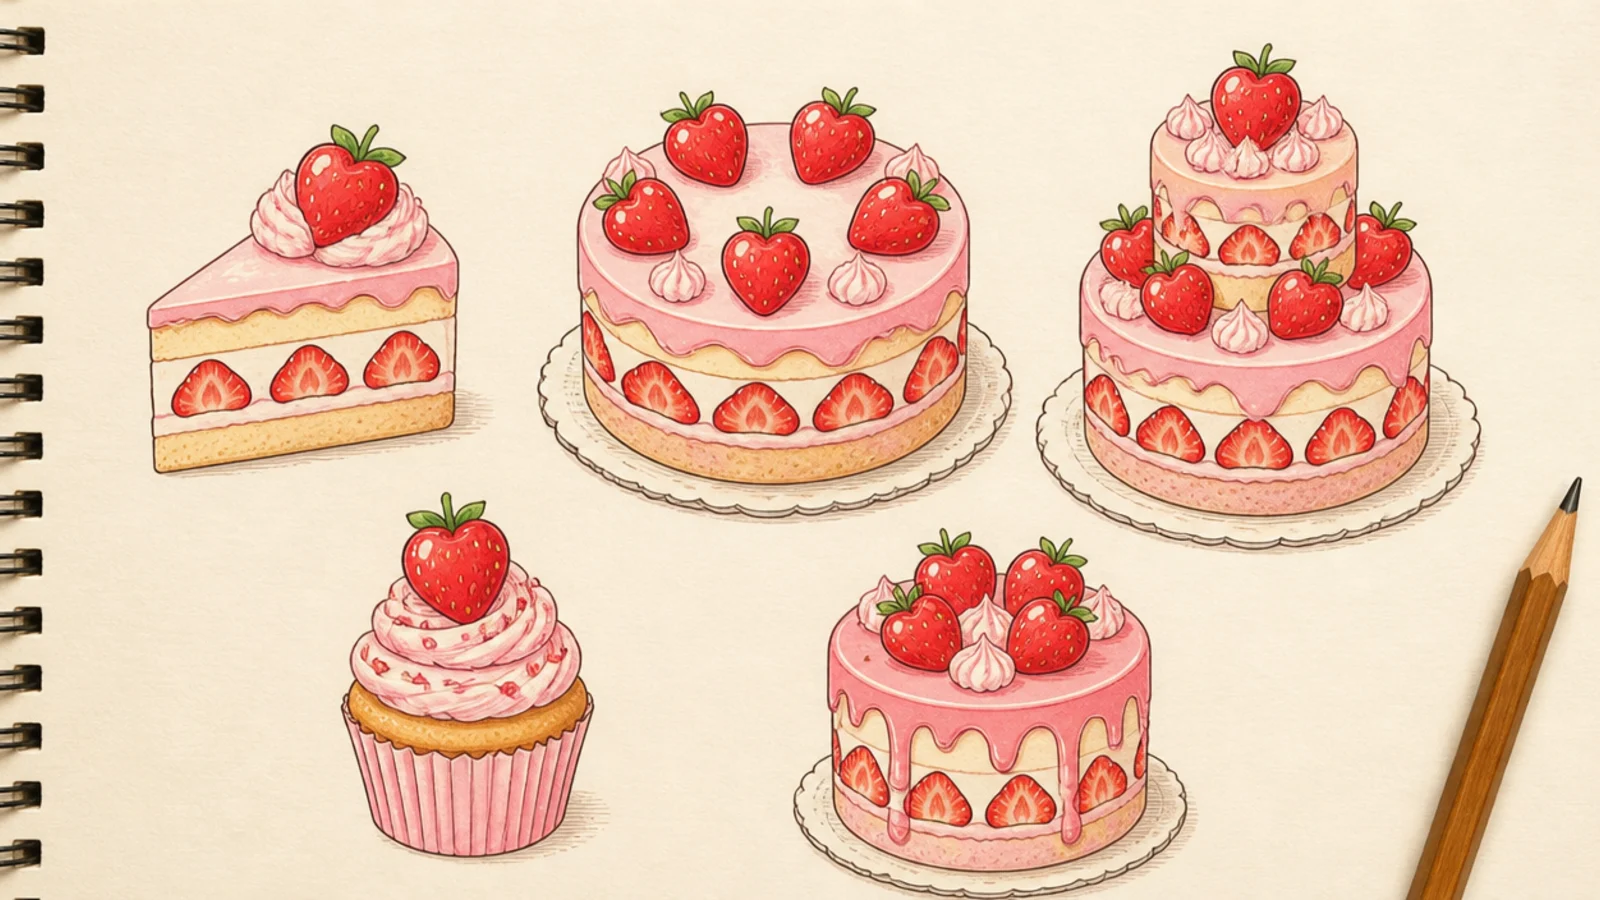
Step 1 draw four small cakes in a loose grid — a slice, a whole cake, a cupcake, and a cake pop. Step 2 keep the same line weight and colors. Step 3 trace a thick white outline around each.
Pro tipKeep every sticker the same size and style so they read as one set.
AvoidDon’t mix wildly different styles; small variations look best.
20 Tiered Celebration Cake
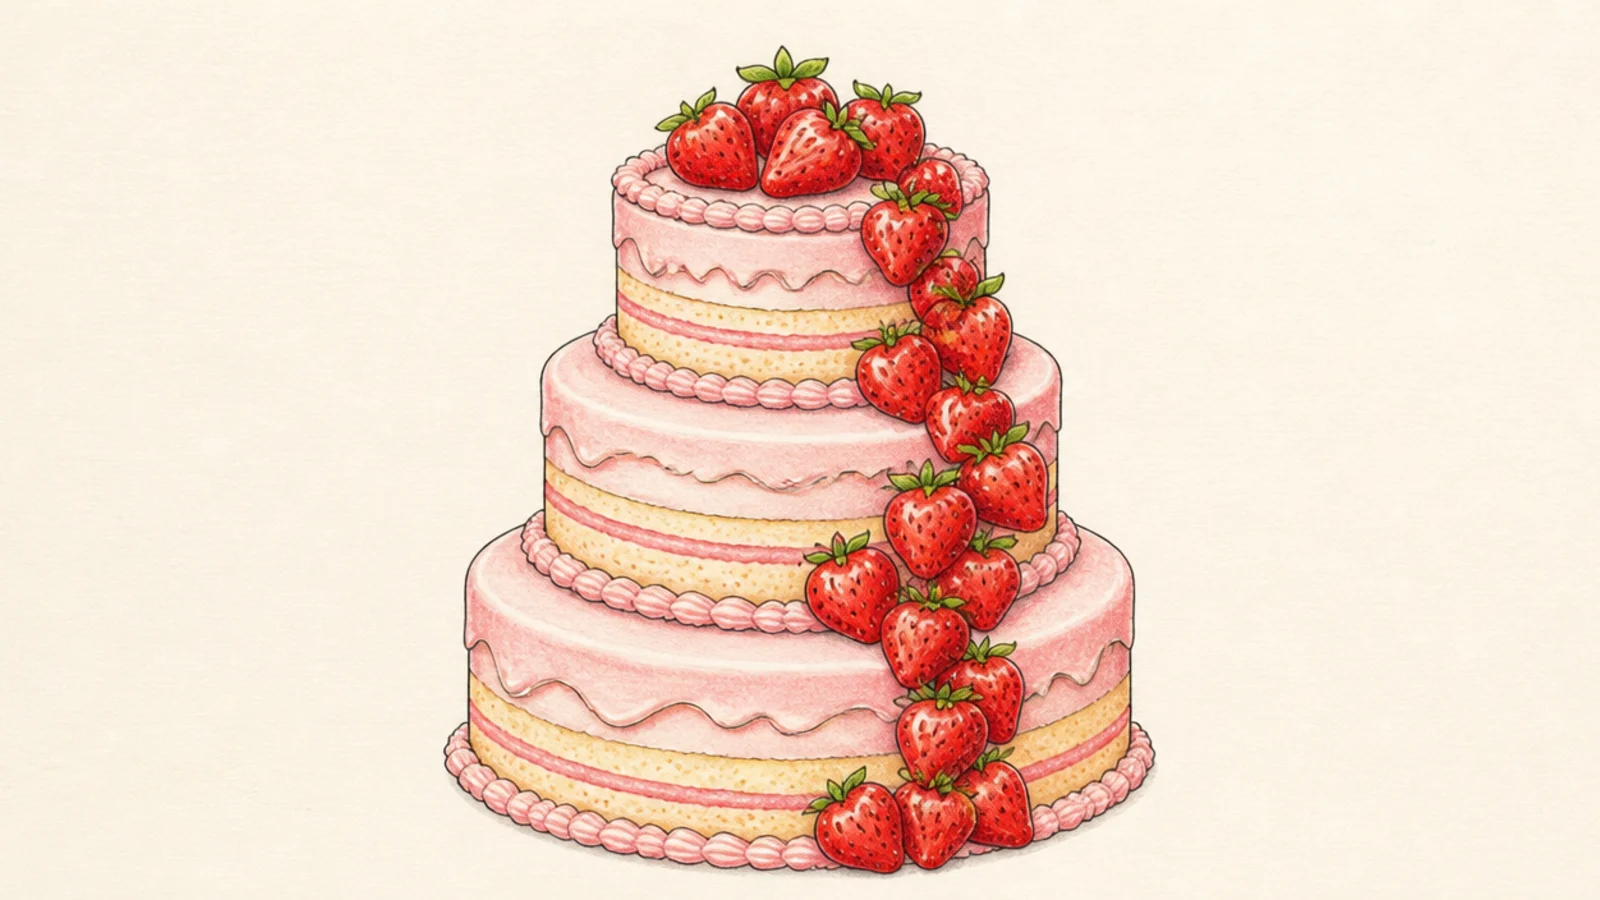
A three-tier celebration cake with cascading berries is the grand finale of the list. The stacked tiers feel elegant and impressive. It is a beautiful, more advanced piece.
Step 1 stack three cylinders from widest at the bottom to smallest on top. Step 2 frost each and add a piped border between tiers. Step 3 cascade strawberries and cream rosettes down one side.
Pro tipCascade the berries diagonally down the tiers so they flow like a garland.
AvoidDon’t decorate every surface evenly; a flowing cascade looks more designed.



