
1 Classic Cheesecake Slice
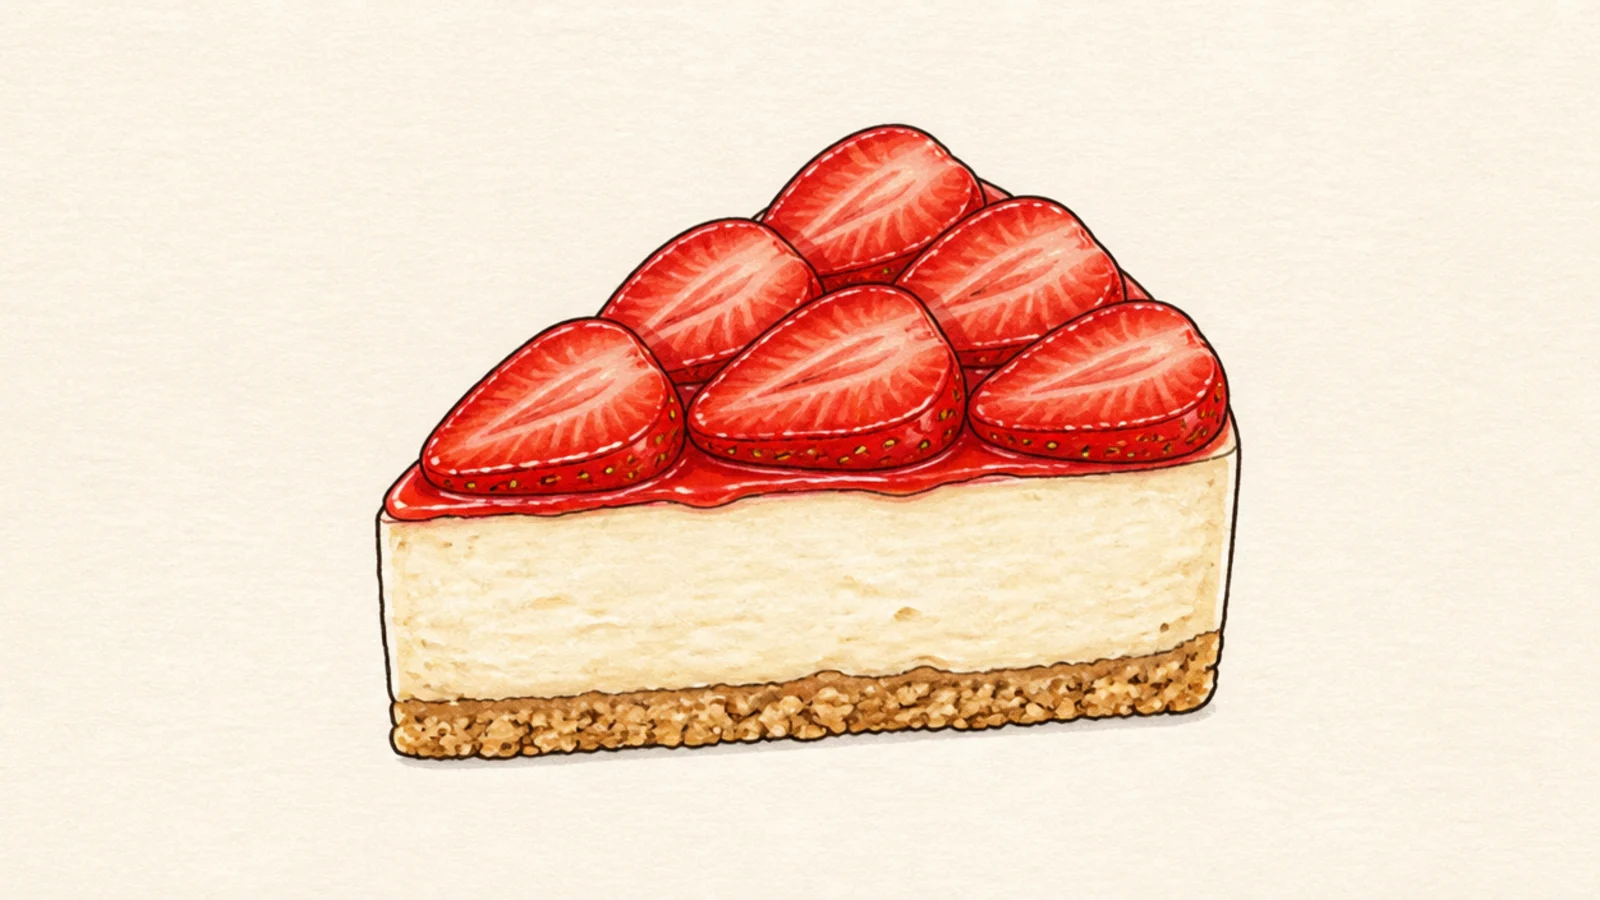
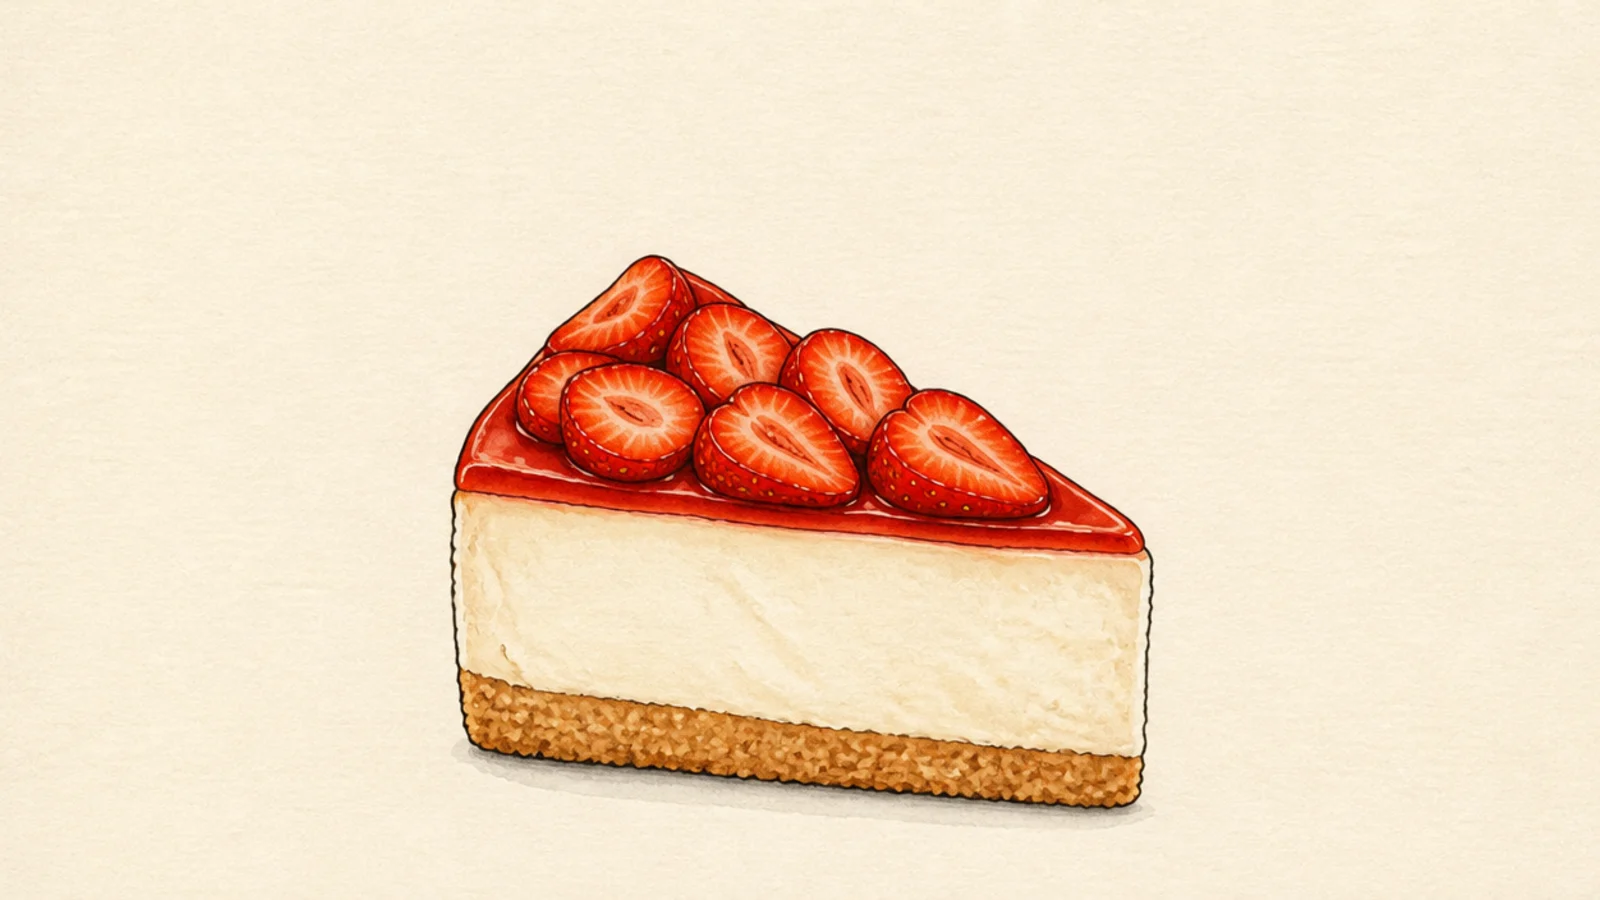
This is the classic slice and the base for the whole list — crust, cream, and a glossy berry top. It teaches the crust-cream-berry order you will reuse everywhere. Master this and every other idea is a small tweak.
Step 1 draw a triangular wedge on its side. Step 2 band it into a short crust, a thick cream layer, and a topping. Step 3 add crumb bumps, strawberry halves on top, and seed dots.
Keep the cream band the tallest so it clearly reads as cheesecake.
Don’t make the crust as thick as the cream; a short crust looks right.
2 Whole Strawberry Cheesecake
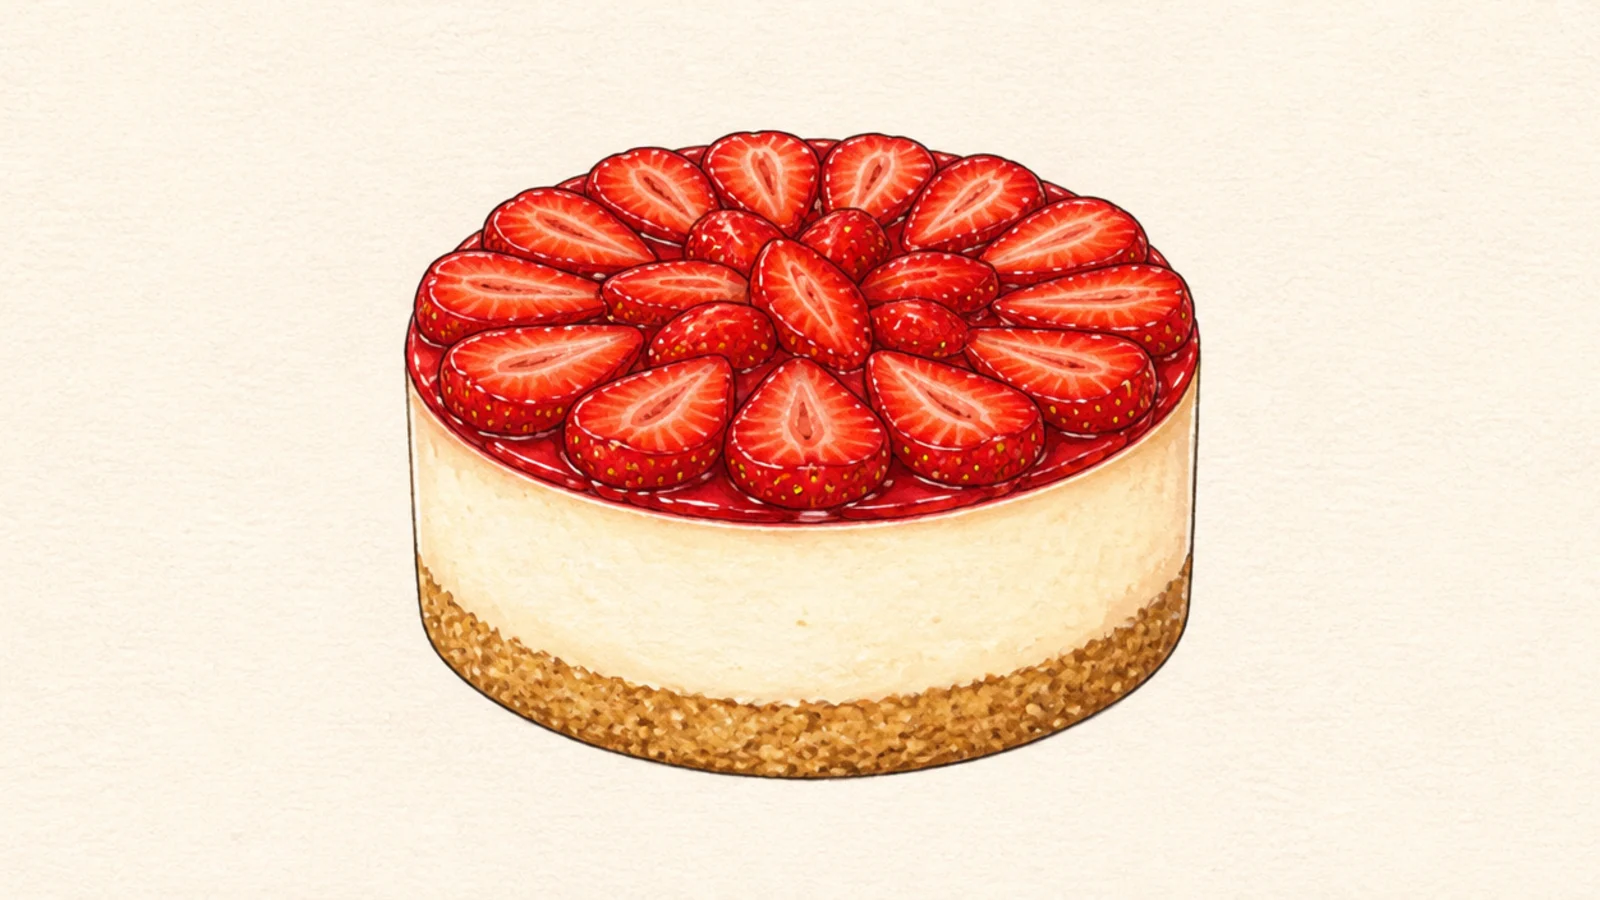
A whole round cheesecake is the centerpiece version and simpler than it looks. The cylinder shape is easy once you start with an oval. It looks generous and celebratory.
Step 1 draw an oval top with side lines for the cylinder. Step 2 add a crust band at the bottom. Step 3 ring the top with glossy strawberry halves and a glaze.
Arrange the top berries in an even ring around the edge for a tidy look.
Don’t make the top a full circle; a flattened oval reads as the top.
3 Glossy Glaze Cheesecake
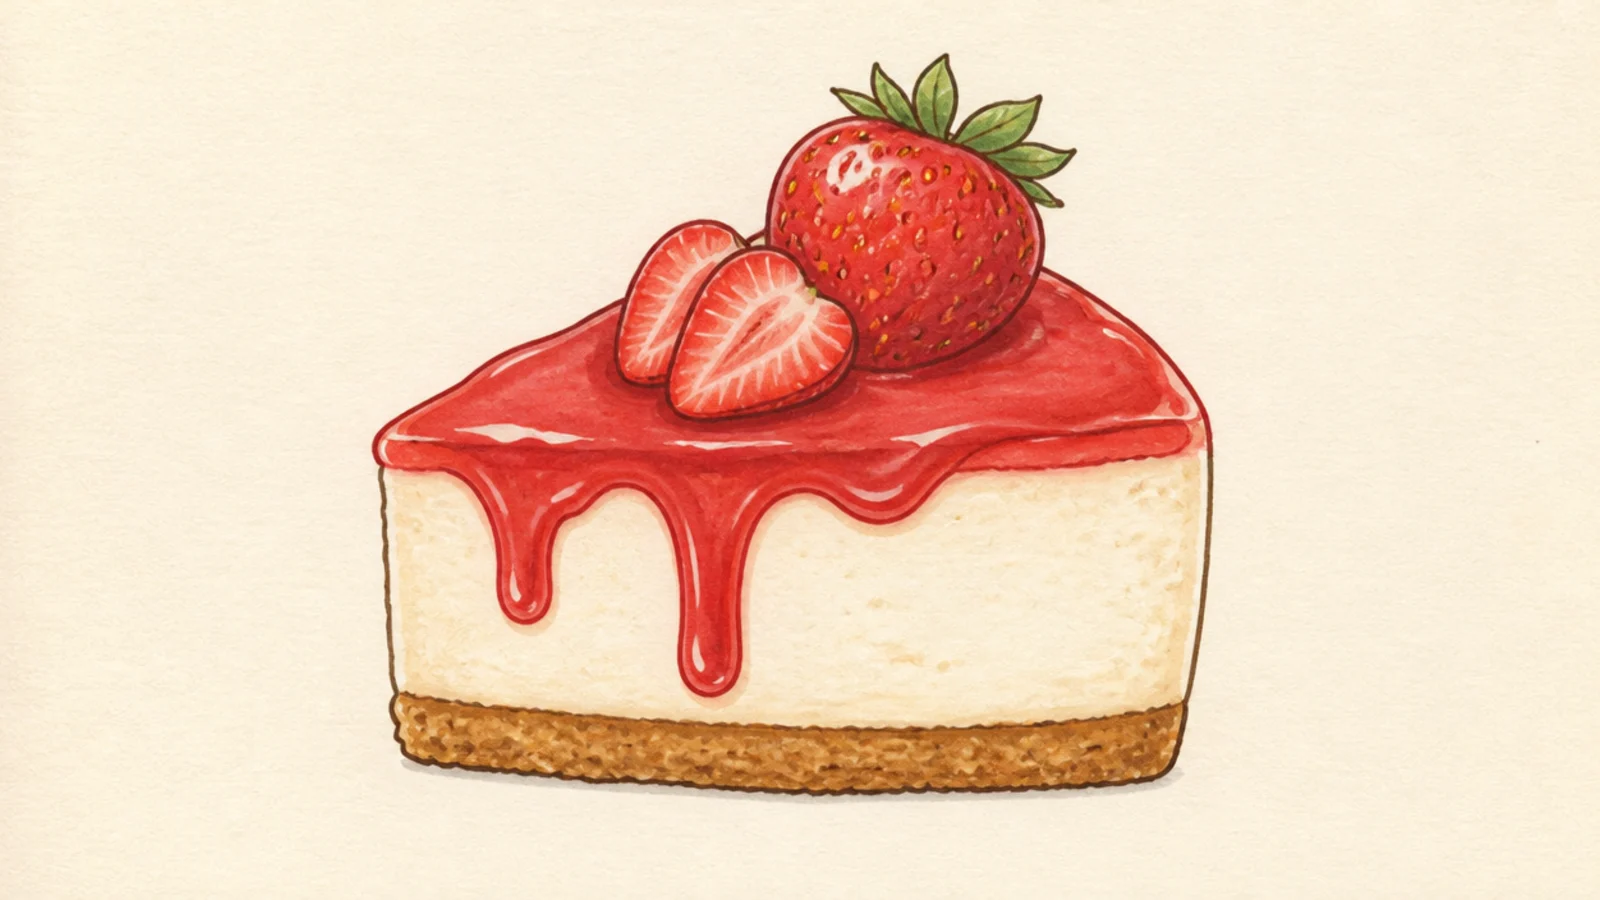
A slice topped with shiny red glaze dripping down looks luscious. The glossy topping is the star. It feels rich and bakery-fresh.
Step 1 draw a cheesecake slice. Step 2 add a wavy glaze layer on top with a drip down the front. Step 3 add a whole berry and a bright highlight on the glaze.
Leave a small white highlight on the glaze so it looks wet and shiny.
Don’t make the glaze matte; the shine is what makes it glossy.
4 Kawaii Cheesecake Slice
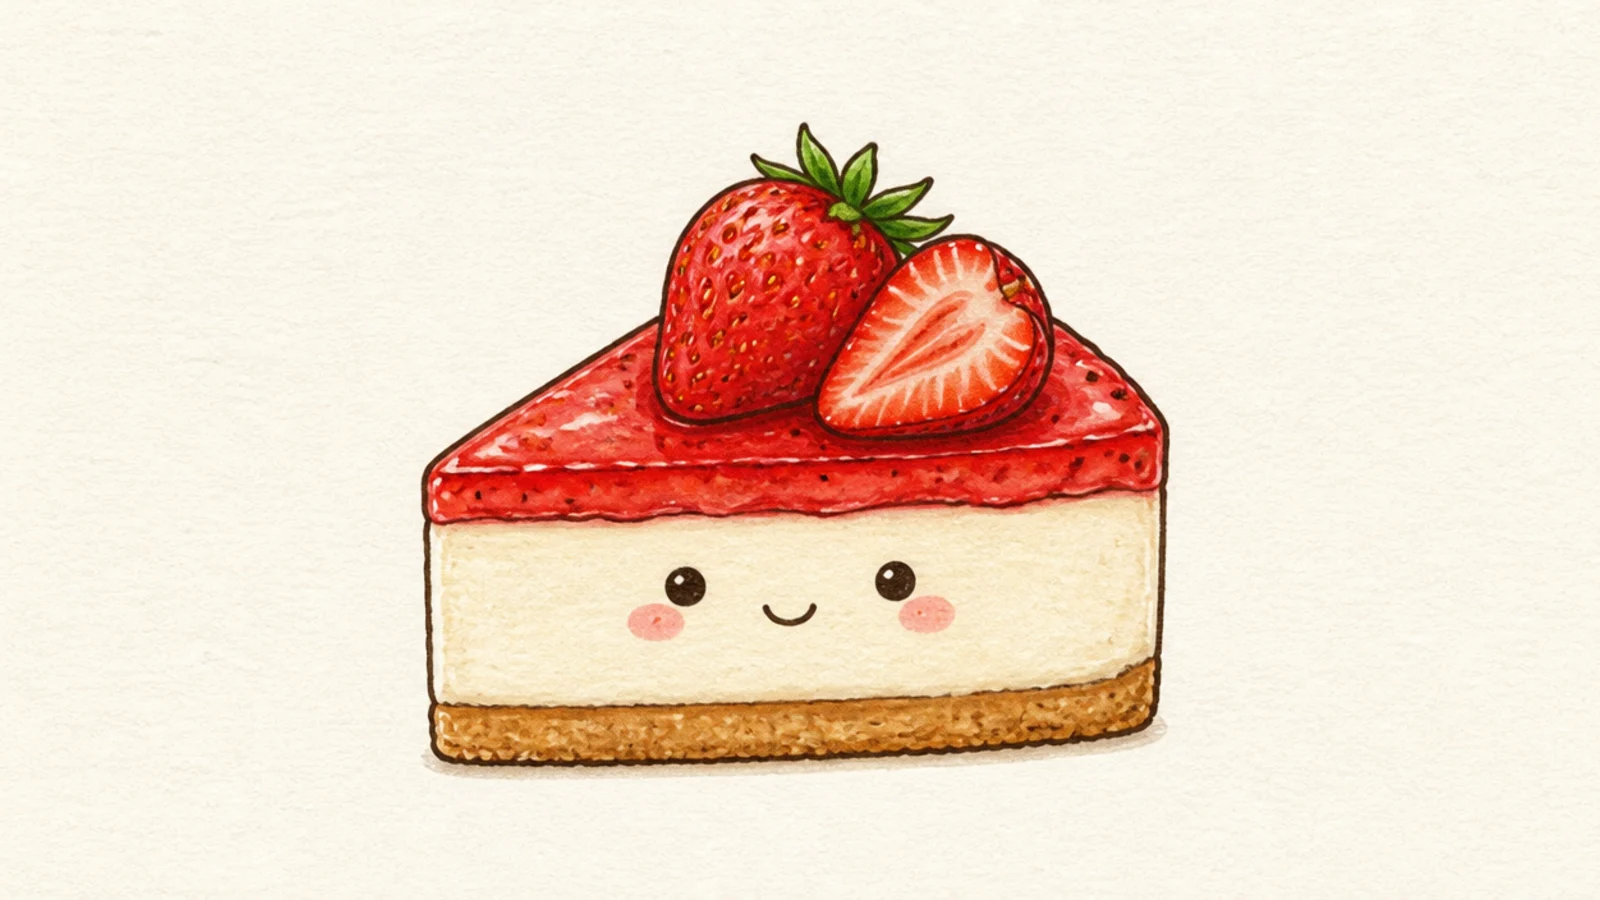
Adding a face turns a plain slice into an adorable character. It is the gateway to cute dessert mascots. Perfect for stickers and cards.
Step 1 draw a cheesecake slice. Step 2 add two low dot eyes and a tiny smile on the cream layer. Step 3 add blush cheeks and a berry on top.
Put the face on the cream band where there is the most space.
Don’t add a big mouth; a tiny smile keeps it cute and clean.
5 Cheesecake in a Jar
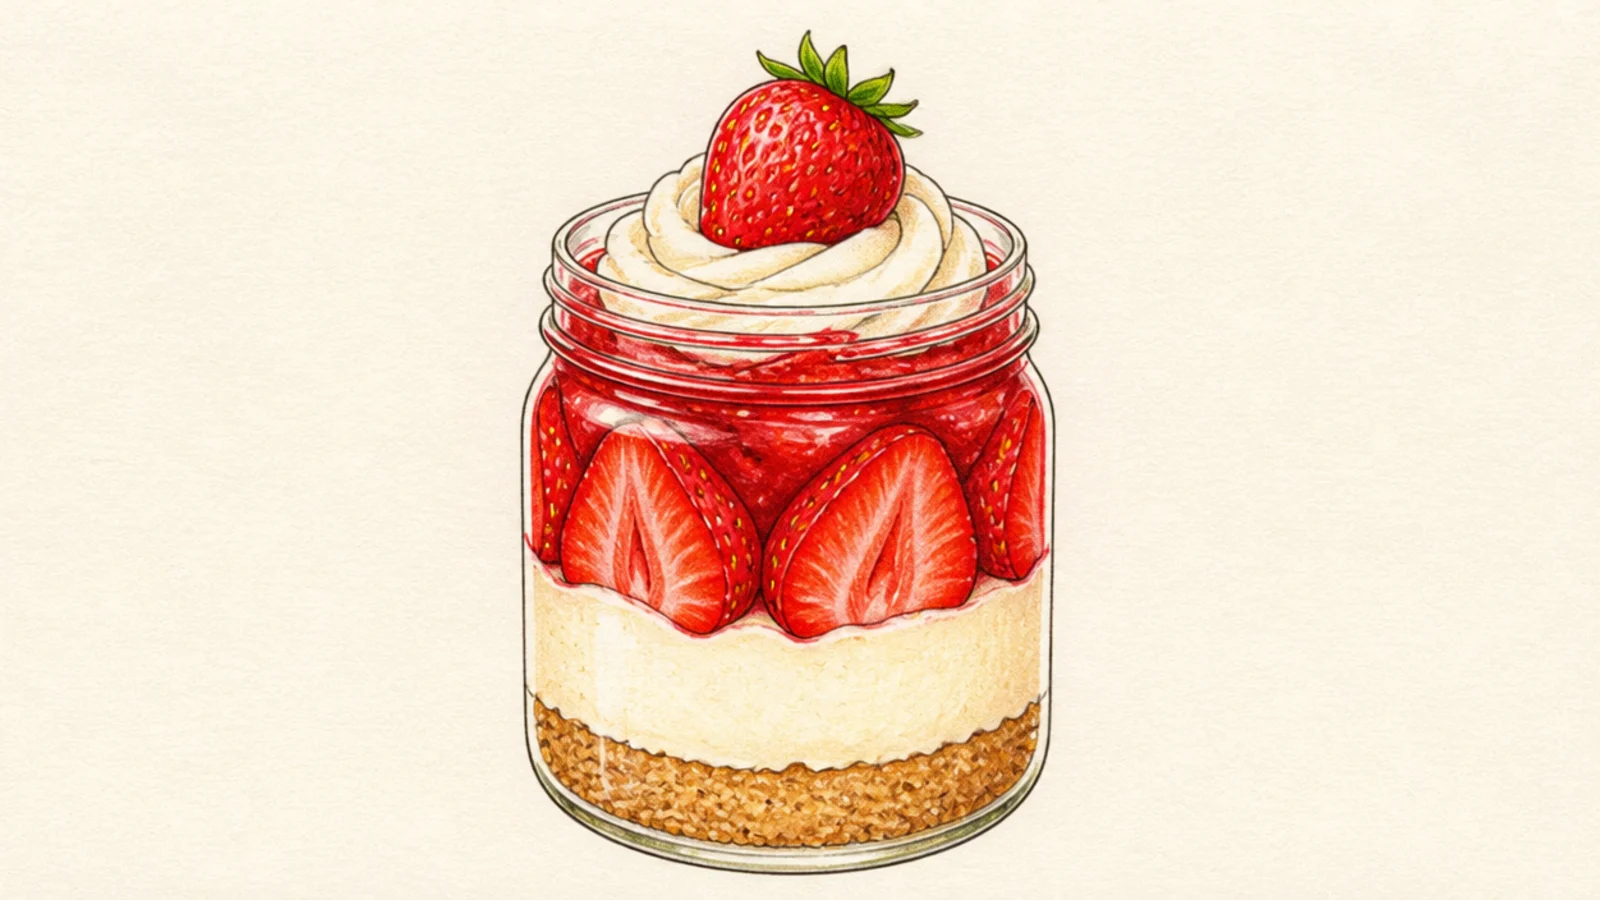
A no-bake cheesecake layered in a jar is trendy and easy. The glass shows off the layers. It is a cute cafe-style dessert.
Step 1 draw a mason jar. Step 2 layer crumb crust, cream, and strawberry sauce inside. Step 3 top with a cream swirl and a whole berry.
Pro tipDraw the layers slightly wavy where they meet so they look scooped.
AvoidDon’t draw the layers as flat straight lines; a gentle wave looks real.
6 Mini Cheesecake Bite
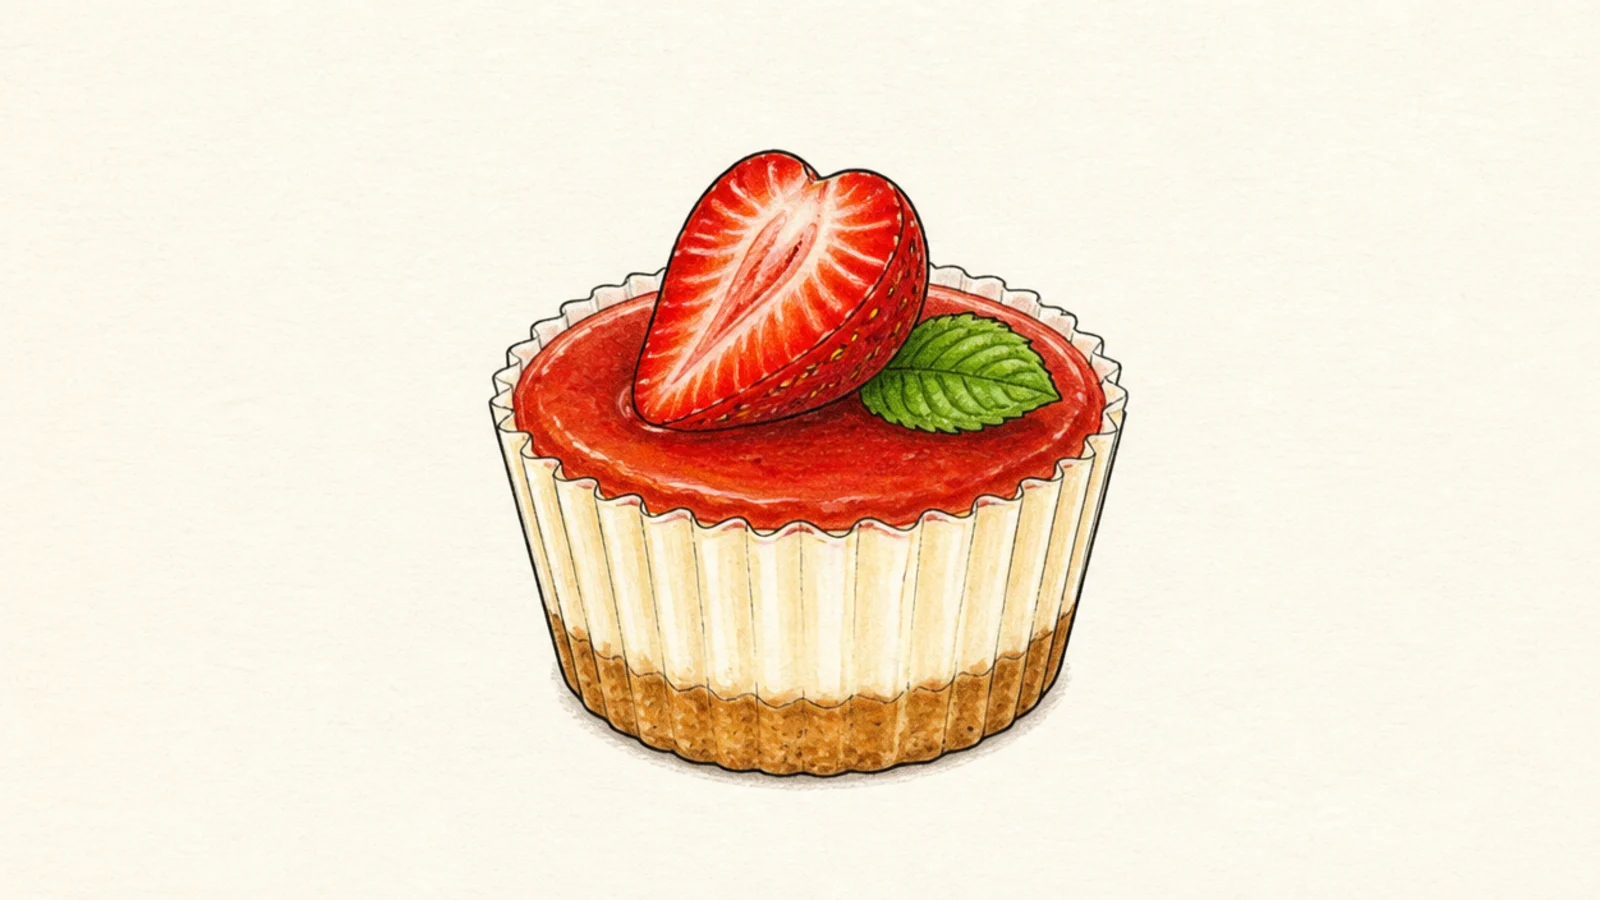
A single mini cheesecake in a wrapper is a tidy, cute little dessert. The small round shape is fast to draw. It is perfect for a quick doodle.
Step 1 draw a small ridged wrapper. Step 2 add a low cream round on top with a crust edge. Step 3 top with one glossy strawberry half and a mint leaf.
Draw vertical lines on the wrapper for the ridged cupcake-liner look.
Don’t make it tall; mini cheesecakes are low and round.
7 Cheesecake With Sauce Drizzle
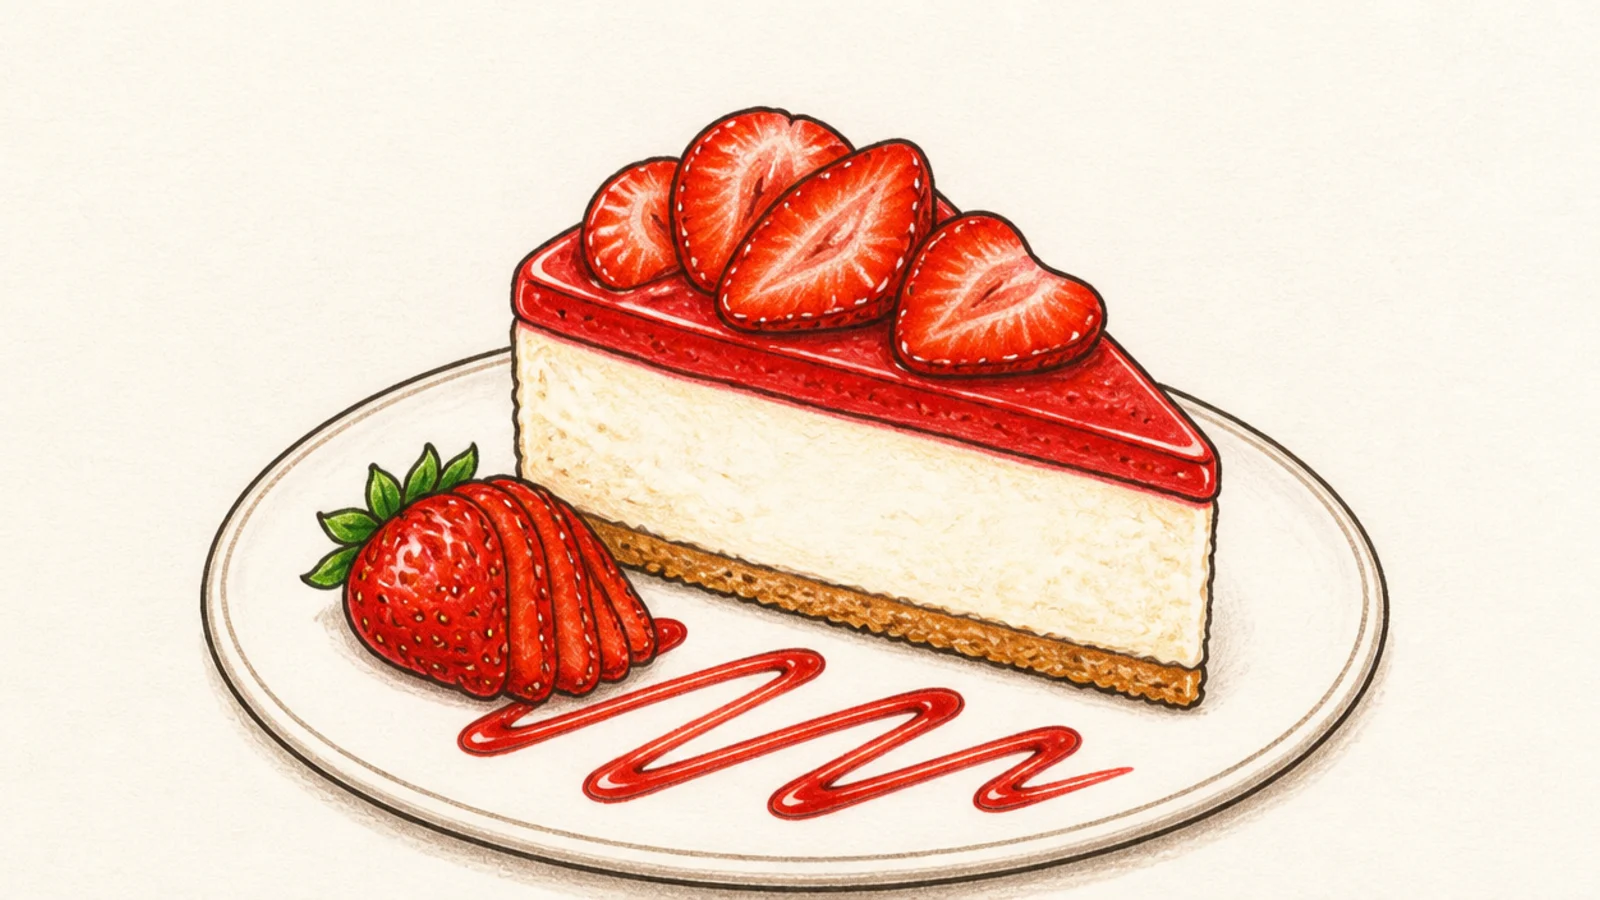
A plated slice with strawberry sauce drizzled around looks restaurant-fancy. The drizzle teaches simple plating. It feels like a dessert menu photo.
Step 1 draw a cheesecake slice on a plate. Step 2 add a fanned strawberry beside it. Step 3 drizzle a thin zigzag of sauce across the plate.
Zigzag the sauce loosely across the plate for an elegant drizzle.
Don’t flood the plate; a thin drizzle looks more refined.
8 Cheesecake on a Fork
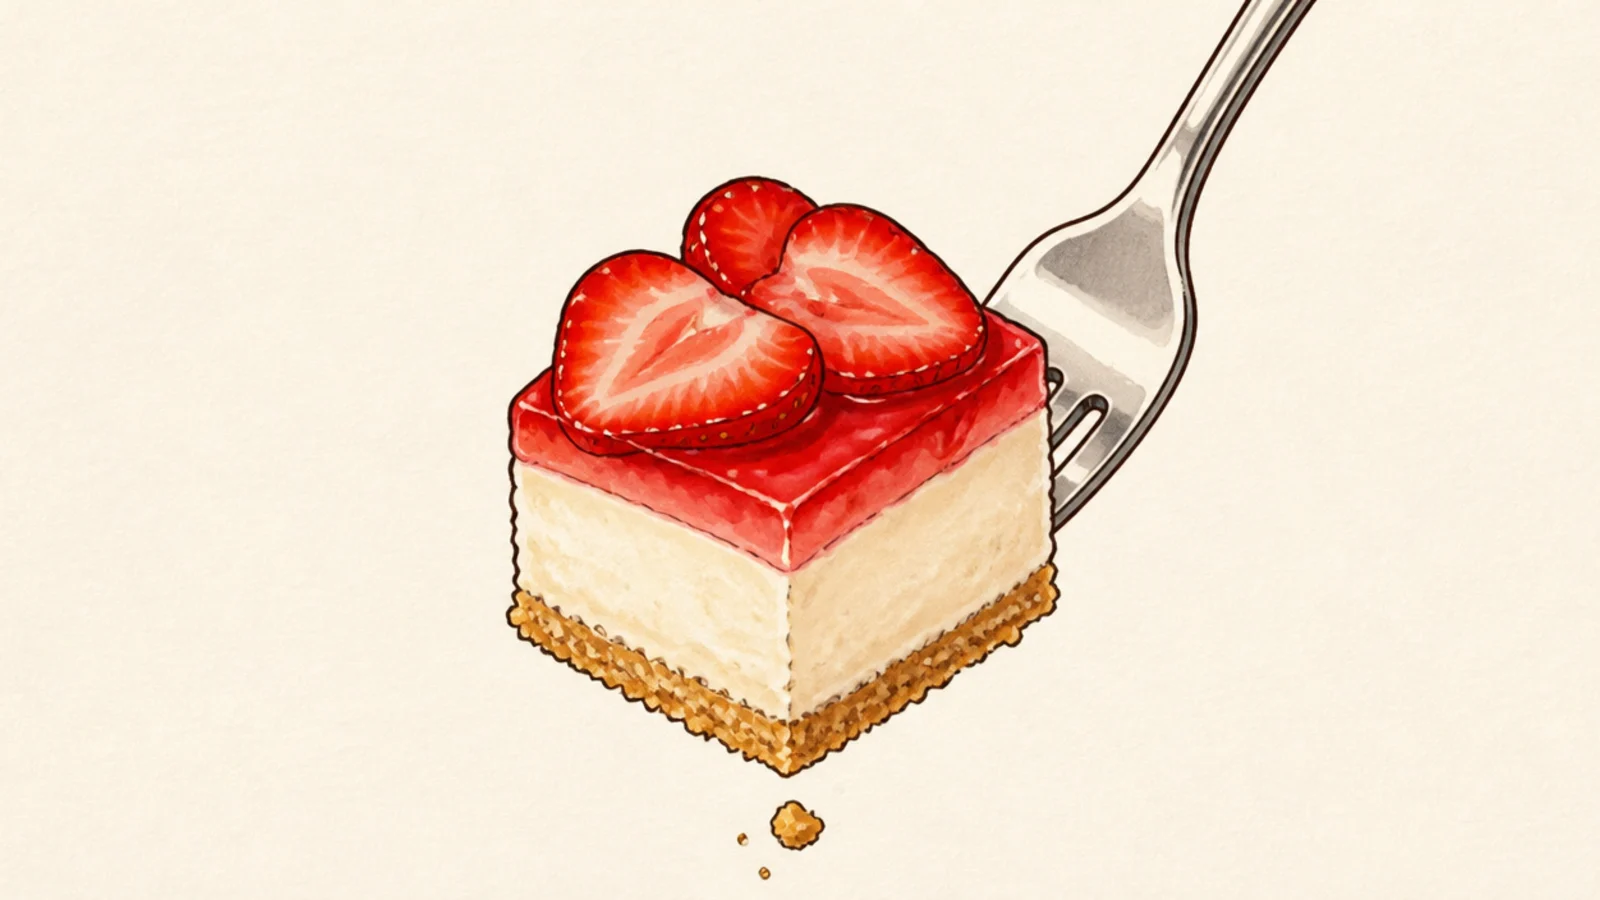
A single bite on a fork is a playful, close-up way to draw cheesecake. The small chunk shows the layers clearly. It tells a little eating story.
Step 1 draw a fork tilted upward. Step 2 add a soft cube of layered cheesecake speared on the tines. Step 3 show the crust and cream on the cut face and a crumb falling.
Show the three bands on the front of the cheesecake cube.
Don’t hide the layers; the visible bands identify the dessert.
9 Berry-Piled Cheesecake
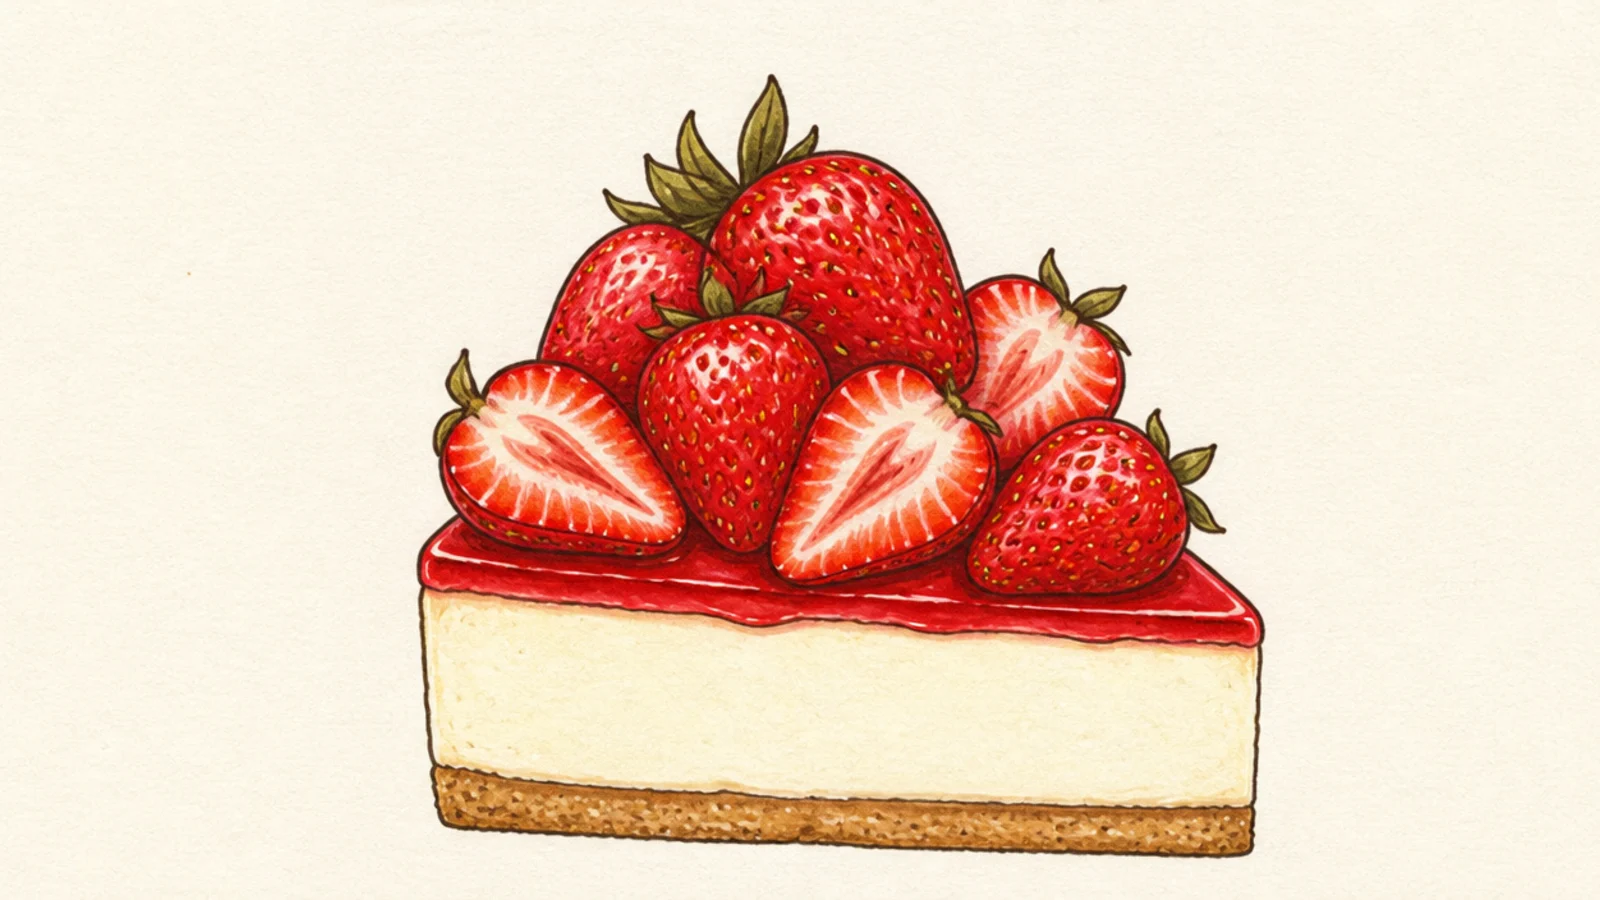
A slice piled high with berries looks abundant and indulgent. The heap of fruit is the highlight. It feels generous and fresh.
Step 1 draw a cheesecake slice. Step 2 pile whole and halved strawberries on top, overlapping them. Step 3 add seed dots and highlights on each berry.
Overlap the berries and vary their angles so the pile looks natural.
Don’t line the berries up; an overlapping heap looks abundant.
10 Strawberry Swirl Cheesecake
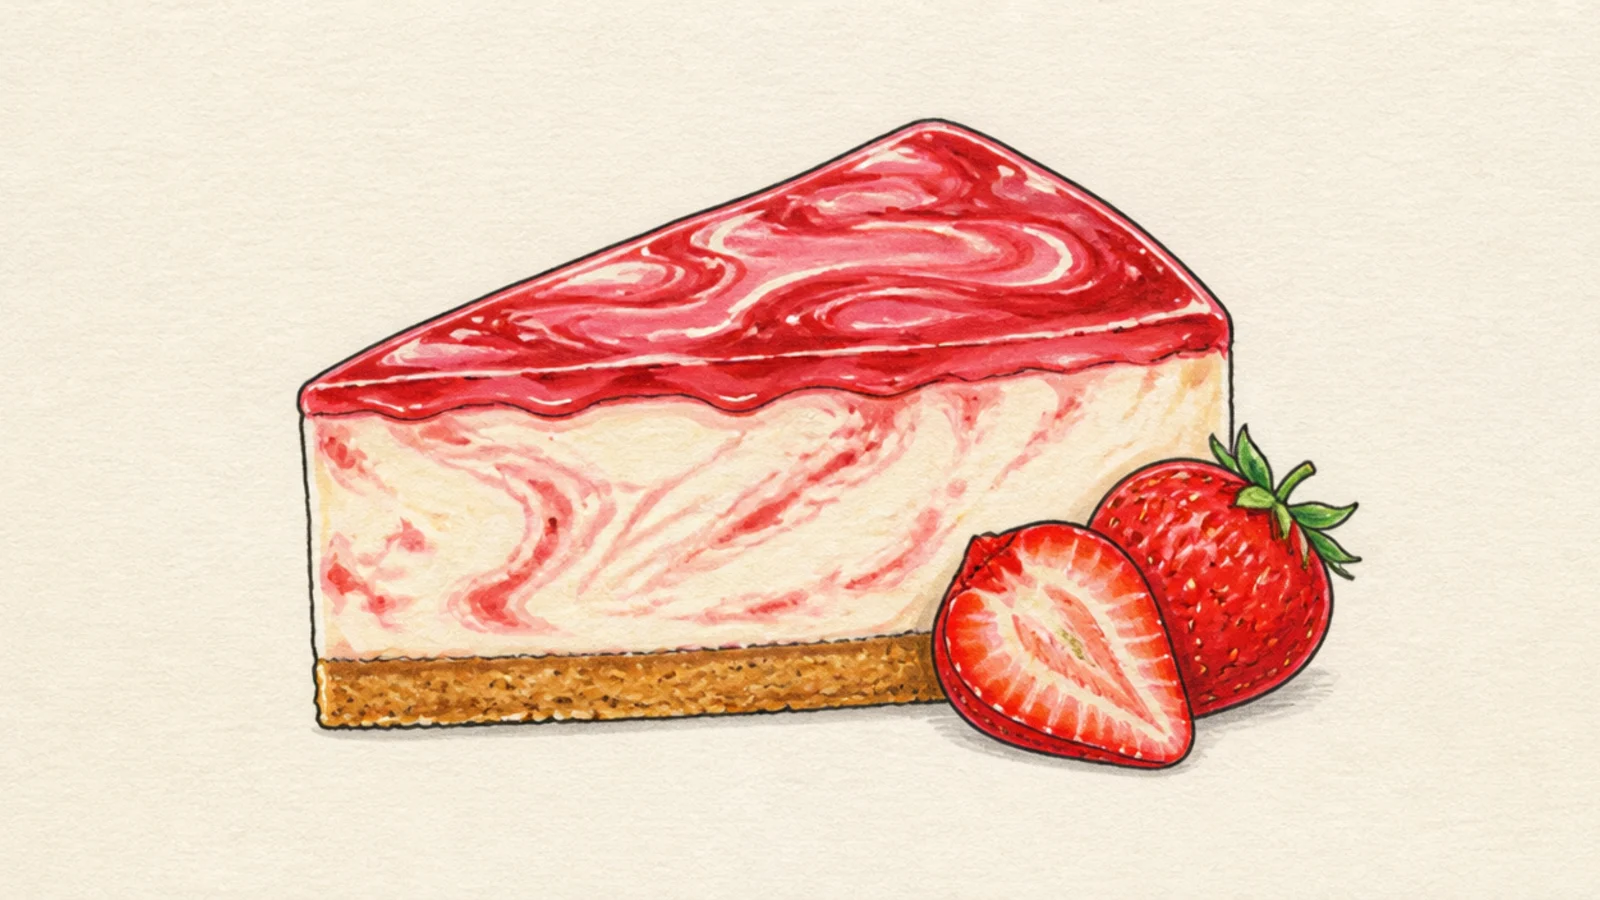
A cheesecake with a pink strawberry swirl marbled into the cream is pretty and different. The swirl pattern is fun to draw. It looks artfully made.
Step 1 draw a cheesecake slice with a smooth top. Step 2 draw a marbled pink swirl pattern across the cream. Step 3 add a crust band and a berry beside it.
Pro tipDraw the swirl as a loose spiral or figure-eight for a marbled look.
AvoidDon’t make the swirl tight and even; a loose marble looks natural.
11 Cheesecake on a Stand
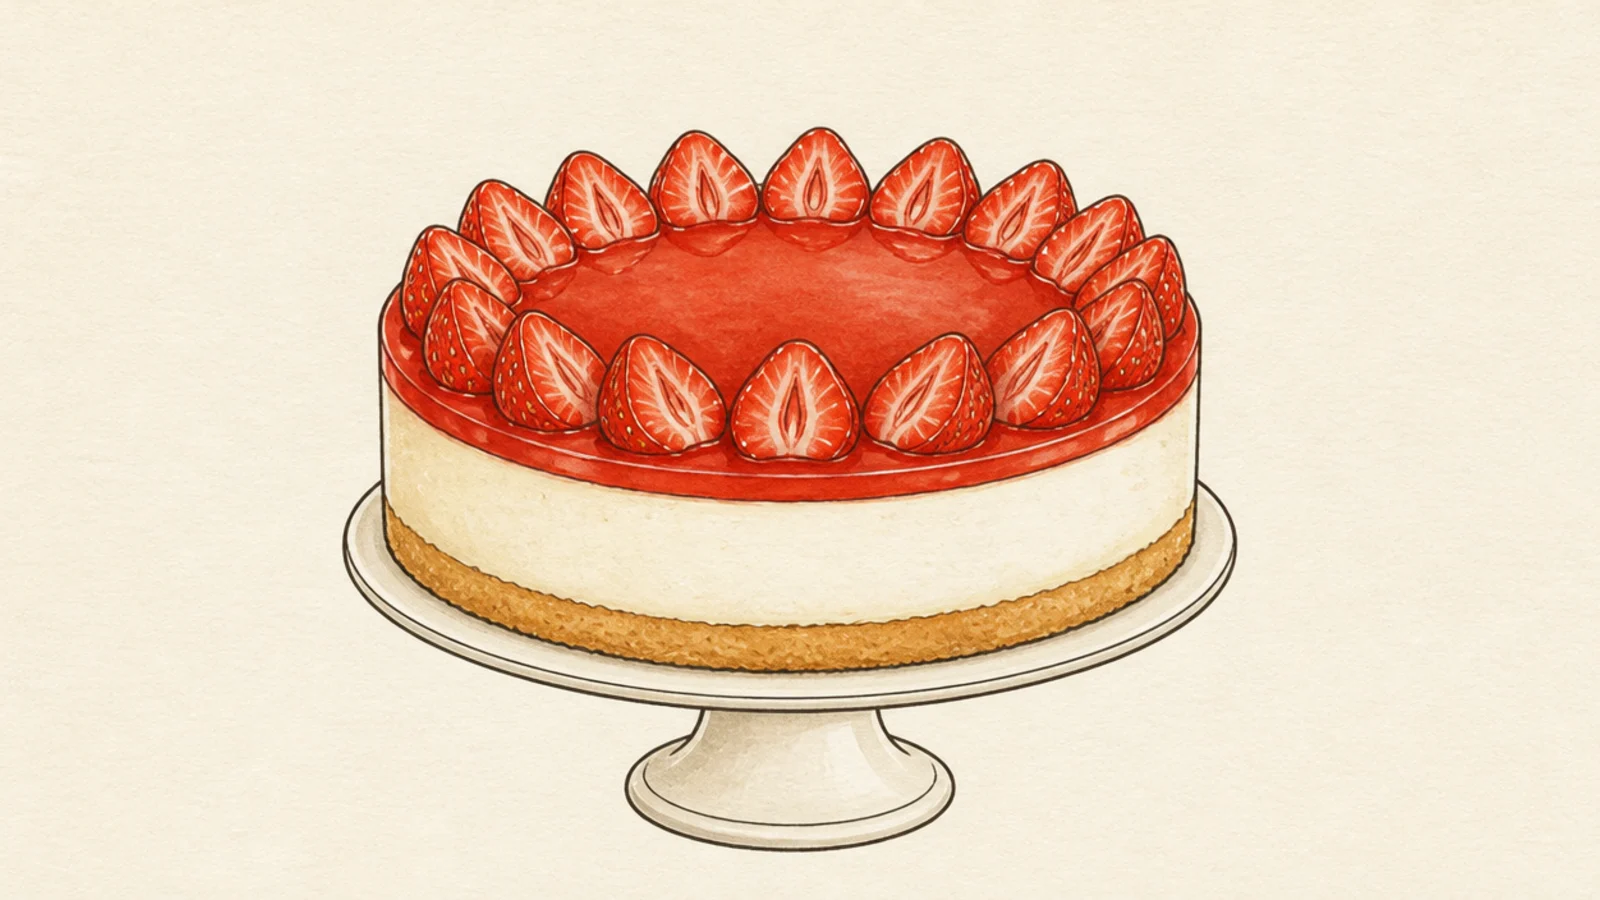
A cheesecake lifted onto a footed stand looks like a bakery display. The pedestal adds elegance. It makes the dessert feel special.
Step 1 draw a whole round cheesecake. Step 2 add a flat plate with a short stem and base below. Step 3 ring the top with berries and a glaze border.
Pro tipKeep the stand symmetrical so the cheesecake sits level.
AvoidDon’t make the stem too thin; a sturdy stem holds the cake.
12 Tilted-Angle Slice
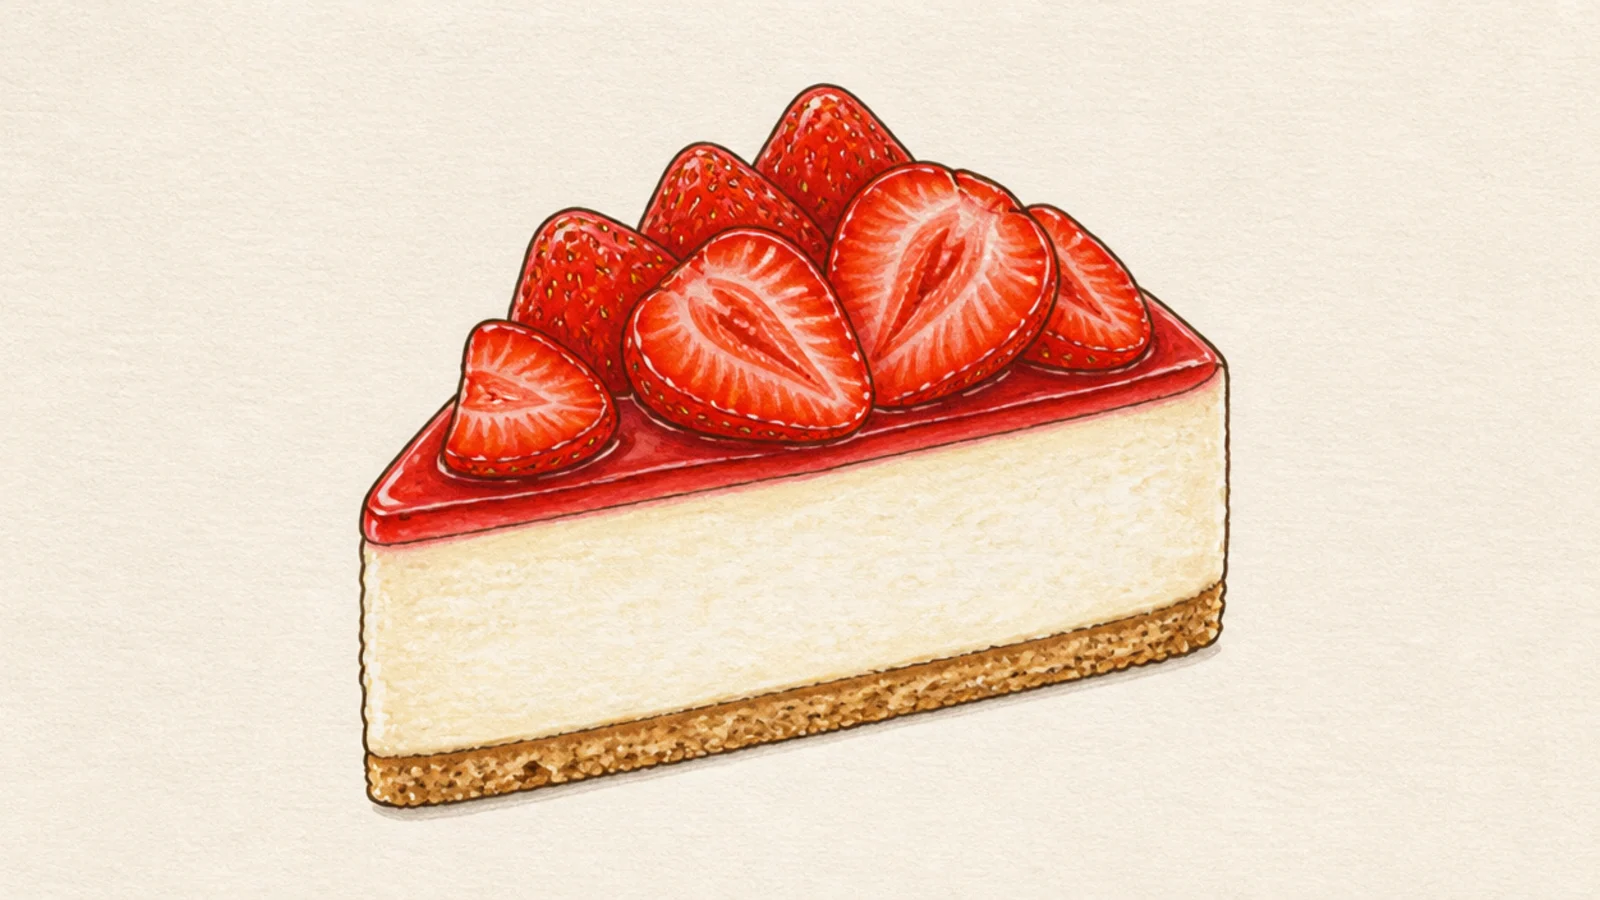
Drawing the slice at a three-quarter angle shows both the top and the layered side. The added dimension looks advanced. It is great perspective practice.
Step 1 draw the top surface as a slanted diamond. Step 2 drop the front and side faces to show the crust and cream. Step 3 add berries on top following the tilt.
Pro tipKeep the layer lines parallel to the top edge so the perspective holds.
AvoidDon’t let the side layers go flat; angle them to match the top.
13 Cheesecake Sticker Set
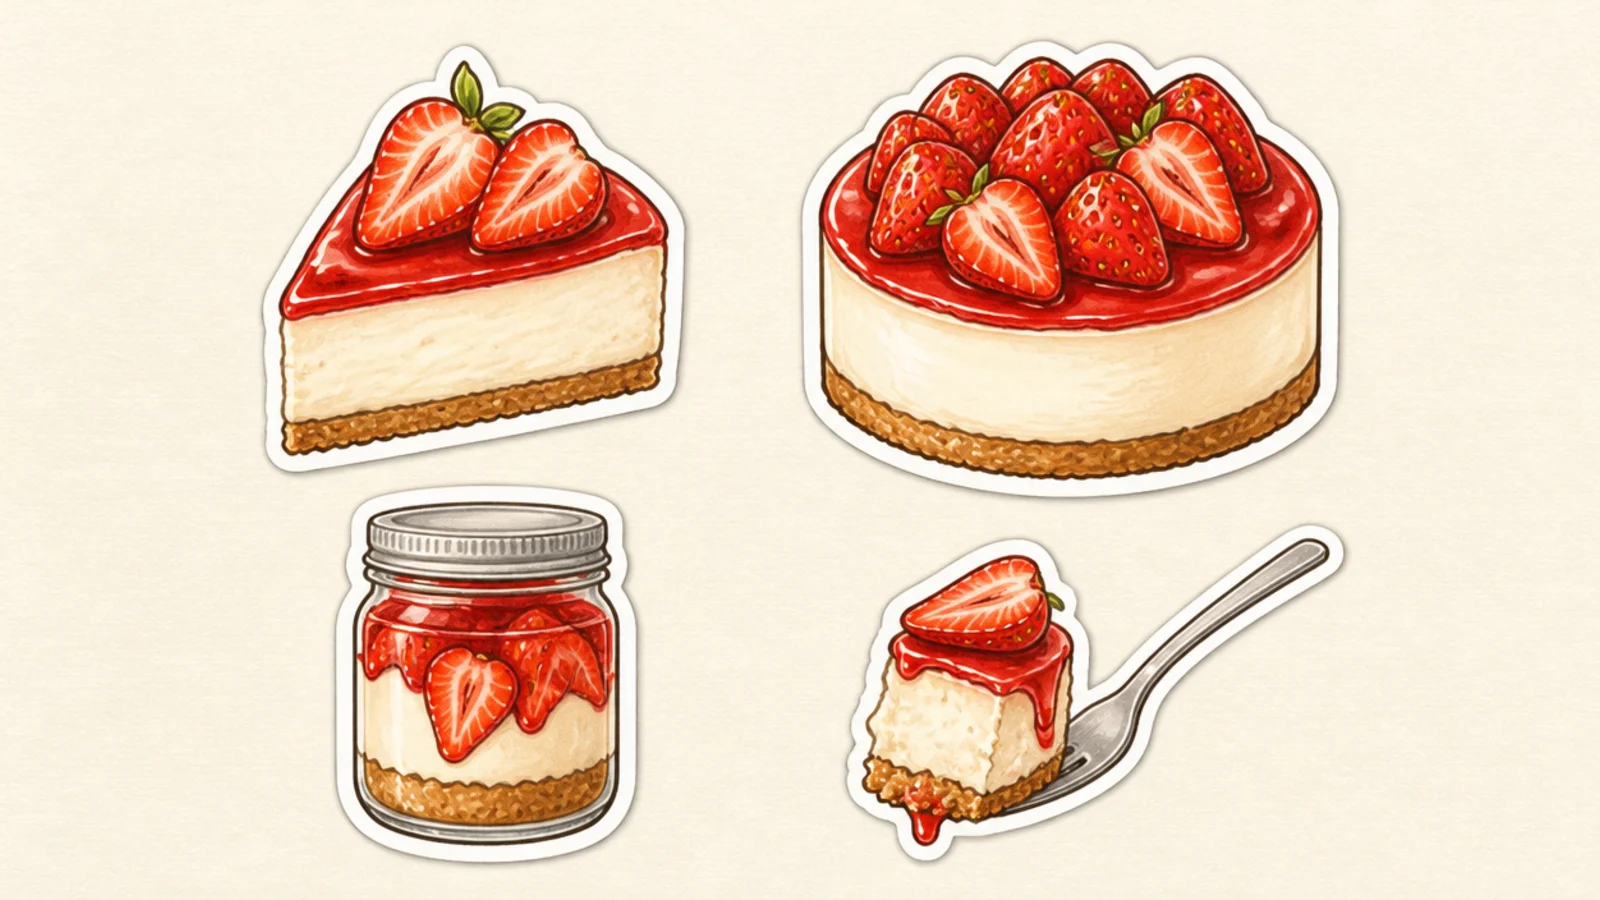
A few matching cheesecake doodles make an adorable mini sticker sheet. Repeating the style ties them together. It is satisfying to draw a matched set.
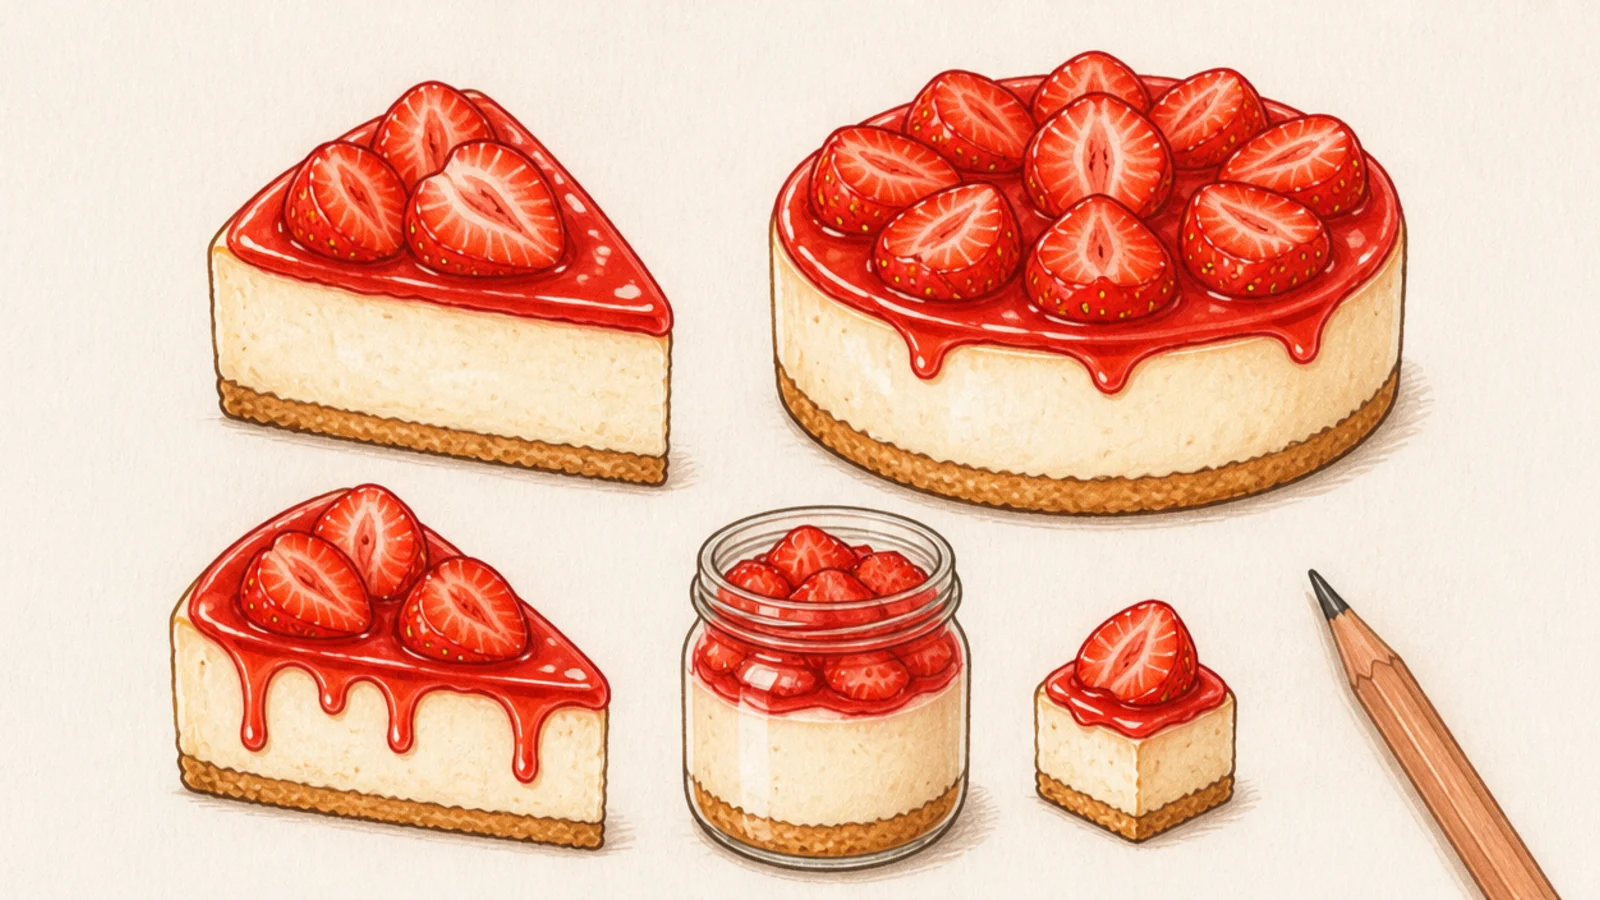
Step 1 draw four small cheesecakes in a loose grid — a slice, a whole cake, a jar, and a bite. Step 2 keep the same line weight and colors. Step 3 trace a thick white outline around each.
Keep every sticker the same size and style so they read as one set.
Don’t mix wildly different styles; small variations look best.
14 Cheesecake With Crumb Detail
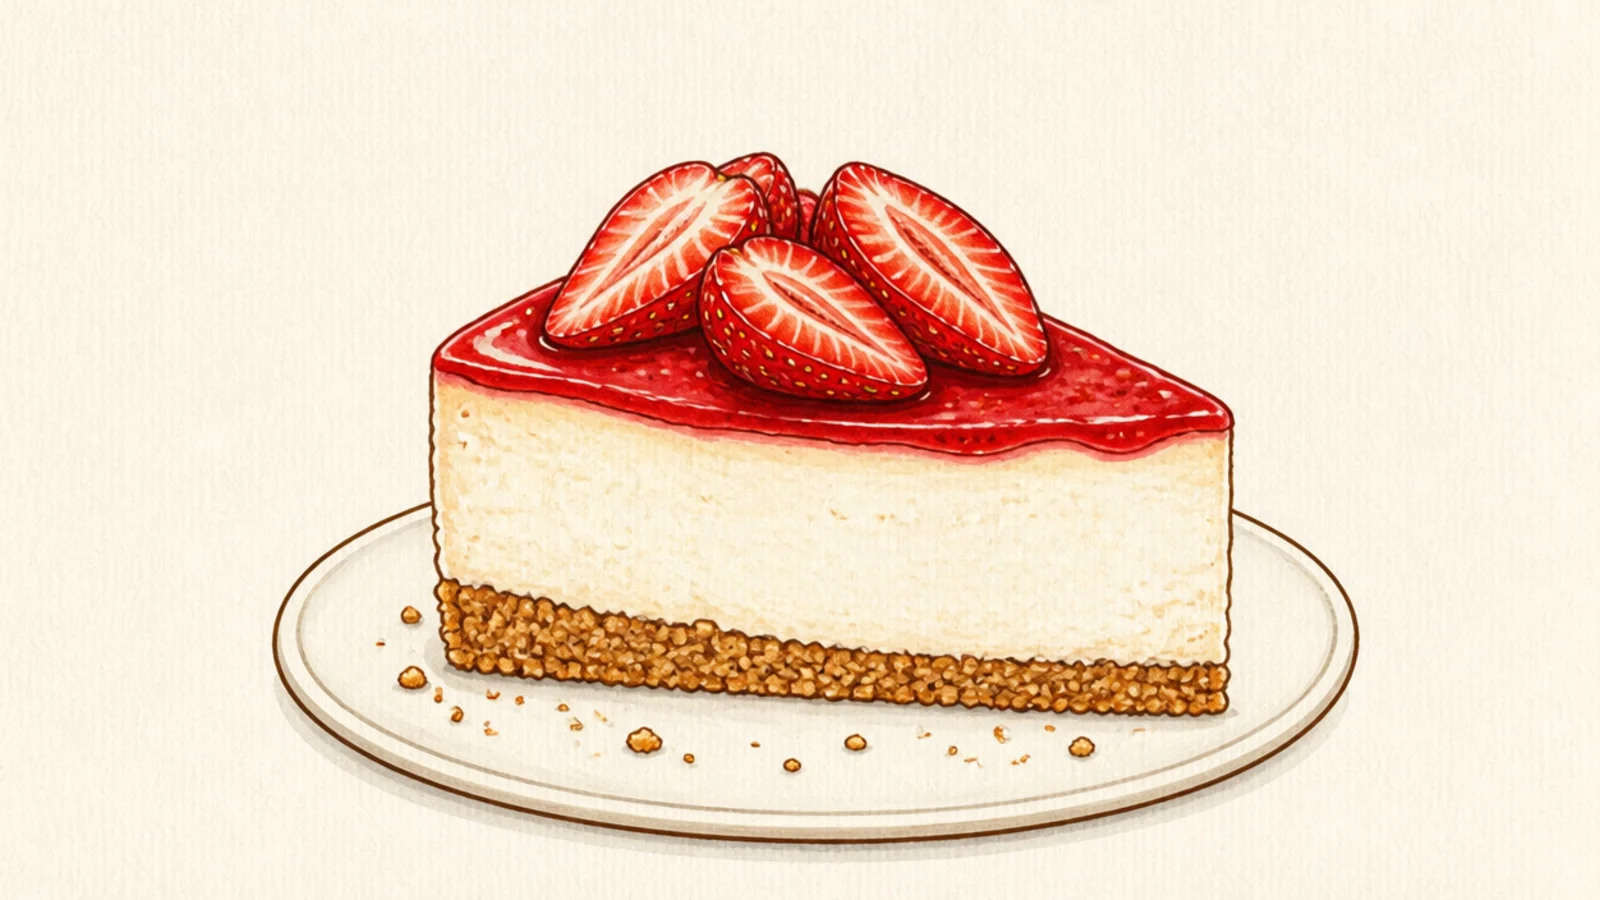
A slice with a detailed crumb crust and a few loose crumbs looks tasty and real. The crumb texture is the focus. It feels homemade and fresh.
Step 1 draw a cheesecake slice. Step 2 fill the crust band with small tan crumb bumps and dots. Step 3 scatter a few loose crumbs on the plate below.
Vary the crumb bumps in size for a natural crushed-graham texture.
Don’t make the crust smooth; the crumb texture is the point.
15 Cheesecake Slice Mascot
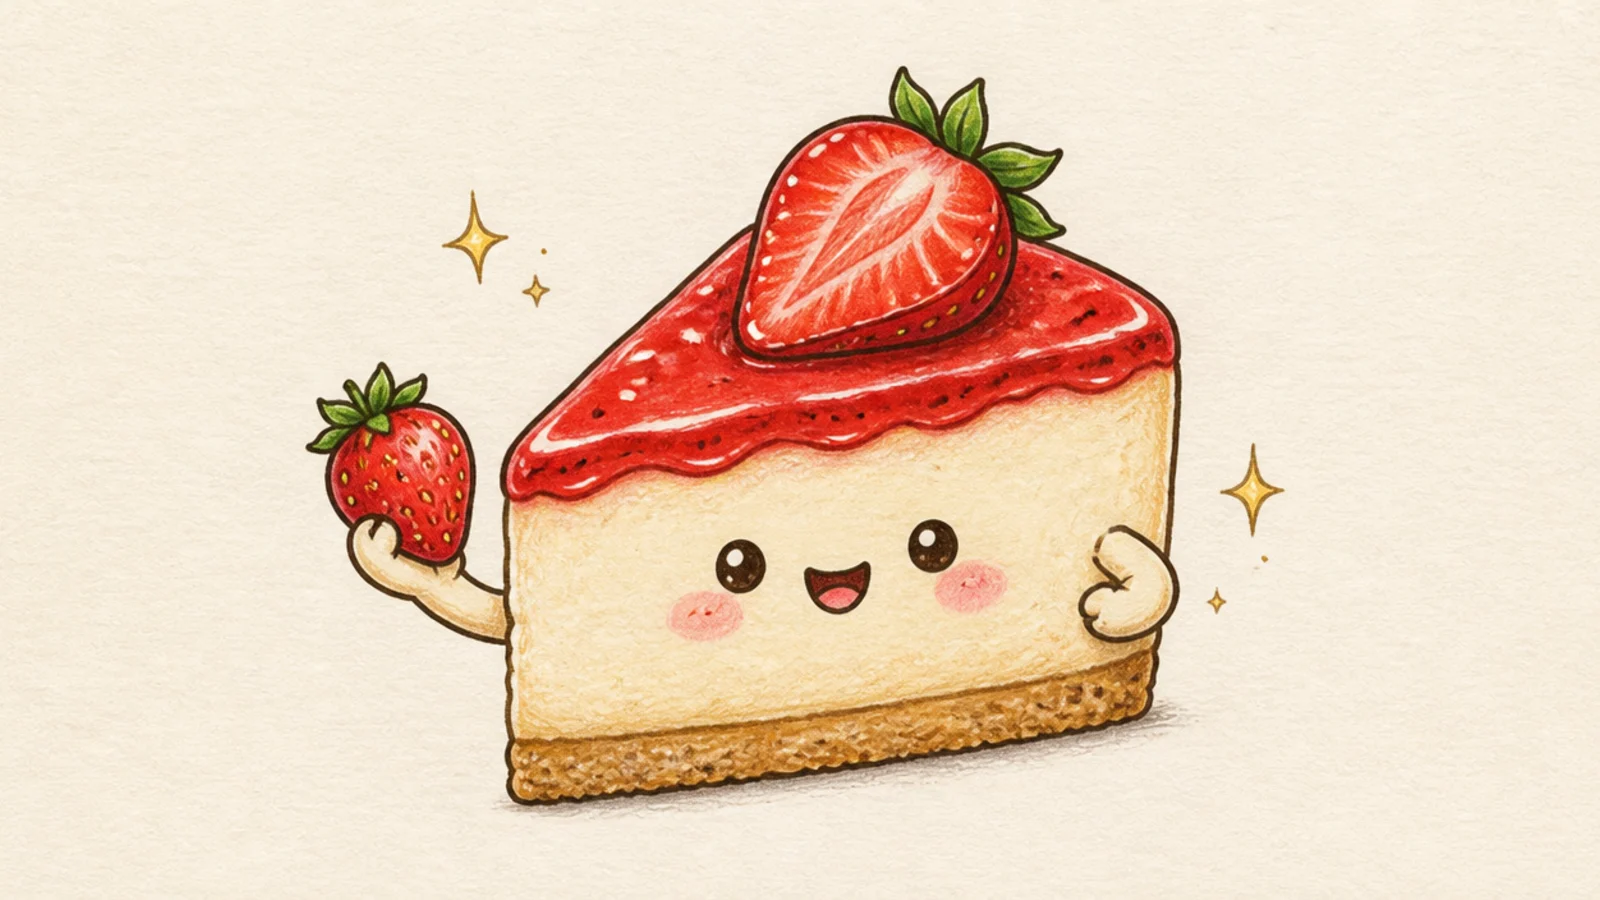
A cheesecake slice mascot with arms holding a berry is the sweetest way to close the list. The little character is full of charm. Perfect for stickers and cards.
Step 1 draw a cheesecake slice with a happy face. Step 2 add two little arms, one holding a strawberry. Step 3 add blush, a berry on top, and a few sparkles.
Pro tipKeep the arms short and the pose simple for a cute mascot.
AvoidDon’t over-detail the slice; the face and pose carry the charm.



