
1 Lesson 1 - Draw the Center First
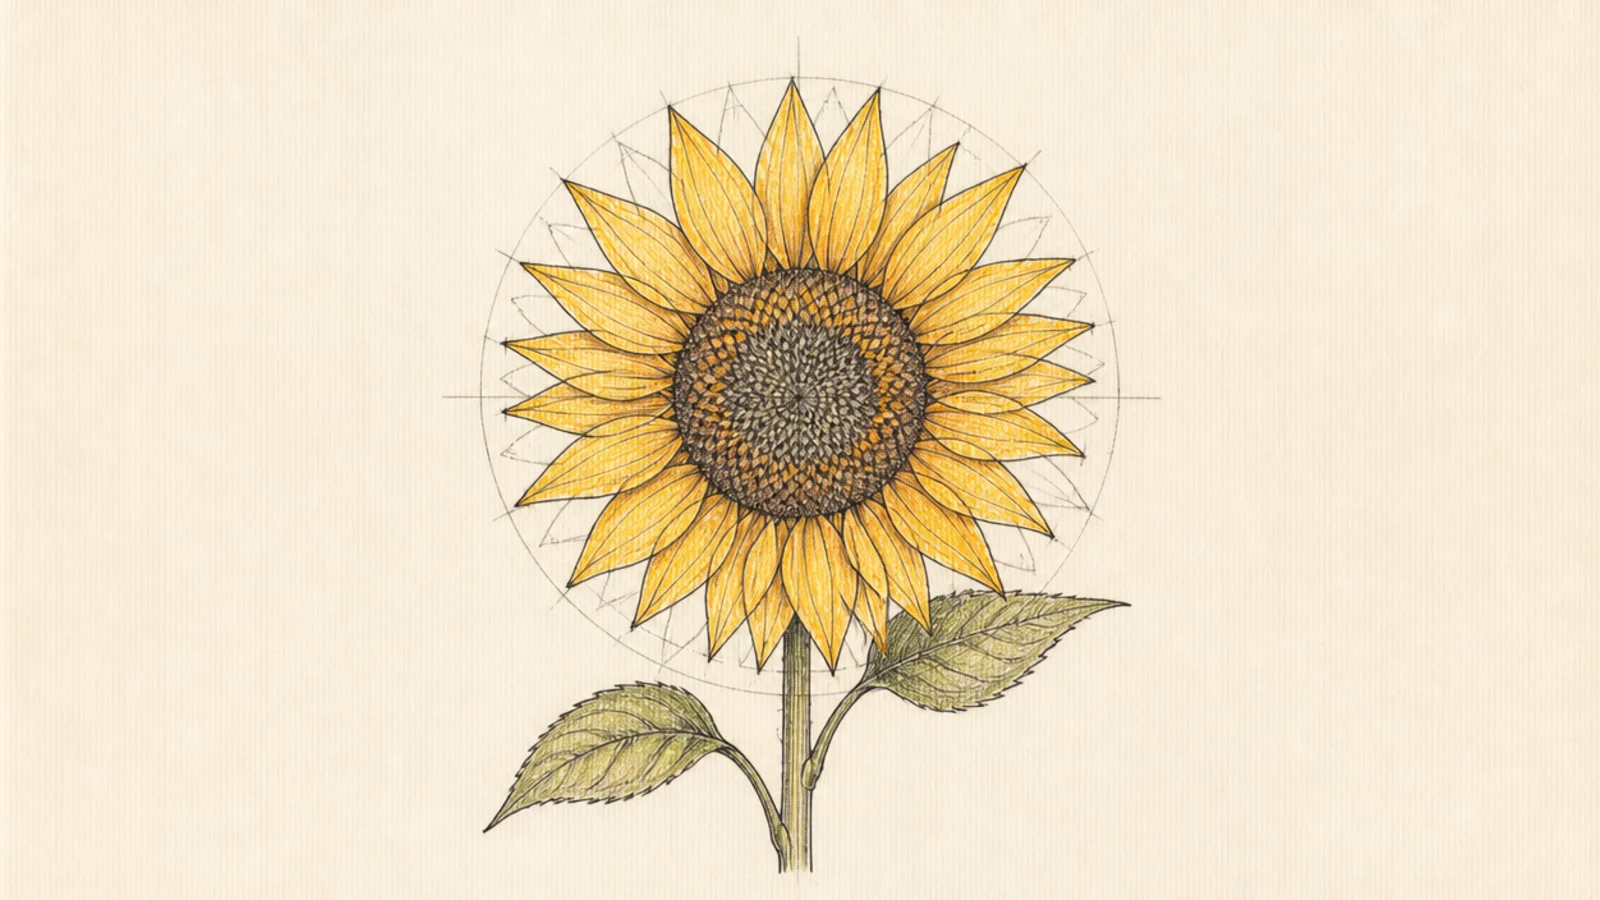
My biggest early mistake was saving the center for last, so it never fit and the petals came out lopsided. Drawing the center circle first anchored everything.
Draw the seed center circle first, then build the petal ring around it. The center sets the scale and keeps the petals evenly spaced from the start.
Pro tipLet the center’s size decide how long the petals should be.
AvoidDon’t leave the center for the end; the petals will drift uneven.
2 Lesson 2 - Space Petals Like a Clock

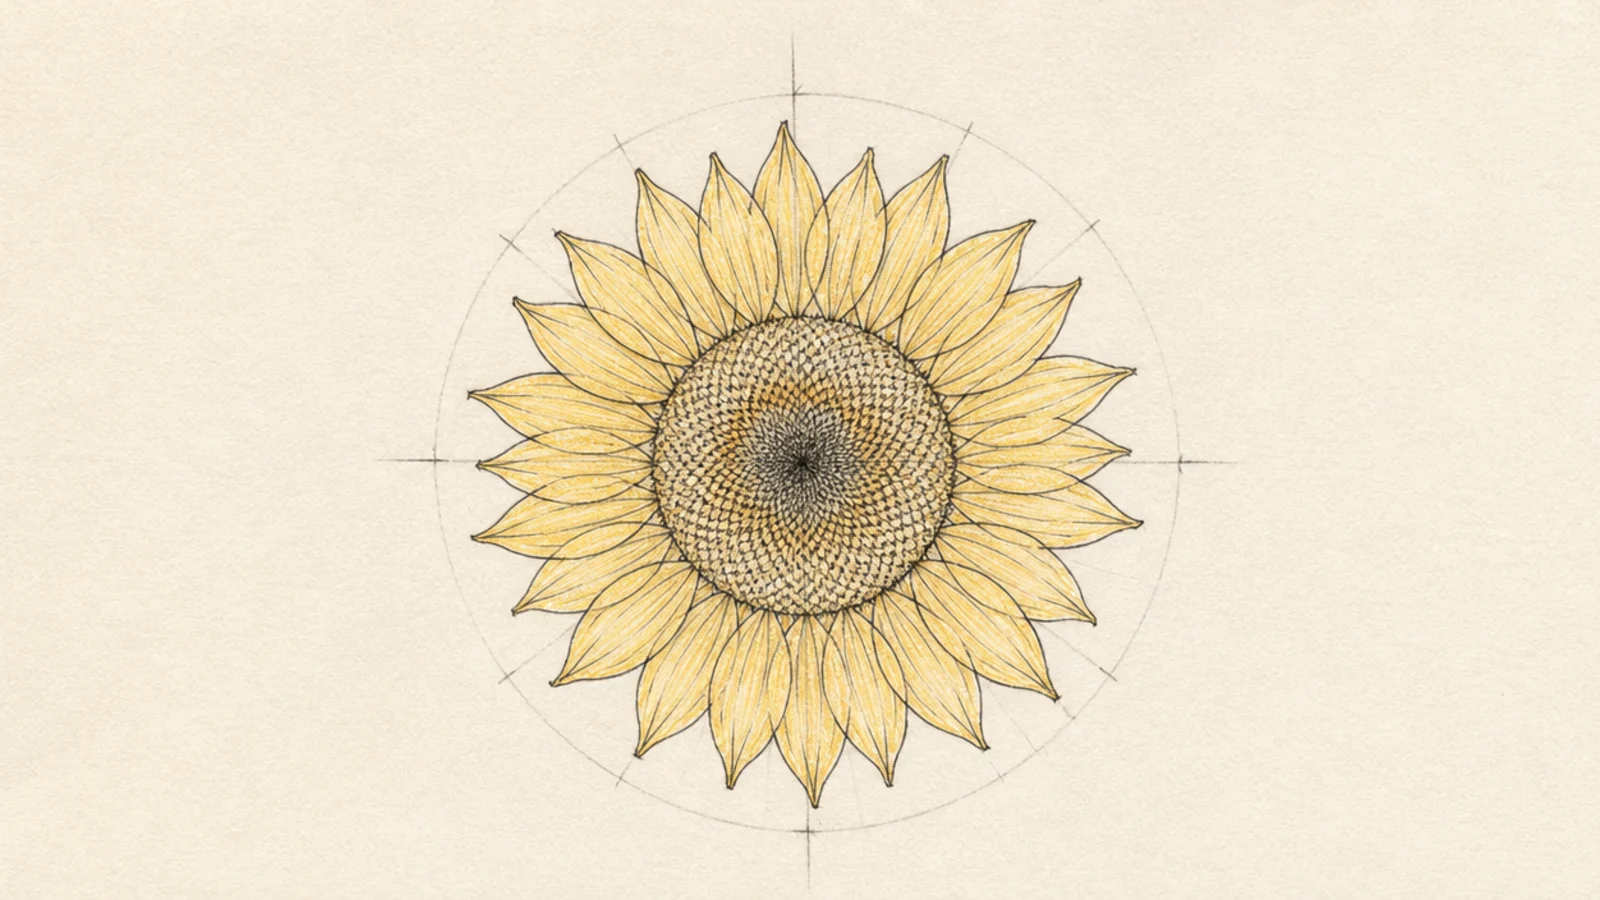
My petals used to bunch on one side. Placing anchor petals at twelve, three, six, and nine o’clock first fixed the balance instantly.
Place four anchor petals at the clock positions, then fill the gaps evenly between them. The anchors keep the whole ring balanced.
Set the four anchor petals before adding any others.
Don’t draw petals one after another around; they’ll crowd.
3 Lesson 3 - Vary the Petal Angles
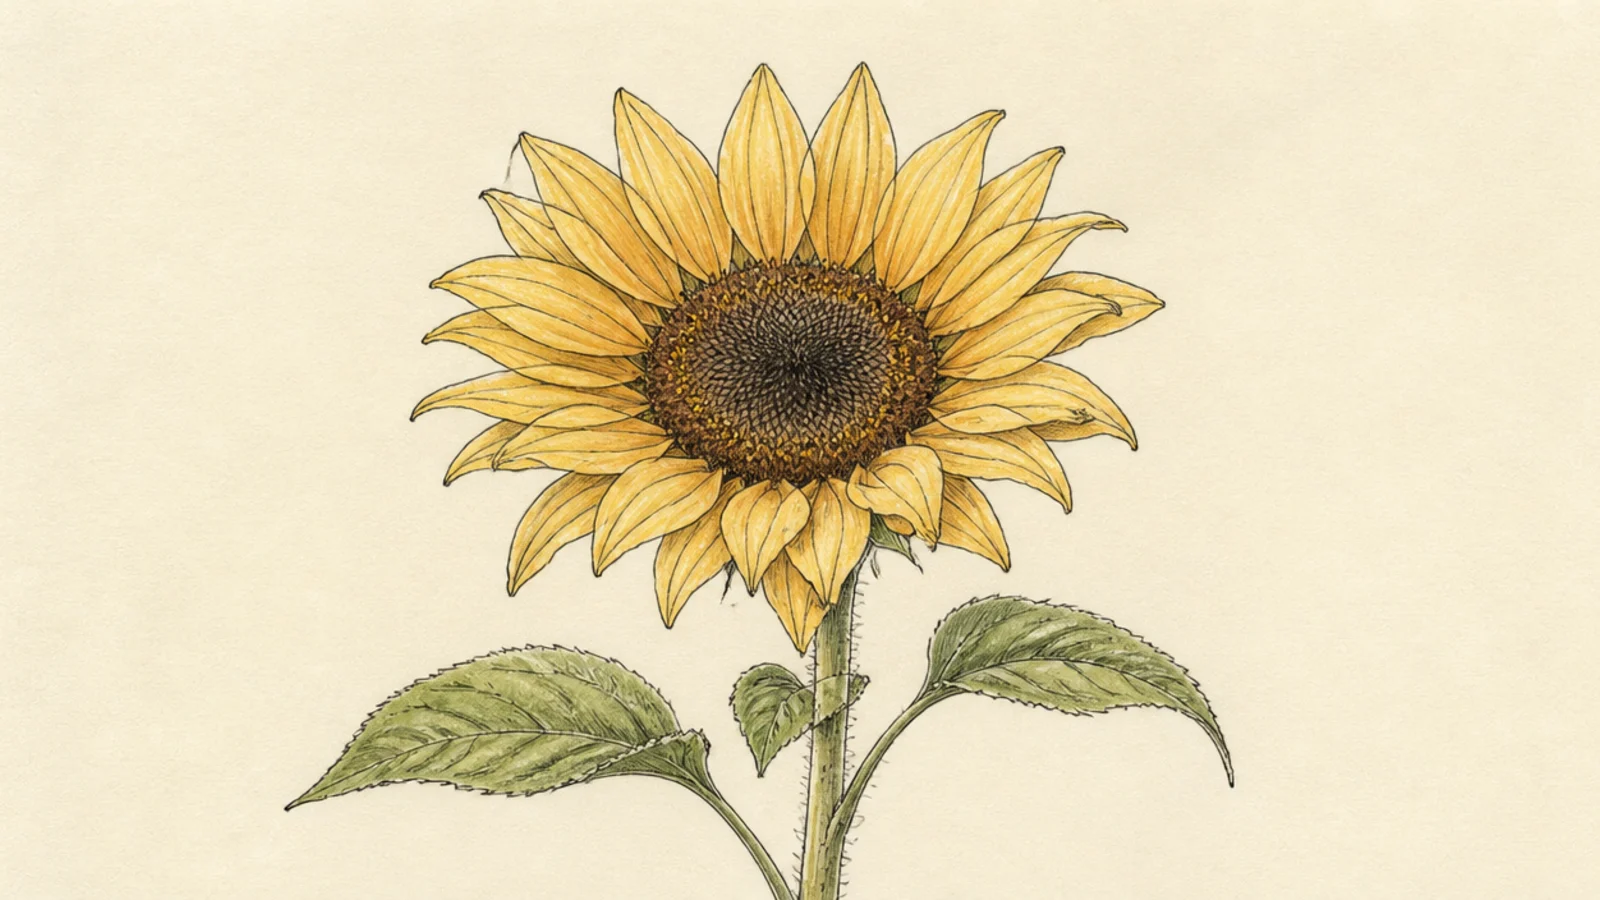
Perfectly even petals looked mechanical, like a gear. Tilting each one a hair and varying lengths made the flower look alive.
After spacing the petals evenly, nudge each one to a slightly different angle and length. Small irregularity reads as natural growth.
Pro tipLet a few petals overlap or bend for organic variety.
AvoidDon’t make every petal identical; nature isn’t that tidy.
4 Lesson 4 - Texture the Center
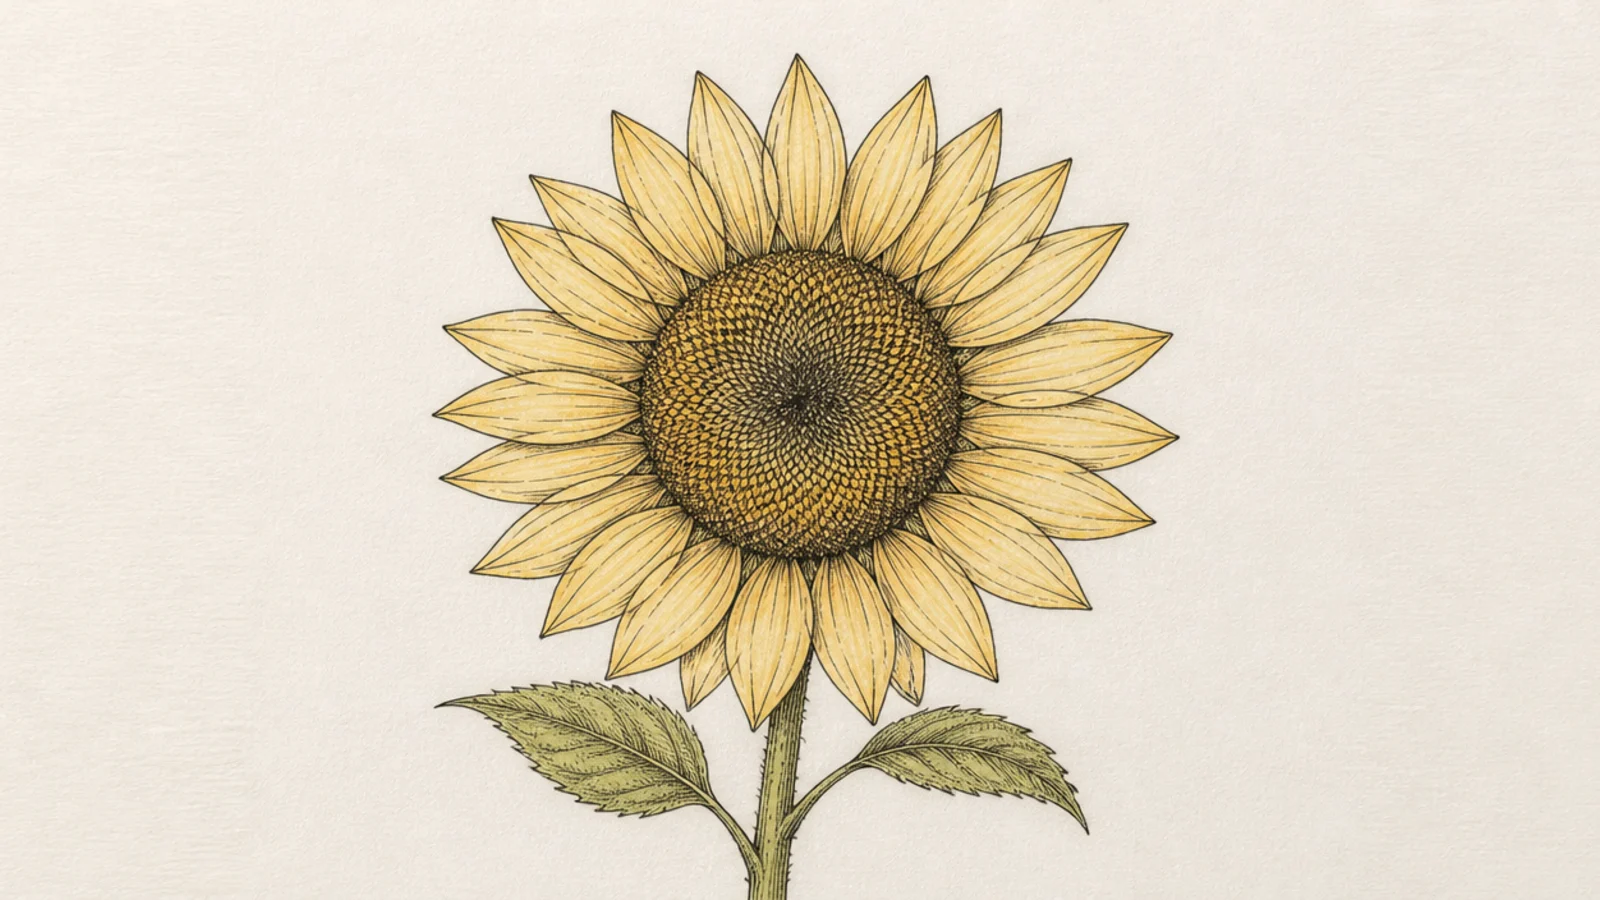
A flat filled center made my flower look like a daisy. Adding tiny marks that tighten toward the middle made it unmistakably a sunflower.
Fill the center with small dots or crosshatch marks, packing them tighter toward the middle, and shade one side to dome it.
Pro tipTighten the marks toward the center to suggest the seed spiral.
AvoidDon’t leave the center a flat circle; texture makes it real.
5 Lesson 5 - Commit to One Light Direction
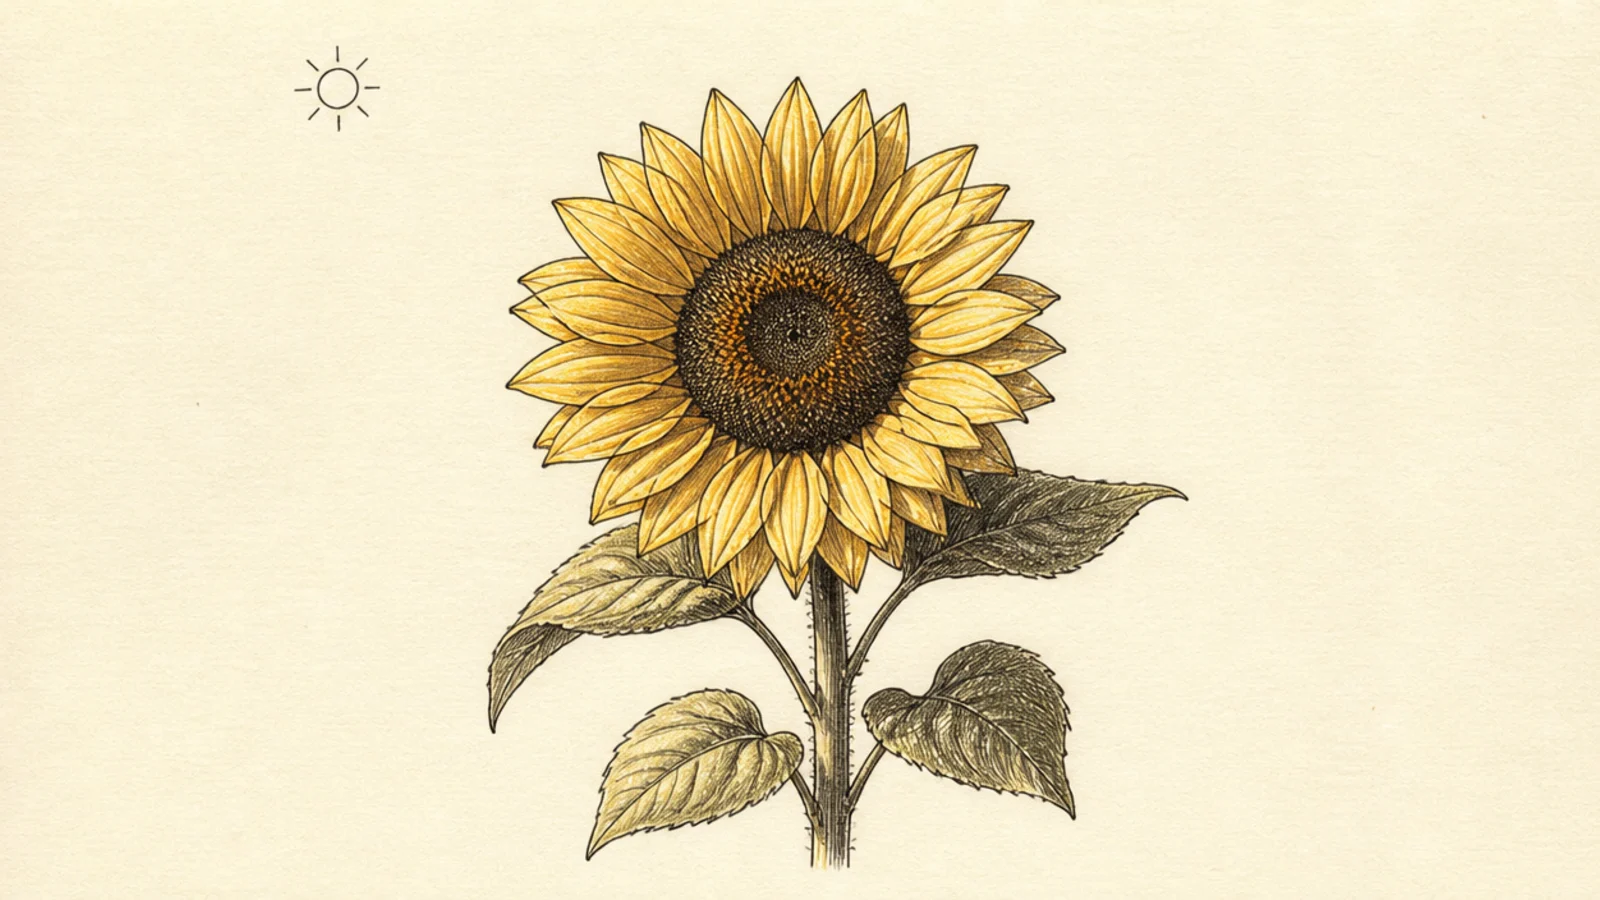
My shading looked muddy because I lit petals from everywhere. Picking one light direction and shading every part to match gave the flower real form.
Decide where the light comes from before shading, then keep every shadow on the opposite side of each petal and the center.
Pro tipMark a small sun in the corner to remember your light direction.
AvoidDon’t shade each petal in isolation; light the whole flower together.
6 Lesson 6 - Loosen Up
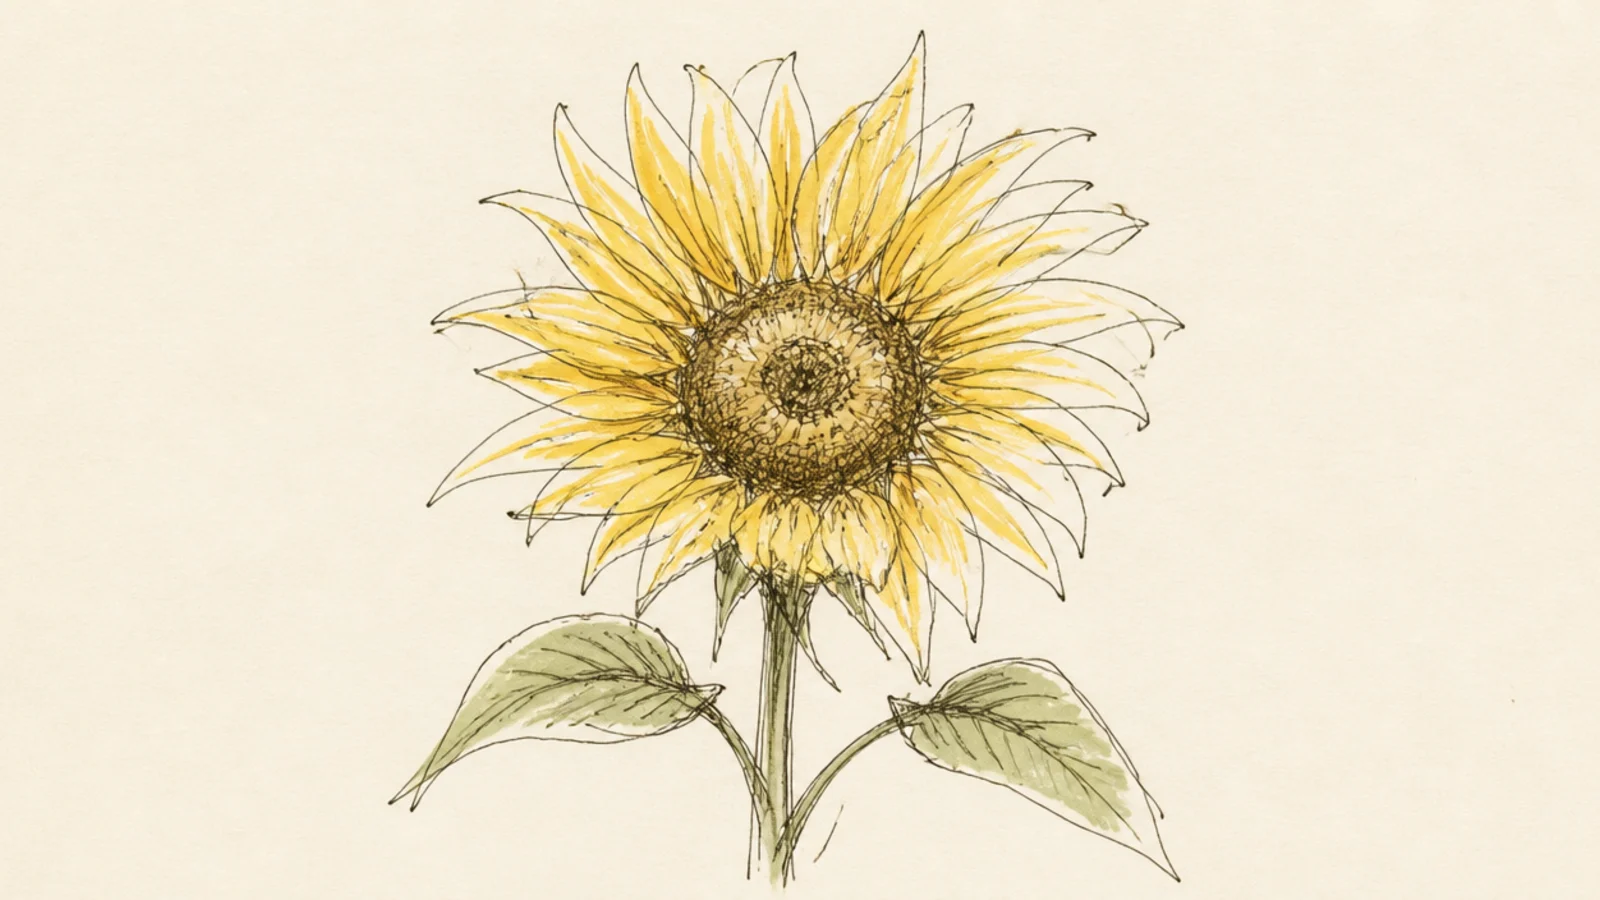
My careful, stiff drawings had no life. Fast, loose sketches — even messy ones — captured the flower’s energy far better.
Warm up with quick one-minute sunflower sketches drawn from the shoulder. The looseness carries into your careful drawings too.
Start each session with a fast loose sketch to loosen your hand.
Don’t grip the pencil tight; tension makes lines stiff.
7 Lesson 7 - Consistency Beats Perfection
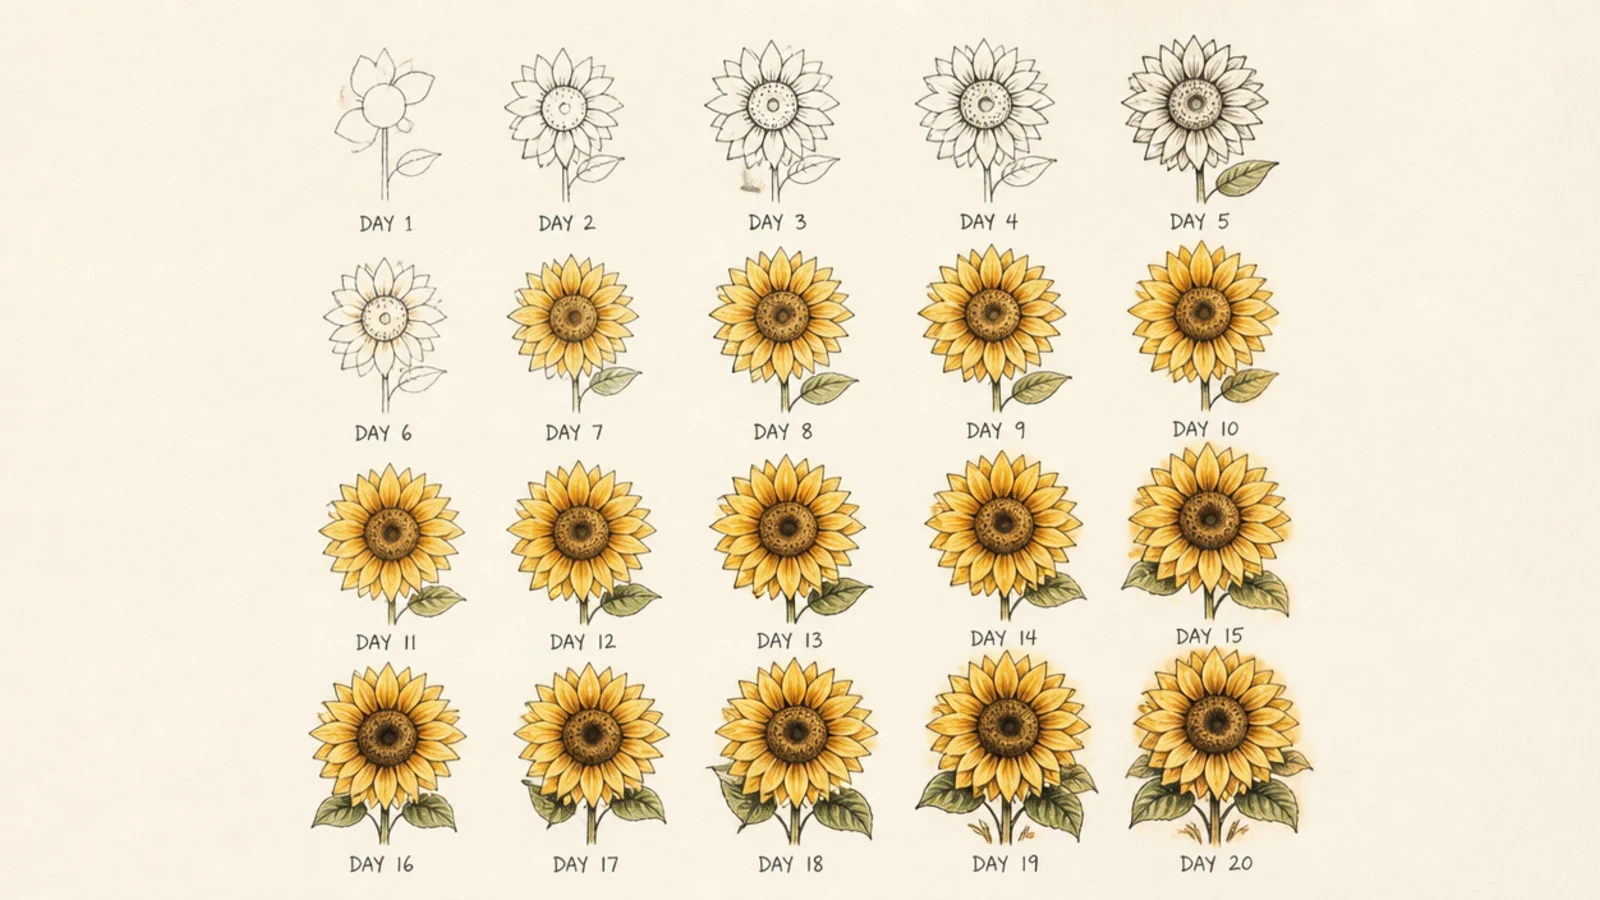
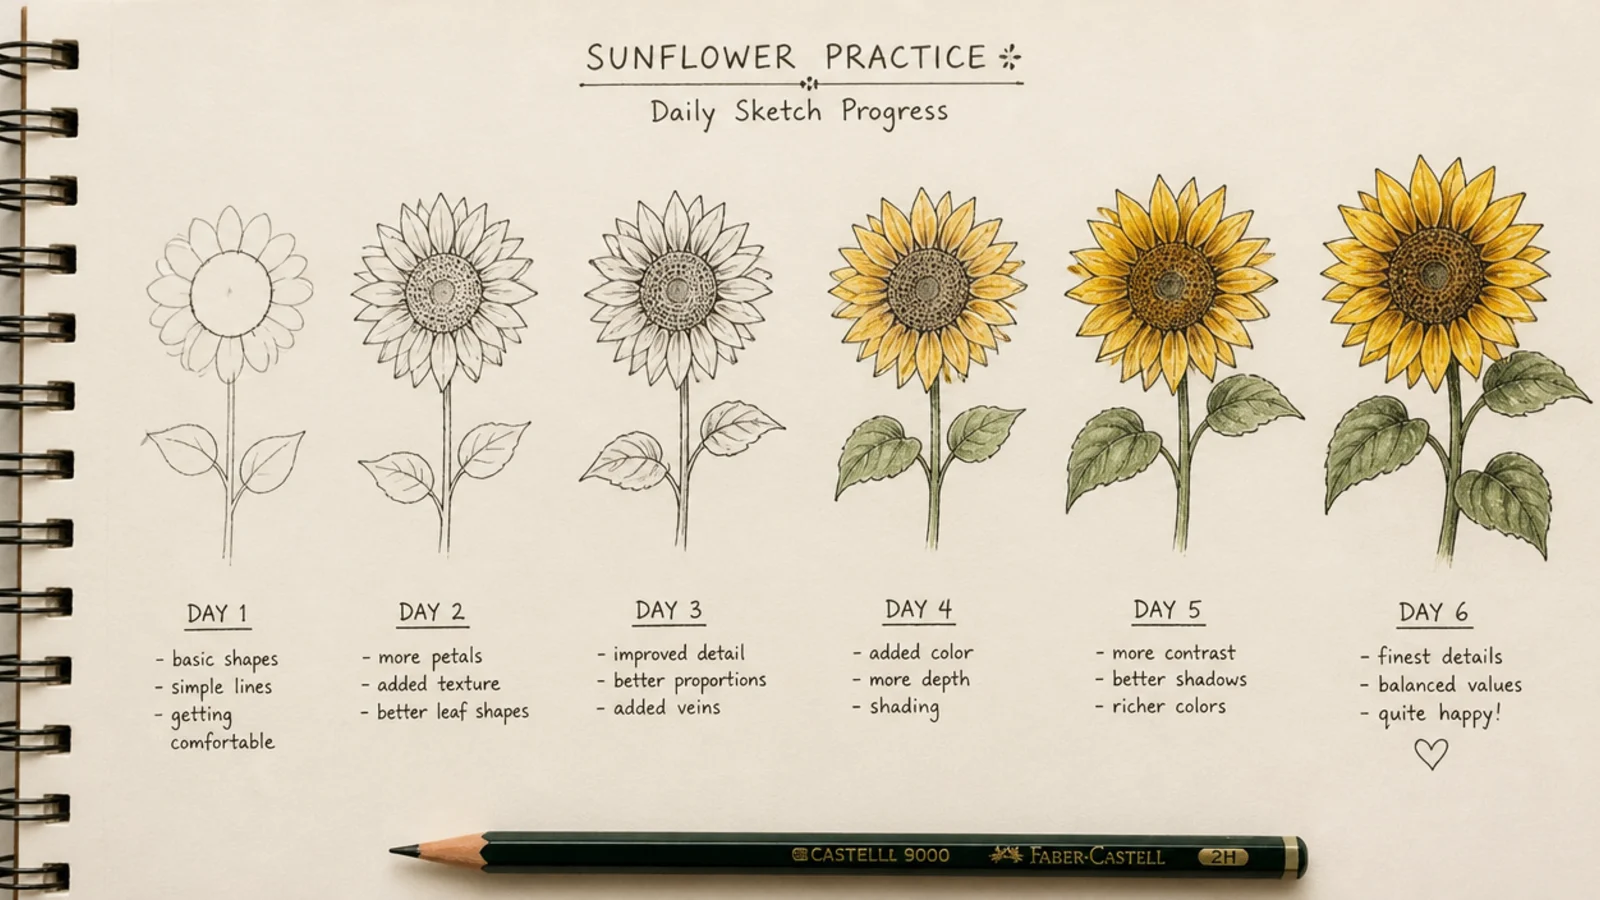
The real lesson — one rough sunflower a day improved me more than occasional perfect ones. Showing up beat trying hard.
Draw one sunflower daily, however rough, and keep them together. Watching the stack grow is more motivating than any single good drawing.
Pro tipKeep all your daily sketches in one book to see the progress.
AvoidDon’t wait for the perfect moment or mood; just draw one.



