
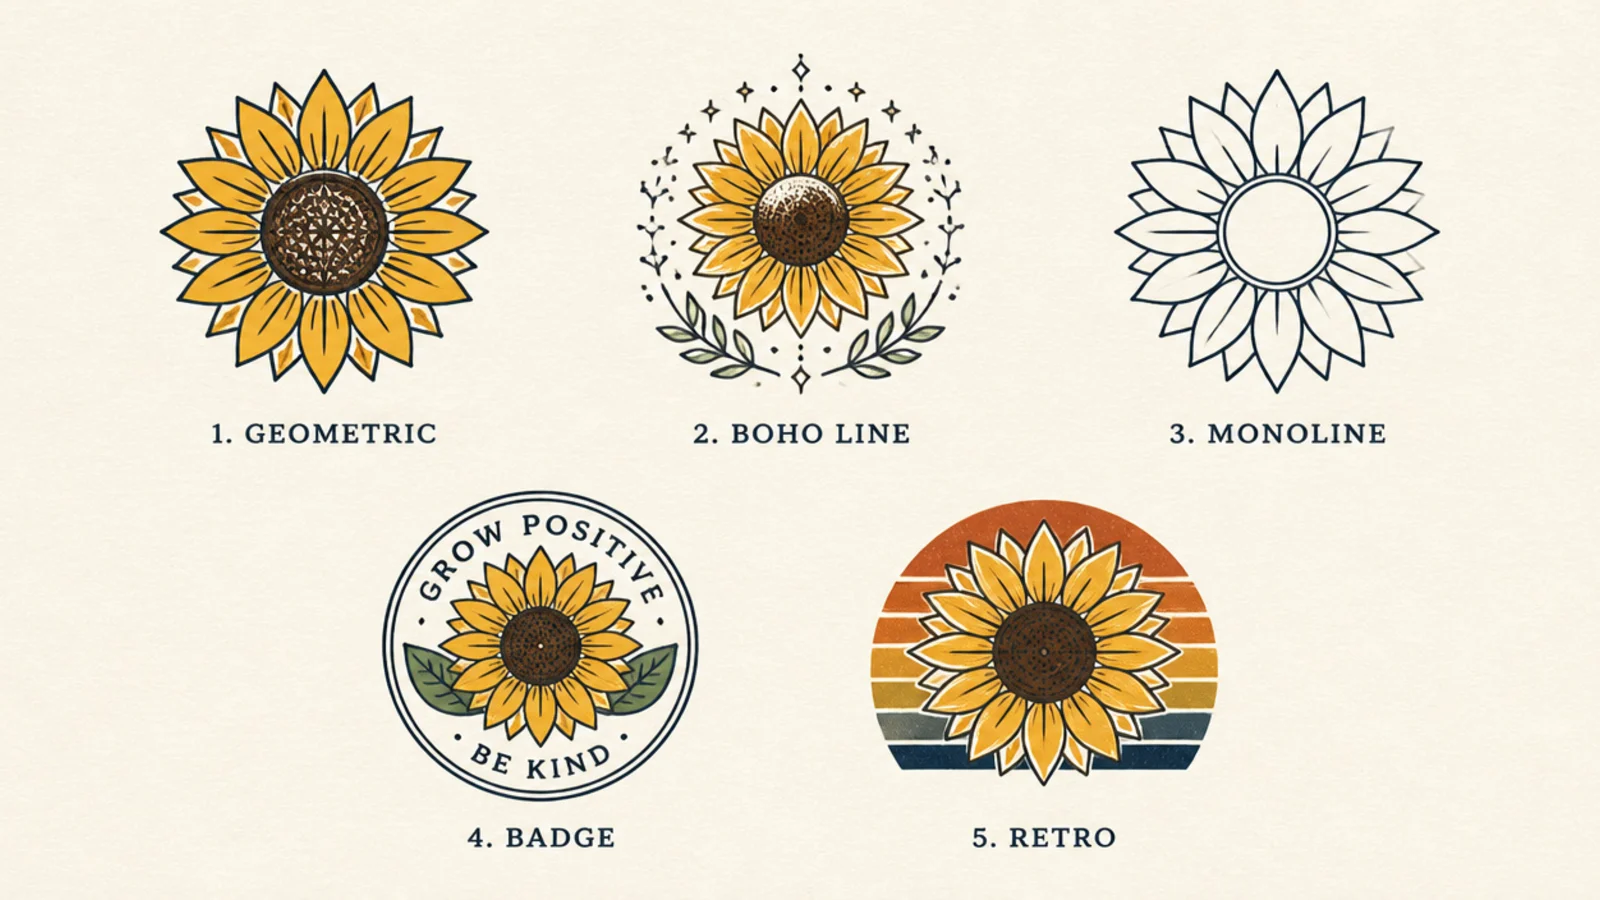
1 Geometric Faceted Sunflower
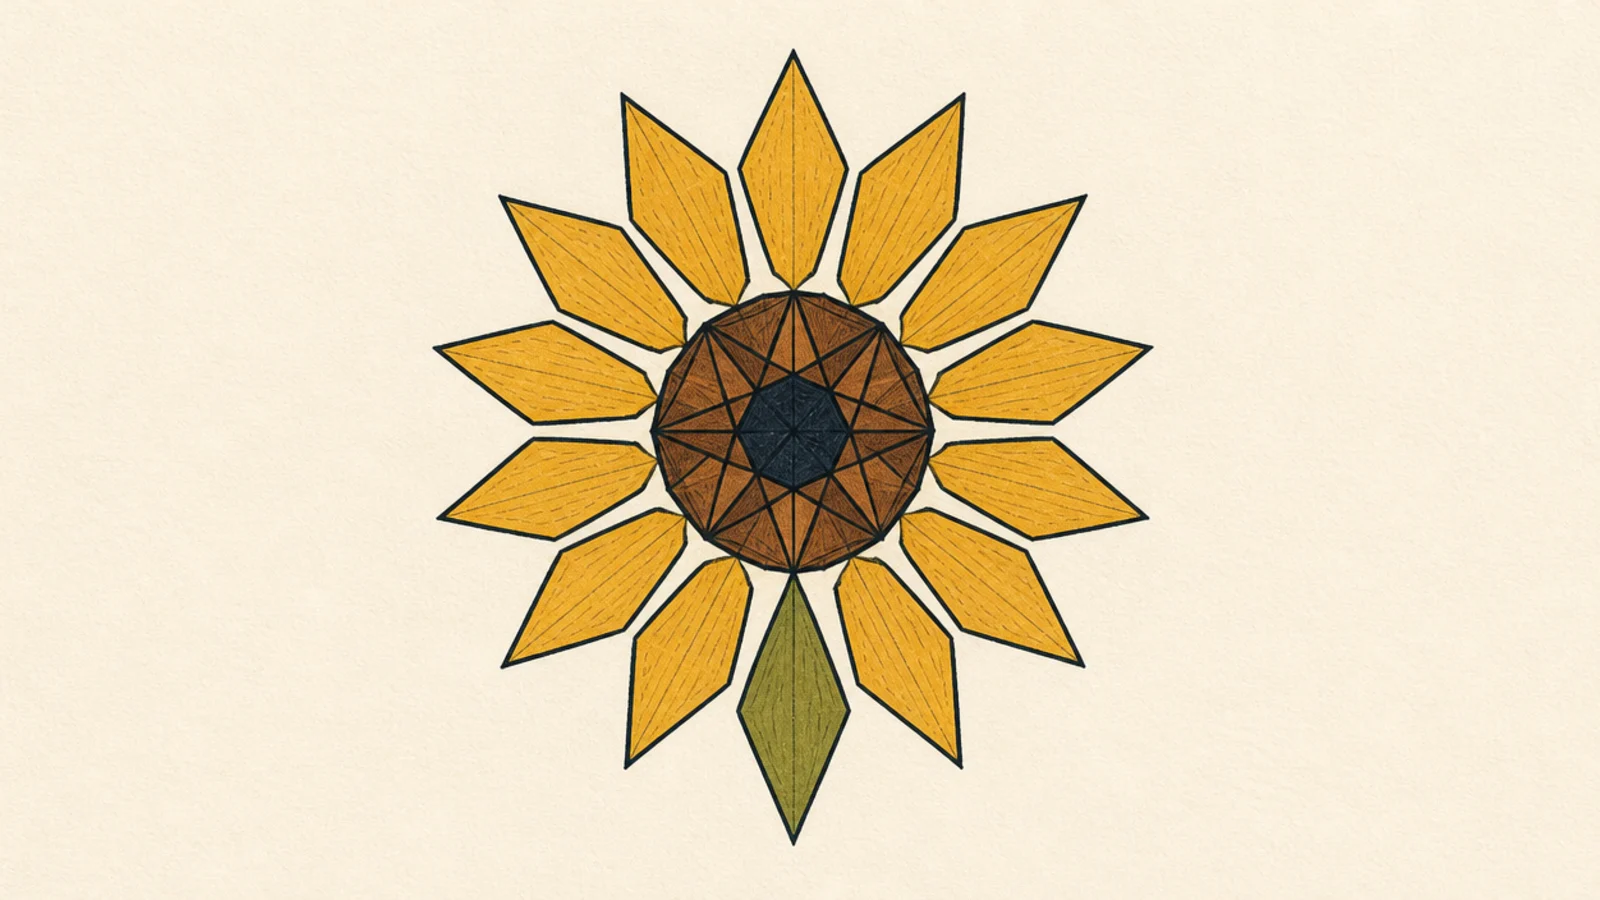
Step 1 draw a centered polygon for the center. Step 2 add straight-edged diamond petals at equal intervals. Step 3 divide the center into a few flat facets for a cut-gem feel.
Sharp straight-edged petals and a faceted center give a crisp, modern, vector look. It suits tech-leaning brands and clean sticker designs.
AvoidDon’t mix in curved petals; keep every edge angular for consistency.
Pro tipUse a ruler or straight strokes so every edge stays crisp.
2 Boho Line Sunflower
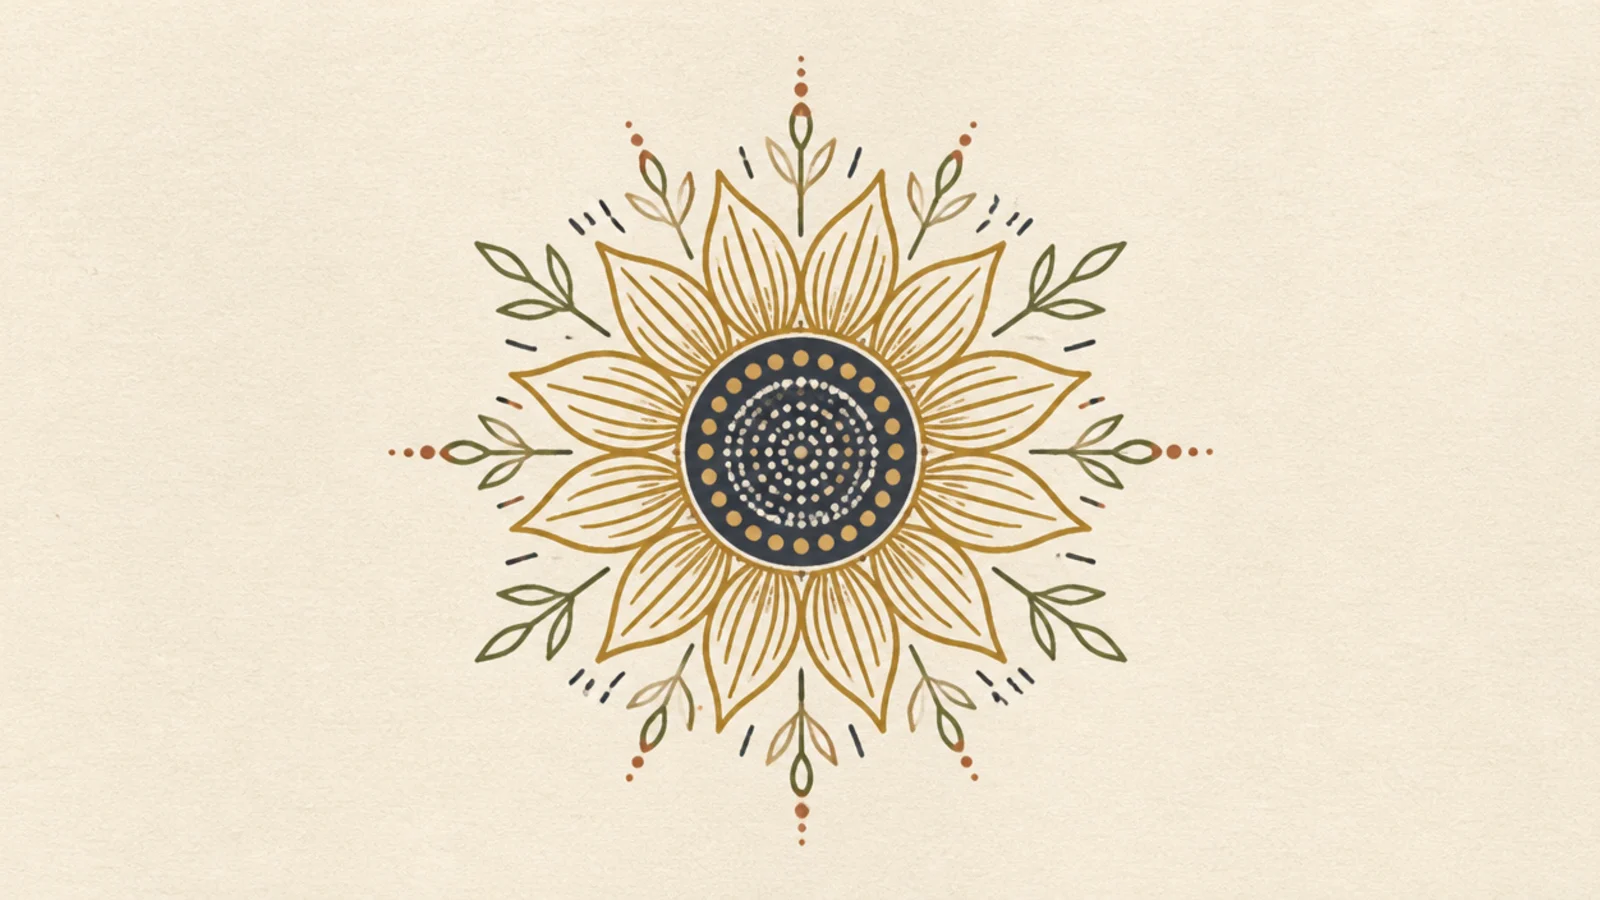
Step 1 draw a loose center circle. Step 2 add slim, slightly uneven petals in a single thin weight. Step 3 add small dot or dash details inside the center.
Thin, hand-drawn lines and an earthy, imperfect feel define the boho look. It pairs beautifully with muted mustard and terracotta palettes.
AvoidDon’t fill with heavy color; boho keeps things light and linear.
Pro tipLet the lines be slightly imperfect; boho leans hand-made, not rigid.
3 Monoline Single-Weight Sunflower
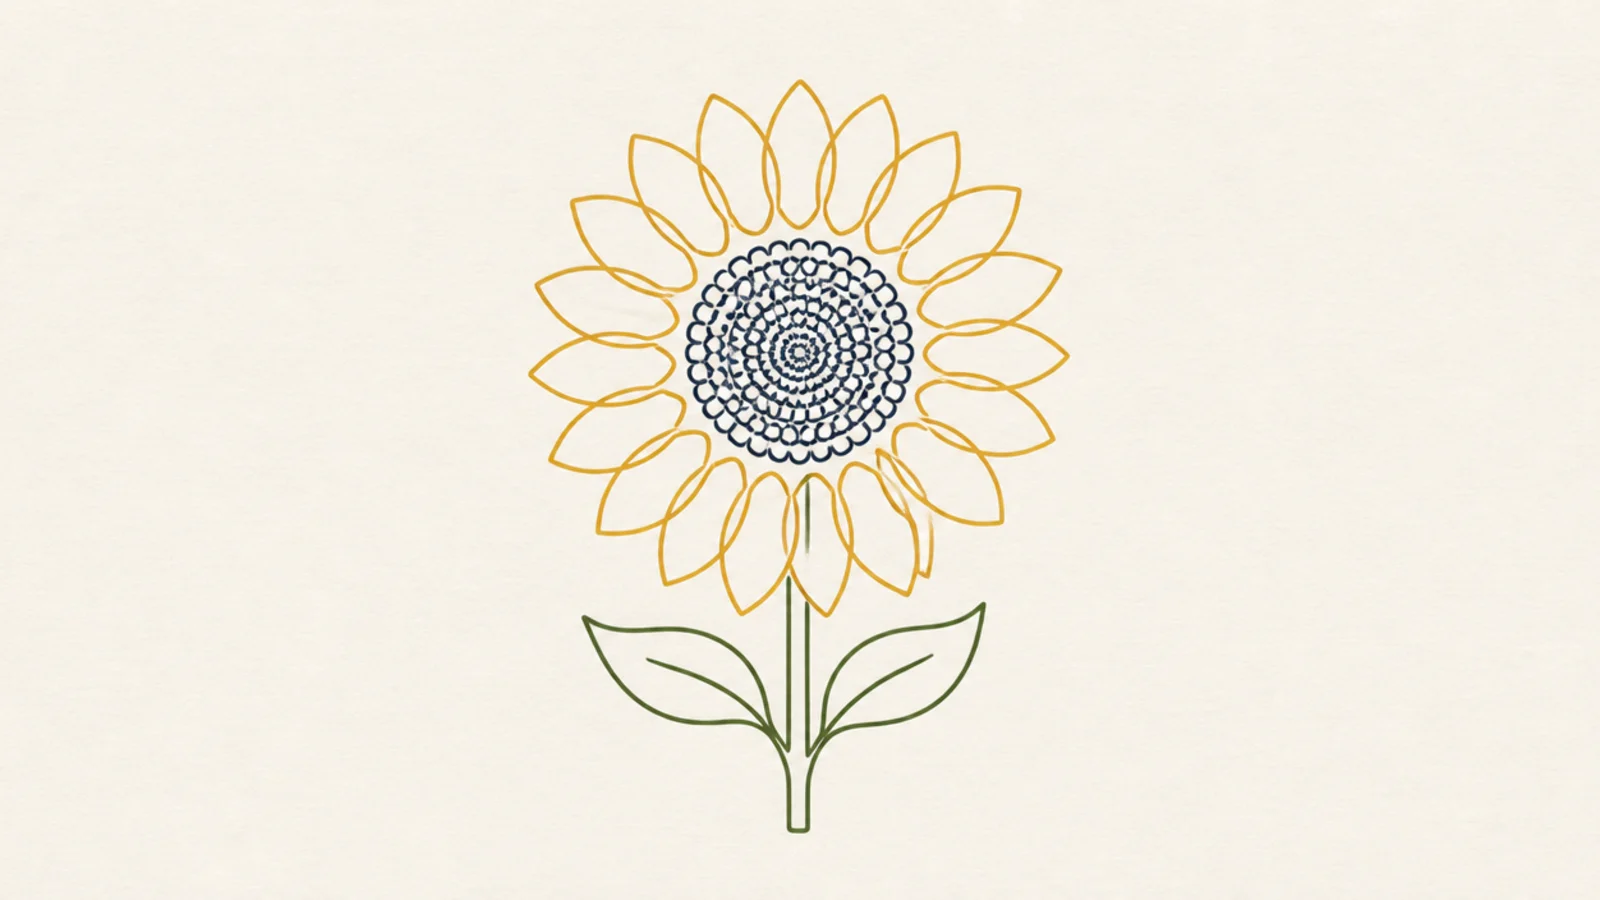
Every stroke is the exact same width, giving a clean, professional monoline design used in modern logos and app icons. The uniformity is the style.
Step 1 draw the center circle in your chosen weight. Step 2 add evenly spaced petal outlines in the same weight. Step 3 add a simple stem line, all strokes identical.
Keep the line weight truly constant; that consistency is the whole look.
Don’t taper or thicken any stroke; monoline means one weight only.
4 Seamless Pattern Tile
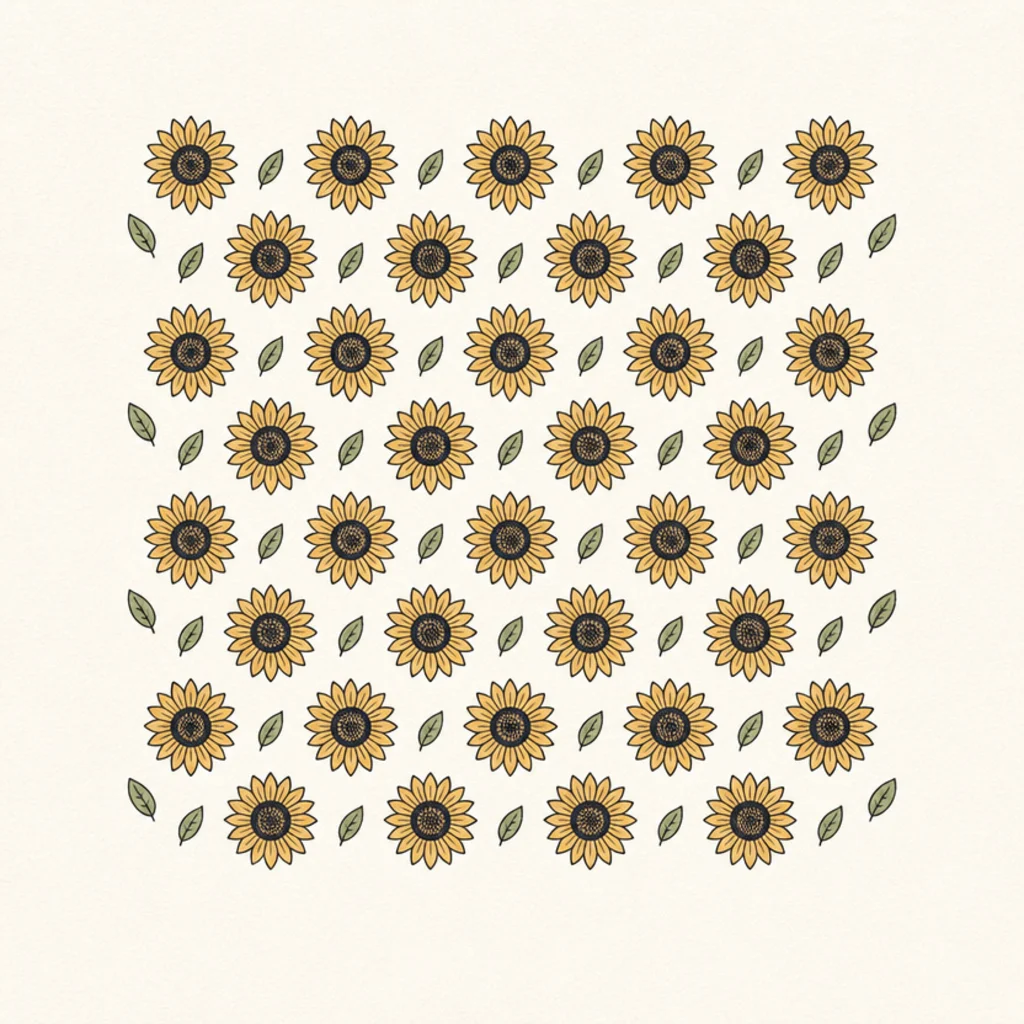
Step 1 draw one simple sunflower motif. Step 2 repeat it on a regular grid with equal gaps. Step 3 offset alternate rows slightly and fill gaps with tiny leaves.
A single motif repeated on an even grid makes a fabric or wallpaper pattern. Equal spacing is what lets it tile seamlessly.
AvoidDon’t let blooms touch or collide; even spacing keeps it clean.
Pro tipKeep every bloom the same size so the repeat looks even.
5 Badge Emblem Sunflower

Step 1 draw two concentric circles for the frame ring. Step 2 place a simple symmetrical sunflower in the center. Step 3 add small stars or dots in the ring where text would curve.
A sunflower centered in a circular frame makes a logo badge or stamp. The ring around it holds text and gives a finished, emblem feel.
AvoidDon’t fill the flower to the frame edge; leave breathing room in the ring.
Pro tipLeave the ring clear and even so text can curve around it later.
6 Art Nouveau Sunflower
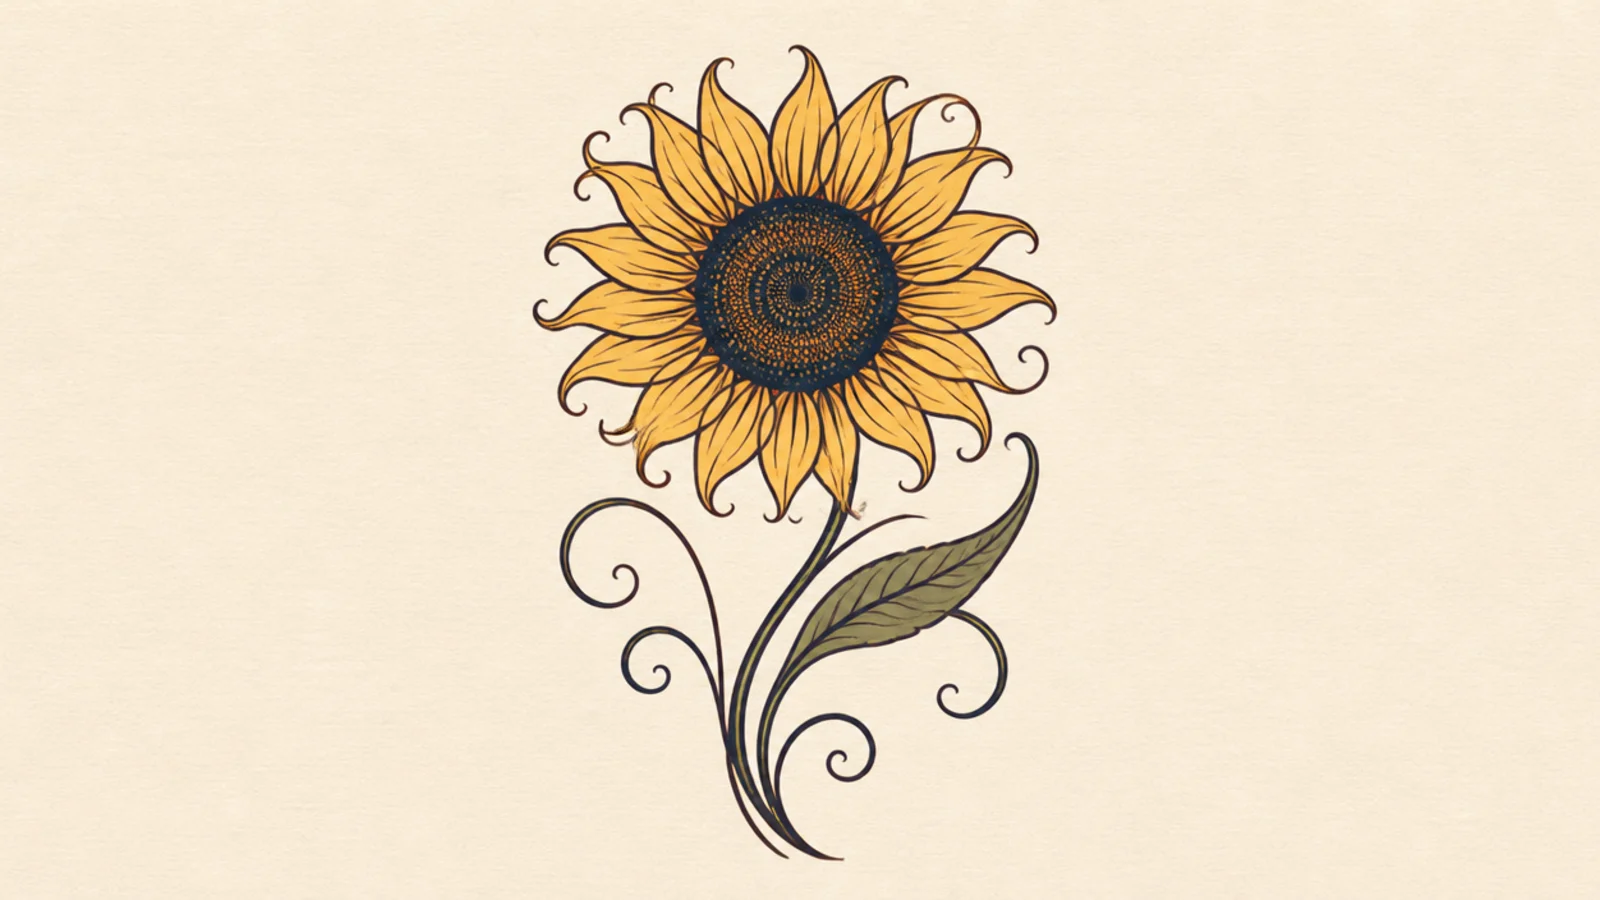
Step 1 draw a curved, slightly tilted center. Step 2 add flowing petals with an S-curve to each edge. Step 3 add long sweeping stem and leaf lines that curl.
Flowing, curved whiplash lines and elegant stems give a vintage Art Nouveau feel. The graceful curves suit decorative panels and ornate labels.
AvoidDon’t use straight rigid edges; everything should flow and curve.
Pro tipExaggerate the curves; Art Nouveau is all about elegant lines.
7 Stamp Woodcut Sunflower
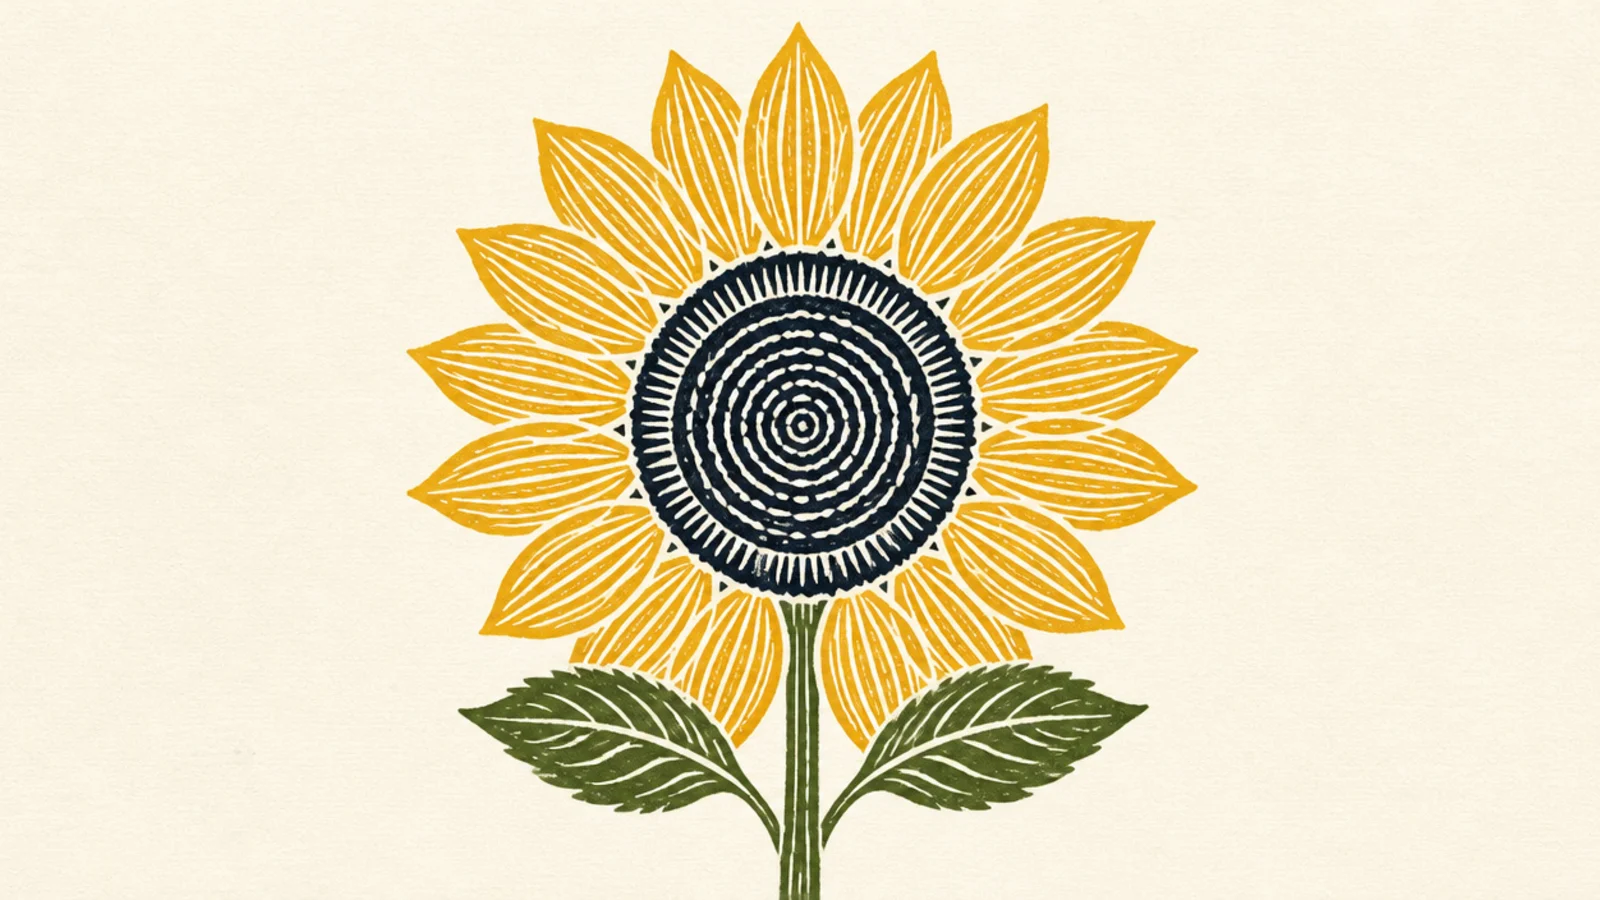
Bold shapes with carved-looking texture lines mimic a rubber stamp or woodcut print. The rough hand-carved edges give rustic, artisan charm.
Step 1 draw bold simple petals and center. Step 2 add short parallel carve lines inside shapes for texture. Step 3 keep edges slightly rough as if hand-cut.
Vary the carve-line spacing for a hand-printed, organic texture.
Don’t make it too clean; woodcut charm is in the rough texture.
8 Minimal Dot-Center Sunflower
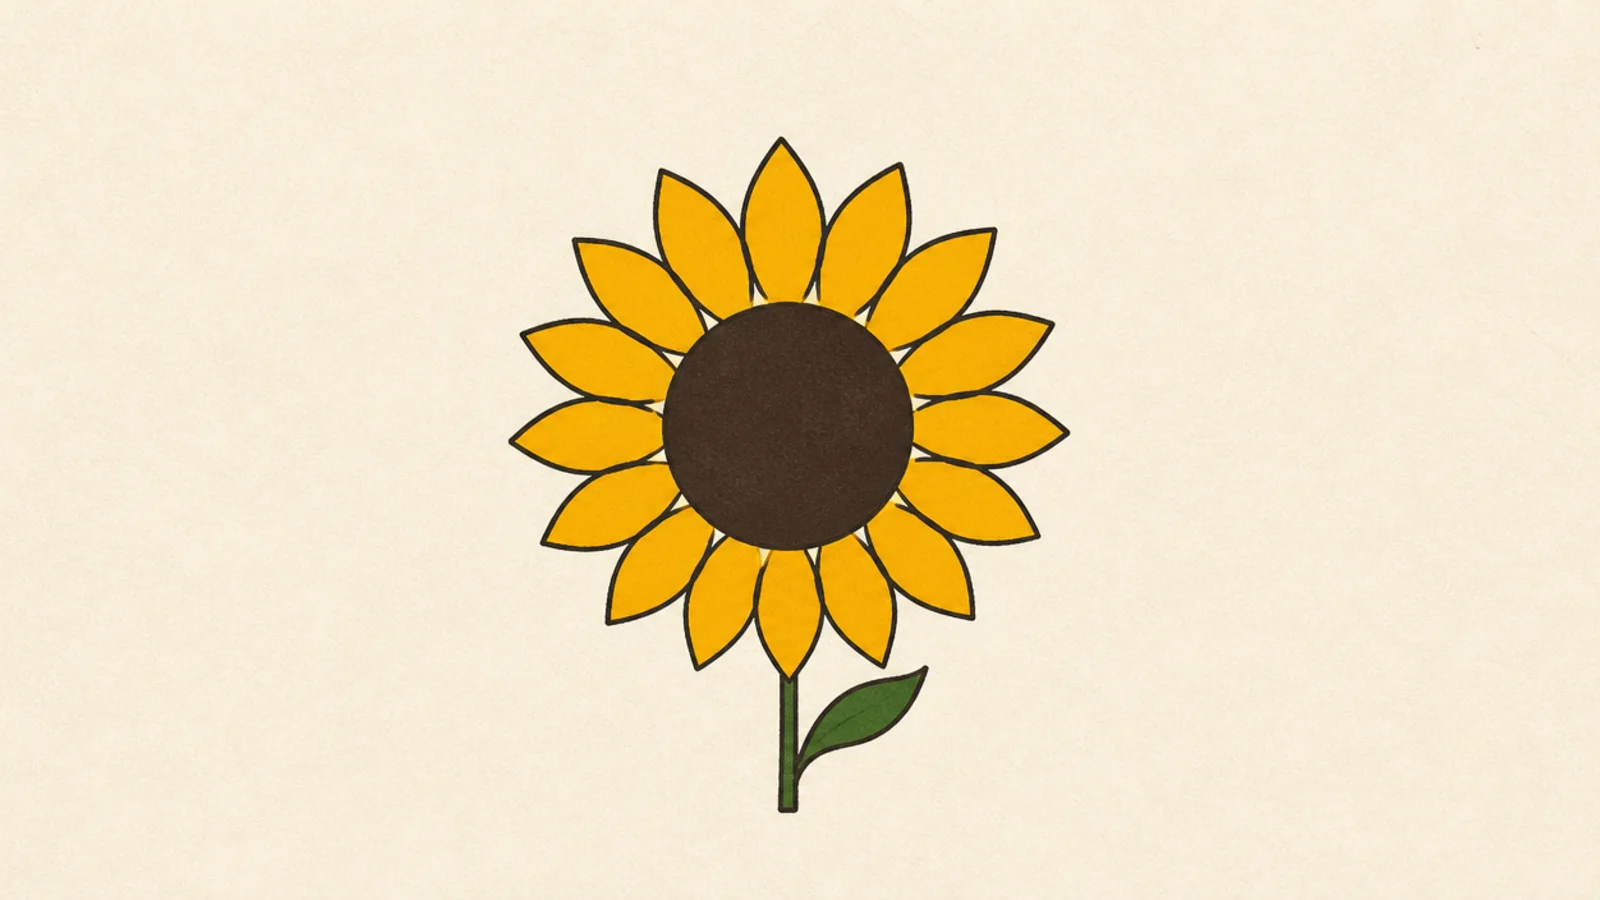
The most reduced design — a solid dot center and a single ring of simple petals. It works down to the smallest icon sizes where detail would vanish.
Step 1 draw a solid filled circle center. Step 2 add one ring of evenly spaced simple petals. Step 3 stop — no inner detail, no shading.
Test it at tiny size; if it still reads, the reduction succeeded.
Don’t add texture or a second petal ring; minimalism is the point.
9 Retro 70s Sunflower
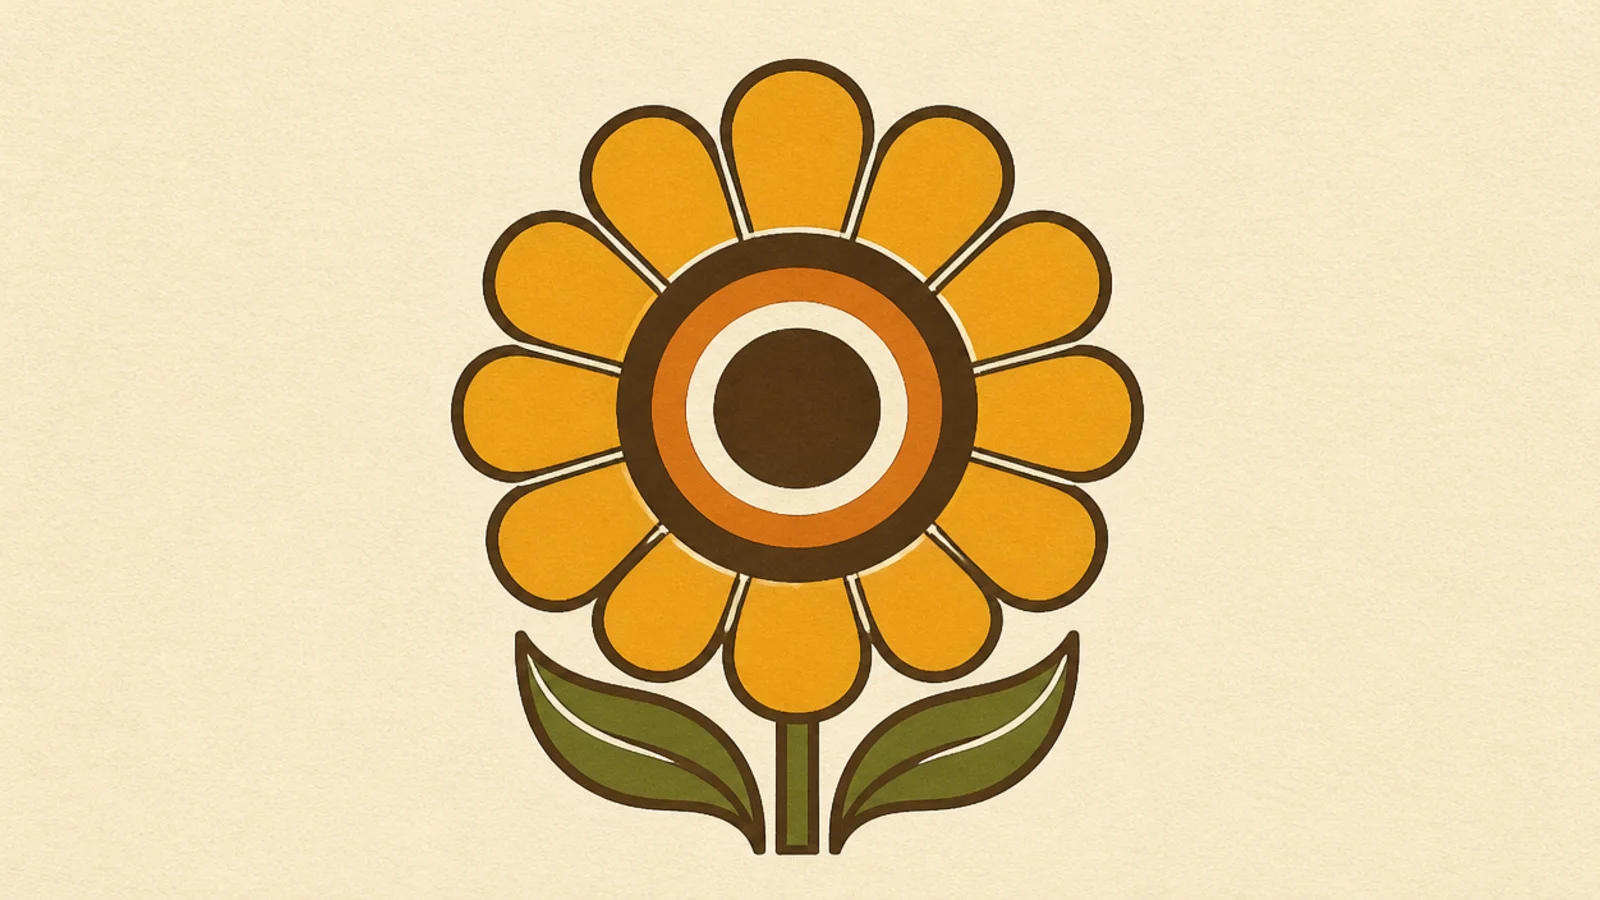
Chunky rounded petals and warm earthy tones capture the 1970s groovy vibe. It suits nostalgic branding, tees, and vinyl-style stickers.
Step 1 draw a fat rounded center. Step 2 add short chunky rounded petals in a single bold ring. Step 3 add a simple concentric ring inside the center for a retro echo.
Use warm mustard, orange, and brown for the era-correct palette.
Don’t use thin spiky petals; retro is round and chunky.
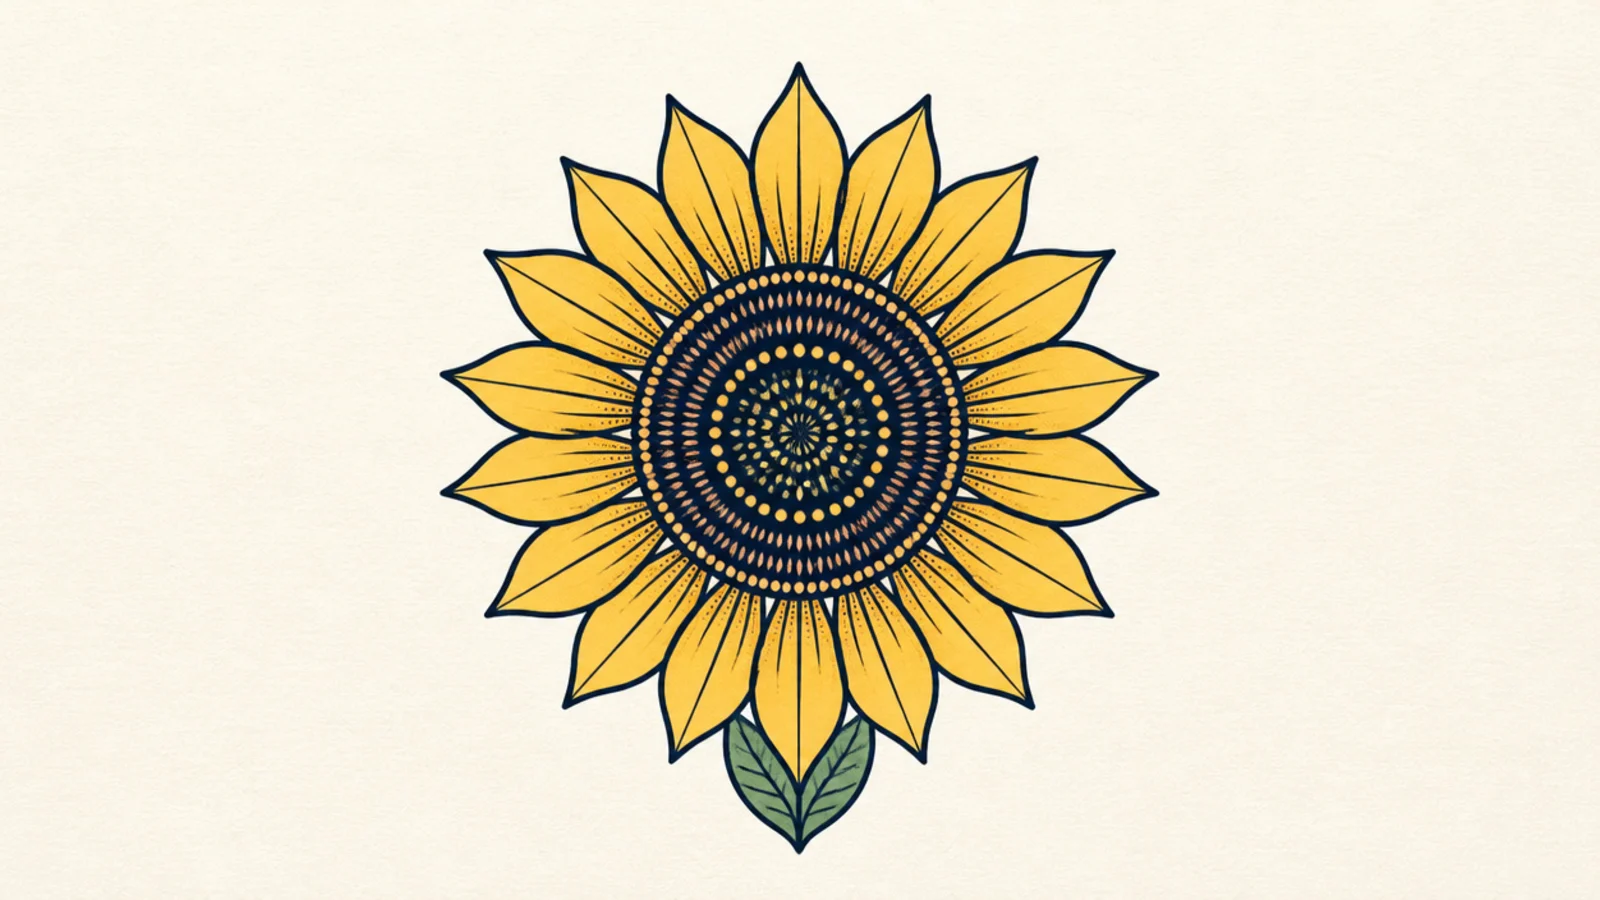
10 Mandala-Inspired Sunflower
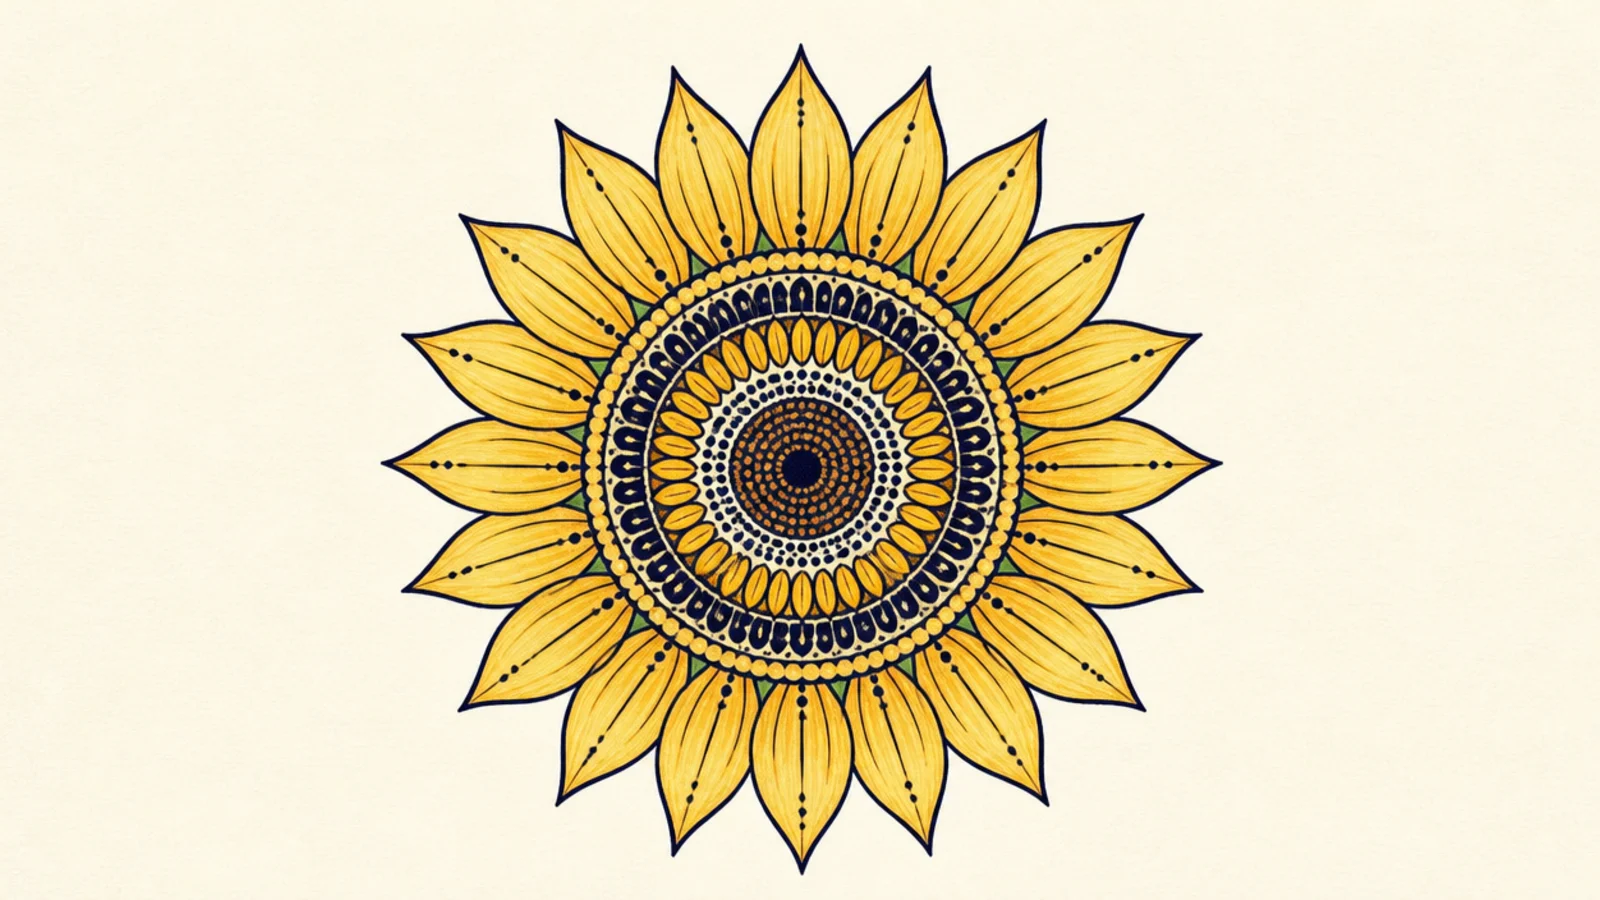
Concentric rings of repeating detail turn the sunflower into a mini mandala. The layered symmetry is meditative and very shareable.
Step 1 draw a small center circle. Step 2 add concentric rings, each with a repeating pattern of dots or petals. Step 3 finish with an outer ring of pointed petals.
Keep each ring’s pattern evenly repeated around the full circle.
Don’t break the symmetry; a mandala relies on even repetition.
11 Two-Tone Flat Sunflower
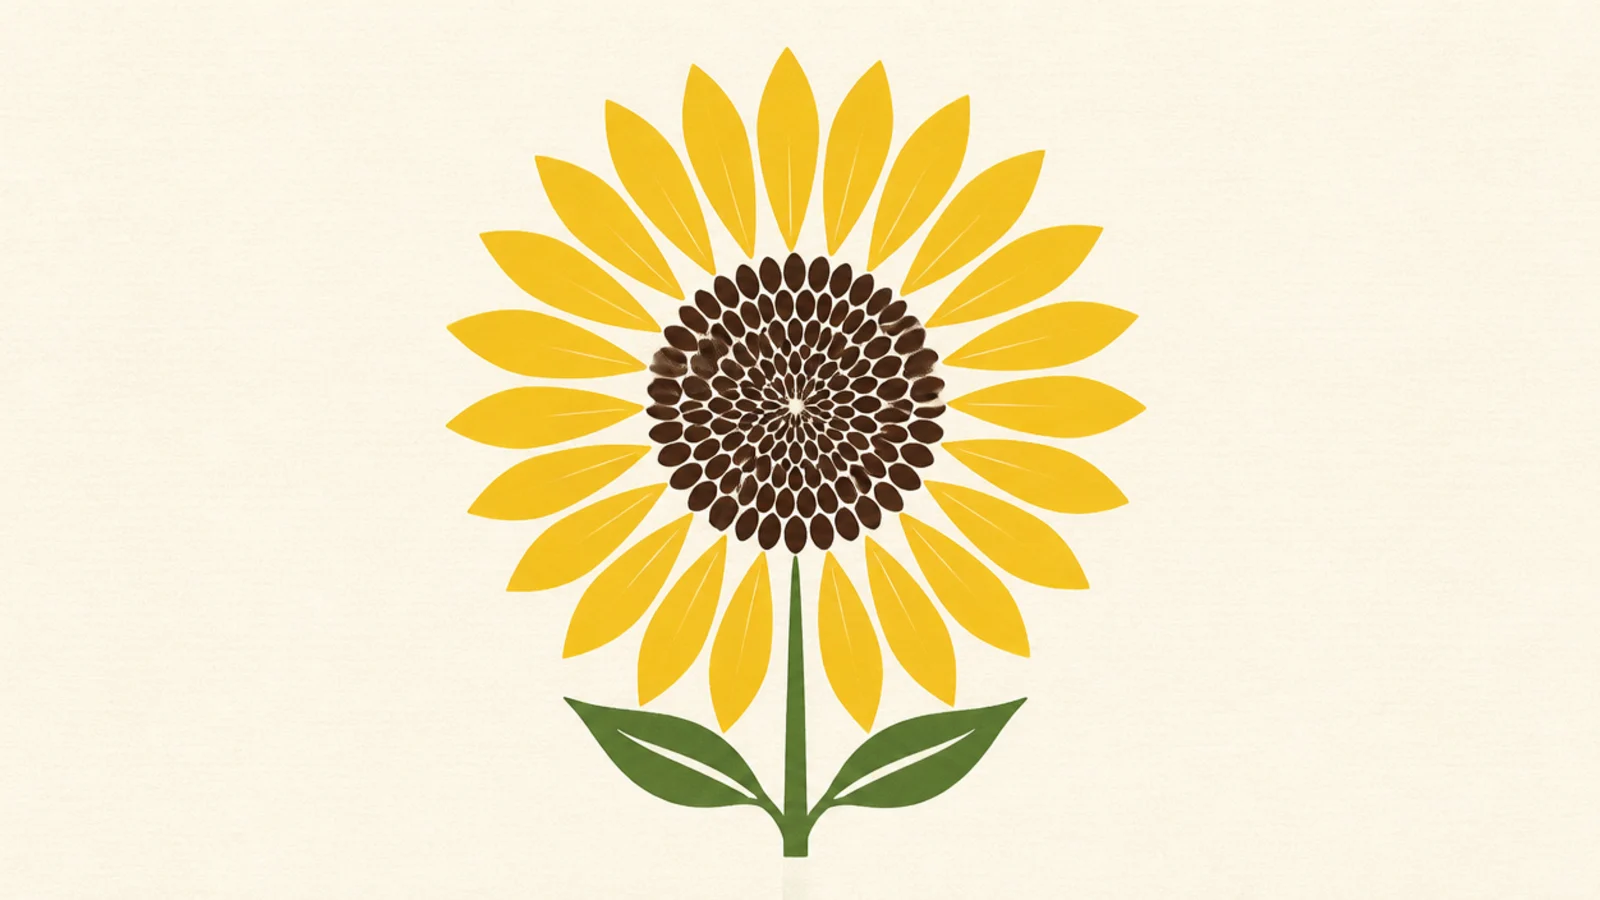
Step 1 draw simple flat petals in one color. Step 2 fill the center in a second contrasting color. Step 3 leave shapes flat with no shading or outline.
A flat design in exactly two solid colors — one for petals, one for the center. The strict limit gives a bold, poster-like graphic clarity.
AvoidDon’t add gradients or a third color; two flat tones is the discipline.
Pro tipPick two high-contrast colors so the shapes pop cleanly.
12 Line-Art Continuous Sunflower
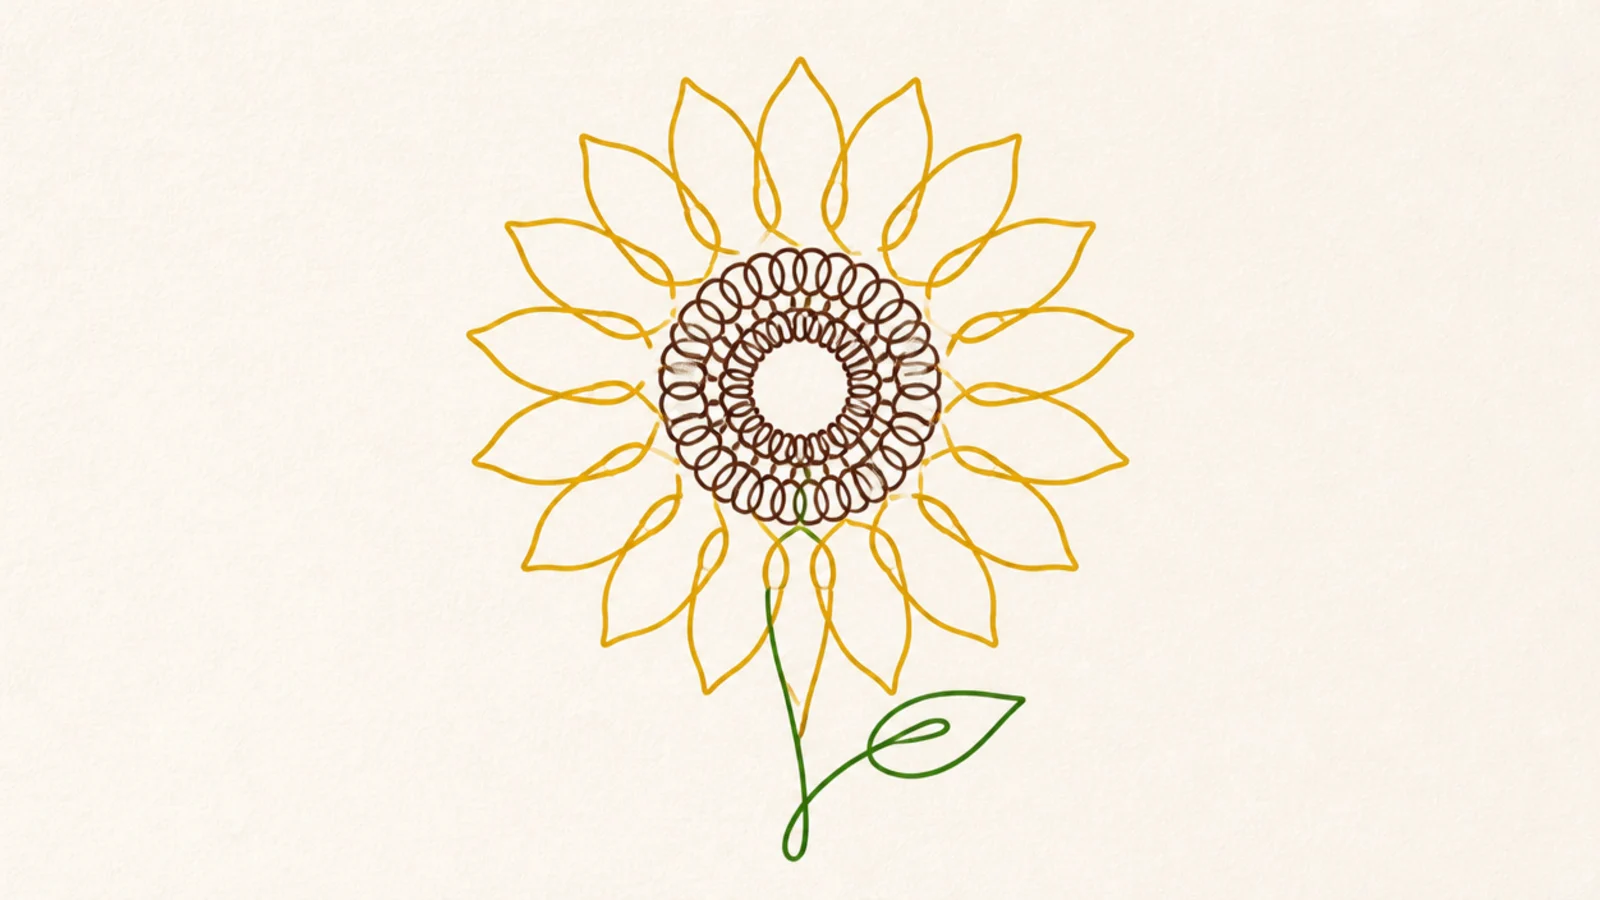
Drawn without lifting the pen, this single continuous line makes an elegant, trendy motif for tattoos and minimalist prints. The unbroken path is the charm.
Step 1 plan a path that loops each petal and returns. Step 2 draw the whole flower in one stroke, looping petals around the center. Step 3 end near where you began.
Practice the path lightly first so the single stroke flows.
Don’t lift the pen; the continuous line is the entire point.
13 Sunflower Crest With Banner
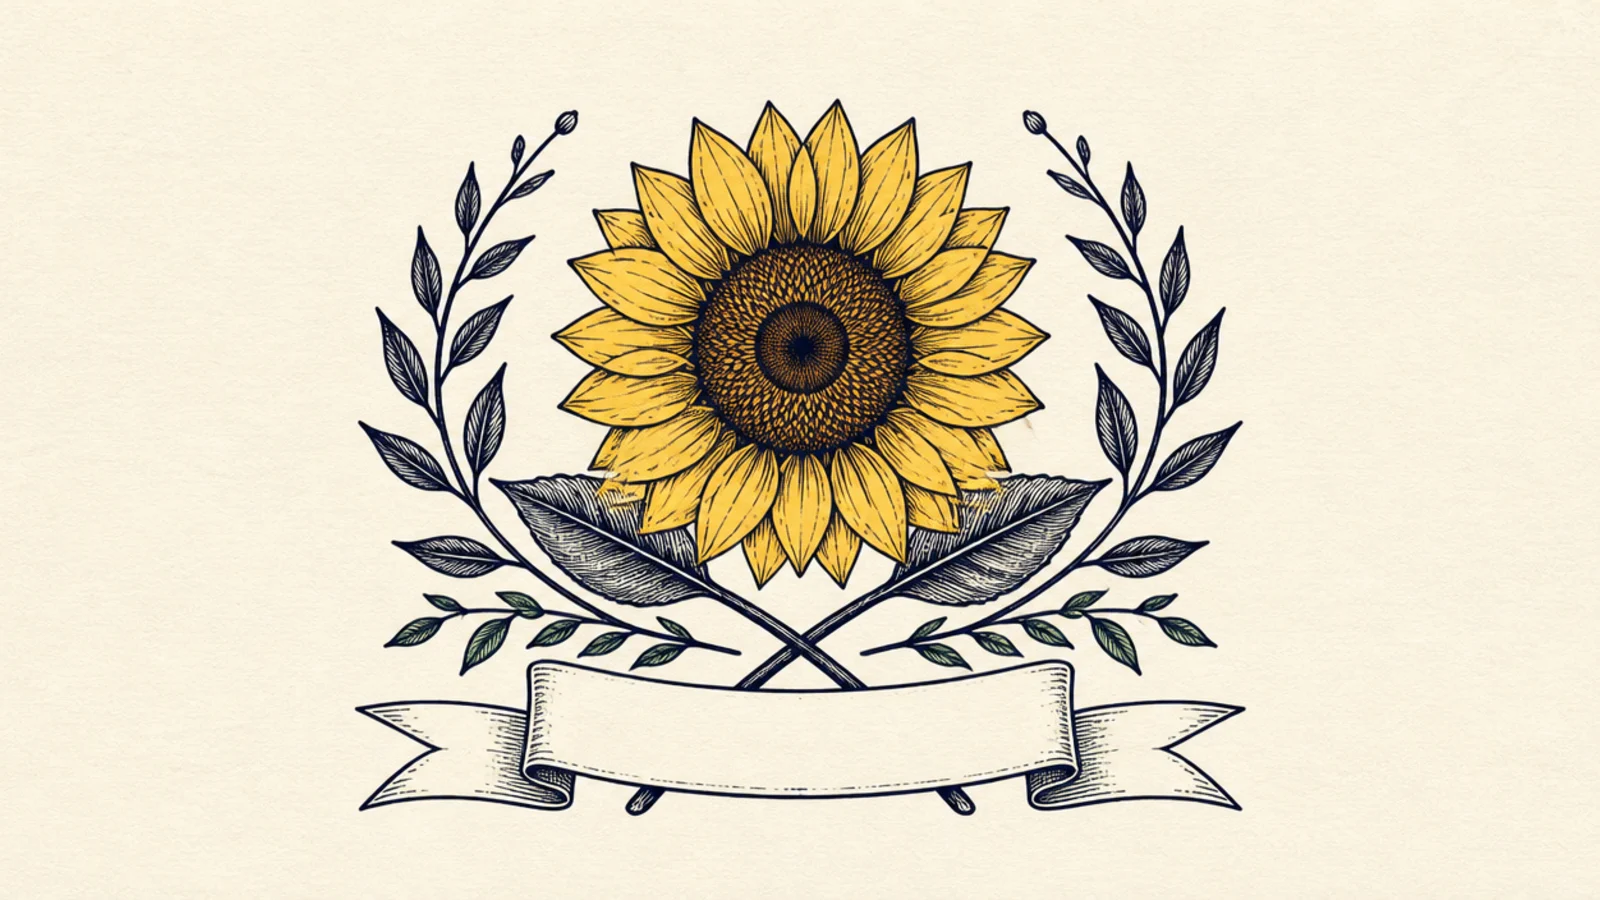
Step 1 draw a symmetrical sunflower as the crest top. Step 2 add crossed leaves or laurels below. Step 3 draw a notched ribbon banner across the bottom, left empty.
A sunflower over a ribbon banner makes a heraldic crest or product label. The banner is left blank for a name, motto, or brand.
AvoidDon’t fill the banner with drawing; leave it clear for text.
Pro tipCenter everything on a vertical axis for a balanced crest.
14 Papercut Layered Sunflower
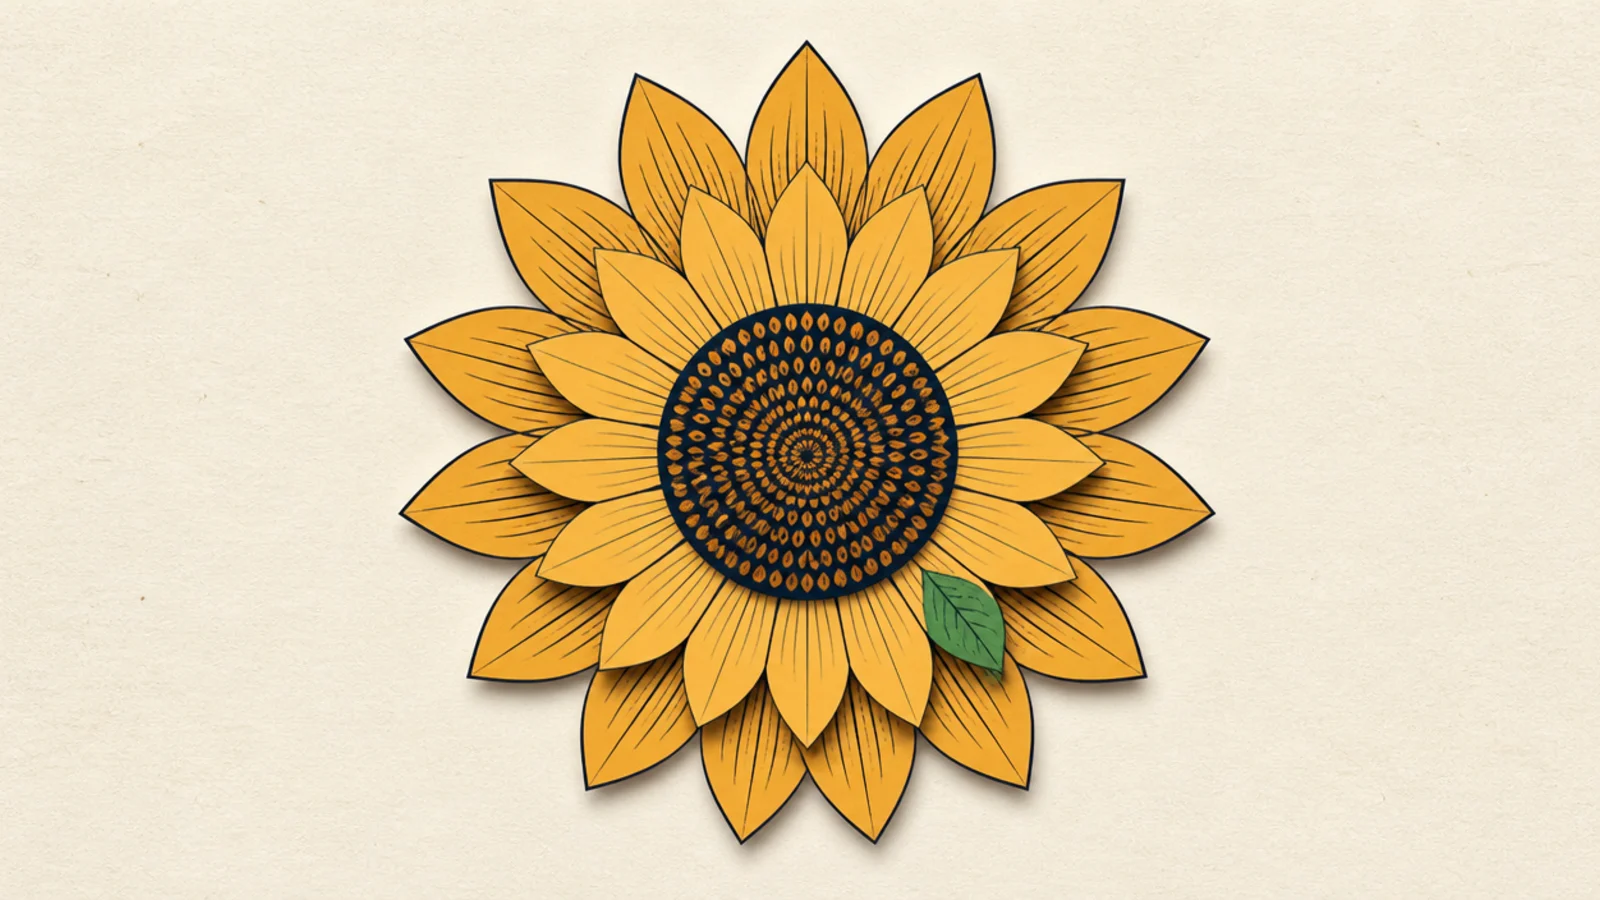
Step 1 draw a large back petal ring. Step 2 draw a slightly smaller ring on top, offset. Step 3 add a small soft shadow under each layer edge and a center disc.
Stacked layers with slight offsets mimic cut-paper craft, each ring casting a soft shadow on the one below. It gives depth without realism.
AvoidDon’t align layers perfectly; the slight offset creates the depth.
Pro tipOffset each layer a touch so the stacking reads clearly.
15 Sunflower Icon Set
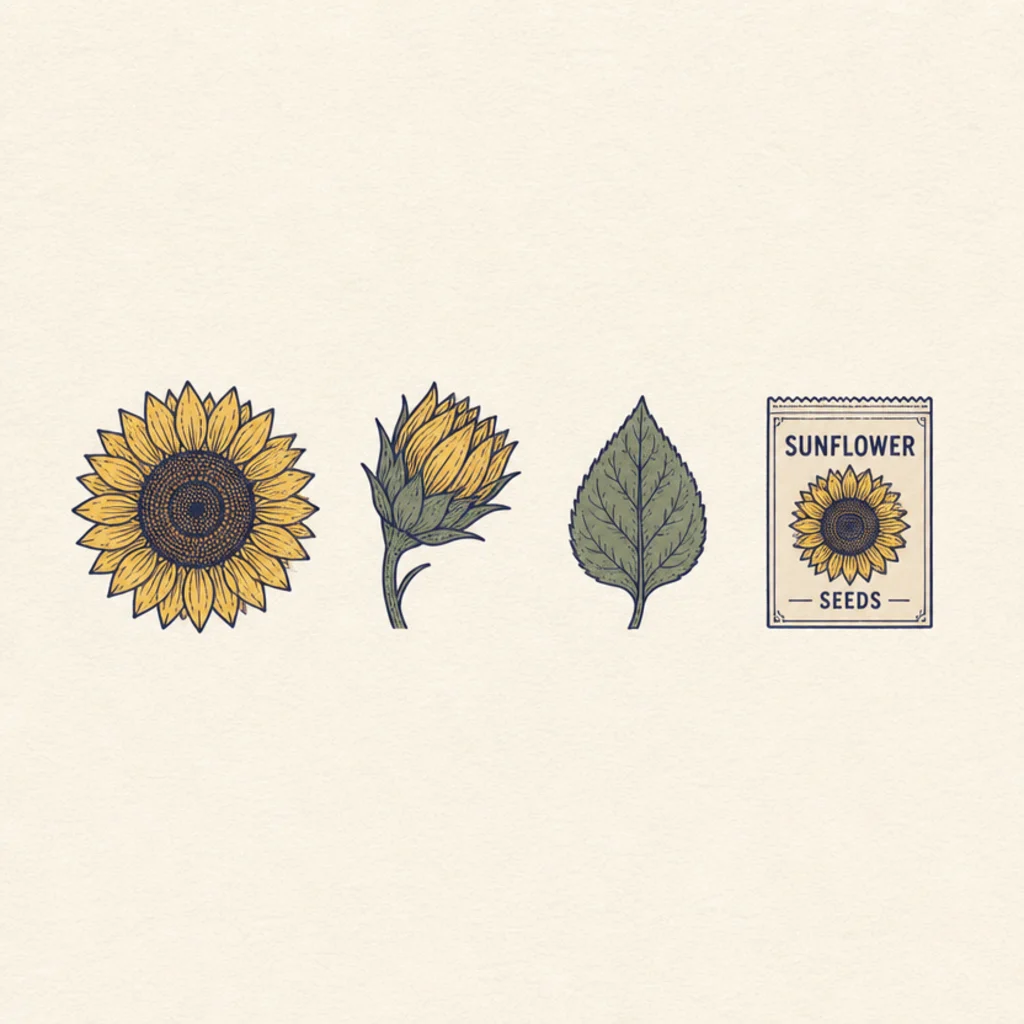
A set of small matching sunflower icons — bloom, bud, leaf, seed — drawn in one consistent style. Sets are useful for UI, packaging, and stationery.
Step 1 pick one line weight and style. Step 2 draw four small icons — full bloom, side bud, single leaf, seed packet — in that style. Step 3 keep them on an even baseline.
Hold every icon to the same weight and size grid for a true set.
Don’t vary the style between icons; consistency makes it a set.
16 Negative-Space Sunflower
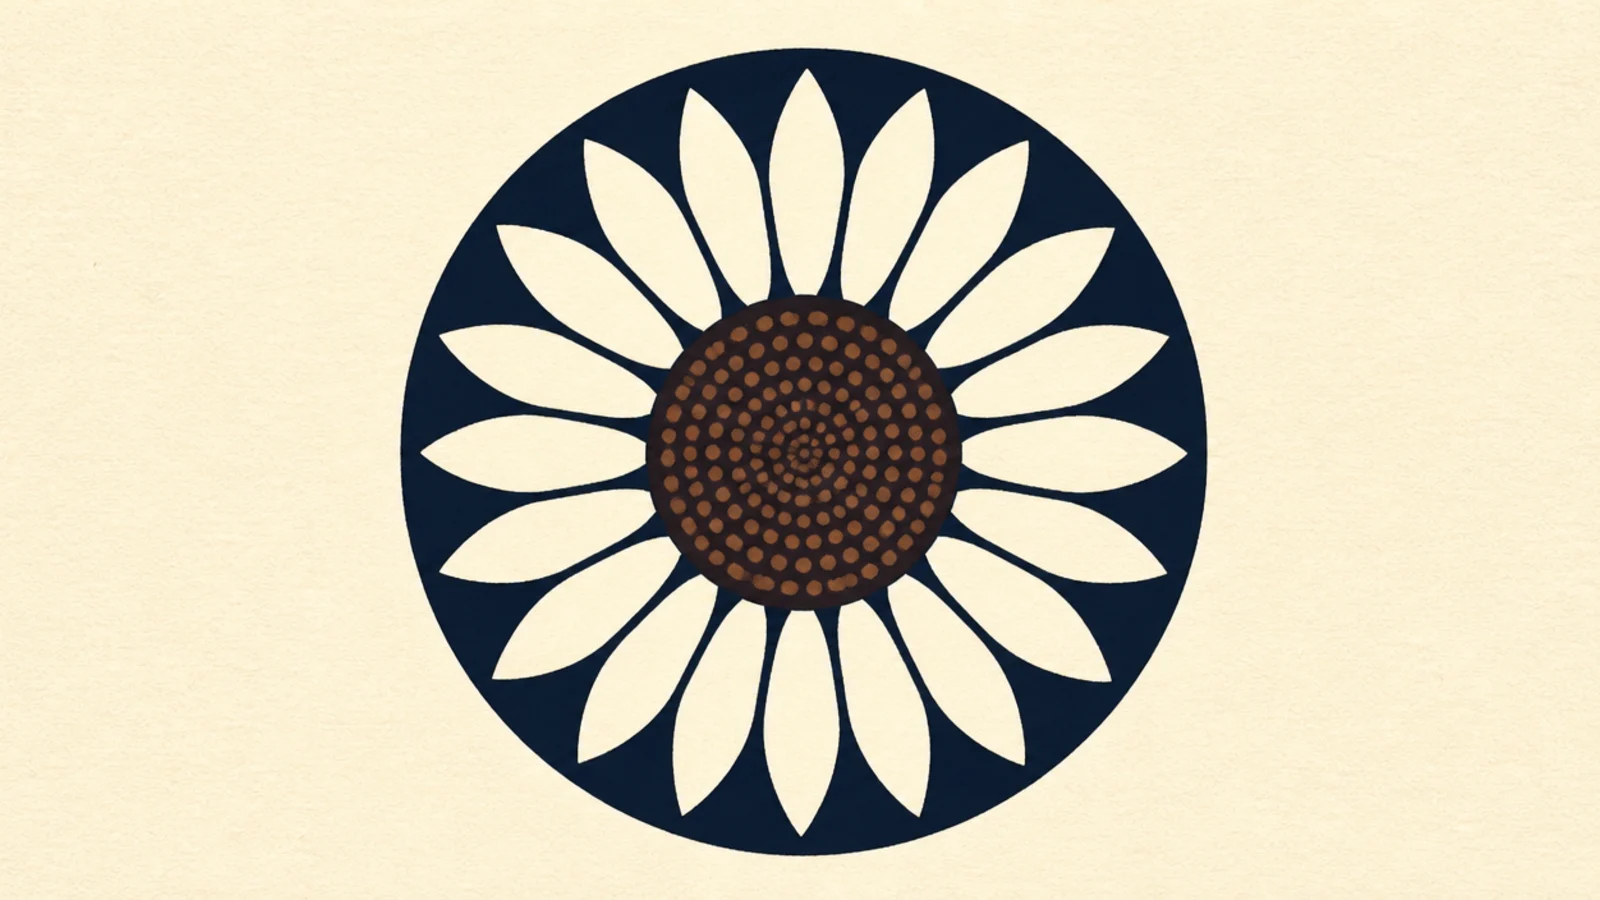
Step 1 draw a solid filled circle. Step 2 cut the sunflower shape out of it so the flower is the paper color. Step 3 keep the cut shapes clean and simple.
The flower appears as the empty space cut out of a solid circle or square. This clever negative-space trick is memorable and very logo-friendly.
AvoidDon’t over-detail the cut-out; negative space needs clarity to work.
Pro tipKeep the cut-out shapes bold and simple so the flower reads instantly.
17 Watermark Outline Sunflower
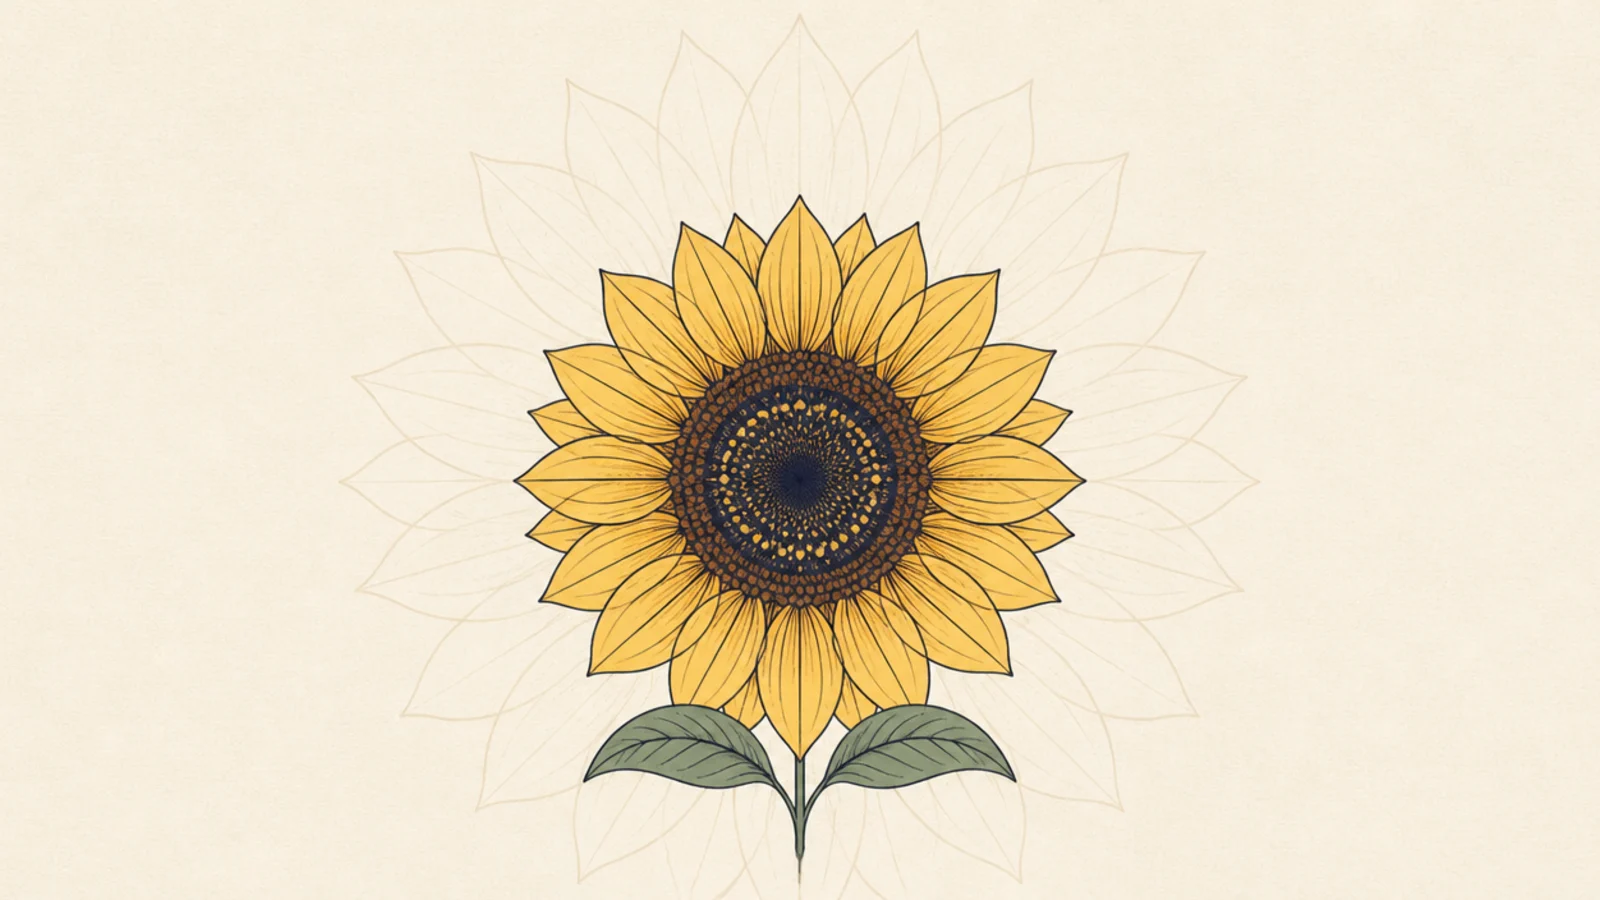
Step 1 draw a simple large sunflower outline. Step 2 keep the line thin and light. Step 3 leave it unfilled so text stays readable over it.
A delicate, faint outline meant to sit behind text as a watermark or subtle background. Restraint keeps it from competing with content.
AvoidDon’t make it bold or dark; a watermark must stay subtle.
Pro tipKeep it large and pale so it recedes behind foreground text.
18 Sticker With White Outline
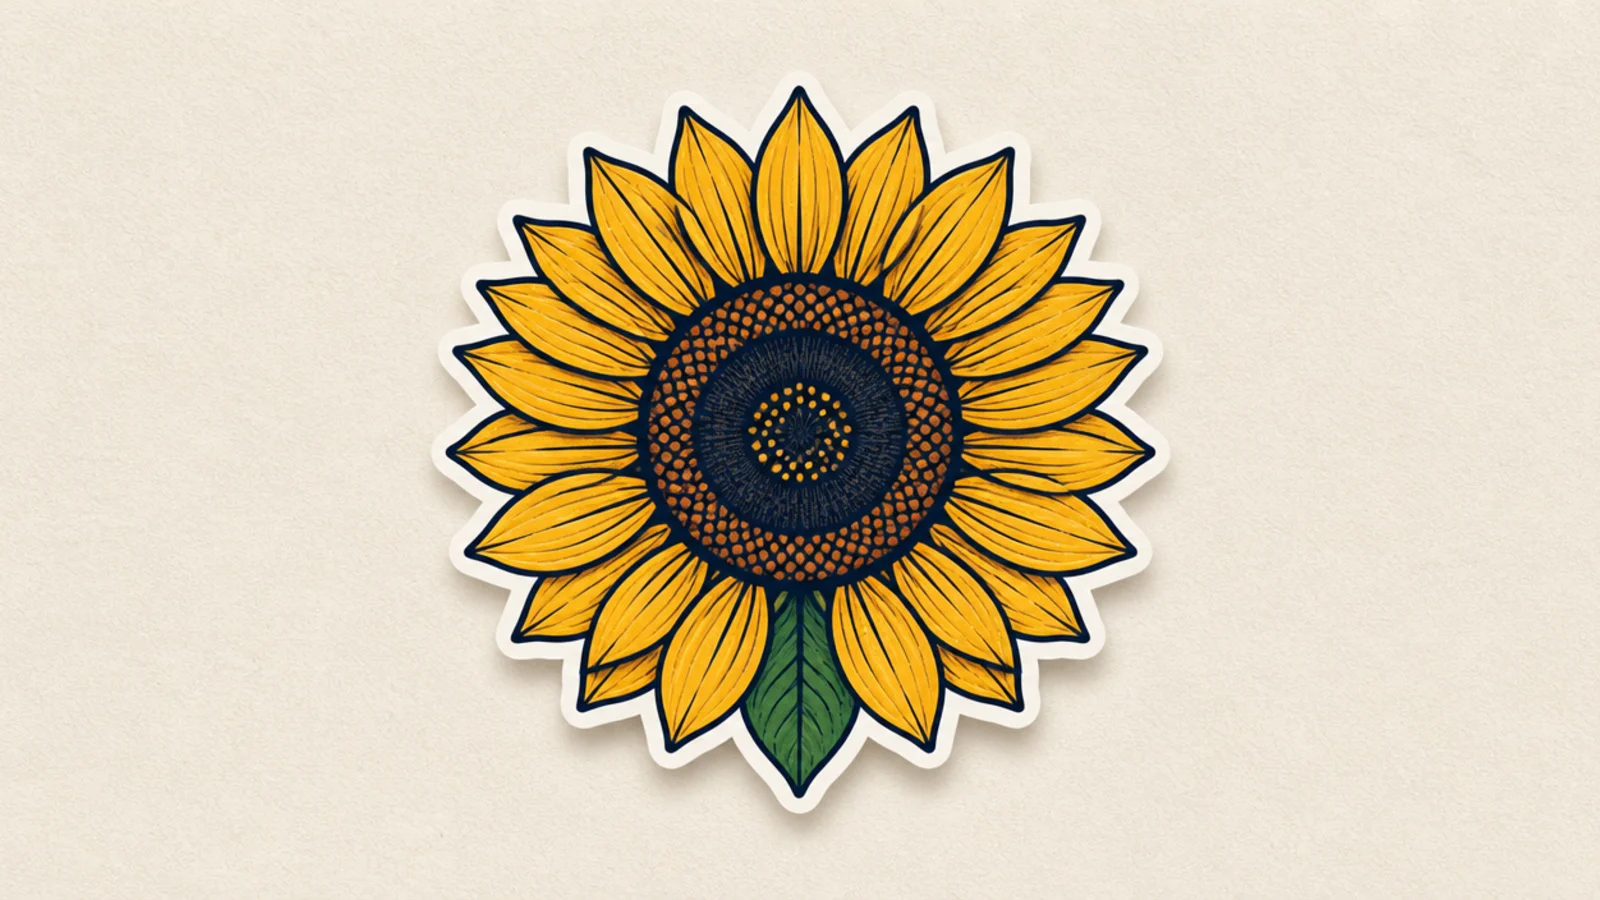
Step 1 draw a bold colored sunflower. Step 2 trace a thick even white outline around the whole shape with a small gap. Step 3 add a soft drop shadow behind.
A bold sunflower wrapped in a thick white border reads instantly as a die-cut sticker. The offset outline and soft shadow give the peel-and-stick look.
AvoidDon’t let the border vary in thickness; evenness sells the die-cut.
Pro tipKeep the white border an even width all the way around.
19 Art Deco Sunflower
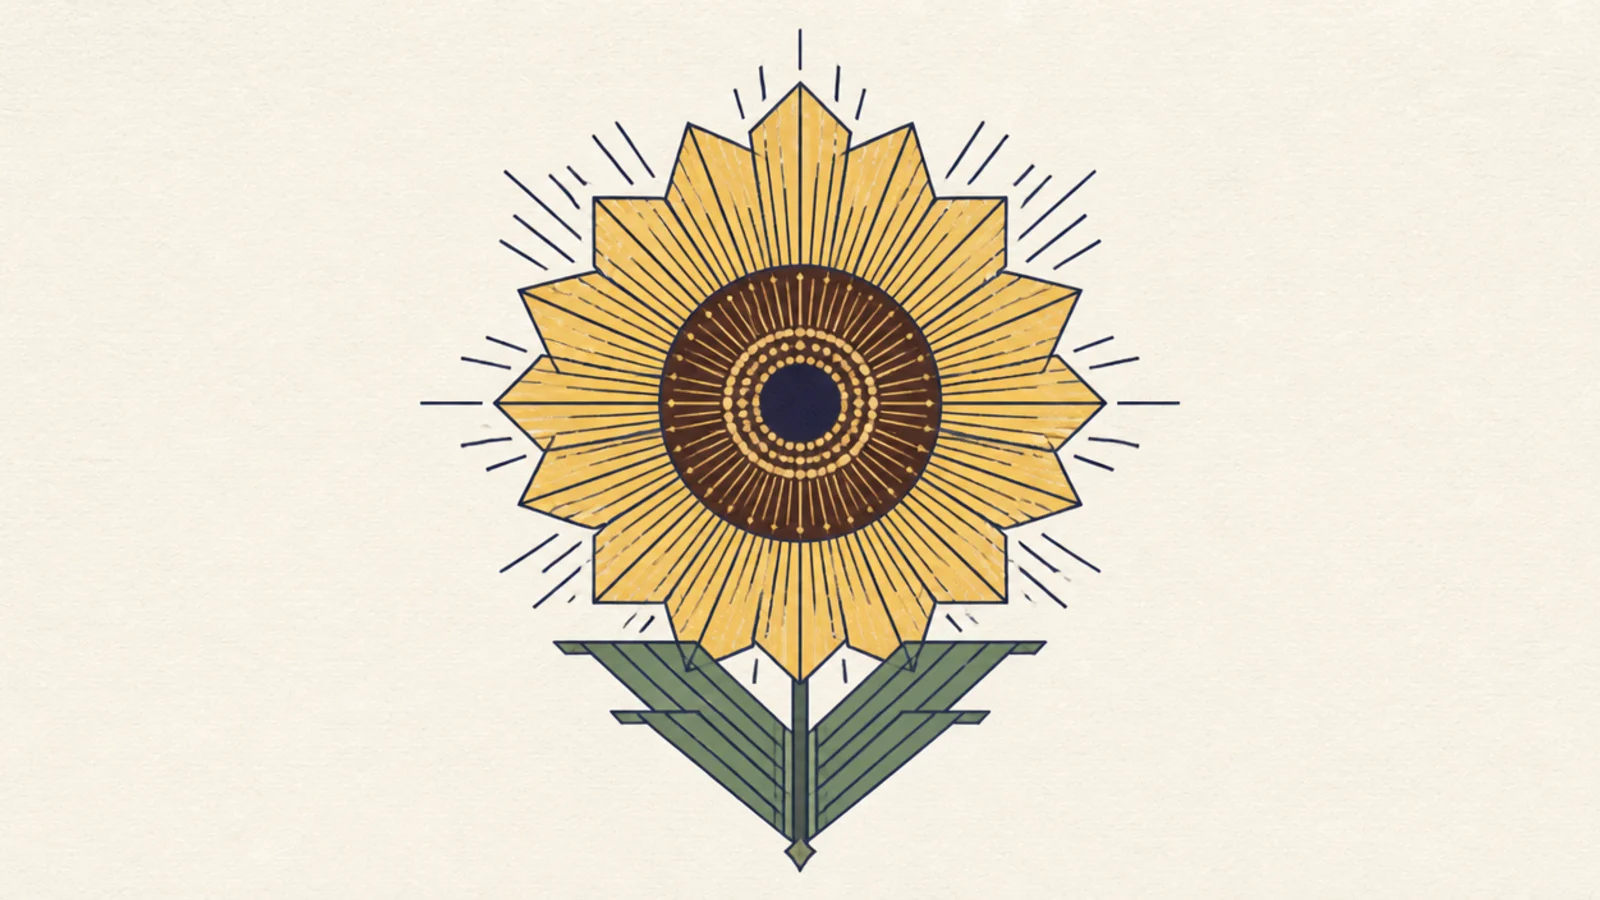
Step 1 draw a strict symmetrical center. Step 2 build petals from stacked fan or chevron shapes. Step 3 add fine parallel accent lines radiating outward.
Symmetrical fan shapes, stepped lines, and a luxe feel give an Art Deco sunflower for elegant invitations and packaging. Geometry and symmetry rule.
AvoidDon’t go organic or loose; Deco demands geometric precision.
Pro tipEnforce perfect symmetry; Deco is precise and mirror-balanced.
20 Signature Hybrid Design
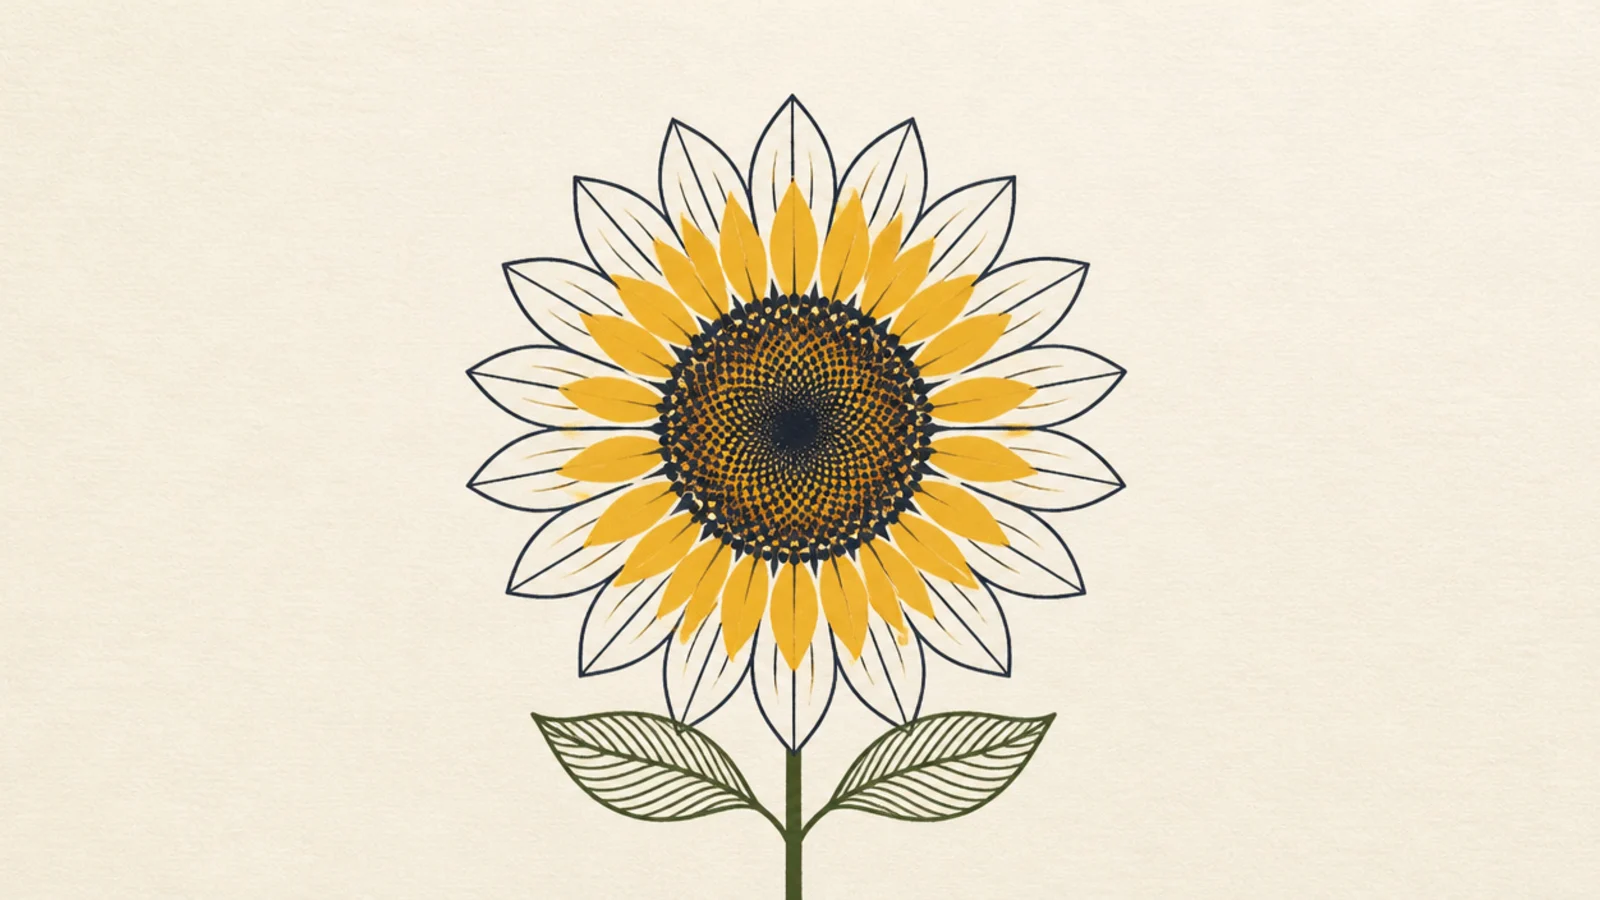
Step 1 pick two designs from this list. Step 2 keep the strongest element of each. Step 3 merge them into one balanced, symmetrical motif and refine the spacing.
Your own motif that blends two styles you liked — say monoline with a dot center, or boho with a badge frame. Combining is how a signature design is born.
AvoidDon’t just copy one style; the mix is what makes it yours.
Pro tipBlend only two influences; more than that muddies the design.



