
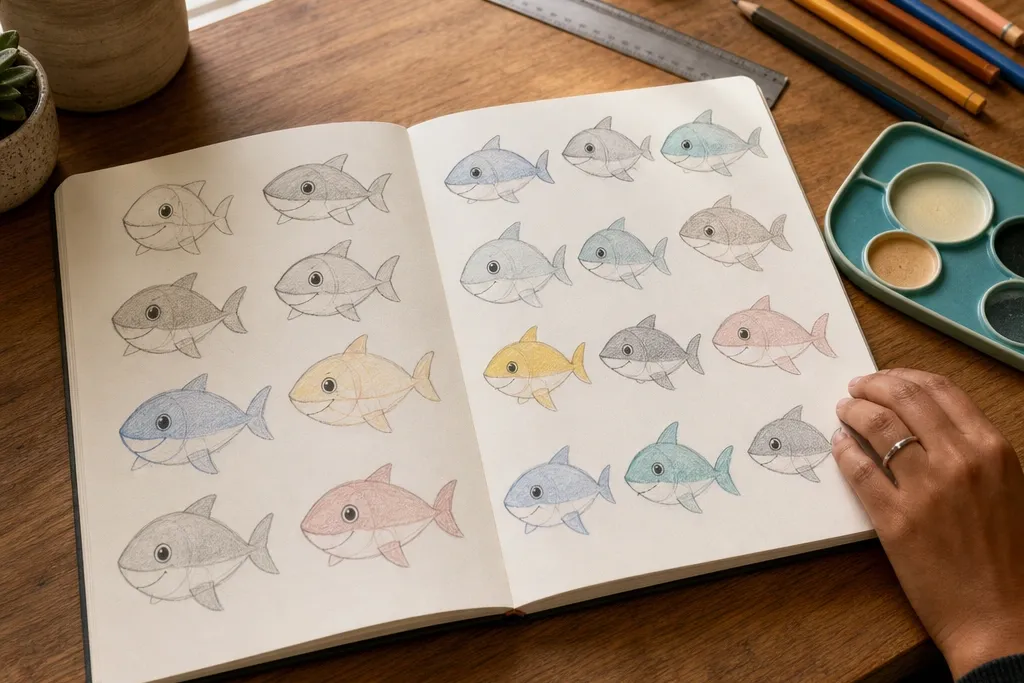
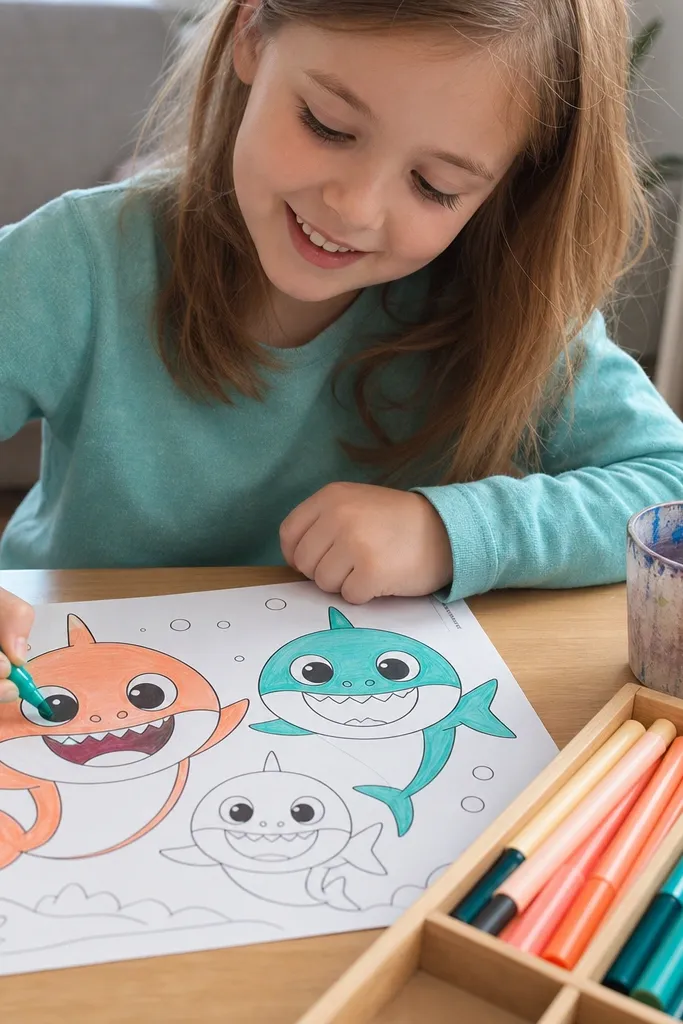
1. Baby Shark Face with Big Sparkle Eyes
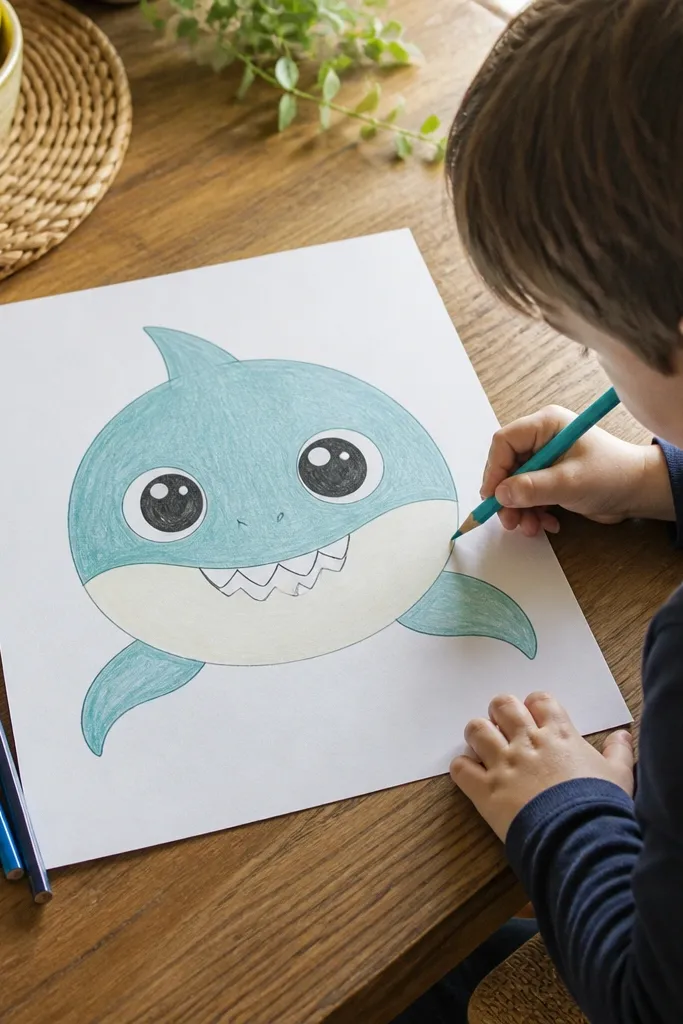
This one is the fastest path to “adorable” because it focuses on the face. The key look is oversized eyes with small sparkle dots placed near the top-right of each pupil. Keep the mouth a tiny curve and add a short row of 3 tooth bumps so it reads as cute, not scary. Use a pale teal body and a cream belly to make the face pop even with minimal coloring.
Start by drawing a large oval for the head, then add a smaller oval for the cream belly area. Place two circles for the eyes near the top third, then add pupils and one sparkle dot in each eye. Finish with two small teardrop fins on the sides and a few bubble circles around the head. Outline everything with a thick dark pen, then color the body teal, belly cream, and bubbles light blue.
If the eyes look uneven, draw a faint guide line through the center first, then place both eyes evenly on it.
Don’t add long teeth lines — 3 tiny bumps are what keep it baby-cute.
2. Baby Shark Wearing a Starfish Cape
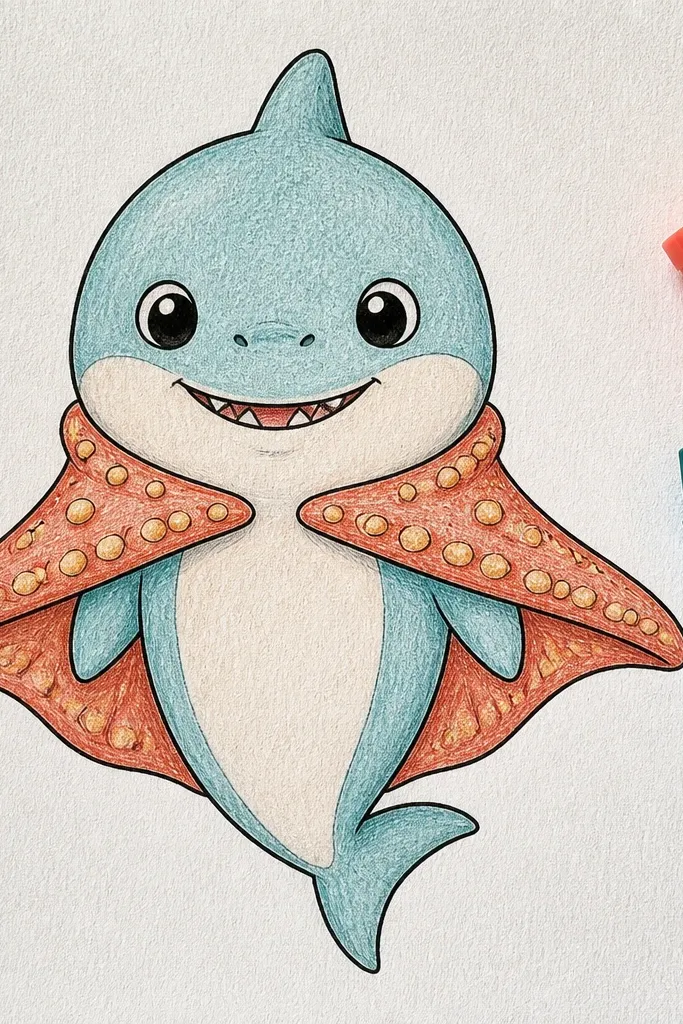
This drawing looks special because the starfish cape gives a clear focal point beyond the face. The shark body stays simple, while the cape shape creates that “aww” costume vibe. Use a warm coral or orange starfish with 5 pointed arms so kids can color it confidently. It’s great for arts-and-crafts pages where you want one strong object and a clean background.
Draw the baby shark body as a rounded oval with a cream belly patch. Add a small fin pair on top and sides, then sketch a starfish on the back like a cape — five points radiating outward. Place the eyes and mouth at the front center, then add a bubble trail behind the shark. Outline, color the body teal, belly cream, starfish coral, and bubbles turquoise.
Use a starfish stencil or trace a coin-sized star shape, then freehand the points so it stays kid-friendly.
Skip filling the starfish with tiny spots — big solid color looks cuter and faster.
3. Baby Shark Holding a Heart Bubble
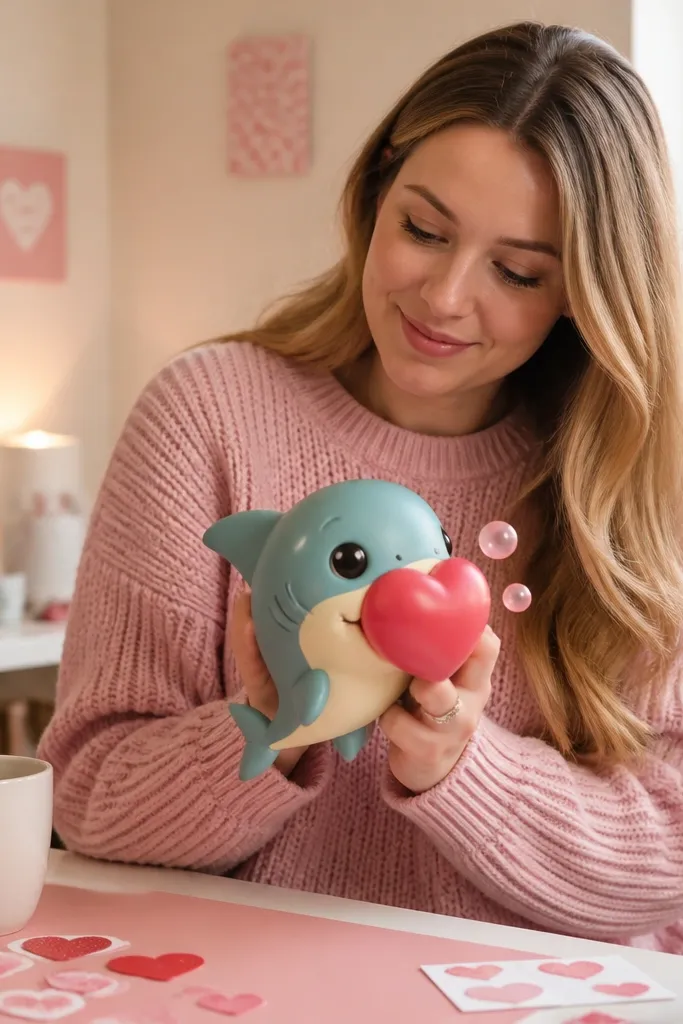
Heart bubbles instantly read as cute and gift-y, so this works for Valentine weeks and “special message” pages. The composition is simple: shark face forward, one big heart bubble near its mouth, and a few supporting bubbles. The heart shape makes kids practice smooth curves without needing complicated details. Color the heart bubble with a pink-red outline and light fill for that glossy look.
Start with a body oval and add a small belly oval. Draw the mouth as a gentle smile, then place two eyes slightly above the belly line. Sketch one large heart bubble in front of the mouth, then add three small bubbles around it. Outline thickly, color the shark teal, belly cream, and the heart bubble pink with a light highlight spot near the top-left.
To keep the heart symmetrical, draw two small circles first, then connect them with a pointed bottom curve.
Don’t put the heart too low — it should sit near the mouth so the story reads clearly.
4. Baby Shark in a Bubble Helmet
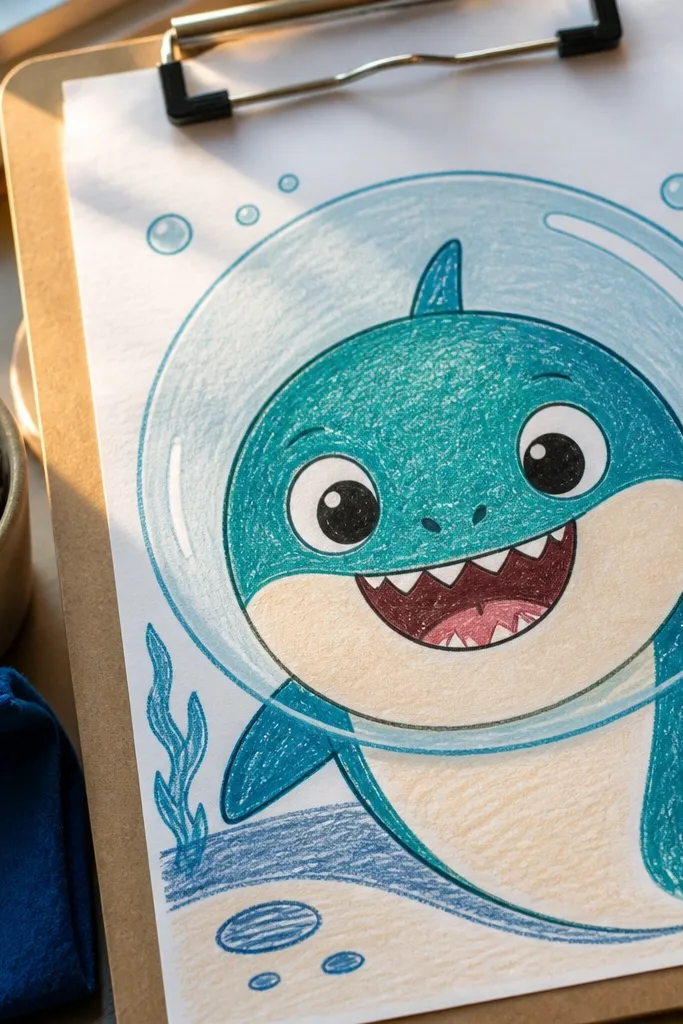
This one looks playful because the bubble helmet frames the shark face. It also makes the drawing feel “complete” even if kids don’t add a full underwater background. You get a clear outline inside an outline, which makes it easier to color neatly. Use a light blue bubble outline and a teal body so the helmet glass effect looks obvious without fancy coloring.
Draw a baby shark head oval, then add a second larger rounded bubble outline around it like a helmet. Add the eyes and mouth inside the helmet frame, then draw two side fins. Add 4-6 small bubble circles outside the helmet, varying their sizes. Outline with a dark marker, color the shark teal, belly cream, and helmet with light blue plus a white highlight stripe on one side.
Leave one bubble highlight uncolored (paper white) so it automatically looks shiny.
Don’t color the helmet solid dark blue — it should look glassy and light.
5. Baby Shark with a Tiny Bow Tie
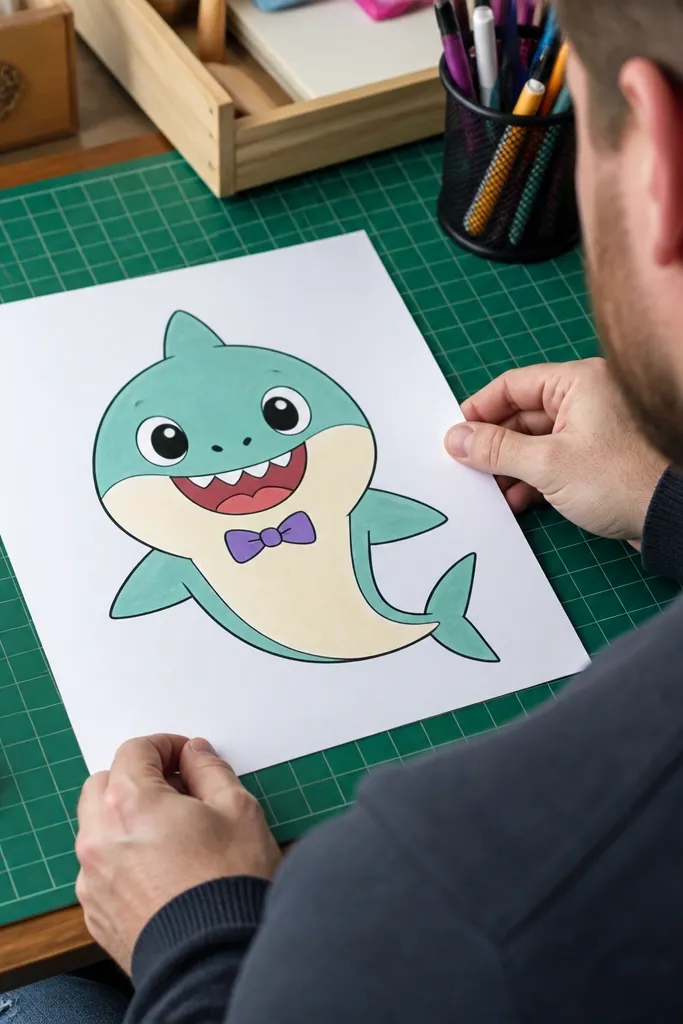
A bow tie is a small detail, but it makes the drawing look styled instead of basic. Keep the bow tiny and centered under the chin, and the shark still reads instantly as baby. This is a good choice for kids who like decorating but get frustrated with heavy backgrounds. Use a bright purple or red bow so it pops against the teal body.
Start with the shark body as an oval and add the belly patch in cream. Draw two fins: one on each side, then place the eyes and smiling mouth near the top half. Add a bow tie under the mouth: two small loops and a small knot in the center. Draw two simple wave lines below the shark as a base. Outline thick, color body teal, belly cream, bow purple, and waves light turquoise.
Pro tipMake the bow loops equal size by tracing a small circle for each loop before connecting them with curved lines.
AvoidSkip long ribbon tails — short bow shapes look cuter on small bodies.
6. Baby Shark Reading a Little Book
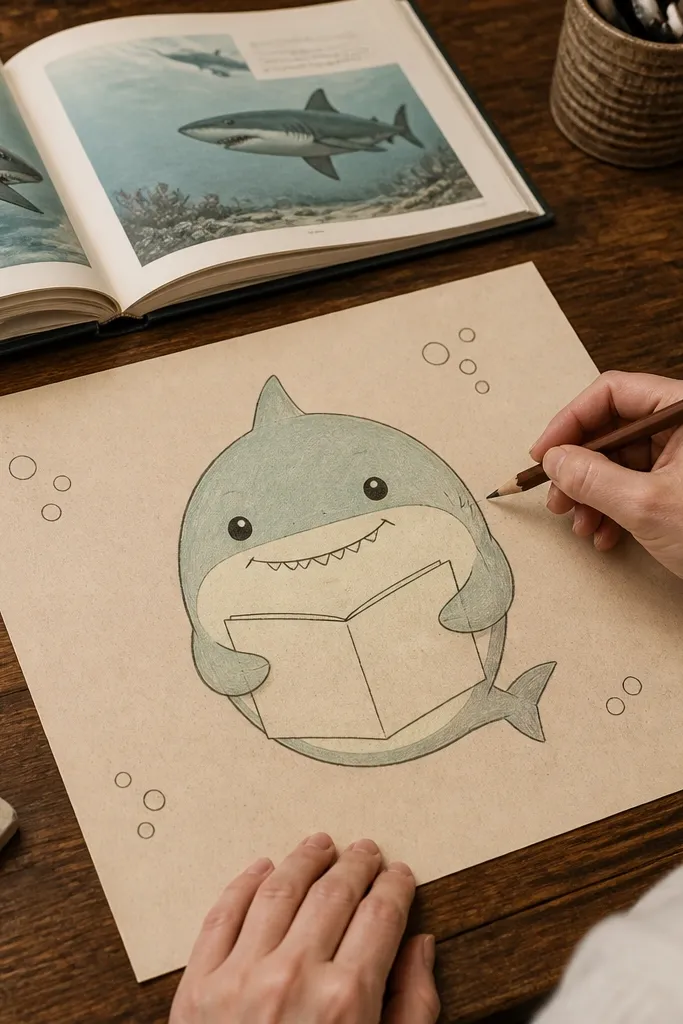
Books add “story” to a simple shark drawing. The trick is keeping the book shape blocky and readable: two page rectangles with a visible spine line. The shark can be drawn as a seated oval with a tiny fin “hand” on each side of the book. It’s perfect for rainy-day worksheets or classroom art because it gives kids an easy scene to color.
Draw a rounded body oval and add a belly patch. Add small side fins as if the shark is holding something, then sketch an open book between them with two rectangles and a thin center fold line. Place the shark eyes above the book as if looking down, then add a smiling mouth. Outline everything, then color the book pages cream and the cover a bright blue or green. Finish with 3-5 bubbles around the head.
Use one color for the cover and one for the pages so kids don’t overcomplicate the coloring.
Don’t add lots of text lines on the book — plain page shapes look cleaner.
7. Baby Shark Riding a Wave with a Smile
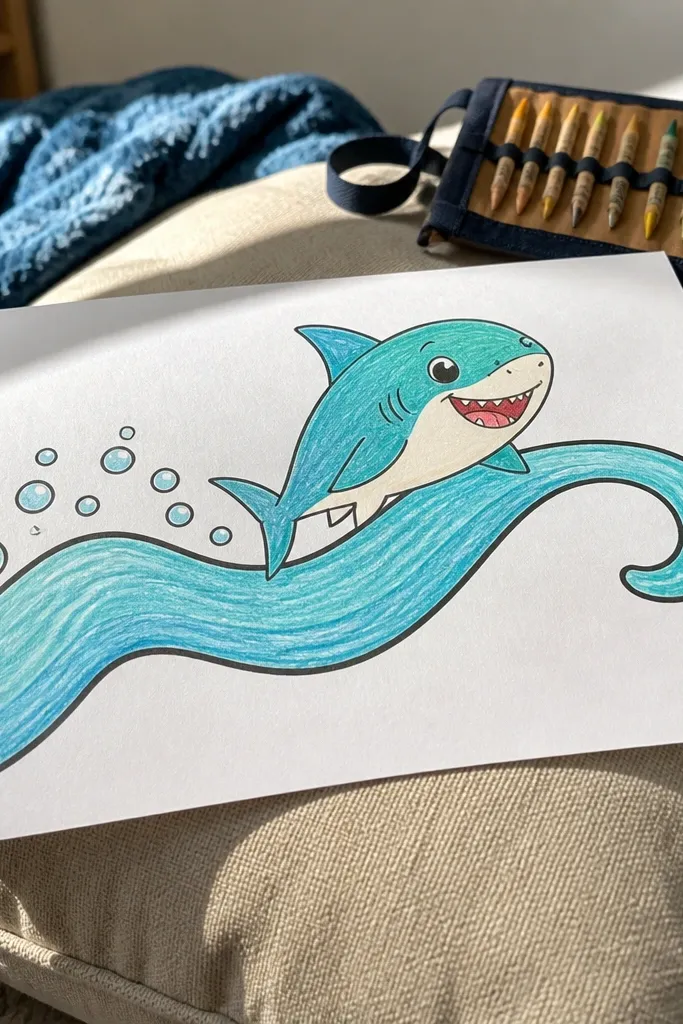
This drawing looks energetic without getting messy. A single big wave line gives you motion, and the shark sits on top like a little buddy. Keep the wave as one thick curved ribbon and add bubbles trailing behind. It’s great for older kids who want “movement” but still need a simple structure.
Draw a wave ribbon first: a long curved shape with a slightly thicker outline. Then place the shark body on top of the wave as a rounded oval with a cream belly patch. Add fins on the sides and a happy face forward. Draw 4-6 bubbles behind the wave end, then outline and color: wave in turquoise and teal, shark in teal with cream belly, bubbles in light blue.
Color the wave with one darker edge and one lighter center to make it look like foam.
Avoid drawing five waves — one wave is enough for the cute motion.
8. Baby Shark with a Rainbow Fin Stripe
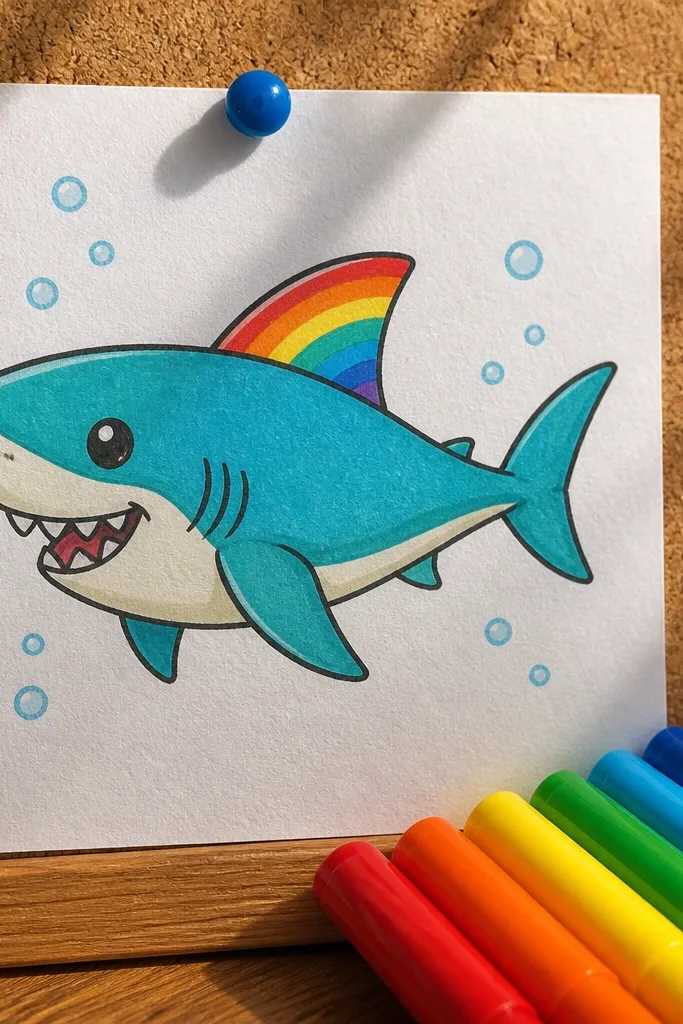
Kids love rainbows, and one rainbow stripe is the cleanest way to use that energy without turning the whole page into rainbow soup. Place the stripe on a fin so it’s contained and easy to color neatly. The rest stays simple: teal body, cream belly, black outline, and a few bubbles. This is a strong “activity sheet” drawing because it has a clear focal color area.
Start with the shark body oval and belly patch. Draw side fins, then choose one fin for the rainbow stripe and sketch 4-5 thin curved bands across it. Add eyes and a small smile, then place 3-4 bubbles around the head. Outline with a thick pen, color body teal, belly cream, then color the stripe bands red, orange, yellow, green, and blue.
Make the stripe bands slightly wider at the fin tip so they look intentional, not cramped.
Don’t add rainbow stripes to the body — one accent stripe looks better.
9. Baby Shark with a Sun Above the Water
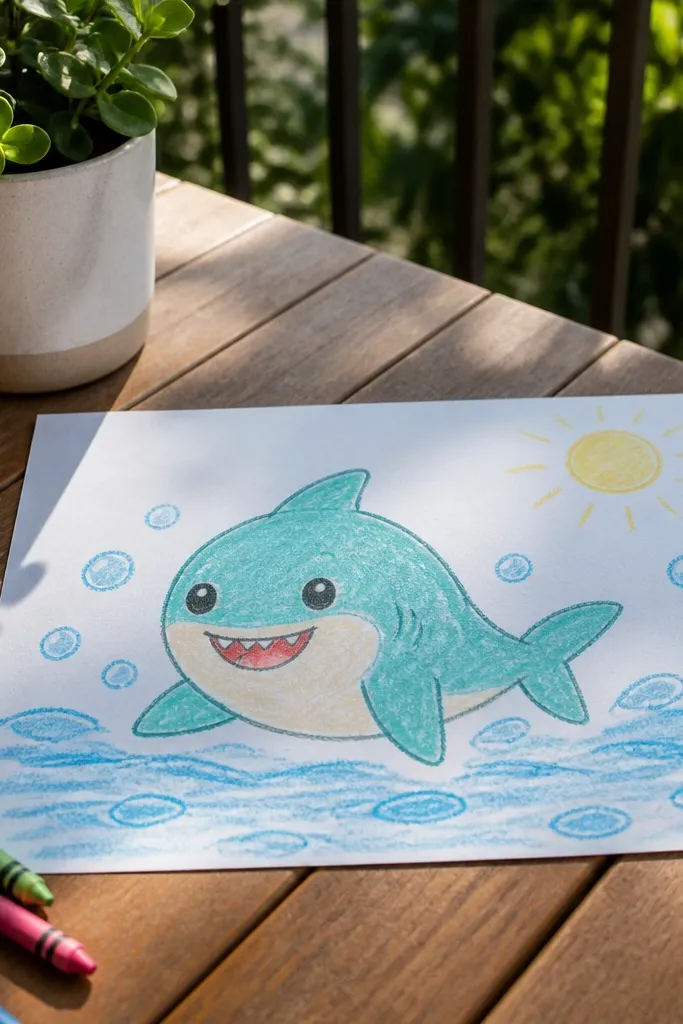
A sun gives instant “daytime” energy and makes the underwater scene feel complete. Keep the sun simple: a circle plus short rays, then put it in the top corner so it frames the shark. This drawing is great for kids who like backgrounds but still need something easy and structured. Color the sun yellow and the water bubbles light blue for a crisp look.
Draw the shark first: rounded body oval, cream belly, fins, and a friendly face. Then add a sun in the top corner with a circle and 8 short rays. Sketch a few bubbles around the shark head, varying sizes. Outline everything, color the shark teal and cream belly, and color the sun yellow with a light orange ring. Add a simple light-blue water tint behind the shark using a very light crayon.
Pro tipIf the sun rays look messy, make them all the same length using small dots as endpoints.
AvoidSkip shading the whole page — leave white space so the colors stay bright.
10. Baby Shark Under a Polka Dot Umbrella
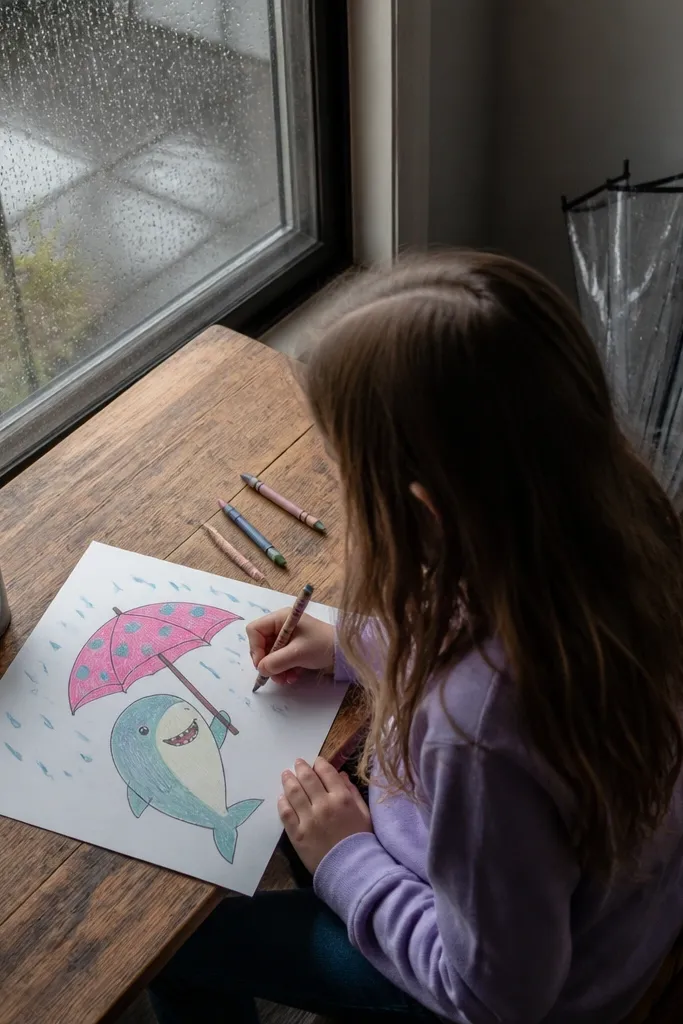
Umbrellas read cute fast because the shape is instantly recognizable. Polka dots add a playful pattern without needing fine detail work. The shark becomes the “character” under the umbrella, so the scene is clear even for younger kids. Use a bright umbrella color like pink or teal and keep the raindrops as simple straight lines.
Draw a small umbrella canopy above the shark: a curved arc with a handle line. Add polka dots across the canopy using evenly spaced circles. Place the shark body under the umbrella with a rounded oval and cream belly patch, then add eyes and a smile. Draw 6-8 raindrop lines falling from the umbrella. Outline and color: umbrella pink with white dots, shark teal, belly cream, raindrops light blue.
Use a washable marker for dots so kids can correct spacing without tearing paper.
Don’t make the umbrella too wide — it should feel like a tiny kid-sized umbrella.
11. Baby Shark with a Cute Bow on Its Tail
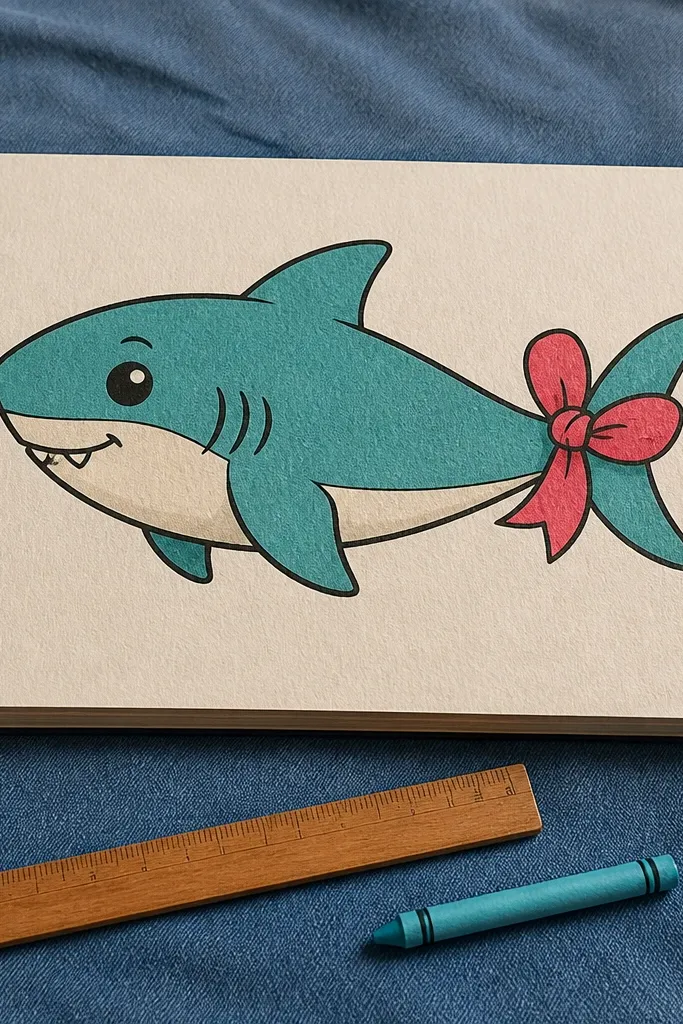
This is a clever placement that keeps the face simple while adding charm at the back. A tail bow makes the shark look dressed up, and the drawing still stays easy because the bow is just two loops and a knot. It’s a good option for kids who want a “decorated” result but don’t want complex accessories near the face.
Draw the shark body oval and add a cream belly patch. Add the tail fin at the back as a simple triangle or rounded triangle. Attach a bow to the tail by sketching two loops on either side and a small knot in the middle. Add fins on the sides, then draw 3-5 bubbles behind the tail. Outline thick and color: body teal, belly cream, bow bright red or purple, bubbles light blue.
Pro tipKeep bow loops slightly smaller than the tail — it keeps the proportions cute.
AvoidSkip adding extra accessories like hats and scarves — one bow is enough.
12. Baby Shark with a Fish Friend Balloon
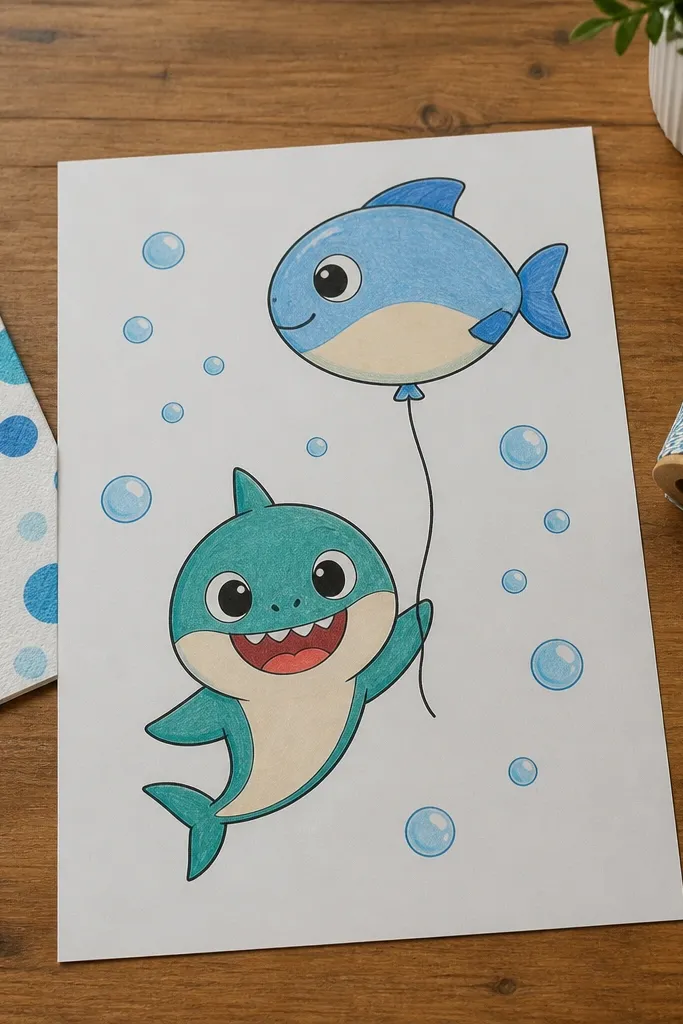
A fish-shaped balloon makes the drawing feel playful and party-like without adding complicated scenery. The balloon becomes a second character, but it stays simple: a fish outline with a fin and tail. The shark “holds” the string with one side fin, giving a clear relationship. This looks great on colored paper because the balloon color stays clean and bold.
Start with the shark body oval and cream belly patch. Draw the eyes and smile, then add one side fin positioned as if holding a string. Sketch a fish balloon: a rounded fish body shape with a tiny tail and a small fin on top, connected to the string. Add 4-5 bubbles around the balloon. Outline everything, color shark teal, belly cream, balloon bright yellow or orange, string light brown or gray.
Use a slightly darker outline on the balloon than the shark so it reads clearly.
Don’t make the fish balloon too detailed — one simple fin and tail is plenty.
13. Baby Shark in a Clamshell Home
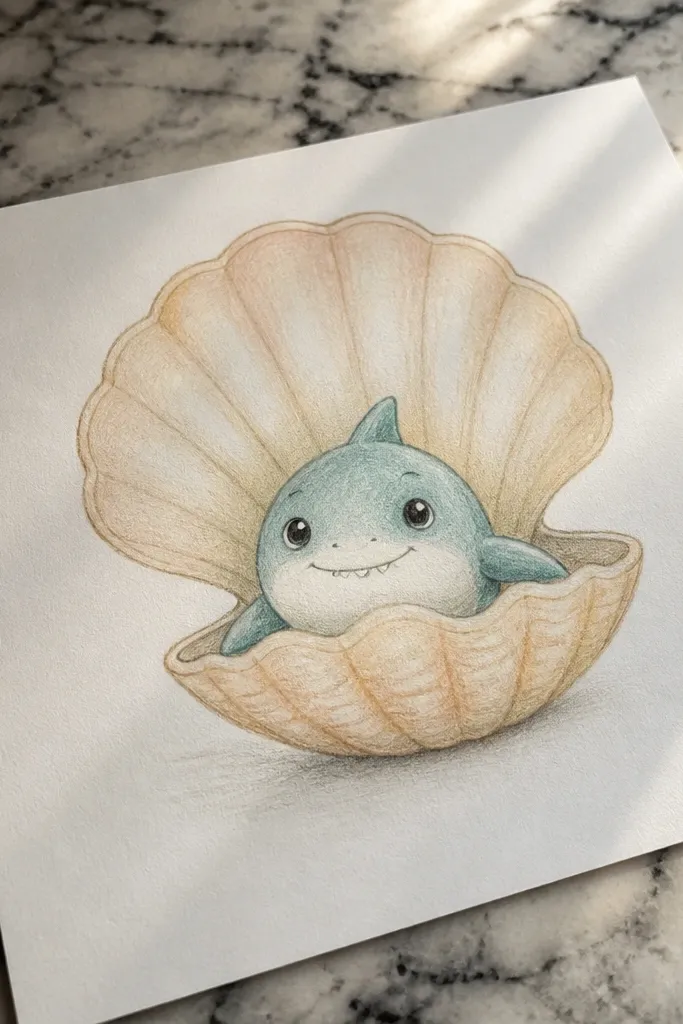
Clamshell homes look cozy and cute, and they also give kids an easy way to add texture. The shell ridges can be drawn as a few curved lines, not dozens. The shark peeks out, so the face can stay simple while the shell does the decorating. This works well on blank white paper because the shell shape frames the shark nicely.
Draw a clamshell outline first — like a big rounded C shape with a hinge line in the middle. Add 5-7 curved ridge lines on the shell in pencil or light marker. Then draw the baby shark head and upper body peeking out from the opening, with eyes and a smile. Add a few bubbles rising around the clamshell. Outline thick, color the shell in soft peach or beige, and color the shark teal with a cream belly.
If ridges get wobbly, draw them with a single crayon pass instead of multiple thin lines.
Skip tiny shell dots — ridges alone give the texture look.
14. Baby Shark with a Bubble Letter A
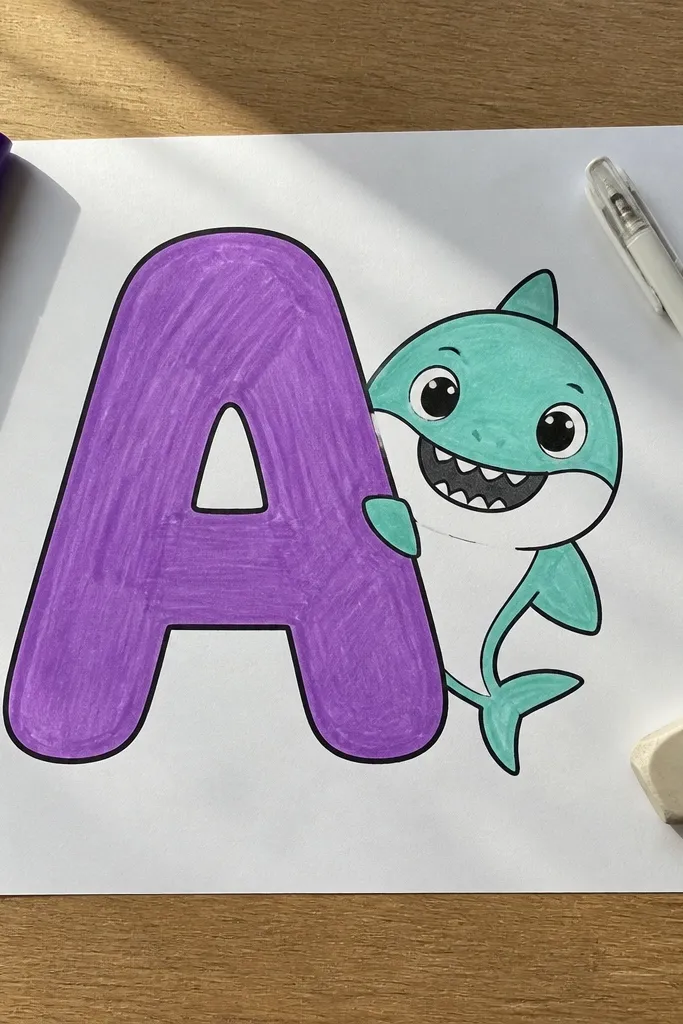
This is one of the best “kids can do it” drawings because it mixes character art with a clear letter shape. A big bubble letter gives structure and lets kids practice clean curves. Put the shark beside or slightly behind the letter so the letter remains readable. Color the letter in a bright shade like purple and keep the shark teal for contrast.
Draw a large bubble letter A on the page using a thick rounded outline. Place the baby shark body next to it, overlapping slightly, with eyes and a smile facing forward. Add small bubbles around the letter and shark to tie the scene together. Outline everything, color the letter purple with a light highlight stripe, and color the shark teal with a cream belly. Finish by coloring bubbles light blue and leaving white space in the bubbles.
Trace the letter A lightly with pencil first, then go over it with a thick marker once the shape is centered.
Don’t crowd the letter — leave at least one finger-width of space around the bubble A.
15. Baby Shark with a Scarf and Stripes
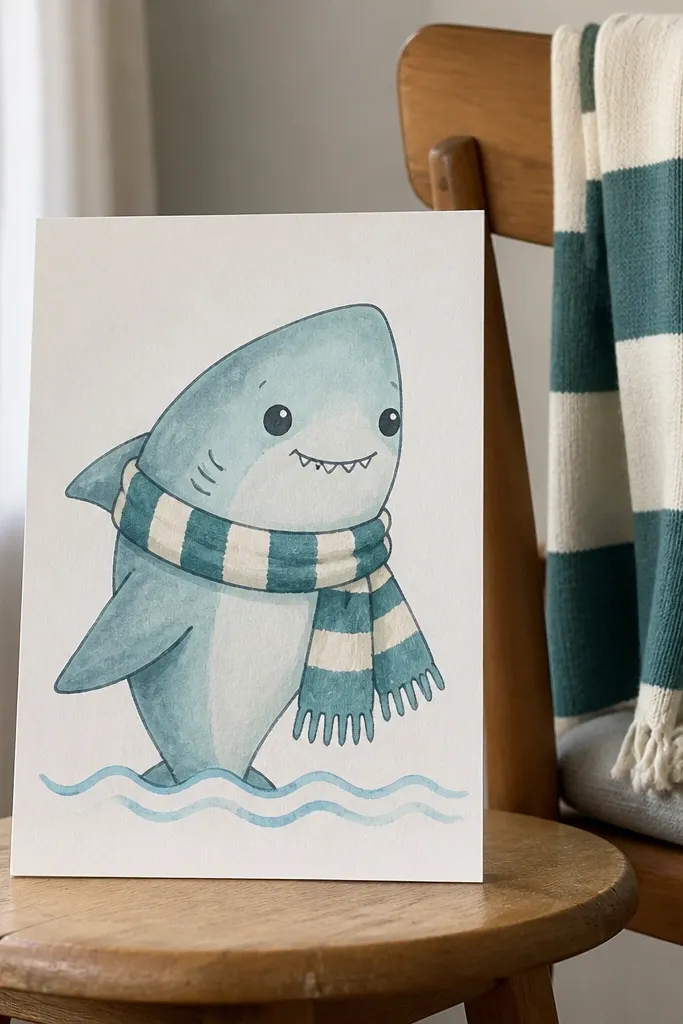
A scarf is a visual shortcut to “cute outfit.” Stripes look tidy when they’re wide, and they give kids a satisfying coloring task. Keep the scarf wrapped around the neck area and let it hang slightly in front. Add two wave lines at the bottom so the shark doesn’t float in empty space. This one is great for kids who like pattern work.
Draw the shark body oval and cream belly patch. Add side fins, then draw a scarf around the neck as a curved band that wraps left and right. Add 3-4 wide stripe bands across the scarf. Draw a simple face with eyes and a smile above the scarf. Outline thick, color body teal, belly cream, scarf with alternating red and white or blue and white, then color waves light turquoise.
Pro tipMake scarf stripes parallel to the scarf edge by following the curve with your marker, not by drawing straight lines.
AvoidDon’t put the scarf too low — it should sit at the neck so it reads as clothing.
16. Baby Shark with a Kawaii Cloud Bubble
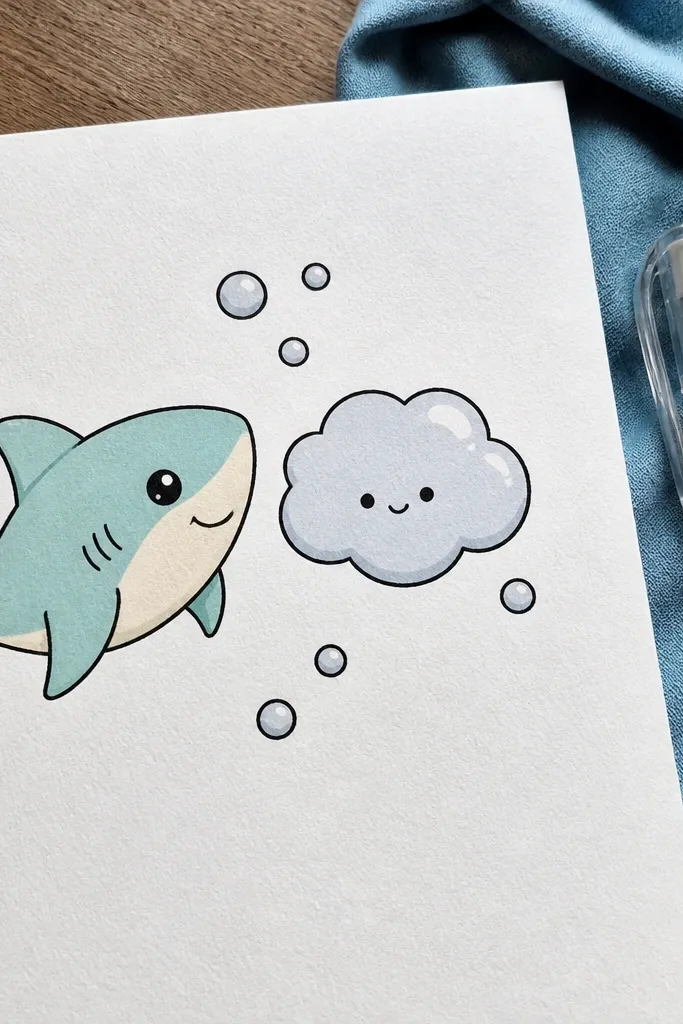
Cloud bubbles are adorable because they feel soft and friendly. Add a tiny face inside the cloud bubble (two dots and a small curve) to make the bubble feel like a character. The main shark stays simple, so kids don’t lose the drawing halfway. Use a light gray or pale blue cloud bubble with a white highlight, then color the shark teal.
Draw the baby shark body oval and cream belly patch. Place eyes and a small smile above the belly line. Now draw a cloud-shaped bubble above the shark head: 3-4 rounded bumps and a scalloped bottom. Add a tiny face inside the cloud bubble. Add 3-4 small bubbles around for balance, outline thick, then color cloud bubble pale blue/gray and shark teal with cream belly.
Pro tipUse a limited color for the cloud and keep the face inside in dark pencil lines so it stays readable.
AvoidDon’t add a lot of extra cloud lines — one cloud shape is enough.
17. Baby Shark Mermaid Tail Buddy
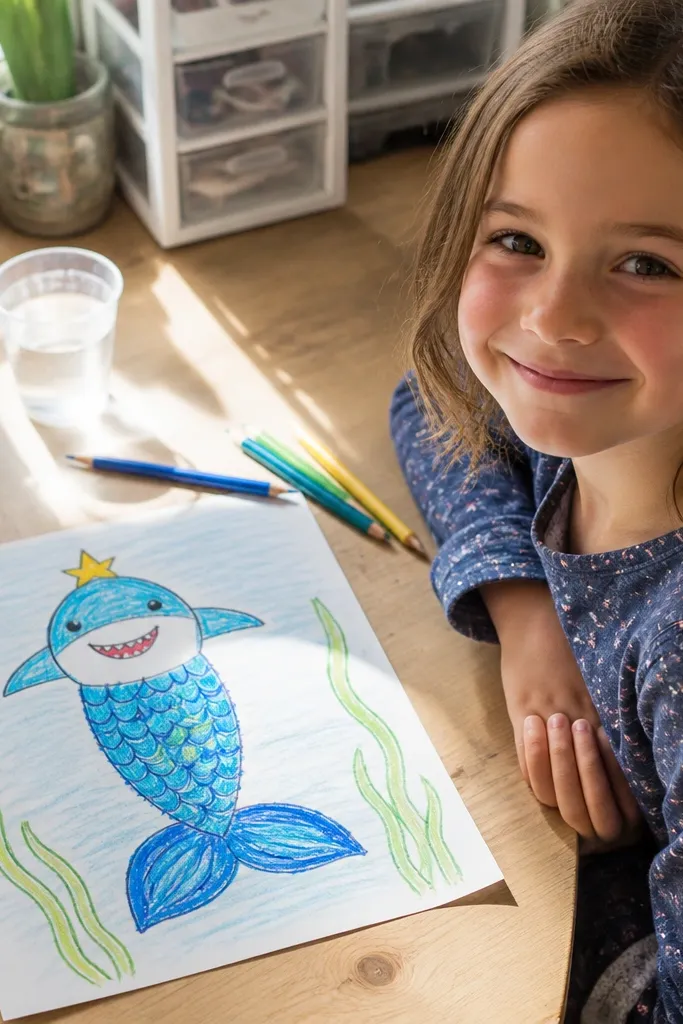
Turning the tail into a mermaid fin makes the drawing feel like a fantasy character without needing a full mermaid body. The look comes from one big tail fin shape with scalloped edges. Add a tiny crown or star on the head and a couple of seaweed lines behind. Color the tail in a gradient-like way using two blues so it looks special but still kid-friendly.
Draw the shark body oval and cream belly patch, then add a small fin on each side. Replace the back tail with a mermaid-style tail: a wider fin shape with scalloped edge bumps. Add eyes and a small smile, plus a tiny crown or star on top of the head. Draw 2-3 seaweed lines behind the shark using wavy stems. Outline thick, color body teal, belly cream, tail in two shades of blue, and seaweed green.
Scallops look better when they’re all the same size — mark 6-8 points lightly with pencil first.
Avoid drawing a full human tail — just the fin shape keeps it cute and manageable.
18. Baby Shark with a Balloon Bouquet
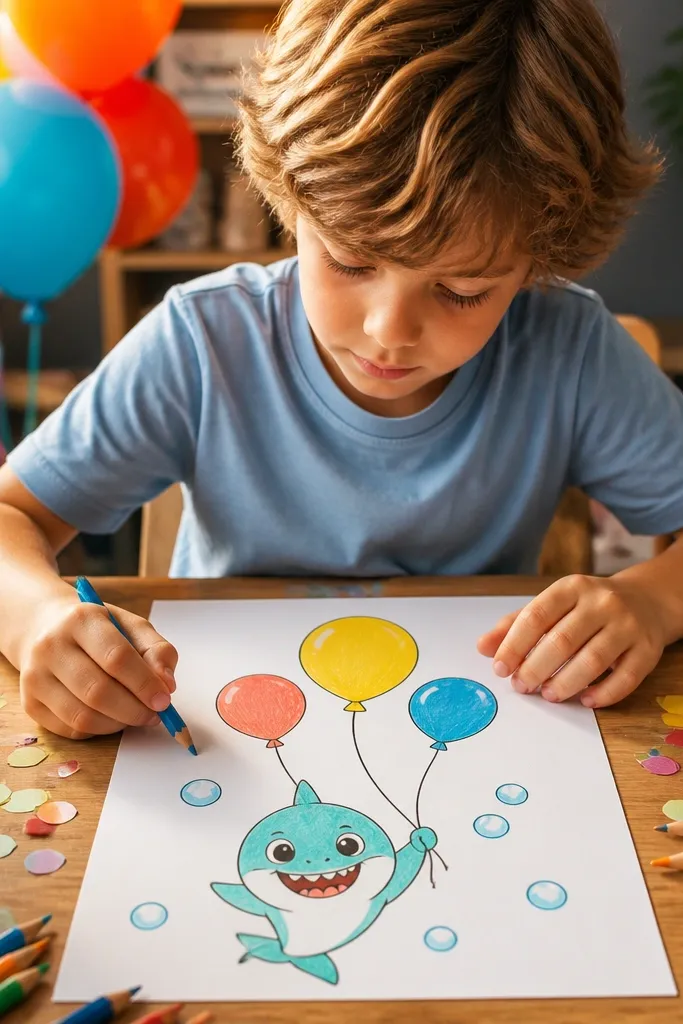
Balloon bouquets add height and color blocks, which makes drawings look “done” even with simple underwater details. Use three balloons only — one bigger in the center and two smaller sides. The shark can hold the strings with one fin, while bubbles float around to tie it together. This looks great for birthday sheets and classroom party crafts.
Draw the baby shark body oval and cream belly patch, then add eyes and a smile. Draw one fin positioned as if holding strings. Sketch three balloon shapes: rounded ovals with small knot circles at the bottom, then connect each to the string line. Add a few bubbles around the head area. Outline thick, color balloons in bright pink, yellow, and light blue, then color shark teal and belly cream.
Pro tipKeep balloon strings straight and slightly angled so the bouquet looks intentional.
AvoidDon’t add more than three balloons — it turns into a cluttered mess fast.
19. Baby Shark with a Treasure Chest
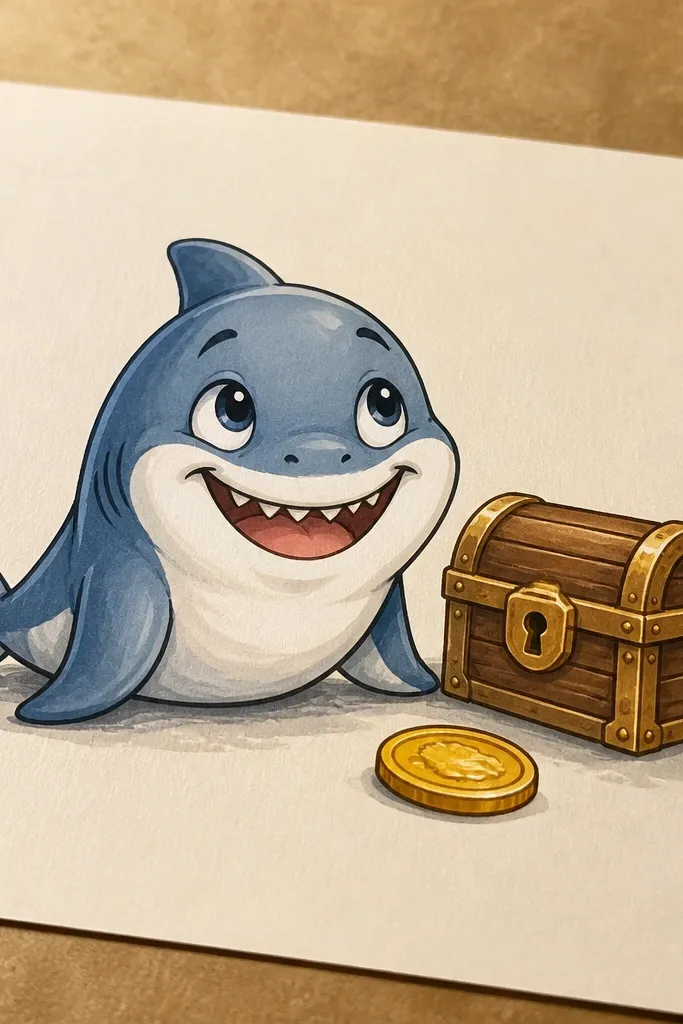
A treasure chest is a classic scene, but you’re keeping it cute by making the chest small and the details big. One gold coin and a simple lock line is enough. The shark can look excited with a wide smile and slightly raised eyes. This is a strong choice for kids who like adventure drawings but still need a simple structure that doesn’t sprawl.
Draw the shark body oval and belly patch, then place eyes and a happy mouth. Sketch a small treasure chest to one side using a rectangle with slightly curved corners and a simple lid line. Add a lock as a small circle or square and draw one gold coin on top. Add 4-6 bubbles around both the shark and chest. Outline thick and color: chest brown with darker brown bands, coin gold yellow, shark teal, belly cream, bubbles light blue.
Pro tipColor the chest with two brown tones so the lid line shows up even without extra shading.
AvoidSkip drawing lots of jewels — one coin and simple lock keeps it readable.
20. Baby Shark in a Bubble Swing with Floating Hearts
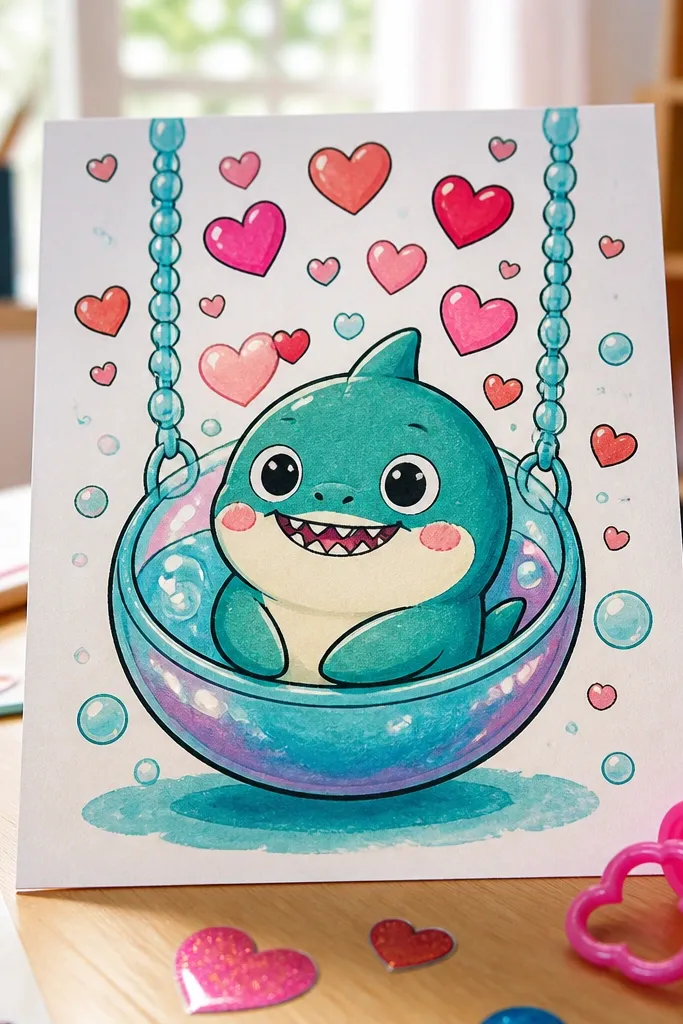
This drawing is pure kid-magnet because it mixes three things kids love — a cute Baby Shark, a clear action (swinging), and hearts that float like confetti. The bubble swing gives you thick, round shapes that are easy for kids to copy and color, and it makes the whole picture feel playful instead of flat. Use bright bubble highlights and a simple sky background so the shark pops even with messy coloring. It also works great as a quick classroom art prompt because the layout is predictable: swing, shark, hearts, done. Skill level is easy to medium, and the finished look reads well even if the lines are a little wobbly.
1) Draw a vertical support line and add two curved ropes that meet at a small knot above the swing. Sketch the seat as an oval bubble, then outline a second outer bubble ring so it looks like a thick, shiny swing. 2) Place Baby Shark centered in the seat: big face, small fins, and a simple smile; add 3-5 floating hearts around the bubble swing at different heights. 3) Color with 2-3 blues for the body, leave white for bubble shine, and shade the bubble ring with a darker blue-gray so it looks dimensional. 4) Finish with a few small sparkles near the hearts and a light background wash (pale teal or baby blue) so the hearts and shark stand out.
Keep the hearts all the same shape but vary only their size. Consistent shapes look cleaner than trying to make every heart different.
Avoid drawing the swing ropes too thick — they swallow the shark’s face and make the picture feel cluttered.



