
1. Oval-Body Turtle With 3 Shell Bands
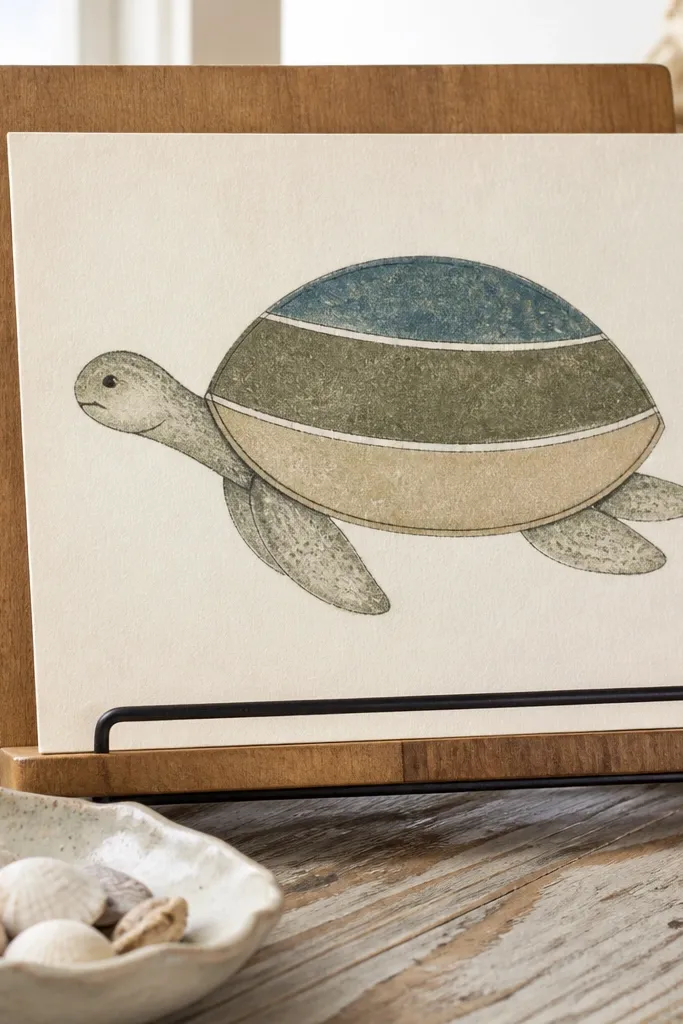
This is the safest beginner-friendly Sea Turtle Drawing easy plan because it limits the shell to three big curved bands. You’re not trying to draw every scute; you’re building the turtle’s signature shape with broad strokes. It looks “real” because the shell pattern is where your brain expects detail. You’ll get a finished drawing in one sitting, and it works great as a practice template for later ideas.
Start by drawing a large horizontal oval for the body and a smaller oval touching one end for the head. Add a simple neck curve between them. Lightly draw three curved bands across the shell area — one near the top, one middle, one near the bottom — following the body’s oval shape. Then sketch two flippers as rounded teardrops attached to the sides, and place the eyes on the head oval about halfway down.
If your bands wobble, lightly trace over them once with a cleaner curve before darkening.
Don’t start with lots of tiny shell lines — you’ll lose the turtle shape before it’s established.
2. Big Eye Cartoon Turtle Face
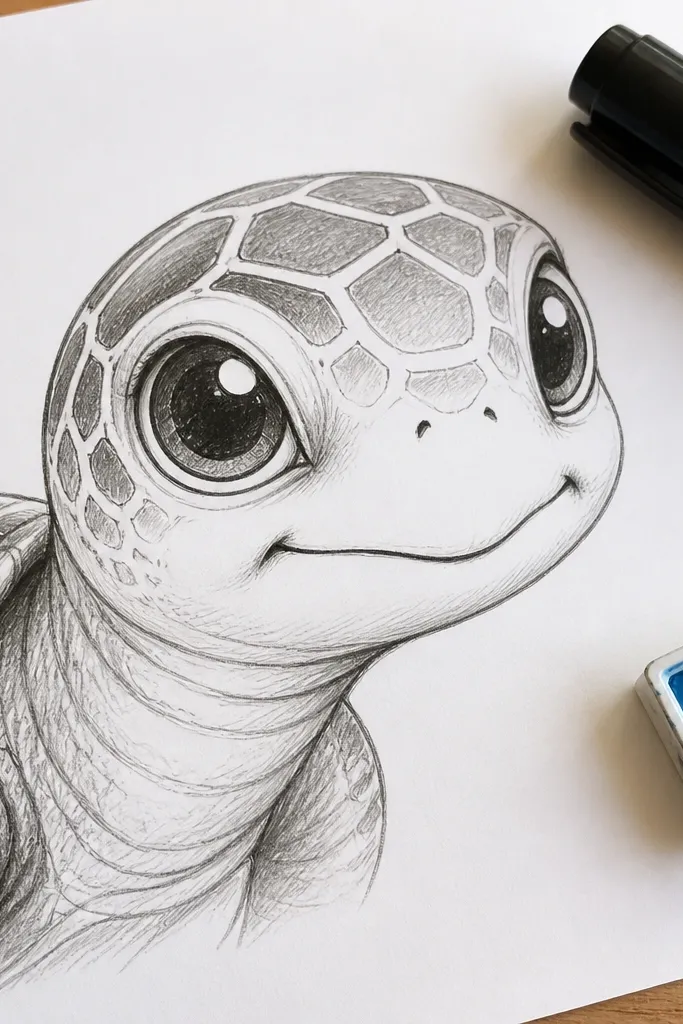
This idea nails the sea turtle look by focusing on the face first. Beginners struggle with proportions, and big eyes fix that instantly because they give your drawing a clear focal point. The mouth can be a short curved line, and the shell can stay minimal. It’s also forgiving if your shell is slightly off, since the face carries most of the “cute turtle” identity. Great for stickers, cards, and quick practice.
Draw a body oval and keep it simple. On the head end, place two large circles for eyes, spaced far enough apart to avoid a “one-eyed” look. Add a tiny curved line for a mouth under the eyes and a small curve for the nose area. For the shell, outline the top and bottom edges only, then add two flippers with thick rounded shapes on the sides.
Pro tipMake the eyes slightly asymmetrical on purpose — a perfectly centered pair often looks stiff.
AvoidAvoid drawing the eyes too close to the edge of the head oval — leave a little space so they look embedded, not pasted on.
3. Side-View Turtle in Pencil Only
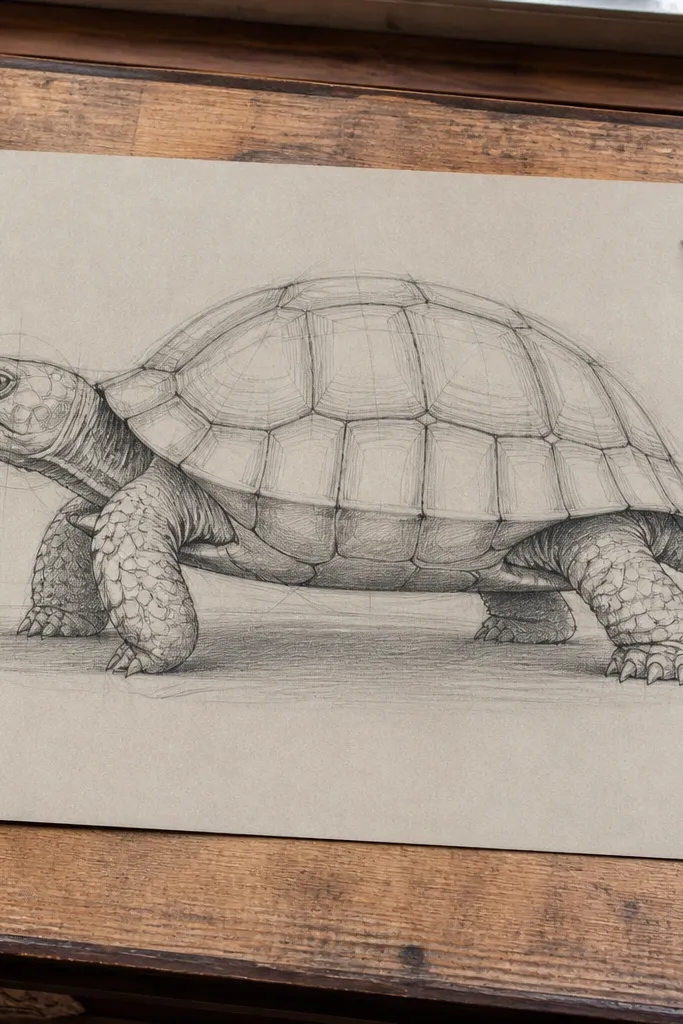
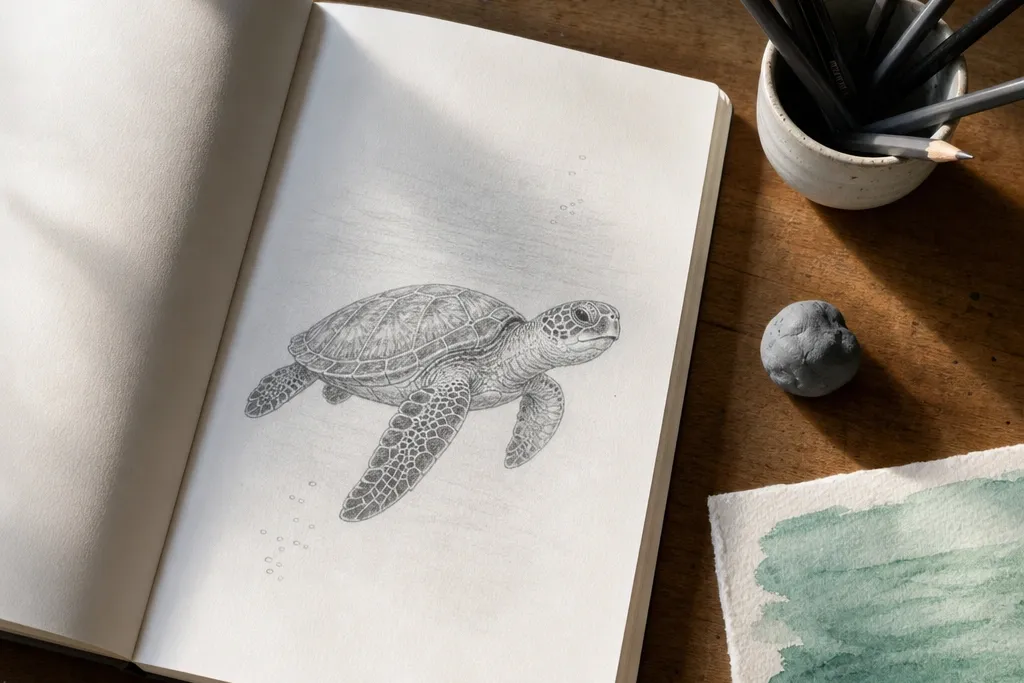
Pencil-only is the most forgiving way to learn because you can correct proportions without committing to ink. This side-view layout also teaches you how the shell wraps around the body, which is where beginners usually flatten the turtle. You’ll use light construction lines, then shade the underside and shell ridges for depth. The result looks clean even if your drawing isn’t “perfect,” because pencil shading makes the form read.
Start with a long oval for the body and add a smaller oval for the head slightly forward. Draw a center guideline down the body to help you keep the shell ridges aligned. Sketch the flippers as curved paddles — one front flipper angled slightly down, one rear flipper angled slightly back. Add 4-5 curved shell ridges that follow the body oval, then shade the underside of the shell and flippers using a soft side of the pencil (2B).
Use a kneaded eraser to lift highlights under the flipper edges for quick form control.
Don’t shade the whole shell evenly — you’ll erase the shape and it will look flat.
4. Marker Outline Turtle With Light Color Wash
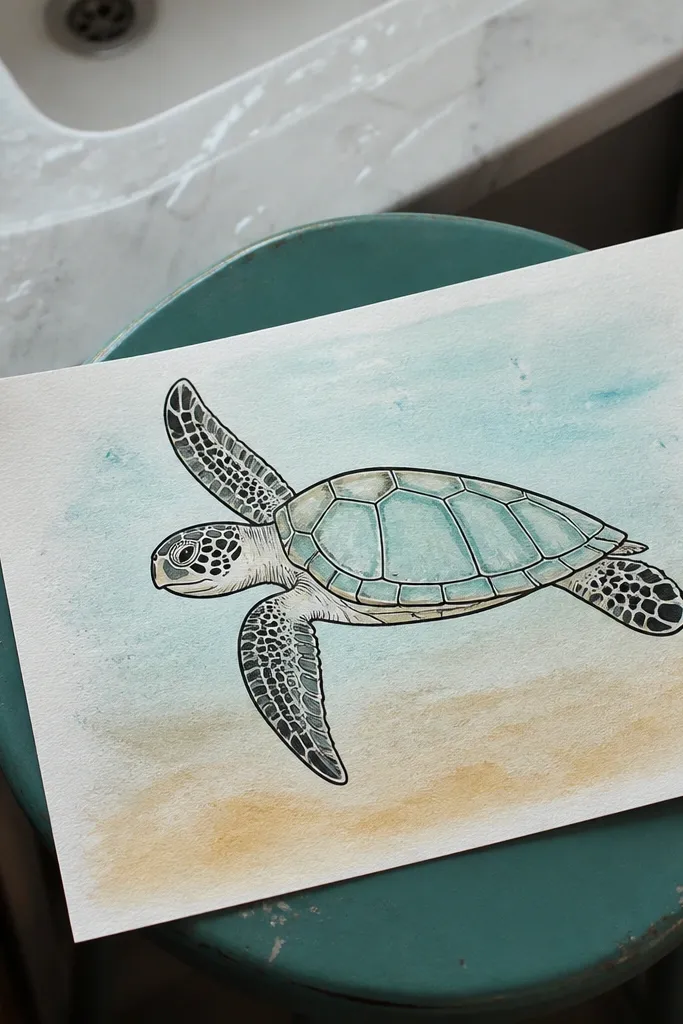
If you want a crisp “finished” look, outline-first with marker is the move. The marker line gives you a clean silhouette, and the light color wash is easy for beginners because you’re not blending perfectly. This project is forgiving because you can keep the shading minimal and still get that turtle look. It’s ideal for paper crafts, bookmarks, and simple wall art.
Sketch the turtle lightly with HB pencil, using an oval body, a smaller head oval, and two flippers. Go over only the final outline with a marker — keep the shell ridges light or skip them to stay clean. Choose one wash color for the shell and a slightly lighter wash for the underside. Use watercolor or watered-down acrylic and apply it in small areas, leaving the marker lines darker and crisp.
Pro tipLet the marker dry fully before you add any wash so the lines don’t bleed.
AvoidDon’t press hard with the marker on the first pass — thick lines make beginners' turtles look blocky.
5. Sea Turtle With Simple Shell Scutes Grid
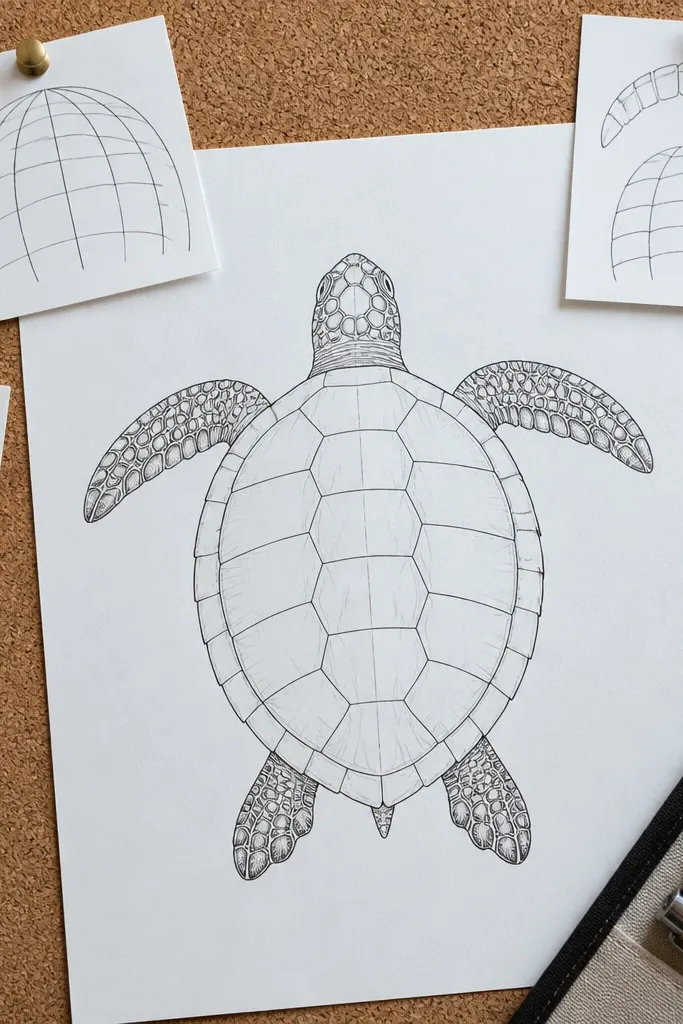
This idea teaches shell patterning without the chaos of realistic scutes. You’ll draw a curved grid that reads like scutes, even if the lines aren’t perfectly even. Beginners like this because it feels structured. It also makes the turtle look more detailed without turning into an hours-long project. Use it when you want a “patterned” turtle for a notebook cover or scrapbook page.
Draw the body oval and head oval in pencil. Map the shell area by drawing three or four big curved lines across the shell and two or three curved lines along the length. Intersection points become your scute zones — don’t draw tiny rectangles, just curved bands that meet at angles. Add flippers as rounded shapes and place the eyes on the head with a small curved brow line above them.
Keep scute lines thicker toward the outer edge of the shell for a natural depth cue.
Avoid making the grid too tight — small scutes look messy at beginner skill level.
6. Top-Down Turtle on Ripples
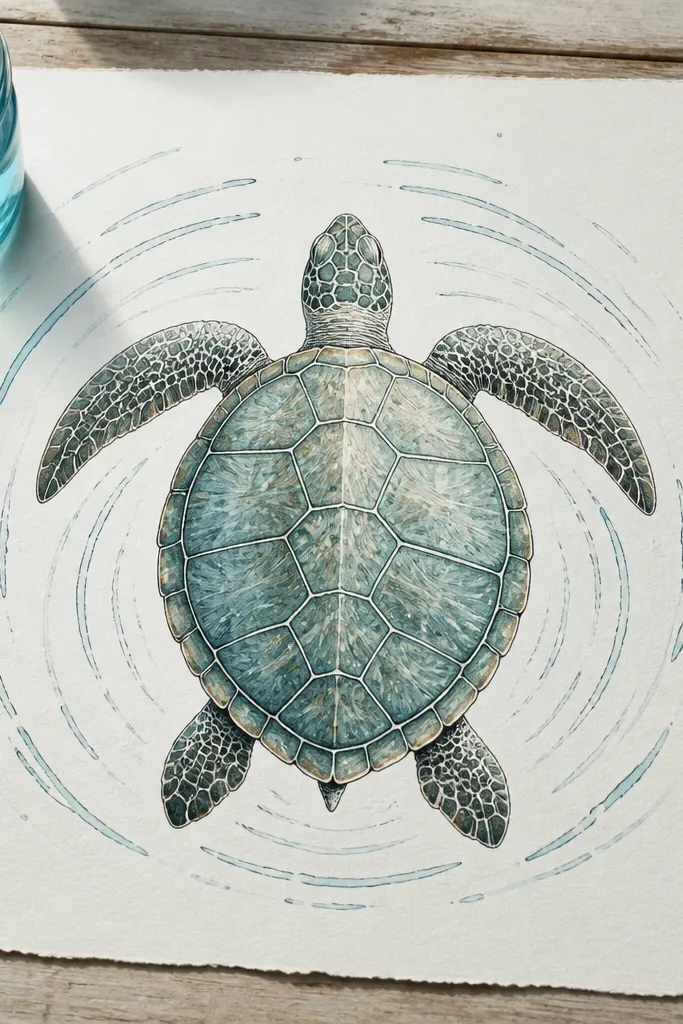
Top-down view is easier than it sounds because you can simplify everything into shapes. The shell becomes the main focus, and flippers turn into curved paddles wrapping around the body. Adding ripples gives your drawing a scene without extra characters. This is a beginner-friendly Sea Turtle Drawing easy option when you want your turtle to look intentional and “placed,” not floating in emptiness.
Draw a large circle or rounded oval for the top shell view. Add a smaller circle for the head and connect them with a gentle curve. Sketch the flippers as four curved “leaf” shapes partially overlapping the shell edge. Add 5-7 curved shell ridges radiating from the center, then draw simple ripple arcs around the turtle — 3-5 arcs total.
Pro tipUse a ruler only for the ripple arcs if your curves keep wobbling. Keep the turtle itself freehand.
AvoidDon’t add ripples inside the shell — it competes with the ridge lines.
7. Two-Flipper Symmetry Practice Turtle
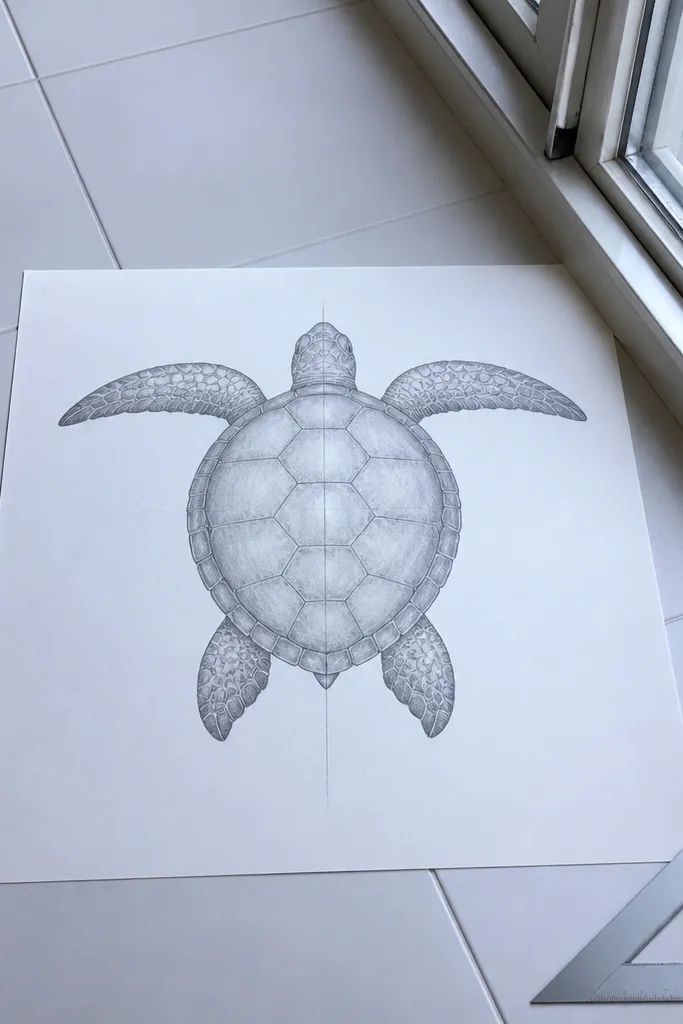
Symmetry is a cheat code for beginners. When your flippers mirror each other, the turtle reads instantly, even if the shell details are basic. This project is great for learning where flippers attach and how thick they should be. You’ll also learn to keep the body line smooth because the symmetry will expose mistakes fast. It’s a quick practice sheet that still produces a displayable drawing.
Draw a vertical centerline lightly through the body oval. Sketch the body oval and head oval on one side, then use the centerline to place the second flipper. Draw both flippers as rounded paddles that start near the shell edge and curve outward. Add a simple shell outline and 3 curved shell ridges. Place eyes as two dots on the head, aligned across the centerline.
If one flipper looks longer, compare their widest points — match the widest width, not the attachment point.
Avoid thin flippers. Thin paddles make the turtle look like a lizard.
8. Sea Turtle Face With Tear Drop Nose
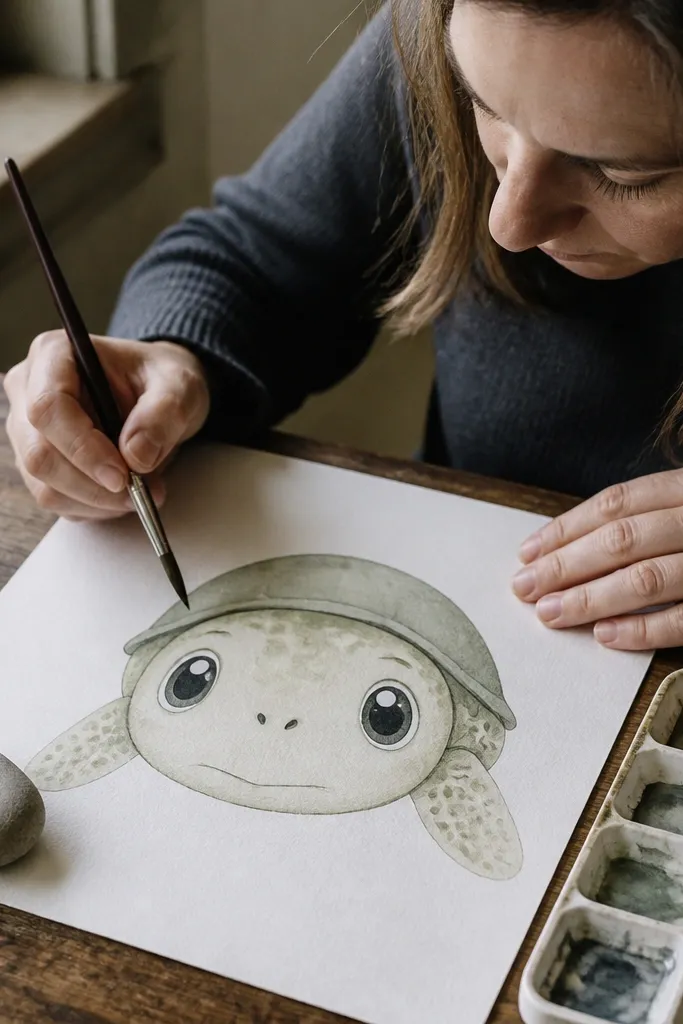
This is a simple face-structure drawing that helps beginners place the nose and mouth correctly. The tear-drop nose shape gives you a clear silhouette, and it makes the head look like a sea turtle instead of a generic reptile. Keep the shell minimal so you don’t get lost in patterning. You’ll end up with a cute, clean turtle that works for characters and stickers.
Draw the head oval and add a tear-drop shape on the lower part of the head for the nose. Add two small eyes above the tear drop and a short curved mouth line. Sketch a body oval behind the head and connect them with a smooth neck curve. Add two flippers as rounded triangles with softened edges, then draw just two or three shell lines across the back.
Outline the tear-drop nose with a slightly thicker pencil line than the rest of the face for clarity.
Don’t put the nose too far forward — keep it near the center of the head oval.
9. Textured Shell With Dot-to-Scute Pattern
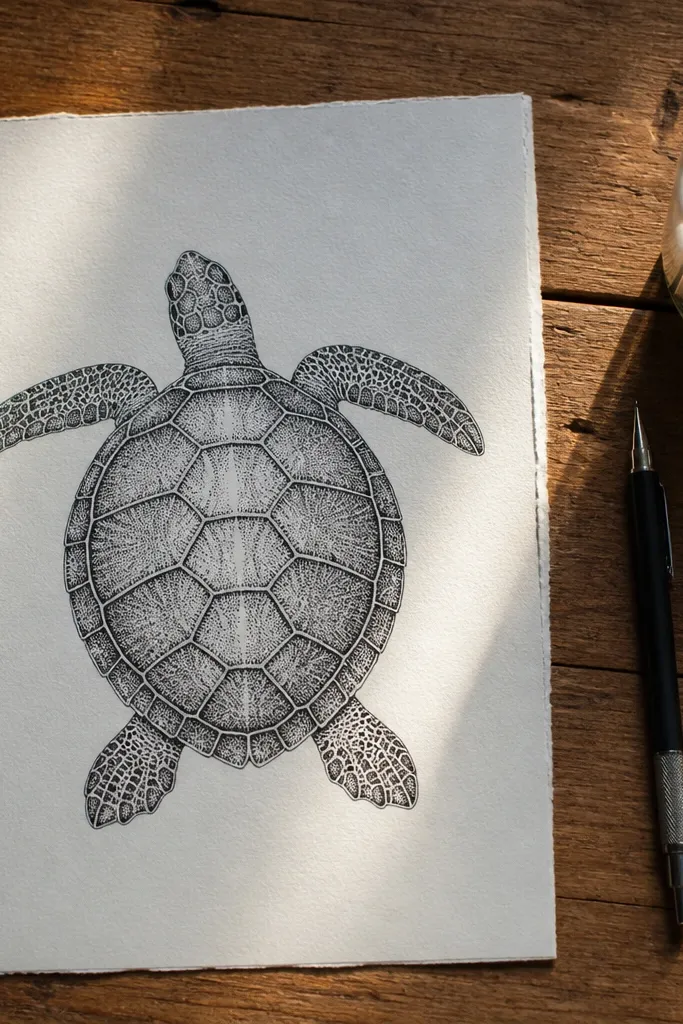
If you want detail without drawing dozens of lines, dot-to-scute texture is the easiest approach. You’ll start with small dots in curved rows, then connect the dots into a few scute bands. That gives you texture and structure at the same time. Beginners like it because it hides shaky line quality. The finished turtle looks more interesting even when your anatomy is still learning.
Sketch the turtle body and flippers lightly. Mark 5-6 curved “lanes” across the shell where scutes will sit. Fill each lane with small dots, spacing them close enough that they read as texture. Pick two or three lanes to connect into curved scute lines by lightly drawing over the dot rows. Shade lightly underneath flippers to separate them from the shell.
Use a pencil with a soft point (2B) for dots so they show up without pressing hard.
Avoid over-inking every lane. Too many connected lines makes it look scratchy.
10. Budget-Friendly Grid Transfer Turtle
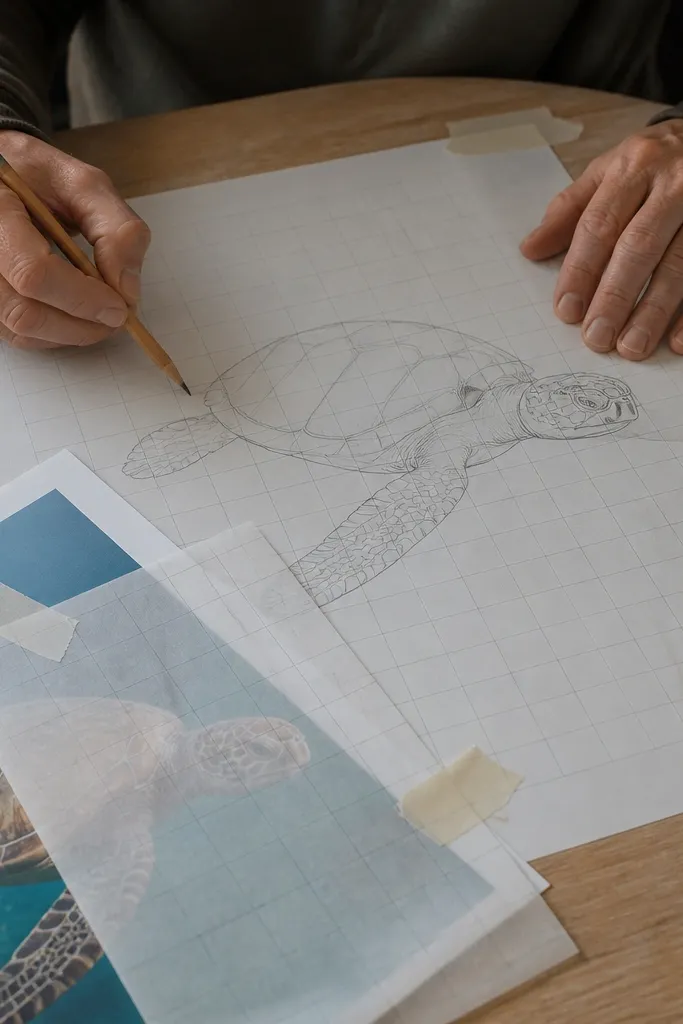
This is the beginner-friendly Sea Turtle Drawing easy method when you want a specific shape and you’re struggling with freehand proportions. The grid transfer method lets you copy a turtle outline from a reference without guessing. You’ll still draw everything yourself, but the placement becomes automatic. It’s perfect for learners who want consistency across multiple drawings, like practice pages or themed crafts.
Choose a reference image and decide your final size (for example 8x10 inches). Draw a light grid on both your reference and your paper using equal squares. Transfer the turtle outline square by square — trace only the outer silhouette and the main shell curve first. After you finish the outline, erase the grid lines and add shell ridges as 4-6 gentle curves. Finish with flippers and eyes using the same placement from the reference.
Pro tipUse a ruler to keep grid squares uniform, but erase the grid early — mid-project grid lines become distracting.
AvoidDon’t transfer tiny textures first. Get the silhouette right, then add details.
11. Colored Pencil Turtle With 2-Tone Shell
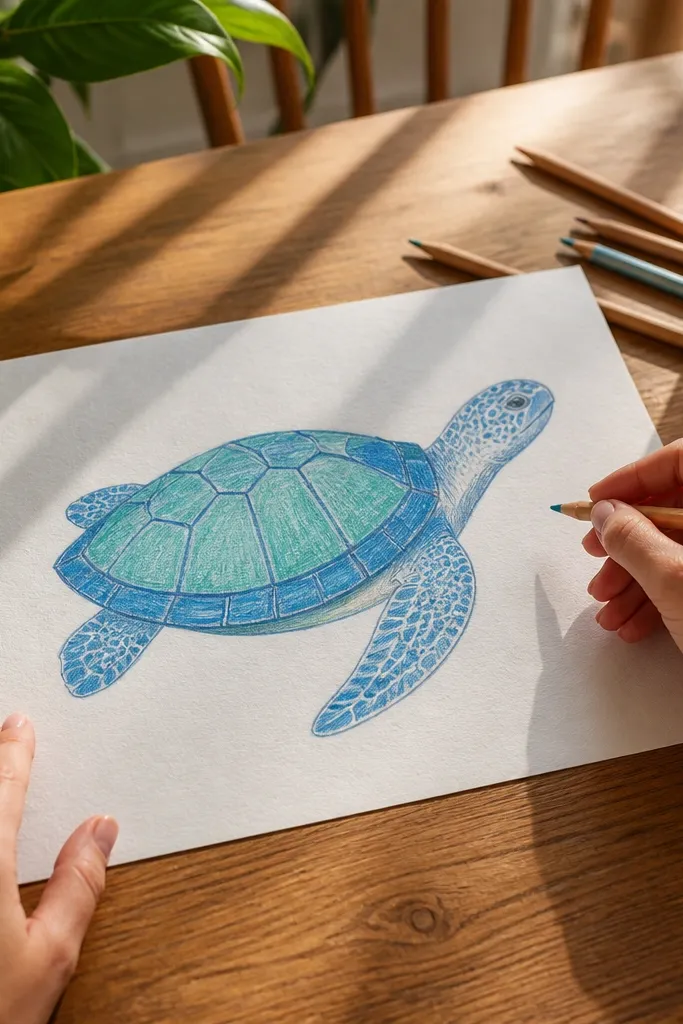
Two-tone colored pencil shading makes beginners look skilled fast. You’re not blending gradients perfectly; you’re building depth with a lighter base and a darker edge. This works especially well on sea turtles because the shell has natural “bands” you can follow. It also stays beginner-friendly because you can stop after a few strokes and the drawing still looks complete.
Sketch the turtle in pencil and lightly draw shell ridge lines. Color the entire shell area with a light green or muted teal base using short strokes. Add a darker green along the edges of shell ridge lines and under each ridge band. Blend with a light layer of the base color, then color flippers slightly darker near the outer edges and lighter near the body connection.
Keep your pencil pressure light for the first layer. Pressing hard early makes it hard to correct outlines.
Avoid color everywhere evenly. Leave the ridge lines to guide where the darker tone goes.
12. Chalk Pastel Sea Turtle on Dark Paper
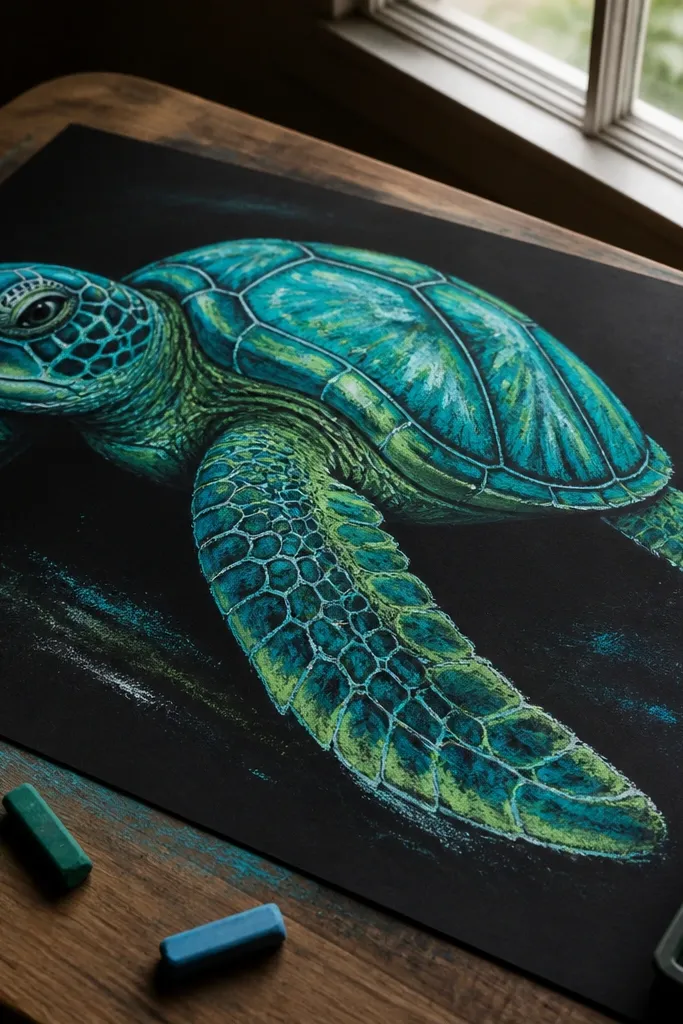
Dark paper makes beginners feel confident because mistakes are easier to cover with chalk strokes. Chalk pastel also allows quick texture without tight line work. This project gives you a bold turtle look even if your drawing lines aren’t perfect. You’ll use fewer steps: outline, add shell ridges, then add color blocks. It’s great for kids or anyone who wants a dramatic result with simple tools.
Lightly sketch the turtle outline with a white or light chalk pencil. Add the shell ridges as 5-7 curved lines across the shell. Color the shell in two or three broad strokes, keeping the ridges brighter than the surrounding area. Add flippers as rounded paddles and shade under them with a darker color to create depth.
Use a fingertip or small blending sponge to soften chalk at the edges, not across the ridge lines.
Don’t smudge the entire drawing. Keep the ridge lines crisp so the shell reads clearly.
13. Paper Plate Turtle Stencil Shell
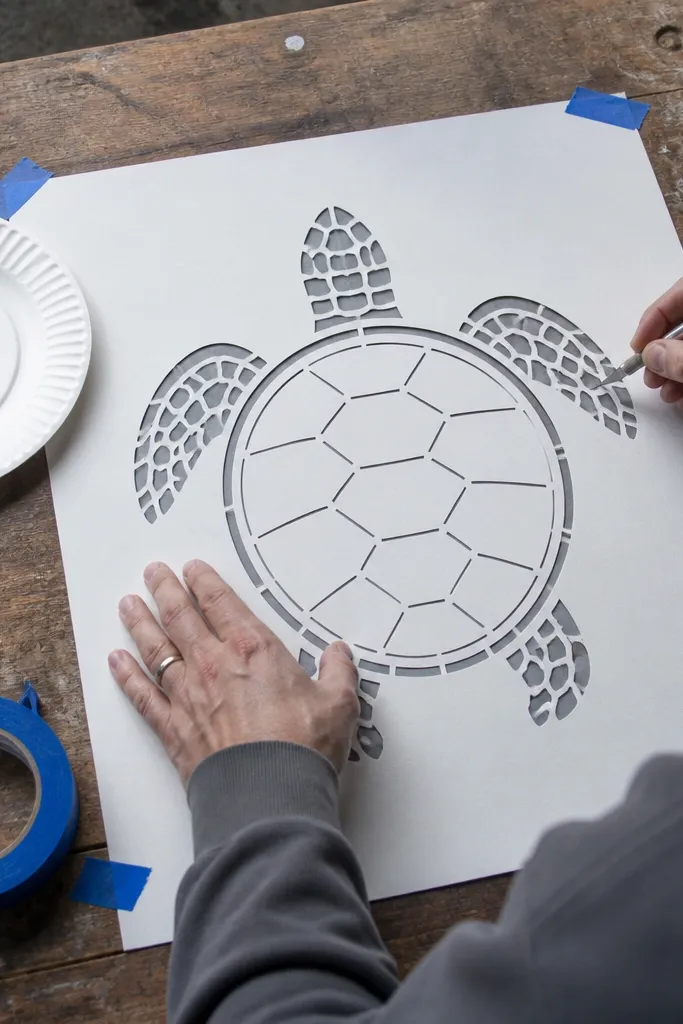
Stencils are a beginner-friendly Sea Turtle Drawing easy hack because they remove the hardest part — drawing consistent curves. You’ll make a simple stencil by tracing a plate rim or a round object for the shell outline, then cut or trace shell ridge arcs. This creates a clean turtle silhouette and ridge placement every time. The result looks neat enough for crafts without needing advanced drawing skills.
Trace a paper plate or bowl onto paper to create a shell outline. Lightly draw a smaller head oval attached to one side and connect with a curved neck. Use a second small plate or lid to trace flipper paddles if you want matching curves, then draw flippers freehand for the edges. Add shell ridges by tracing 5-6 arcs across the shell with a stencil or by using a compass for consistent curves.
If you don’t have a craft knife, use tracing paper and trace the stencil instead of cutting it.
Avoid making the shell outline too perfect. A slightly uneven edge looks more natural than a stiff circle.
14. Seashell Pattern Turtle (Just 6 Ridges)
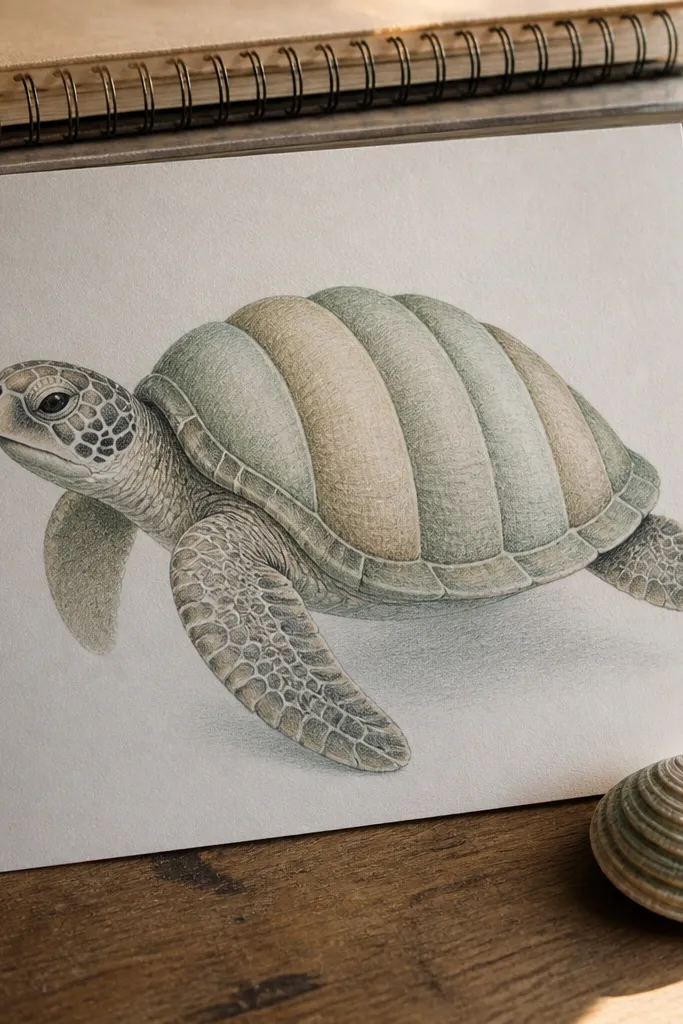
Six ridges is a sweet spot for beginners: enough pattern to feel turtle-like, not so many that it turns into clutter. This idea uses a seashell-like curve rhythm, which makes your turtle look intentional even with simple shading. You’ll also get practice keeping ridge spacing even. It’s a good project when you want control and a clean final drawing for a page layout.
Sketch the body oval and head oval. Lightly draw six curved ridges across the shell, spaced evenly from top to bottom. Add two flippers as rounded paddles and keep the legs hidden by the shell edge. Place eyes on the head and add a small nostril mark. Color with two tones: one base tone for the shell and one darker tone along each ridge.
Pro tipDraw ridge lines first in pencil, then color only after you’re happy with spacing.
AvoidDon’t add extra ridges “just to fill space.” Stick to six so the pattern stays readable.
15. Turtle With Simple Seaweed Background
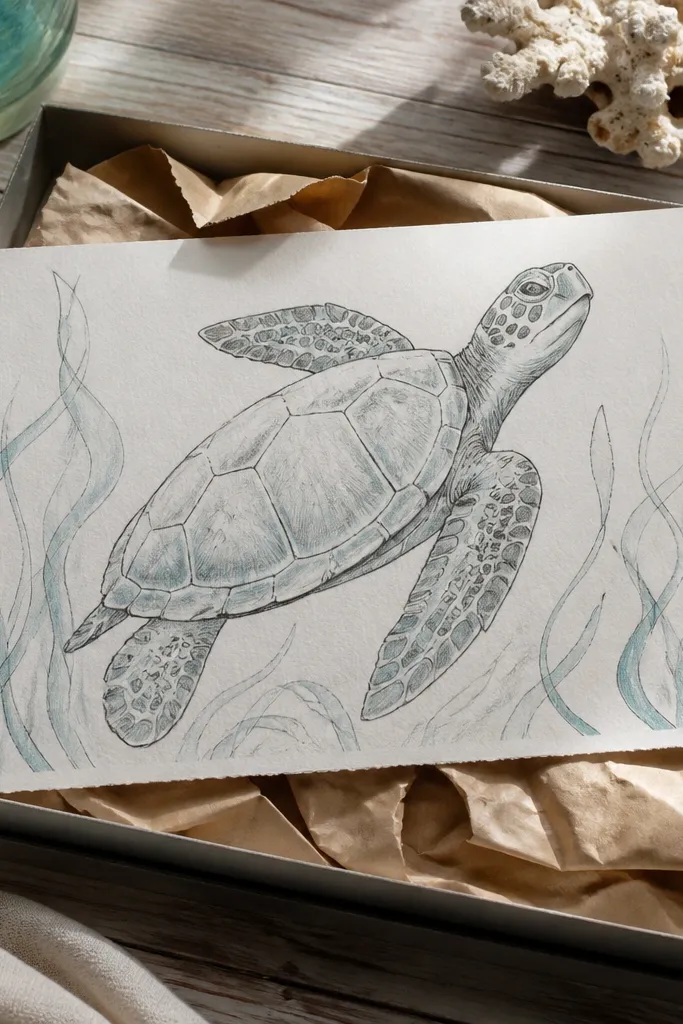
A background makes beginners' drawings look finished fast, and seaweed is the easiest possible background. It frames the turtle, adds movement, and gives you something to draw besides anatomy. You’ll keep the turtle itself simple and focus your effort on clean lines for the seaweed. This is a beginner-friendly Sea Turtle Drawing easy idea for sketchbook pages where you want a scene.
Draw the turtle first with an oval body and simple flippers. Add only 3 shell ridges so the turtle doesn’t compete with the background. For seaweed, draw 5-7 long curved blades rising from the bottom edge, each with a few side branches. Add 3 small bubbles as circles behind the turtle’s lower shell area. Darken the turtle outline more than the seaweed so it stays the main subject.
Keep seaweed lines thinner than the turtle outline. That one choice makes the whole page look cleaner.
Don’t overcrowd the background. Too many blades make the turtle look lost.
16. Chubby Flipper Turtle With Thick Outline
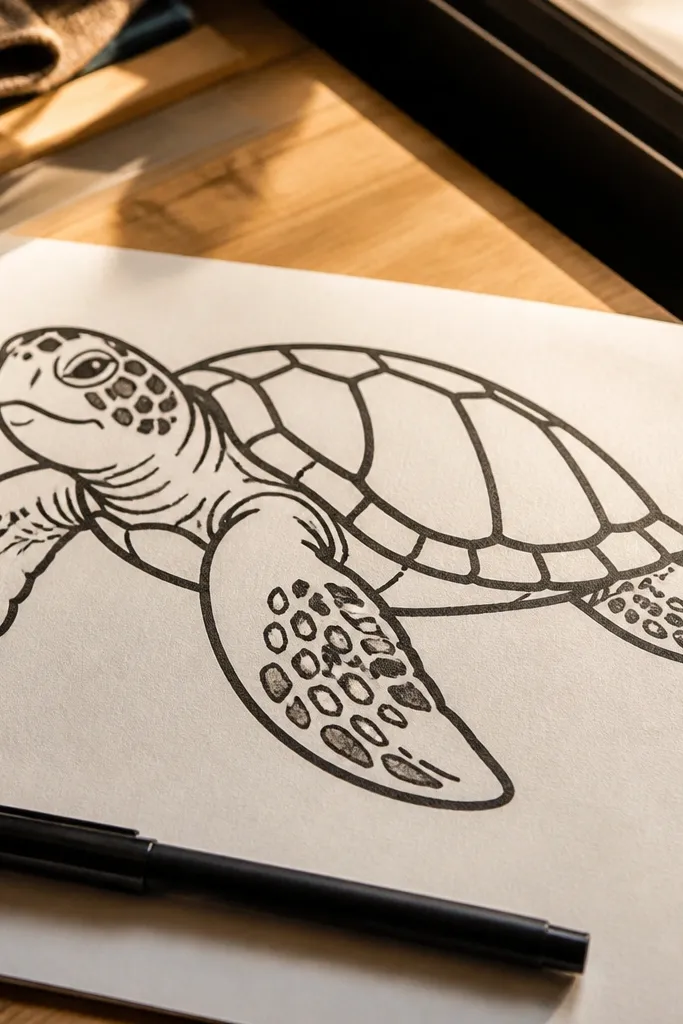
Big, chubby flippers are an easy fix for beginner proportions. When flippers have width and rounded edges, the turtle looks like a real sea turtle even if the shell pattern is simple. Thick outline helps too because it hides uneven pencil lines. This idea is great for beginners who feel their drawings look “too skinny” or “too delicate.” You’ll get a bold, friendly turtle that reads well from a distance.
Sketch the turtle lightly: body oval, small head oval, and two flippers as wide paddles. Outline the silhouette with a thick black pen, but keep shell ridges as thin pencil lines or skip them. Add 2-3 curved shell ridges to suggest the shell structure. Color with one flat color for the shell and a lighter shade for the underside. Add a small highlight line on each flipper for shape.
Pro tipUse a single pen thickness for the outline. Mixing pen sizes mid-drawing makes it look accidental.
AvoidAvoid drawing the flippers as long thin shapes. Width is what makes this style work.
17. Tiny Turtle in a Circle Frame
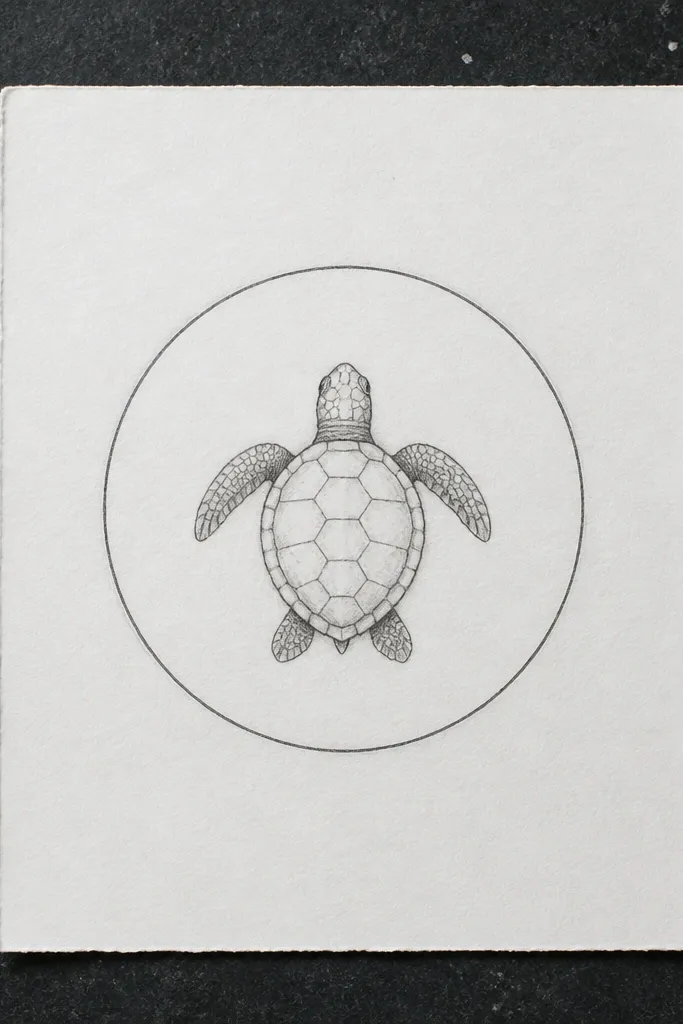
Framing your turtle inside a circle makes composition easy. You’re not guessing how big the turtle should be on the page, and centering becomes simple. This idea is perfect for beginners practicing spacing because the circle gives you a boundary. The turtle stays small and cute, with only a few shell ridges and simple flippers. It’s also useful if you want to make stickers or printables later.
Draw a circle on your paper and keep it light. Sketch a smaller body oval inside the circle and attach a head oval. Keep the flippers inside the circle edge — draw them as rounded shapes that don’t touch the circle boundary. Add 3-4 shell ridges and two eyes placed on the head oval. Outline the turtle gently and erase any construction lines inside the circle.
If your turtle feels cramped, increase the circle size by 1-2 inches before you start the drawing.
Don’t let the flippers cross outside the circle. It breaks the neat beginner composition.
18. Sea Turtle With Cross-Section Shell Lines
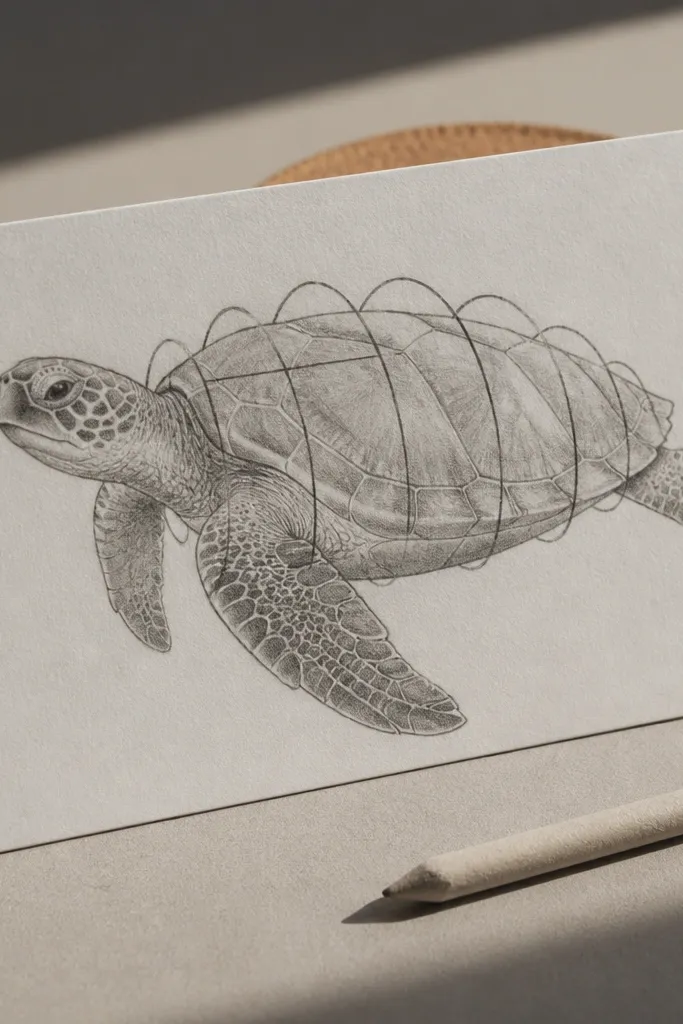
Cross-section lines teach the shell’s volume, which is where many beginner turtles look flat. Instead of drawing a bunch of patterns, you draw a few curved “slices” that wrap around the body. Add light shading along those slices and your turtle suddenly looks 3D. This is beginner-friendly Sea Turtle Drawing easy because it uses fewer details and more shape control. Great for pencil drawings and quick graphite studies.
Draw the body oval and head oval. Add a center guideline down the body and then draw 4-5 curved cross-section lines that wrap around the shell area. Sketch flippers as rounded paddles and lightly shade the underside. Darken the shell outline and the outer edge of the cross-section lines. Add two eyes and a small mouth line, then blend shading with the side of your pencil.
Pro tipShade the space between two cross-section lines, not on top of the lines. It keeps the 3D effect clean.
AvoidDon’t shade the whole shell evenly — the slice lines need contrast to read.
19. Simple Sea Turtle Mandala Shell (8 Segments)
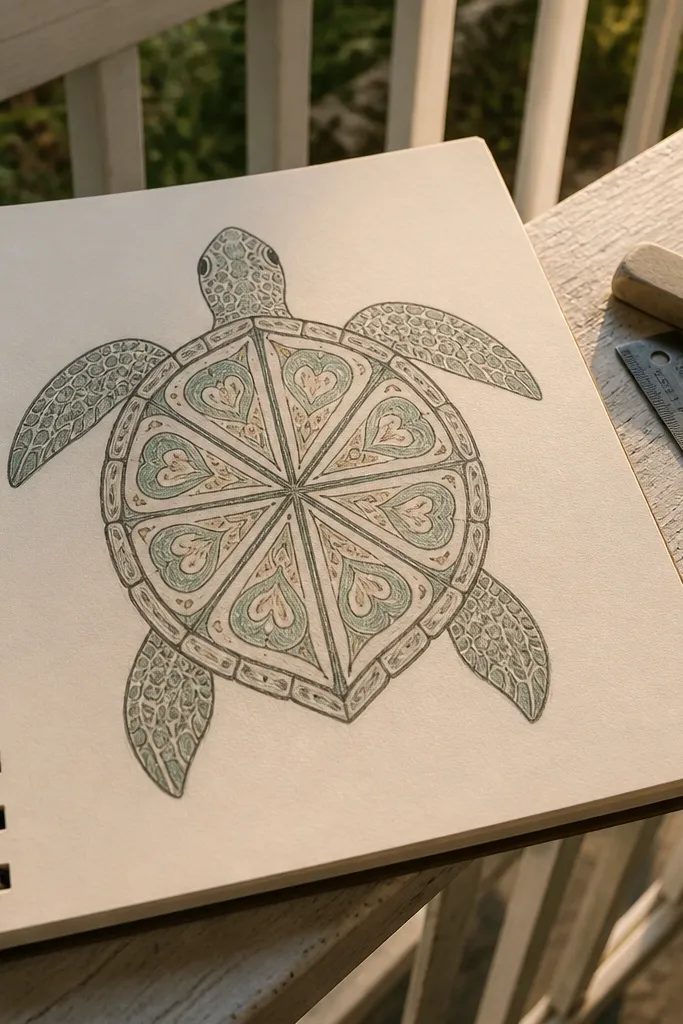
This idea turns shell patterning into a beginner-friendly structure. Eight segments are easier to place than random scutes, and symmetry makes the turtle look crisp. You’re still drawing a turtle, not a full mandala, so it stays manageable. This works for anyone who loves patterned art but fears they’ll overdo details. It’s also a nice “upgrade” from the three-band turtle once you feel comfortable.
Sketch the turtle body oval and head oval. Draw a cross guideline through the body and then add two diagonal guidelines so you get eight curved sections on the shell. Outline the shell edges and flippers. In each segment, draw one simple curved line or small arc pattern, keeping it consistent across all eight areas. Add eyes and a mouth, then erase guidelines after the shell segments look right.
Pro tipUse a ruler for the guideline lines, then freehand the segment arcs so it still looks organic.
AvoidAvoid making each segment different. Consistency is what makes this look intentional.
20. Sea Turtle With Bubble Trail
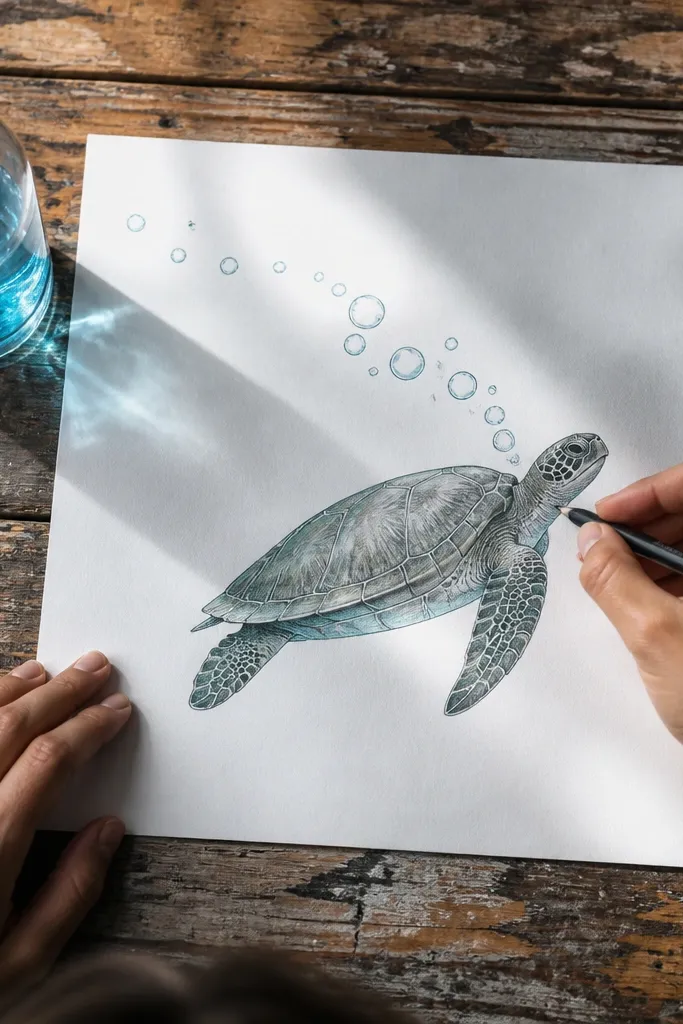
Bubbles are beginner-friendly because they’re just circles, and they add motion without complicated background scenery. This idea keeps turtle details minimal so the composition stays readable. The bubble trail also helps you angle the turtle’s body — you’ll follow the arc of bubbles for the direction. It’s a clean way to practice sea turtle pose without needing advanced anatomy. Perfect for quick sketches and greeting card themes.
Sketch the turtle in side view with an oval body and small head oval. Add two flippers as rounded paddles and draw 3-4 shell ridges. Then draw a line of bubbles behind the turtle — start with 3 larger circles near the back and 6 smaller circles fading backward. Keep bubbles evenly spaced and lightly overlap some bubbles with the shell edge. Darken the turtle outline last so it stays the focus.
Pro tipVary bubble sizes by about 25% between each cluster so it looks like depth, not a pattern.
AvoidDon’t draw bubbles in front of the turtle shell. It makes the turtle look flat and out of order.
21. Pencil Shading Turtle With Hard-Edge Highlights
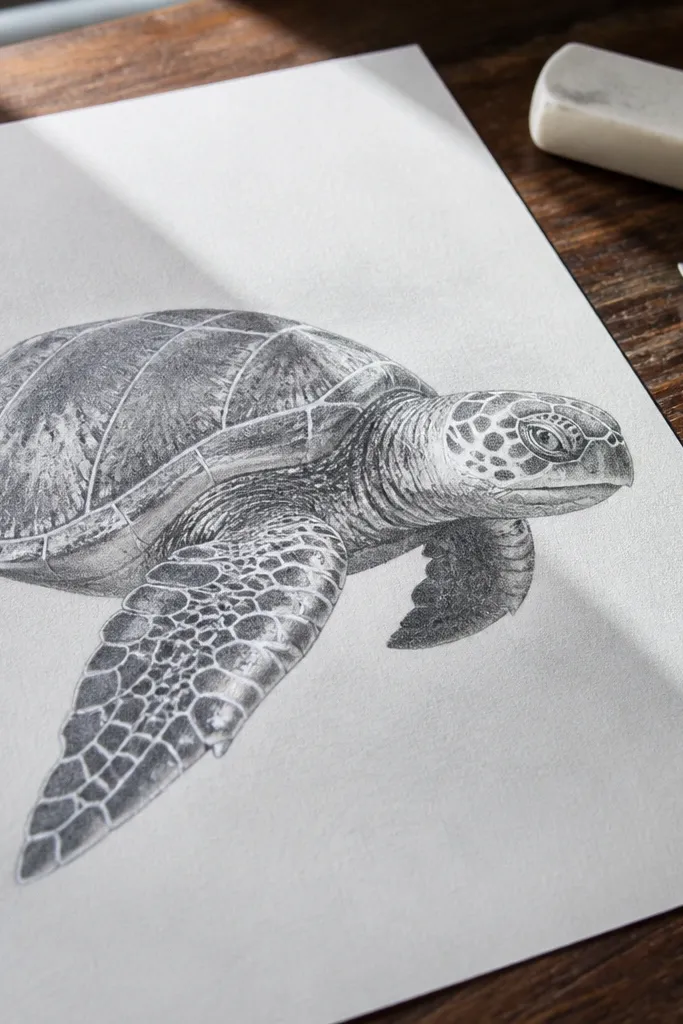
Hard-edge highlights make pencil drawings look more “designed” without fancy blending. You’re not trying to create smooth gradients; you’re placing light areas and darker shadow areas where they belong. This makes the turtle’s shell and flippers read clearly, even for beginners. It also helps you learn where light hits the shell ridges and where shadows collect under flippers.
Sketch the turtle body, head, and flippers lightly. Add 4-6 shell ridge lines that guide where highlights will go. Shade the underside and the sides of each ridge with 2B pencil, staying darker near the outer shell edge. Leave a narrow strip of white on the ridge tops for highlights, then sharpen those highlight edges by gently erasing. Finish by darkening the outline and eyes.
Pro tipUse a sharp pencil tip for the outline and ridge edges — blunt shading makes highlights look accidental.
AvoidAvoid heavy blending all over. Keep shadows darker and highlights clean for the hard-edge look.
22. Sea Turtle Drawing Using Only Curves
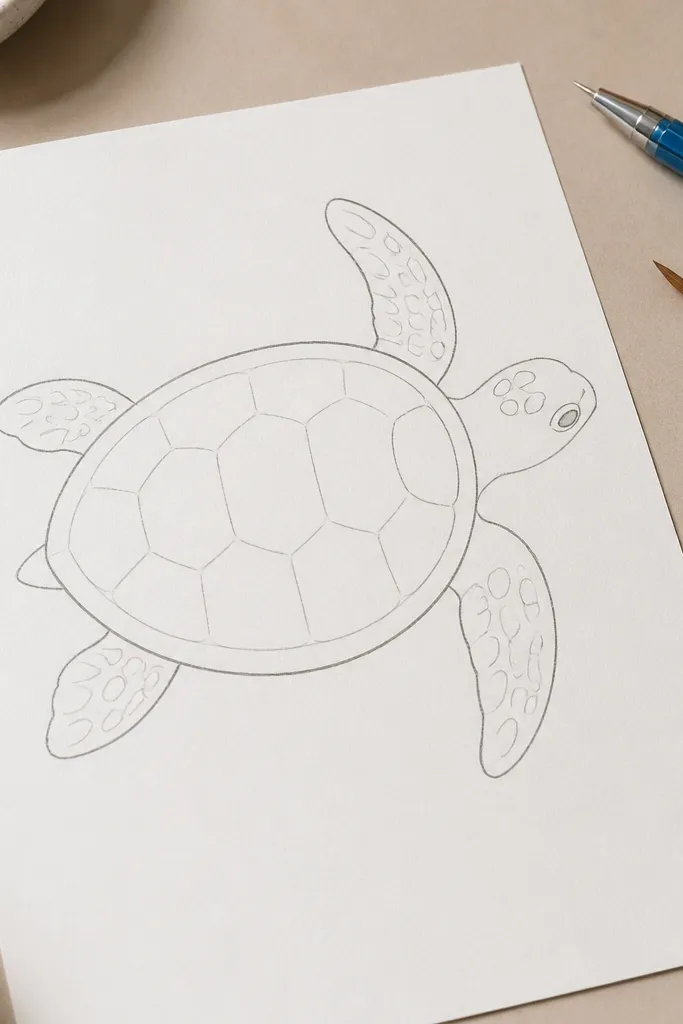
This project is for beginners who want the turtle to look right even if their straight lines aren’t great. Sea turtles are mostly rounded forms, so using only curves helps you avoid weird corners. You’ll draw the shell as a continuous curve and the flippers as curved paddles. It’s forgiving because curves hide small wobble. The final drawing looks smooth and friendly, which is what beginners usually want.
Start with one continuous outline curve for the body oval and head oval connection. Add the flippers as curved paddles with rounded ends, avoiding corners. Draw shell ridges as curved arcs that follow the body shape. Place eyes as simple circles and add the mouth as a short curve. Darken the final outline and lightly erase any stray pencil marks.
If you struggle with circles, trace a coin or bottle cap once for the body shape, then redraw it freehand after.
Don’t add straight “detail lines” inside the shell. Keep everything curved so it stays consistent.



