
1. Triangle Snout Baby Shark (Side Profile)
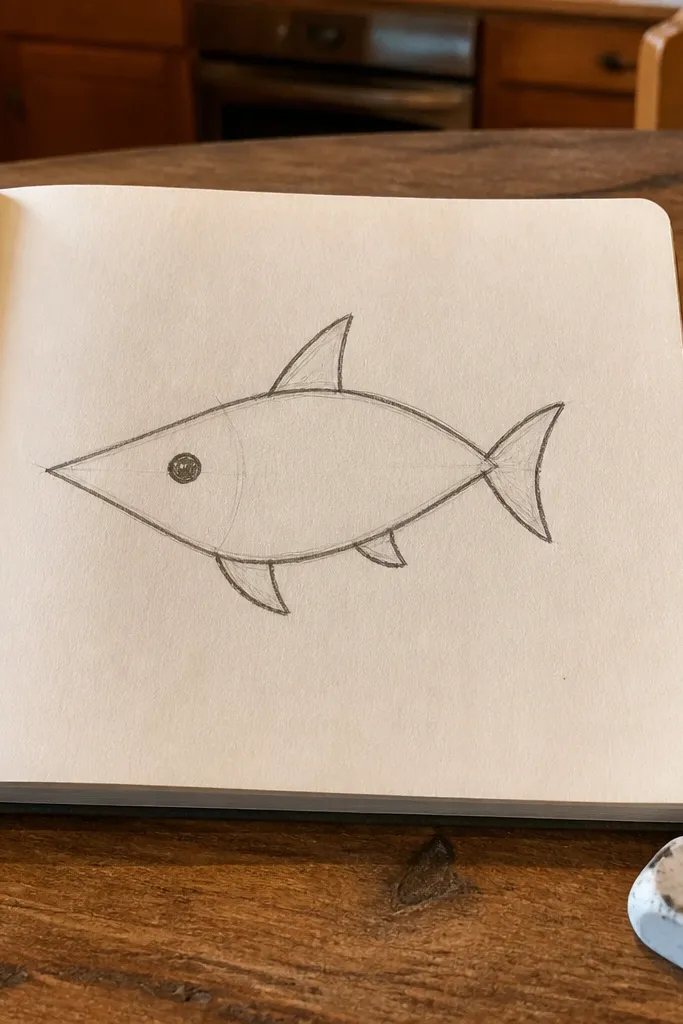
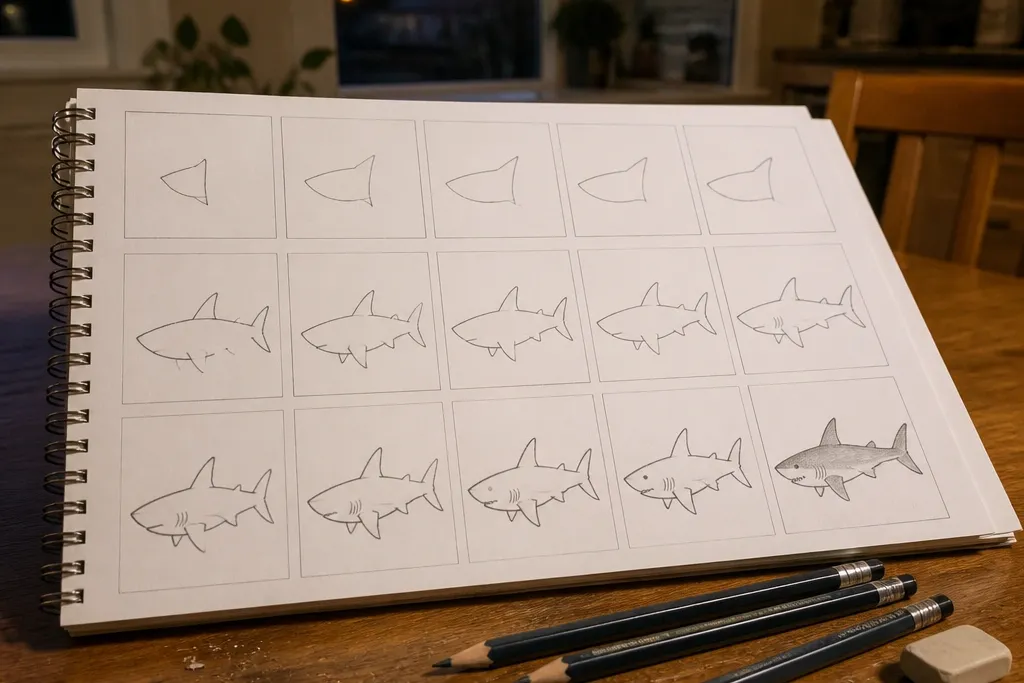
This one is for beginners who struggle with the snout. Start with a triangle wedge for the mouth area, then wrap the body around it like a teardrop. The eye sits slightly forward, and the dorsal fin is a clean triangle that points back. Because you’re using big, simple shapes, the shark reads instantly even if the curves aren’t perfect. It’s also a good warm-up because it teaches you where the fin attaches relative to the body curve.
Pro tipKeep the dorsal fin triangle small. A big fin is the fastest way to make a beginner shark look “off.”
Step 1: Draw a teardrop body angled slightly up, then add a small triangle wedge at the front tip for the snout. Step 2: Place a dot eye on the upper front curve, then draw a shallow arc for the mouth line that connects to the snout. Step 3: Add two triangles for fins — one dorsal fin on the back half and one smaller pectoral fin lower near the front — then erase construction lines and ink the outer shape.
AvoidDon’t draw teeth first — finish the outline so the jaw line has context.
2. C-Shaped Body Hammerhead (Blocky Head Practice)
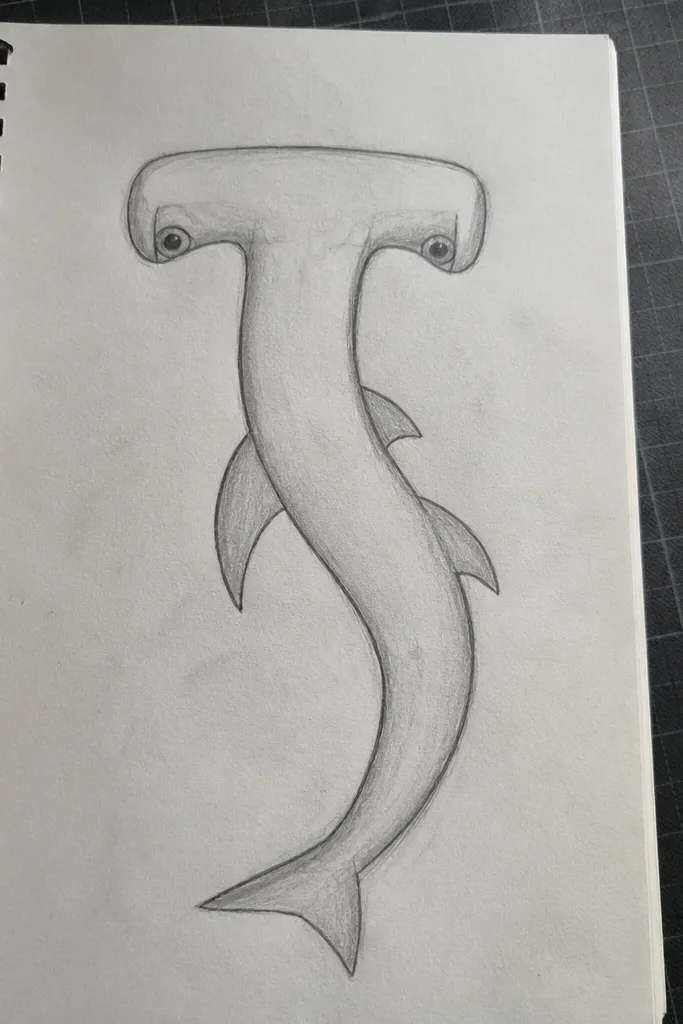
Hammerheads look intimidating, but the trick is to treat the head like a wide rectangle with rounded corners. You’ll build the head as a big C-shaped curve, then add the eyes inside that curve. The body can stay simple: one long C or S curve with a tail fin triangle. This idea works because it trains you to draw the head structure before you worry about details. Beginners get a recognizably “hammerhead” silhouette even with rough lines.
Step 1: Draw a wide rounded rectangle, then carve it into a C shape by leaving the center gap where the snout depth would be. Step 2: Add two small eye dots spaced far apart on the top of the C, then draw a long curved body line trailing back from the head. Step 3: Finish with a tail triangle and two simple fin bumps, then ink the outline and erase guide lines.
Use light pencil for the head guide so you can reshape the curve after you see the silhouette.
Don’t make the head too thin. Hammerheads need width for the look to read.
3. Three-Curve Great White (Minimalist Outline)
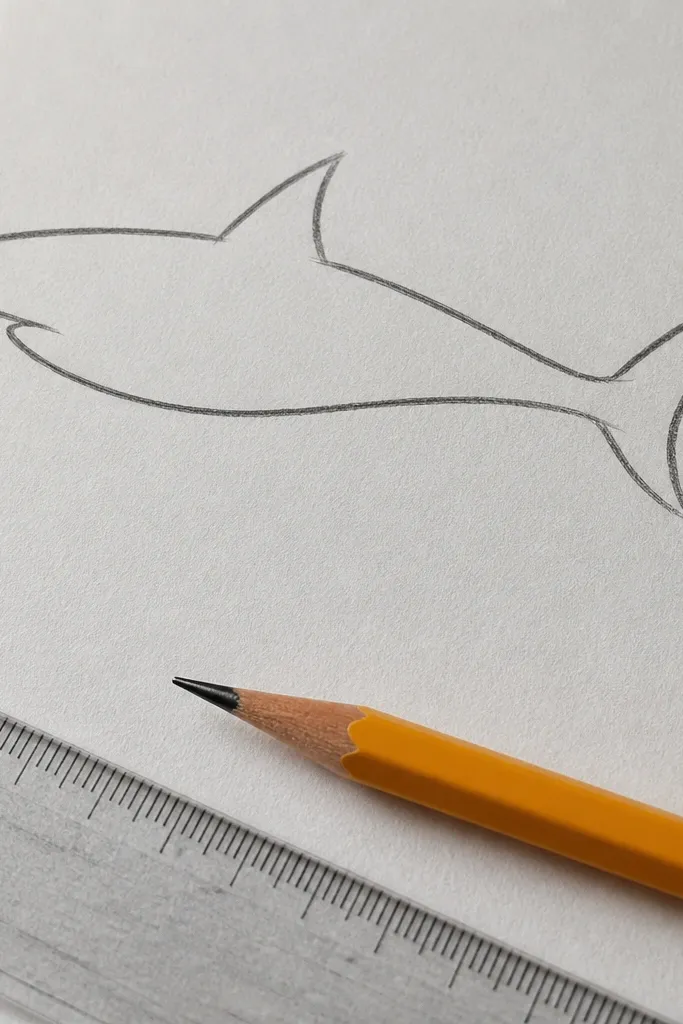
This is a “don’t overthink it” great white outline. You draw the body using three smooth curves: top back, belly line, and tail sweep. Then you add the jaw as a short curve that dips down from the snout. The dorsal fin is a single triangle with one crisp edge. This works because it removes the need for teeth detail and shading. Your goal is a clean silhouette that looks like a shark at a glance.
Step 1: Lightly sketch three curves: an upper curve for the back, a lower curve for the belly, and a tail curve that connects to the back curve. Step 2: Add a short snout curve at the front, then place a small eye dot on the upper curve near the front third. Step 3: Draw the dorsal fin triangle on the upper curve and a small pectoral fin on the belly side, then ink the outer lines only.
If your curves look wobbly, redraw the outline with fewer touch points. Smooth arcs beat messy micro-lines.
Skip tiny teeth patterns. A single jaw line reads better for beginners.
4. Fin Triangle Study (Front-Fin Angles)
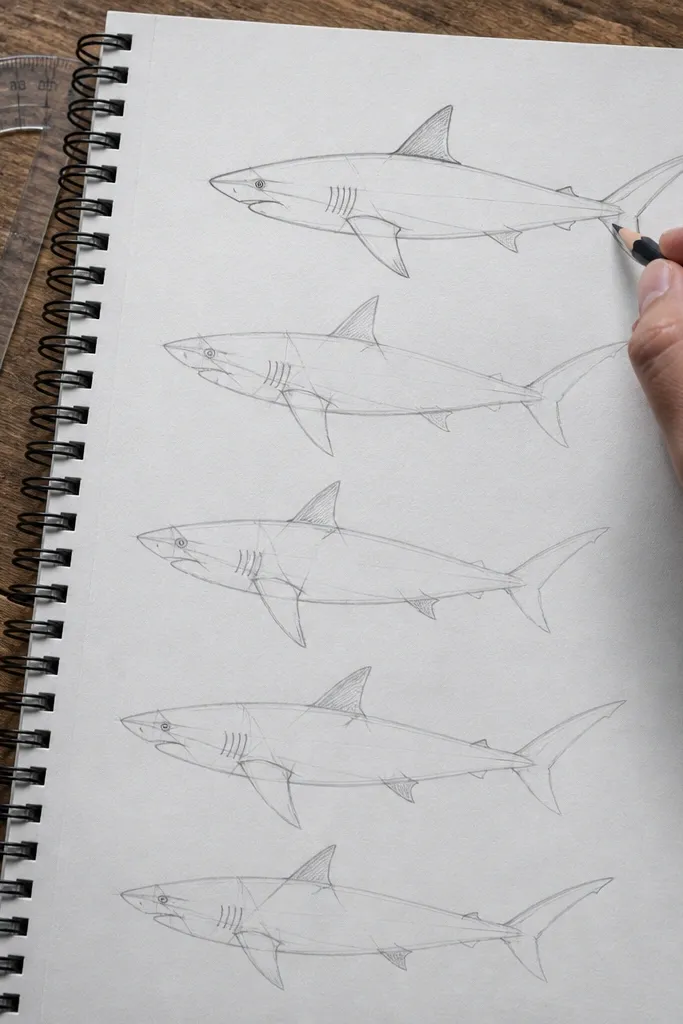
When your fins look like random paper cuts, this prompt fixes it. You’ll keep the body ultra simple and focus on fin placement using triangles. By changing only one thing — the angle of the dorsal fin and the height of the pectoral fin — you learn what makes the shark look like it’s swimming. It’s forgiving because even if the body is plain, the fin logic still makes the drawing feel correct. This is a great weeknight exercise when you’re tired but want real improvement.
Step 1: Draw a simple oval body with a pointed tail end, leaving the front snout as a small triangle. Step 2: Sketch three dorsal fin triangles on the back half at different heights (light guides only). Step 3: Pick one dorsal fin that looks most “natural,” then add one pectoral fin triangle near the belly, erase the other guides, and ink your chosen shape.
Angle the dorsal fin so its top edge leans slightly back. Straight-up triangles look stiff.
Don’t place the dorsal fin too far forward. If it sits near the eye, it stops reading as a shark.
5. Shark Eye Placement Grid (Quick Face Alignment)
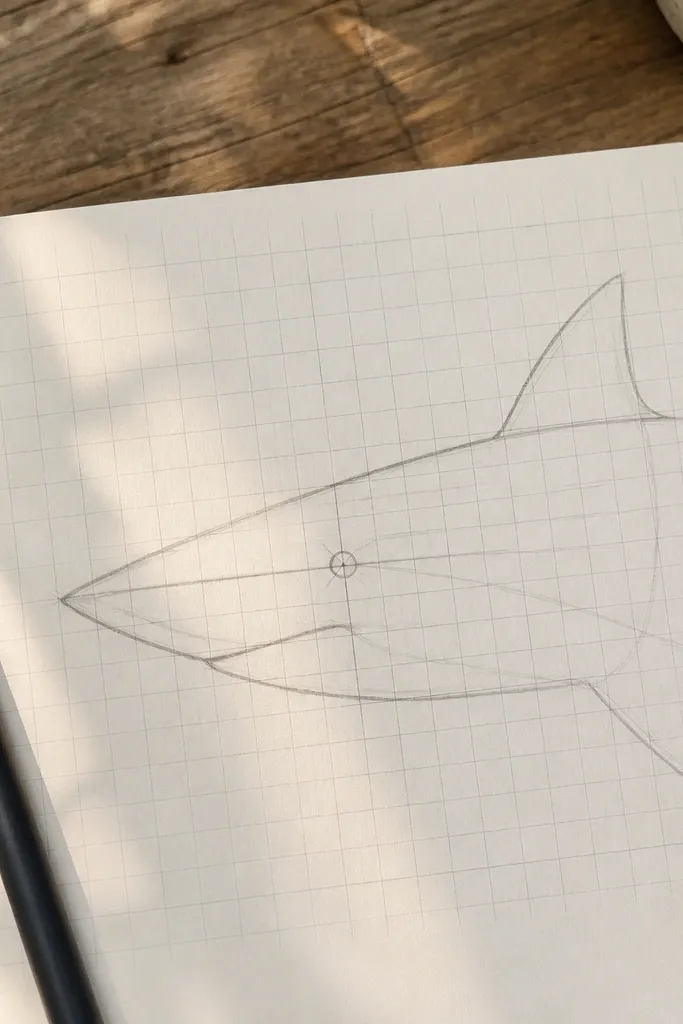
Beginners often put the eye in the wrong place, and the whole shark looks “wrong” even if the body is decent. This prompt uses a tiny grid so the eye lands on a consistent spot. You’ll draw a head wedge, then add two guide lines: one for the snout angle and one for the head height. The eye sits where those lines predict. After that, the mouth line and gill slits are easy to place. This is a practice sheet, not a masterpiece — it trains accuracy.
Pro tipMeasure eye placement by width, not by guess. If your head is 6 cm wide, place the eye about 2 cm from the center line.
Step 1: Draw a head wedge for the snout and a rounded top for the skull, then lightly add a vertical guideline down the center and a horizontal guideline across the head. Step 2: Mark an eye dot on the horizontal line, slightly forward of the center guideline by a small consistent distance. Step 3: Add a short mouth curve below the snout wedge and two or three gill slits as short lines on the side, then erase the grid and ink.
AvoidDon’t draw the eye at the very front tip. That placement makes cartoon fish more than sharks.
6. Underbelly Belly Line Shark (Easy Symmetry)
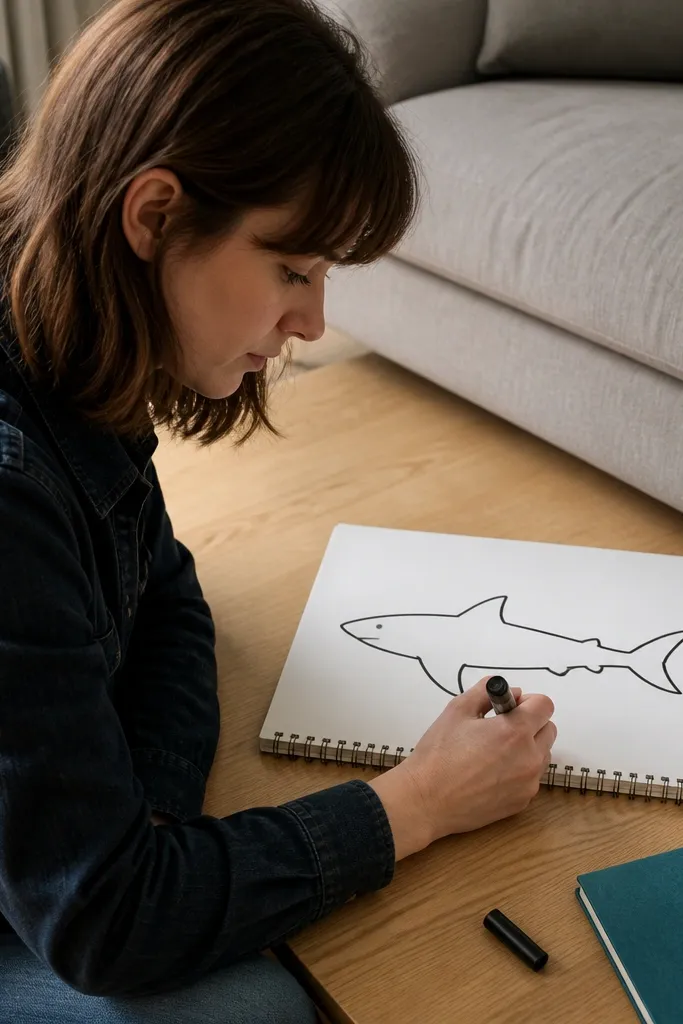
This idea fixes a common beginner issue: belly lines that curve the wrong way. You’ll draw the underbelly as a single sweeping curve, then mirror that logic on fins so the shark looks coherent. Start with a simple side silhouette and keep the body outline thick. Then add a lower fin that follows the belly curve. The result is a shark that looks like it’s gliding, not flopping. It’s forgiving because the underbelly line gives you an anchor for everything else.
Step 1: Draw a side silhouette using one long spine curve for the top and one long belly curve that dips slightly then rises toward the tail. Step 2: Add a dorsal fin triangle on the top curve and a pectoral fin triangle that matches the belly curve angle. Step 3: Ink the outline, then add a simple gill slit group as three short lines behind the eye area.
Before inking, check the belly curve by tracing it with your finger. If it feels lopsided, adjust it now.
Don’t add extra bumps along the belly. One smooth curve reads better.
7. Open-Mouth Shark Bite (Jaw as a U Shape)
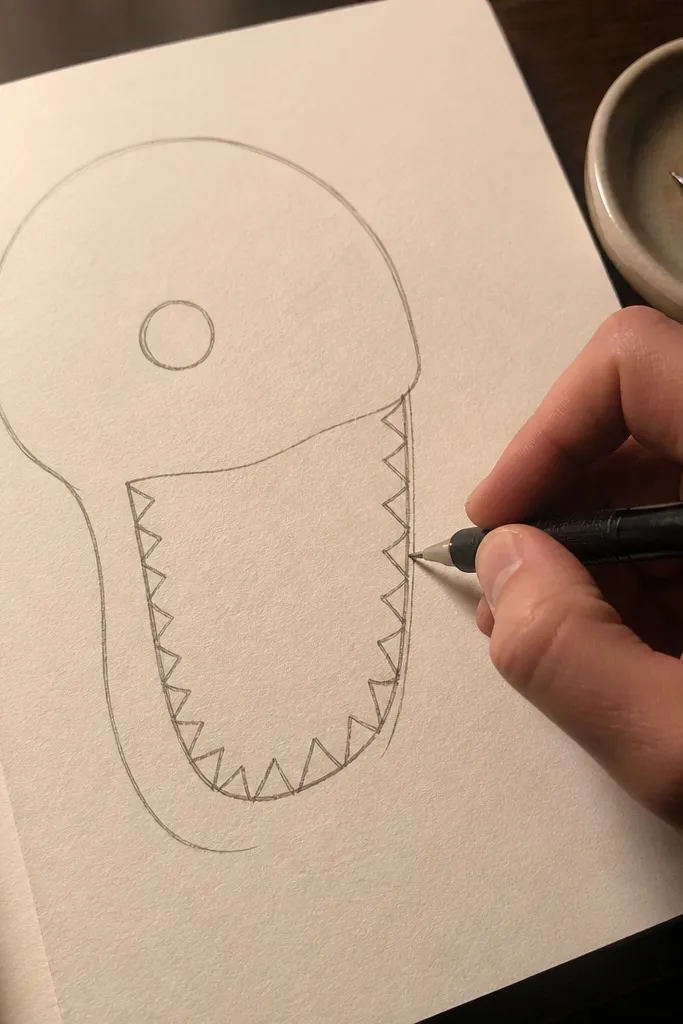
Open mouths scare beginners, but you can simplify the jaw into a single U shape. Draw the head outline first, then carve the mouth as a U that opens downward. Teeth can be just a row of short triangles along the U edges. This is easy because the mouth shape tells you where the teeth go — no need for perfect tooth anatomy. The shark still looks aggressive and fun without you overworking small details.
Step 1: Sketch a side profile body and head wedge, then draw the mouth as a big U curve inside the lower front of the head. Step 2: Add a row of tiny triangle points along both sides of the U — keep them uneven so it looks natural. Step 3: Ink the head outline and mouth U, then erase pencil guides and add one gill slit or a small line behind the eye.
Make the mouth U deeper than you think. Shallow U jaws look like a smirk.
Don’t draw teeth all the way to the back of the mouth. Stop after 10-14 points for a clean look.
8. Top-Down Shark (Circle Body, Simple Tail)
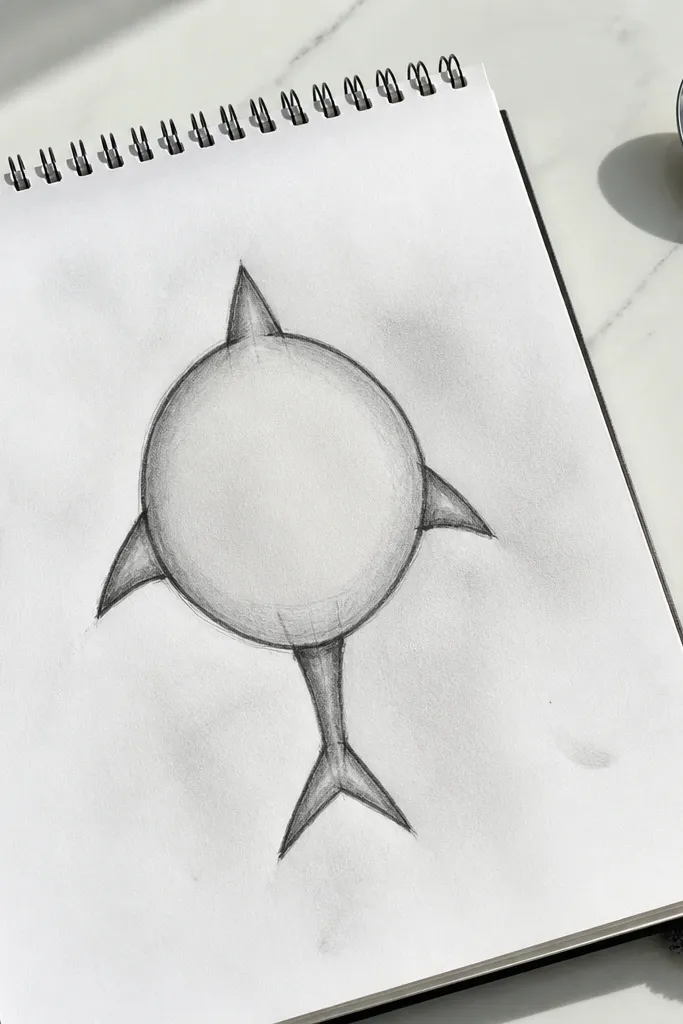
Top-down sharks are easier than side views because you can simplify everything to shapes. Start with a circle or slightly oval body, then add a small tail triangle pointing back. The fins become small arcs or triangles on the top silhouette. This prompt helps you practice foreshortening without scary realism. It’s also perfect for quick practice because you can spot mistakes immediately — if the tail is wrong, the whole direction is wrong, and you’ll fix it fast.
Step 1: Draw an oval for the body and a smaller triangle or wedge for the tail pointing backward. Step 2: Place a dorsal fin as a small triangle on the top edge and a pectoral fin as a small curved bump near the front. Step 3: Add a simple eye dot near the front and a short snout line, then ink the top silhouette and erase guides.
Keep the top view fins small. Oversized fins make the shark look like a cartoon manta.
Don’t add a full mouth detail. One snout line is enough from above.
9. Shark Fin Close-Up Pattern (3 Lines Texture)
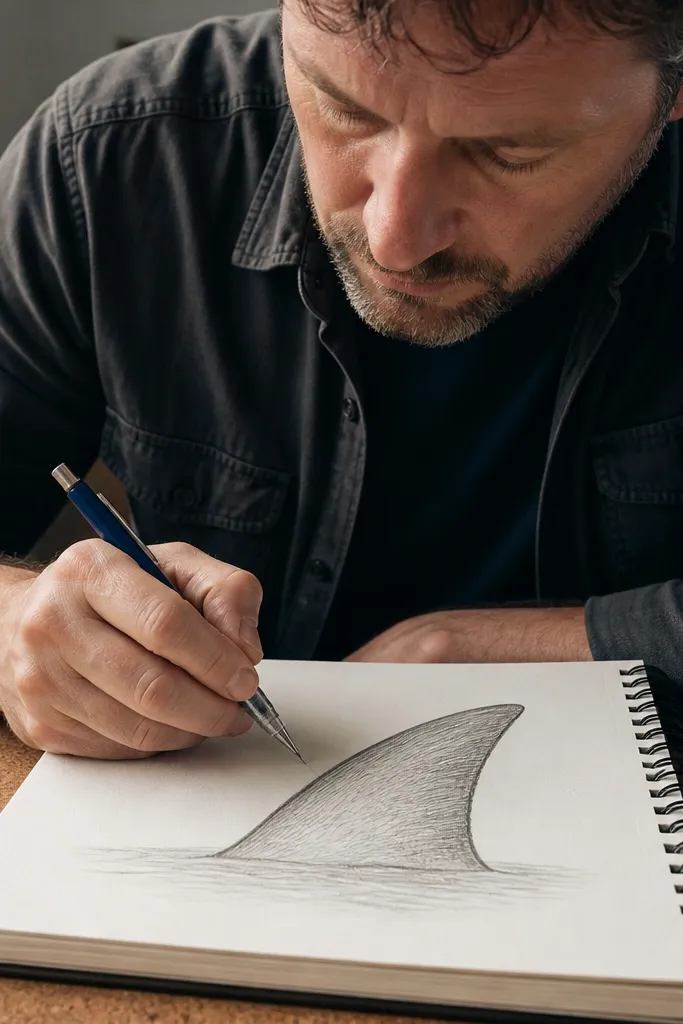
If you want a drawing that looks skilled fast, textures help. This prompt is about drawing a fin and adding a repeating pattern of simple lines on it. You’ll outline one fin, then add three consistent texture strokes across the fin surface. It reads as “shark skin” without you having to draw scales. Beginners like this because it’s small and contained. It also builds confidence with line weight and spacing.
Pro tipPress harder on the outer fin outline. Lighter texture lines make the fin look more dimensional.
Step 1: Draw a fin outline using a curved triangle — wider at the base, narrower at the tip — with a slight curve along the leading edge. Step 2: Add three texture lines: one long center line and two shorter lines on either side, all spaced evenly. Step 3: Ink the fin outline darker, then ink the texture lines lightly and erase pencil marks.
AvoidDon’t cram texture lines. Three clean strokes look better than ten messy ones.
10. Cartoon Shark Buddy (Big Eye, Simple Smile Jaw)
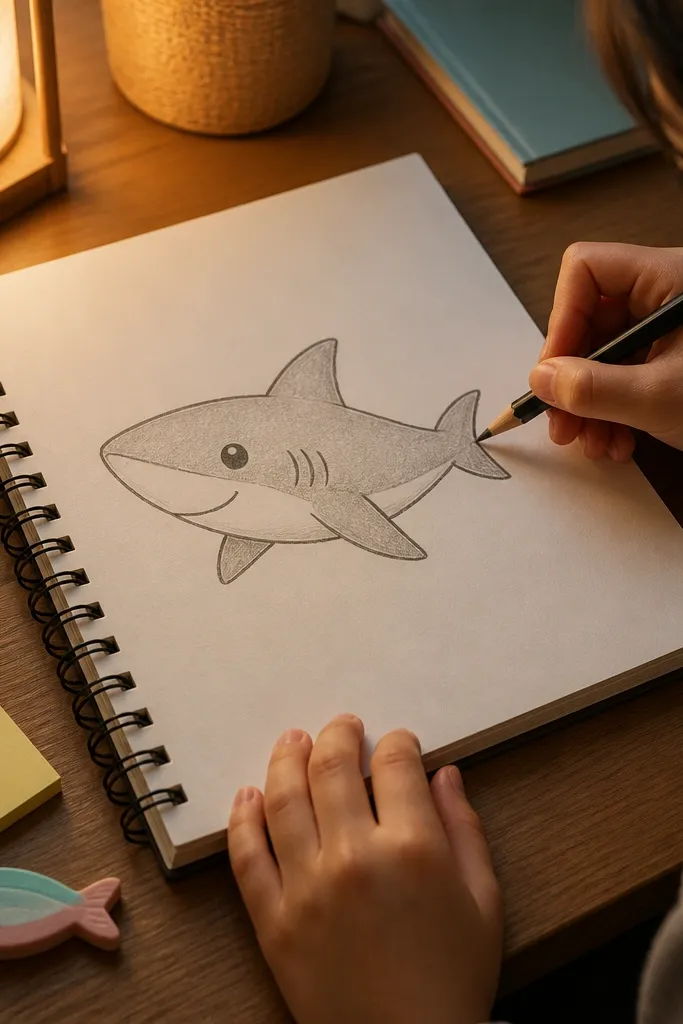
This prompt is for nights when you want progress without fighting fear of “realistic” sharks. Use a big eye dot, a rounded snout wedge, and a simple smile-like jaw curve. Keep the fins as two triangles and one small tail fin. The goal is a recognizable shark shape with a friendly expression. It’s beginner-friendly because you control the vibe using two choices: eye size and mouth curve. You still practice the same construction skills, just with a calmer look.
Pro tipMake the eye bigger than you think. Oversmall eyes make cartoon sharks look confused.
Step 1: Draw a rounded teardrop body, then add a small wedge snout at the front. Step 2: Place a large eye dot on the upper front, then draw a curved jaw line that looks like a gentle smile. Step 3: Add a dorsal fin triangle and a pectoral fin triangle, plus a tail triangle, then ink the outline and erase pencil guides.
AvoidDon’t add realistic teeth. The friendly look comes from the simple jaw line.
11. Shark in Motion (S-Curve Body, Trailing Tail)
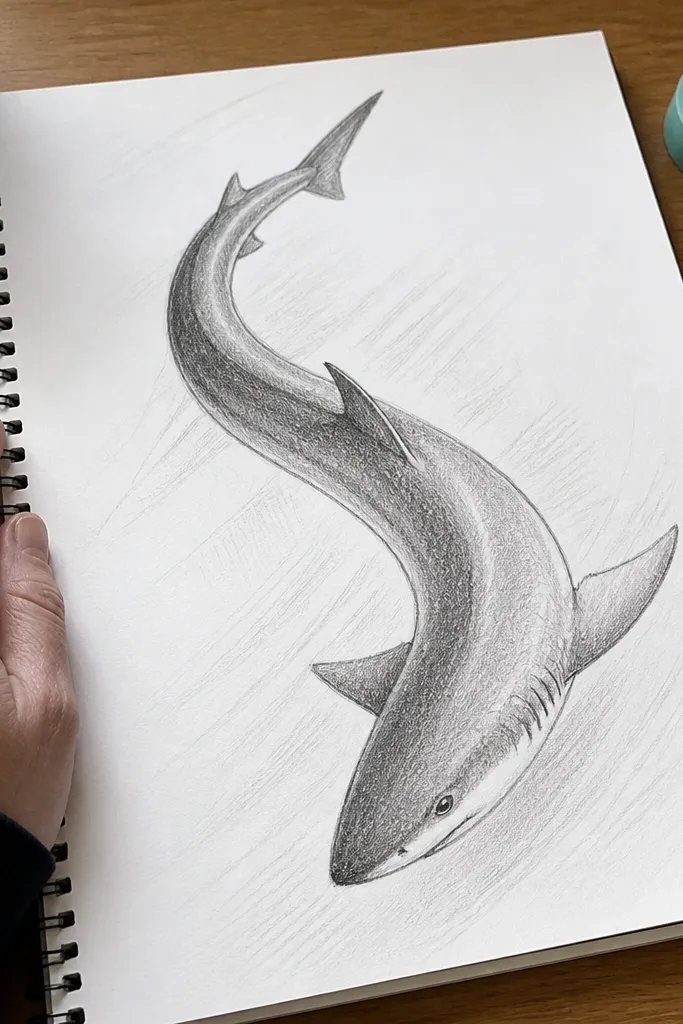
Motion is where beginners get stuck because they try to add speed lines and then lose the shape. This idea keeps it simple: one S-curve body and a tail that points in the direction of travel. Add one fin on top and one small fin on the belly side, then keep them aligned with the S curve. Your shark will look like it’s swimming even with minimal detail. It also teaches you that direction comes from the body curve, not from fancy backgrounds.
Step 1: Draw an S-shaped spine line, then connect it to a simple belly line that follows the curve. Step 2: Add a snout wedge at the front and a tail triangle at the back, tilted in the direction the S curve points. Step 3: Place a dorsal fin triangle on the upper curve and a pectoral fin triangle on the lower curve, then ink the silhouette and erase guides.
Use a single confident line for the spine. If you sketch it twice, pick the cleaner one and commit.
Skip extra fin bumps. One top fin and one side fin read as motion without clutter.
12. Shark Face Front View (Oval Head, Two Side Fins)
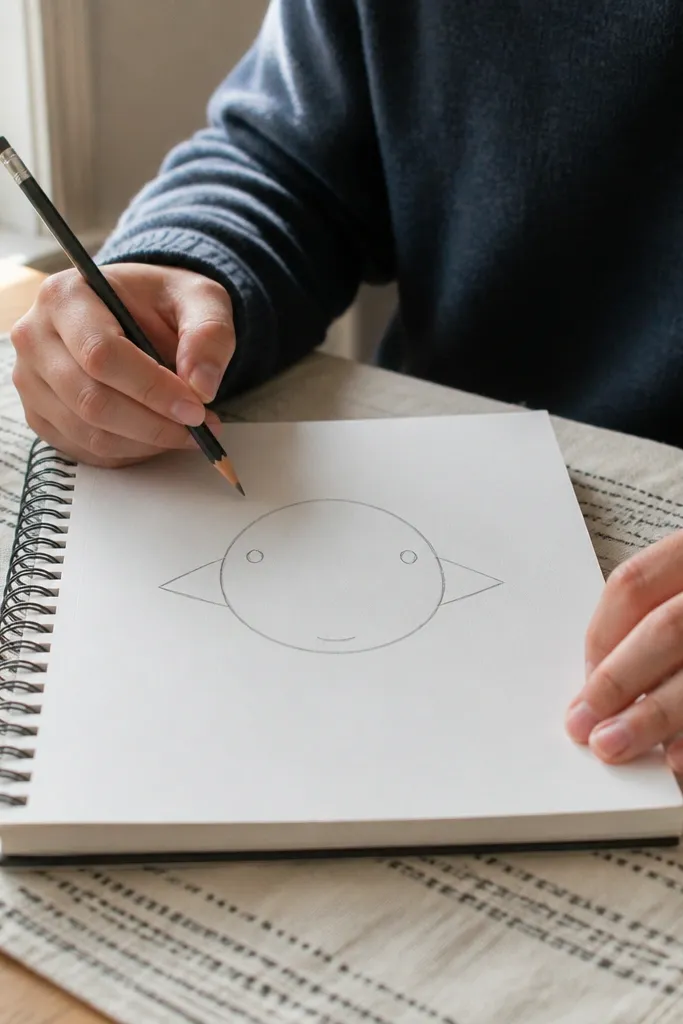
Front view is a beginner cheat code because you can simplify depth. Draw an oval head, add two eye dots on the left and right sides, and keep the mouth as a short curved line at the bottom. Fins can be small angled triangles on each side of the head/body. This makes the shark look bold and clear. You also practice symmetry and spacing without needing perfect 3D anatomy. It’s a solid idea for weeknight practice because it finishes fast and always looks like a shark.
Step 1: Draw an oval head, then add a small wedge snout at the bottom front so the mouth has a place. Step 2: Place two eye dots on the upper left and upper right areas, then draw the mouth curve below. Step 3: Add two small side fin triangles sticking out from the sides, then ink the outer outline and erase the pencil oval guide lines.
Keep the eyes at the same height. If one eye is higher, the shark looks tilted even when the body is straight.
Don’t draw gills as a full pattern. One short line on each side is enough.
13. Shark with Simple Spots (Two-Spot Pattern Practice)
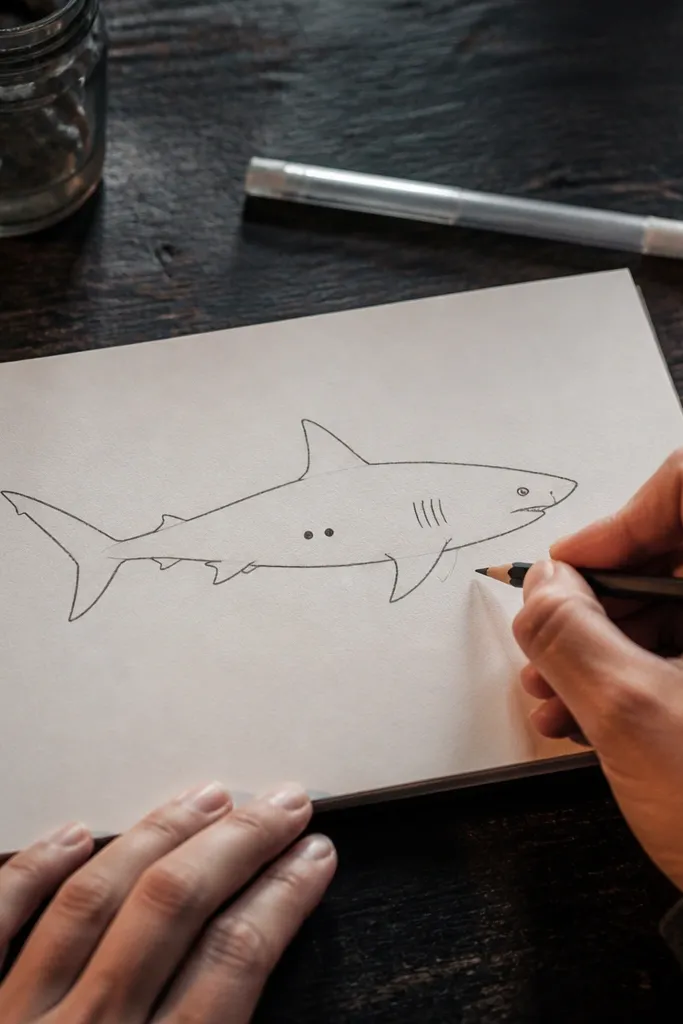
Pattern practice is how you make a drawing look intentional without complex anatomy. This prompt keeps the shark outline simple, then adds exactly two spots on the body. Place the spots on the side between the dorsal fin and the belly curve. You’ll also add a few small gill slits to give structure. It’s forgiving because the spots are easy to correct — you can move them until the silhouette looks balanced.
Pro tipMake the spots different sizes. Two identical spots look like stickers, not markings.
Step 1: Draw a side profile shark silhouette using a teardrop body, snout wedge, dorsal fin triangle, and tail triangle. Step 2: Add three gill slits as short lines behind the eye area, then draw exactly two oval spots on the side of the body. Step 3: Ink the outline and spots, then erase construction lines lightly so the spots stay crisp.
AvoidDon’t add a dozen spots. Two is enough to learn placement.
14. Shark Skin Panel Lines (Beginner Scale Illusion)
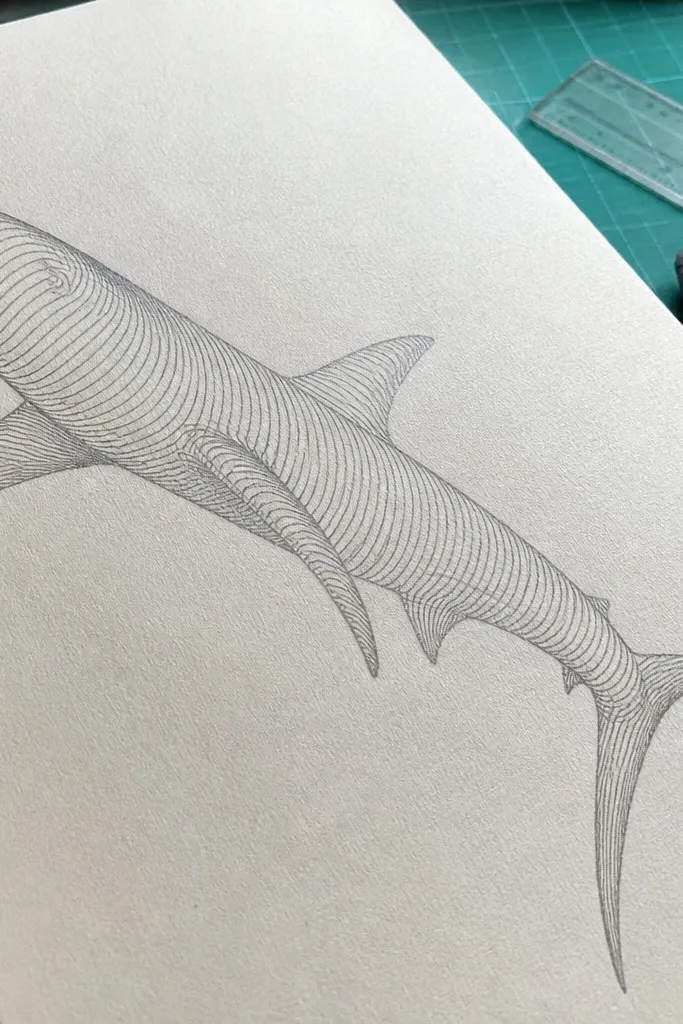
This is how you fake shark skin without drawing scales one by one. You’ll outline a shark body and then add panel-like rows of curved lines that follow the belly and spine curves. The key is that the lines are consistent in thickness and spacing, so the texture reads as skin. Beginners like this because it gives a “real drawing” look using only repeated line strokes. It also trains you to control spacing, which is the real skill behind convincing texture.
Pro tipUse your pencil for texture and ink only the outline. It keeps the texture from looking heavy or muddy.
Step 1: Draw a side profile teardrop body with a dorsal fin and tail triangle, then ink the silhouette first. Step 2: Add texture by drawing 4-6 rows of short curved lines across the body, each row slightly following the body curve. Step 3: Keep the rows lighter than the outline, then add 1-2 gill slits behind the eye and erase pencil guides.
AvoidDon’t make each row a perfect arc. Slight variation looks more natural.
15. Shark Fin + Water Ripples (Simple Background That Helps)
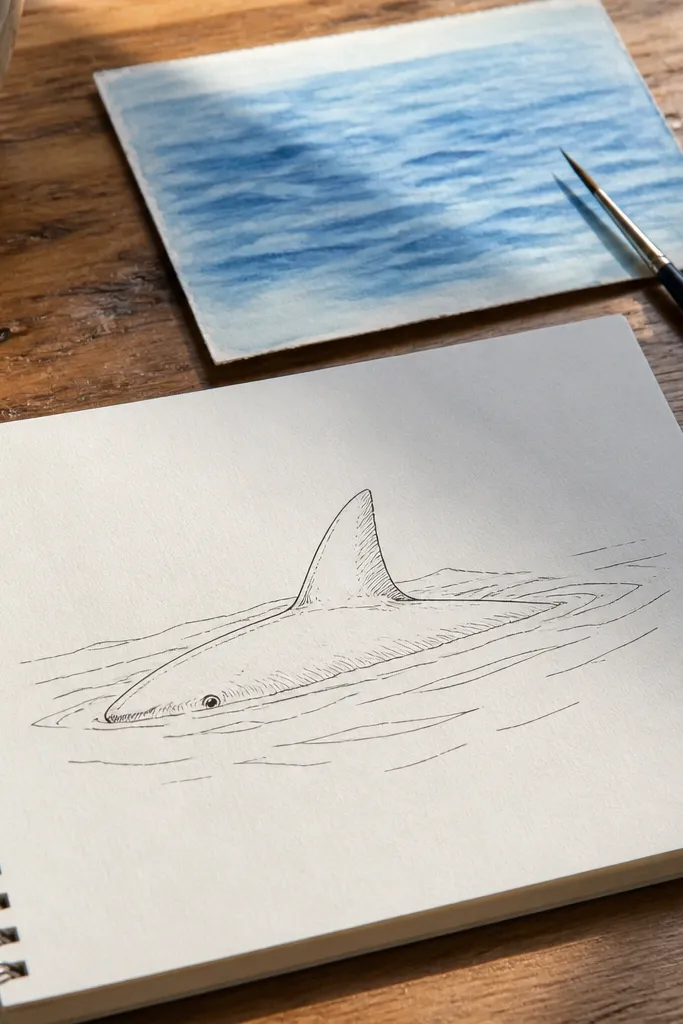
This one makes your drawing look finished even when your shark is simple. You draw a shark body only partially, like the fin and a bit of the head, then add water ripples. Ripples give your line work a job: they show direction and scale. This prompt is beginner-friendly because you can focus on one clean fin shape and three repeating ripple curves. It also helps you avoid the “blank page” problem where the shark looks lonely.
Step 1: Draw a fin triangle or curved triangle cutting through a horizontal water line. Step 2: Add three ripple lines below the water line, each line curving outward and getting slightly shorter. Step 3: Sketch just the upper snout curve and a small eye dot above the water line, then ink the fin, water line, and ripples and erase guides.
Space the ripples like steps: equal gaps, then slightly smaller farthest from the fin.
Don’t add foam blobs everywhere. Three ripples are enough.



