
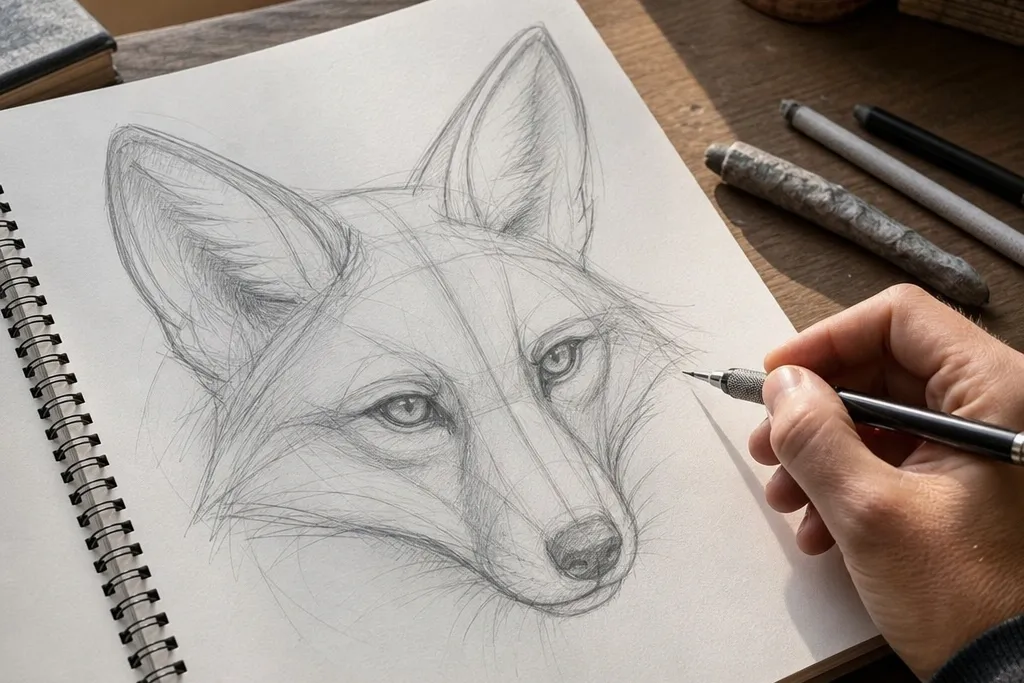
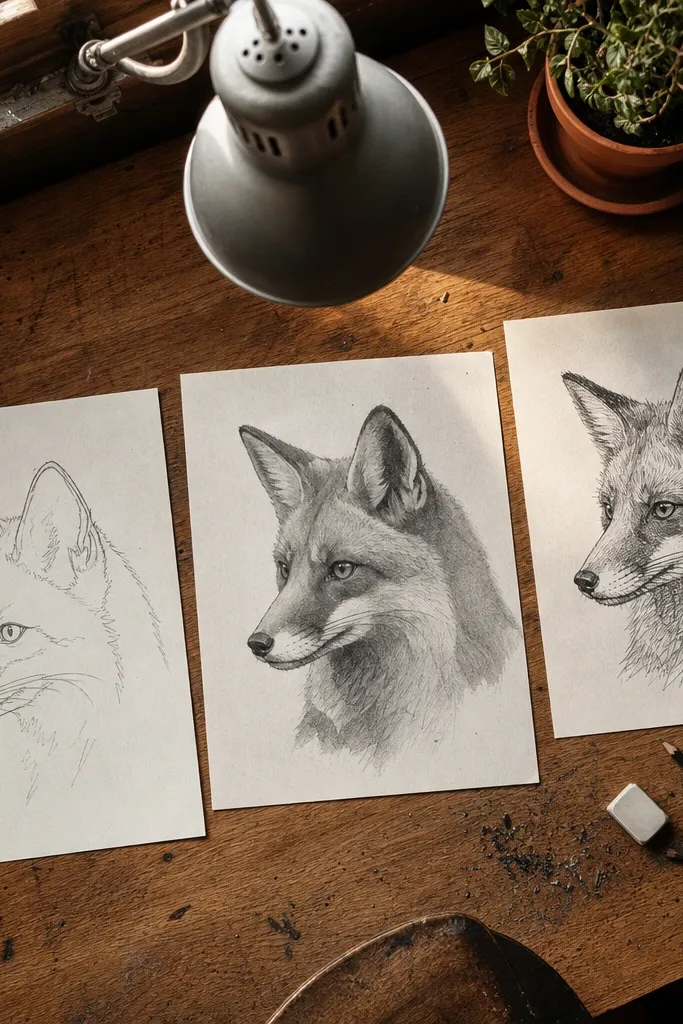
1. Construction box + muzzle wedge (structure-first realism)
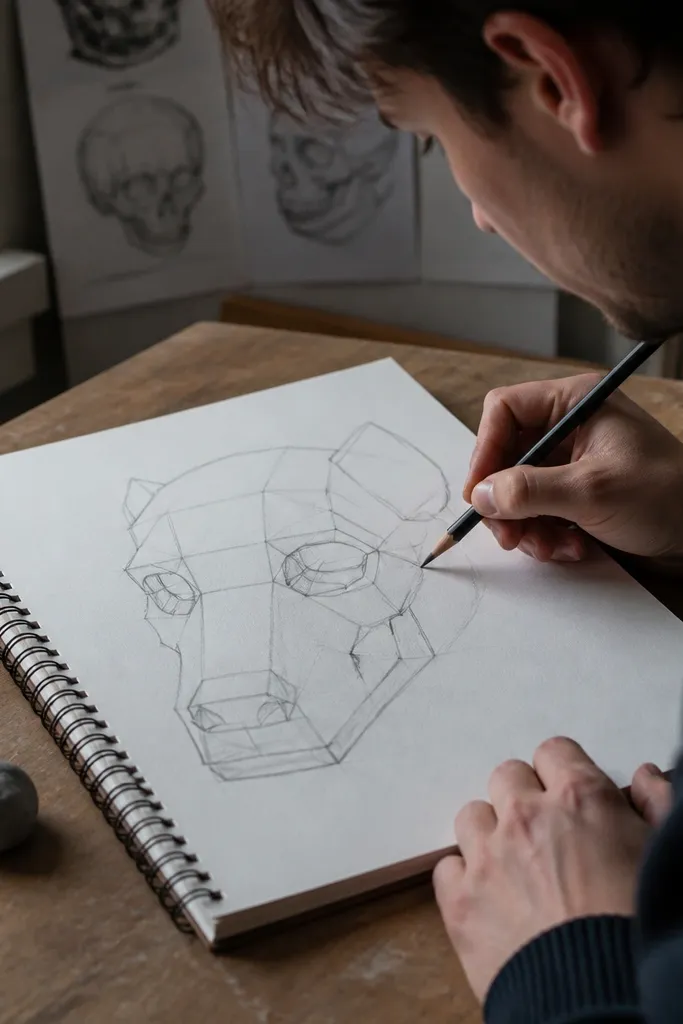
This is the style I recommend when your fox drawings look “close but wrong.” You’re training the exact problem area: head geometry. Start with a box skull to control the forehead plane, then add a wedge muzzle to lock the snout length and tilt. After that, you place the eyes and ears based on the head planes, not on vibes. The finish can be light — even 10 minutes of texture is enough — because the structure is doing the heavy lifting for real progress.
Pro tipUse a softer pencil (2B or 4B) for construction lines only after the proportions feel right, so you don’t over-darken the guide marks.
Step 1: Draw a head box turned slightly in perspective, then add a small center line to show the head tilt. Step 2: Attach a muzzle wedge to the front of the box, and set the eye line on that wedge so the eyes don’t float. Step 3: Block in the ear planes as two angled triangles with a clear base at the top corners of the skull. Finally, erase construction lines lightly and add only the big fur breaks around the cheeks and neck.
AvoidDon’t start drawing individual fur hairs before the muzzle wedge matches the eye line height.
2. Line-first silhouette sketch (clean character look)
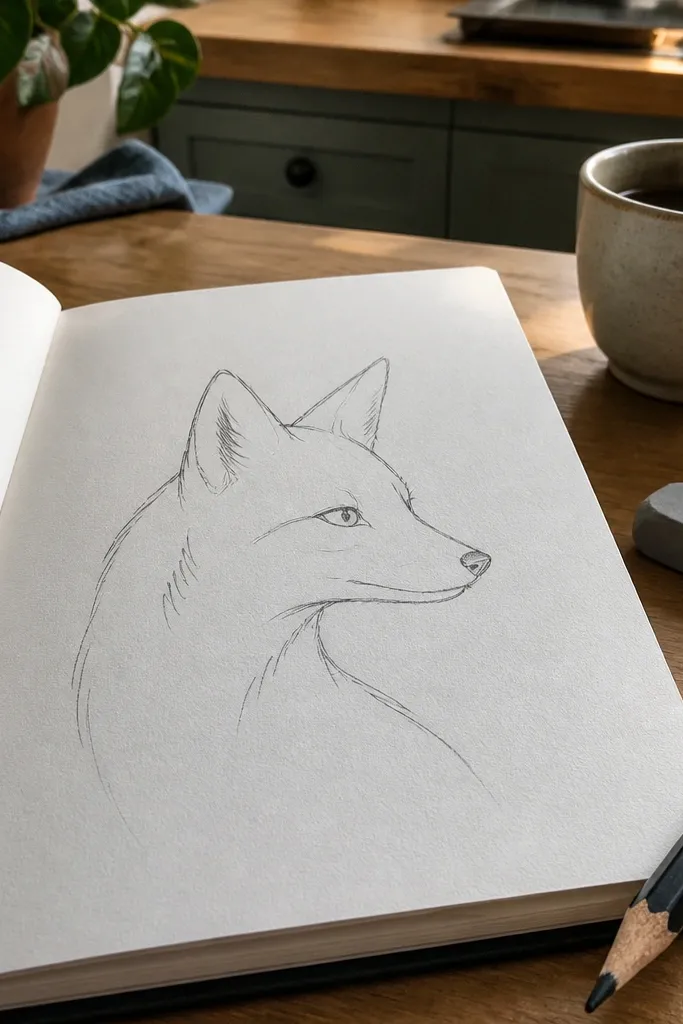
If you struggle with wobbly lines or your fox looks uncertain, this style fixes it by putting the outline first. You’re not chasing fur detail yet; you’re building a readable silhouette that already reads as a fox from 2 feet away. The trick is to commit to a few strong contour lines: outer head curve, muzzle curve, and ear outer edge. Once the silhouette is stable, you add minimal interior marks like eye shape and a few cheek lines. This produces quick improvement because every sketch forces better line decisions.
Pro tipPractice a “two-line” muzzle: one line for the top of the snout and one for the bottom. It makes the snout angle easier to get right.
Step 1: Use a single pen or a firm pencil (HB) and draw the outer silhouette in one pass per line. Step 2: Place the eyes by drawing two small ovals on the head, then draw the nose tip and muzzle curve to connect them. Step 3: Add ear inner edges as a smaller outline inside each ear shape. Finally, add 3-5 short fur direction lines on the forehead and cheeks, then stop.
AvoidDon’t add fur texture to fix a bad silhouette — texture can’t correct a wrong head shape.
3. Gesture planes + ear tilt (dynamic sketching)
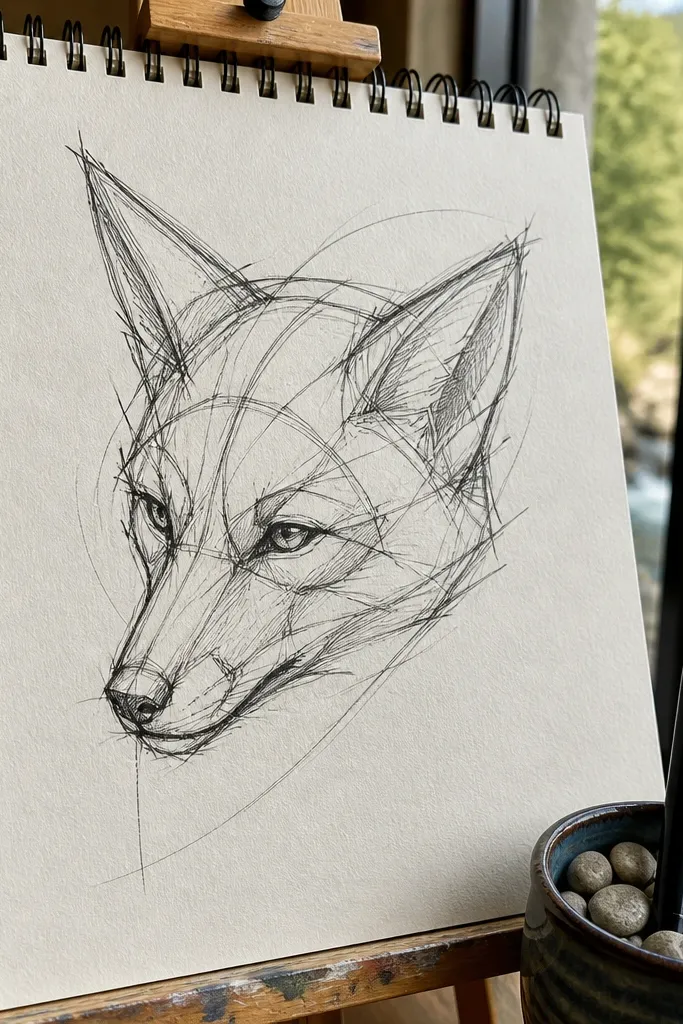
This style is the fastest route to foxes that look alive. When your drawings feel stiff, the problem is usually pose and ear tilt, not fur. Gesture planes let you capture the head orientation and energy with a few confident strokes. You’ll draw an action line for the head movement, then wrap the head with simple planes so the ears land at the correct angle. Finish with a small amount of muzzle and eye placement, then stop before details take over.
Pro tipDo one 30-second warm-up per sketch: block the head mass only, no eyes or ears. It trains your timing for the proportions.
Step 1: Draw a sweeping center line for the head direction, then add a big oval or egg for the skull mass. Step 2: Clip two ear shapes onto the top of the oval using the same tilt as the center line, not separate angles. Step 3: Sketch the muzzle as a shorter wedge that points where the center line points. Finally, mark the eye line with a single short stroke and place eyes as simple shapes.
AvoidAvoid overworking the eyes early; if the head tilt is off, the eyes will look “wrong” no matter how carefully you draw them.
4. 3-value shading (forms over fur)
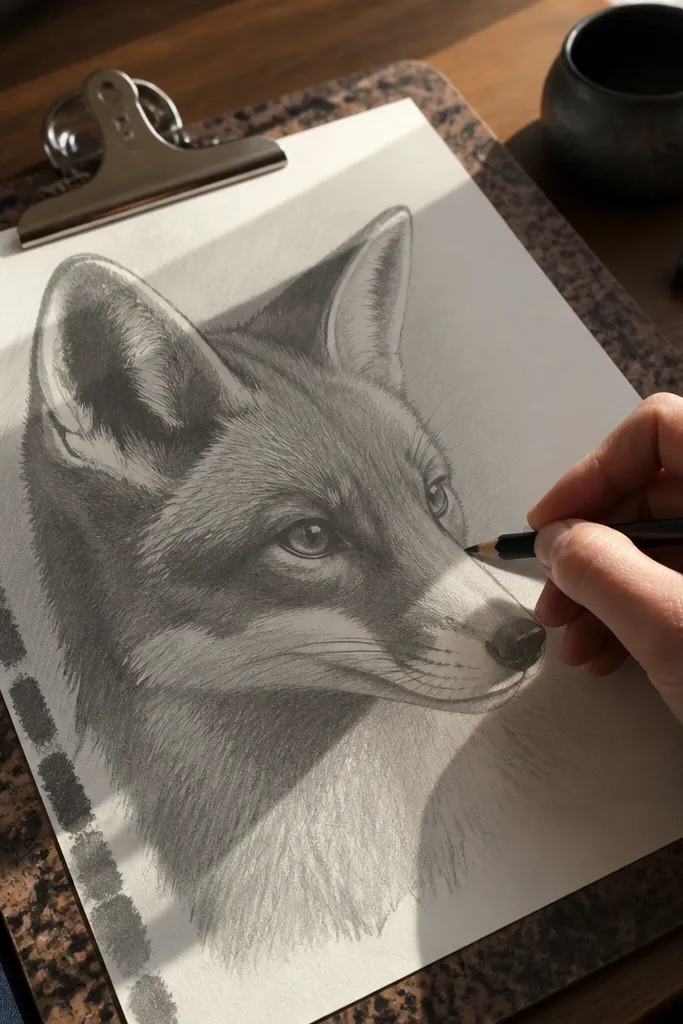
If your fox drawings look flat, this style forces form using only 3-4 values. You’re teaching your brain what the light is doing on the muzzle, around the eyes, and along the cheek planes. Start by mapping the light side, then the shadow side, then the midtone. After that, you add fur texture only where it changes the value — around the mouth edge, brow area, and neck shadows. The result looks more realistic because your shading carries the structure, not the hair lines.
Step 1: Lightly sketch the construction box and muzzle wedge, then decide a single light direction (for example, light from upper left). Step 2: Block the shadow shape with a mid-dark value, then add a darker core shadow under the brow and along the muzzle underside. Step 3: Use a lighter midtone on the bridge of the nose and cheeks, then blend edges softly with a tissue. Finally, add a few sharper value accents for fur clumps.
Limit yourself to one blending tool or none. Too many textures at once makes it harder to see what’s improving.
Don’t shade every fur hair the same darkness — fur changes value as it wraps the head planes.
5. Crosshatch fur blocks (directional texture)
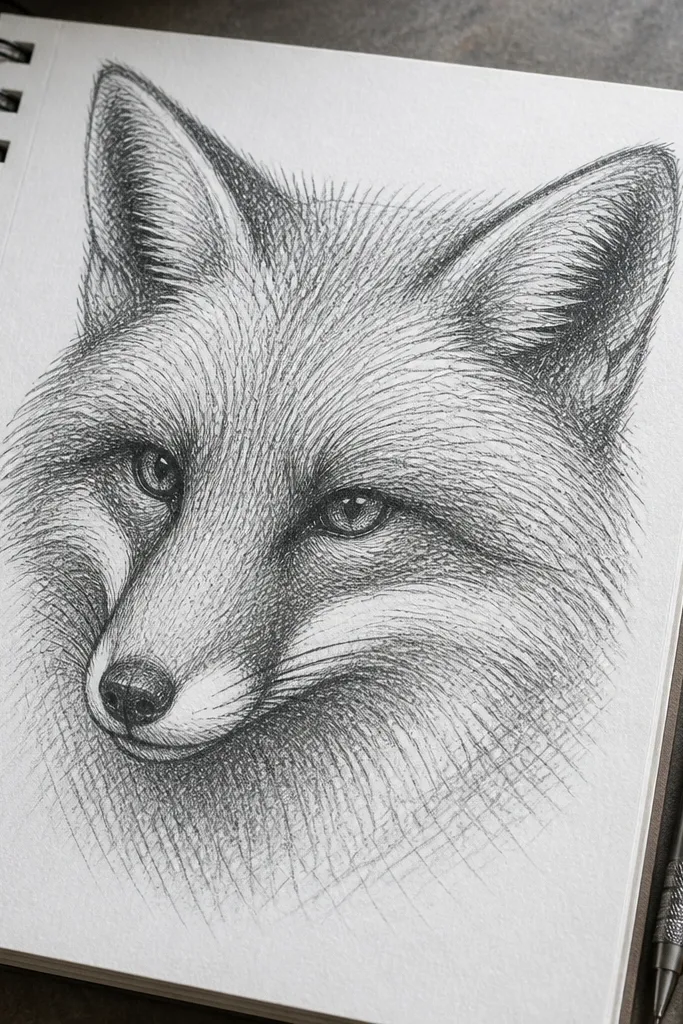
Crosshatching gives you control over fur direction, which is what makes a fox look like a fox instead of a fuzzy blob. The key is to hatch in direction bands that follow the head: forehead lines curve toward the brow, cheek lines sweep down toward the jaw, and muzzle lines angle to wrap the snout. You still need structure, but this style emphasizes how fur sits on planes. It’s great when you understand the head but your texture looks random.
Step 1: Draw the construction box and muzzle wedge lightly, then add the eye and ear shapes with minimal detail. Step 2: Lay down 2-3 fur direction bands using light strokes: one for forehead, one for cheeks, one for muzzle. Step 3: Crosshatch each band with short strokes that follow the band direction, then add darker crosshatching only in shadow areas under the brow and along the neck. Finally, blend the transitions by lightly reducing line density near the lightest planes.
Rotate your paper slightly while hatching so you can keep strokes short and consistent instead of drawing long shaky lines.
Don’t crosshatch the entire face evenly. Keep the densest hatching in shadow shapes.
6. Soft graphite gradient muzzle (smooth-real look)
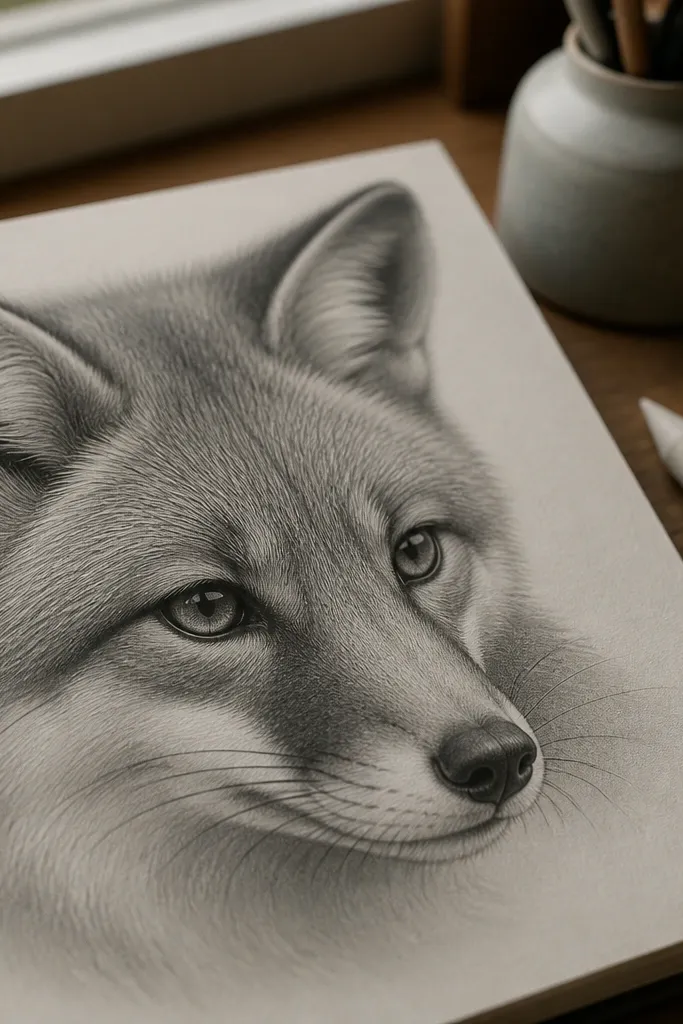
This one is for people who want the fox to look gentle and three-dimensional without heavy linework. The muzzle and cheeks are where gradients do the most work because the fur there sits on smooth planes. You’ll build the face with light construction, then use graphite layering to create a clean transition from light to shadow. After the gradients are set, you add only a few fur marks at the edges so it still feels like fur, not airbrushed skin. This style improves your control of edges, which is a big reason drawings start looking more realistic.
Pro tipKeep your darkest marks small and intentional. If you fill the whole shadow area, the face loses its shape quickly.
Step 1: Lightly sketch the head box and muzzle wedge, then shade the darkest shadow under the brow with a 4B. Step 2: Layer midtone graphite on the cheek and muzzle, keeping edges soft where fur blends, and sharper where fur bunches near the mouth. Step 3: Use a blending stump or folded tissue to smooth only the muzzle transition, leaving the eye sockets and nose edge a bit harder. Finally, add 10-20 short fur strokes around the muzzle edge and forehead brow line.
AvoidAvoid blending the eye area too much. Eye sockets need a firmer edge than the muzzle.
7. Ink outline + gray wash underdrawing (fast finished look)
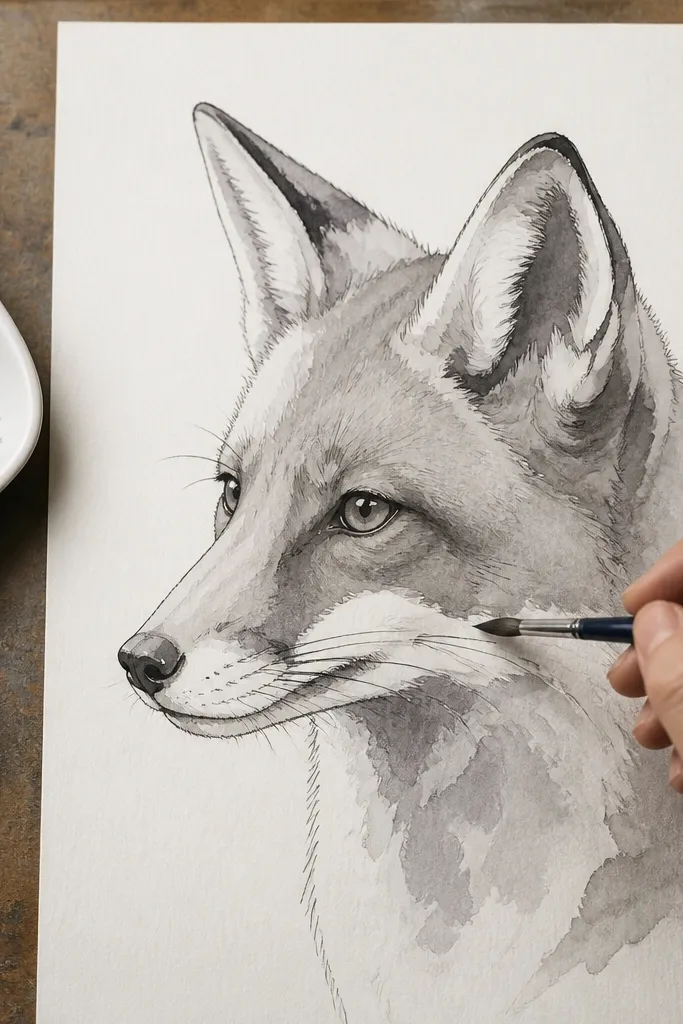
This is the best fox drawing style when you want finished-looking results without spending hours on fur. You draw the silhouette and key facial landmarks in ink, then lay a controlled gray wash to establish the light and shadow mass. The wash does the form work; the ink does the structure work. After the wash dries, you add a few fur direction lines and darker ink accents where the shadows sit. It teaches a clean workflow: line first, mass second, detail last.
Pro tipMasking tape around the edges of your paper keeps the wash from creeping and saves you from cleaning later.
Step 1: Use waterproof ink or a dark fineliner to draw the silhouette and facial landmarks, keeping line thickness consistent on the head. Step 2: Mix gray wash with ink or watercolor (start very light) and brush it onto the cheek, neck, and the shadow side of the muzzle. Step 3: Let it dry fully, then add darker ink accents under the brow and around the mouth. Finally, add small fur strokes in the direction bands, not random scribbles.
AvoidDon’t flood the wash into the eye area. Keep eyes crisp so the fox reads instantly.
8. Charcoal block-in + kneaded lift (high-contrast practice)
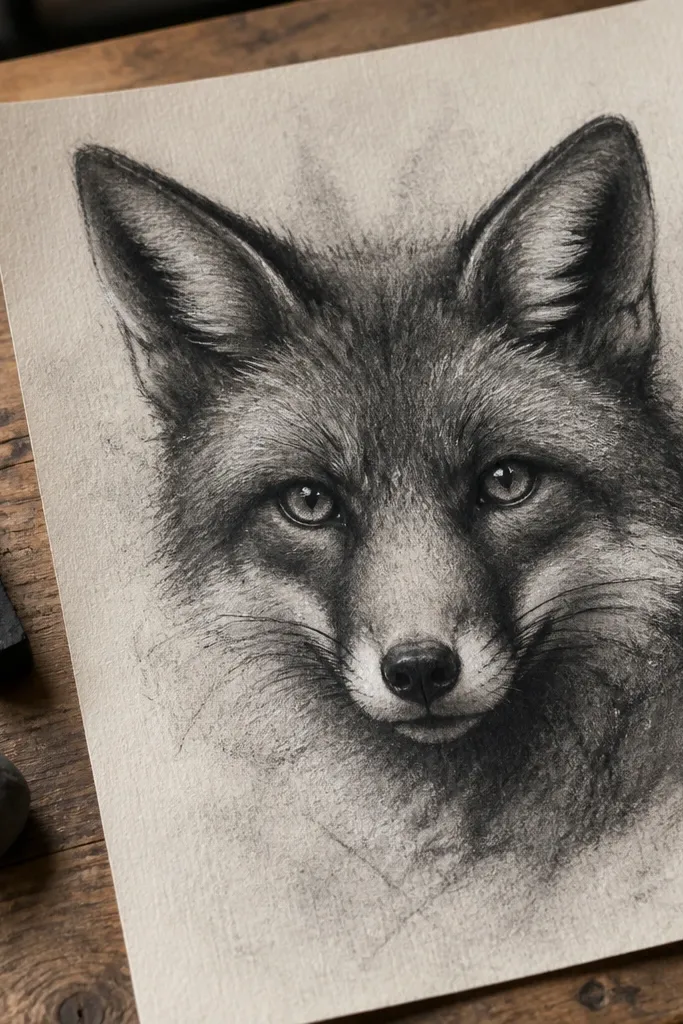
Charcoal is great when you want strong value separation and you’re learning how highlights behave on a rounded head. This style builds the fox head from big dark shapes first, then lifts highlights with a kneaded eraser to create the muzzle glow and the bright planes around the eye. It’s a powerful way to train your eye for value hierarchy: where the darkest darks go and where the lightest lights live. You still need construction, but the medium forces you to simplify and commit.
Pro tipKeep a scrap paper under your hand. Charcoal smears into the face faster than you think.
Step 1: Sketch the head box and muzzle wedge lightly, then block the shadow side with compressed charcoal in broad strokes. Step 2: Add the darkest core under the brow and along the muzzle underside, then blend the midtone transition with a rag or your fingers. Step 3: Use a kneaded eraser to lift highlights on the nose bridge, upper muzzle, and cheek plane. Finally, refine the ear edges with a lighter touch and add a few fur marks only at the darkest shadow boundaries.
AvoidAvoid chasing detail in the light areas. Lift for highlights, then stop.
9. Mixed method: structure sketch + texture-only finish
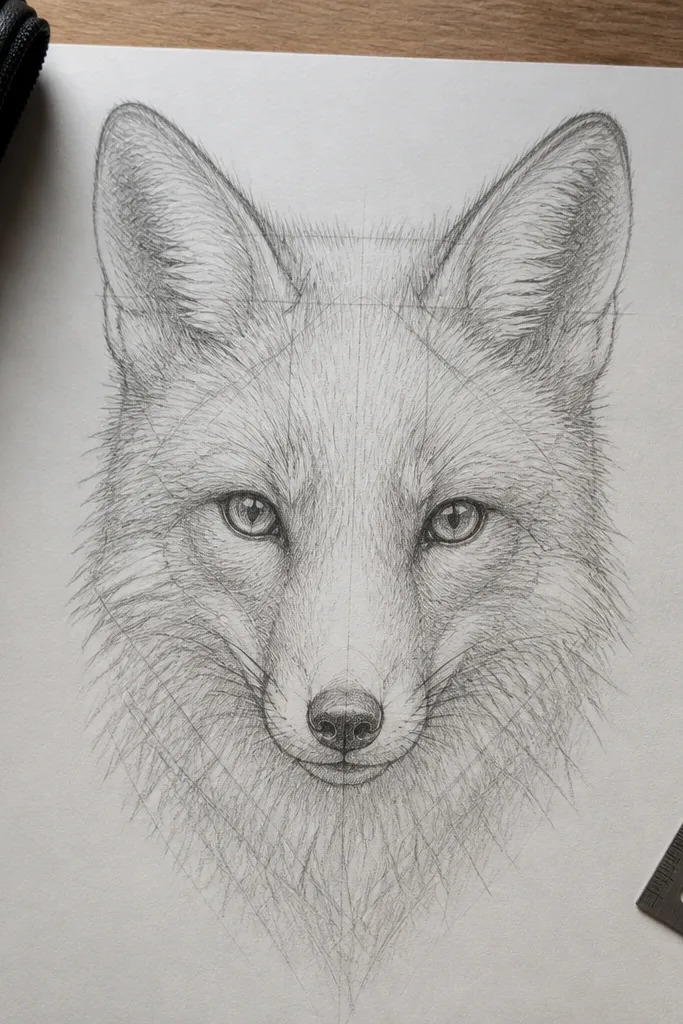
This is the style that gives the most consistent “real progress” for most people because it sets you up to succeed at both structure and texture. You start with the box-and-wedge construction so the face aligns, then you erase most of the guide work and only add fur texture where it affects shape. That usually means brow shadow, cheek transition, neck fur clumps, and the muzzle edge. The result looks finished but still teaches you what matters: placement and value hierarchy. It’s also easier to review your own work because the structure is visible early and the texture is limited later.
Pro tipAfter erasing, check the drawing by squinting. If the muzzle still reads wrong, fix structure before adding more fur.
Step 1: Do a construction box + muzzle wedge sketch with a clear eye line, then place ears as plane triangles on the skull corners. Step 2: Erase until you have only the structure that guides the eye, nose tip, and ear base. Step 3: Add fur texture in direction bands but keep it sparse on the light planes. Finally, darken only the shadow side with a single value pass and stop when the face reads clearly.
AvoidDon’t keep both heavy construction lines and heavy fur texture. One needs to disappear.



