
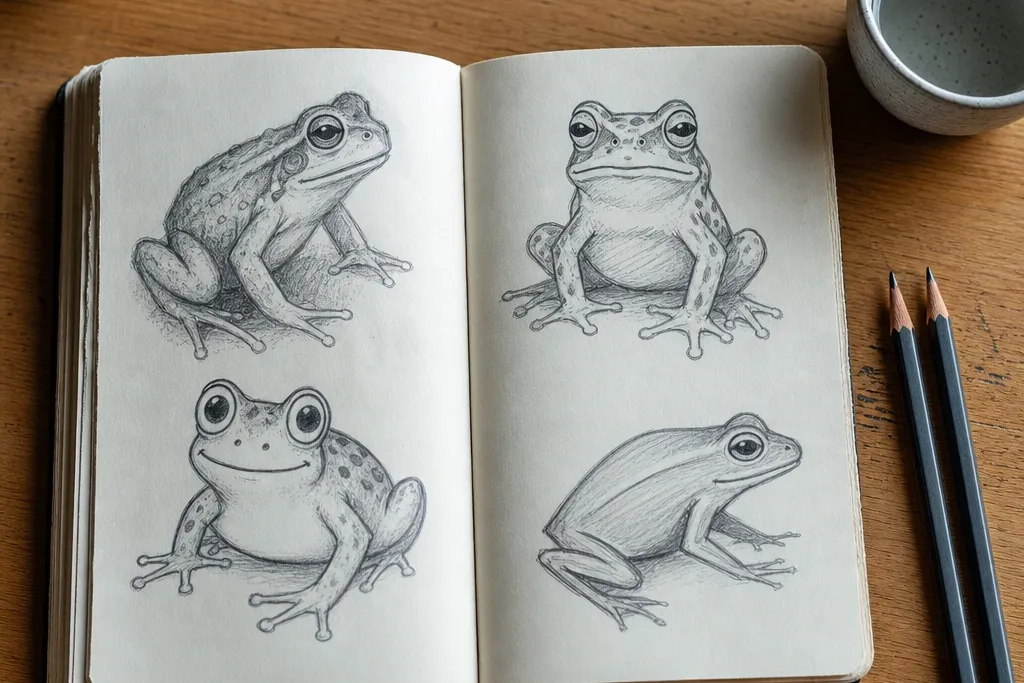
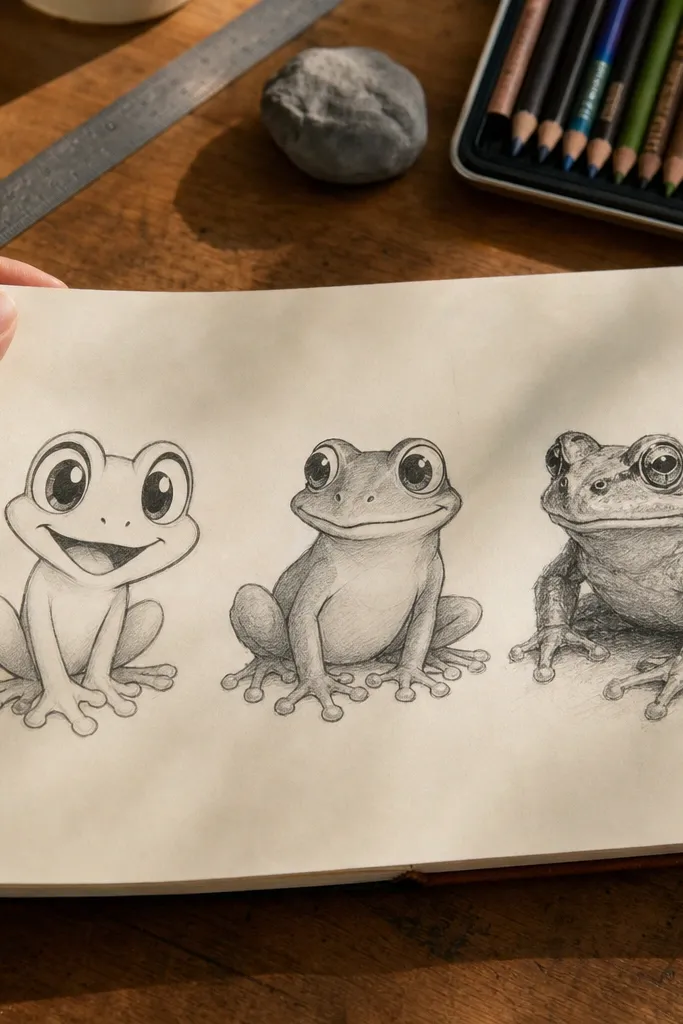
1. Construction-first cartoon frog with an eye-line
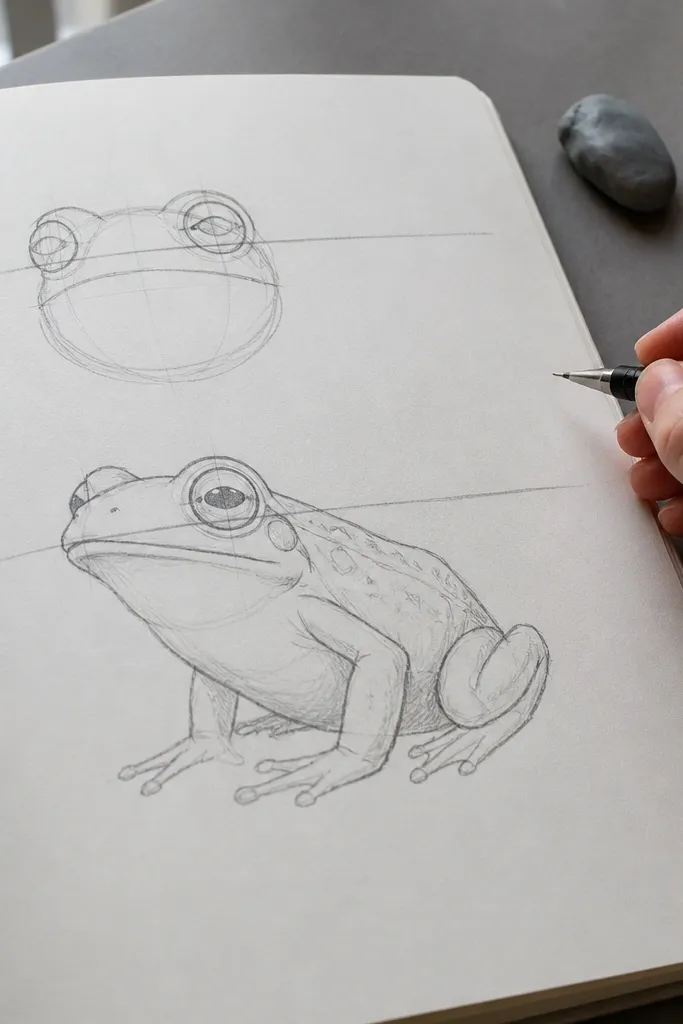
This is the style I’d start with for beginners because it’s built around one repeatable rule: the eyes sit on a single imaginary line across the head. You draw the head as a rounded shape, place the eye-line, then attach the body mass under it. Legs go where the joints would be, not where your hand feels like drawing them. The result looks like a frog even when your details are rough, because the structure is doing the heavy lifting.
Start by drawing a large oval for the head and a second oval for the body, connected with a short neck curve. Draw a straight eye-line through the head oval, then place two circles slightly above the midline of that head shape. Add four small “joint dots” where the legs attach — upper leg near the body sides, and lower leg angled toward the ground. Finally, use a 0.3 or 0.5 fineliner to outline the silhouette and erase the construction lines, then add simple toe bumps and a tiny mouth curve.
Keep the eye circles the same size on every sketch; if the eyes change scale, the whole frog feels off.
Don’t skip the joint dots — that’s the part that prevents the “blob with legs” look.
2. Chibi frog with head-to-body ratio rules
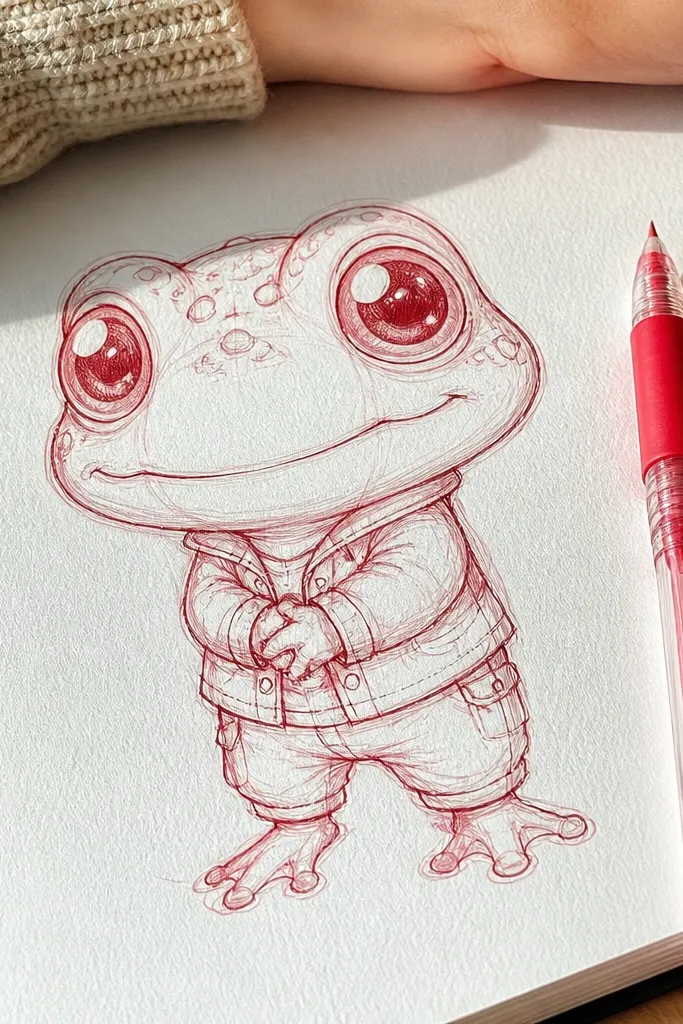
Chibi frog drawing is the fastest path to “this looks good” because you’re allowed to exaggerate. You make the head bigger than the body by a clear ratio, then simplify everything else until it supports that big head. Your eyes become the main feature, and the mouth sits low enough to read as friendly. This style is forgiving for beginners because small errors in leg length get hidden by the short, rounded proportions.
Start with a head circle that’s about 1.5 times the height of the body oval you’ll draw underneath it. Place the eyes high on the head — roughly 1/3 down from the top edge — and make the eyes touch the head’s outline slightly for cuteness. Draw the body as a short oval, then attach tiny legs that curve outward like parentheses. Add two small toe bumps per foot, then finish with a simple smile and a few belly lines.
Use a single bold line weight for the outline and lighter lines for the belly — it keeps the face readable.
Don’t stretch the legs long — chibi frogs fall apart when the feet start looking like they belong to a different creature.
3. Simplified realism frog with two-tone shading
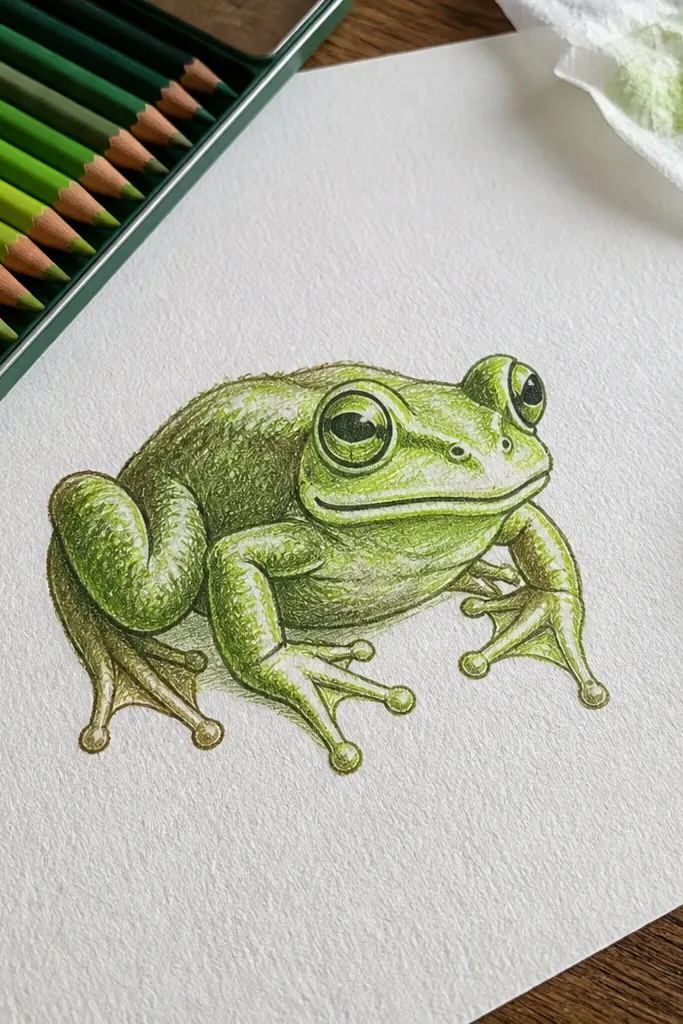
If you want your frog to look more lifelike without getting trapped in tiny details, this style is the clean compromise. You draw the frog’s form first using simple cylinder-like logic, then shade with only two values: a light side and a single shadow side. The eye sockets and the fold lines around the face give you realism cues even when the skin texture is minimal. It’s slower than cartoon styles, but it trains the right habits for later realism.
Start with a head block that looks like a flattened sphere and a body block that looks like a rounded wedge. Sketch the eyes as ovals with a slight tilt, then add an eyelid curve that wraps the top. Place a single light source — pick it and commit — then shade only the shadow side using a soft pencil like 2B for the darkest areas. Use a blending stump or tissue to smooth the transition, but keep the highlight area clean with minimal smudging. Finish by adding a few crease lines and one or two skin dots, not a full texture map.
Pro tipLimit yourself to one pencil for shading (like 2B) and one for line work (like HB). The value discipline makes beginners' frogs look instantly more serious.
AvoidDon’t add lots of texture before you lock the light direction — texture will just smear the drawing’s logic.
4. Marker silhouette frog with white highlights
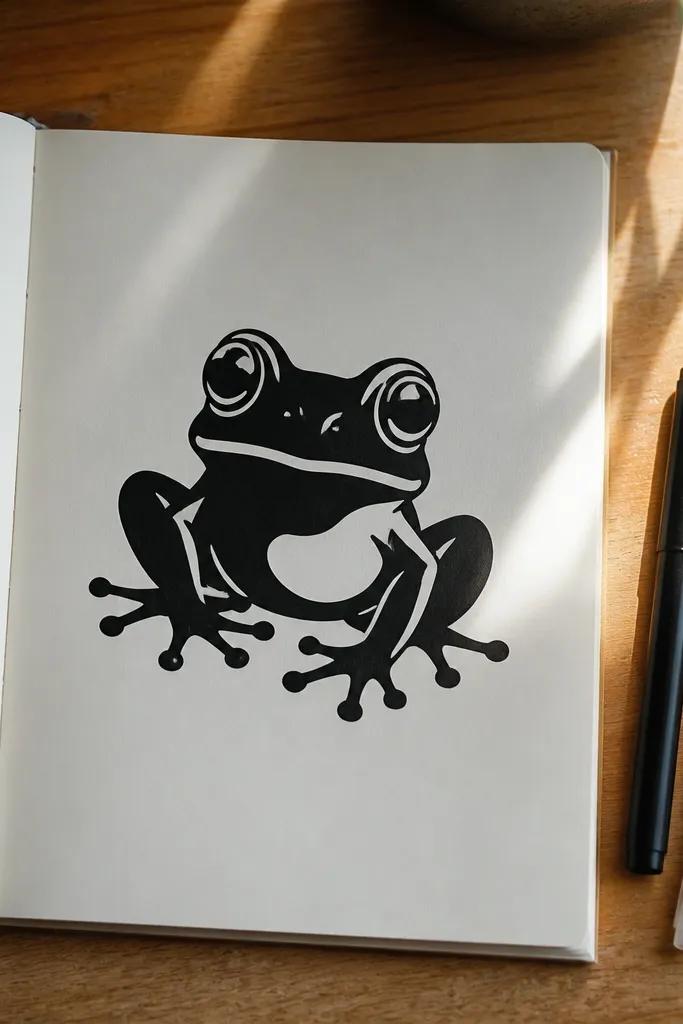
This style gives you a graphic, readable frog fast because you draw shape first and detail last. You use marker to commit — the frog either has a clear silhouette or it doesn’t — and the contrast does the work. White highlight marks on the eyes and belly make the frog look lively even with minimal line detail. It’s best for beginners who already place eyes confidently, because marker mistakes are harder to erase than pencil construction lines.
Start by sketching the frog in pencil with very light lines — just head oval, body oval, and the leg angles. Once the proportions look right, trace the outer silhouette using a thick marker like a 1-2 mm chisel tip. Fill the silhouette with solid color, then add two white highlights on each eye: one small dot and one short streak. Add a few belly and toe shapes in marker by leaving small unfilled areas or drawing thin lines over the fill. If you want color, pick one base green and one darker green for the shadow side, then keep the background blank.
Practice the silhouette in pencil three times before you touch marker. If the outline is stable, the marker step becomes easy.
Don’t over-detail the interior with marker lines — extra strokes kill the clean graphic read.
5. Grid-less gesture-to-mass frog (motion to proportions)
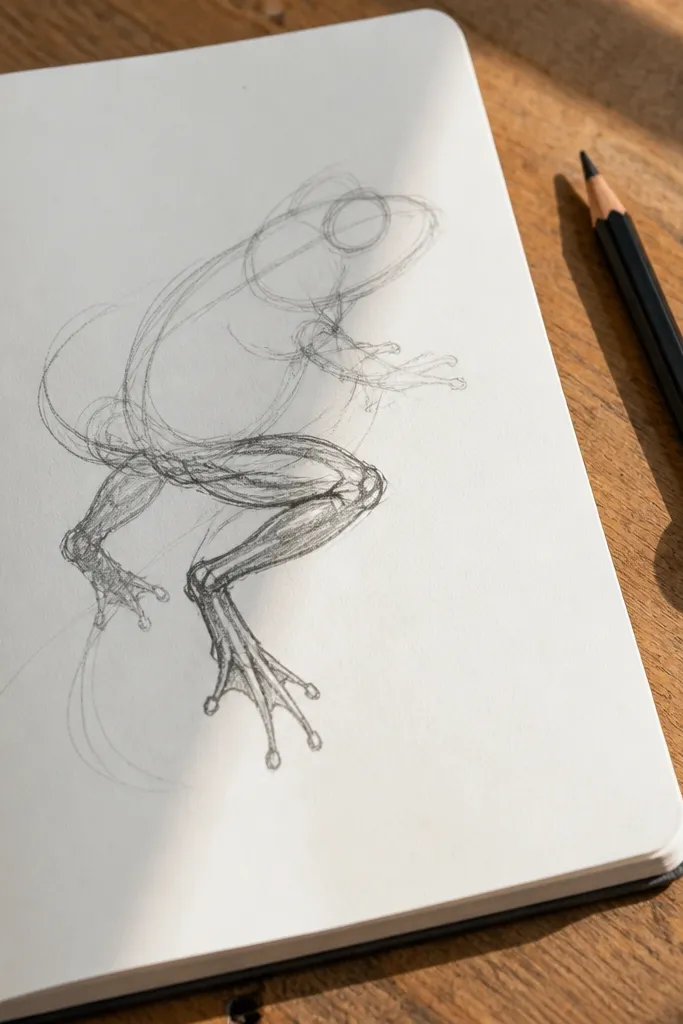
This style is for beginners who draw better when they start with motion instead of perfect circles. You block the frog as a few flowing masses, then refine the head and legs. It’s great for frogs in action poses — hopping, sitting, or turning — because the gesture line controls the direction of the body. The trade-off is that it’s less forgiving than eye-line cartooning if you don’t keep the eye placement consistent.
Start with a single curved gesture line showing the body direction, then place a simple head mass at one end and a body mass at the other. Add a leg sweep line — two lines for each leg: upper segment and lower segment — so you can check angles quickly. Place eyes using a single guideline across the head mass, even if the rest is loose. Refine the silhouette with thicker pencil lines, then erase the gesture line once the frog outline looks solid. Finish with a simple mouth curve and toe bumps.
Pro tipUse a kneaded eraser for the gesture line so you don’t smudge your final outline.
AvoidDon’t let the eyes drift — if the eye guideline changes between sketches, the frog stops reading as a frog.
6. Lined cartoon frog with a "fold" mouth and simple cheeks
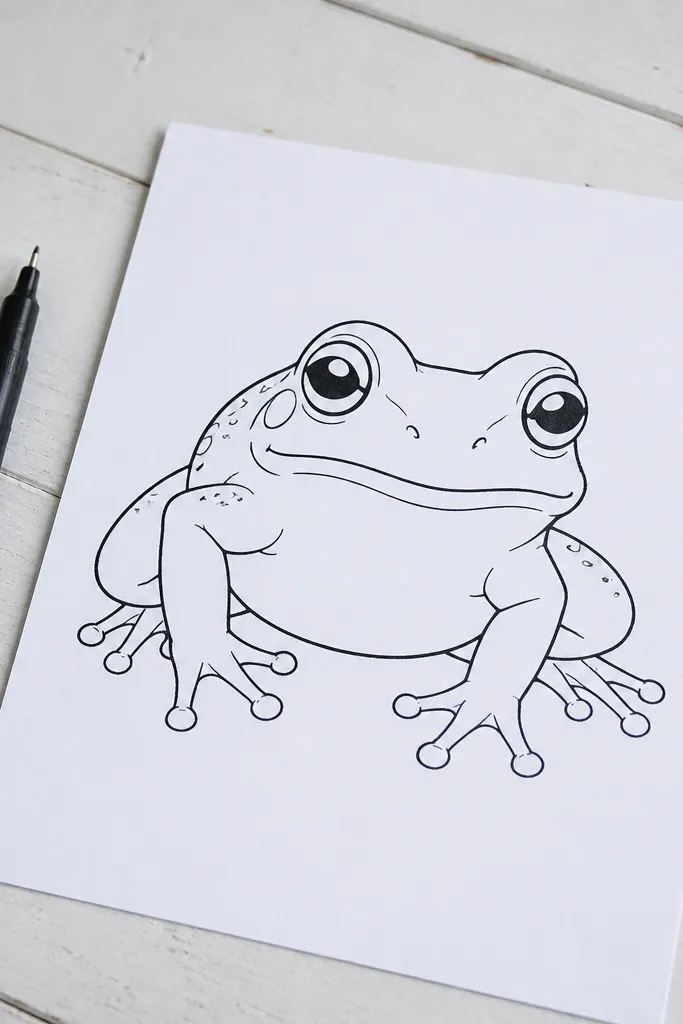
This one is for beginners who want a polished look without heavy shading. The trick is the mouth construction: a fold-like curve instead of a straight smile, plus two cheek lines that sit under the eye area. Those small face cues make the frog feel expressive while keeping the rest of the body simple. It’s also easier to ink because the line work is predictable — fewer texture decisions, more consistent outlines.
Start with the head as a rounded shape and draw the eye circles first, then add the eye-line guideline lightly. Place the mouth as a curved fold — imagine a small crease under the nose area — and add two short cheek lines that angle outward. Draw the body as a rounded mass with a slightly narrower waist, then attach legs as simple tubes ending in toe bumps. Ink the outline with a fineliner, then erase guidelines. Add only a few belly lines and one small nostril dot.
Pro tipKeep cheek lines short and angled — long cheek lines make the face look like it’s stretching.
AvoidDon’t add too many facial details at once — two cheek lines and a fold mouth are enough.
7. Pencil-only frog with hard outline and soft core shading
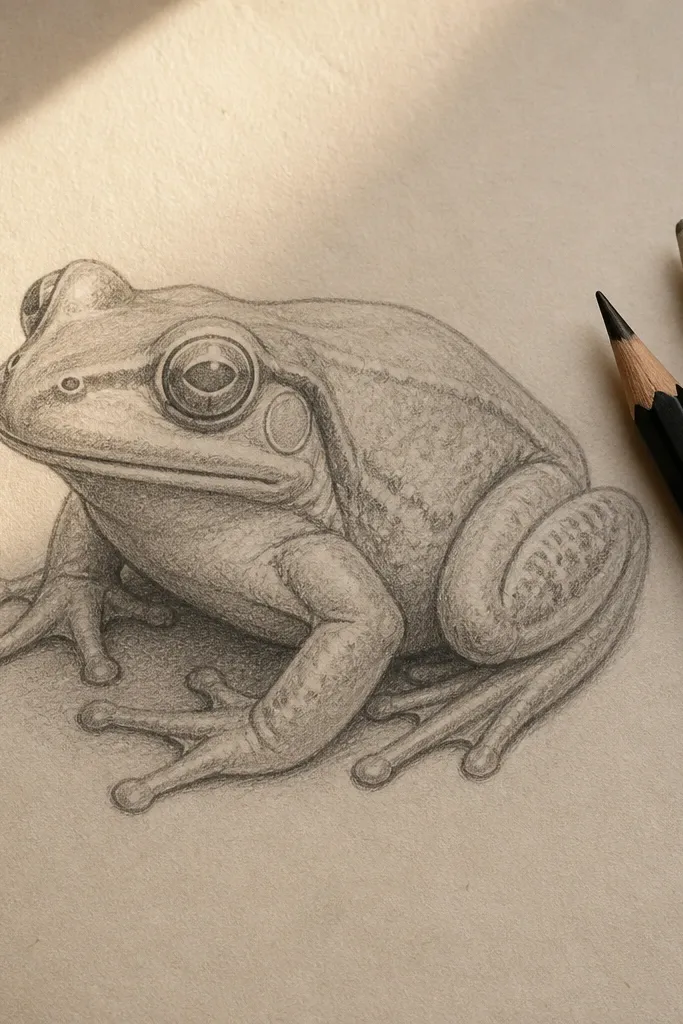
This pencil-only approach helps beginners who are scared of inking or markers. You draw a clean outline in a darker pencil, then shade only the “core” areas: under the chin, around the eyes, and inside the leg bends. The frog looks dimensional because those shadow pockets create depth cues. It also stays beginner-friendly because you’re not chasing texture; you’re just shaping the form with a few controlled dark spots.
Start by blocking the head and body with HB pencil and light construction lines. Trace the final outline using a darker pencil like 2B, then shade the underside areas using the same 2B but in small patches. Leave the highlight zones on the forehead and belly unshaded. For leg joints, shade the inside bend — that single shadow makes the legs read as connected. Blend lightly with a tissue if you want softer transitions, then clean the outline with an eraser edge where needed.
Pro tipUse a sharp pencil for the outline and a slightly duller tip for shading so you don’t get scratchy shadows.
AvoidDon’t smudge the eyes — keep the eye whites and highlights clean.
8. Color-block frog with three flat shapes (head, body, legs)
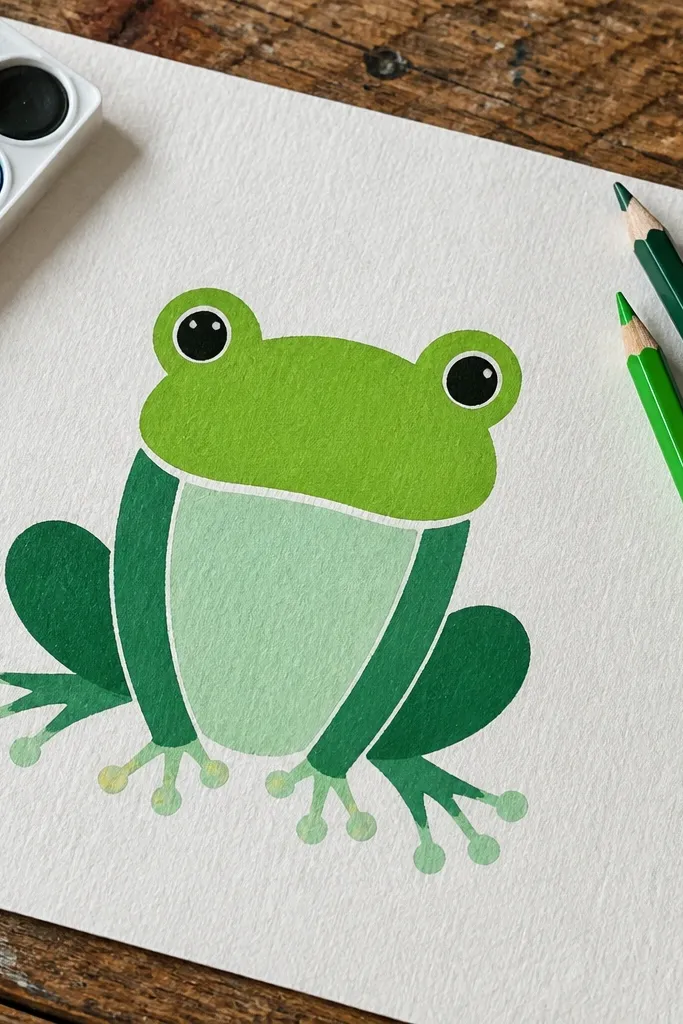
This is the easiest “finished look” style for beginners who want color without learning rendering. You build the frog out of three flat shapes: head, body, and legs, then add minimal line work and a few color accents. Because there’s no complex blending, your frog stays readable even if your drawing is rough. The result looks like a character you could actually print, decorate, or use in a sticker-style set.
Sketch the frog in pencil with three big shapes only: head oval, body oval, and leg shapes as thick curved bars. Ink the outlines lightly with a fineliner or skip ink and use colored markers directly if you’re confident. Fill head and body with one base green, legs with a slightly darker green, then add a lighter belly shape. Draw the eyes as two simple circles, then add a tiny highlight dot. If you want extra pop, add a darker stripe on the back using a single flat stroke.
Pick one light belly color and stick to it — a consistent belly tone makes frogs look intentional.
Don’t blend colors — flat blocks are the point of this style.



