
1. Bow-Tie Baby Snake with Dot Belly
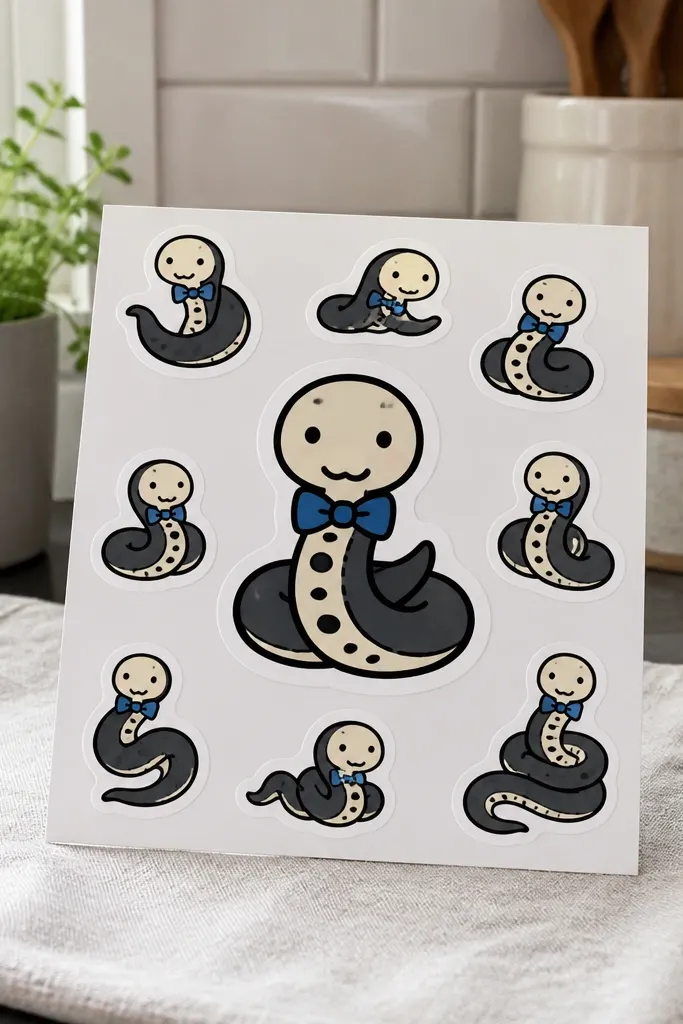
This one is pure “adorable sticker” energy. The snake head is a rounded oval with two tiny nostril dots, and the body is a few thick curves that make it look friendly instead of creepy. The bow-tie sits under the chin, so the viewer’s eye lands right on the cuteness. A dot belly keeps the texture light and easy to repeat, which is exactly what you want for budget cute snake drawings that still look finished.
Start by sketching the head as an oval and adding a small smile line. Draw the body with 4-5 smooth C-shaped curves, thicker at the center and tapering toward the tail. Add a dot pattern only on the belly area (the underside), then ink over with a 0.5 fineliner. Finally, draw a simple bow: two teardrop loops and a small knot in the middle, then color the bow with one bright marker shade.
Pro tipColor the bow first, then leave the belly dots uncolored so the contrast pops in photos.
AvoidDon’t put scale texture on the whole body — it kills the clean cute look.
2. Candy Stripe Coiled Snake in a Heart Loop
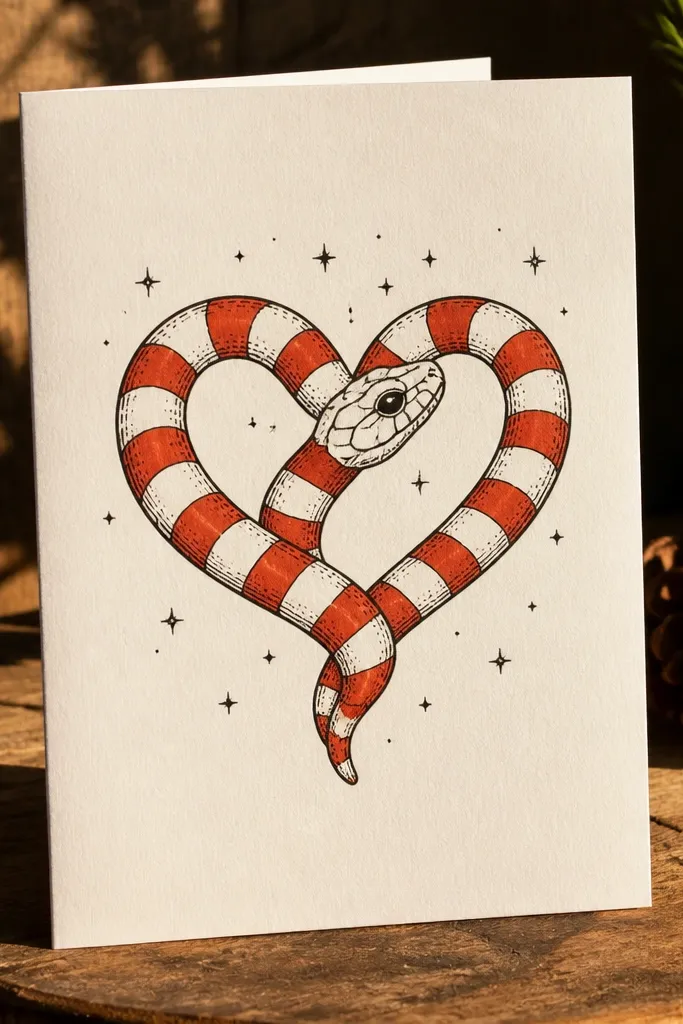
This concept looks cute because the silhouette is instantly recognizable: a heart-shaped coil. Candy stripes add a playful rhythm, and stripes are easier than scales for a smooth, photogenic finish. Use a single stripe color plus black linework for that “sweet wrapper” vibe. It’s also great for cards because you can write a message inside the heart loop without covering the snake.
Draw a heart outline lightly, then place the snake head at the top right of the heart with a small tongue flick. Use thick curved lines to trace inside the heart so the body follows the shape. Add alternating stripe bands across the body — keep them wide (about 5-8 mm each) so they read clearly in a photo. Ink, then fill stripes with two marker passes for even coverage.
Keep the stripe edges crisp by coloring along the band boundaries instead of shading randomly.
Avoid thin stripes — they blur together when you scan or photograph.
3. Leaf Crown Snake with Tiny Scale Commas
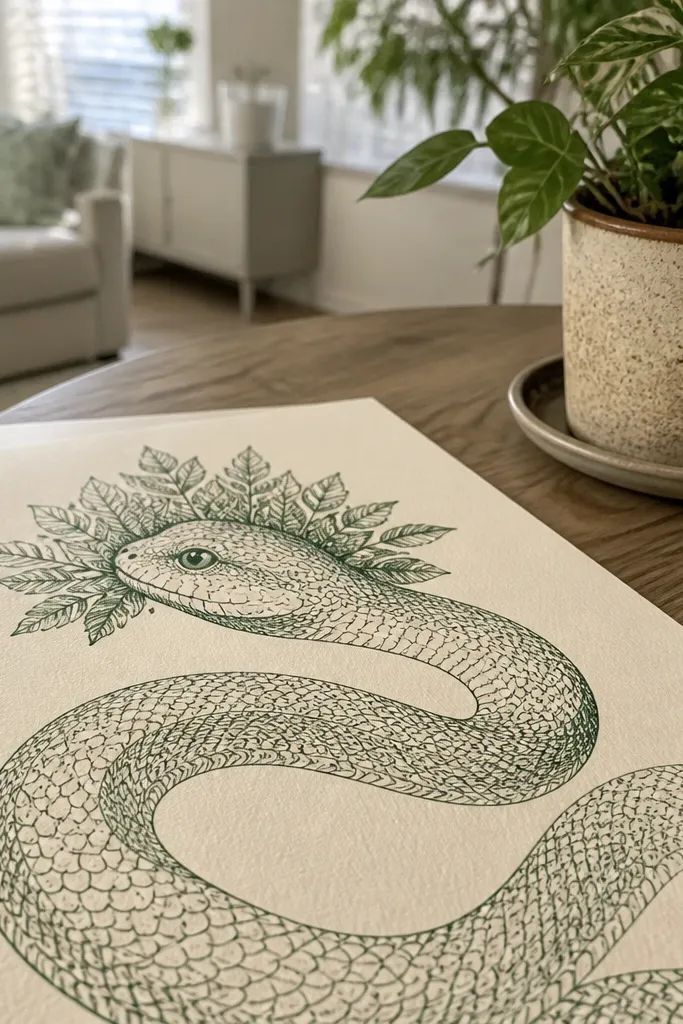
A leaf crown makes any snake feel like a character, not a creature. The comma scales are a beginner-friendly texture that looks intentional and neat. This drawing is great for spring-themed prints because the green crown gives you a strong color focal point while the body stays mostly line-based. It also photographs well on white paper because the leaf edges catch light.
Sketch the head as a rounded triangle-oval hybrid with cute dot eyes. Draw a gentle S-curve body and mark the belly line with a light guide line. Add scale texture as tiny commas along the top half of the body only, leaving the belly smooth. Draw 3-5 leaves around the head, then ink everything and color the leaves with a single green marker plus a darker green for veins.
Color the leaf veins with a darker green felt-tip, not a pencil, so the lines stay crisp.
Don’t crown the entire body with leaves — it turns into clutter.
4. Kawaii Sunflower Snake with One Big Flower
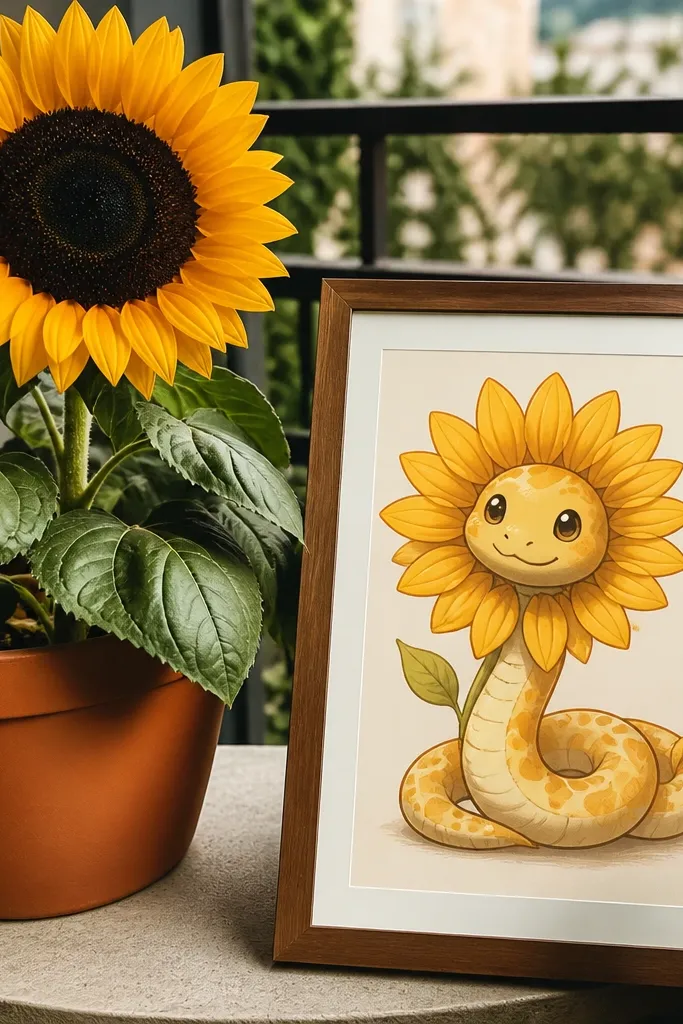
This works because it pairs a friendly face with a bold, simple prop. A single sunflower gives you a strong composition and helps the snake look “styled” instead of floating. Keep the sunflower big and centered, then place the snake slightly off to the side with its head near the flower. The snake’s body uses short curve segments, and a few scale marks near the head make it feel detailed without taking forever.
Draw a big circle for the sunflower head, then add a smaller inner circle. Fill the center with short dots or tiny U-shapes. Sketch the snake head and smile near the sunflower edge, then draw 5-6 body curves trailing away. Add scale marks as small short lines near the top of the body for texture. Color the sunflower in yellow plus orange-brown center, and color the snake with one green tone.
Let the sunflower center be messy on purpose — uneven dots look cuter than perfectly uniform ones.
Don’t add extra flowers — one bold sunflower is what keeps it clean.
5. Mushroom Buddy Snake with Spotted Cap Belly
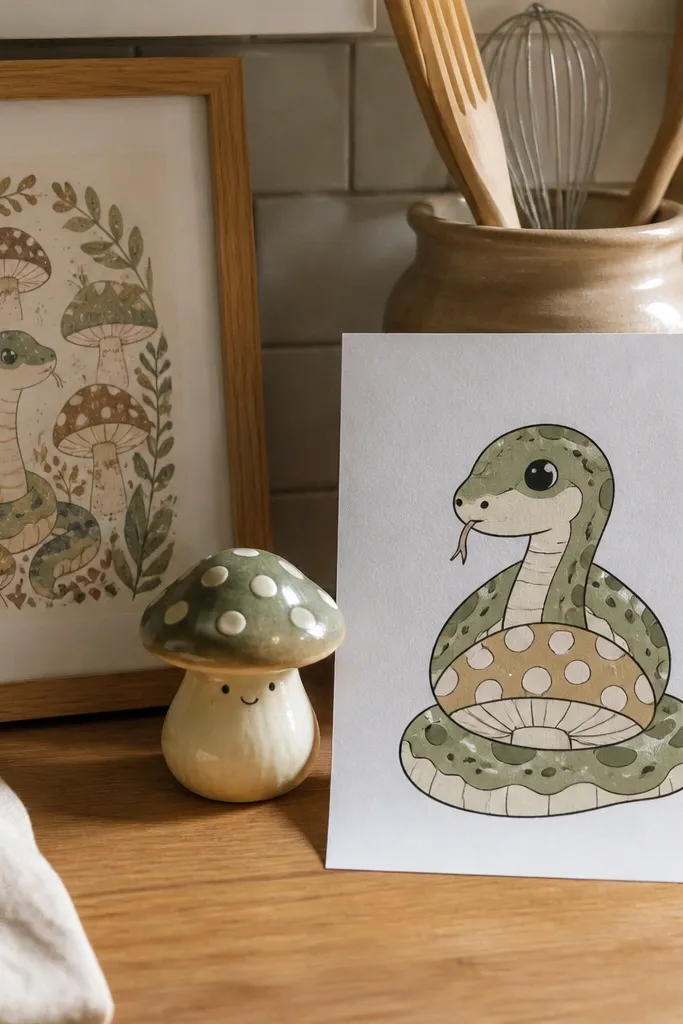
Mushrooms read cozy, and the spotted cap pattern turns the belly into a cute design element. This is a low-effort way to make your snake look like it belongs in a storybook without realistic drawing. The snake body stays simple, while the mushroom belly gives you a clear focal area. It also scans well because the mushroom shape gives structure to the whole composition.
Start by drawing the snake body as a smooth S-curve with a rounded head at one end. Draw a small mushroom cap shape on the belly area, like a curved triangle with a rounded top. Add spots on the cap using 6-10 dots, then draw a tiny stem line. Ink with fineliner, then color: green or tan for the snake, red or orange for the mushroom cap, and leave the spots white.
Use a ruler-free “wobbly” cap edge; perfectly straight mushroom caps look less cute.
Don’t shade the mushroom too much — flat color plus crisp dots looks better.
6. Space Snake with Star Scales and Planet Tongue
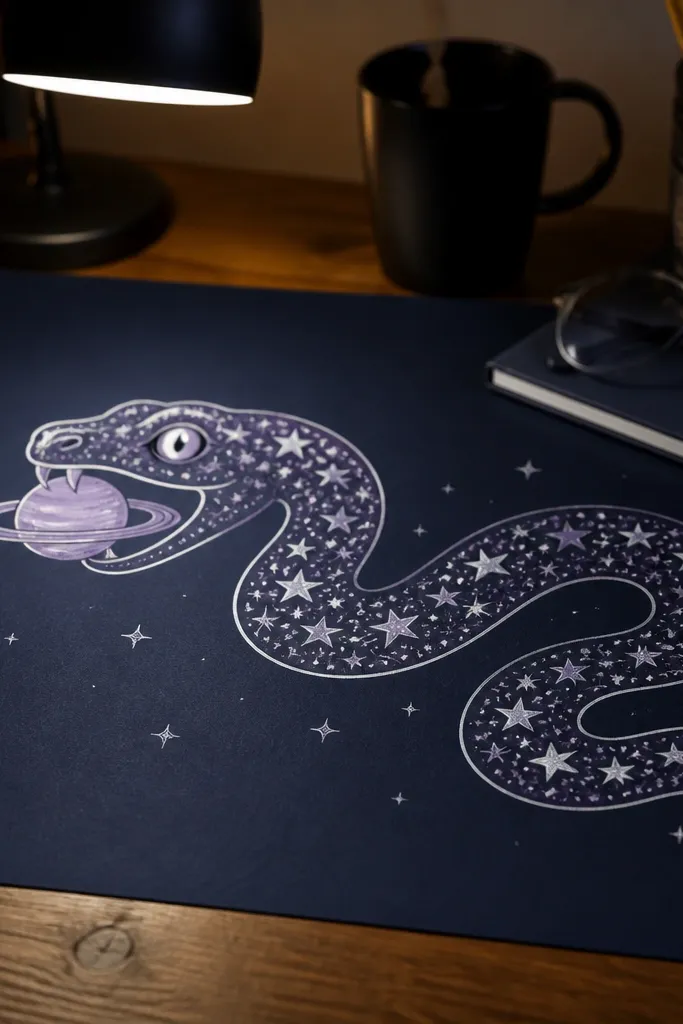
Space themes make drawings pop, and this one uses only a few shapes: stars, a planet tongue, and simple body curves. The star scales are small and repetitive, so the texture stays budget-friendly. The planet tongue is the cute trick — it gives the snake a character detail without needing complex shading. If you want something that looks great on a phone wallpaper or sticker sheet, this is it.
Draw a curved snake body with 3 main bends, keeping the line thick and smooth. Add a rounded head with two dot eyes and a tongue that looks like a small oval or circle. Decorate the upper body with tiny star shapes (4-point stars or sparkle crosses). Ink, then color the stars in one accent color and leave most of the body as line art or one solid fill.
Color only the stars and tongue. Leave the rest mostly white for a cleaner look.
Avoid full-sky backgrounds — the snake should stay the main subject.
7. Rainbow Belly Snake with Sideways Smile
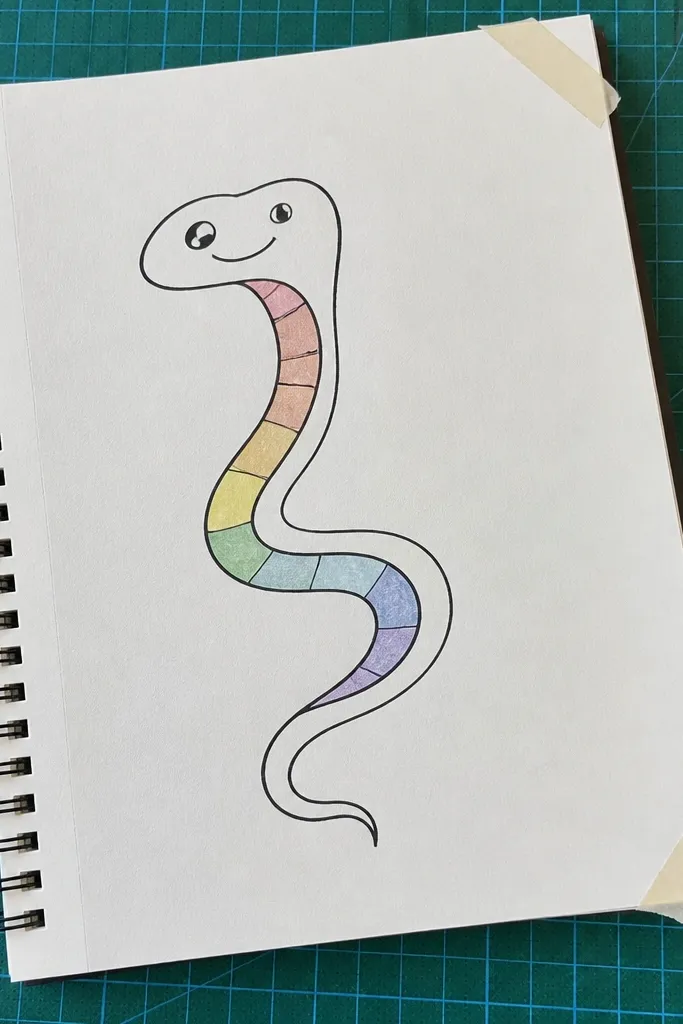
Rainbow belly bands are visually satisfying because they read like a candy stripe but feel warmer. The sideways smile makes the snake look less “posed” and more playful. Keep the body outline simple and use the belly band as the only major color area. This is one of the easiest budget cute snake drawings to make look polished because you control color placement tightly.
Sketch the snake in a gentle loop so you can fit a belly band. Draw the head with a small sideways smile and two dot eyes. Add one wide belly band across the underside of the body, then split it into 5-6 stripes. Ink over the lines, then color each stripe with a marker in order: red, orange, yellow, green, blue, purple (choose 5 if you want fewer).
Use marker chisel tips for thick stripes; thin stripes look patchy in photos.
Don’t color the whole body — the belly band is the design.
8. Heart-Eyed Snake with Minimal Scales
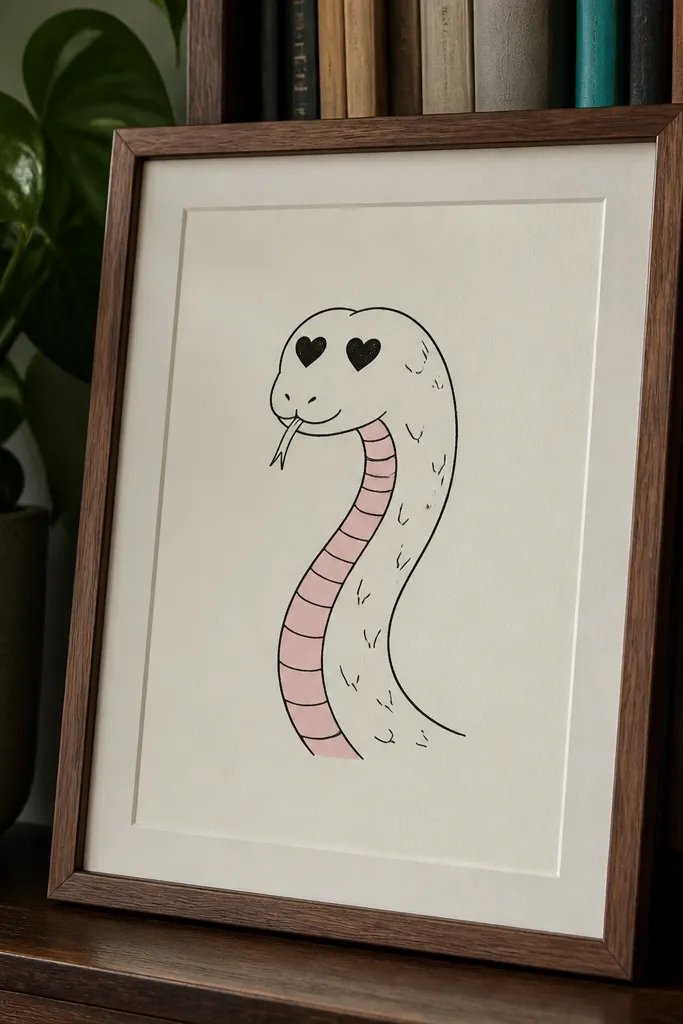
Heart eyes are the shortcut to “cute,” and minimal scales keep it clean. This design looks good with just black ink plus one color on the body. The snake’s face is expressive without needing complicated features. It’s also a great template for printing because the composition is simple and centered.
Draw a simple curved body with a rounded head. Replace dot eyes with two small hearts, and add a tiny curved mouth line. Add scale texture only near the back half of the body using 10-15 tiny dots or micro U-shapes. Ink and then color the body with one marker tone, keeping the belly uncolored for contrast.
Make the hearts slightly tilted so they look alive, not symmetrical stickers.
Avoid big scale patterns — they fight with the heart eyes.
9. Teacup Snake Taking a Sip
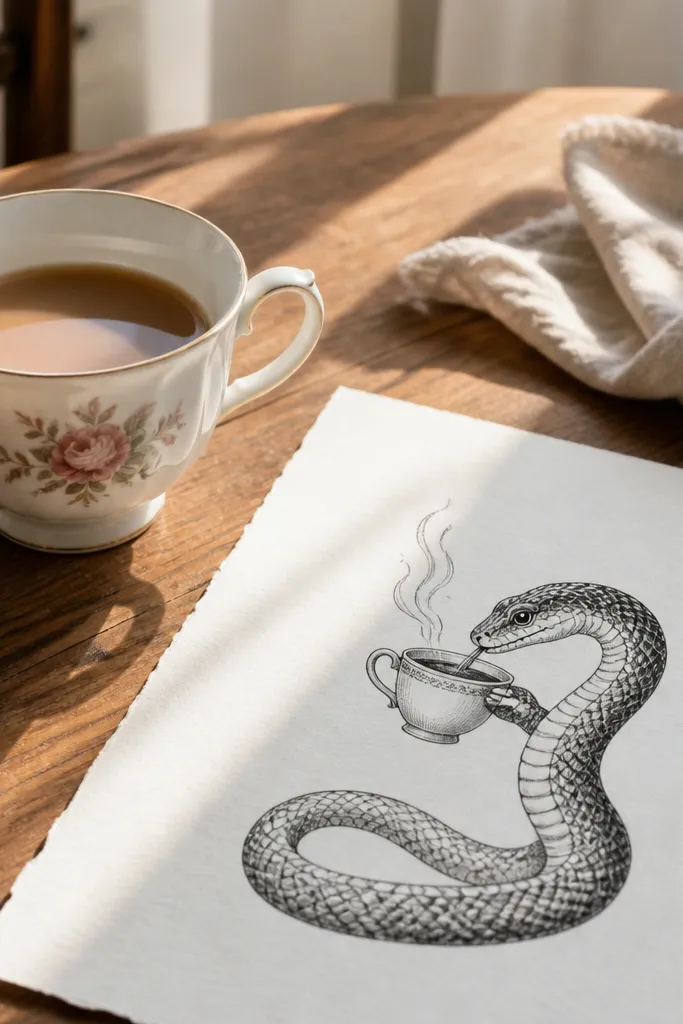
Putting a snake next to a teacup instantly makes it look like a character in a cozy scene. The teacup gives you a second shape to anchor the composition, which improves the photo. Steam lines add motion without extra detail. Keep the snake body simple and let the cup handle most of the drawing complexity.
Sketch a teacup first: an oval cup with a small handle on the right and a saucer base. Draw a snake head coming up near the cup rim, with a small smile and a tiny tongue. Add 4-5 steam lines rising above the cup. Draw the snake body as 4 curved segments that tuck behind the saucer. Ink and color cup and snake with two markers, leaving steam lines white.
Use a lighter color for the cup and darker for the snake so the silhouette stays readable.
Don’t put the snake face too far from the cup rim — it breaks the “taking a sip” idea.
10. Checker Belly Snake with Thick Outline
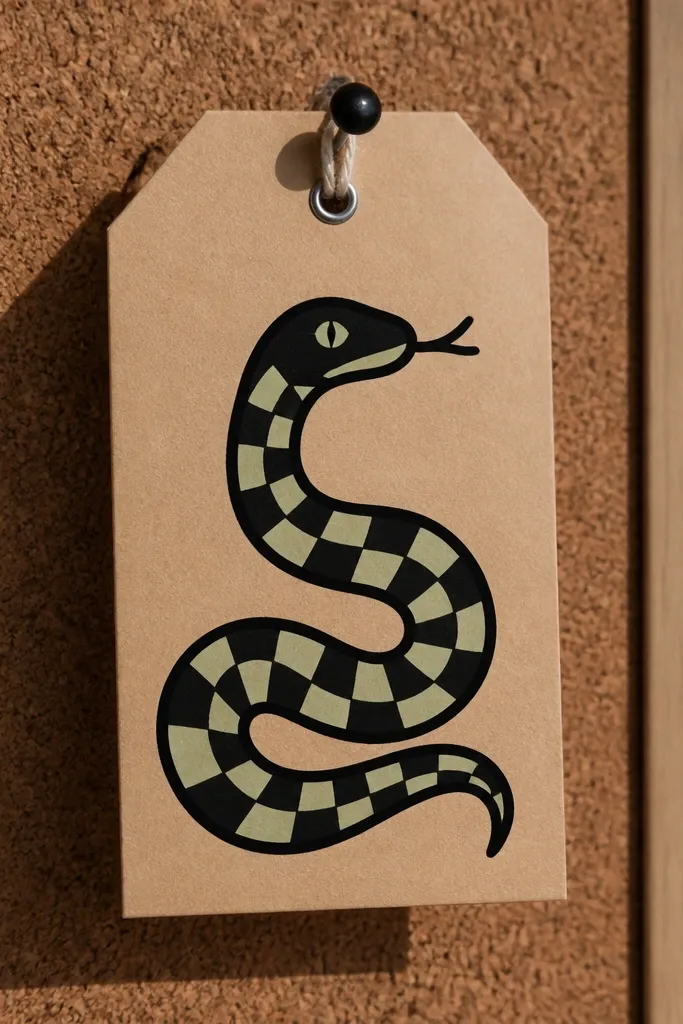
Thick outline is the easiest way to make budget cute snake drawings look finished in seconds. A checkerboard belly reads as “designed” even if the body is simple. This style also helps if your hand shakes — thick lines forgive wobble. The checker pattern gives you high contrast, which photographs well on plain paper.
Draw the snake body with a bolder line weight using a 0.9 or 1.0 fineliner. Keep the head rounded and add dot eyes and a tiny curved smile. Divide only the belly area into a checker grid using light pencil guides, then ink the grid. Color alternating squares with one dark marker and leave the other squares white. Finish by reinforcing the outer contour with another pass of thick ink.
Pro tipColor squares after inking, not before, so edges stay sharp.
AvoidDon’t checker the entire body — keep it to the belly so it stays cute.
11. Striped Scarf Snake with Zigzag Ends
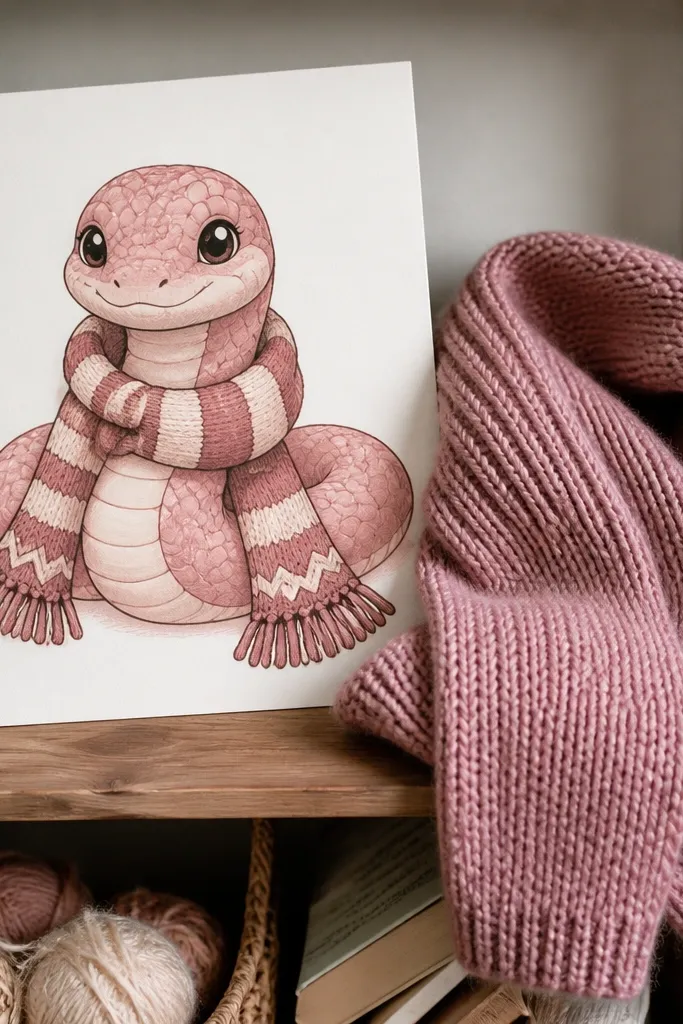
Scarves look adorable on animals and characters because they create a secondary shape and a sense of personality. A striped scarf with zigzag ends adds movement and keeps the drawing from feeling flat. The snake itself can be simple — thick body curves and a friendly face — while the scarf carries the visual interest. This is a great option when you want something cute but not overly detailed.
Sketch a curled snake with a head facing forward. Draw a scarf loop around the neck area, then add a long tail of the scarf that wraps across the body. Make the scarf stripes as 6-8 bands, keeping each band the same width. Add zigzag ends at the scarf tips so it looks like fabric. Ink, then color stripes in two alternating colors and leave the snake body one solid shade.
Pro tipStart stripes with a pencil ruler-free guide line so spacing stays even.
AvoidDon’t add too many scarf folds — one loop and two ends is enough.
12. Mini Snake Family on a Branch
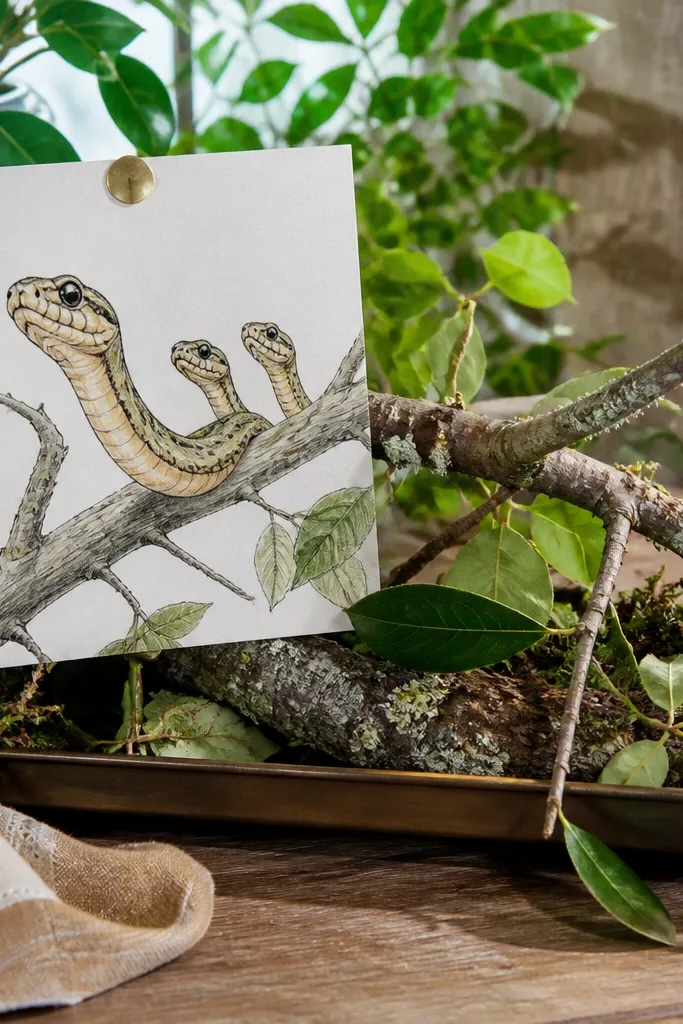
A group composition makes your drawing feel like a whole scene without adding realism. The trick is scale: draw one larger snake in front and two smaller ones behind so the scene has depth. Branch and leaves give you extra shapes to balance the page. For cute snake drawings, three characters is the sweet spot — it reads quickly in a photo.
Draw a branch line first, slightly curved across the page. Place three snake heads along the branch: one centered, one smaller on the left, one smaller on the right. Give each snake a different belly pattern: dots, stripes, and tiny commas. Draw simple leaves around the branch for framing. Ink everything, then color the branch in a warm brown and color each snake with a different bright accent.
Pro tipKeep the background to just branch and leaves. Too many elements make the snakes look lost.
AvoidDon’t make all three snakes the same size — the photo will feel flat.
13. Pocket Monster Snake with Flame Tail
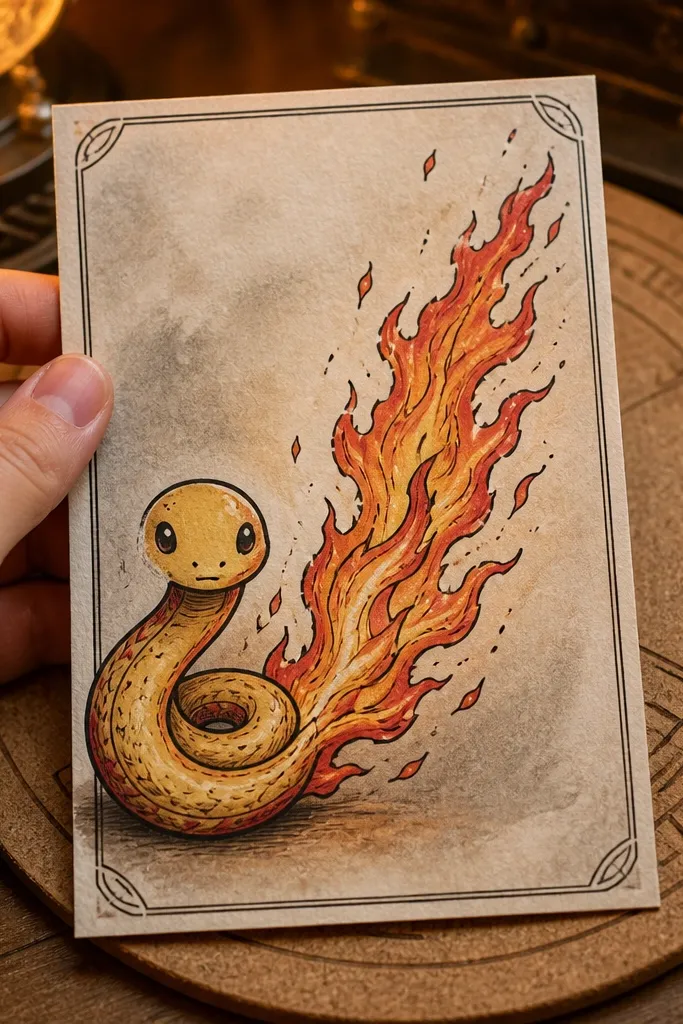
Flame tails are a fun way to add personality without drawing complex wings or claws. This design looks cute because the face is soft and the flames are stylized, not realistic. A flame tail also creates a strong diagonal shape that stands out in pictures. Use minimal scale marks so the flame stays the hero element.
Draw the snake body as an S-curve with a rounded head and dot eyes. Add a tiny smile and a single tongue curl. At the tail end, draw a flame shape made of 3-4 stacked teardrops narrowing toward the tip. Add a few scale dots near the head and a small belly line for definition. Ink and color: snake in one base color, flame in two colors (orange + yellow) so it looks bright.
Pro tipColor the flame edges darker, then leave a lighter inner shape uncolored for a “glow” effect.
AvoidDon’t add lightning bolts everywhere. One flame tail is enough.
14. Bubble Tea Snake with Straw and Pearls
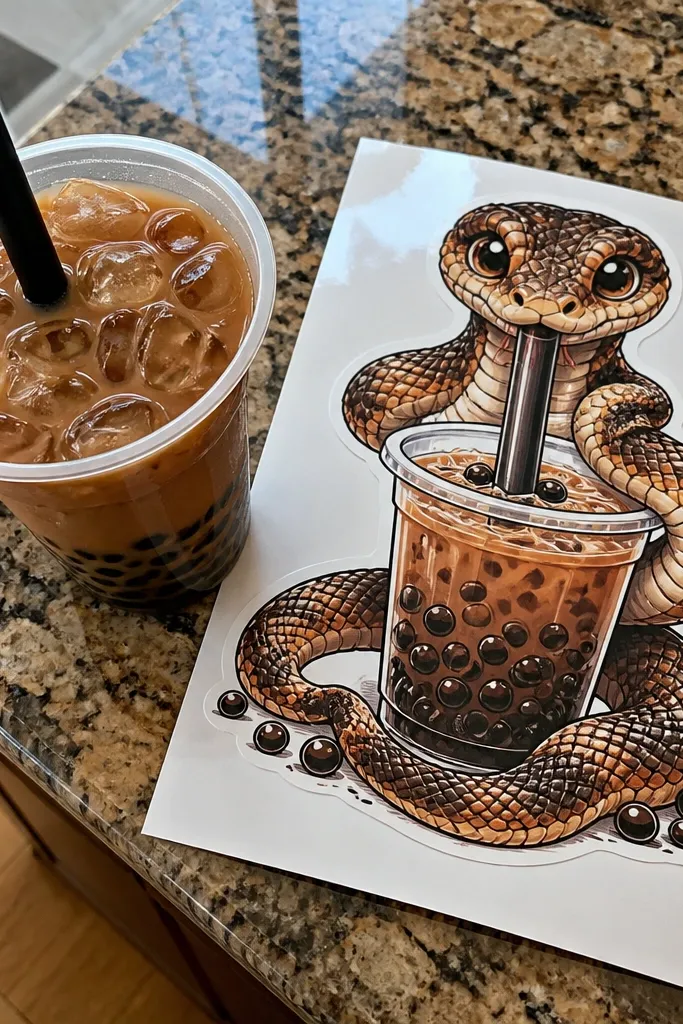
Bubble tea is a guaranteed cute theme, and it gives you a whole round object for composition. The snake holding the cup makes it look like a character, not a creature. Tapioca pearls are tiny circles, easy to repeat, and they give texture without effort. This is one of the best budget cute snake drawings for gift tags because the cup shape stays clear even when small.
Sketch a bubble tea cup as a tall rounded rectangle with a lid circle on top. Draw a straw sticking out and add a few pearls inside the cup as circles. Place the snake head near the cup, with a smile and small hands or just front body curves hugging the cup. Add a few pearls on the side near the snake to connect the composition. Ink, then color the cup in a light tone and color pearls in one contrasting color.
Pro tipUse a gel pen highlight on the cup lid — a small white arc makes it look glossy.
AvoidSkip shading gradients. Flat color plus clean lines is what keeps it cute.
15. Cloud Snake with Raindrop Scale Pattern
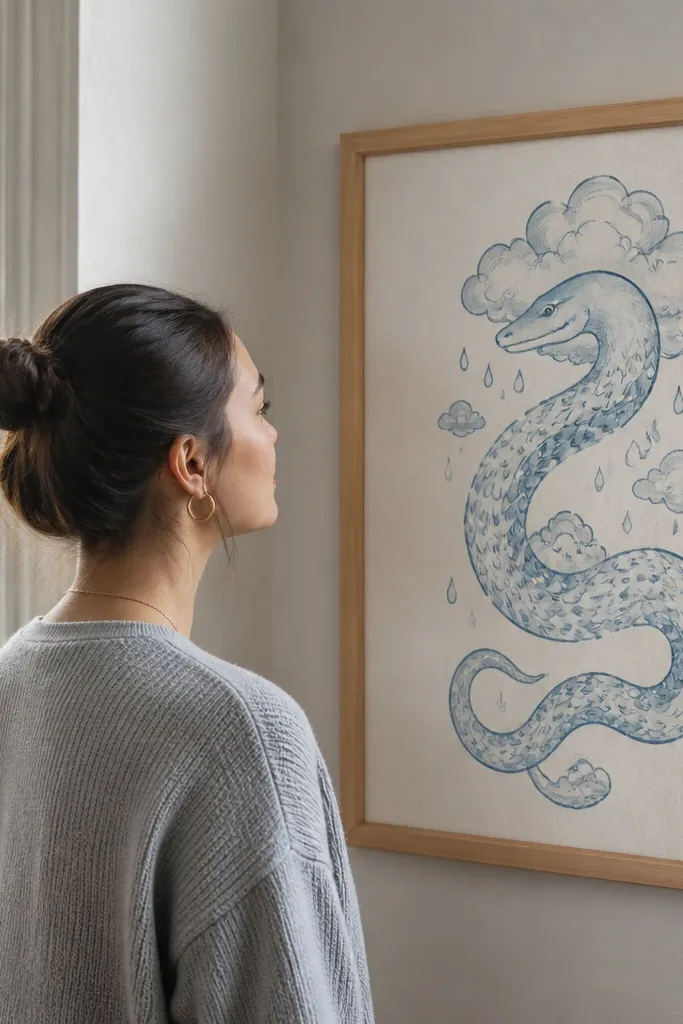
This drawing looks airy and friendly because the cloud frames the snake. Raindrop scales are an easy repeating shape that still looks “patterned.” It’s also a cute way to use blue without turning the whole drawing into a color smear. The cloud provides a soft top boundary, which makes your snake sit in the page nicely.
Draw a cloud outline at the top of your page, leaving space for the snake below. Create a snake body as a curved line hanging down from the cloud edge. Add raindrop shapes along the snake’s top side, alternating sizes slightly. Give the snake a small face with dot eyes and a tiny mouth. Ink and color: cloud in light gray-blue, raindrops in a deeper blue, snake in a single green or tan tone.
Pro tipColor the cloud first, then add the snake outlines so you don’t smear wet marker over ink.
AvoidDon’t overcrowd raindrops — keep about 12-18 total for readability.
16. Geometric Triangle Snake with Pastel Blocks
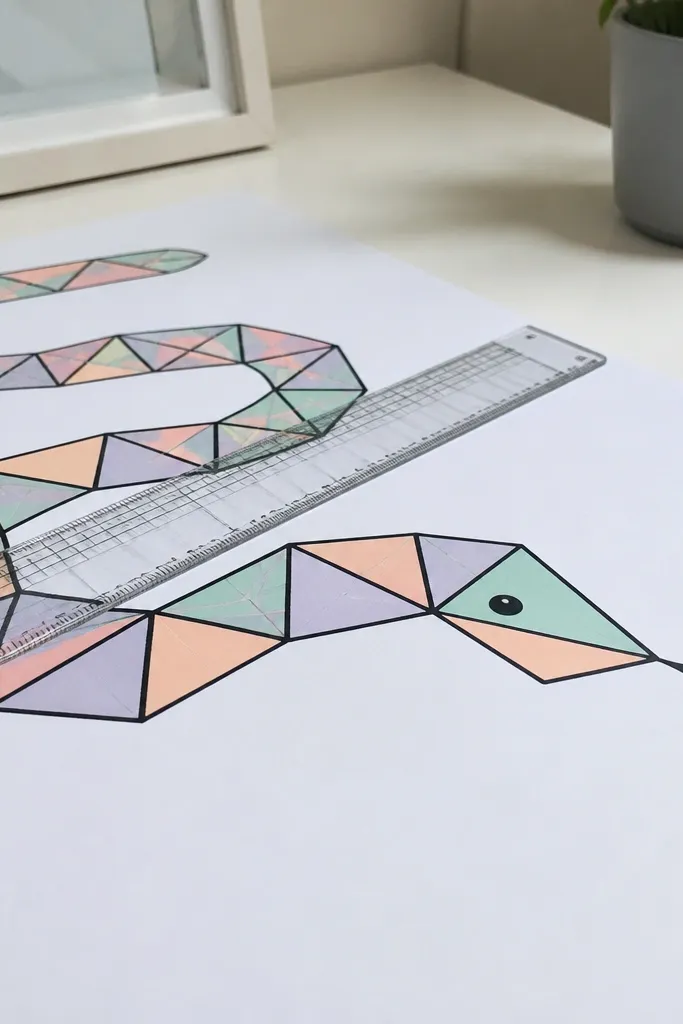
Geometric snakes look modern and clean, which makes them feel cuter than realistic drawings. Triangle segments create instant structure, and pastel blocks keep it budget-friendly because you can fill shapes quickly. This style is great if your lines aren’t smooth — geometry hides imperfections. It also looks great in a grid when you make multiple drawings.
Sketch the snake body as a chain of triangles connected by curved edges. Start with a larger triangle for the head, then smaller ones down the body. Add a simple face: two dot eyes and a tiny smile line on the head triangle. Choose 4-5 pastel colors and fill alternating triangle segments like a pattern. Ink over the triangle outlines with a fineliner, then darken the outer border line for clarity.
Pro tipUse pencil to map triangle sizes first. Changing sizes mid-drawing makes the pattern feel off.
AvoidAvoid too many colors. Pastels look cute in a small set, not a full rainbow.
17. Sunset Doodle Snake with Minimal Gradients
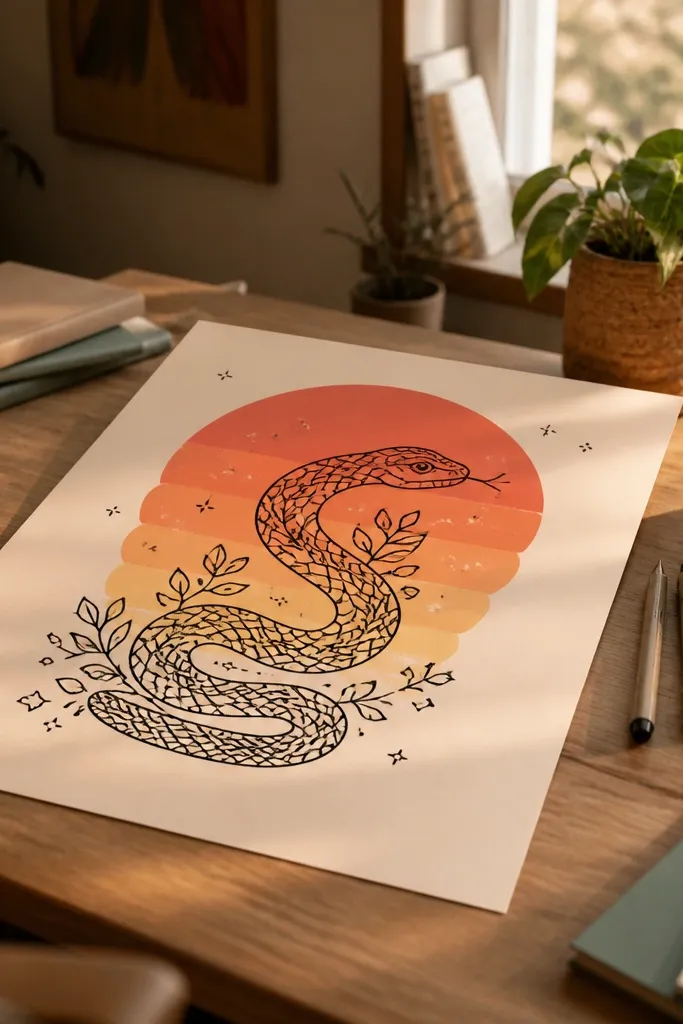
This is a cute snake drawing that looks more “designed” because the background does most of the mood work. Use a simple sunset: a few rounded color bands behind the snake, plus tiny doodles like stars or dots. The snake stays mostly line-based so the background doesn’t overpower it. If you want something that looks good on social posts, this one has strong color contrast.
Draw the snake first as a clean outline with a friendly face. Make the eyes dot-and-smile simple. Add a sunset background behind it with 3-4 thick curved bands (pink, orange, yellow, light purple). Color the bands with markers, then blend slightly with a dry brush or blending stump if you have one. Finish by adding 6-10 tiny star dots around the top band, then ink over the snake outline if needed.
Pro tipKeep the snake outline darker than the background bands so it stays readable.
AvoidDon’t add a full sky of doodles — a few stars are enough.
18. Chibi Snake Holding a Balloon Heart
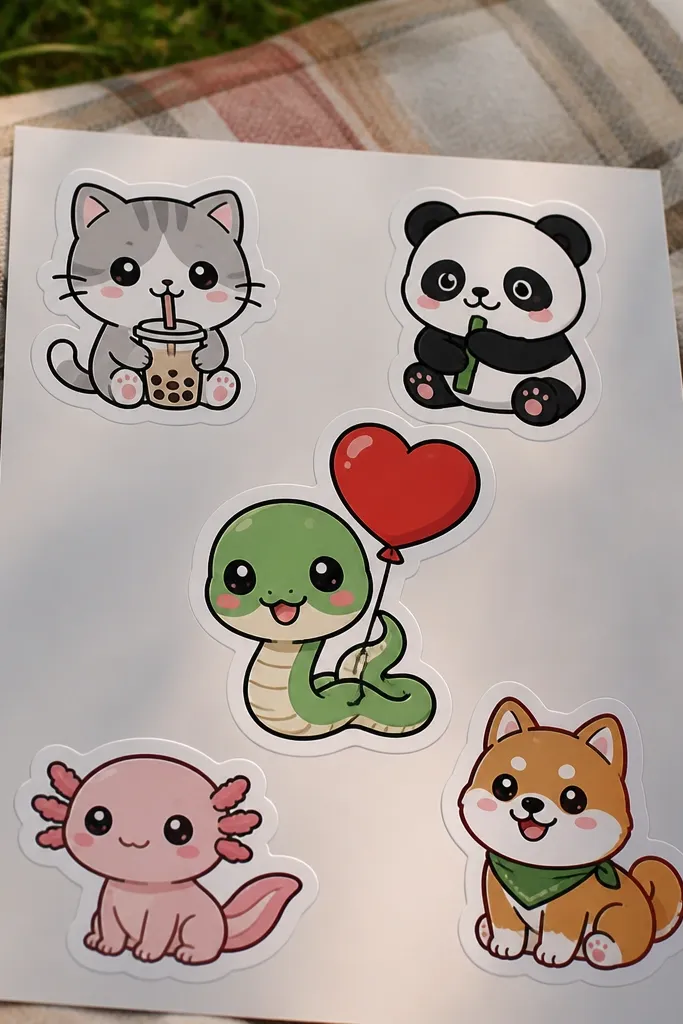
Chibi proportions are cute by design: big head, short body, and a simple expression. A heart balloon is instantly readable and makes the snake feel cheerful. This style works well with limited tools because you can color the balloon solid and keep the snake mostly line art. It’s also great for cards and sticker sheets because the subject is centered and clear.
Draw the snake head as a big oval and keep the body short, like 3-4 curves. Add a small smile and dot eyes. Draw two simple arms reaching up, then attach a heart-shaped balloon above the head. Add a balloon string that curves down toward the snake hands. Ink everything and color the balloon with one bright pink or red, then color the snake with one green or tan tone.
Pro tipAdd a small white highlight on the balloon using a gel pen for a glossy look.
AvoidDon’t make the body long — the chibi vibe needs short proportions.
19. Spiral Belly Snake with Wave Pattern
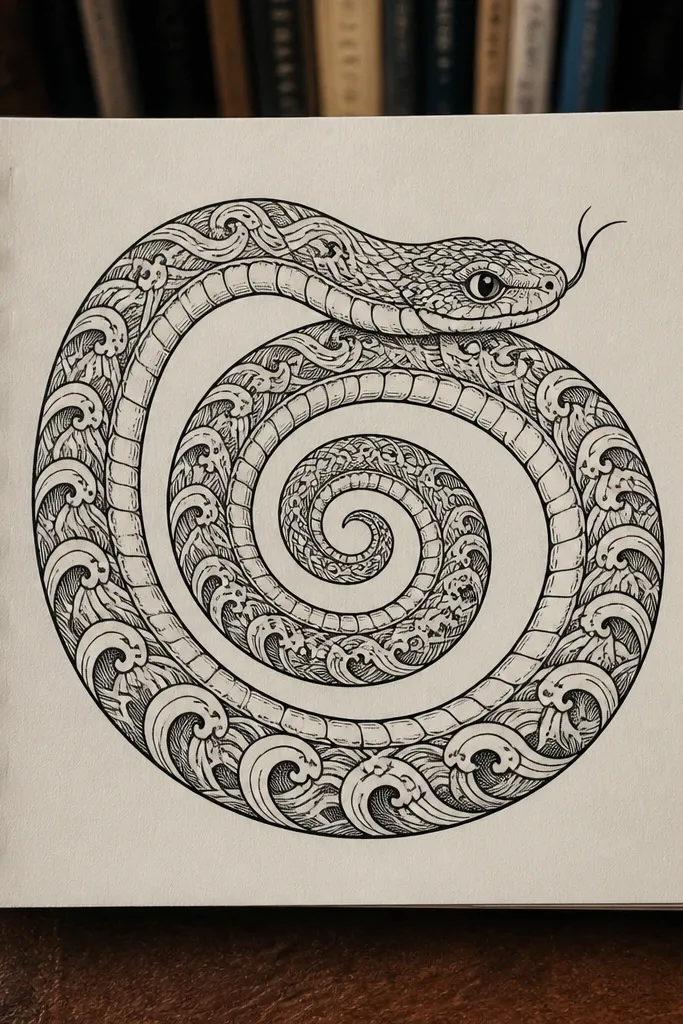
A spiral belly feels playful and “sticker-y,” and the wave pattern adds motion without realism. The coiled shape makes it easy to fit a pattern in a tight space. This drawing looks good even if you’re drawing on smaller paper because the composition is compact. It’s also a nice middle ground between super simple dots and more work-intensive scale textures.
Sketch a coiled snake as a tight loop with the head facing outward. Draw the belly area as an inner curved band. Add a spiral on the belly band using 5-7 loops that get smaller toward the center. Add tiny wave marks along the top side of the body for extra texture. Ink and color: color the belly spiral in one accent color and leave the waves as line texture or lightly colored.
Pro tipUse a consistent spiral spacing by starting with a single loop size and repeating it smaller by the same amount.
AvoidDon’t add both full scales and a spiral belly — choose one texture hero.
20. Flower Pot Snake with Seed Dot Belly
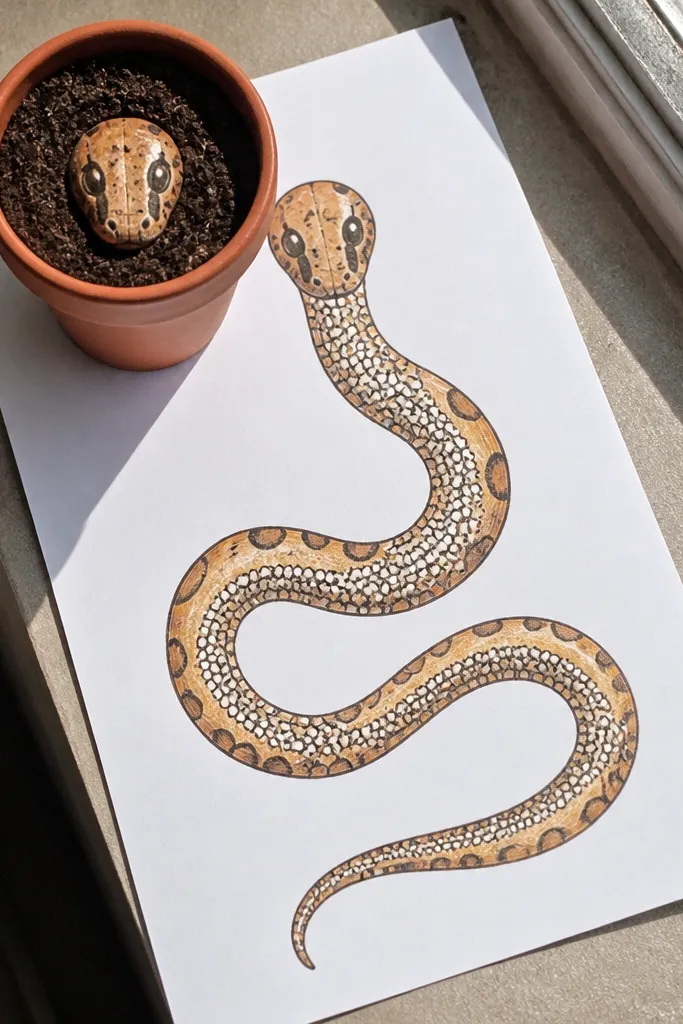
This idea uses a simple prop to make the snake look like it belongs in a cute garden scene. The flower pot frames the head, and the seed dot belly gives you a repeatable texture that stays readable. It’s also a good option for practicing clean dots because you’re only dotting one area. The result looks charming and calm, not chaotic.
Draw a flower pot as a trapezoid with rounded corners and a simple rim. Add a soil surface line inside the pot. Place the snake head peeking from the soil line, with dot eyes and a tiny smile. Draw the snake body tucked inside the pot, and add seed-like dots on the belly area only. Ink and color: pot in warm brown, soil in dark brown or black pencil, snake in light green or tan.
Keep seed dots the same size and vary only spacing for a more “designed” look.
Don’t over-detail the flowers — keep it to one stem or a few leaves.



