
1. One-line heart with 6 dot sparkles
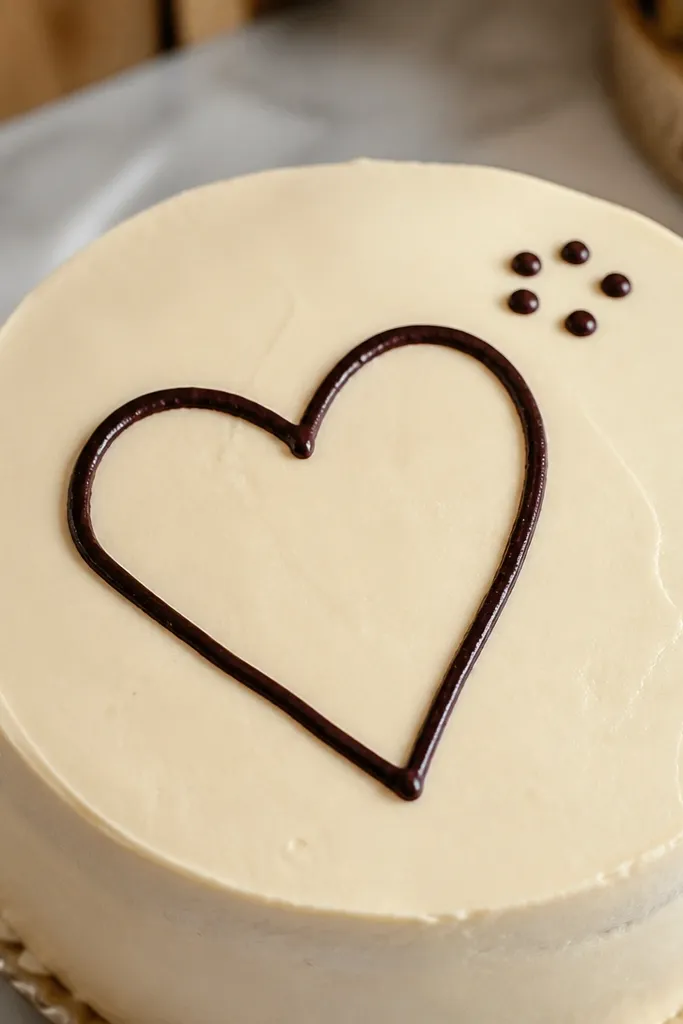
Start by chilling the cake 10 minutes if the frosting is soft, then place a heart stencil centered on the top. Trace the heart outline with a food-safe marker or pipe it with a small round tip, aiming for a slightly thicker line than you think you need. Next, add six dots in a loose circle around the heart — two above, two on the sides, two below. Finally, let it set for 2 minutes so the dots do not smear.
This is the fastest “cute but not childish” design because it uses one bold outline and a small cluster of dots. The heart reads clearly from across the room, and the dot sparkles make it look intentional even if your line is slightly imperfect. Use it on plain vanilla buttercream, chocolate frosting, or even a thin whipped topping layer. You get a clean result in about 5 minutes because you are not filling large areas — you are placing a few marks and stopping.
2. Starburst rays with a tiny center circle
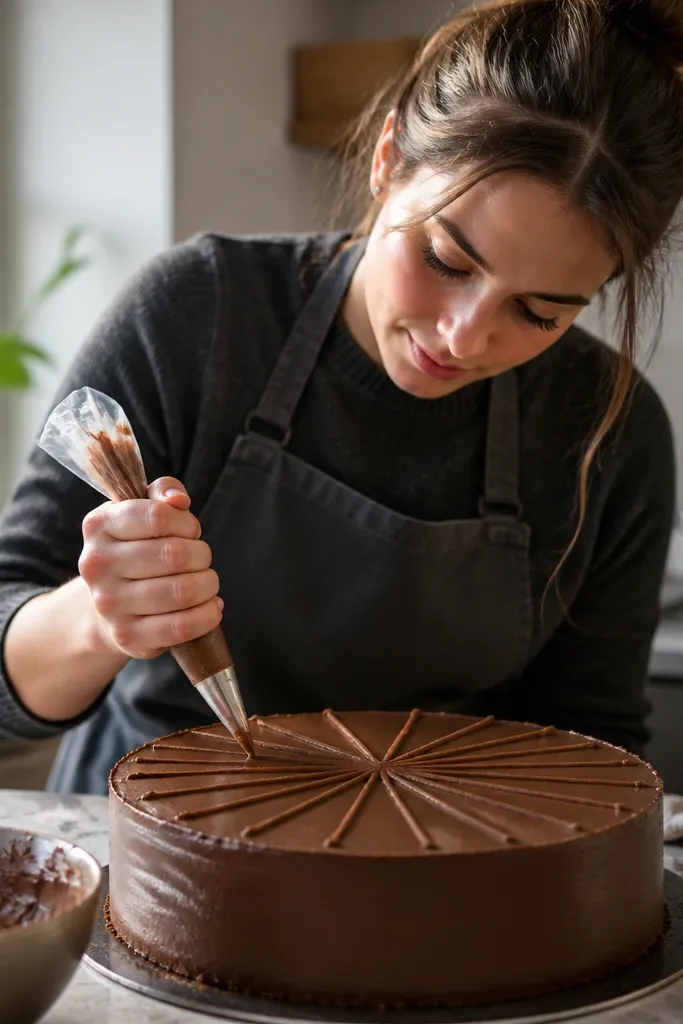
Draw or stencil a small center circle first, then place the starburst rays around it like a clock face. Pipe or draw 10 to 14 rays, each ray about the same length, stopping at the same outer edge. Add no shading — flat rays look cleaner and set faster. Let the design sit 2 minutes before slicing so the lines stay crisp.
A starburst is a cheat code for busy days because it looks complex while staying simple. The rays are short, consistent strokes, so you do not need fine control like you do for petals. It works well on cakes for birthdays, graduations, and “just because” desserts. In 5 to 6 minutes, you can get a graphic look that matches modern cake photos without spending time on piping leaves.
3. Happy face with two eyebrows and a smile
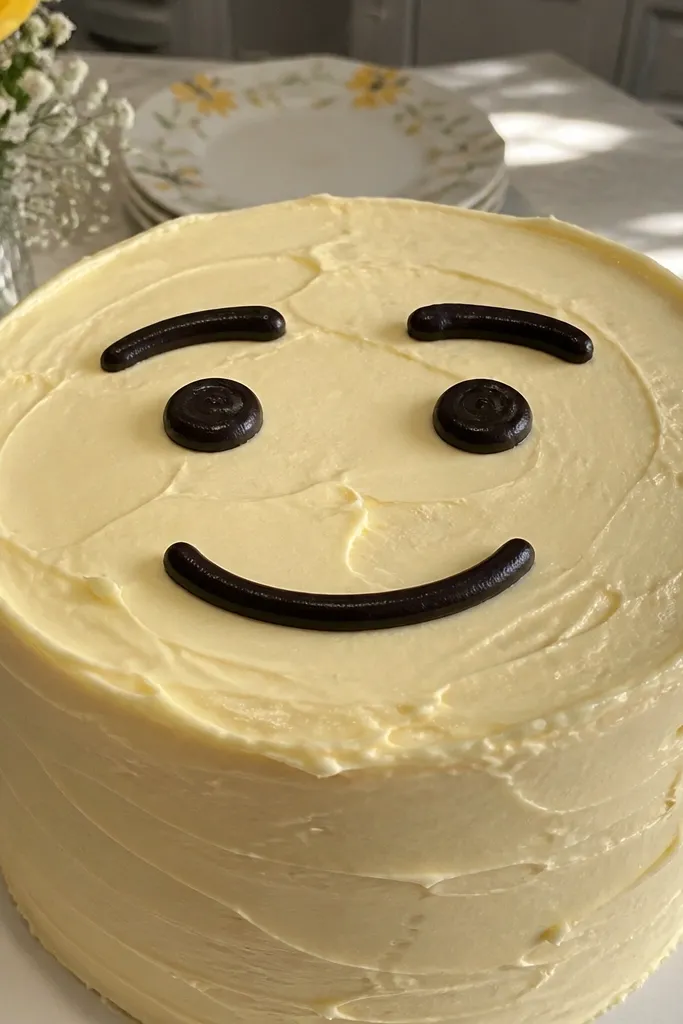
This is the most forgiving option when you are short on time because it uses thick dots and a single curved line. If your frosting is slightly uneven, the face still looks good because the shapes are bold. It also works on cakes with darker frosting where marker lines can look muted — piping gives you better contrast. Expect about 5 minutes from stencil placement to finish, plus 2 minutes to set.
Use a face stencil or sketch two dot eyes, two short eyebrow lines, and one curved smile. Trace the outline first, then fill in the eyes with dots. Finally, add a small nose dot if you want extra charm, then stop. If you smudge a dot, wipe the tip and drop a new dot next to the old mark instead of trying to erase.
4. Three balloon strings with one stamped bow
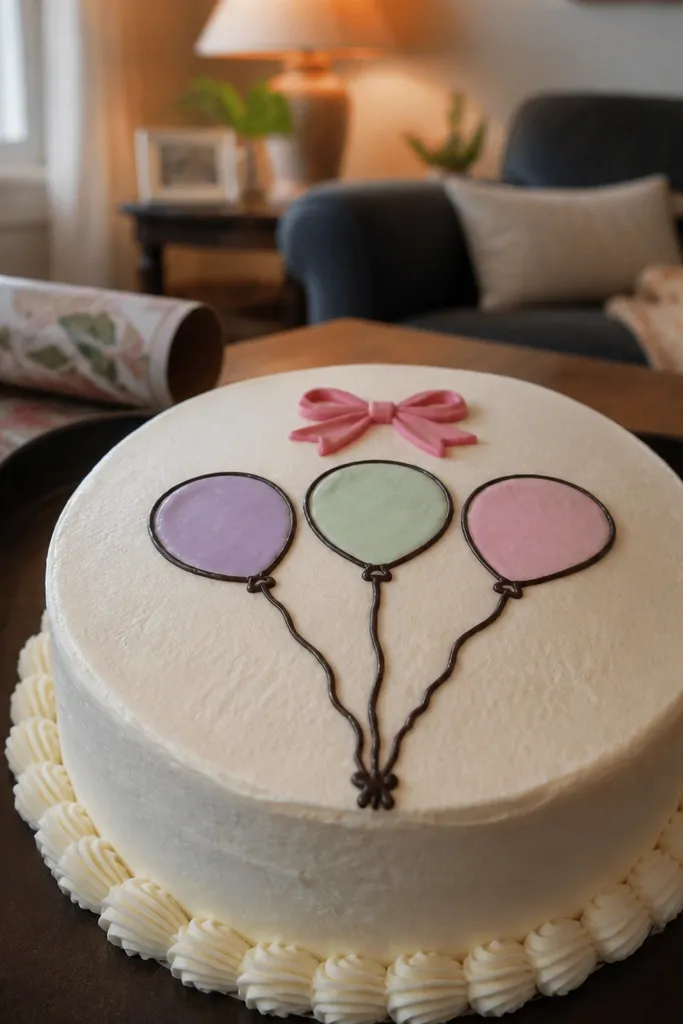
Place a balloon stencil so the three balloons sit in a gentle arc across the top. Draw the balloon outlines first, then add simple string lines that meet near the center. For the bow, draw two small loops and a short center knot. Stop once the bow is placed — extra ribbon details take longer and often smear on soft frosting.
Balloon drawings look celebratory without needing full piping. Three balloons give you a clear layout and keep the drawing from turning into a messy cluster. The bow is optional, but it makes the top look finished when you only have a few minutes. This design is ideal for kids' parties and quick thank-you cakes because it reads instantly.
5. Number 1 outline with a single underline
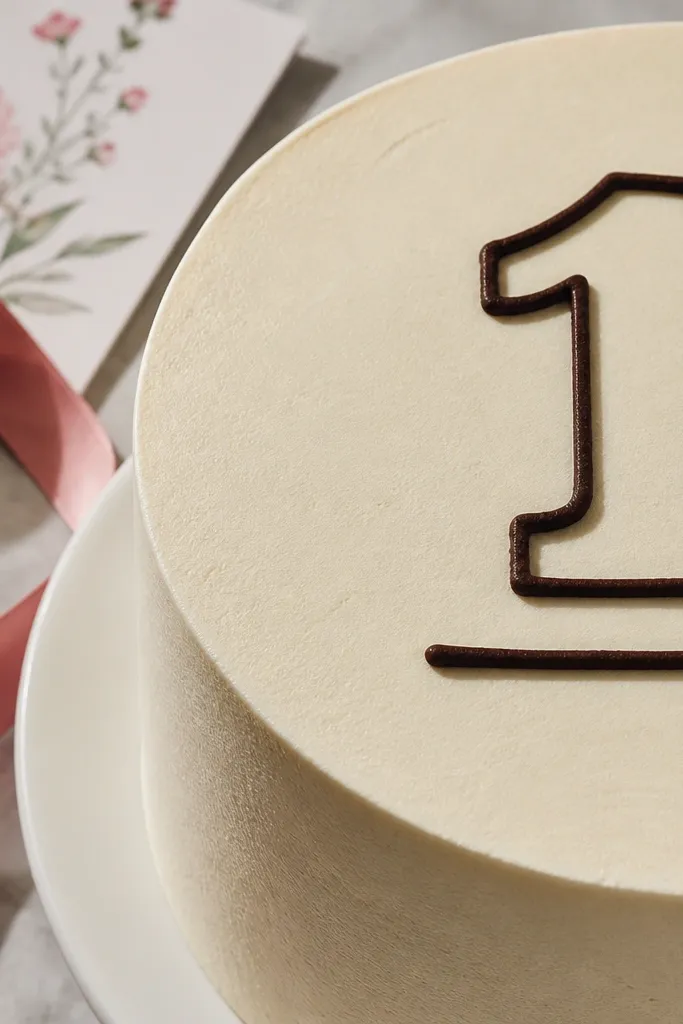
Center a stencil for the number on the cake top. Trace the number outline with a thick line weight using a marker or piping tip, then add one straight underline across the bottom of the number. Make the underline slightly wider than the number so it balances visually. Let it set for 2 minutes, then remove the stencil carefully.
If you need a date or age fast, a big outline number is the cleanest path. The straight underline makes it look styled without extra flourishes. This works especially well on cakes with smooth tops because you can keep the line crisp. You can draw a “1” or “2” style number in about 5 minutes, and it still looks sharp on camera.
6. Simple leaf sprig with three teardrops
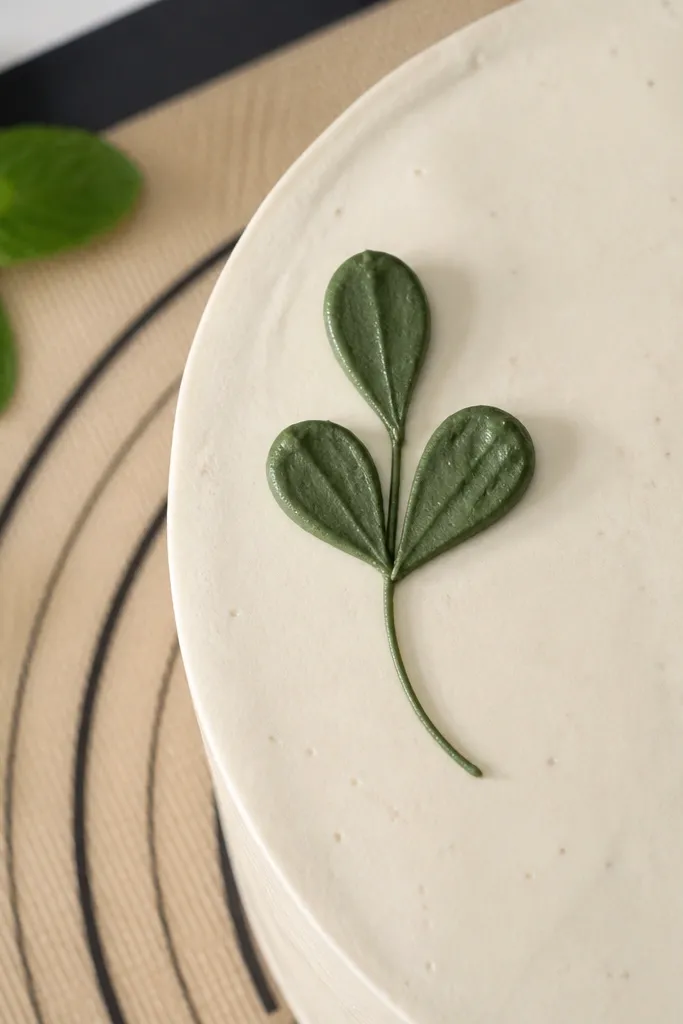
Draw a thin center stem first. Add three teardrop shapes off the stem — one at the top, two branching below — keeping each teardrop the same size. Finally, add a short second line on the stem for a subtle highlight and stop. If your lines bleed, chill the cake 10 more minutes and redraw only the edges.
A three-teardrop sprig looks “fancy” while staying fast because you are repeating one shape. It fits neutral cakes, tea cakes, and minimalist birthdays. Use a dark marker on light buttercream or pipe a contrasting color on chocolate frosting. This takes about 6 minutes and gives you a clean, modern look without trying to draw veins and details.
7. Minimal script-style word using a stencil strip
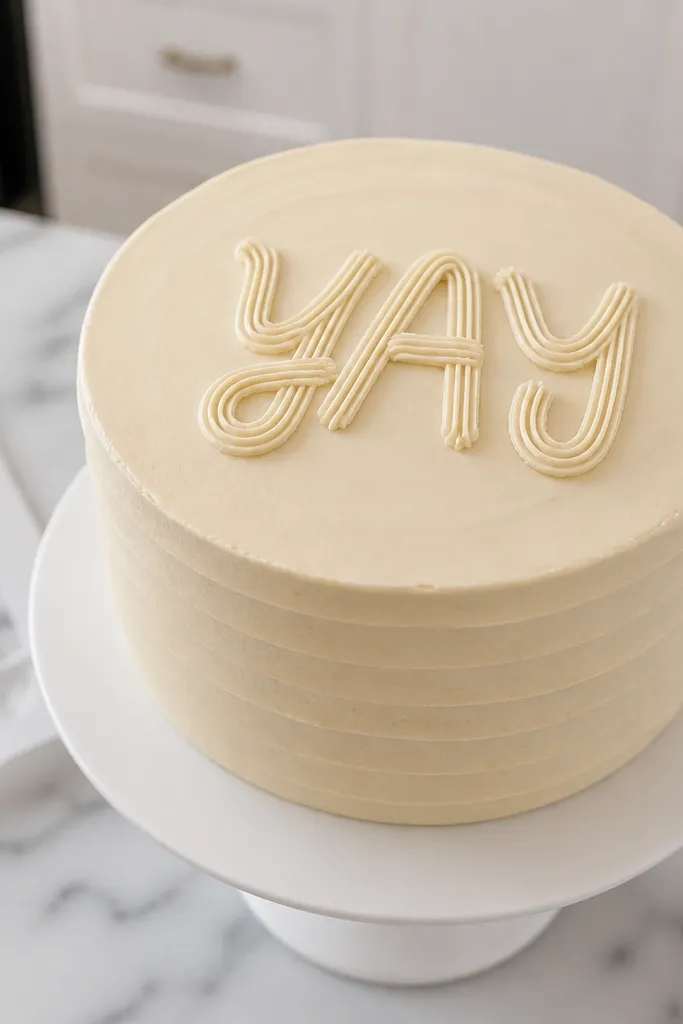
Print or cut a stencil strip for each letter so you can place them one at a time. Align the first letter using the cake center as a guide, then trace it with a marker or pipe the outline. Repeat for each letter, rotating the cake so your wrist stays steady. If the frosting smears, switch to piping and use a slightly thicker line.
When you need text fast, stencils beat freehand lettering every time. A short word like “YAY,” “WOW,” or “HEY” reads well even with simple letter shapes. This approach keeps the spacing correct, which is where most quick DIY lettering fails. Plan for 5 to 7 minutes depending on the word length and frosting softness.
8. Confetti dots in a diagonal band
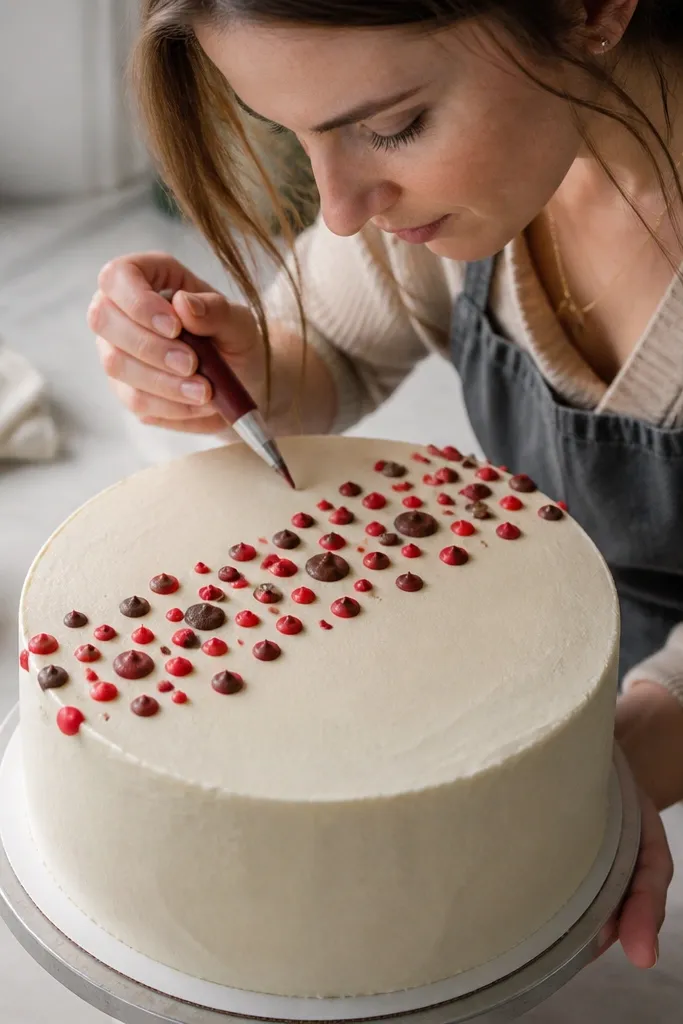
Confetti dots are the fastest “cover mistakes” drawing because they hide uneven frosting and forgive imperfect placement. A diagonal band looks designed, not random, and it sets quickly. Use 2 colors for a clean look or 3 colors if you want more energy. This is the best option when you are truly out of time and need something that still looks good.
Plan your diagonal band by lightly marking an invisible guide line with the marker on the stencil paper, not on the cake. Then place dots along that band using a marker or piping dots. Keep dot size consistent — aim for 4 to 6 mm diameter if you are piping. Let it set 2 minutes, then remove any stencil guides.
9. Bowtie outline with two tiny diamond dots
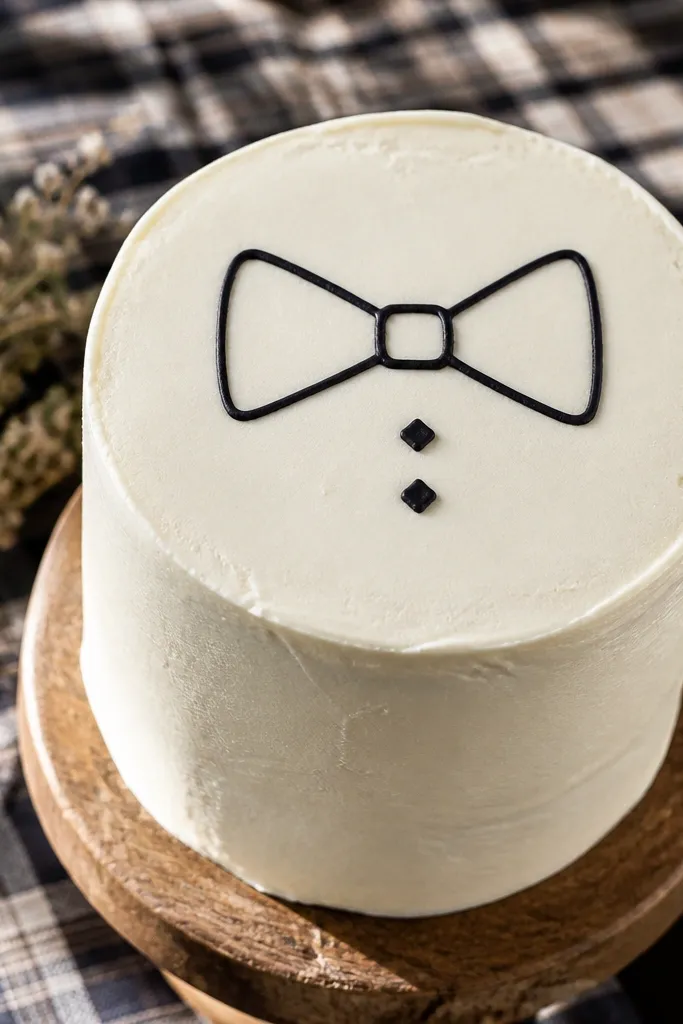
A bowtie outline reads crisp and “event-ready” even when you only have a few minutes. The shape gives you structure, so your drawing does not drift. This is a great choice for groom-themed cakes, Father’s Day, or a fancy cupcake style. It also works well in one color for a clean graphic look.
Stencil or sketch the bowtie outline first: two loops and a center knot. Trace the outer shape, then add two small diamond dots near the knot. Keep diamonds tiny so they do not crowd the bowtie. If you are piping, pipe the outline first, wait 30 to 60 seconds, then add diamonds.



