
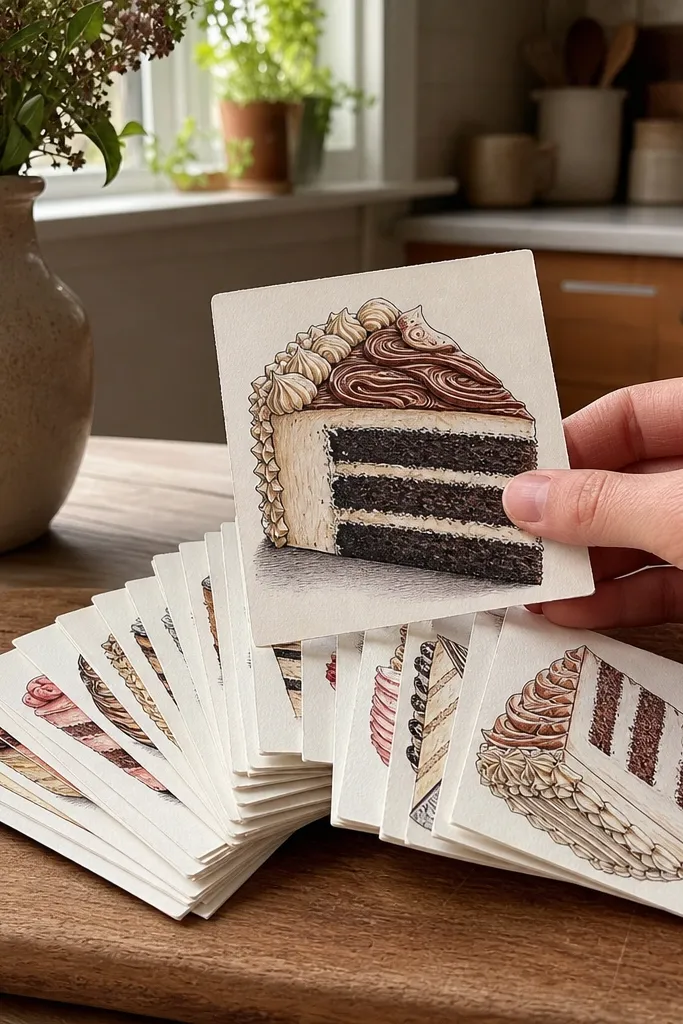
1. Chocolate Ganache Wedge with Glossy Rim
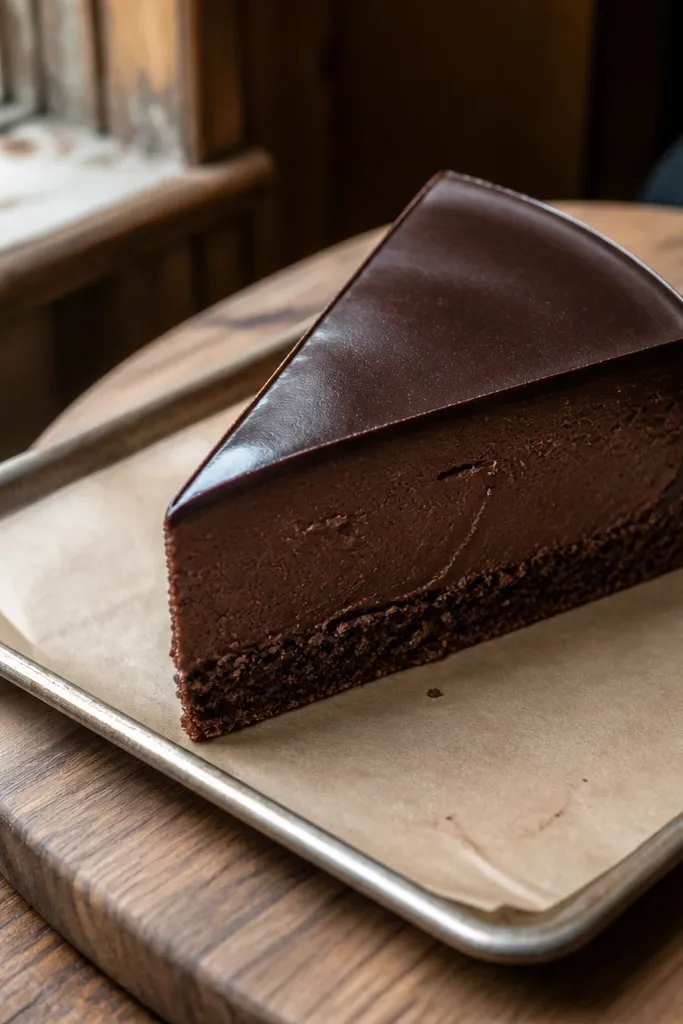
This one looks expensive because the ganache rim has a real shine — a thin highlight line plus a darker under-edge. Start with a simple wedge, then treat the ganache like a poured layer: a smooth top curve and a slightly irregular drape on the outer face. The contrast comes from three values only: light highlight on the rim, mid-brown ganache, and a nearly black shadow where the slice meets the plate. It’s great for beginners because you’re not drawing lots of details, just the right lighting and a clean cross-section.
Step 1: Lightly sketch a wedge angled up toward the viewer, then draw three horizontal layer bands across the wedge: cake crumb, filling, and ganache. Step 2: Outline the outer face with a 0.5 fineliner, then shade ganache with a mid-brown pencil or marker, leaving a narrow highlight strip uncolored. Step 3: Add the rim gloss by drawing a thin white gel pen line along the top edge, then deepen the shadow under the wedge with a darker brown or soft pencil.
Pro tipUse a white gel pen only on the rim highlight, not across the whole ganache, or it turns chalky in photos.
AvoidDon’t skip the darkest shadow under the slice — it’s what makes the wedge pop.
2. Strawberry Shortcake Slice with Seed Speckles
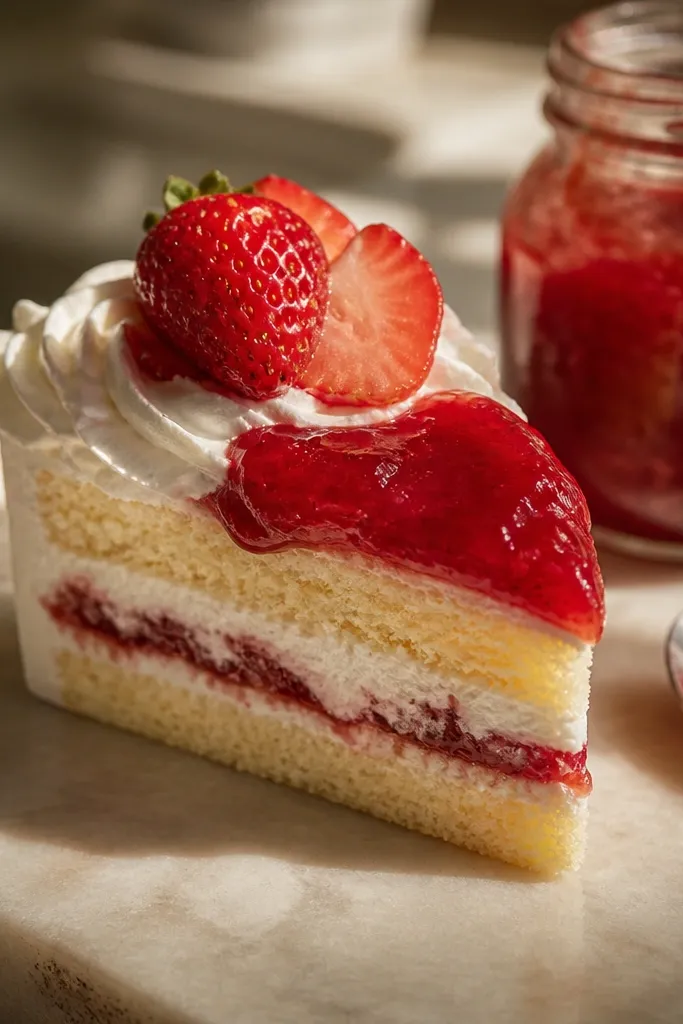
This slice is photogenic because strawberry filling reads instantly when the seeds look like they’re sitting in the jam. The trick is to draw the jam as a glossy band with a darker edge and a lighter center, then add tiny “comma” seeds that follow the curve of the filling. Keep the cake crumb pale and slightly warm so the pink doesn’t look like flat paint. It’s also forgiving: even if your seeds aren’t perfect, the overall cross-section still looks like a real cut slice.
Step 1: Sketch a wedge and mark layer bands: pale cake crumb at the bottom, pink filling in the middle, and whipped frosting on top. Step 2: Shade the pink band with a light pink base, then darken the outer curve where it meets the cake. Step 3: Add seeds by drawing small curved ovals with a darker red pencil or fineliner, then finish with a small highlight streak on the jam edge.
Make seeds uneven in size — three small ones per side of the filling band reads more real than a grid.
Don’t color the entire jam uniformly; the darker edge is what sells the cut.
3. Lemon Curd Slice with Glittery Sugar Top
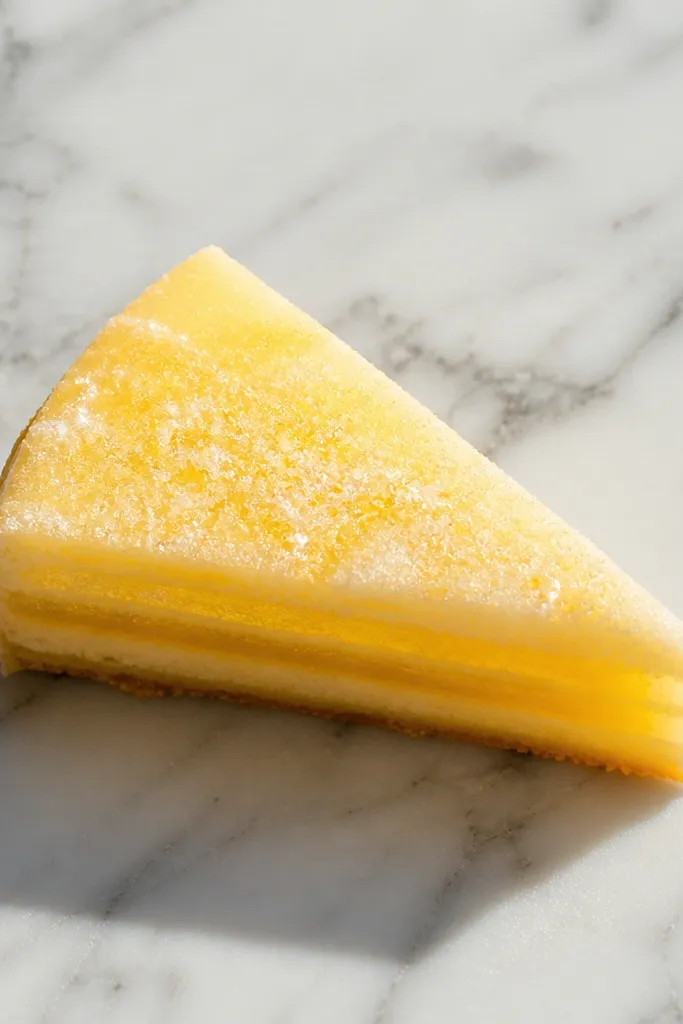
Lemon slices look bright in photos because yellow values separate clearly from shadows. Draw the lemon curd as a translucent-looking band: light yellow in the center and deeper golden along the edges. Then add a frosting top that’s mostly off-white with a gentle yellow tint so it doesn’t overpower the curd. The sparkle is the whole point — tiny dots and short dashes on the frosting rim make it look like sugar crystals.
Step 1: Sketch the wedge and draw layer bands for crumb, lemon curd, and frosting. Step 2: Color the curd with light yellow, then glaze the edge using a darker golden pencil; blend only the center, keep the edge darker. Step 3: Add sugar sparkles with a white gel pen or white acrylic paint over the top frosting rim, placing dots where light would hit.
Pro tipIf your sparkles look too heavy, use a sharpened pencil to scrape tiny white highlights instead of flooding with paint.
AvoidDon’t outline every sprinkle — keep the sparkle marks small and let the frosting stay smooth.
4. Vanilla Cake Slice with Buttercream Swirl Peaks
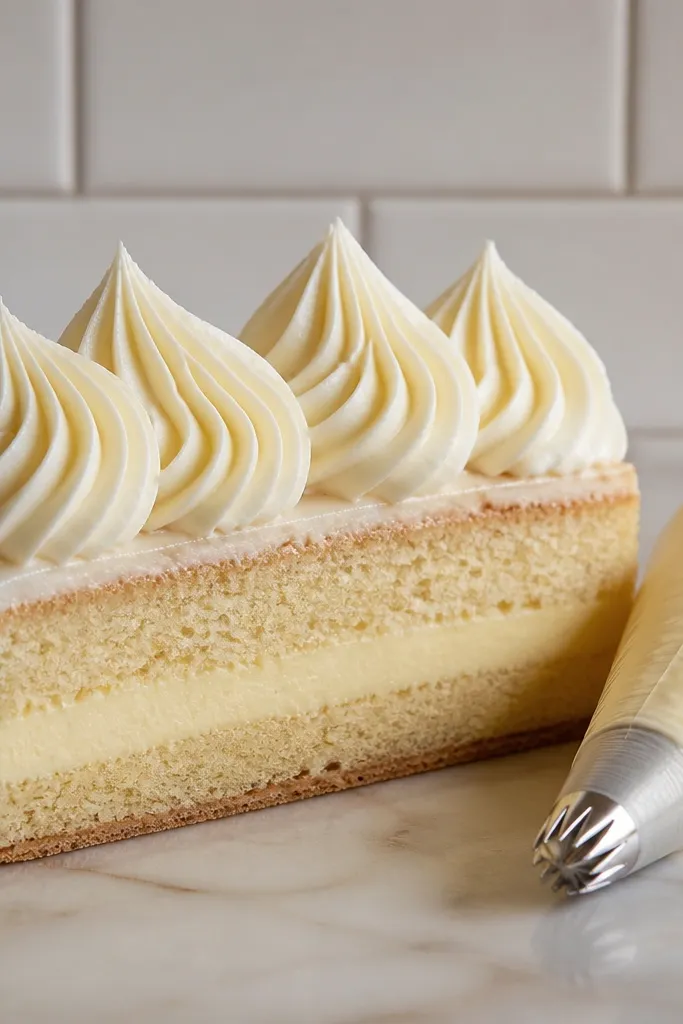
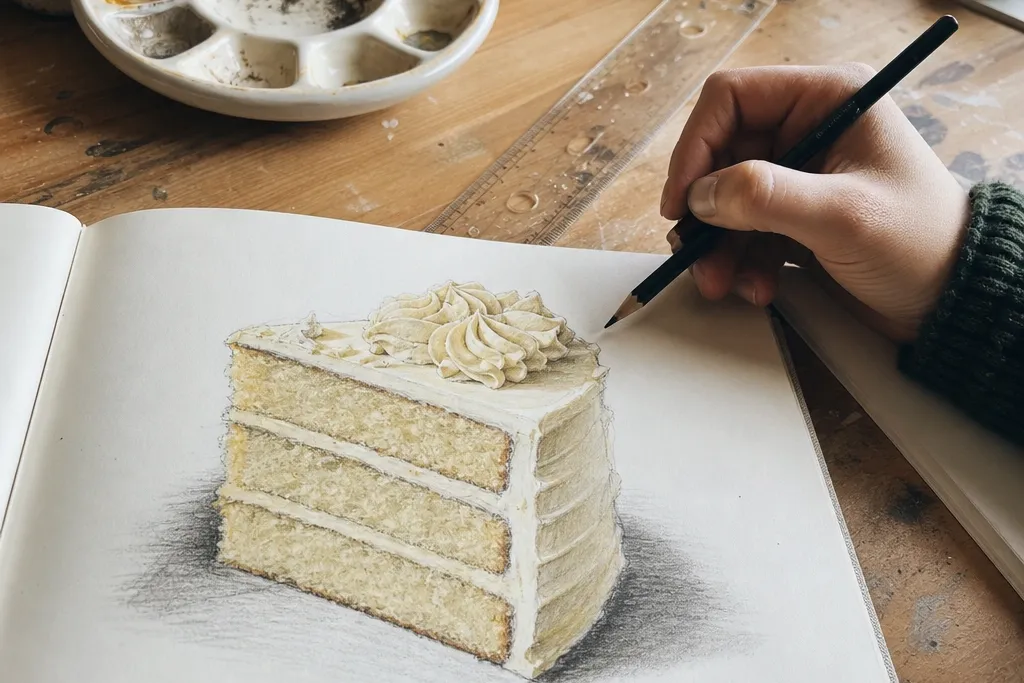
Buttercream looks real when the peaks have structure. This design uses simple swirl peaks on the frosting top so the slice feels layered even without lots of decorations. Keep the vanilla crumb warm and light, then shade the frosting with soft gradients that follow the swirl direction. The rim shadow under each peak helps the frosting read as thick, not flat. It’s a strong option if you want an aesthetic drawing that still looks like cake cross-sections.
Step 1: Draw the wedge and mark three layers with light pencil lines. Step 2: For frosting, draw 5-7 swirl peaks along the top edge using short curved strokes, then shade the underside of each peak darker while keeping the top highlight pale. Step 3: Add a smooth plate shadow with a soft pencil oval shape under the slice, then darken the closest edge to ground it.
Pro tipShade frosting in the direction of the swirl strokes; it makes the foam-like texture read instantly.
AvoidDon’t use a single flat cream color for the frosting — you need at least one darker value under the peaks.
5. Red Velvet Slice with Cream Cheese Gap
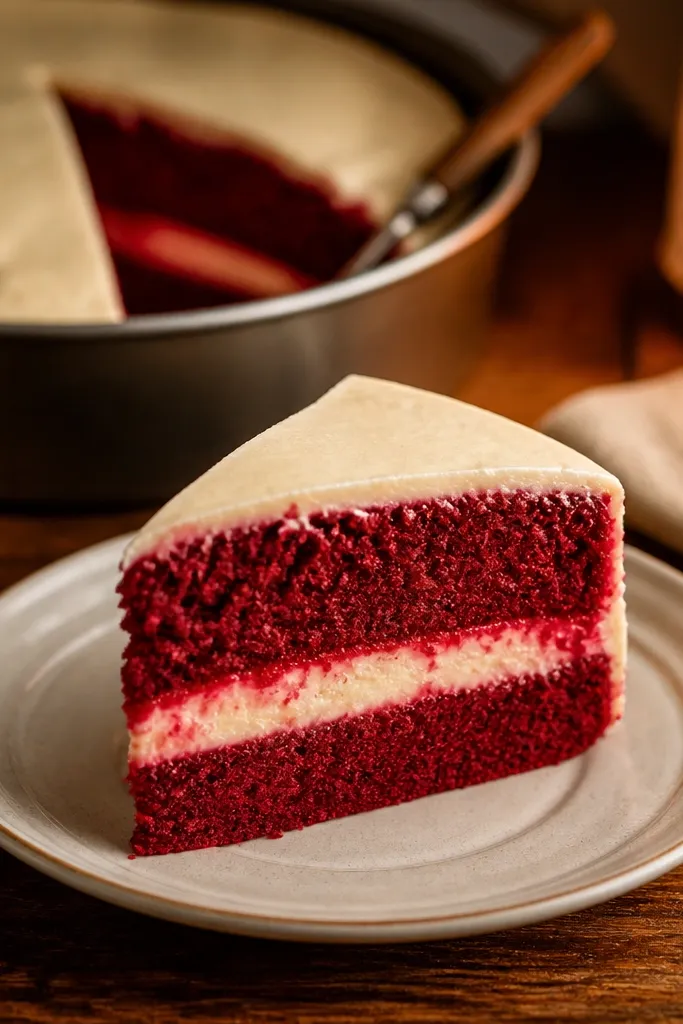
The “cream cheese gap” is what makes this slice look like a real red velvet cut. Draw the crumb deep red, but keep the cream layer pale and slightly thick so it visually separates the layers. The frosting top should be off-white with a thin red tint near the inner seam, which makes the slice feel layered and moist. It also photographs well because red and off-white contrast hard, even with simple coloring.
Step 1: Sketch the wedge and block in the crumb as a deep red band at the bottom plus a thin darker edge. Step 2: Draw a clear cream cheese band in the middle and leave a tiny highlight line along its top curve. Step 3: Outline the inner seam where cream meets crumb, then add a final frosting layer on top with a light off-white base and a soft shadow under its inner edge.
Pro tipUse a darker red pencil right at the crumb edge; it makes the cake look denser without extra detail.
AvoidDon’t merge cream and crumb into one color block — the gap sells the cut.
6. Mint Chocolate Slice with White Chocolate Drips
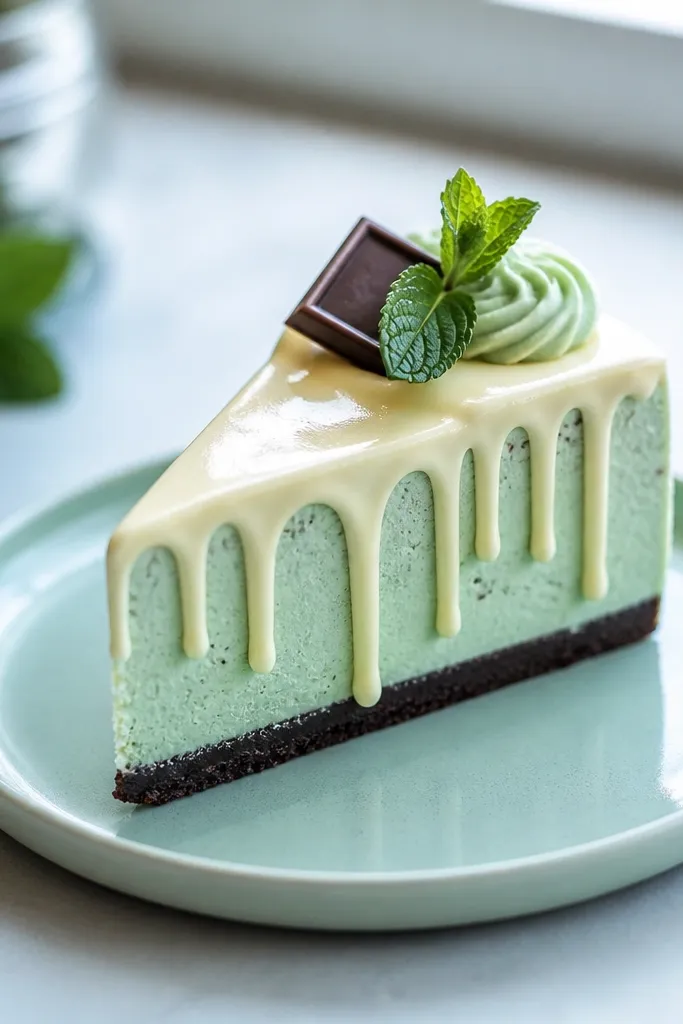
Mint and white chocolate look clean and modern when the drips are controlled. This slice uses a mint frosting base plus white chocolate drips that stop before the plate, so the design stays tidy in a small frame. The drips should taper — thick at the top, thinner at the bottom — and they need a shadow on the mint so they read as raised. It’s a good choice if you like crisp edges and a graphic look.
Step 1: Draw the wedge and color the main frosting area in mint green, leaving a thin highlight on the top. Step 2: Add white chocolate drips by drawing 5-6 teardrops along the top edge, then taper them with a slightly darker gray shadow right under each drip. Step 3: Finish with a dark chocolate crumb layer on the bottom and a mint filling band in the center for the cross-section.
Pro tipKeep drips symmetrical in spacing even if the sizes vary; symmetry reads “designed” in photos.
AvoidDon’t flood the mint background with white; the drips need their own outline and shadow.
7. Carrot Cake Slice with Orange Spiced Specks
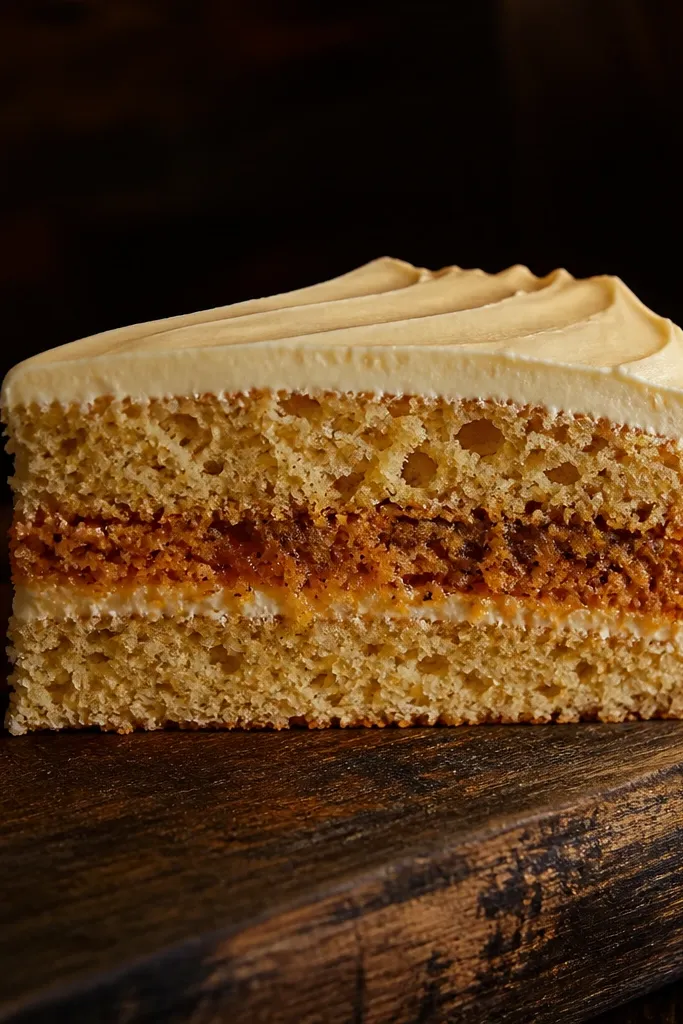
Carrot cake drawings look warm and cozy, but they can become muddy if you over-blend. The trick here is to keep the frosting creamy and smooth, then add orange spice specks inside the filling band. Those specks should be tiny and mostly on the inner half of the band, like they’re concentrated near the center of the slice. With a darker shadow under the slice, the whole thing reads as a thick wedge with real depth.
Step 1: Sketch the wedge and draw three bands: crumb, spiced filling, and cream frosting. Step 2: Color the crumb with a muted brown-orange and the filling with a warmer orange, then add darker orange dots using a pencil tip. Step 3: Outline the frosting edge, shade the underside with light gray or soft brown, and add a plate shadow oval that’s darker at the front edge.
Pro tipUse the side of a colored pencil for filling shading, then switch to the tip only for specks.
AvoidDon’t use black dots for the specks; they kill the warm carrot look.
8. Blueberry Cheesecake Slice with Gel Shine
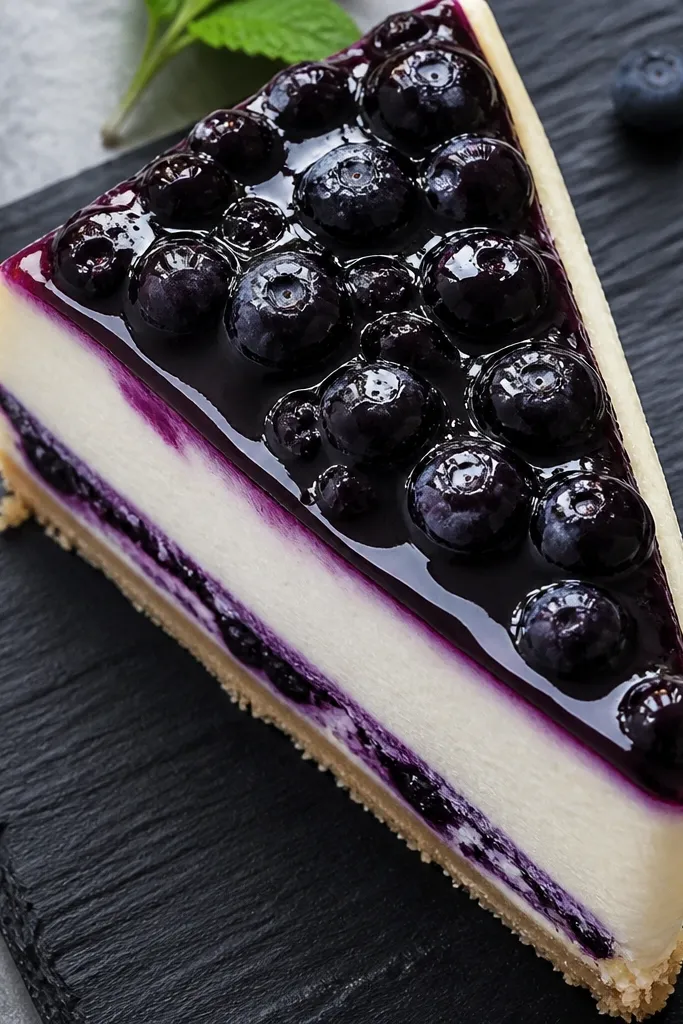
Blueberry cheesecake looks best when the berry topping looks thick and sticky. Draw the cheesecake crumb as pale and smooth, then add a deep blue berry band with a glossy highlight curve. The highlight should be a curved streak that follows the slice face — it makes the gel look like it’s sitting on top. Keep the berry band’s edge darker so it looks like a layer, not a smear.
Step 1: Sketch the wedge and block in pale cheesecake layer, then a thicker blueberry band on top of it, plus a thin frosting or glaze edge. Step 2: Shade the blueberry band with mid-blue, darken the outer curve, and leave a narrow highlight path uncolored. Step 3: Add a second highlight with white gel pen on the uncolored path, then draw a soft shadow under the wedge with a gray pencil.
Pro tipIf your blue looks flat, add one quick glaze pass with a darker blue pencil along the edge only.
AvoidDon’t draw berry shapes everywhere; keep berries implied as a single glossy layer.
9. Chocolate Strawberry Slice with Cacao Dust Texture
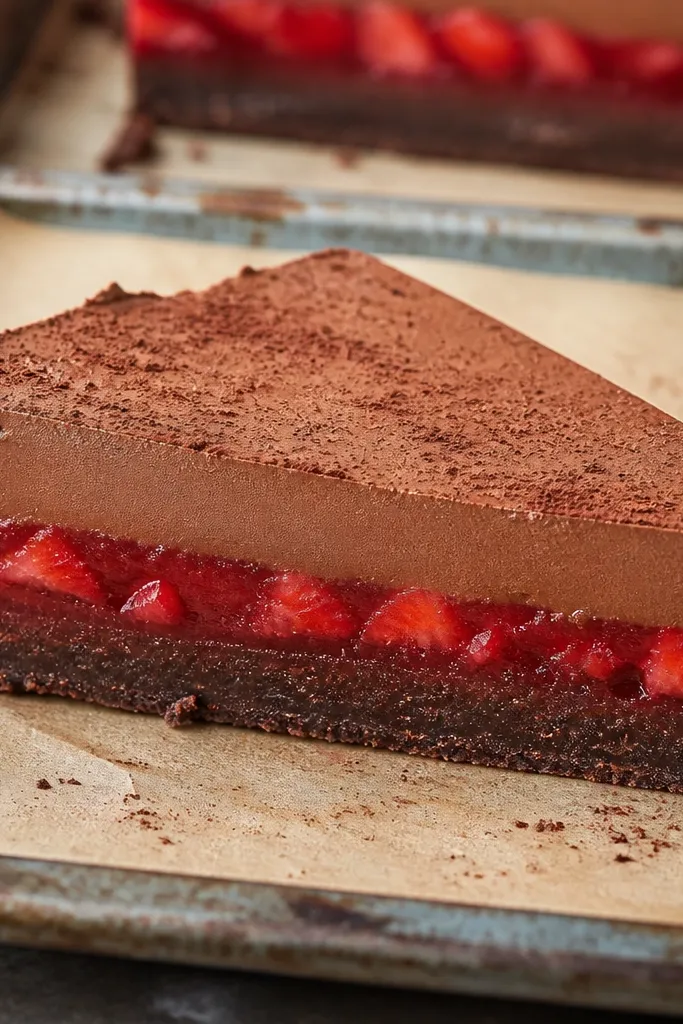
Cacao dust texture is what makes this slice feel bakery-real. Use a chocolate base for the crumb and a strawberry filling band that’s red with a slightly darker edge, then add a soft “speckle” dust on the frosting top. The dust should be subtle — small dots and tiny smudges — so the frosting still looks smooth underneath. It’s a great aesthetic option because the texture gives depth even in a simple composition.
Step 1: Draw the wedge and mark a chocolate crumb band at the bottom plus strawberry filling in the middle. Step 2: Color the top frosting dark chocolate with a light base, then add a speckle layer using a darker cocoa pencil. Step 3: Finish with a dark strawberry edge on the filling and a plate shadow that’s darker near the slice base.
Pro tipHold the pencil farther from the paper for dust — you get softer specks instead of hard dots.
AvoidDon’t overdo speckles; too much dust turns the whole slice grainy.
10. Tiramisu Slice with Cocoa Gradient and Ladyfinger Crumbs
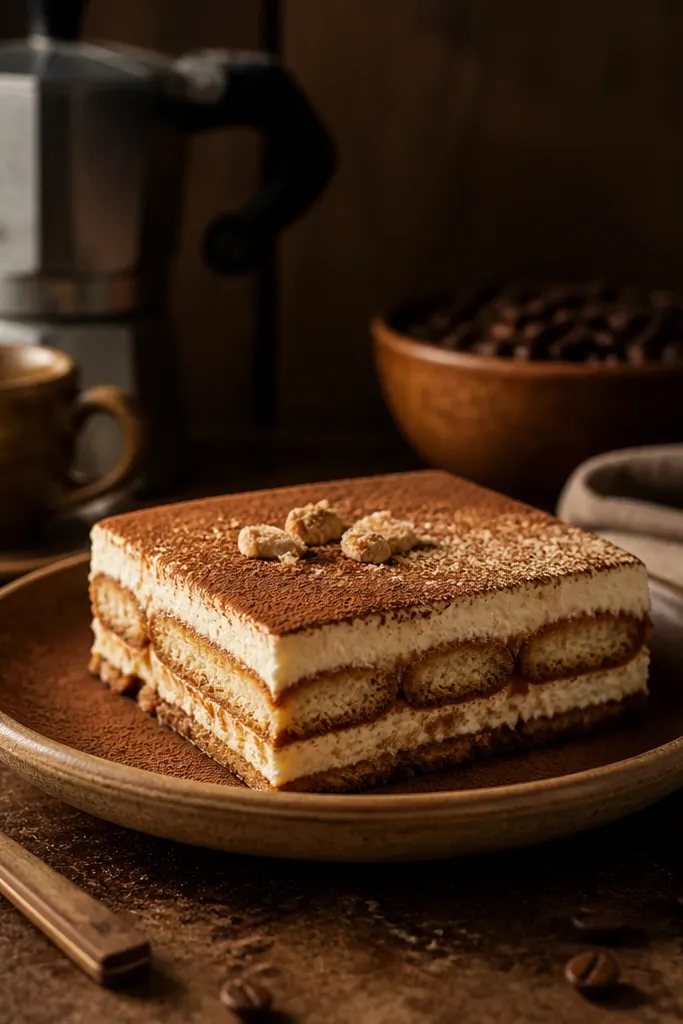
Tiramisu looks instantly recognizable when you show two things: the cream band and the cocoa gradient on top. Draw the cream as a pale beige layer, then add a darker beige edge where it meets ladyfinger layers. For the top, use a cocoa gradient — heavier at the front and lighter as it rises — then add a few rectangular ladyfinger crumbs as thin stripes inside the cream. This is one of the most photogenic slices for pencil-only supplies.
Step 1: Sketch the wedge and draw alternating bands: ladyfinger-ish darker beige stripes at the middle, then a pale cream band above and below. Step 2: Shade the top with a soft cocoa gradient by layering light brown pencil from the bottom front upward, leaving the highest area lighter. Step 3: Add a few thin ladyfinger stripes inside the cream band and finish with a soft shadow under the wedge.
Pro tipUse a kneaded eraser to lift a tiny highlight in the cocoa gradient for a more glossy frosting look.
AvoidDon’t make the cocoa uniform; the gradient is the whole identity.
11. Pistachio Slice with Green Buttercream Ridges
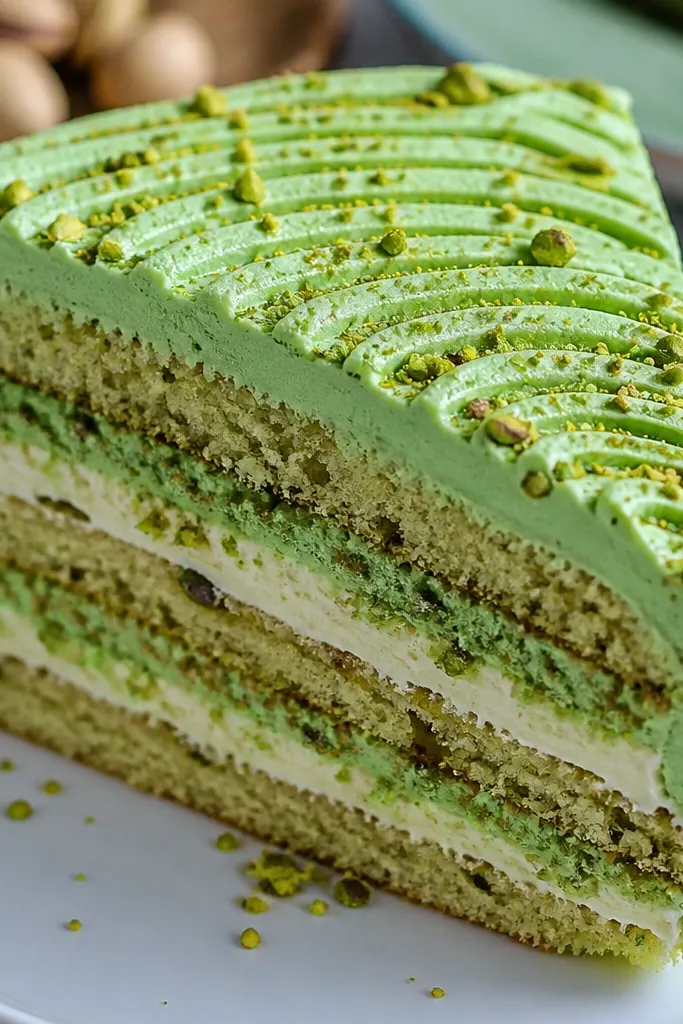
Pistachio drawings pop because green can look clean if you keep it controlled. This slice uses ridged buttercream on top — draw short parallel strokes that curve with the frosting rim, then shade the underside of each ridge. Add nutty specks in a lighter yellow-green so it looks like crushed pistachios, not confetti. The crumb can stay simple and pale, since the ridges and specks do the heavy lifting.
Step 1: Sketch the wedge and block in pale crumb, a green filling band, and a thicker green frosting top. Step 2: Draw 8-10 curved ridges on the frosting top, then shade between ridges with a slightly darker green. Step 3: Add pistachio specks with a light yellow-green dot pattern and place a darker plate shadow under the slice base.
Pro tipRidges look better if you vary their height; flat, even ridges look like wallpaper.
AvoidDon’t make ridges too dark — keep most of the frosting light so it reads as buttercream.
12. Salted Caramel Slice with Threaded Drizzle
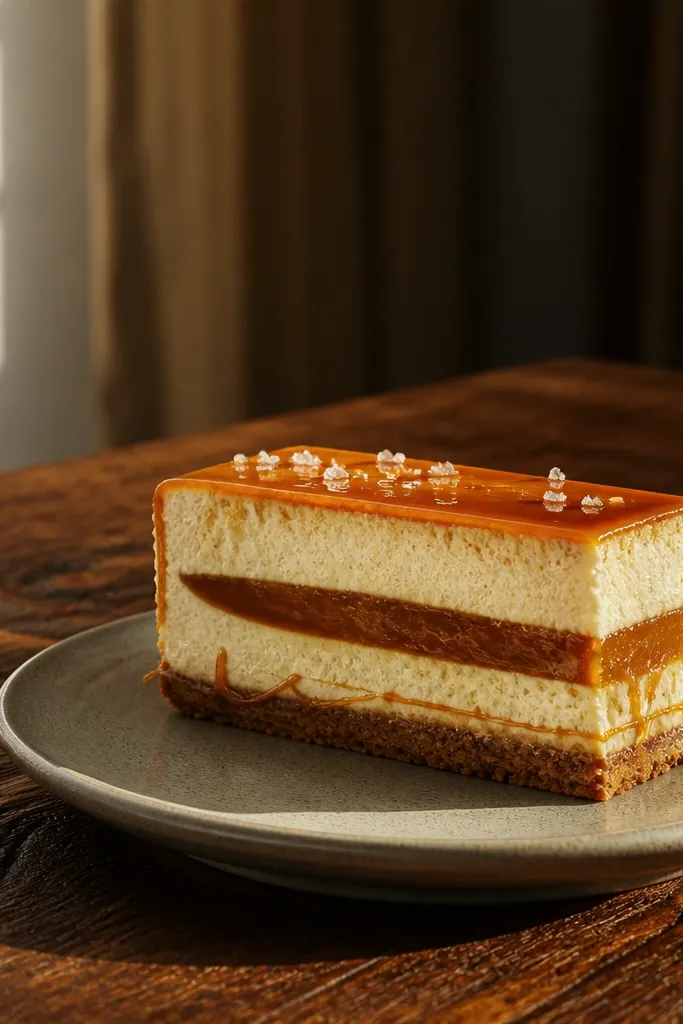
Caramel threads look delicate and “designed” if you draw them as lines, not blobs. This slice has a caramel filling band with a glossy highlight, plus a top drizzle that forms a few threaded ribbons across the frosting. Salted caramel aesthetic comes from contrast: a darker caramel rim and a pale frosting base. Keep the threads thin and slightly curved; thick drizzles look like paint and kill the airy look.
Step 1: Sketch the wedge and draw the caramel filling band, leaving a narrow highlight on its inner edge. Step 2: Color the frosting base pale beige, then add 3-5 caramel threads across the top using a fine brush pen or 0.3 marker. Step 3: Add shadows under each thread with a brown pencil line, then ground the slice with a dark plate shadow.
Pro tipIf your drizzle bleeds, let your base dry fully, then draw threads with a lighter pressure and slower hand movement.
AvoidDon’t cover the whole top; leave open frosting so the threads stand out.
13. Black Forest Slice with Cherry Half-Moons
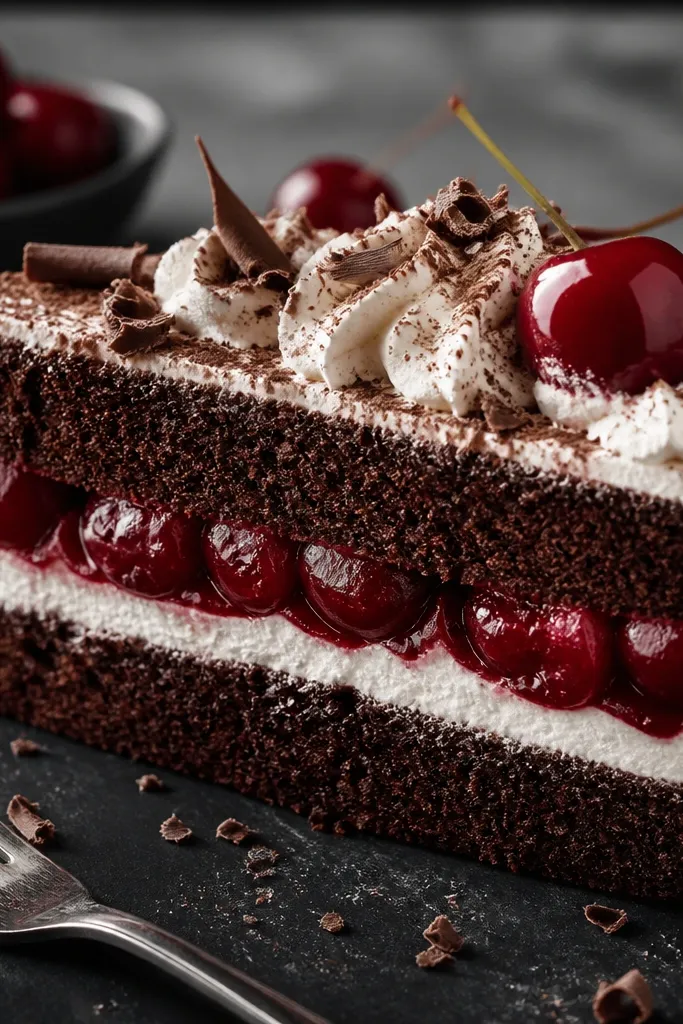
Black forest looks dramatic because you get deep colors plus a bright cream contrast. Draw the crumb as dark cocoa brown, then a white-ish cream band and a deep red cherry band. The cherries should be half-moons or small dots with a tiny highlight so they read as glossy fruit. Add a rim shadow under the cream to separate the layers cleanly in a photo.
Step 1: Sketch the wedge and block in dark crumb, cream band, and cherry filling band on the inner face. Step 2: Color the cherry band deep red, darken the outer edge, and add cherry half-moons with a small white highlight. Step 3: Outline the top frosting rim with fineliner and add a soft shadow under the slice with a gray-brown pencil.
Pro tipUse one highlight direction for all cherries; inconsistent highlights make the fruit look flat.
AvoidDon’t draw full cherry circles inside the band; half-moons look more like sliced fruit.
14. Raspberry Mirror Glaze Slice with Steel Shine
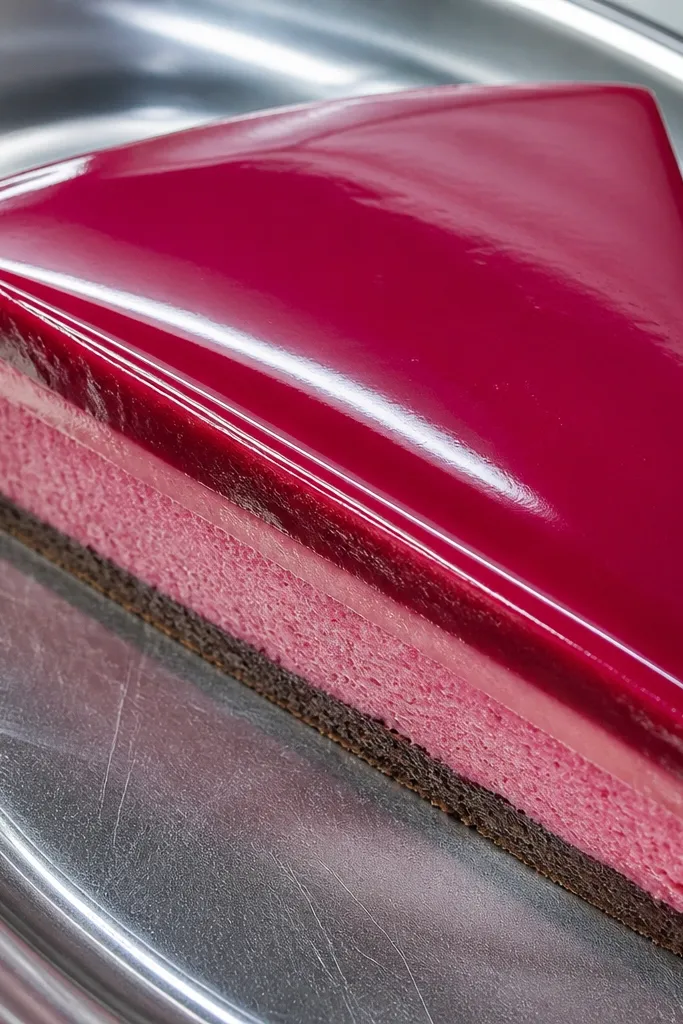
Mirror glaze drawings look like they belong on a bakery menu when you keep the surface smooth and glossy. This slice uses a raspberry glaze layer that’s mostly uniform in color, then gets two or three clean shine streaks. The glaze should be darker at the edges and lighter in the center, with highlights that follow the wedge shape. It’s a medium-skill option because it rewards careful shading, but the payoff is a super photogenic, high-contrast finish.
Step 1: Draw the wedge and mark a glaze layer on top plus a darker cake crumb below. Step 2: Shade the glaze with a single mid-raspberry tone, then darken the outer edge with a deeper berry color. Step 3: Add 2-3 shine streaks using a white gel pen or white paint, placing them where light would hit the glaze surface.
Pro tipKeep shine streaks thin and slightly curved; thick white streaks look like frosting smears.
AvoidDon’t add texture to the glaze — mirror glaze should look smooth.
15. White Chocolate Strawberry Slice with Pink Drizzle
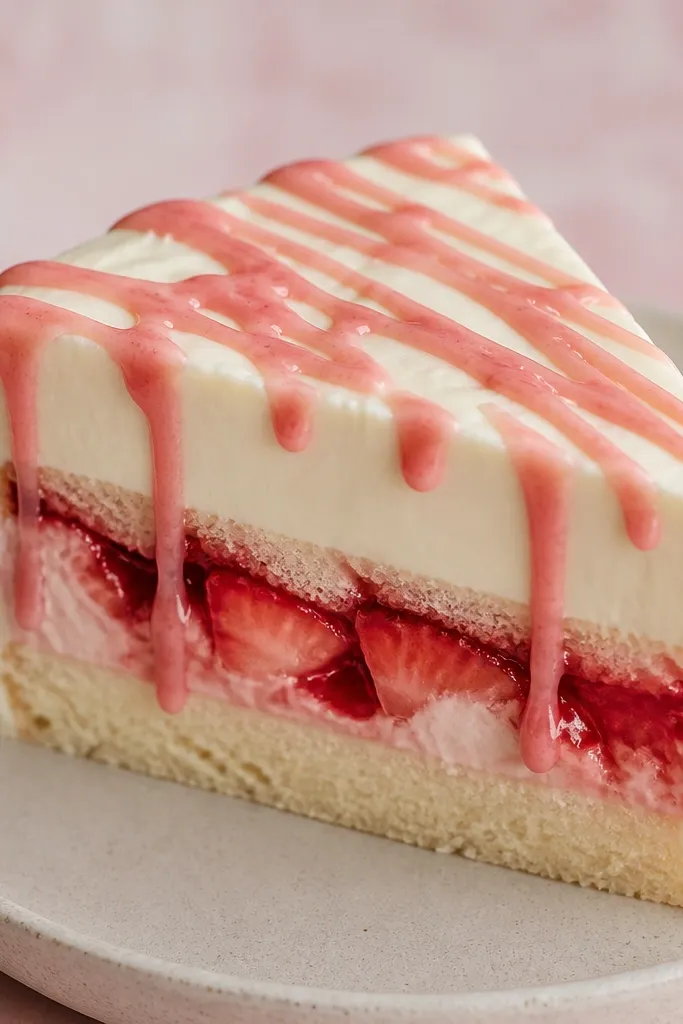
This design is bright and graphic: a pale white chocolate frosting base, a strawberry filling band, and a pink drizzle that’s intentionally uneven. The contrast is the point — pale base makes the pink pop, and a darker strawberry edge makes the filling look layered. The drizzle should land across the top frosting rim like a few ribbon lines, not a full coat. If you want an aesthetic that reads well in a tight crop, this is it.
Step 1: Sketch the wedge and draw three layers: pale cake crumb, strawberry filling band, and white frosting top. Step 2: Color the strawberry band red with a darker edge, then add a tiny highlight curve on the inner seam. Step 3: Draw 4-6 pink drizzle lines across the top using a fine marker, then add a faint shadow line under the drizzles with a light gray pencil.
Pro tipLet the drizzle lines break slightly where they cross the rim — it makes them look poured, not drawn.
AvoidDon’t outline every layer edge heavily; keep outlines crisp and let shading do the depth.
16. Coffee Mocha Slice with Foam Cap
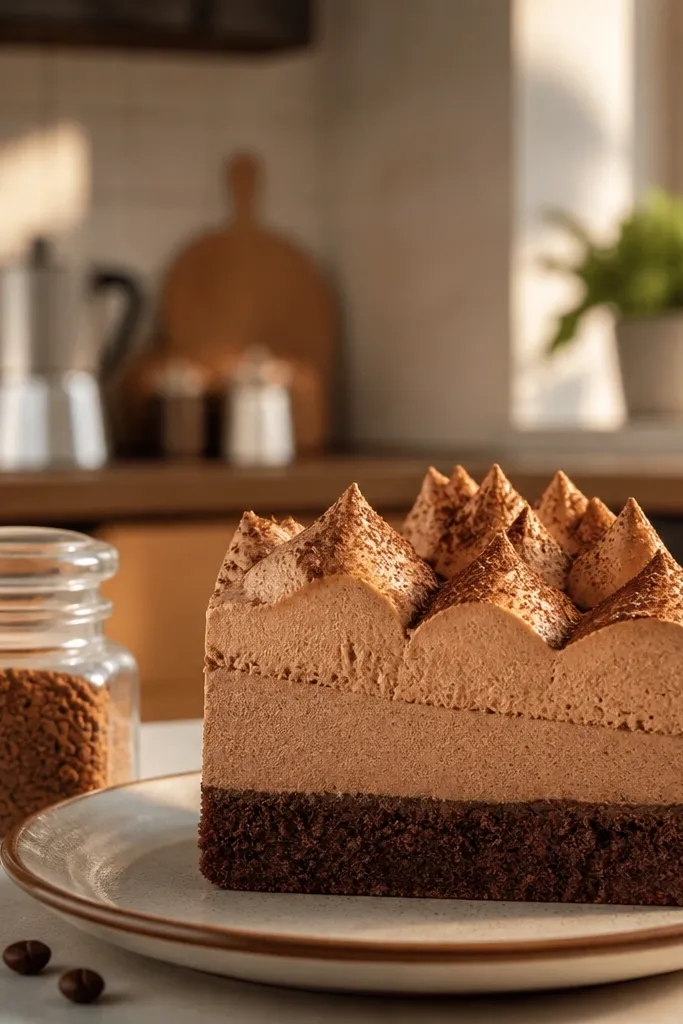
Mocha slices photograph well when you show the foam cap — a light, frothy frosting top with darker coffee shading around the edges. Draw a deep coffee crumb band and a lighter mocha filling band, then add foam peaks on the top. The foam peaks should be irregular and soft, with a few darker “coffee” shadows between them. This gives you texture without needing sprinkles or extra decorations.
Step 1: Sketch the wedge and mark bands for crumb, mocha filling, and foam frosting top. Step 2: Shade the filling with coffee brown, then lighten the center with a lighter brown or beige. Step 3: Create foam peaks by drawing small curved bumps along the top rim and shading the underside edges with darker coffee tone, then add a plate shadow under the wedge.
Pro tipUse a slightly damp brush on watercolor pencil for the foam shadows — it looks like café foam.
AvoidDon’t make the foam peaks too uniform; café foam is lumpy and imperfect.
17. Tangerine Cream Slice with Segmented Citrus
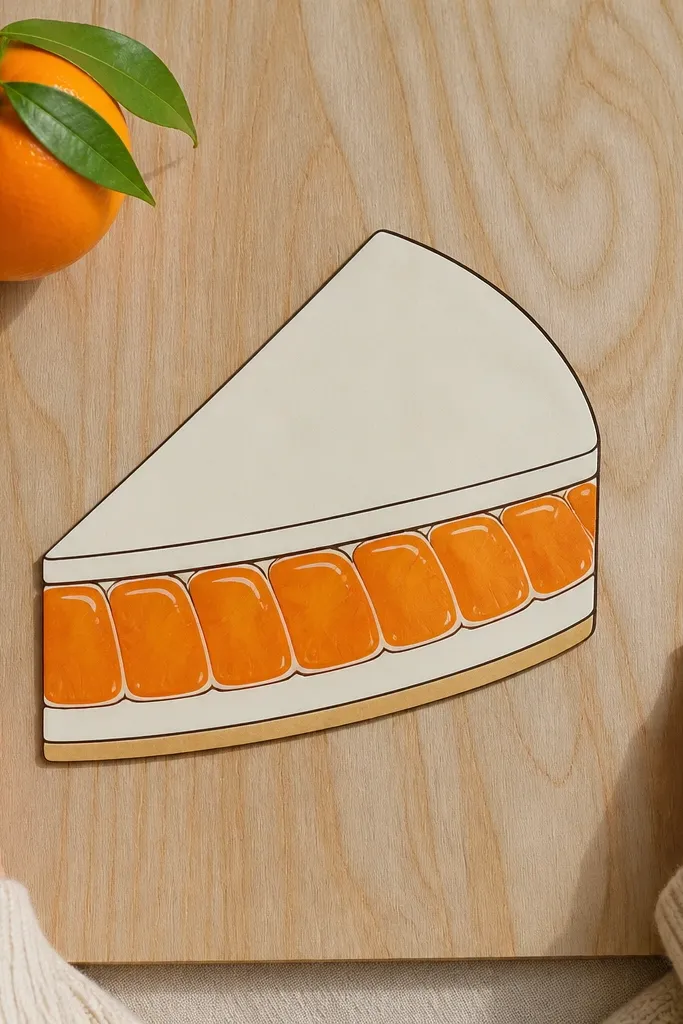
Segmented citrus looks fancy because the segments create natural lines inside the slice. This idea uses an orange filling band with thin segment lines, plus a pale cream frosting top to keep the drawing clean. The segment lines should be darker orange and follow the curve of the wedge, with tiny highlight arcs on each segment. It’s a great pick if you want something that looks detailed but still stays manageable within an hour.
Step 1: Draw the wedge and block in a pale cream frosting top and an orange tangerine filling band. Step 2: Shade the orange band mid-orange, then draw 6-10 segment lines with a darker orange pencil, leaving small highlight gaps between segments. Step 3: Outline the inner seam between filling and cream, then add a soft shadow under the slice to anchor it.
Pro tipKeep segment lines thin and faint — thick lines look like cartoon fruit, not cake filling.
AvoidDon’t color the highlights too dark; highlight gaps should stay light for the citrus effect.
18. Cherry Chocolate Chunk Slice with Chunky Texture
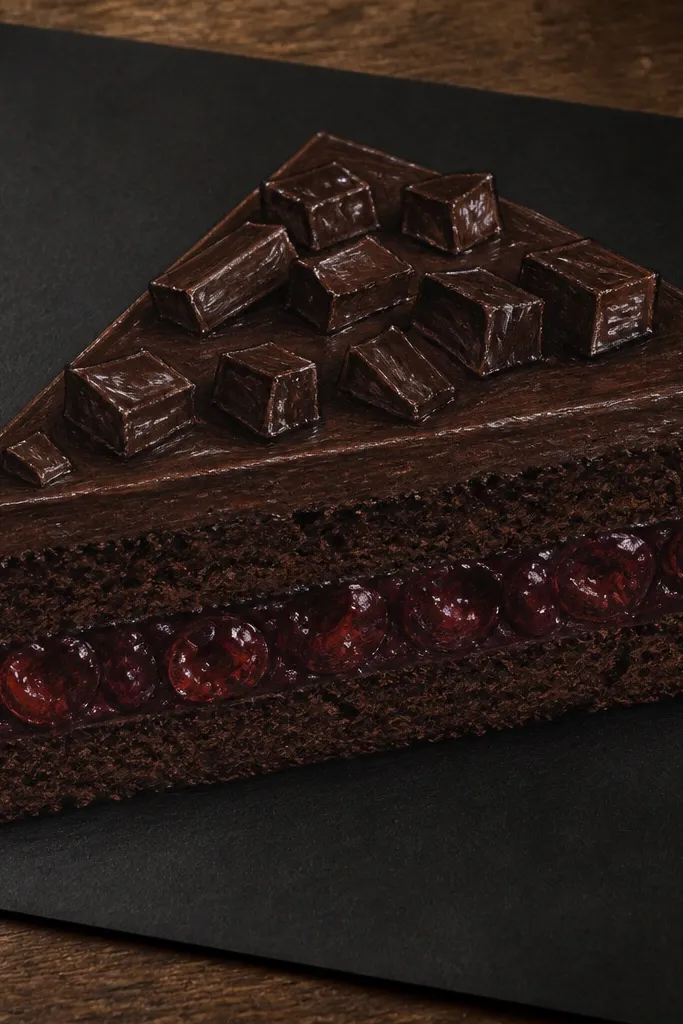
This slice looks like a bakery special because the chocolate chunks are drawn as irregular blocks with glossy highlights. You also get cherry pops inside the filling band — tiny red shapes with a small white highlight dot. Keep the frosting top simple and dark so the chunks and cherries stand out. The key is value: dark chunks need a highlight edge, and the cherry needs a darker outline edge to look embedded.
Step 1: Sketch the wedge and define a dark crumb base, a cherry filling band, and a dark frosting top. Step 2: Draw chocolate chunks as irregular rectangles across the top frosting and filling edges, then add small highlight streaks with white gel pen. Step 3: Place tiny cherry shapes inside the filling band and outline them lightly with darker red, then add a plate shadow under the slice base.
Pro tipDraw chunk highlights on the same side across the whole slice so it looks lit consistently.
AvoidDon’t make chunks all the same size; random sizes look more real.
19. Matcha Cake Slice with White Chocolate Bark
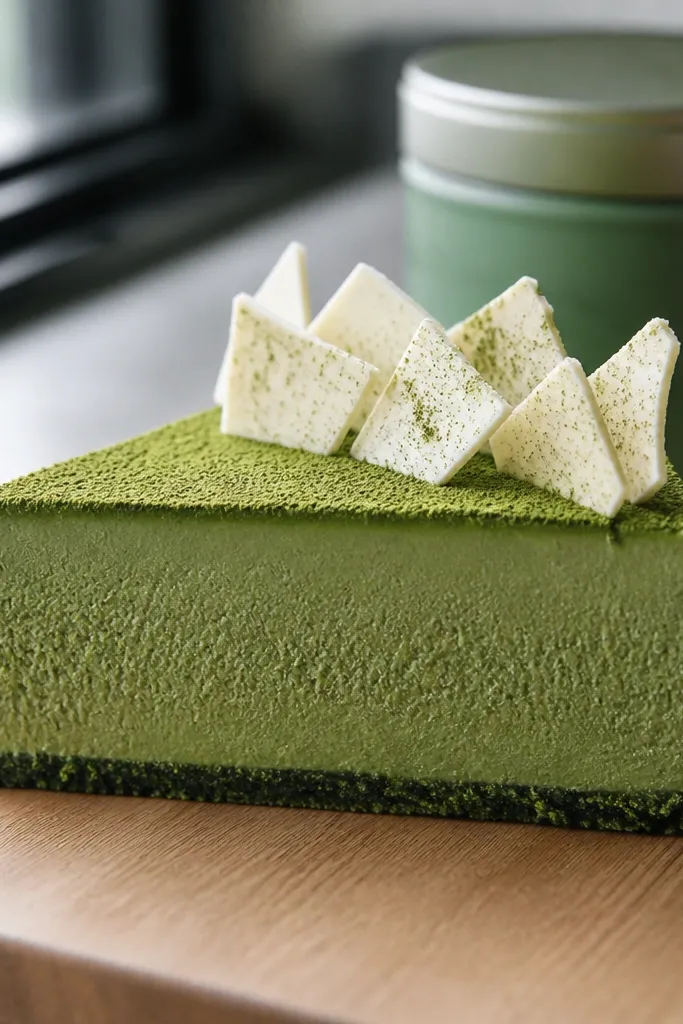
Matcha with white chocolate bark reads modern and clean. The matcha part should be a soft green gradient with darker edges, while the bark should be jagged shards that look like broken chocolate. Draw 4-7 bark shards along the top frosting rim, then add thin gray shadows under each shard. This creates a layered, dimensional look without needing lots of tiny sprinkles.
Step 1: Sketch the wedge and block in a matcha green filling band plus a thicker matcha frosting top. Step 2: Color the matcha with a light green base, then deepen the edges and leave a highlight strip on the inner face. Step 3: Add white chocolate bark shards as jagged shapes, then shade under each shard with a light gray pencil and ground the slice with a dark plate shadow.
Make bark shards overlap slightly; overlaps create depth even in flat drawings.
Don’t forget shadows under bark; without them it looks pasted on.
20. Classic Vanilla Slice with Simple Cake Plate Rim
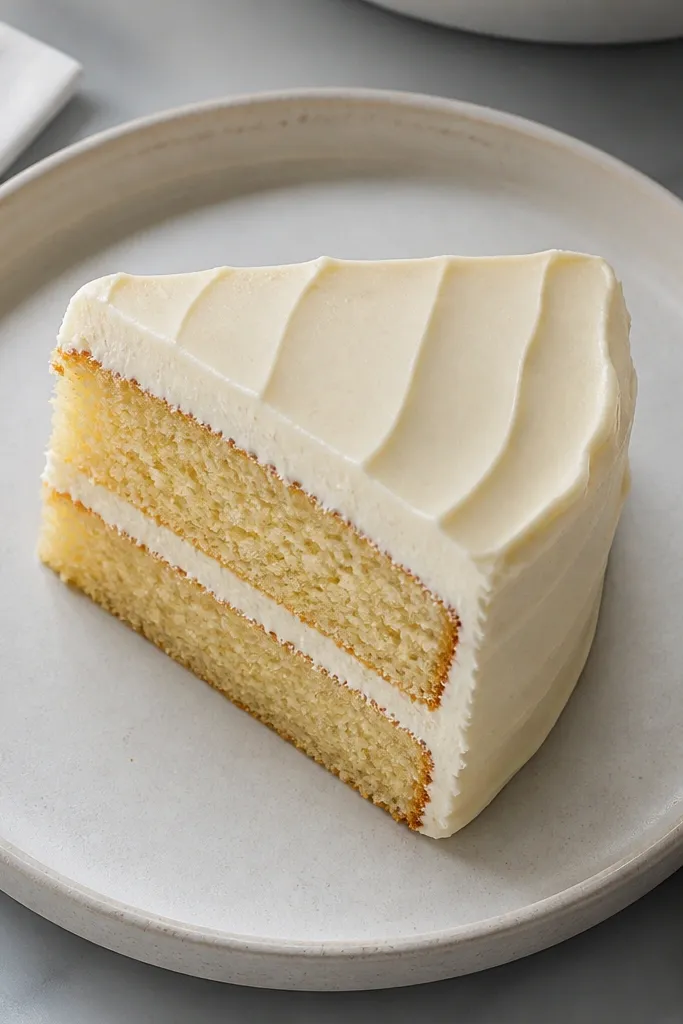
This is the “clean aesthetic” slice: it looks good because the plate rim and the wedge shading are controlled, not because it has lots of decorations. The frosting top is plain but has a smooth gradient and a crisp rim edge. The plate rim gives you a frame, so the slice fills the photo even if your drawing is small. It’s also a good warm-up before you try drips or mirror glaze.
Step 1: Draw the plate rim as a partial oval and then place the slice wedge so its base touches the plate. Step 2: Shade cake crumb in light tan, add a pale filling band, then gradient the frosting from light highlight on top to slightly darker underside. Step 3: Outline the plate rim with a thin line and add a soft shadow cast from the slice onto the plate.
Pro tipUse a single light source — keep the plate highlight on the same side as the frosting highlight.
AvoidDon’t draw a plate without a shadow cast; it makes the slice float.



