
1. The Head-First Jawline Sketch
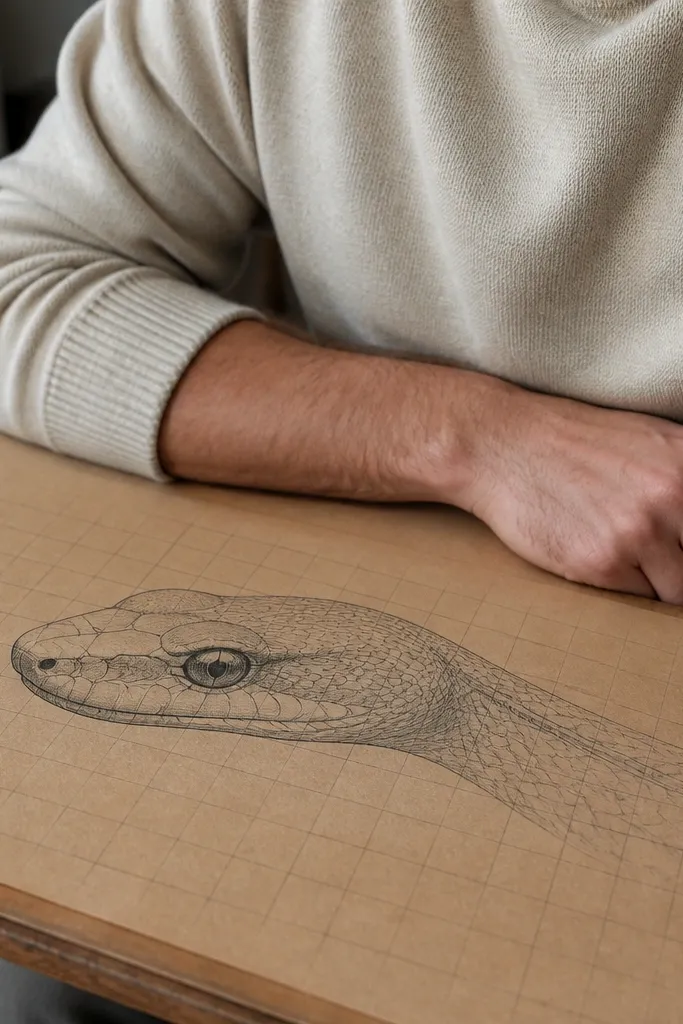
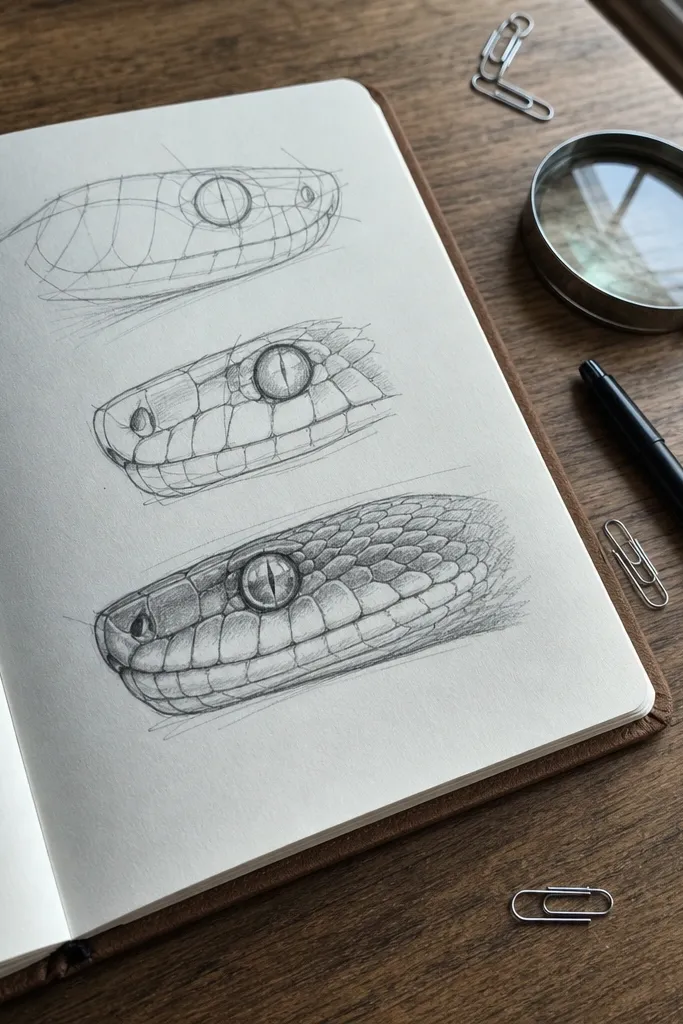
Most snake drawings fall apart because the head gets drawn after the body. Then the neck angle already exists, and the head has to “snap” into place, which makes the face look pasted on. I recommend starting with a jawline and eye line that match the direction of the spine you plan for the body. Use a tapered oval for the skull, then draw a flatter jaw plane under it so the mouth reads in perspective. When the head has a consistent tilt, the rest of the snake can be looser and still look believable.
Start by blocking the head as two shapes: an oval for the skull and a wedge for the jaw plane. Then draw a short guideline for the eye line that points toward where the snake is moving. After that, sketch a short neck cylinder that connects to the spine track — keep it thin and simple for now. Finally, add only the nostril and mouth corner marks before you commit to scales or heavy outline.
Use a lighter pencil for the skull and jaw planes, then commit to the eye line — it’s the anchor line.
Don’t build the body first and “attach” the head at the end.
2. One Spine Track, No Jump Cuts
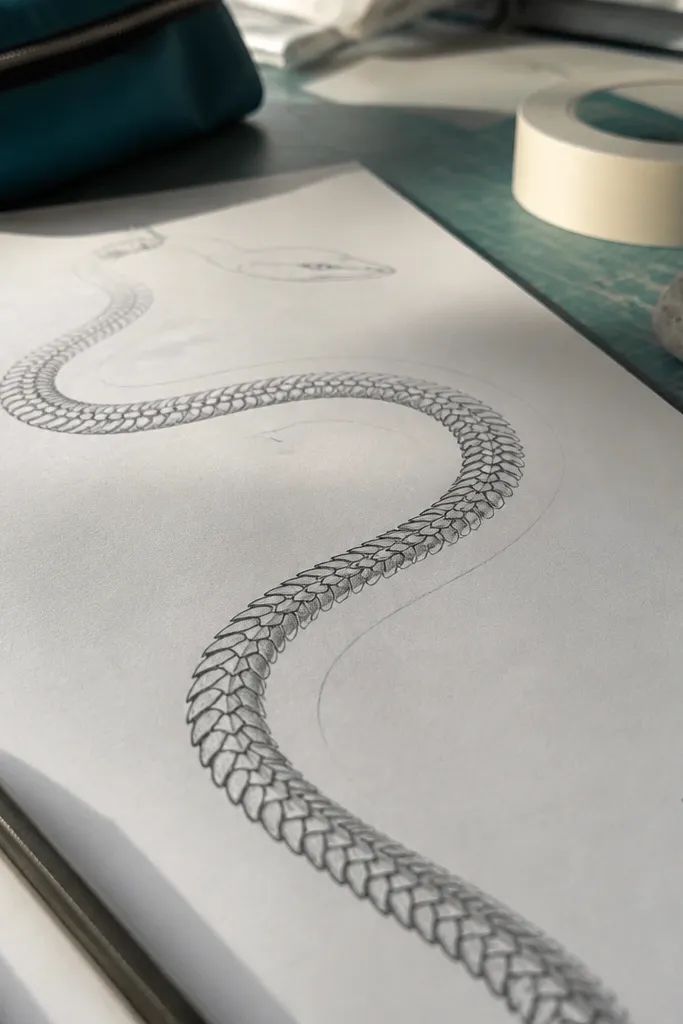
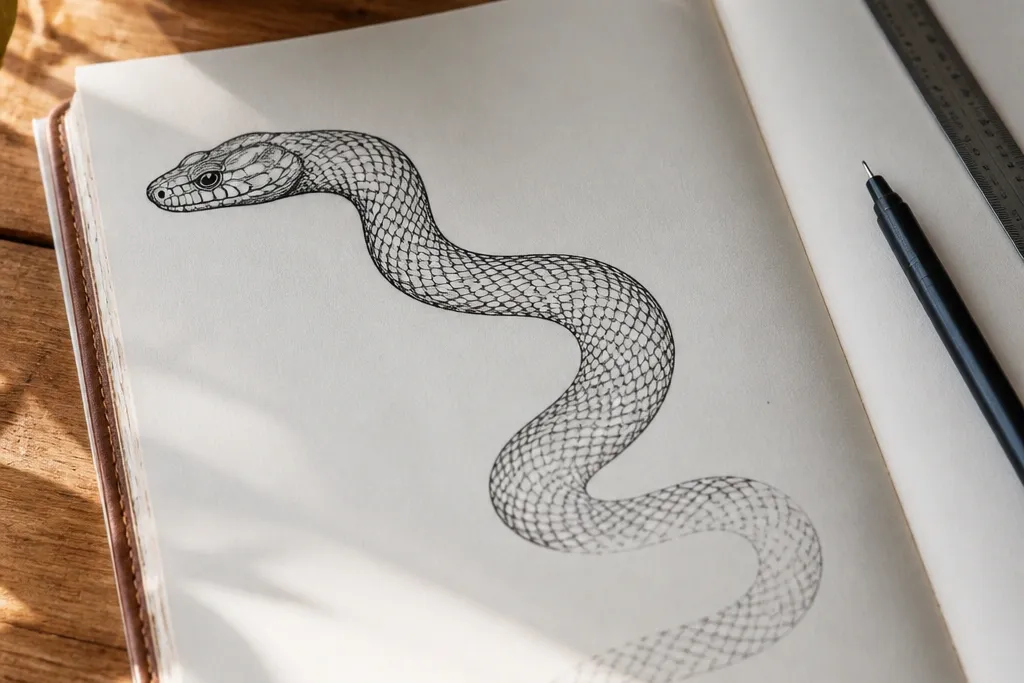
Draw a long, sweeping curve for the spine track with light pressure, then pause to check the silhouette from a distance. Next, add thickness by drawing two parallel-ish lines that follow the spine — one for the top contour and one for the underside contour. Then place the widest part of the body where the curve flattens, since snakes often look thicker at bends. Finally, only after the track is right, add scale direction lines that follow the curve.
A snake’s body should feel like one continuous motion, not like you drew separate segments. The common mistake is changing the curve direction in tiny spots, which creates a twitchy, mechanical look. The fix is to draw one continuous spine track first, even if you plan to erase later. Once the spine track looks smooth, you build thickness around it and you shade ribs or belly planes relative to that same curve. Your snake will instantly look more “physical” because everything obeys the same path.
AvoidDon’t redraw the body curve after you’ve started inking; that’s how jump cuts happen.
Pro tipDo a quick squint test: if the silhouette looks like zigzags, smooth the spine track before adding any scales.
3. Thickness Rules for Coils and S-Curves
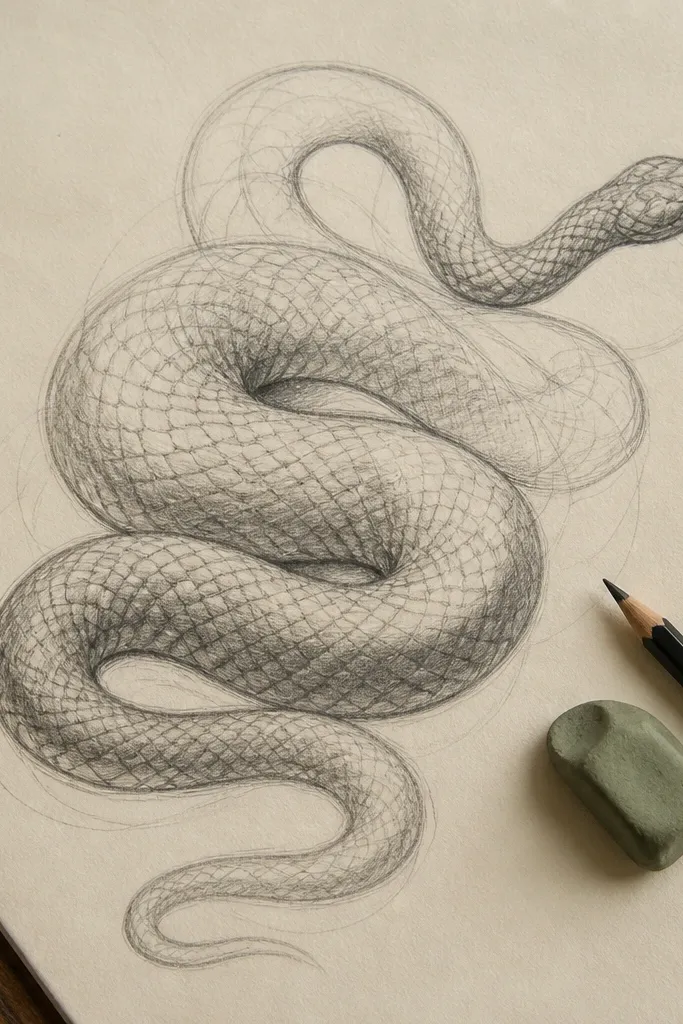
Start by deciding the taper: make the tail end about 35-45% narrower than the widest mid-body. Then, when you draw an S-curve or coil, keep thickness transitions gradual — avoid sudden jumps at bends. Add a second contour line for the belly that sits slightly closer to the spine on the inside of the curve. Finally, use shading to reinforce thickness: darker under the top contour, lighter under the belly plane.
A snake doesn’t keep the same diameter from head to tail, and it doesn’t keep the same diameter through every bend. If your body is the same thickness everywhere, it reads as a hose. If your thickness changes randomly at every scale patch, it reads as lumpy. A simple rule fixes most drawings: thicker at the mid-body, taper toward the tail, and keep thickness changes smooth along the spine track. For coils, the inside of the curve can look slightly narrower because of perspective — the outside can look broader.
AvoidDon’t keep the same width from neck to tail.
Pro tipIf you’re unsure, measure with your pencil: hold it up and compare head width to widest body width before you draw the tail.
4. Scale Direction That Follows the Bend
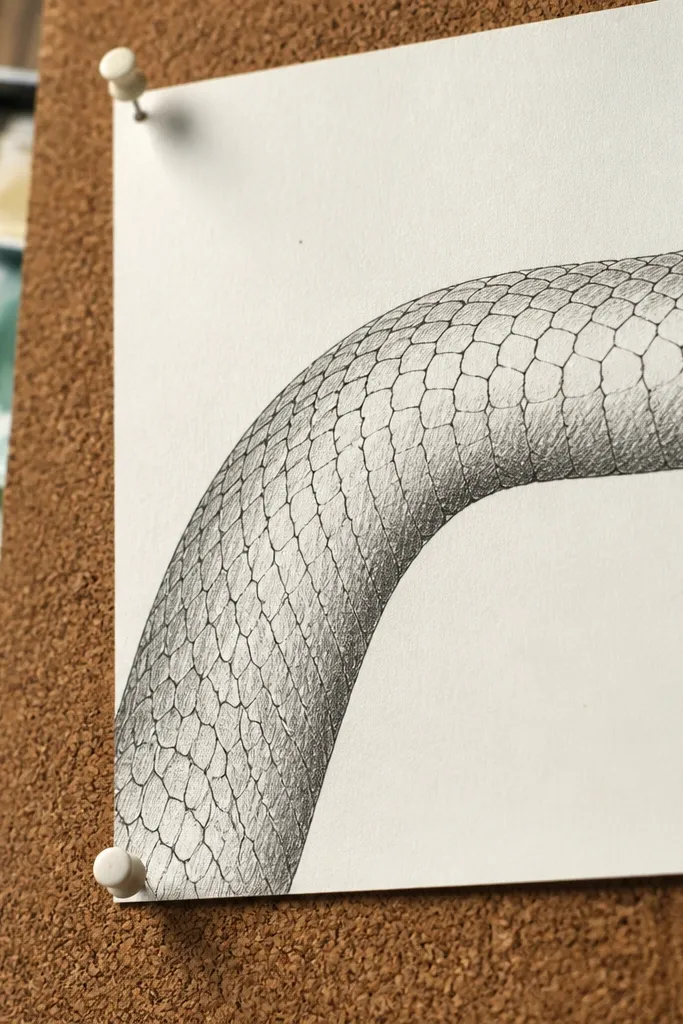
Start by adding 3-5 long direction strokes along the body, aligned with the spine track and matching the bend. Then draw small scale blocks or commas that sit along those direction strokes, keeping the same “tilt” for each row. Next, adjust spacing: rows get tighter where the body curves more sharply. Finally, add only a few highlight edges on the most prominent scales, not on every single one.
Scale rows are where most snake drawings look fake. People draw scales like a flat pattern — straight lines across a curved body — and the snake stops reading as a 3D form. The fix is to draw scale direction lines first, then place scale marks perpendicular or slightly angled relative to those direction lines. When the scales follow the bend, the body looks wrapped and dimensional. You don’t need every scale; you need consistent direction and believable spacing.
AvoidDon’t draw scale rows as straight lines across curved sections.
Pro tipPick one scale shape (like a small diamond, oval, or comma) and repeat it — consistency beats variety.
5. Belly Plane Shading for Depth
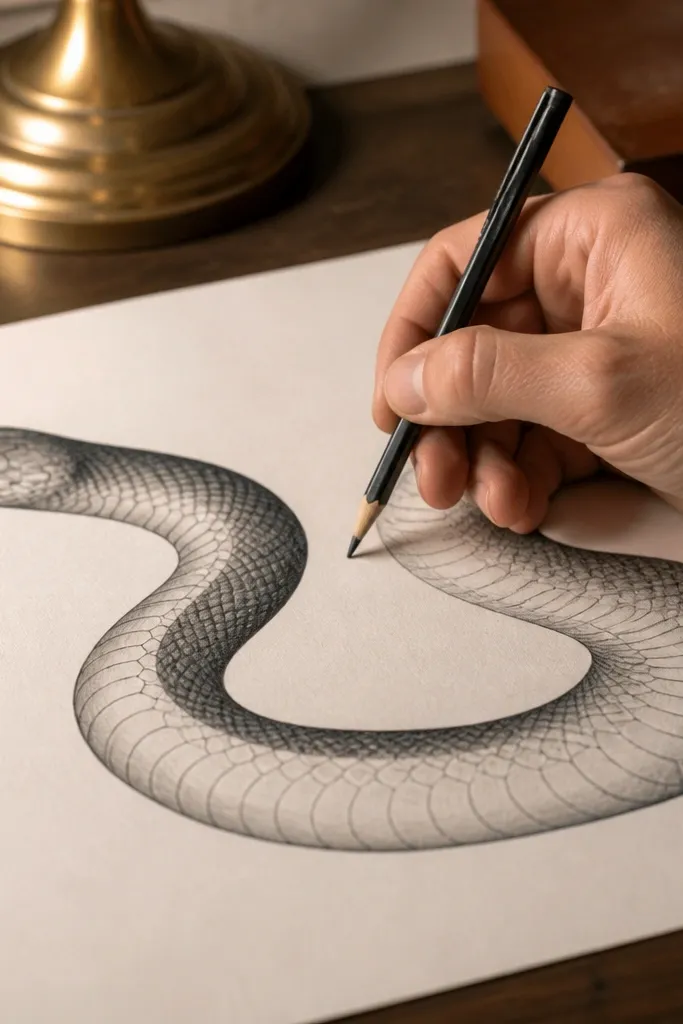
A huge number of snake drawings fail because shading ignores the belly as a plane. People either leave the belly blank or shade it like random stripes, which flattens the form. Instead, treat the belly as a softer, lighter plane under the spine track. The top contour and sides can be darker, especially where the body folds over itself. When you shade the belly consistently, the viewer reads volume even if your scales are minimal.
Start by deciding your light direction — pick one side and commit. Then block a light belly area: leave it mostly white or lightly toned, with a soft gradient near the underside contour. After that, darken the top contour and the side edges, using short strokes that follow the spine curve. Finally, add a darker shadow where the snake overlaps itself, then stop — don’t keep darkening every scale.
Use a kneaded eraser to lift belly highlights after shading — it looks more natural than trying to erase mid-stroke.
6. Over-Detailing the Whole Body
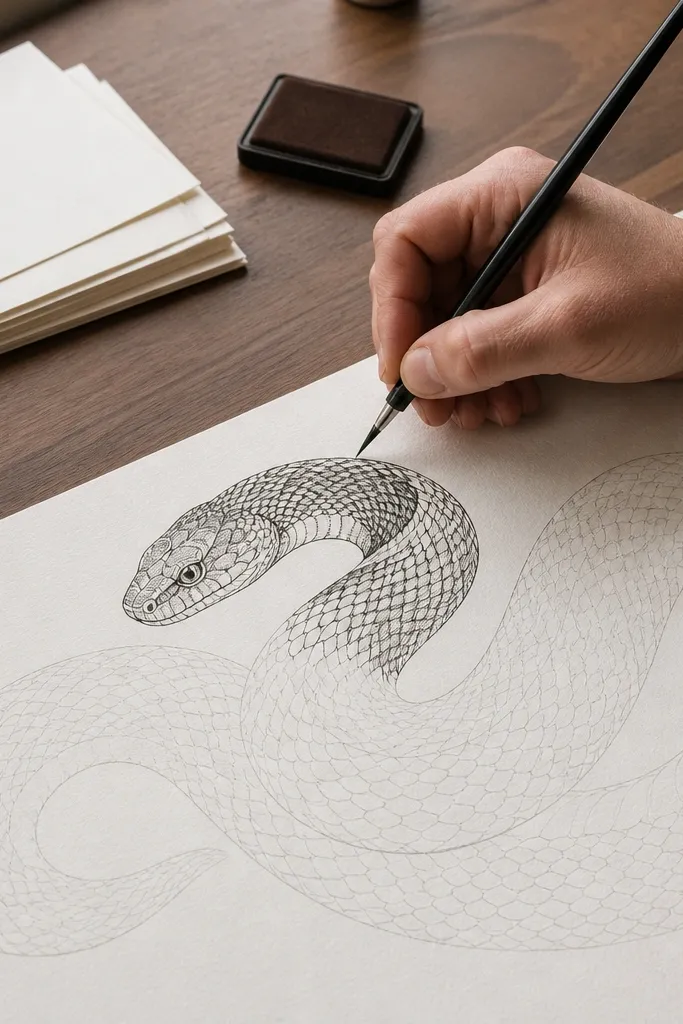
Start with a light sketch and decide your detail zones by marking them lightly with a pen dot or pencil circle. Then draw scale direction lines across the whole body, but keep scale marks small and light outside your zones. Next, in your zones, add stronger scale edges and a few darker scale centers for contrast. Finally, soften the transitions between zones by blending lightly or reducing line weight as you move away.
Over-detailing is a sneaky common mistake to avoid snake drawing because it looks “effortful” but kills readability. If every scale is equally sharp and dark, your eye can’t track the form. The fix is to simplify most of the body and detail only scale zones that match curvature or overlap. Pick 3-5 zones: near the head, along the widest mid-body, and around the deepest bend or overlap. Everything else gets lighter, smaller scale marks. Your snake will look finished without turning into a texture dump.
Pro tipUse line weight: thicker for the silhouette and key shadows, thinner for inner scale marks.
7. Tail Like an Afterthought
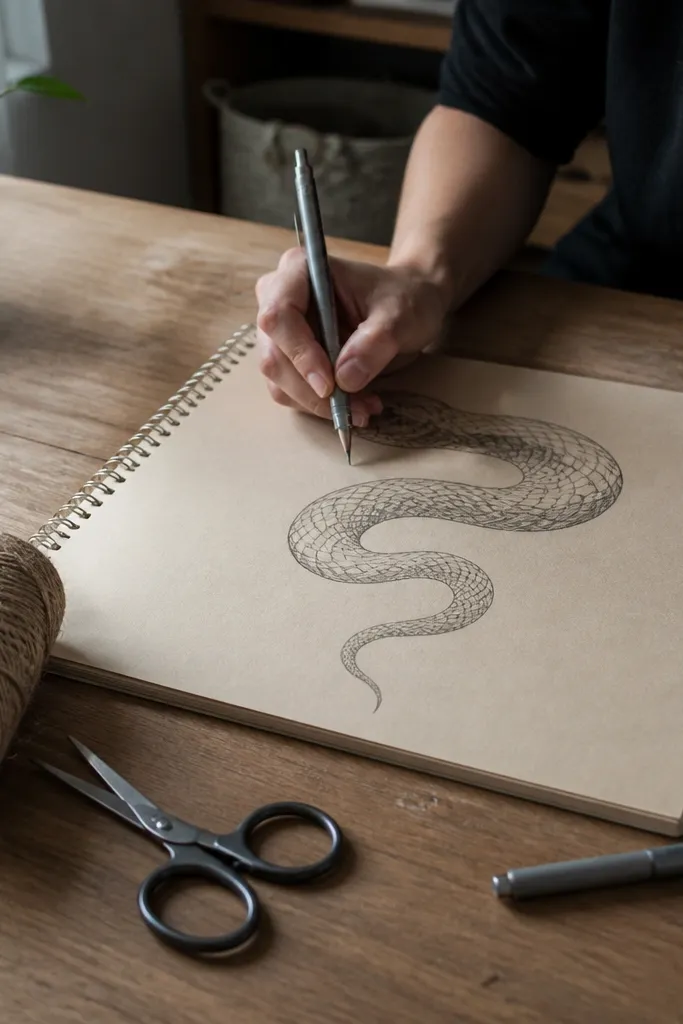
Start by extending your spine track through the last bend — don’t restart it at the tail. Then taper gradually: the tail should narrow over several scale intervals, not in one sudden step. Add a last small curve if the snake’s motion suggests it, then keep the underside contour consistent with that curve. Finally, shade the tail with the same belly plane rule so it doesn’t look pasted on.
The tail is where many drawings quietly fail. People draw the tail as a straight extension, or they taper it too fast, or they forget that the tail has its own curve relative to the last bend. If the tail doesn’t continue the motion of the spine track, the snake looks like it ends abruptly. The fix is to treat the tail as part of the same track and give it a believable taper and direction. Even when you simplify scales, the tail should still follow the body’s perspective.
Pro tipIf your tail feels wrong, compare it to the head direction: the tail should “agree” with the overall motion line.
8. Perspective Errors at the Neck
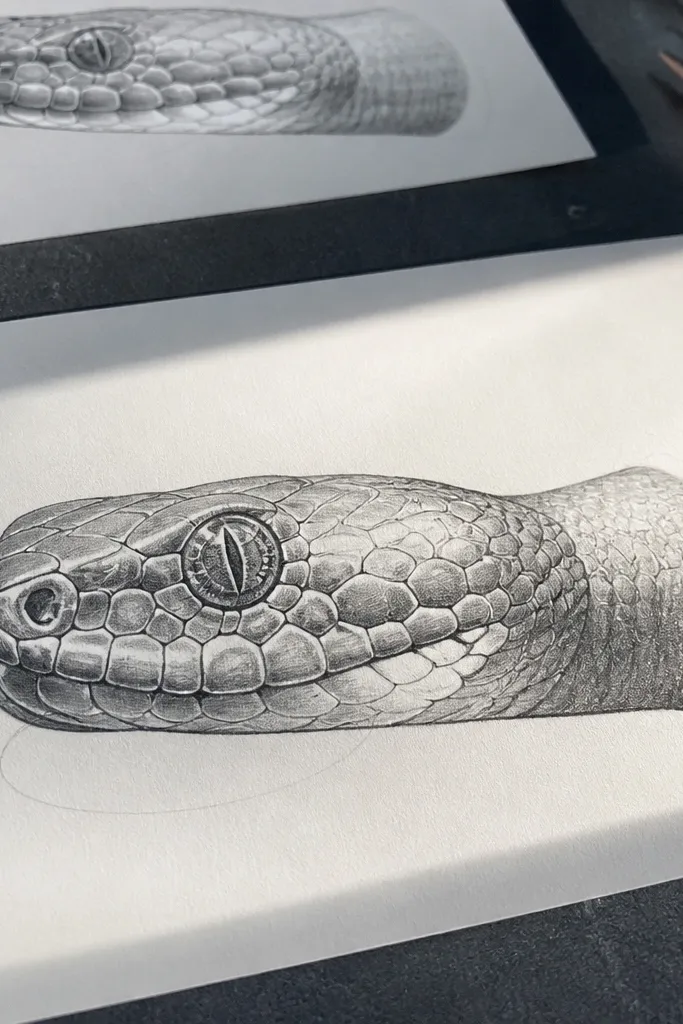
Start with the head placement and jaw plane, then draw a neck cylinder using two contour lines that converge slightly toward the far side. Next, place the nostril and mouth corner so they sit on the nearer face of the neck. Then connect the neck to the spine track with a smooth transition, not a sharp kink. Finally, add a small shadow under the jaw and along the far side of the neck to sell depth.
Necks are short, so they’re easy to draw wrong. The common mistake is treating the neck like a flat connector with no foreshortening, especially when the head is turned. That makes the head float or sink. The fix is to show the neck as a short cylinder whose far side is slightly narrower and darker. Even in a simple drawing, you can imply perspective by changing the ellipse width and by placing the mouth corner in the correct plane.
Pro tipForeshorten the neck ellipse: if the head is angled, the neck should show that angle immediately.
9. Eye Placement and the Eyeline Tilt
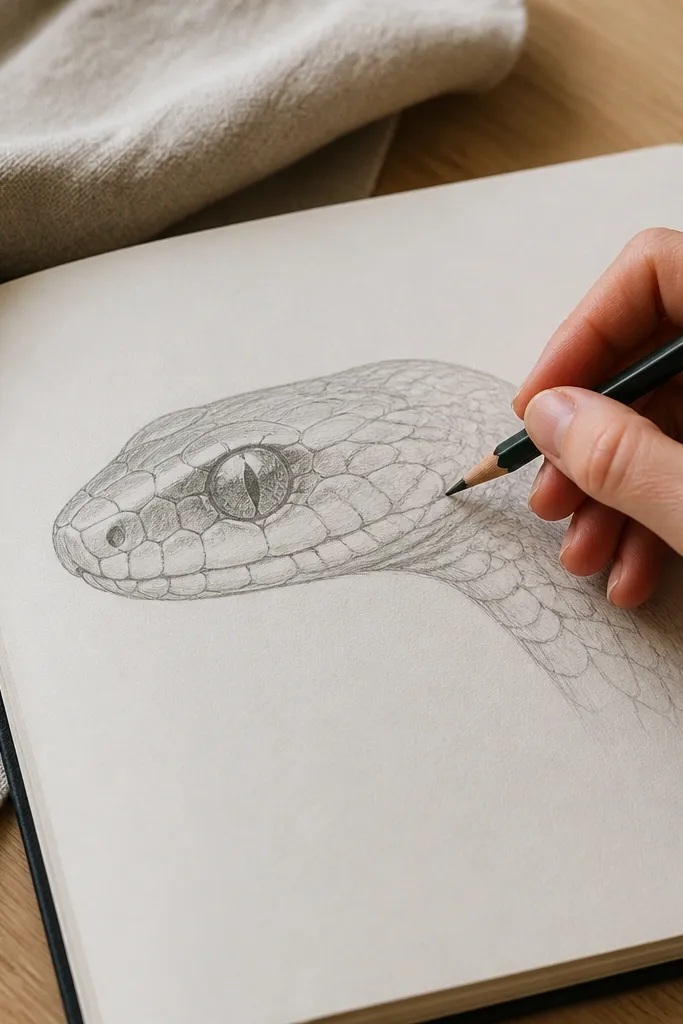
Start by drawing the head skull oval and jaw plane. Then place an eyeline across the skull oval that matches the head tilt. Add the eye as a small oval on the eyeline, slightly closer to the front than you think. Finally, draw a tiny highlight and a thin shadow under the eyelid area, keeping the rest of the eye simple.
Snake eyes are small, but they control how “real” the head looks. A common mistake to avoid snake drawing is placing the eyes too high, too centered, or with the wrong tilt relative to the head plane. If the eyes don’t align with the jawline, the head reads as wrong even if the body is good. The fix is to draw an eye line first and then place the eyes as a pair of small ovals sitting on that plane. Add a highlight dot and a subtle shadow under the eye for form.
Pro tipDon’t outline the eye too thick; let the pupil and highlight do the work.
10. Mouth Shape That Doesn't Bend Like Paper
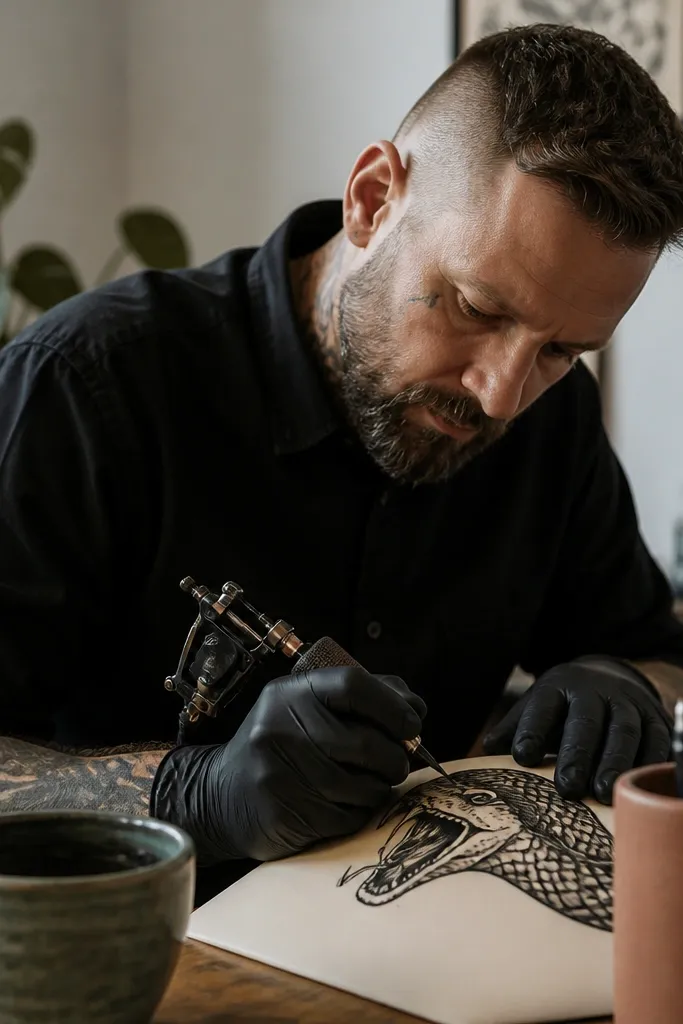
Start with the jaw plane under the skull oval. Then draw the mouth opening as a small arc that follows the head tilt, not the page. Add a darker notch where the mouth opens so it reads as a gap. Finally, if the tongue is out, draw it as one thin ribbon with a slight curve, then stop — don’t add extra texture inside the mouth.
If your mouth line looks like a straight sticker, your snake will look flat. A lot of drawings get the lip line wrong because people draw a single curved line without matching the head plane. Snakes have a mouth opening that wraps around the face, so the inner mouth corner needs to sit slightly deeper. The fix is to build the mouth as a small arc on the front plane and then add a shadow at the opening. Keep the tongue simple if it’s visible.
Pro tipUse one shadow under the mouth corner; multiple dark lines make it look like a cartoon grin.
11. Outline Weight and the Silhouette Trap
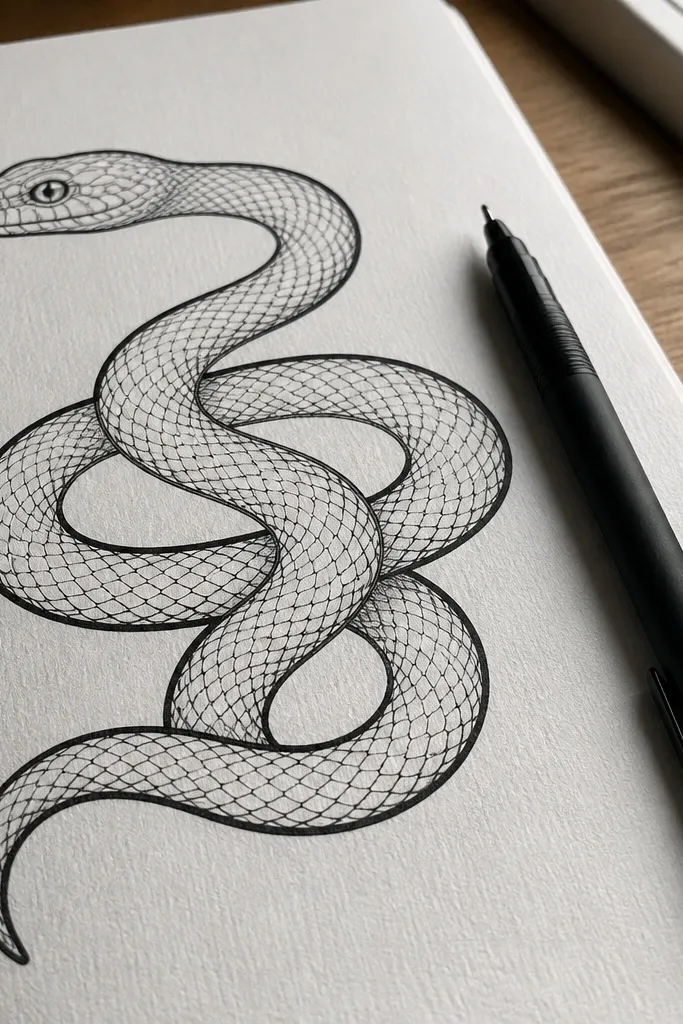
Outline is where a snake drawing either reads instantly or takes effort to decode. The common mistake is using the same line weight everywhere, which flattens the silhouette and makes the scales look like noise. I prefer a simple rule: heavier lines for the outer contour and key overlaps, lighter lines for inner scale marks. That makes the body shape pop even when you keep scale detail minimal. If you’re using ink, you can still do this with a brush pen that you press less for interior lines.
Start by drawing the silhouette with lighter pressure, then trace it again with heavier pressure where the snake outline is clearly visible. Next, add overlap shadows with a darker, thicker line or a small filled shape. Then draw scale direction marks with thinner lines so they don’t compete with the outline. Finally, erase any stray construction lines so the silhouette stays clean.
If your silhouette looks messy, fix it before adding scales. Scales won’t save a broken outline.
12. Scale Edges That Follow Curvature
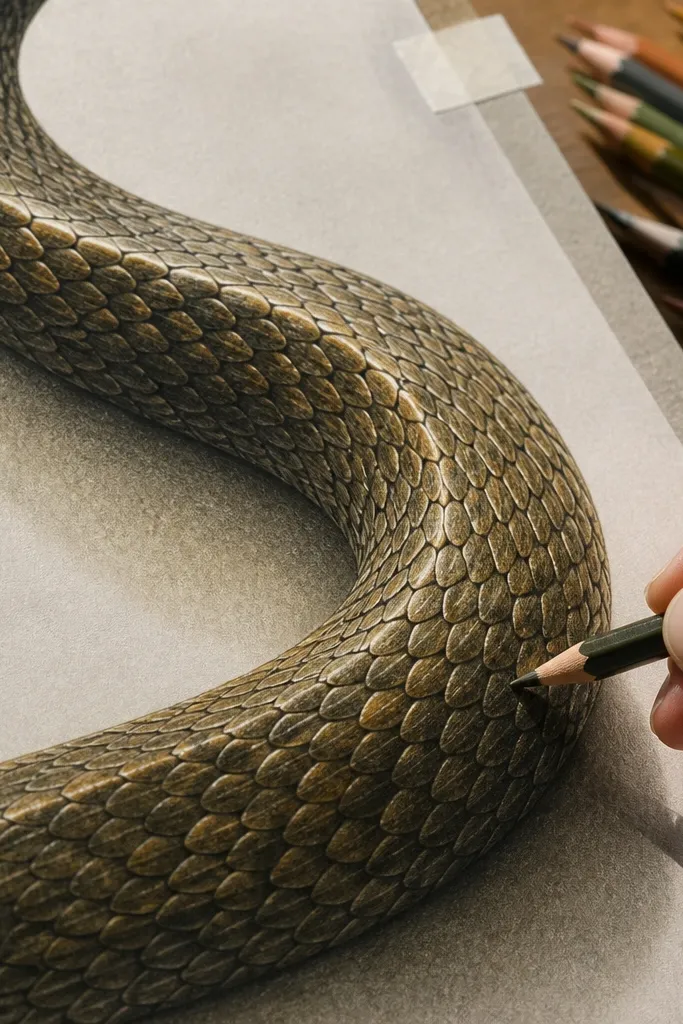
Pick a light direction and darken the side of each scale that faces away from it. Then, on the outer curve of a bend, leave a small lighter edge or highlight line along the outer side of scales. On the inner curve, compress contrast: make the edges slightly lighter and reduce the number of dark marks. Finally, blend lightly where scales transition from shadow to light so the texture doesn’t look cut-out.
Drawing scale edges as identical outlines across a curve creates a “sticker” look. The fix is to shade the scale edges differently based on curvature and light direction. Scales on the outer curve catch more light on their outer edges; scales on the inner curve sit in softer shadow. You don’t need to render every edge — you need a consistent logic. This makes the snake feel wrapped and gives depth without overworking the drawing.
Pro tipKeep your darkest marks reserved for overlap shadows and the most turned parts of the body.
13. Wrong Scale Size Progression
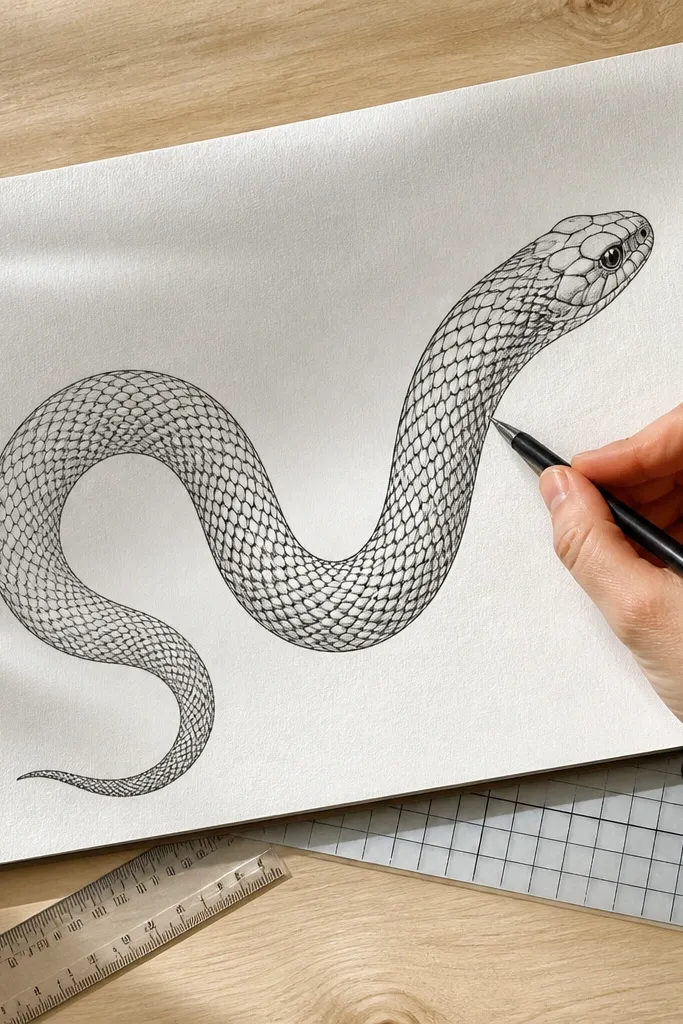
Many drawings keep scale size identical from head to tail. Real snakes change how scales read with distance, and even in a simple drawing you need a size progression. If scales stay the same size, the tail looks like a stretched copy of the head. The fix is simple: smaller scales toward the tail and slightly larger, clearer scales near the head or widest section. Also, when the snake overlaps itself, the farther body should have smaller, lighter scale marks.
Start by marking the widest mid-body point and the tail end. Then draw your main scale shape at a consistent size for the mid-body, and reduce it by about 20-30% as you move toward the tail. When parts overlap, reduce scale size and line weight on the farther layer. Finally, keep scale spacing consistent with your direction lines so the pattern still feels coherent.
If you’re using a grid in your sketch, remove it after the scale size is set. Grid lines fight the rhythm.
14. Bend Depth and the Overlap Shadow
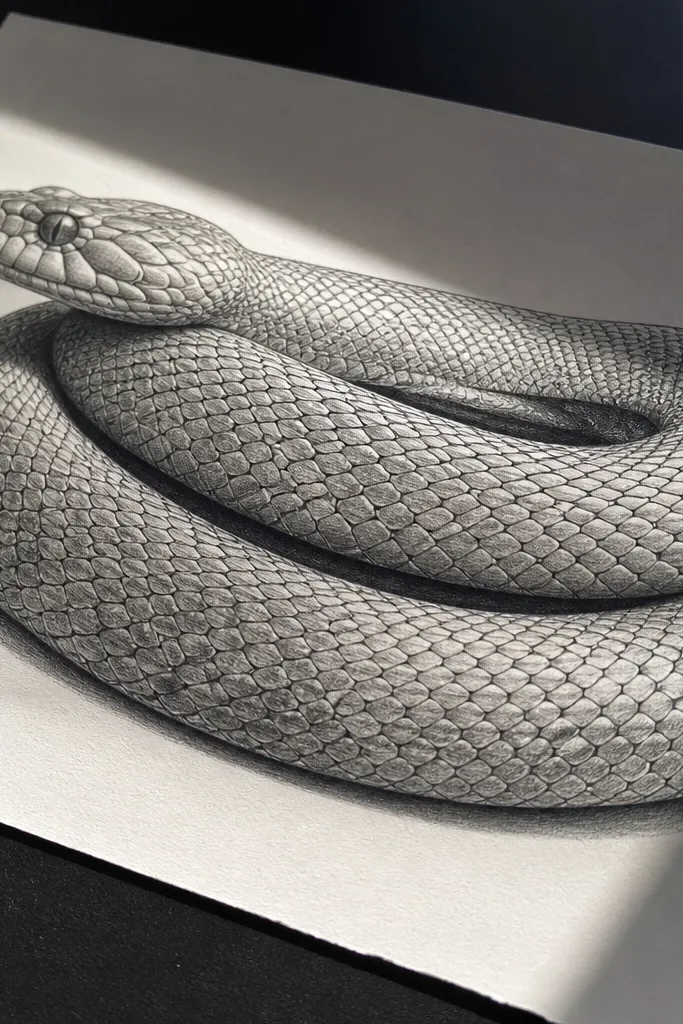
Start with your coil or S-curve and draw two body contours for the overlapping sections. Then decide which layer is in front — draw it with slightly thicker outline and darker top contour. Next, add an overlap shadow: a soft patch that follows the underside of the front layer and fades outward. Finally, keep the shadow edge soft on the far side and stop adding it once the overlap ends.
A coiled snake looks flat when the overlap shadow is missing or drawn as a thin line. The common mistake is outlining both layers equally and skipping the space between them. Fix this by treating overlap like a gap filled with shadow: the top layer casts a soft, darker region onto the layer beneath. You can keep scales simplified, but the shadow shape needs to be believable and consistent with your light direction. That one shadow tells the brain which body is in front.
Pro tipShadow shape beats shading intensity. A clear shadow silhouette reads better than a dark scribble.
15. Color and Value Mismatch on Scales
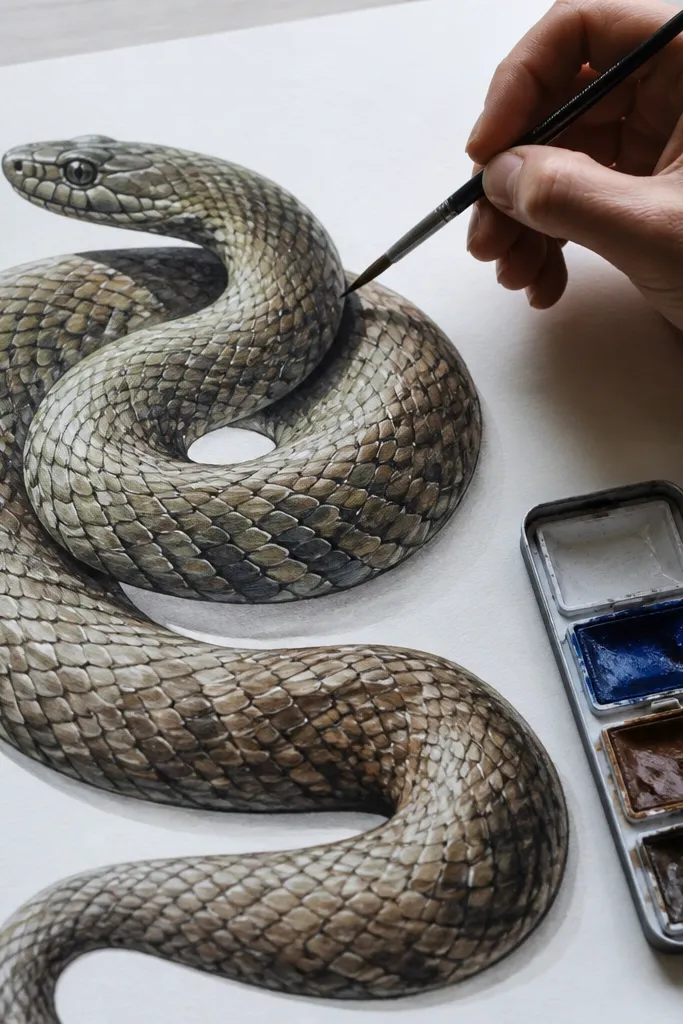
Start by blocking the snake in three values: light belly, mid body, and darker top/side areas. Then apply the scale pattern in the same value range so you don’t randomly spike contrast on every scale. Next, add a few darker bands or blotches only where the body turns or overlaps. Finally, reserve the brightest highlight for the outer curve and a few select scales, not the whole body.
When people add color, they often break the value structure, which makes the snake look like a flat pattern. The common mistake to avoid snake drawing is using bright midtones everywhere, then adding dark outlines around each scale. That kills volume because the highlights and shadows stop separating. Instead, keep a limited value range: light belly, mid body, and darker accents near overlap and under the top contour. If you’re using paint markers or colored pencils, build value first, then add small color variation inside the shapes.
Pro tipIf the snake looks “busy,” remove color first. Fix values before adding any hue variation.
16. Smudging and Eraser Damage on Curves
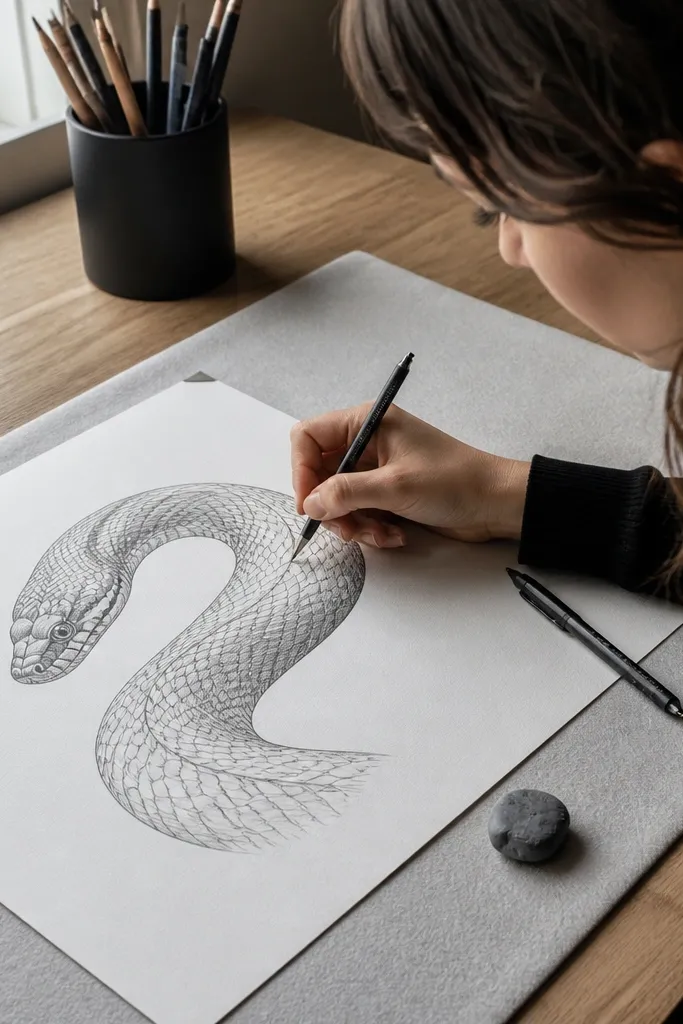
Start with light construction lines for the spine track and head planes, then wait before blending. Shade only after the scale direction and major shadows are in place. If you need highlights, lift with a kneaded eraser after the shading sets, not while it’s still loose. Finally, re-draw the silhouette and a few scale edges with a harder pencil so the drawing regains clarity.
Graphite smudges ruin scale drawings because you lose the crisp edges where the viewer expects form. A common mistake is blending too early, then trying to erase highlights — that turns the whole curve into gray fuzz. For snake drawing, you want controlled shading and clean linework where it matters. Keep your construction lines light, shade on a separate layer of pencil pressure, and use a kneaded eraser sparingly to lift highlights. If you smudge, you need to re-establish the silhouette and scale direction lines afterward.
Pro tipUse a sheet of scrap paper under your hand. It stops sweat and graphite from dragging across your curve.



