
1. Three-shape shark construction (wedge, tube, tail stock)
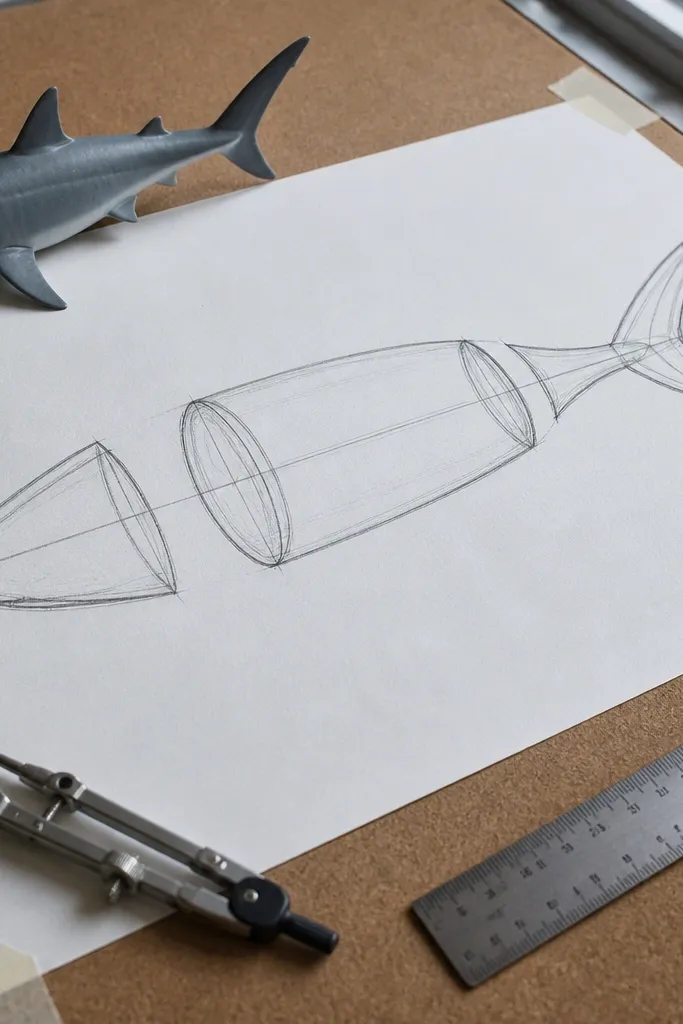
This is the fastest way to stop the “blob shark” problem. You’re not drawing details yet. You’re building the mass so the rest of the drawing has somewhere to belong. Start with a wedge for the snout, then a tube-like body that narrows smoothly, then a tail stock that connects to the spine line. Once those three shapes look right, fins and teeth stop looking like random stickers and start looking like parts of one animal. This works for beginners because it removes guesswork — you’re checking big proportions first, not chasing tiny line accuracy.
Pro tipUse a kneaded eraser to lift construction lines instead of smudging them — smudges make fin placement harder.
First, sketch a light wedge for the head — wider at the top, narrowing toward the snout — and draw a centerline through it. Then block the torso as a cylinder by drawing two parallel curves that taper toward the tail. Finally, add a tail stock rectangle or tapered block at the back and align it to the centerline so the tail has a real base. Keep everything light (HB pencil, light pressure) until the silhouette reads instantly.
AvoidAvoid starting with the tail or fins — they’re the first things that drift when the head and body aren’t built.
2. Dorsal fin base placement guide (where it actually sits)
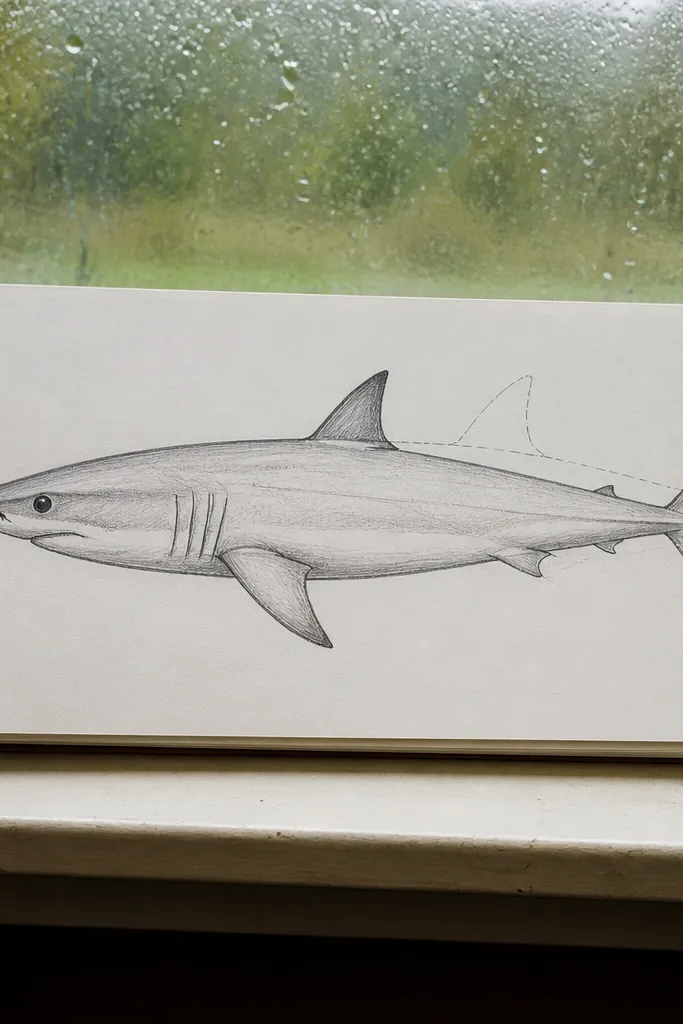
Most drawn sharks fail because the dorsal fin sits too far forward or too far back. When the base is wrong, the whole silhouette feels off even if the teeth look decent. The fix is to anchor the fin base to the body tube, not to the outline. Think of the dorsal fin as a wedge that rises from a base on the back half of the torso. Once the base is correct, the fin tip and trailing edge can be adjusted without breaking the animal’s balance. This is especially helpful if you’re drawing a moving shark, because fin placement changes the perceived direction and speed.
Pro tipDraw a tiny dot at the fin base before you draw the fin — it keeps your fin from creeping.
First, after you’ve drawn the body tube, mark the spine line with one light stroke from head to tail. Then decide where the dorsal fin base touches that tube — place it around the back third of the body, not near the head. Finally, sketch the fin as a wedge with two edges meeting at a tip, then redraw the base so it blends into the body curve rather than sitting on top of it.
AvoidAvoid drawing the dorsal fin as a perfect triangle with no base — it will look pasted on.
3. Eye line and snout wedge alignment (the cartoon-killer)
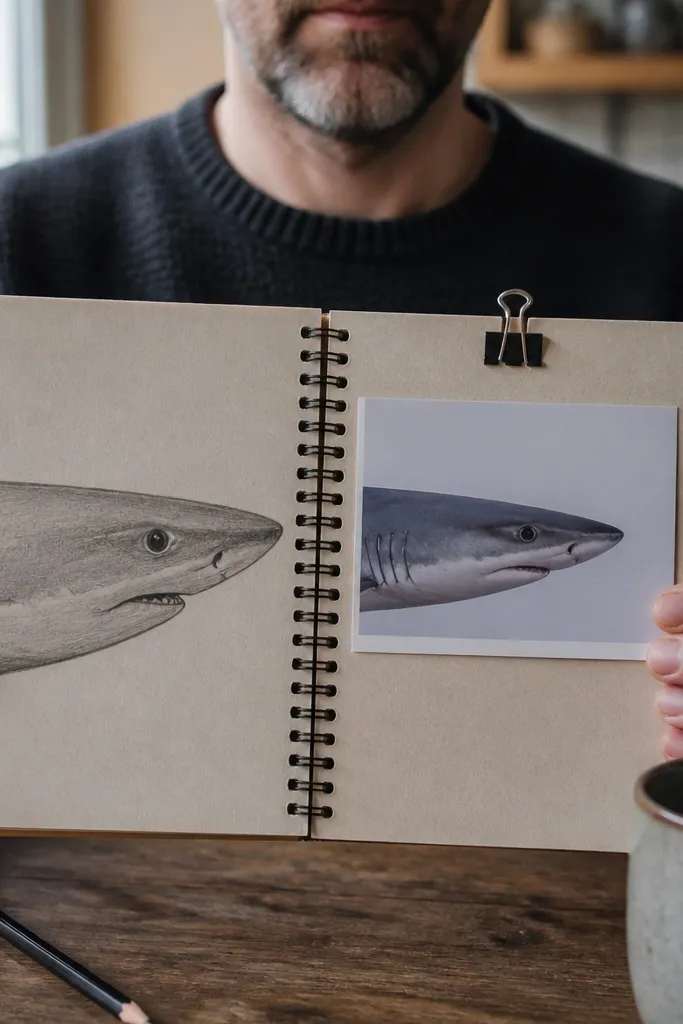
Shark eyes are small, but placement controls the whole expression. If the eye sits too close to the snout tip, your shark reads as cartoonish and “front-faced” even in a side view. If it sits too far back, the head looks flattened and wrong. The eye should land on the head wedge where the head changes from wedge to body — that transition is where the form turns. Get that alignment right and the jawline and gill area will feel more believable. This is one of those fixes where you don’t need more detail — you need a better starting point.
First, draw the snout wedge and add a simple head-to-body transition line where the wedge starts blending into the torso tube. Then place the eye slightly forward of that transition but not at the very tip, keeping it small and close to the top third of the head wedge. Finally, sketch the eye socket as a shallow oval and connect the line to the jaw area with a light contour — don’t outline the eyelid heavily.
Keep the eye smaller than you think. A big eye is the quickest way to make the shark look like a character.
Avoid putting the eye at the snout tip or centering it exactly — both make the head look wrong.
4. Gill line and jaw contour (mouth shape without stretching)
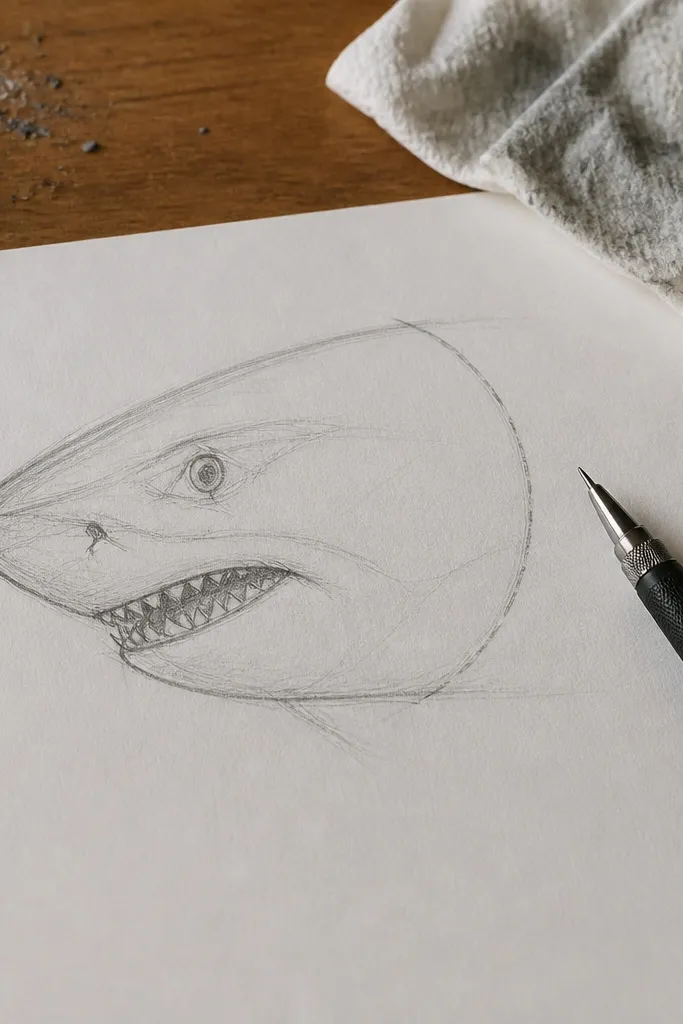
People draw shark mouths like a wide grin attached to a skinny head. That stretches the face and makes teeth look like they’re floating. The mouth line should be a contour that follows the wedge shape of the head, and the gill line helps you understand where the head volume ends. When you sketch the jaw contour first, then add teeth, the teeth can be drawn as a pattern on a real surface. You’ll also avoid the common mistake where the mouth becomes too long and the snout looks stretched. This method gives you a believable jaw angle even if you’re not perfect with teeth drawing.
Pro tipUse one long, confident line for the jaw contour. Fighting over it creates wobble that teeth can’t fix.
First, draw the head wedge outline and mark the lower jaw curve with one smooth line that follows the wedge taper. Then add a short gill line behind the jaw area — it should curve slightly and stop before the dorsal fin base. Finally, block the mouth opening as a simple arc and place the tooth row along the jaw contour, not across the whole face.
AvoidAvoid drawing teeth first — if the mouth contour is wrong, teeth will lock in the wrong proportions.
5. Tail fin angle and spine continuity (no kinked silhouette)
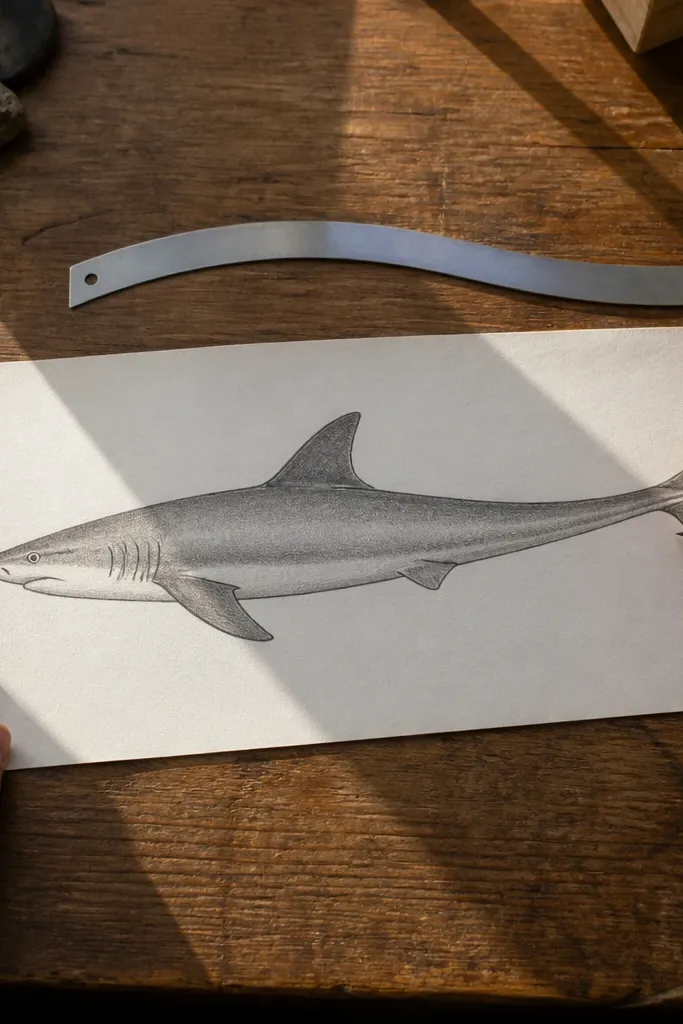
A kinked tail line is the fastest way to make a shark look like it’s bending the wrong way. Many drawings show a clean body line and then a tail that turns abruptly — the eye reads it as “broken form.” The tail needs to connect to the tail stock and keep the spine direction consistent. You want the spine line to guide the tail angle, then the tail fins extend from that. When the tail stock is correct, small changes in the fin shape look natural instead of weird. This helps with both calm swimming poses and more aggressive angles.
First, keep your spine line going from head through the body tube into the tail stock without lifting your pencil. Then draw the upper and lower tail fin edges as two curves that meet at the tail base, keeping the center connection aligned with the spine line. Finally, adjust the tail tips so they mirror each other in height, then erase the construction tail stock edges once the silhouette looks smooth.
If the tail looks off, check the spine line first — fix the angle before you redraw fins.
Avoid placing the tail fin tips at random heights — it creates a lopsided silhouette instantly.
6. Pectoral fin wedge with a real leading edge
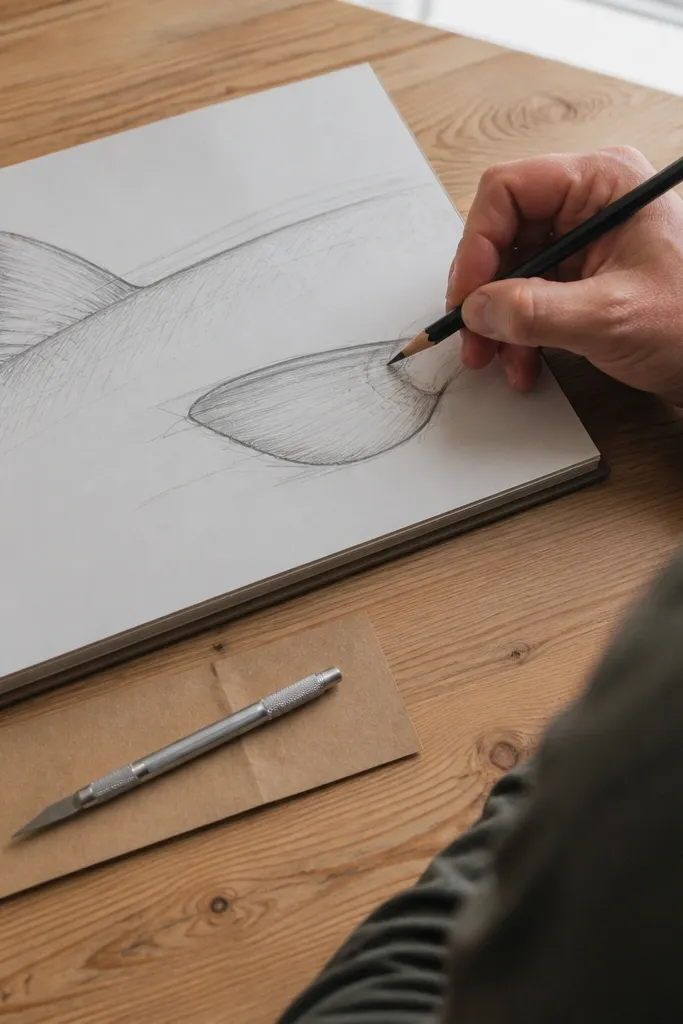
The pectoral fin is where a lot of drawings get lazy. People slap a small triangle on the side and call it a day, but sharks have a wedge fin with a clear leading edge and a base that sits on the body’s curve. When the fin is drawn as a wedge, it reads as a structural part of the animal instead of a decorative shape. It also helps your shark look like it’s moving through water, because fin angles imply drag and control. This is a good project if you keep getting comments like “cool but it looks weird” — fin construction fixes that fast.
Pro tipGive the fin a thicker base line than the fin tip line — it makes the fin feel anchored.
First, after the body tube is drawn, pick a spot slightly behind the head wedge for the pectoral fin base. Then sketch the fin as a wedge: draw a leading edge line that slopes back, then a trailing edge line that’s shorter and meets the tip. Finally, blend the base into the body contour with a short curve so the fin looks attached, not pasted.
AvoidAvoid drawing the pectoral fin as a flat triangle with sharp corners and no base blend.
7. Teeth row spacing that follows the jaw curve
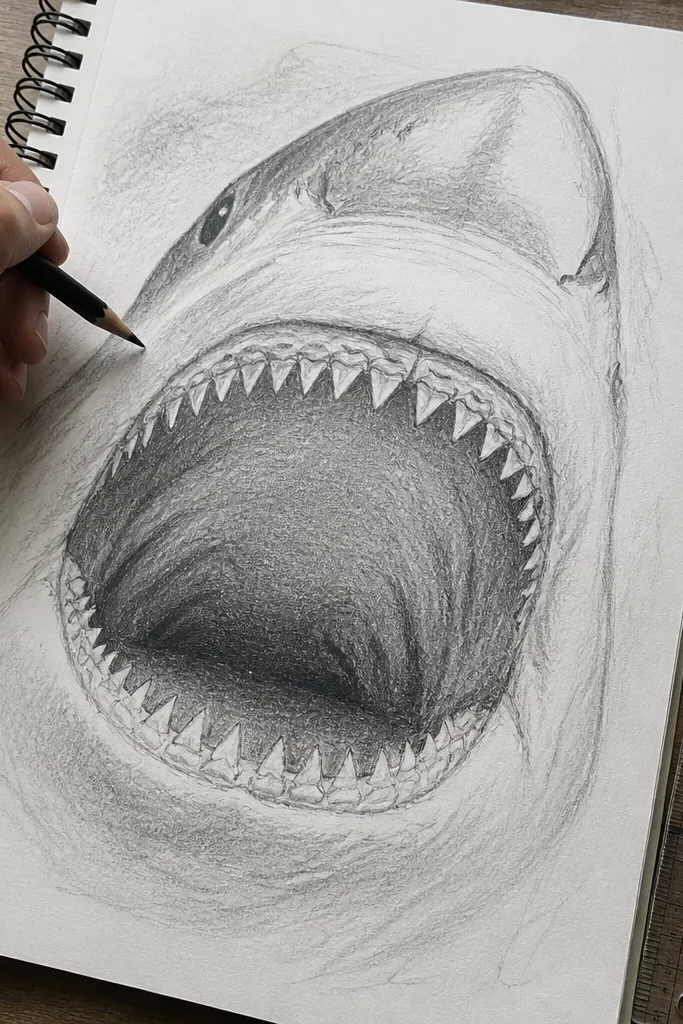
Teeth are not a random texture. If you space them evenly in a straight line, your shark’s mouth looks stretched and fake. The teeth should sit on the jaw contour and vary slightly in size so they look anchored to a curved surface. Keep the teeth shapes consistent — small triangles or narrow points — but let their spacing follow the jaw arc. This makes the mouth read as a real volume. Also, don’t cover the whole mouth. Sharks show a row, and the jaw contour does the heavy lifting. This approach makes your drawing look more believable even if the teeth aren’t “detailed.”
First, draw the mouth opening arc as a contour and keep it narrower than you think. Then sketch the first tooth near the corner, and place the rest along the jaw curve with small gaps that follow the arc. Finally, vary the tooth height by a little amount — taller near the center, slightly shorter near the corners — and erase stray tooth lines that don’t touch the jaw contour.
Use a ruler for the jaw contour only. Freehand teeth spacing looks better when the jaw line is clean.
Avoid filling the entire mouth with teeth. It flattens the jaw and makes the head look cartoon-flat.
8. Waterline belly curve and underside shadow shape
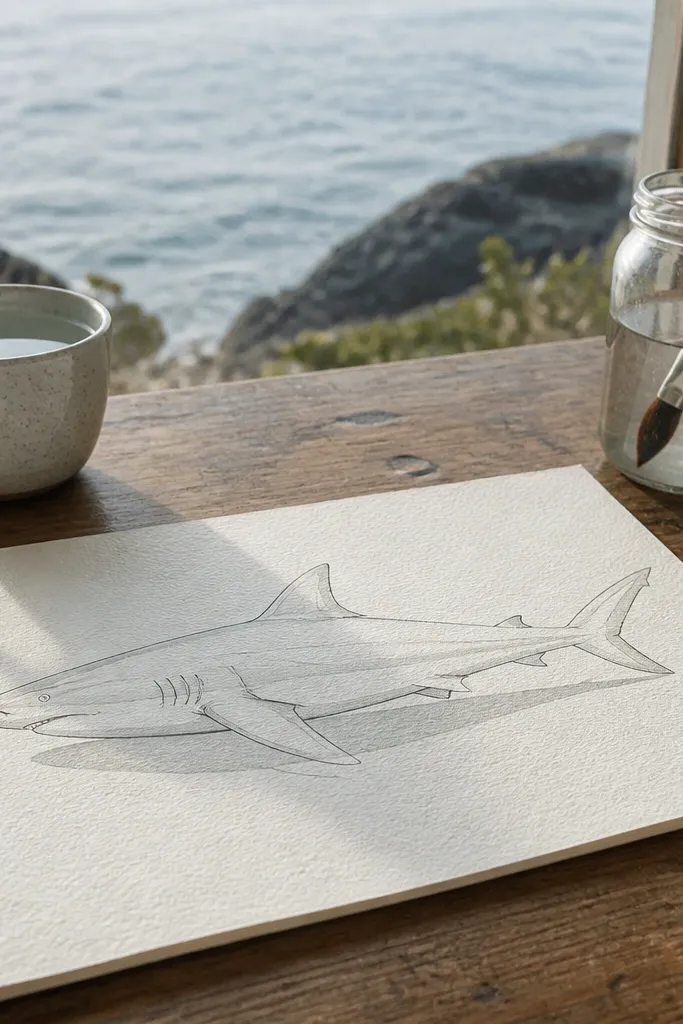
A shark’s belly curve is a silhouette anchor. If your belly line kinks, it ruins the form no matter how good the head looks. The underside also needs a simple shadow shape to show volume — you don’t need full shading. One smooth belly curve plus a soft shadow under the body gives you that “cylindrical” feeling people chase for hours. This is also the fix for drawings where the shark looks like it’s hovering with no weight. Keep the belly curve consistent from pectoral fin area to tail.
Pro tipIf the belly curve feels wobbly, redo it with shorter strokes that start and stop at the same points on both sides.
First, draw the belly curve as one smooth line that follows the body tube taper and doesn’t cross the centerline. Then add a simple underside shadow shape: a thin band under the belly that follows the curve and fades as it approaches the tail. Finally, blend with a light pencil pass or a single directional stroke so the shadow has direction, not a scribble texture.
AvoidAvoid drawing the belly as a straight line or adding extra bends — the silhouette reads wrong immediately.
9. Fin symmetry checks for side view and three-quarter view
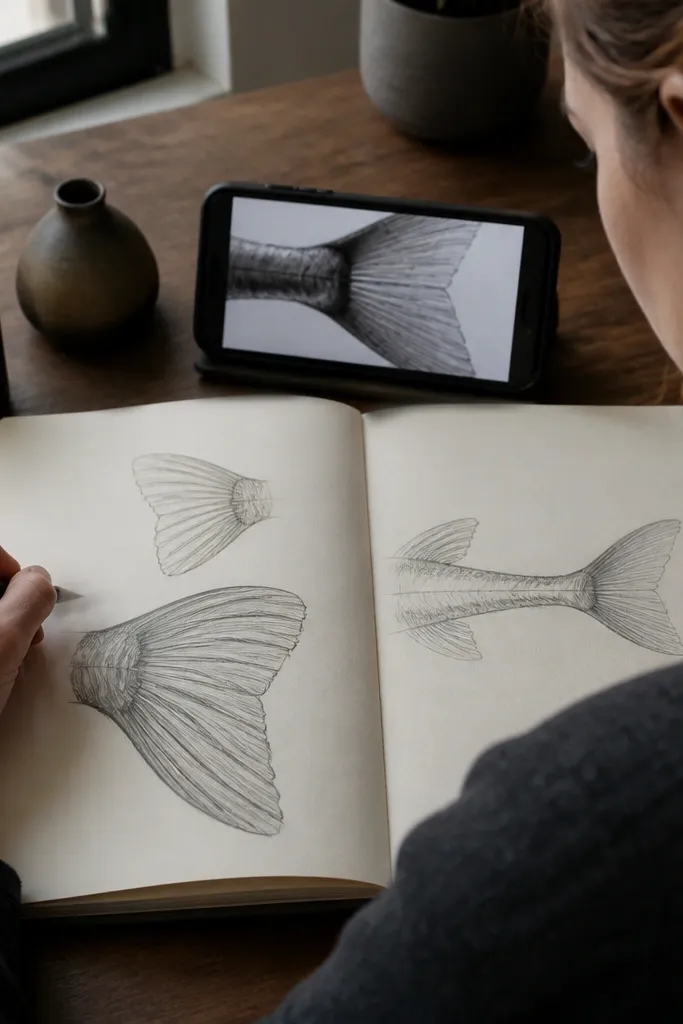
A common “why does it look off” issue is fin symmetry in the wrong pose. Side-view sharks have mirrored fin shapes across the silhouette only in the sense of balance, not identical sizes and placements across the body. Three-quarter views break that — the far fin is smaller and pushed back, and the near fin looks closer to the viewer. If you use side-view rules on a three-quarter drawing, your shark looks stiff and staged. Fixing fin size and overlap gives you instant depth. This is one of those mistakes that looks like anatomy, but it’s really perspective control.
First, decide the view angle and draw the centerline at the correct tilt. Then for side view, keep fin bases aligned along the body tube and mirror their general height. For three-quarter view, reduce the far fin size and shift it back toward the tail, and let the near fin sit slightly forward on the silhouette. Finally, erase construction lines that cause your fins to look like they float.
Do one quick silhouette check by squinting. If the fins break the outline in a weird way, fix view and overlap before details.
Avoid treating all shark poses like strict side view — it makes far fins look too big and breaks depth.



