
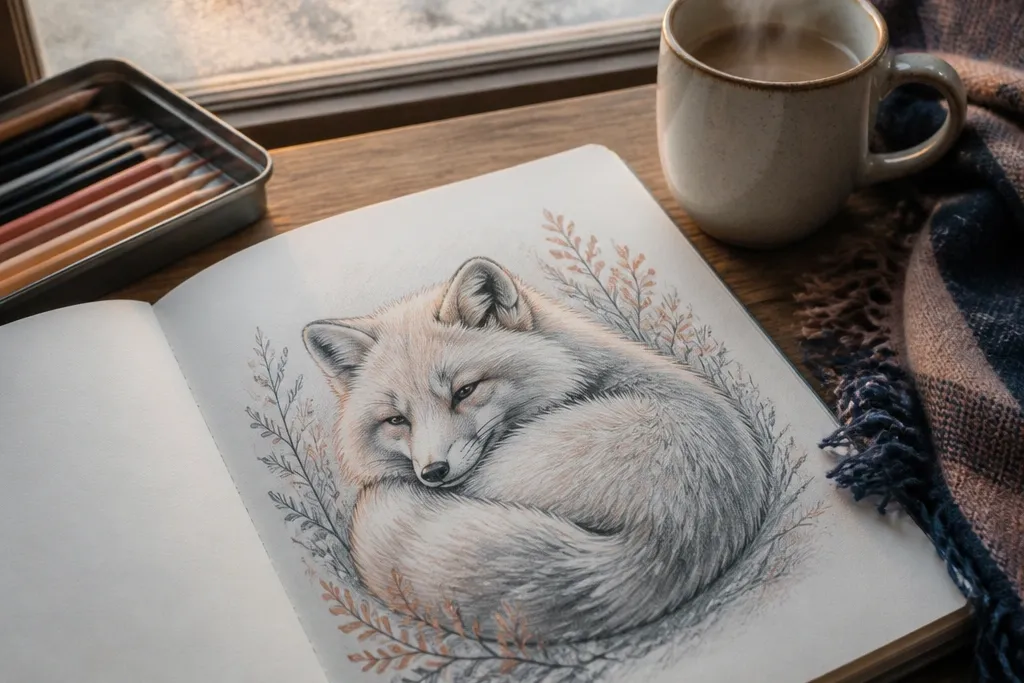
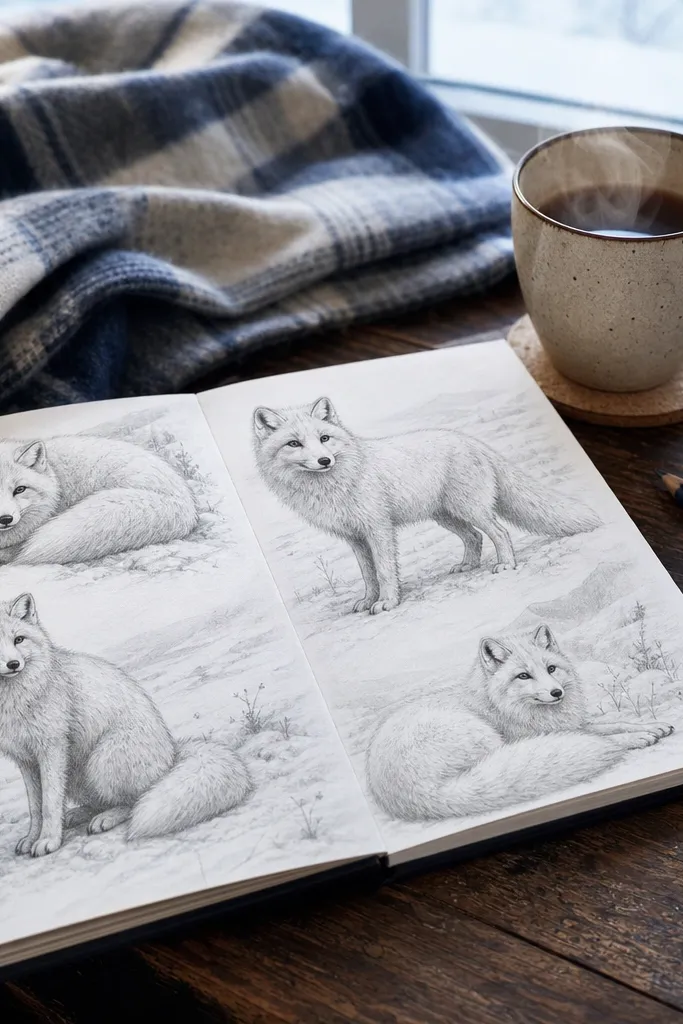
1. Knitted Scarf Fox in a Snow Drift Frame
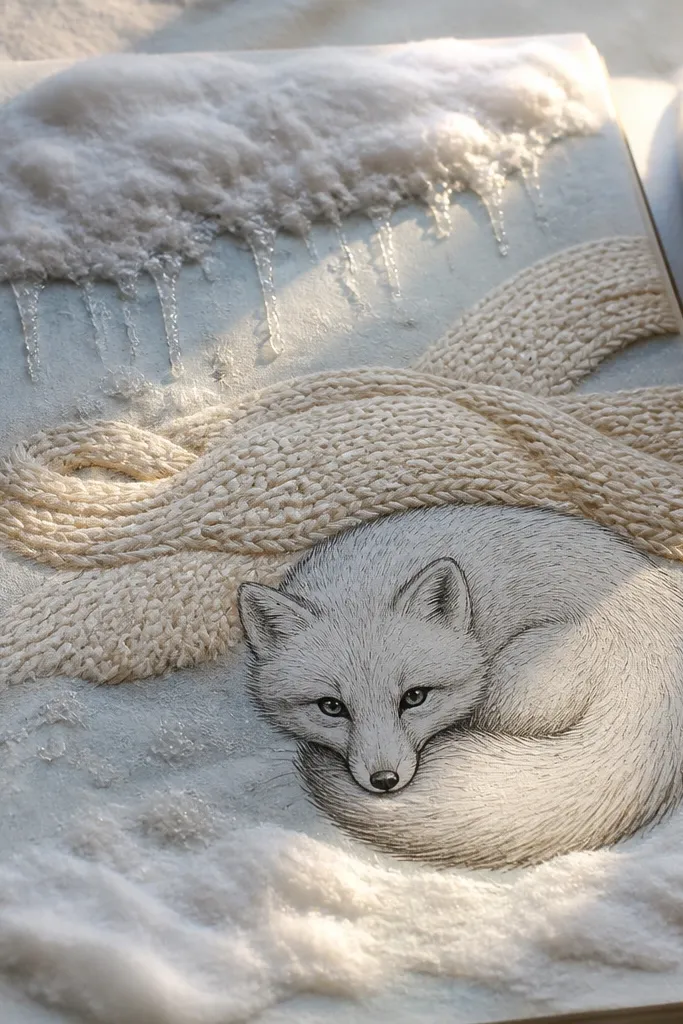
This idea looks cozy because the scarf creates instant warmth cues: knit ridges, small folds, and a color that pops against cold snow. Draw the fox curled low so the scarf forms a diagonal band across the page, then keep the background snow simple with a soft gradient. For photogenic contrast, use a creamy knit color (off-white or pale oatmeal) and shadow it with warm gray so it doesn’t turn flat. The fur should be layered with short strokes that follow the curl of the body, so the coat reads fluffy instead of scribbly.
Start by sketching a U-shaped snow drift and placing the fox head in the top third. Add a thick scarf wrapped once around the neck, then draw knit lines as parallel ridges that curve with the scarf. Color the scarf with 2-3 layers: base cream, warm gray shadows under the ridges, and a light highlight stripe on the top edge. Finish fur with short directional strokes and leave tiny white gaps where snow light hits the muzzle and cheeks.
Use a kneaded eraser to lift a few “snow sparkle” highlights on the scarf edges.
Don’t outline every fur strand — the texture should come from strokes, not thick black lines.
2. Steam Mug Fox Under a Soft Sunset Sky
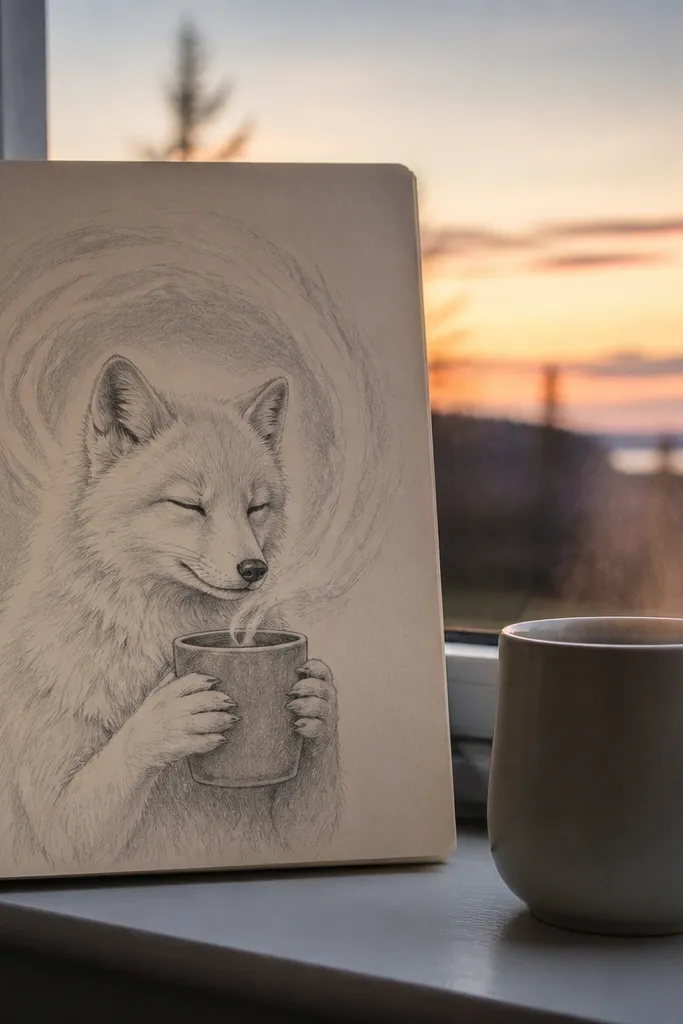
A mug and steam instantly signals comfort, and the sunset sky gives you warm light without needing complex scenery. Keep the fox face large and calm, with the mug held close to the chest so the steam becomes a visual halo. Use warm sky colors (peach, soft coral, pale gold) fading into cool blue-gray snow to create a cozy contrast. For fur, focus highlights on the cheeks and forehead where the warm light would hit, then cool it down under the chin.
Draw a simple horizon line and block in the sky as a smooth gradient using 2-3 colors. Place the fox sitting front-facing, then sketch a mug with a thick rim and a handle angled slightly toward the viewer. Add steam as 3-5 wispy ribbons that rise and thin out. Color the mug with light warm gray for the body and a darker warm gray under the rim, then use short fur strokes on the face and chest that point toward the center.
Pro tipMake steam lighter at the top — leave the highest steam strands nearly uncolored for a airy look.
AvoidSkip detailed backgrounds — if you add too many clouds, the mug loses its cozy focal point.
3. Hooded Snow Cave Fox with Candlelight Glow
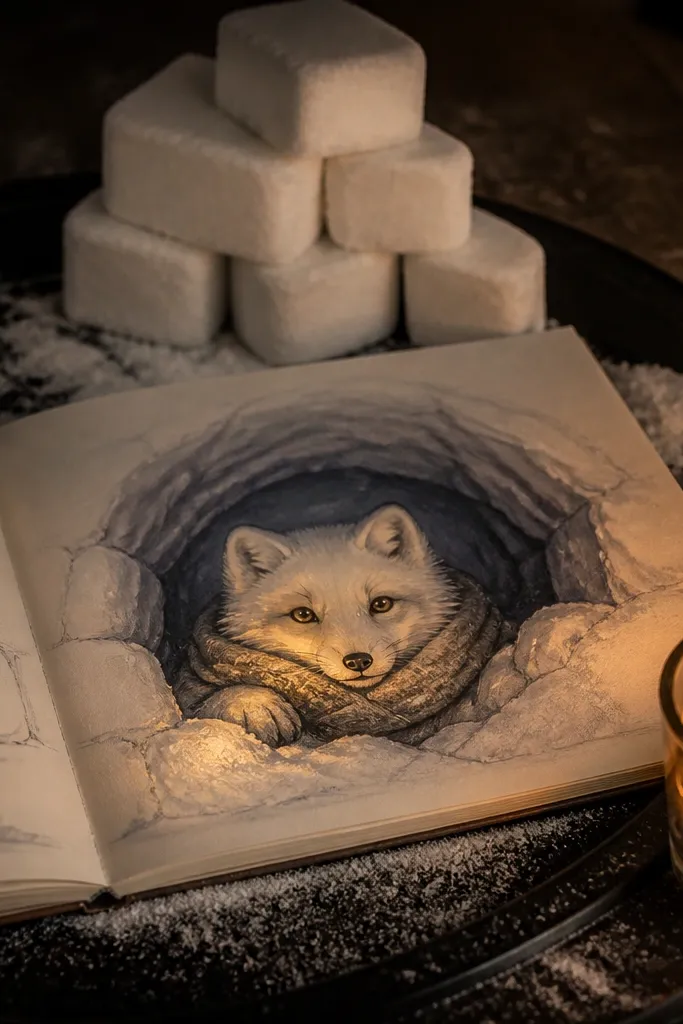
This one reads cozy because it has a shelter plus a light source. The snow cave gives you rounded shapes and depth, while candlelight makes fur look soft and warm near the face. Draw the cave walls as stacked snow blocks with gentle edges, then let a warm yellow-orange glow wash over the fox muzzle and scarf. Keep the background mostly cool and dark so the warm light pops on the face.
Sketch a cave entrance as a rounded arch and draw 4-6 snow block lines inside it. Place the fox behind the arch so only part of the body shows, then add a small candle near the front with a curved flame. Color the cave in pale blue-gray layers, leaving slight white highlights on the edges. Glaze the fox muzzle and paws with warm yellow-orange, then add fur strokes that get warmer near the glow and cooler farther back.
Use a light warm glaze (very light color pressure) so the glow looks like light, not a solid patch.
Don’t make the cave lines too sharp — harsh edges break the cozy, soft shelter feel.
4. Fox in Oversized Sweater with Button Details
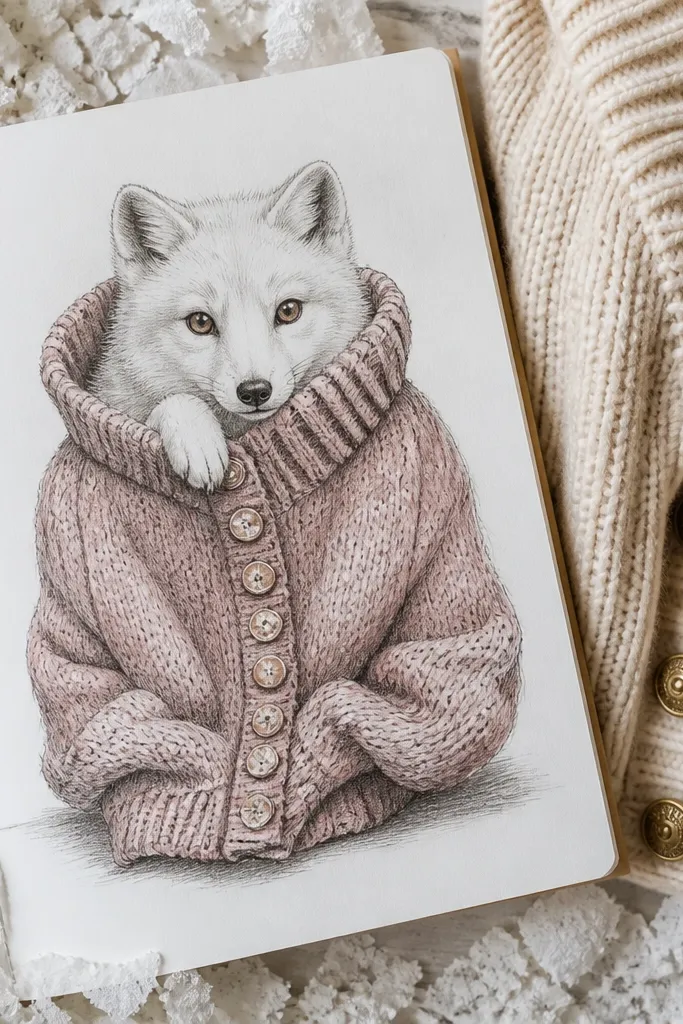
Oversized clothing makes a fox look cuddly because it changes the body proportions. The sweater also gives you structured areas to show cozy folds: cuffs, hem, and button placket. Choose a sweater color like muted teal, warm cream, or dusty rose so it contrasts with pale snow. Add small button highlights and a few shadow wrinkles under the scarf or collar to make it look wearable, not cartoonish.
Start with a seated fox silhouette, then draw the sweater as a baggy shape that extends past the hips. Add cuffs on the front paws and a small collar line at the neck. Place 3-4 buttons in a vertical line and draw each button as a circle with a highlight on the top-left. Color in flat sweater base first, then deepen shadows under folds using warm gray or a slightly darker sweater shade, and finish by adding short fur strokes around the sweater edges.
Keep sweater folds limited to 5-7 lines; too many wrinkles makes it look busy and not cozy.
Don’t color the sweater and fur with the same gray tone — they need separation to read as fabric and coat.
5. Winter Wreath Fox Sitting by Snowy Pine Sprigs
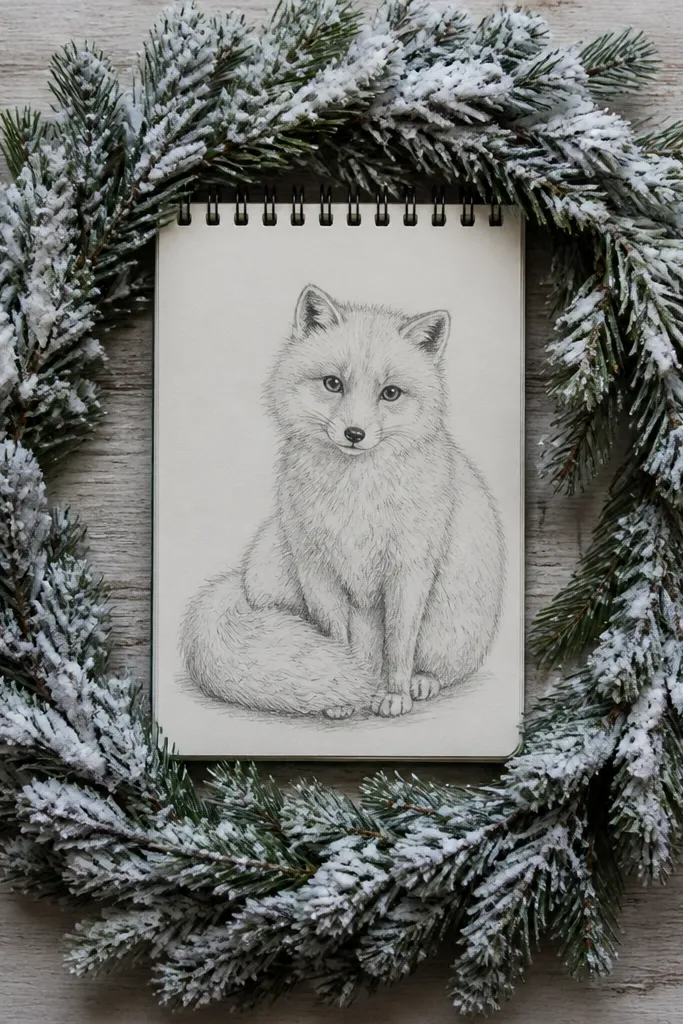
A wreath frames the subject and makes the drawing instantly “giftable.” Pine sprigs give you repeating shapes that look crisp when dusted with snow, while the fox provides the soft, warm center. Use dark pine green for branches, then add light blue-gray snow caps on the top edges. The fox should be slightly turned toward the wreath so the branches act like a cozy border around the face.
Draw a circular wreath shape first, then add 10-14 short pine branch strokes radiating inward. Place the fox in the center with its head facing slightly right or left. Color the pine with two greens: deep green for the base and a slightly lighter green for highlights, then add snow caps by leaving uncolored spots and lightly tinting the edges. Finish with fur strokes that follow the face curve, and add a tiny warm blush on the nose area for warmth.
Pro tipWhen adding snow on pine, concentrate it on the upper halves of branches so it looks like real light direction.
AvoidDon’t make every snow cap the same size — random variation keeps the wreath natural.
6. Fox on a Blanket Rug with Hot Cocoa Cup
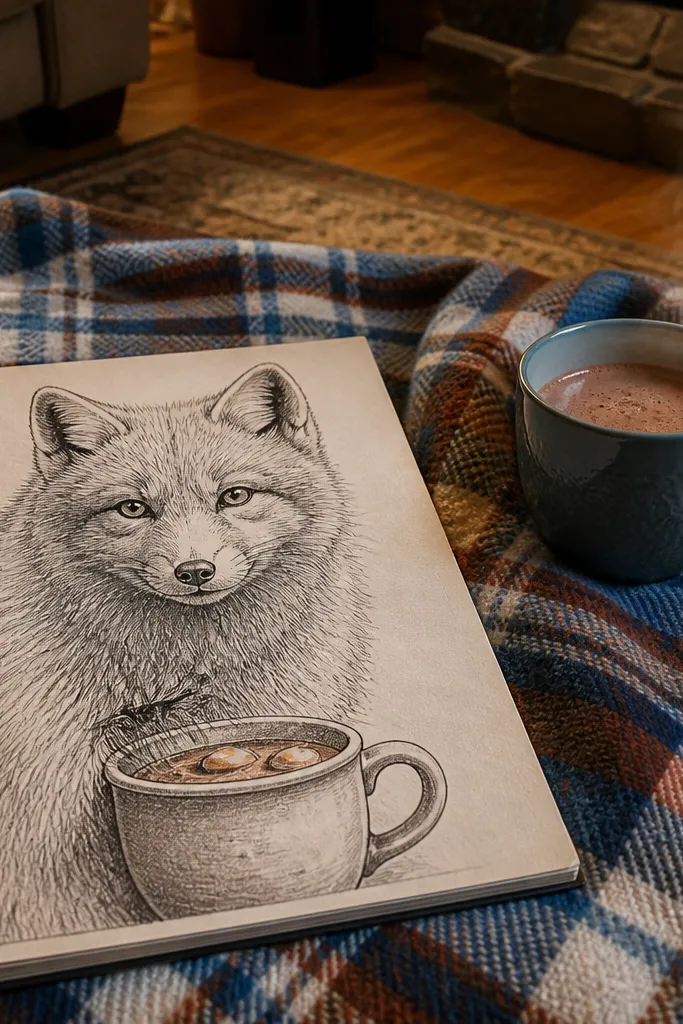
This is cozy because the blanket gives you texture and warmth cues you can actually draw. Plaid or simple stripes bring order to the composition, and the cocoa cup adds a brown warm accent that balances icy blues. Keep the blanket large and close to the viewer so the fabric texture reads in a photo. Fur should be slightly softer on the chest, with fewer sharp strokes so it blends into the blanket area smoothly.
Sketch a blanket rectangle covering the bottom third of the page, then draw a plaid grid with 2-3 stripe widths. Place the fox sitting on the blanket so its paws overlap the plaid lines. Add a cocoa cup with a curved handle and a small whipped-cream blob on top. Color the blanket with 3 colors max (for example, muted red, cream, dark gray), then shade the cup with light cocoa brown and darker shadow under the rim. Use short fur strokes on the face and longer strokes on the tail, leaving gaps for highlights.
Pro tipUse a white gel pen for 6-10 tiny plaid highlight points on the ridges of fabric folds.
AvoidDon’t rush the blanket edges — messy edges make the whole drawing look unfinished.
7. Arctic Fox in a Fur-Trimmed Parka with Side Profile
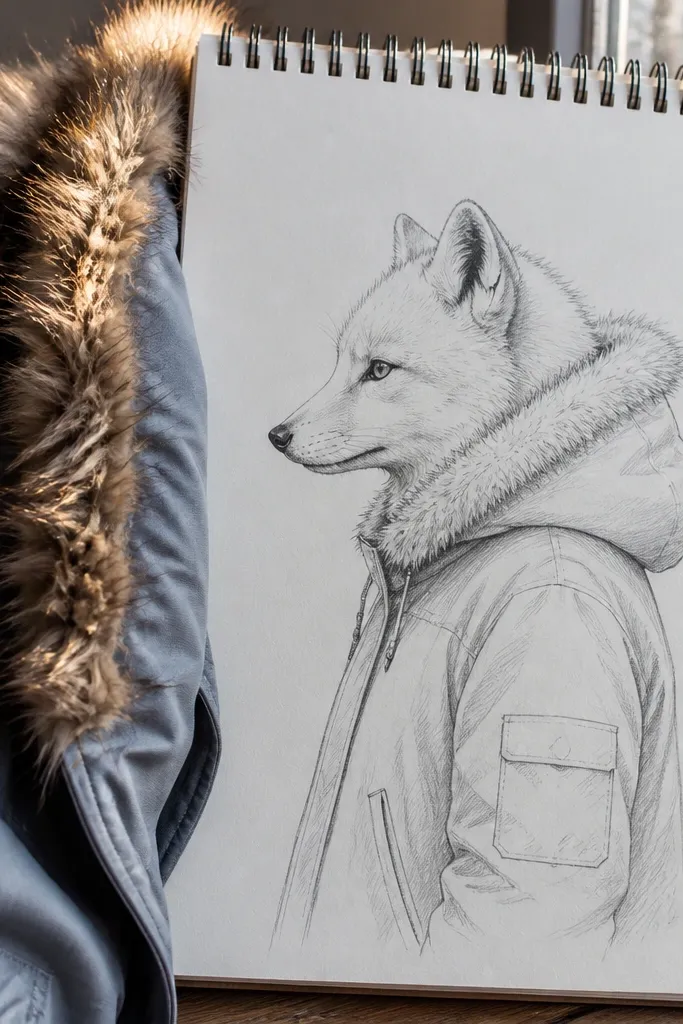
Side profile looks classy and calm, and the parka gives you a clean way to show fur trim without drowning in detail. The fur-trim edge is where cozy reads — draw it as a slightly fuzzy border with uneven short strokes, then keep the parka body smoother. Use cool shadow colors on the parka and warm highlights on the fur trim so the face looks softly lit. This project is great if your front-facing faces get lopsided because side profile is forgiving.
Draw a simple curved body shape for the fox and add a head in side profile facing left or right. Outline a parka silhouette with a hood and a front opening, then add fur trim along the hood edge and around the cuffs. Add 2-3 small zipper or seam lines on the parka for structure. Color the parka with light base color, then cool shadows under the hood and around the opening. Shade fur trim with short strokes in 2 tones and add a warm highlight on the cheek.
Pro tipKeep the parka trim line uneven — a perfectly straight trim line looks fake.
AvoidDon’t add too many seam details — two seam lines and one zipper line are enough.
8. Cozy Fox with Polar Lantern Light and Snow Sparkles
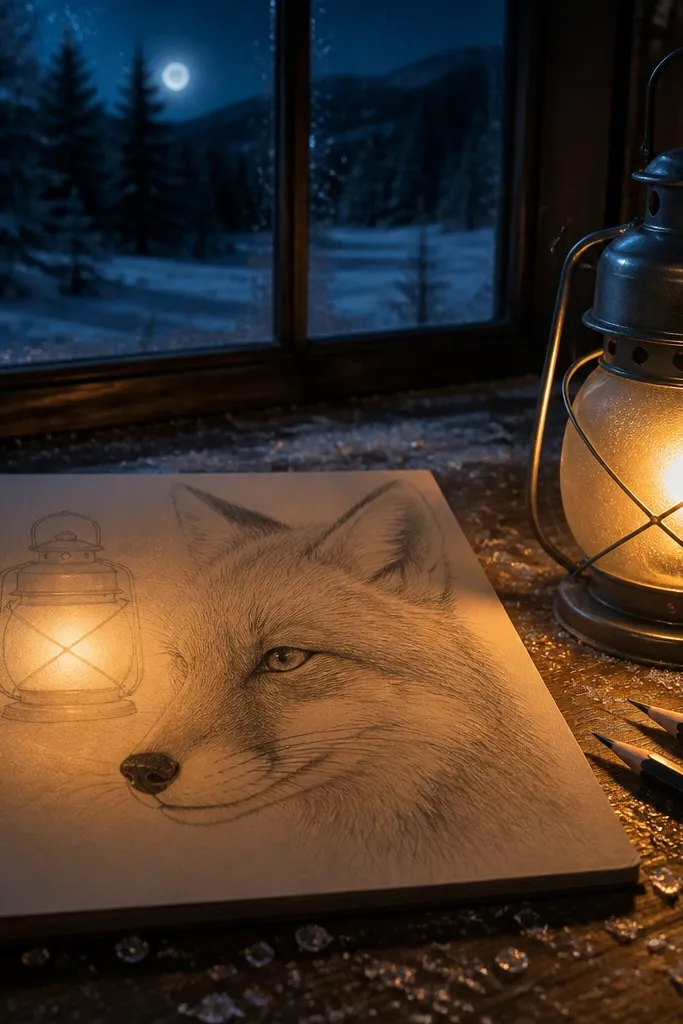
Lantern light makes a drawing feel warm even when the palette stays icy. The key is to draw the light as a glow shape, not as a bright outline. Place the lantern to one side and let the glow illuminate the fox’s cheek and nose, with shadows falling opposite. Add snow sparkles as tiny highlights — just enough to look magical in a photo, not so many that the page turns grainy.
Sketch a lantern on the lower left or right and draw a soft oval glow around it. Place the fox facing the lantern, with one eye clearly visible so the light has a focal point. Color the lantern with cool grays and a warm yellow-orange light panel. Then add a warm glaze on the fox face where the glow hits, and cool shadows under the chin and behind the ear. Finish snow by lightly tinting the background blue-gray and adding 20-30 tiny white highlight dots.
Pro tipUse a white gel pen on only the brightest 10-15 sparkles; the rest should be softer highlights with pencil.
AvoidAvoid full white snow dots everywhere — it kills depth.
9. Fox in a Knitted Beanie with Pom-Pom and Falling Snow
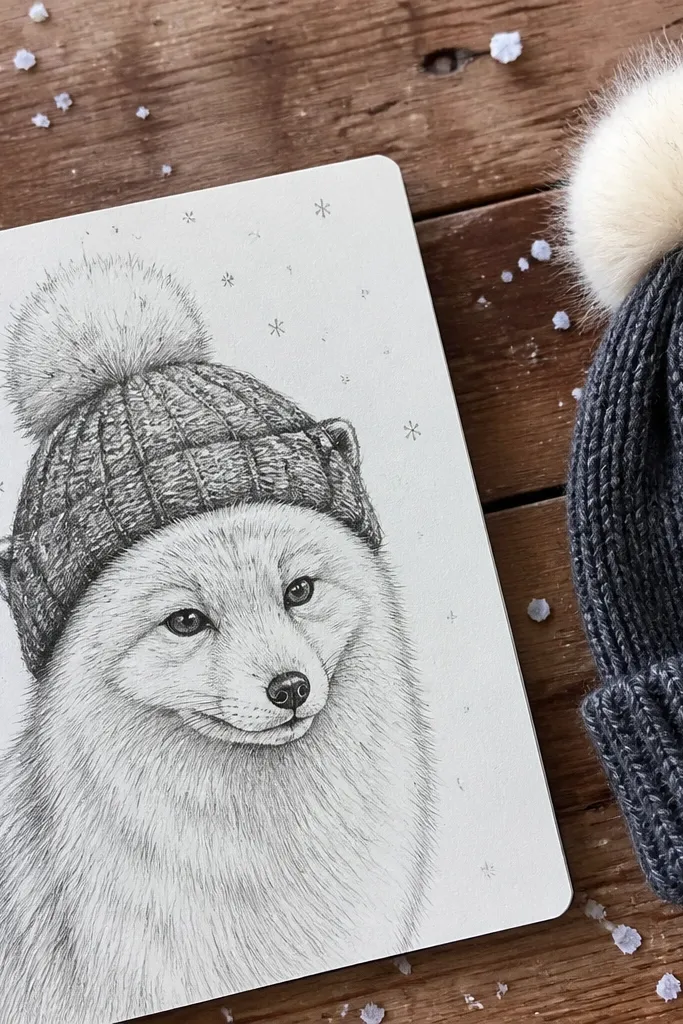
A beanie and pom-pom are pure cozy signals, and they give you a clear place to practice texture. Knit texture is visually satisfying when you draw a few consistent ridges and let the pom-pom look fluffy with broken strokes. Falling snow adds motion and fills empty space, which makes the drawing look complete even with a minimal background. Keep falling snow light and sparse so your fox face stays the focus.
Draw a head-and-shoulders fox shape and add a beanie that sits low on the forehead. Sketch the pom-pom as a round cluster with small gaps between strokes. Add 10-20 falling snow marks as short curves behind the fox, not covering the eyes. Color the beanie with a warm color (dusty rose or warm gray) and shade knit ridges with a darker version of the same color. Add fur strokes around the hat edge and finish with a few bright highlights on the pom-pom.
Pro tipFor pom-pom fluff, use broken lines with slight gaps — smooth circles look too neat.
AvoidDon’t draw falling snow on top of the face — it makes the eyes hard to read.
10. Arctic Fox Reading a Book by Candlelight
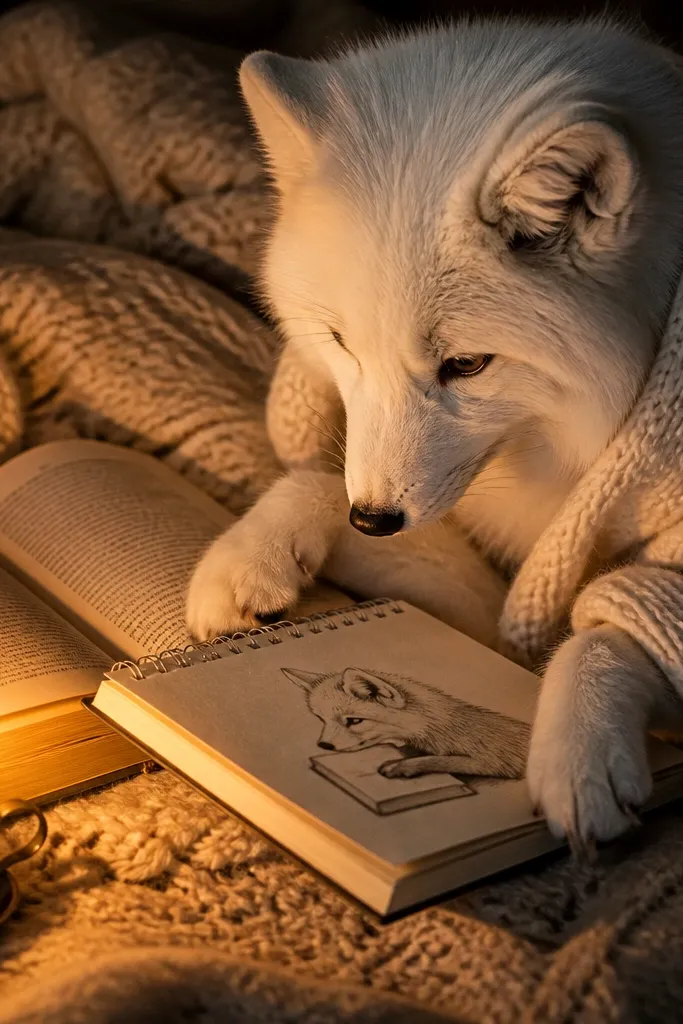
Books and candlelight feel cozy because they combine stillness with warm light. The open pages give you a structured focal area, and you can make the fox look gentle by softening the eye and muzzle shapes. This idea is also practical: it hides anatomy issues because your fox can be mostly seated and partially covered by the book and glow. Use warm yellows and creams for the candle area, then keep the book mostly neutral gray with warm highlights.
Sketch a seated fox with its torso angled slightly toward the open book. Draw the open book first — two rectangles with a slight curve at the spine. Add a small candle on the side and draw the glow as a soft triangle or oval wash over the top page and the fox muzzle. Color the candle glow warm yellow-orange, then layer the book with light gray and darker gray under the page folds. Finish fur with short strokes and keep the darkest fur under the book edge for depth.
Add 3-5 subtle page crease lines only; too many lines make the book look cluttered.
Don’t make the candle flame outline thick — thin, light edges read more realistic and cozy.
11. Snowy Branch Perch Fox with Cozy Red Scarf
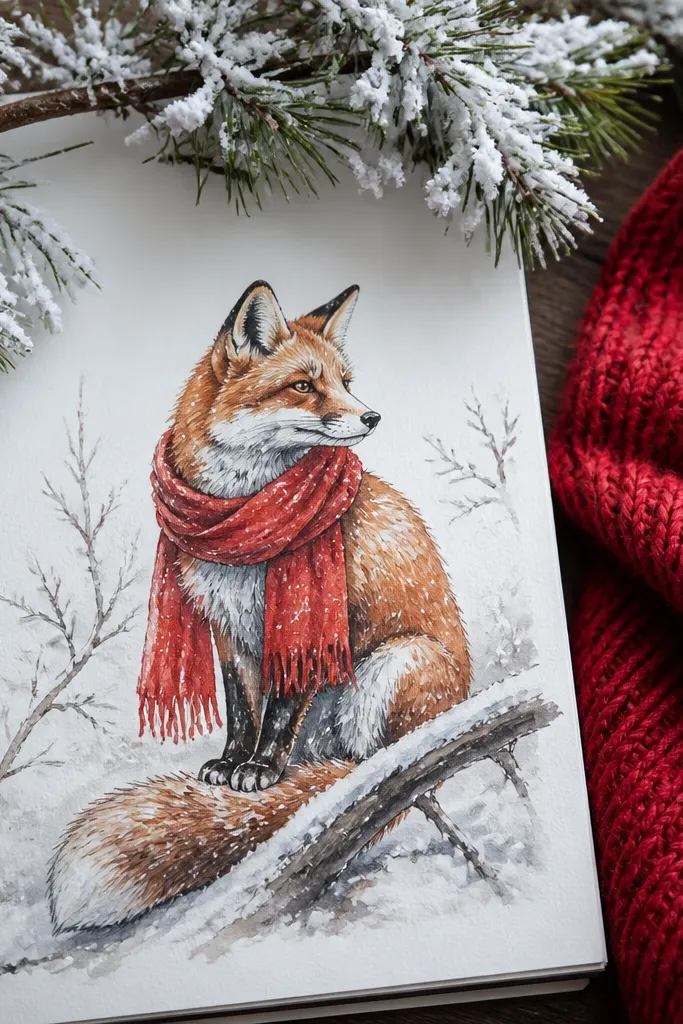
Perching on a branch gives you a natural diagonal composition, which is why this one photographs well. The red scarf provides strong warm color contrast and a clear cozy focal element. Snow on branches adds texture without needing a full landscape, so the drawing stays clean. Keep the fox body simple and let the scarf folds and branch snow carry the visual interest.
Draw a diagonal branch across the page, then add small twig strokes along it. Place the fox sitting on top of the branch with paws gripping the wood, and wrap a red scarf around the neck with 2-3 visible folds. Shade the branch with a cool gray and add snow caps on the upper surfaces using light blue-gray. Color the scarf with a medium red base, then shade folds with a darker maroon and add warm highlights on the top edges. Add fur strokes following the direction of the scarf and fox body.
Pro tipUse a darker red only on fold shadows, not on the whole scarf — it keeps the scarf looking soft.
AvoidDon’t over-texture the branch — a few snow caps and twig lines are enough.
12. Cozy Arctic Fox in a Bubble of Frosty Light (Stencil Texture)
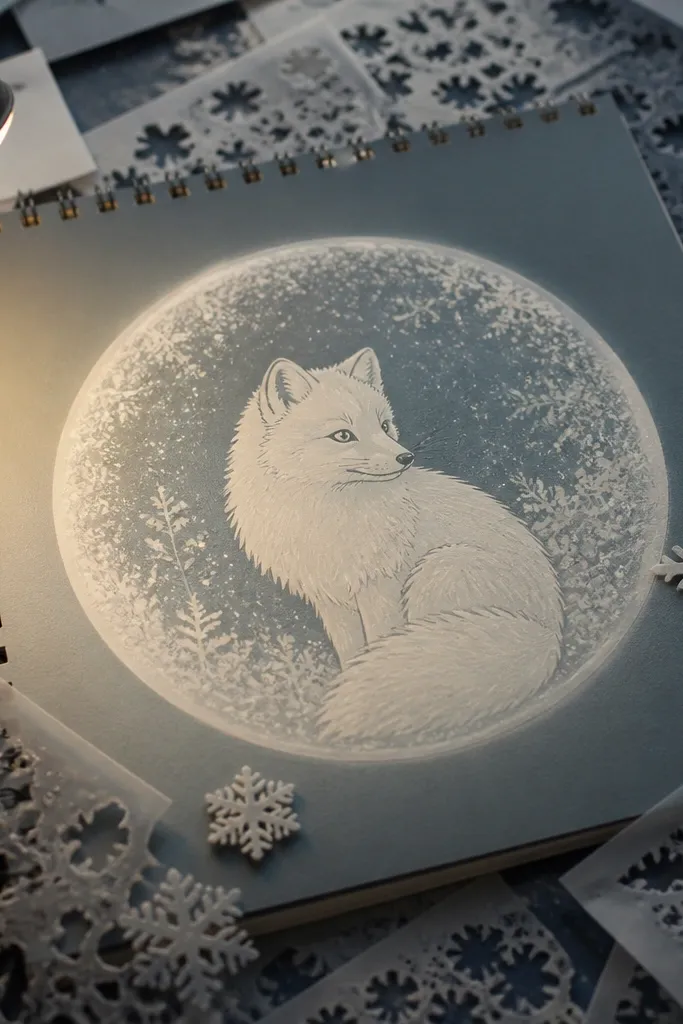
This idea looks stunning because it turns the background into a controlled design element. The frosty light bubble frames the fox and makes it pop without drawing a full scene. The stencil-like snow texture gives a crisp, graphic finish that reads cozy rather than chaotic. Keep the fox simplified and let the bubble texture do the work, especially if your fur details usually get messy.
Draw a circle around where the fox will sit, leaving a margin for the glow edge. Sketch a simple fox shape inside — face, ears, and tail — with fewer tiny fur lines. Create the frosty texture by using light pencil dots or a light wash pattern near the outer bubble edge only. Color the outer ring with pale blue-gray and add a warm tint on the fox muzzle with cream. Blend lightly so the glow edge stays soft while the texture remains visible.
Pro tipMask the circle edge with scrap paper while coloring the glow so you get a clean boundary in photos.
AvoidDon’t add background texture inside the fox silhouette — it makes the subject lose clarity.
13. Fox Under a Quilted Blanket with Soft Edge Shadows
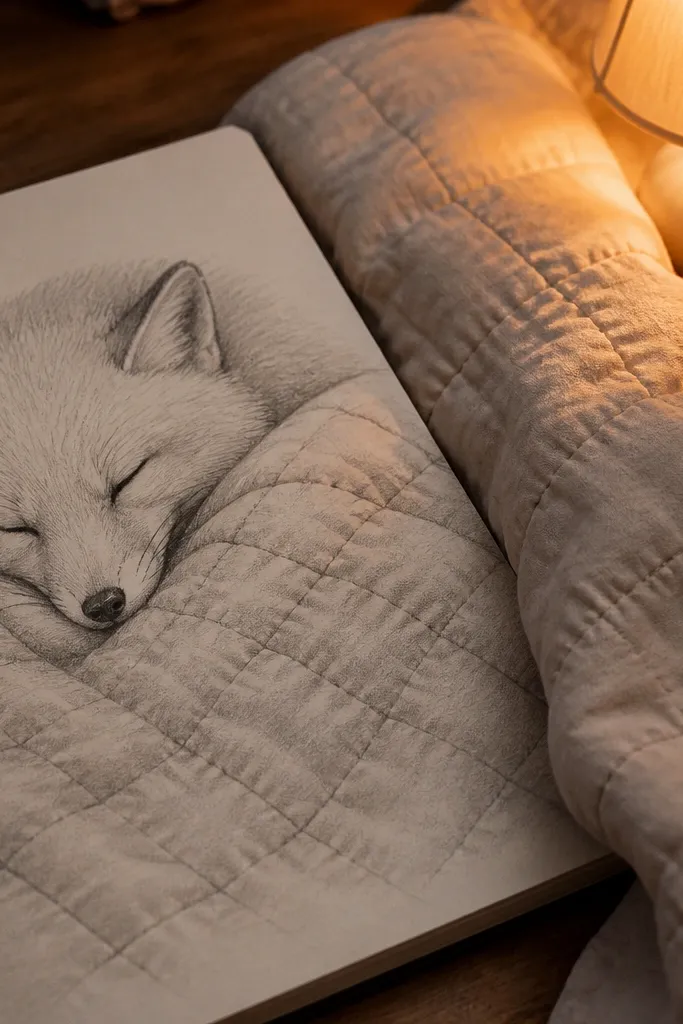
Quilted blankets look cozy because you can draw structure and softness at the same time. The stitched squares create a repeating pattern that photographs cleanly, while the blanket edge can be shaded with soft gradients to keep it warm. Place the fox’s face above the blanket line so it feels tucked in. Use warm cream or muted tan for the quilt and keep the snow background cool and minimal so the blanket becomes the star.
Draw a blanket top edge across the lower half of the page, then sketch a few quilt square outlines above it. Place the fox head just above the blanket edge, with ears peeking out. Add stitching lines between squares and shade under the blanket folds with warm gray. Color the quilt with 2-3 layers: base tan, darker tan shadows in the square corners, and light highlight along the top edges. Finish fur with short strokes around the cheeks and forehead, leaving the fur slightly lighter where it touches the blanket.
Use a ruler only for the quilt grid; draw the blanket edge freehand for a natural, cozy look.
Don’t make the quilt squares too perfect — slight irregularity keeps it handmade.
14. Arctic Fox with Snowy Pawprints and Cozy Footstep Path
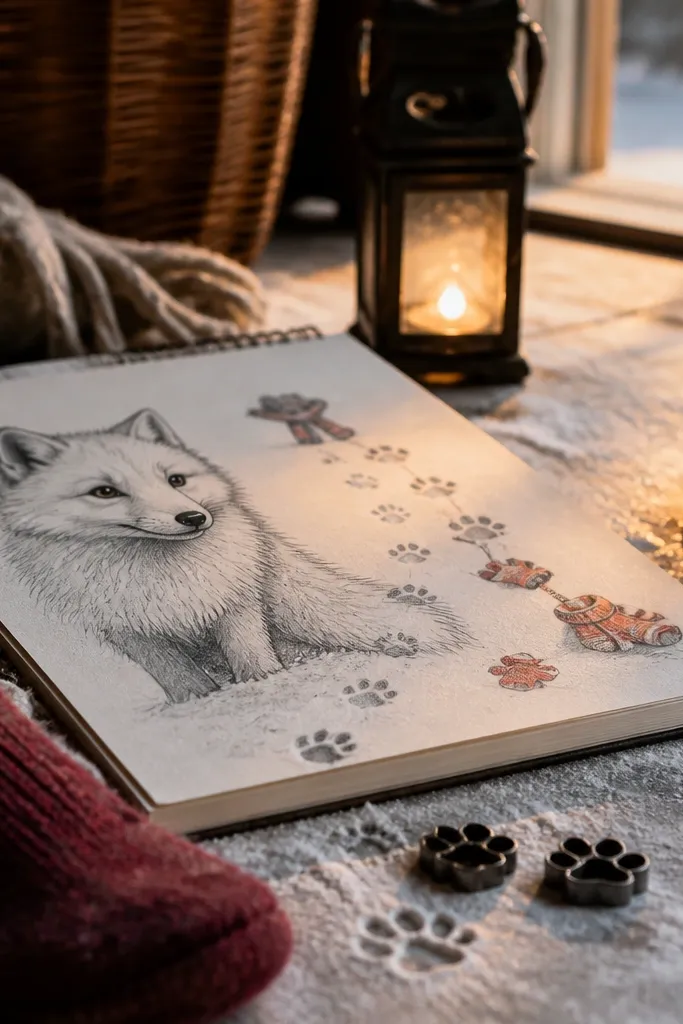
Pawprints give you a story in one glance, and a footstep path adds depth without drawing a landscape. The cozy part comes from the warm scarf or mittens and the soft snow shading around each print. Make the pawprints slightly different sizes and angles so they look real, then draw the snow shadow under each print for dimension. This is a great option if you want cozy vibes but your hands struggle with detailed faces — the pawprints carry the texture.
Sketch the fox standing or sitting near the left third of the page, then draw a curving pawprint path leading toward the right. Add a scarf or mitt accent in a warm color like rust or warm brown. Draw pawprints as oval shapes with small toe marks, then add a shadow under each print using a cool gray pencil. Shade the snow background with a light blue-gray gradient so the prints pop. Color the scarf with warm base and darker fold shadows, then add fur strokes on the fox face and legs.
Pro tipKeep the pawprint shadows consistent in direction so the whole drawing feels lit from one side.
AvoidAvoid flat snow — if the prints don’t have shadows, the path looks pasted on.
15. Cozy Fox Portrait with Fur-to-Background Color Melt
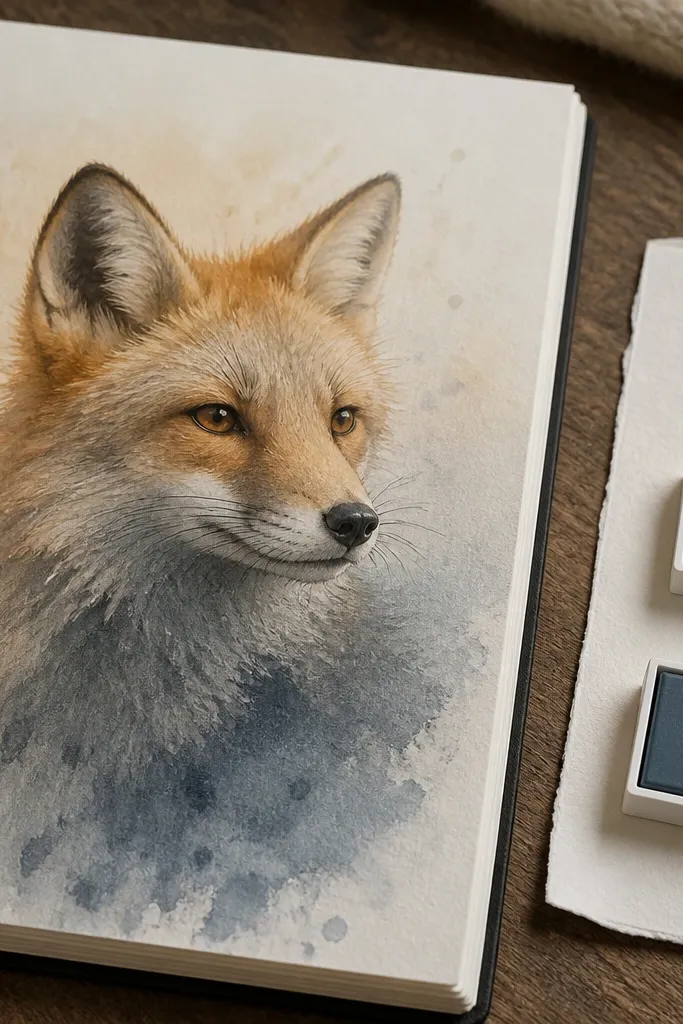
This is the cleanest “cozy” look when you want something that feels warm without props. The trick is a controlled color melt: warm cream and warm gray inside the fur near the face, then cool blue-gray dissolving outward into the background. It makes the drawing feel soft and snuggly, and it photographs beautifully because the edges glow rather than look outlined. Keep the fox face slightly larger than you think, and let the background gradient do most of the cozy work.
Draw a simple fox portrait with a centered face and slightly rounded cheeks. Block in the background as a smooth gradient from warm cream near the face to cool blue-gray at the edges. Color the fur in short strokes starting from the face outward, using warm tones near the cheeks and cooler tones toward the outer fur. Blend the fur edges lightly into the background by layering a semi-transparent light color on the outer strokes. Add a few crisp highlight strokes on the muzzle and nose ridge so the face stays sharp.
Use light pressure for the outer fur so the blend looks like fog, not like smudging.
Don’t use black outlines around the entire fox — it kills the soft cozy edge.



