
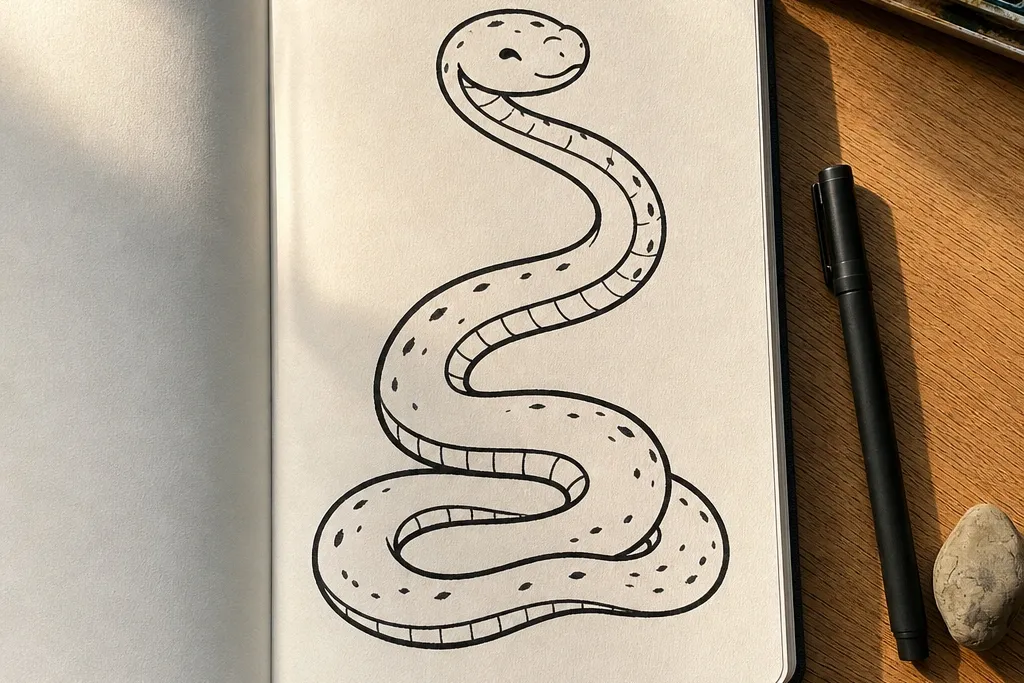
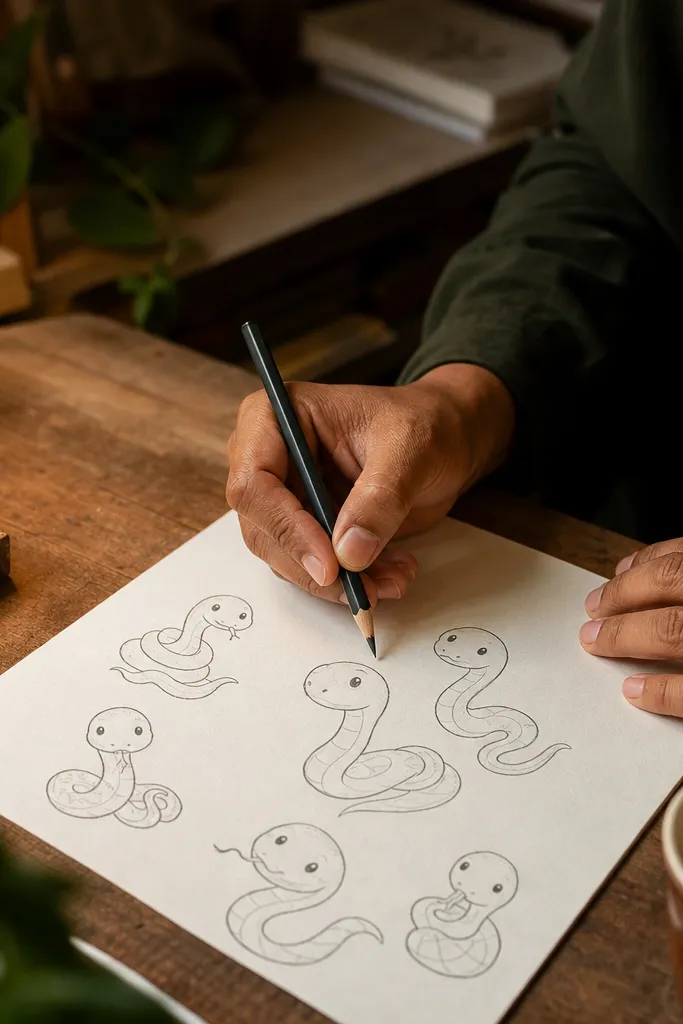
1. Chunky Cozy Curl Snake with Dot Belly
This one gives you that instantly cute, cozy vibe because the snake is built from big shapes, not tiny scale details. The belly dots create a clear pattern that hides uneven texture and makes the drawing feel finished even if your shading is simple. Use a thick black outline so your curves look confident, then add a few darker spots under the belly for depth. This is perfect for beginners who want a clean result fast and want their snake to look like it belongs in a cozy room, not a biology textbook.
Start by drawing a large S-curve that curls into a loop at one end. Then add a second, slightly offset line for the belly so the snake has thickness, and fill the belly area with evenly spaced dots. Finally, outline the head and add two small eye shapes plus a tiny smile line if you want extra cuteness. Shade the underside lightly with a pencil, keeping the darkest area under the belly dots.
Press lightly for the construction lines, then go over only the final outer edge with your fineliner.
Don’t add scales before your curve looks smooth — the dots are doing the heavy lifting here.
2. Cozy Side-Eye Snake with Heart Scales
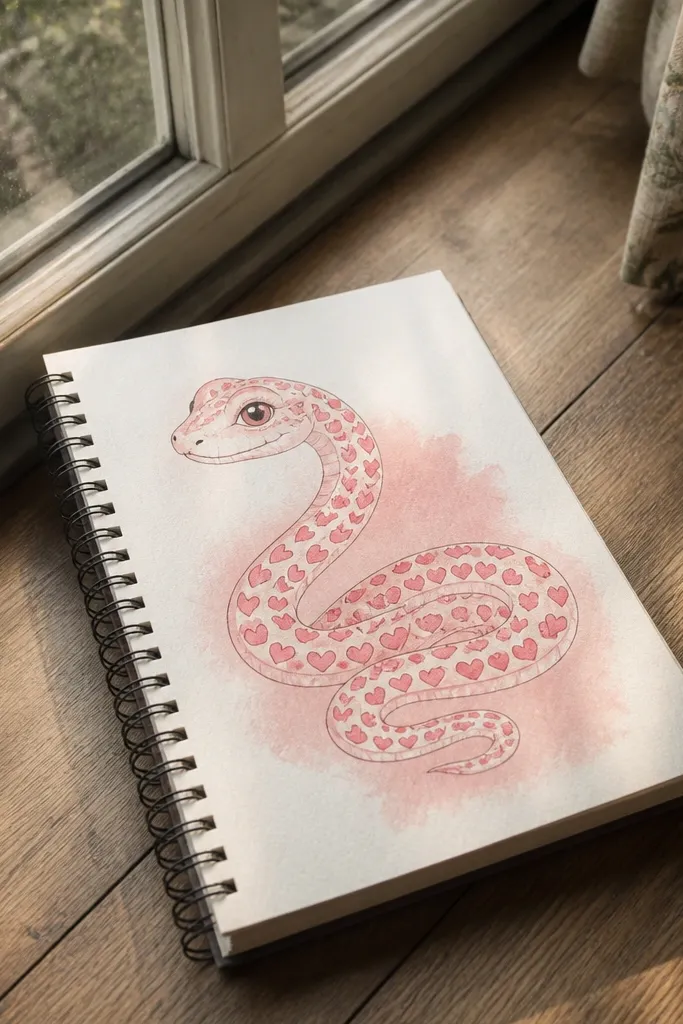
Heart scales make the snake feel warm and playful without requiring realistic scale texture. The trick is keeping the hearts small and consistent so the pattern reads clearly at a glance. You also get personality from the face: a simple side-eye and a curved smile line instantly makes it look friendly. This is a great option if your drawings usually look “blank” because it gives you an obvious focal point right on the head.
Sketch the snake body as a smooth curve running left to right, with a slightly raised head. Add a thick outline, then place heart shapes in one row down the back, like a repeating motif. Draw one eye as a small oval and the other as a half-lidded shape, then add a short curved smile. Shade the underside with a light pencil and leave the hearts mostly unshaded so they stay cute and crisp.
Keep heart shapes the same size by drawing a few practice hearts on scrap paper first.
Don’t scatter hearts all over the body — one clean row looks better than a busy pattern.
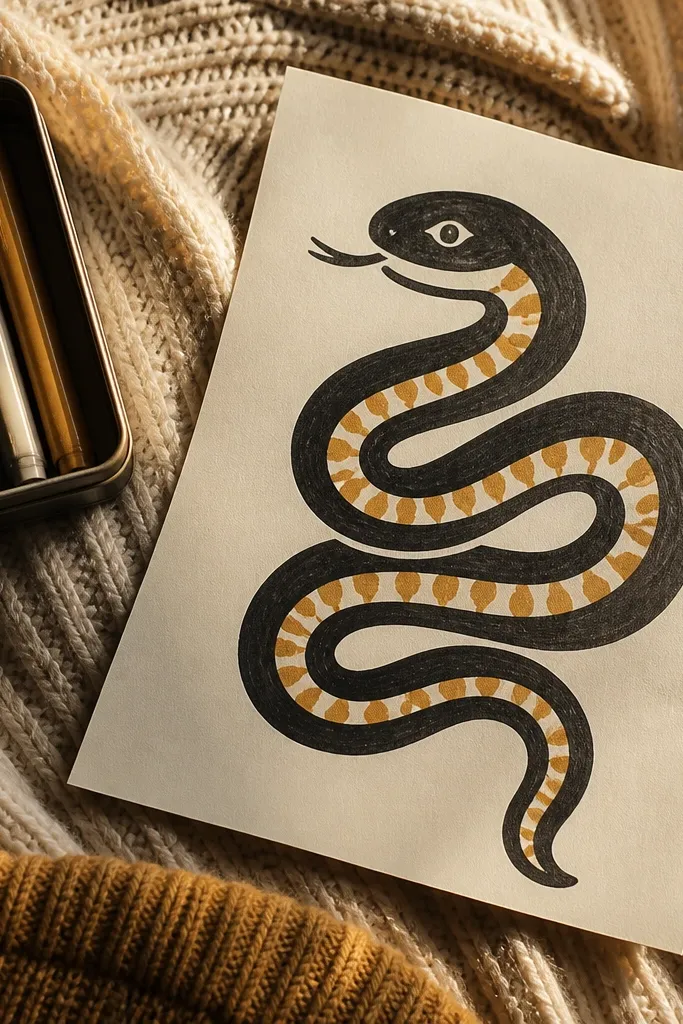
3. Ribbed Blanket Snake (Wavy Stripes)
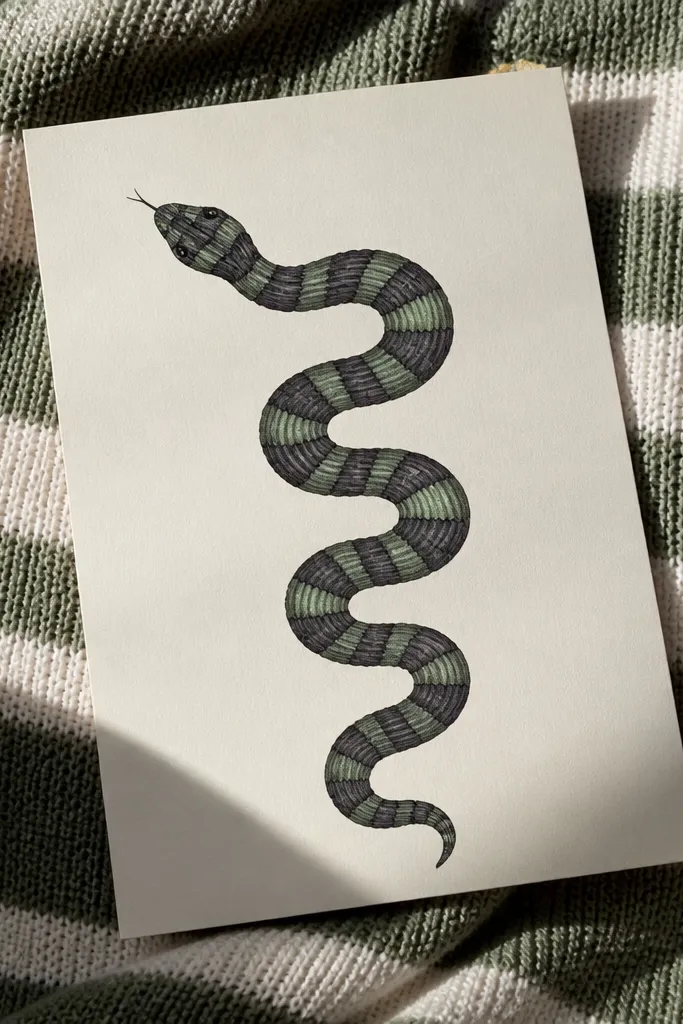
This design looks cozy because it mimics knitted or blanket ribs, which read as warm even with minimal color. The wavy stripes also guide your hand: you’re not guessing where the body goes, you’re following the stripe rhythm. It’s photogenic because the stripe contrast creates a clear pattern from head to tail. If you want your snake drawing to look like decor, this is the one.
Draw a long snake line that curves in two or three gentle bends, then thicken it with a parallel line. Add alternating stripes by drawing curved bands across the body, leaving small gaps so the stripes look like fabric. Outline the head with a slightly larger snout shape, then color the stripes with two matching tones (like terracotta and cream). Add soft shadow under the stripe edges using pencil so it feels dimensional.
Pro tipUse a ruler lightly for the first few stripe curves so your rhythm stays even.
AvoidAvoid too many stripe colors — two tones look cleaner and more “cozy” than a rainbow.
4. Sleeping Cuddle Snake in a Spiral
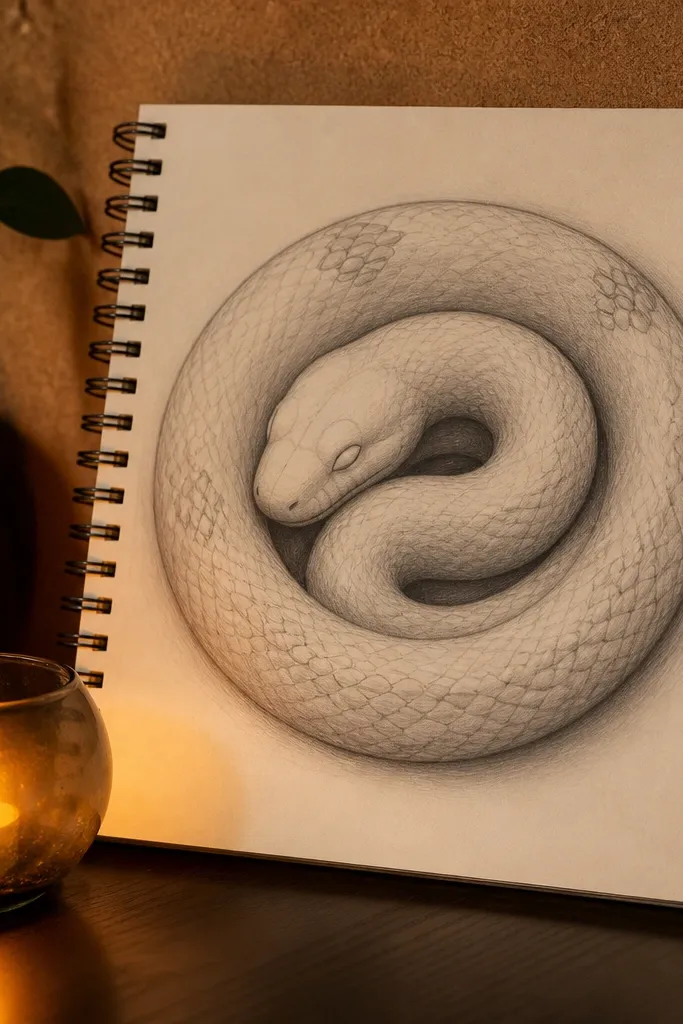
A spiral snake reads instantly as “cozy” because it feels like a curled-up pet. Closed eyes add warmth, and the spiral gives you a built-in guide for smooth curves. You can keep it super simple: a few scale bumps on the outer edge and gentle shading on the inner curve. This works when you want a calming drawing that still looks intentional and complete.
Start with a spiral that tightens toward the center, like drawing a snail shell. Thicken the spiral by adding a second line following the same curve, keeping the gap consistent. Add a head at the top outer edge with closed eyes and a tiny nose dot. Shade the inner side darker and the outer side lighter to create a cozy roundness.
Pro tipDarken only one side of the spiral for shading; it makes the shape pop without extra effort.
AvoidDon’t over-detail the scales — the spiral shape is the main visual.
5. Cute Kawaii Snake with Bandana Triangle
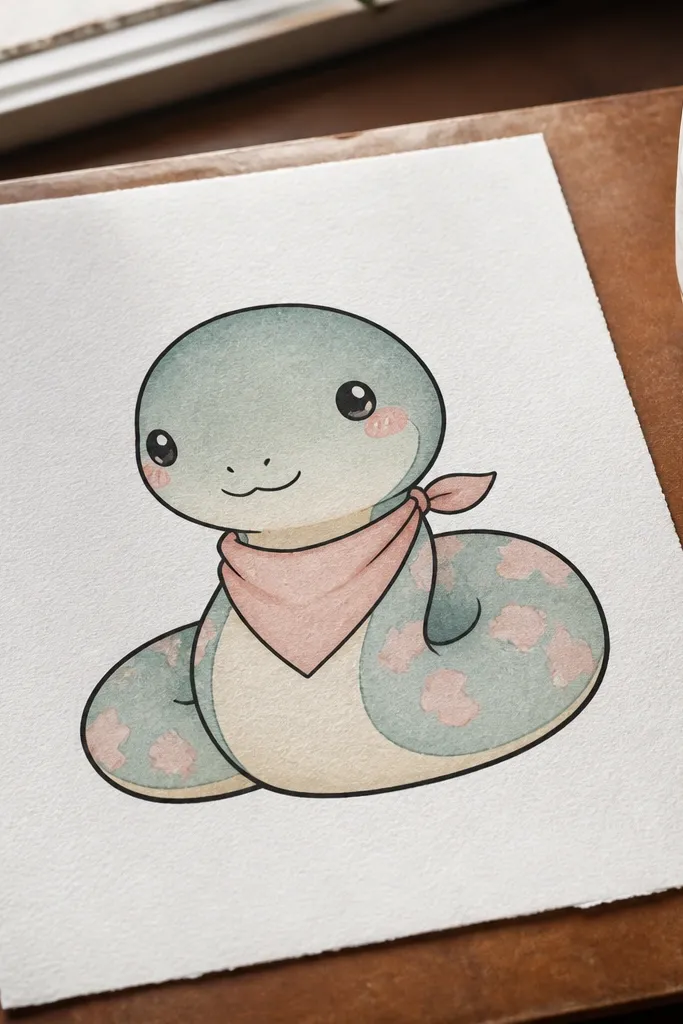
A bandana triangle turns a basic snake into a character. That one accessory gives you a clear design element that photographs well and makes the drawing feel finished even if the body is plain. Keep the snake shape simple and let the bandana do the styling. This is ideal for total beginners who want a fun look without learning scale patterns yet.
Draw a smooth S-curve for the body and thicken it with a second line. Create a rounded head at one end, then add a bandana by drawing a triangle that sits across the front of the neck. Outline the triangle edges clearly and color it with one bold color (like teal or red). Add two small nostrils and one simple eye shape, then shade under the chin lightly.
Pro tipMake the bandana triangle wider than you think; it reads better in photos.
AvoidDon’t shade inside the bandana too much — flat color with one shadow edge looks cleaner.
6. Minimal Scale Snake with One-Color Shading
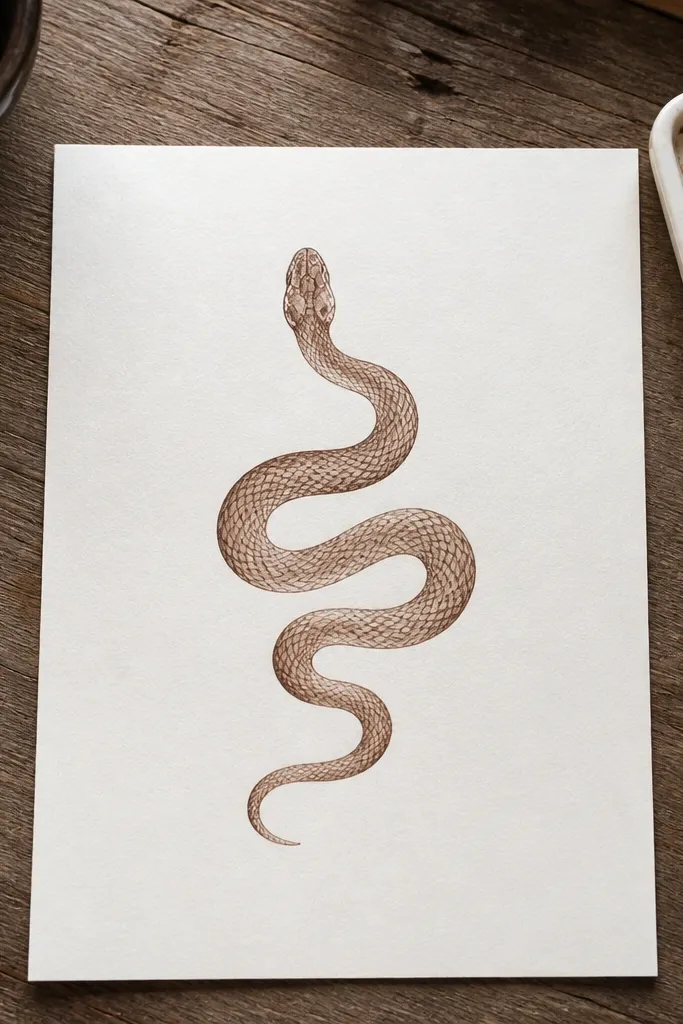
This is the “learn scales without getting overwhelmed” option. You’re not drawing hundreds of scales — you’re using tiny scale marks that repeat in a strip. One-color shading keeps it cozy and consistent, and the minimal approach helps beginners avoid messy texture. The result looks clean, calm, and more “designed” than a random scribble snake.
Sketch the snake body as a long curve with three gentle turns. Add a single row of small comma-shaped marks along the back to suggest scales. Outline the snake, then shade using one color pencil across the underside only. Finish by adding a slightly darker line where the belly meets the side so the body reads as rounded.
Pro tipKeep the scale marks all the same angle; that’s what makes it look intentional.
AvoidAvoid adding scale marks on both sides — one strip is enough for the look.
7. Snake Face Only with Cozy Blush Cheeks
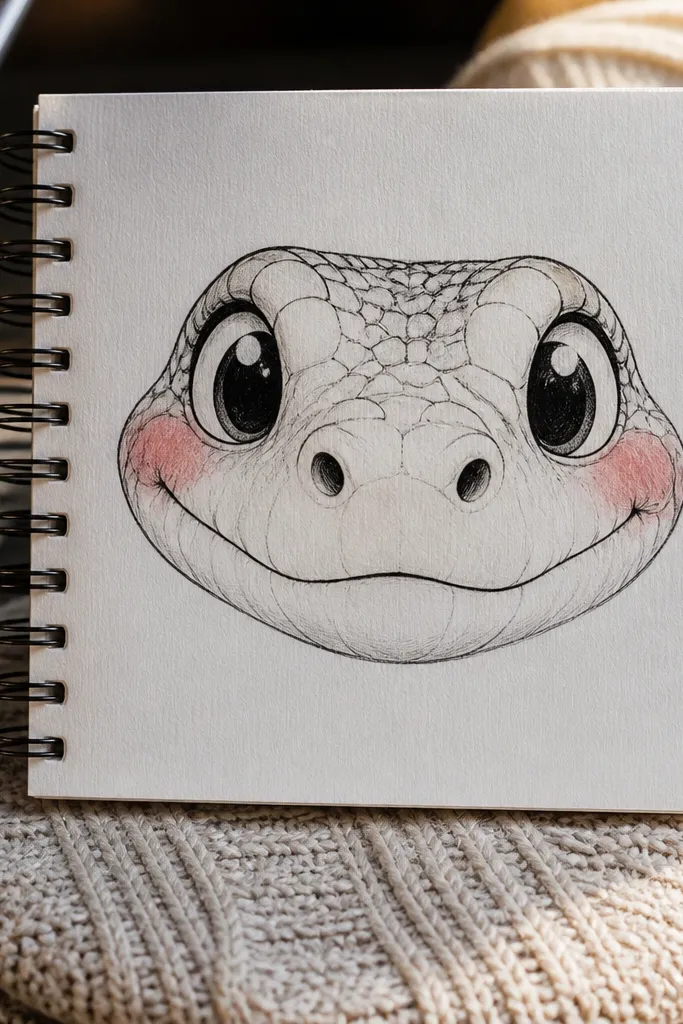
If full bodies stress you out, draw the face. Big eyes and blush spots make a snake feel cozy immediately, and it’s easier to keep proportions correct when you’re focusing on one area. This idea also helps you practice expressions and line confidence without worrying about tail shape. It’s photogenic because the face takes up the whole page and reads clearly at a glance.
Draw an oval head shape and add a slightly pointed snout at the bottom. Place two big eyes near the top with small highlights, then add tiny nostrils. Add blush cheeks as two soft circles on each side. Outline the face thickly, then shade the underside of the snout with light pencil so it looks rounded.
Pro tipUse a white gel pen or white pencil highlight on the eye for extra cozy sparkle.
AvoidDon’t draw the eyes too small — tiny eyes make the face look tense instead of cozy.
8. Terrarium Snake with Tiny Leaf Pattern
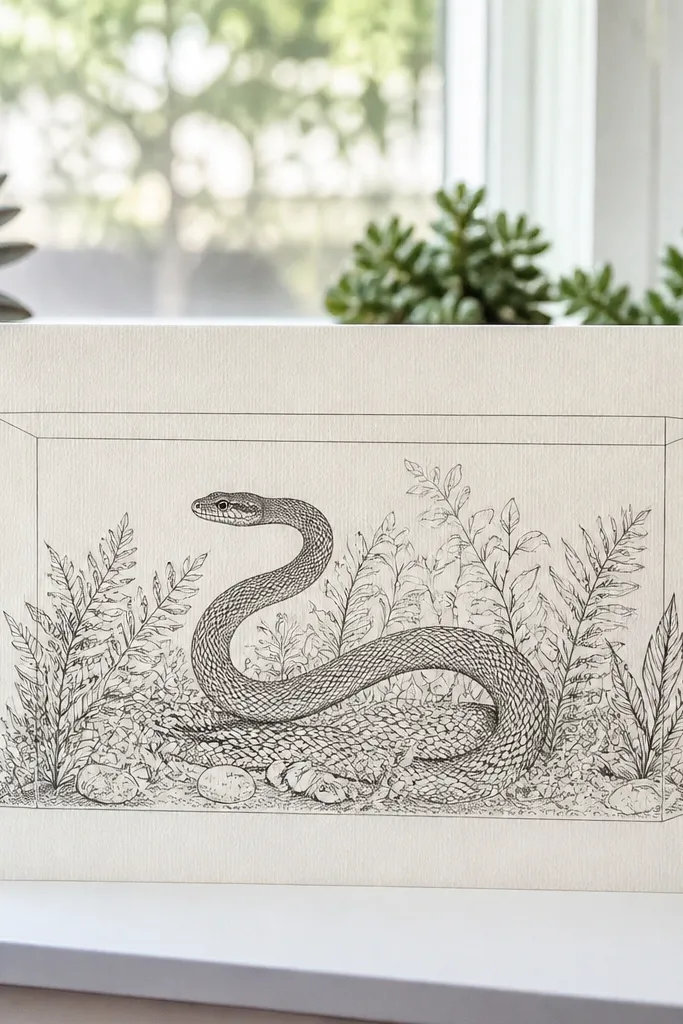
Putting the snake in a terrarium frame makes the whole drawing feel cozy and styled. The glass outline gives you a clean boundary, and the tiny leaf pattern suggests a habitat without requiring realism. You get a strong composition: the snake curve is the main line, the terrarium is the background structure. This is a great pick when you want your drawing to look like a finished illustration, not just a snake.
Draw a rounded rectangle terrarium shape with thick sides and a slightly open top. Inside, draw a single smooth snake curve that follows the terrarium contour. Add tiny leaf marks along the bottom and a few behind the snake to create depth. Outline everything in black, then color the snake with one warm tone and the leaves with a muted green.
Pro tipLeave a clear space where the snake overlaps leaves so the layering reads clearly.
AvoidDon’t fill the terrarium background with lots of random dots; a few clusters look more intentional.
9. Cartoon Snake with Big Belly Stripe
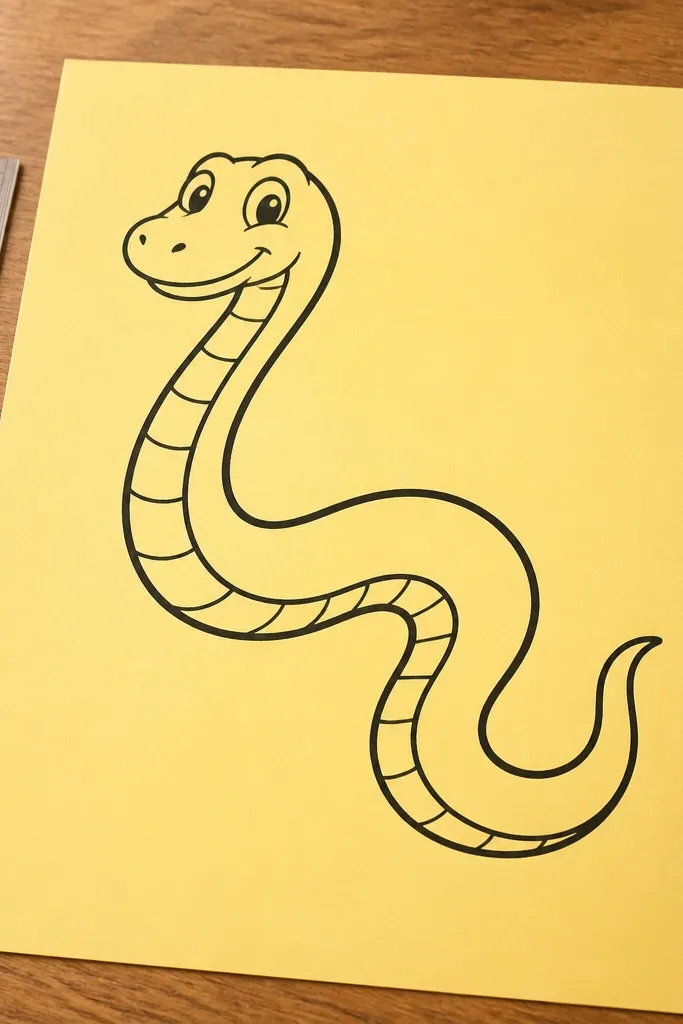
A single big belly stripe makes the snake look graphic and clean. It also acts like a guide line for beginners — if your stripe stays smooth, the body stays smooth. This style photographs well because it has strong contrast and simple shapes. It’s also easy to add color variations without turning the drawing messy.
Draw the snake body as a long curve with two bends, then thicken it. Add one wide stripe along the belly side by drawing a second curved line down the center. Outline the stripe edges and color the stripe with a contrasting pastel or warm tone. Add a simple head with two eyes and a short forked tongue line. Shade under the stripe edge with a light pencil to give it volume.
Make the stripe width consistent from head to tail; that’s what keeps it “designed.”
Avoid thin stripes — they show every wobble in your line.
10. Cozy Snake Loop with Polka Dot Background
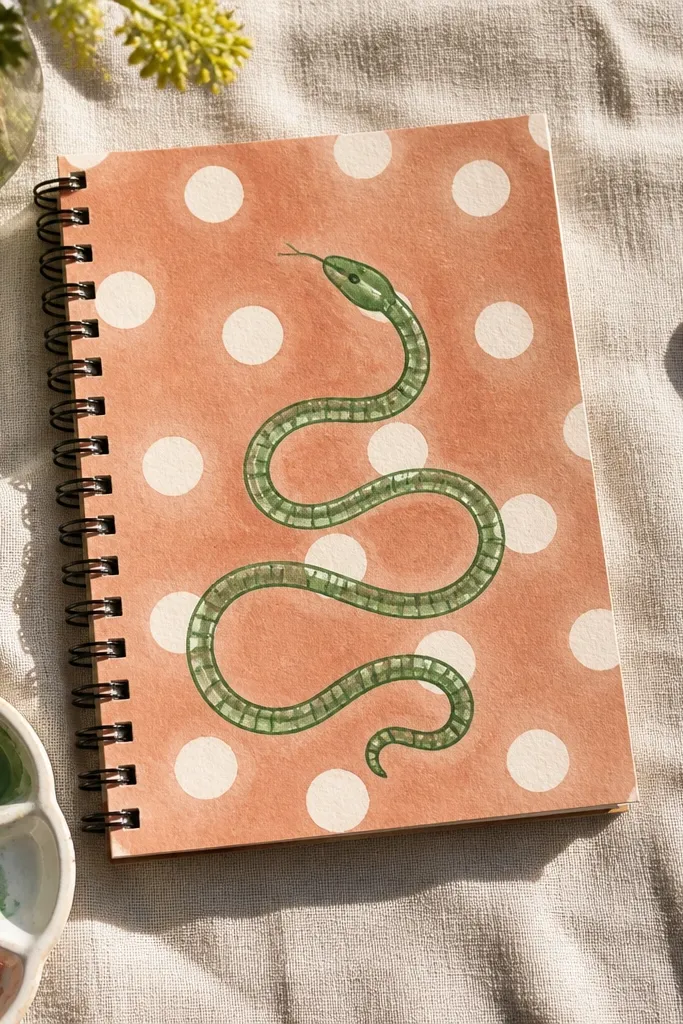
The polka dot background turns a simple snake into a complete, cozy composition. It hides blank paper areas and gives your drawing a playful pattern that feels warm. The snake itself can stay minimal, which keeps the project beginner-friendly. This one is great for trying different snake colors because the background can stay the same.
Draw a looped S-curve snake and outline it with a thick black line. Add a few scale bumps on the back using short curved dashes. Then fill the background with evenly spaced dots using a marker or pencil. Color the snake with one or two tones, and keep the dots light so the snake stays the focus. Add one shadow line under the snake where it overlaps the dots.
Use a dot template like a bottle cap for spacing if you’re worried about consistency.
Don’t darken the dots — heavy dots compete with the snake.
11. Wiggly Snake in a Scarf Frame
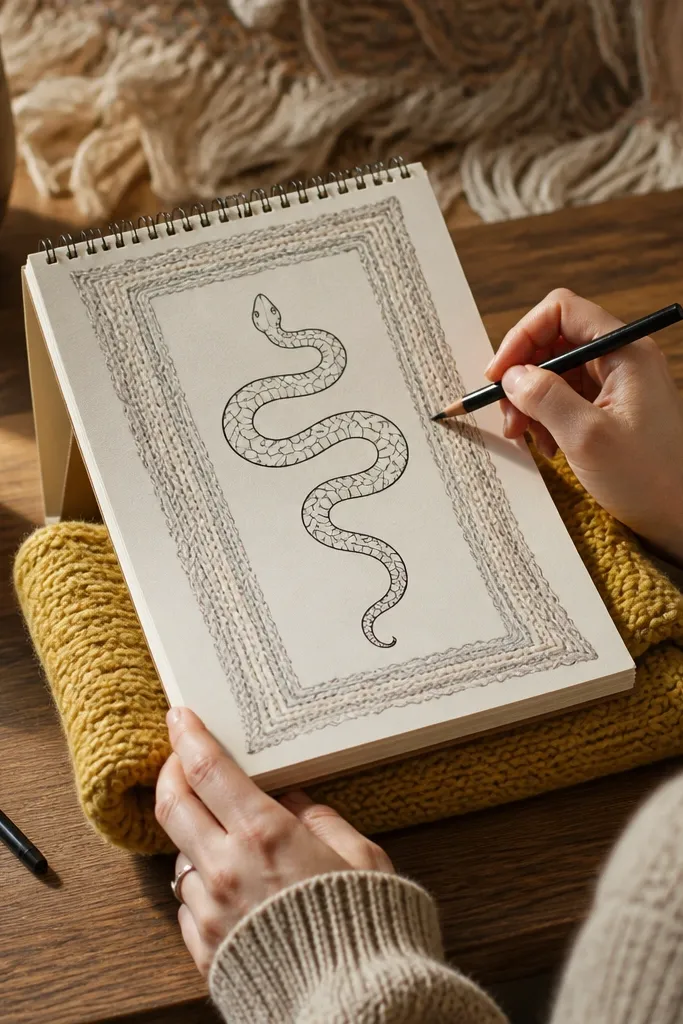
This drawing looks cozy because it wraps the snake in scarf texture. The border adds structure, and the scarf pattern makes the page feel warm even when the snake is simple. It’s also a good skill builder: you practice keeping two patterns separate — the scarf border stays straight-ish while the snake wiggles. That contrast makes the final page look intentional and photogenic.
Draw a rectangular border and add scarf-like zigzag lines along the top and bottom edges. Inside the border, draw a wiggly snake with a thick outline and simple head. Add a few curved stripe lines on the snake body for texture. Color the scarf border in two alternating colors and the snake in a warm neutral. Shade the snake underside lightly so it looks raised from the scarf.
Pro tipMake the scarf border 1-2 cm thick so it reads clearly as a frame.
AvoidAvoid mixing scarf zigzags with snake scale marks in the same area — it turns into visual noise.
12. Side View Snake with Rounded Scales (No Realism)
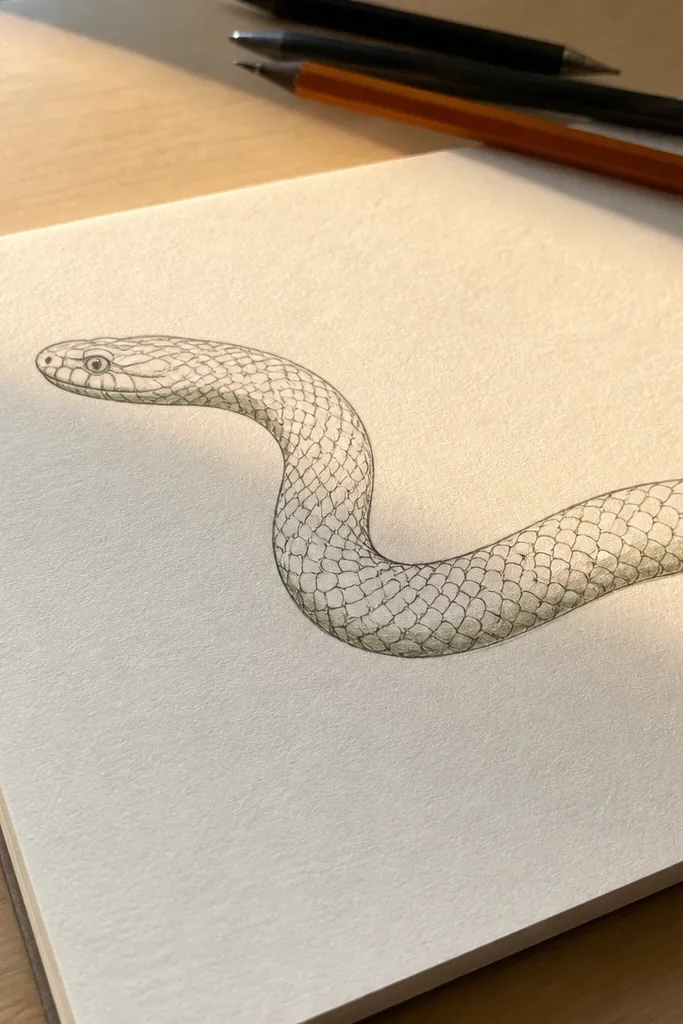
Rounded scale bumps give you the snake texture look without realistic detail. This design works because it uses repeated half-moons that are easier to control than tiny individual scales. The side view also makes the body feel dimensional, especially when you shade only the bottom edge. It’s a strong step-up from minimal scales, still very beginner-friendly.
Sketch a side profile curve for the snake body, then thicken it with a parallel line. Add rounded scale bumps by drawing small half-moons along the top edge only, keeping them evenly spaced. Create a simple head with one eye and a small snout curve. Outline in black, then shade under the top bumps lightly and keep the belly area lighter. Color with one warm tone and optionally a darker tone for the eye area.
Pro tipUse half-moons all the same size; that’s what makes it look like a pattern, not random bumps.
AvoidDon’t shade every bump — shading the belly edge is enough.
13. Snake and Mushroom Friends (Cozy Forest Card)
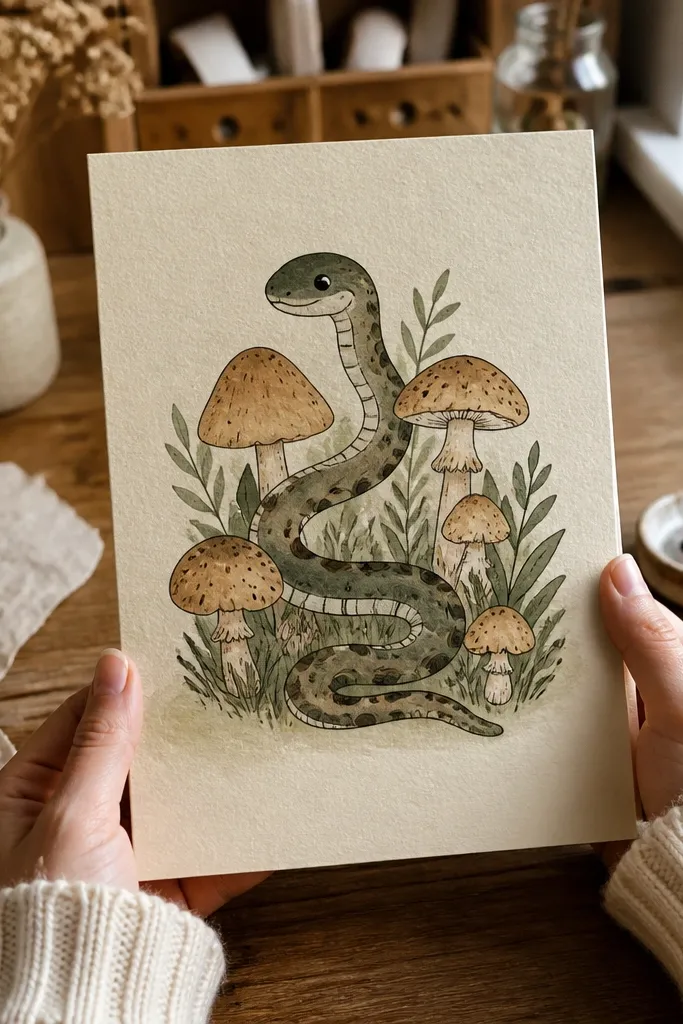
Adding mushrooms gives you instant “cozy forest” energy, and it gives the snake a natural scale reference. You can keep the snake cute and the mushrooms simple, so you don’t get stuck drawing leaves and branches. This style is photogenic because the mushrooms create color blocks and the snake curve creates the main line. It’s a great choice for a greeting-card size page.
Draw a curved snake body with a rounded head facing a cluster of mushrooms. Sketch three mushrooms with different cap shapes and simple stems. Keep mushroom details minimal: a few spots on caps and one shadow under each stem. Outline everything, then color the mushrooms with warm reds or browns and the snake with one neutral green or brown. Add a soft ground shadow under the snake and mushrooms.
Pro tipPick one light source direction and shade both mushrooms and snake underside the same way.
AvoidAvoid drawing a full forest background; keep it to mushrooms and ground so the snake stays readable.
14. Zen Loop Snake with Feather-Tail Detail
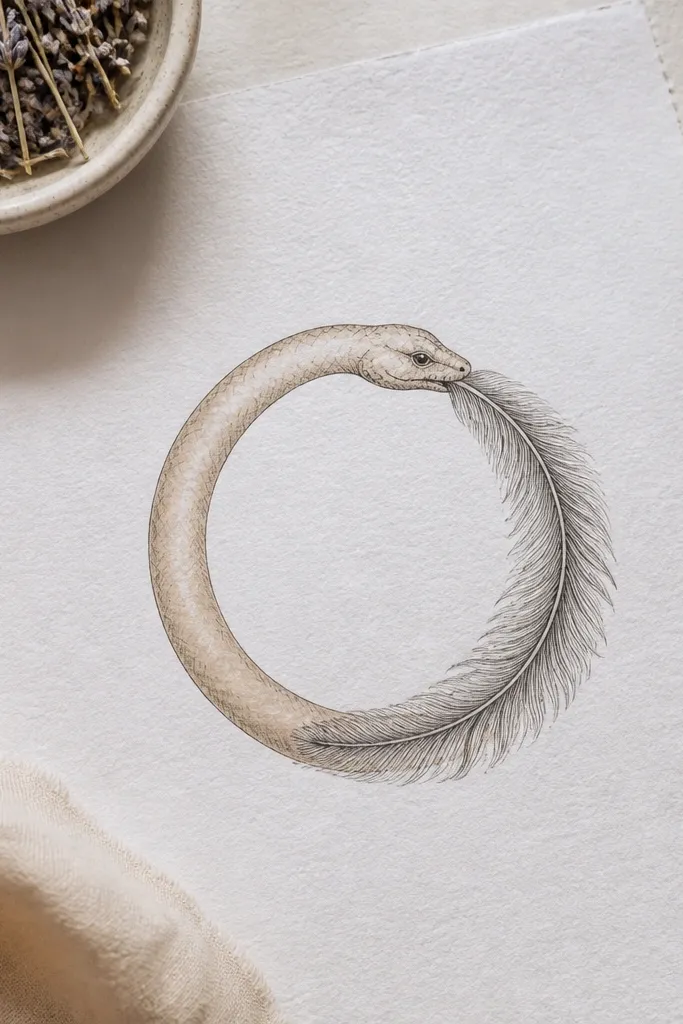
A feather-tail detail makes the snake feel artsy without requiring realism. The feather pattern gives you a texture that looks deliberate and airy, which reads cozy and calming. The body stays simple, so beginners can focus on one clear design element. This is a nice pick if your other drawings feel too flat and you want a gentle “decor” look.
Draw a looped snake body that forms a large oval or loop on the page. Outline the body thickly and keep the scales minimal on the main body. At the tail end, add feather shapes by drawing a series of narrow teardrops that overlap. Color the feathers with a gradient-like approach using two pencil tones (light to darker). Shade under the body loop for depth.
Pro tipMake feather shapes fan outward from the tail tip so they look like they’re flowing.
AvoidDon’t put feather detail near the head — keep it at the tail for a clean focal hierarchy.
15. Cozy Snake Balloon on a String
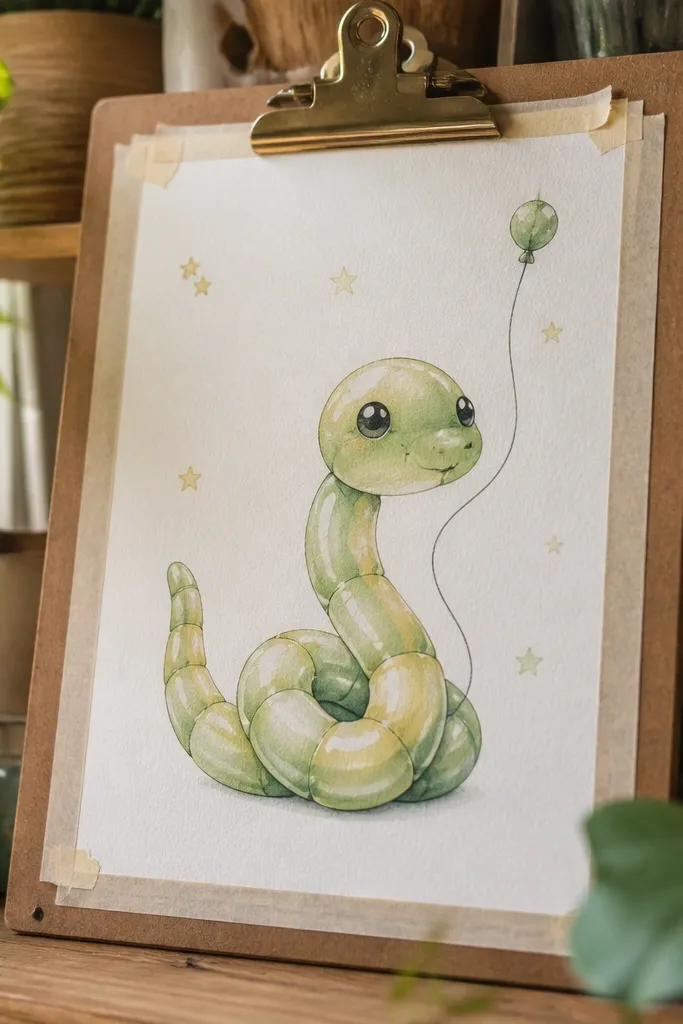
A balloon snake is a clever way to get a smooth, rounded body without complicated anatomy. The string and a few stars give you a complete illustration, and the rounded shape makes shading forgiving. This style works great for beginners because it’s basically a sphere with a head. It also looks adorable on social posts and prints well because the composition is centered and clean.
Draw a big balloon-like oval for the body, then add a small head at the top with two eyes and a simple mouth. Add a string by drawing two thin lines down from the balloon and connecting them at a knot. Place a few small stars around the balloon using simple five-point shapes. Outline everything, then color the balloon body with one bright warm tone. Add a highlight on one side and shade the opposite side lightly.
Pro tipKeep your star sizes consistent; big star variation can make the page feel messy.
AvoidAvoid adding extra accessories everywhere; one string and a few stars is plenty.
16. Minimal Snake Border Corner Drawing
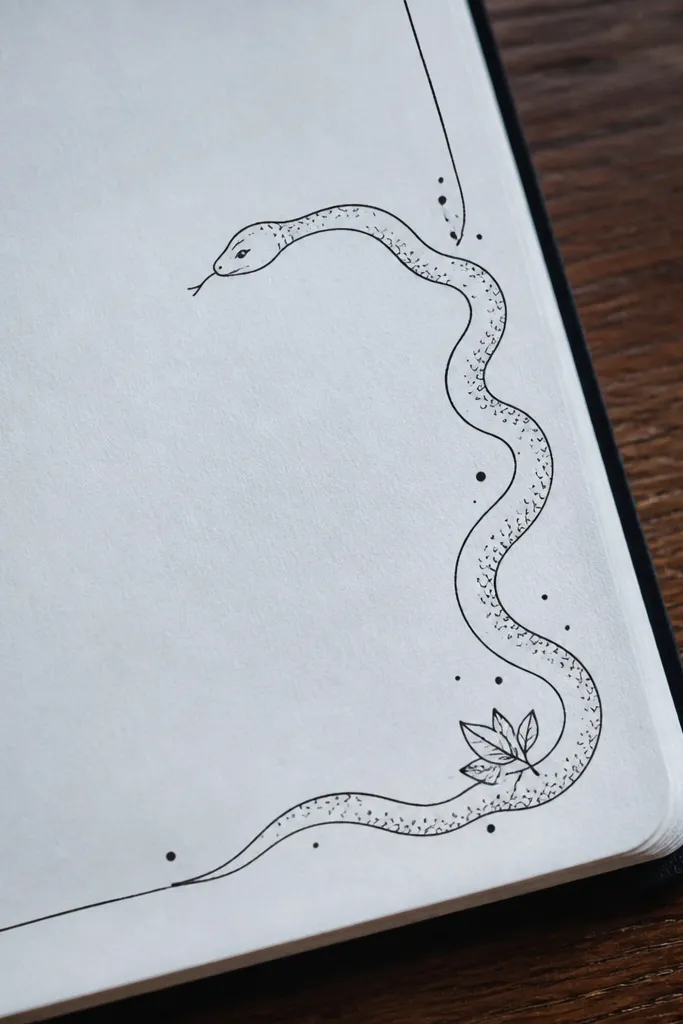
Corner border drawings look classy and cozy because they frame the page without clutter. The snake runs along the edge, and you only need to draw part of the body, which makes it less intimidating. Tiny scale marks can stay subtle, and you can add a small leaf or dot accent to finish the corner. This is ideal when you want something pretty but don’t want to fill the whole page.
Pick one corner and draw a thick curved line that hugs the two sides of the page. Thicken it with a second parallel line and add a few small scale dashes along the top edge. Add a small head facing inward near the corner point. Outline clearly and add one tiny accent shape like a leaf or dot cluster near the head. Color the snake with a single tone and leave the corner background mostly blank.
Use a light pencil guide for the corner curve, then go over with fineliner for crisp edges.
Don’t overfill the corner with extra background patterns; the border needs breathing room.
17. Cozy Snake with Crayon Texture Scales
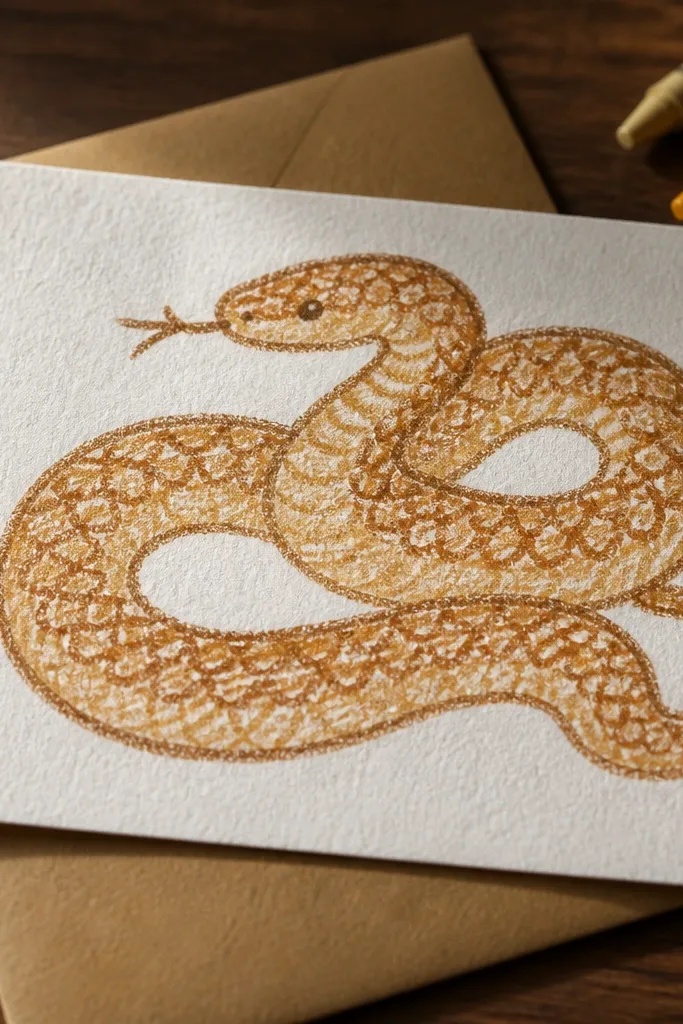
Crayon texture makes your snake look cozy because it adds warmth and a handmade feel. You get scale texture without drawing each scale perfectly. The trick is to keep the scale pattern simple and let the crayon strokes do the work. This is a great option if your pencil shading looks too smooth and you want something softer and more tactile.
Draw the snake body in pencil with a smooth S-curve and thick outline in mind. Sketch a single row of large scale shapes as overlapping ovals along the back. Outline those scale shapes lightly, then color over them with crayon using short strokes in one direction. Add darker crayon along the underside edge and blend lightly with your fingertip or a tissue. Finish with a black fineliner outline to sharpen the silhouette.
Use the crayon edge for scale outlines, then fill with the side for faster coverage.
Avoid heavy scribbling over the entire body; texture should match the scale area.
18. Cozy Snake with Watercolor Wash Belly
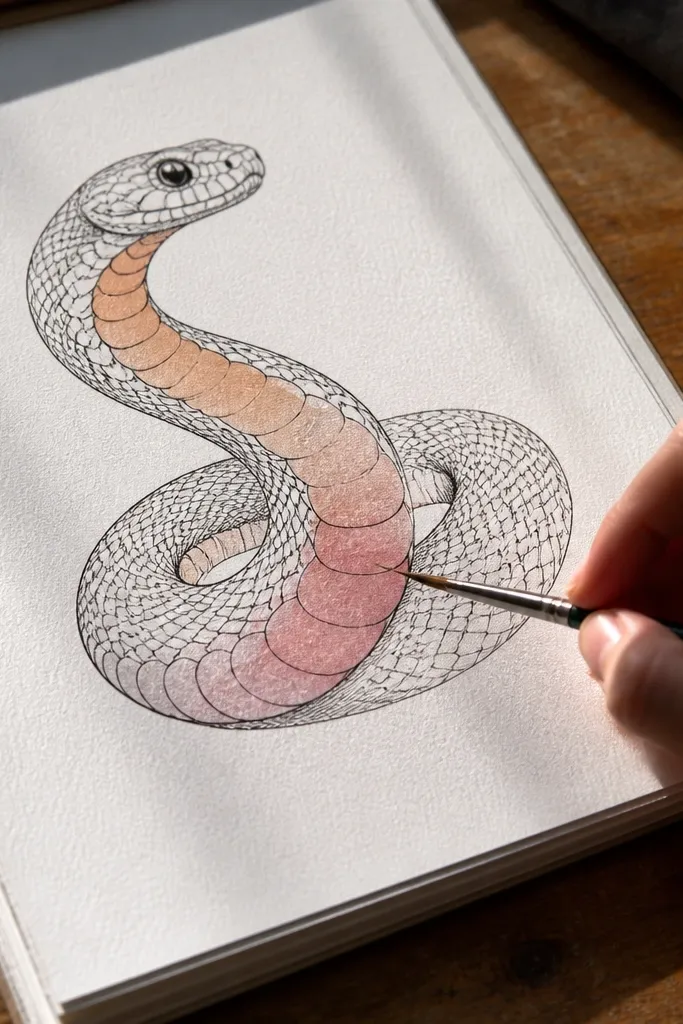
A watercolor wash belly looks cozy because it creates soft transitions that hide shaky coloring. You keep the snake outline crisp, then let the belly color melt gently. This combo is photogenic: sharp lines plus soft color feels intentional and calm. It’s still beginner-friendly because the wash can be messy as long as you stay inside the belly shape.
Draw the snake body with a pencil and outline it with a black fineliner. Create a belly shape by drawing an inner curved line and leaving it as your watercolor area. Wet the belly area with clean water, then add a light wash using diluted paint (like warm tan or peach for the belly). Let it dry fully, then add one darker shadow line under the belly edge with a small brush or pencil. Keep the rest of the body mostly unpainted for a clean look.
Use diluted paint and build in two light layers instead of one heavy layer.
Don’t flood the whole page with water — the paper will buckle and ruin the crisp outline.
19. Snake and Sunbeam Spotlight (Cozy Glow)
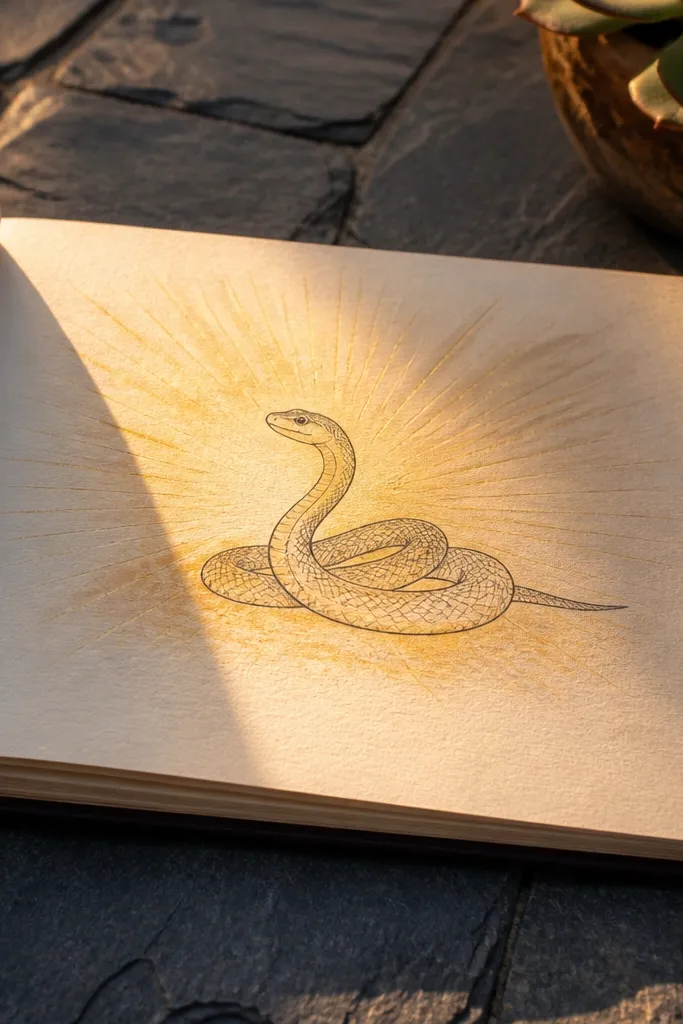
A sunbeam spotlight instantly makes a snake drawing feel cozy because it suggests warm light. The rays give you clear background lines, which makes the snake easier to place and easier to photograph. Keep the snake simple and let the rays and a warm color wash do the work. This is an excellent choice if you want your beginner snake drawings to look like illustrations, not sketches.
Draw a snake curve in the center and outline it thickly. Add a circle or oval behind the snake, then draw a fan of rays extending outward using straight-ish lines with slightly curved ends. Color the rays with a warm yellow-orange wash, keeping it light. Color the snake with one warm neutral and shade under the snake where it touches the “light” shape. Add a small highlight on the head and one shadow under the belly edge.
Keep the rays evenly spaced; even spacing makes the whole piece look designed.
Avoid dark rays — dark background lines make the snake feel heavy and less cozy.
20. Chibi Snake with Tiny Legs (Socks-Puppet Look)
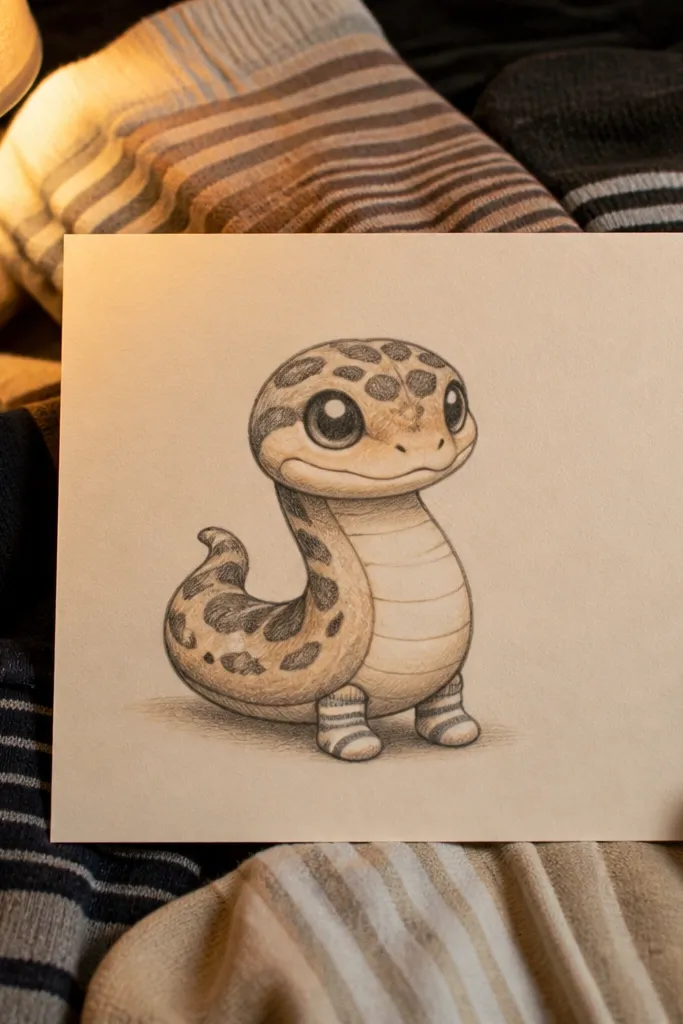
Tiny legs make the snake look like a character, and character drawings are easier for beginners because you can simplify proportions. The socks-puppet look comes from rounded feet and simple shading on the lower body. This style is photogenic because the head and feet are small focal points. It’s also a fun way to practice line weight while keeping the body shape simple.
Sketch a short, rounded snake body as a thick S-curve, then draw a big head at one end. Add two tiny legs by drawing small rounded rectangles or ovals under the belly line. Add simple feet by rounding the bottom edge and adding one small toe bump. Outline everything thickly, then color the snake with a warm tone and shade the belly and feet darker. Add a small tongue line if you want a cute expression.
Pro tipMake the legs slightly different heights; it adds charm without needing realism.
AvoidDon’t draw long legs — short legs keep it chibi and beginner-friendly.



