
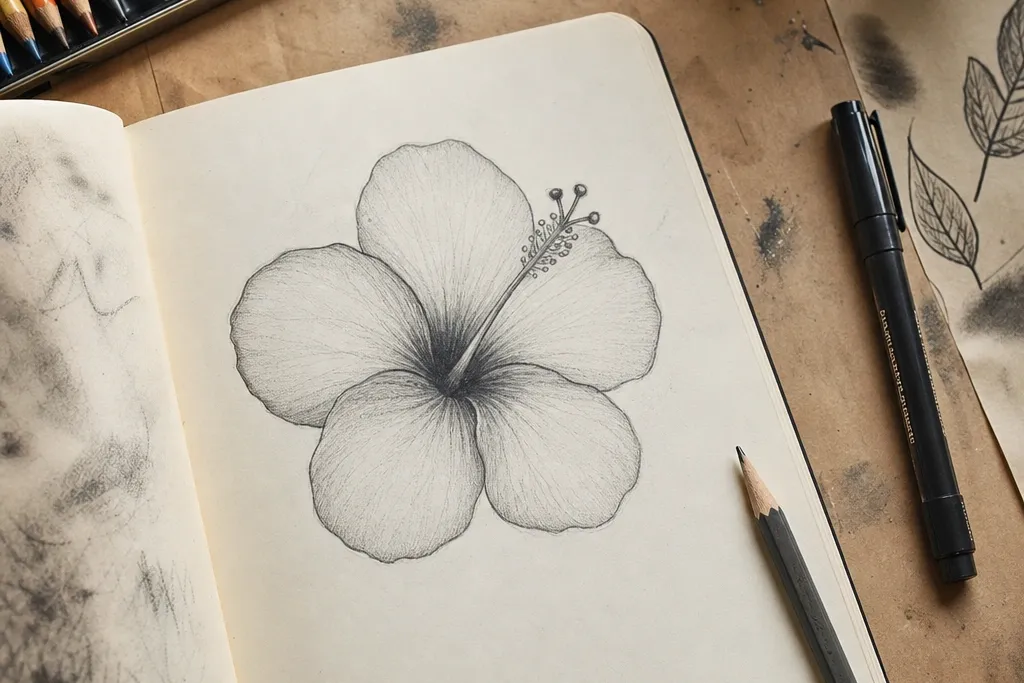

1. Single Hibiscus on Textured Paper
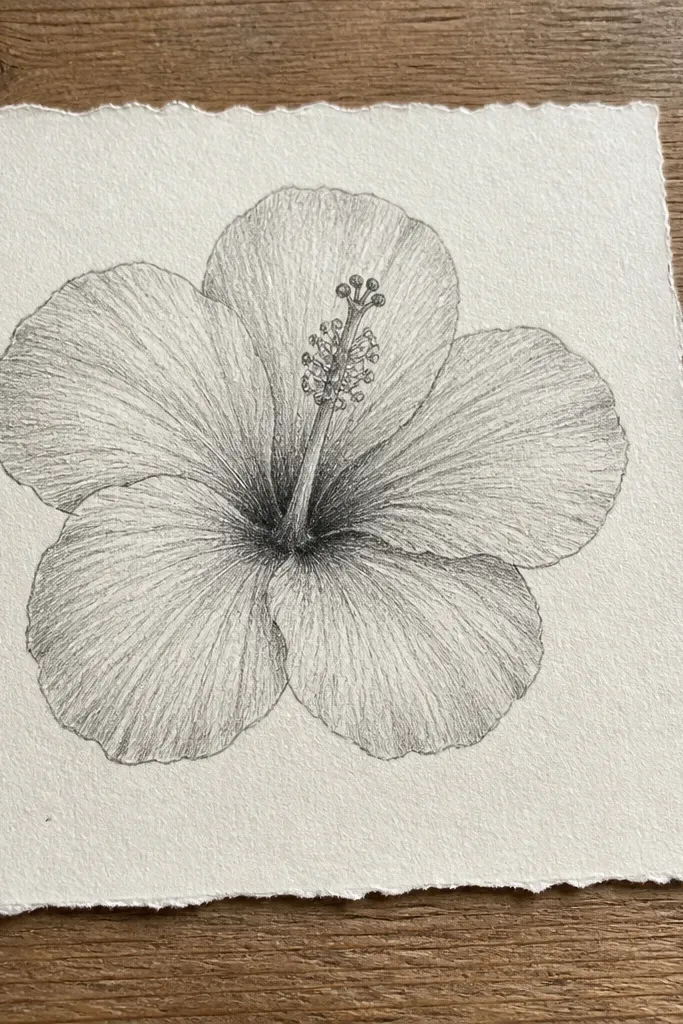
This is the most forgiving hibiscus because it focuses on one flower and lets the paper texture do some of the work. You’re drawing a simple front-facing hibiscus with five main petals and a center swirl. The “cozy” look comes from keeping your shading light and slightly uneven, so it feels hand-drawn instead of rendered. You can do it in one sitting and it still looks finished even if your line weight is inconsistent.
Step 1: Sketch the petals as five teardrops around a small center circle, leaving gaps between petals so they don’t fuse. Step 2: Add the center using 8-12 short curved lines that spiral inward, then lightly shade the inner ring with your 2B pencil. Step 3: Outline the petals with a 0.5 pen, then shade under each petal edge with light pencil strokes. Finally, erase stray pencil lines and stop — don’t keep darkening.
If your pencil marks look too dark, switch to HB for the shading pass so the center stays gentle.
Don’t outline the entire flower with the same heavy pressure — it makes the petals look flat.
2. Side-View Hibiscus with One Petal Overlapping
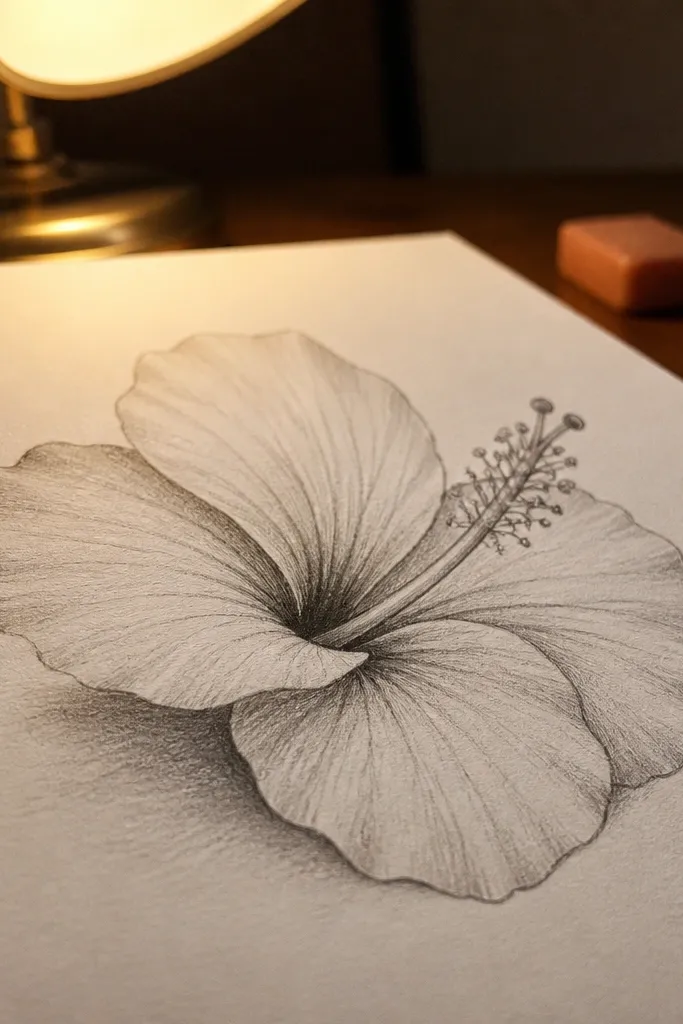
Side-view hibiscus looks cute and cozy because the flower has a clear silhouette. It’s also easier than front view for beginners because you draw fewer “symmetry” details. The overlap is the trick: one petal sits in front and the center still reads clearly. You’ll learn how to show depth with light shading under the front petal instead of drawing complex folds.
Step 1: Draw a vertical oval for the center and then sketch four petals around it, but make one petal slightly larger and closer to you. Step 2: Add the center swirl with short curved lines that wrap around the oval, like a tiny cinnamon roll. Step 3: Outline only the outer edges of the front petal, then outline the other petals with lighter pen pressure. Finally, shade beneath the front petal edge and along the outer rim of the petals.
Pro tipUse a light guideline to place the center — a small oval — so the swirl doesn’t wander.
AvoidAvoid drawing all five petals the same size from the start; overlap needs one dominant petal.
3. Hibiscus in a Mason Jar Frame
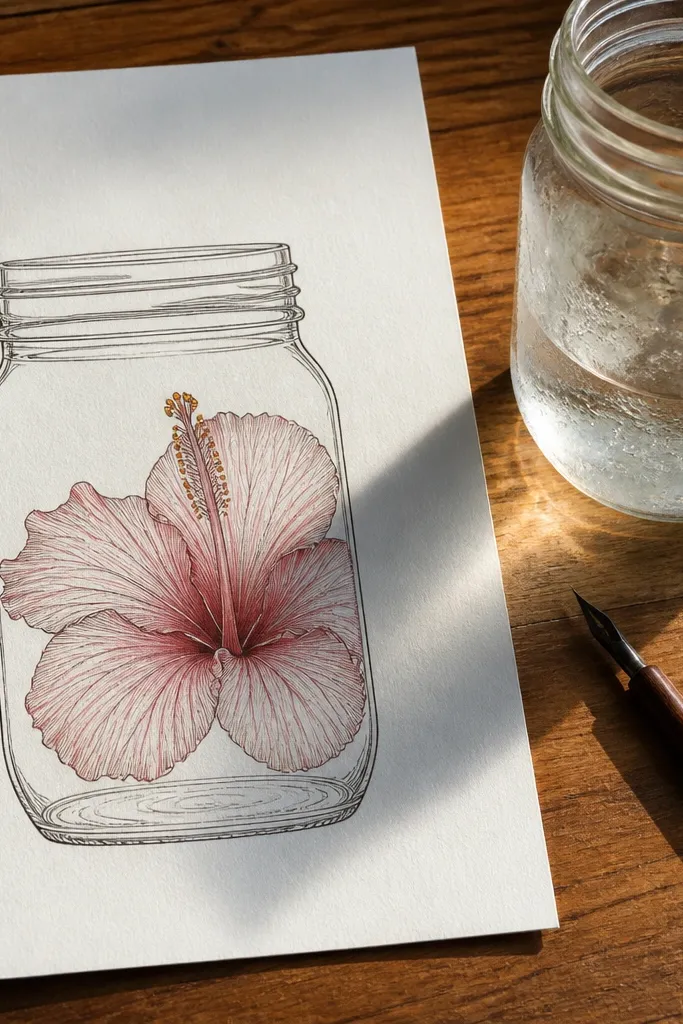
This idea is cozy because it turns your hibiscus into a complete little scene. You’re not wrestling with background details; the jar outline gives structure and helps your flower placement. The jar also gives you easy straight lines, which makes your curved petals look better by contrast. It’s beginner-friendly because you can draw the jar first, then fit the hibiscus stems and one or two blossoms inside.
Step 1: Draw the jar body as a rounded rectangle with a slightly wider top, then add a simple lid line across the top. Step 2: Sketch one hibiscus above the jar opening and a second smaller bud behind it using teardrop petals. Step 3: Add a curved stem line down into the jar, then draw two basic leaf teardrops on either side of the stem. Finally, shade the jar with horizontal pencil lines and shade the hibiscus petal undersides lightly.
Pro tipKeep the jar lines straight and the hibiscus lines curved — that contrast makes the drawing look intentional.
AvoidDon’t overdraw the jar ridges; two or three lines are enough.
4. Hibiscus Bouquet with Simple Buds
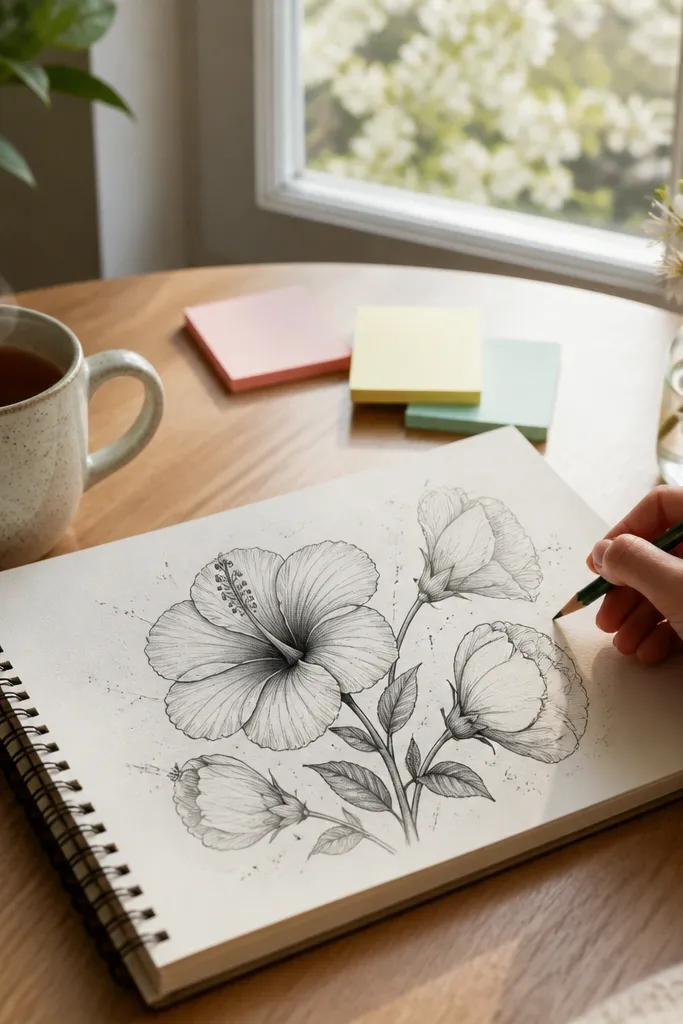
A bouquet hides minor mistakes because multiple flowers share the page. This is still beginner-easy because the buds are simplified into partial petals and you only fully detail one main flower. You’ll get a cozy, slightly whimsical look that feels like a spring postcard. It teaches you how to vary size and tilt so the bouquet doesn’t look like copies.
Step 1: Draw three flower circles as placement guides, then sketch one full hibiscus with five petals in the center and two smaller hibiscus around it. Step 2: For buds, draw a half-teardrop shape with two petals and a tiny center dot. Step 3: Connect everything with three curved stems, then add two leaves per stem using simple teardrops. Finally, outline the main flower more boldly and keep outlines lighter on smaller ones.
Pro tipMake the main flower about double the height of the small ones so the composition reads instantly.
AvoidDon’t try to fully detail every flower center — pick one main center and keep the rest simple.
5. Pattern Page Hibiscus Border
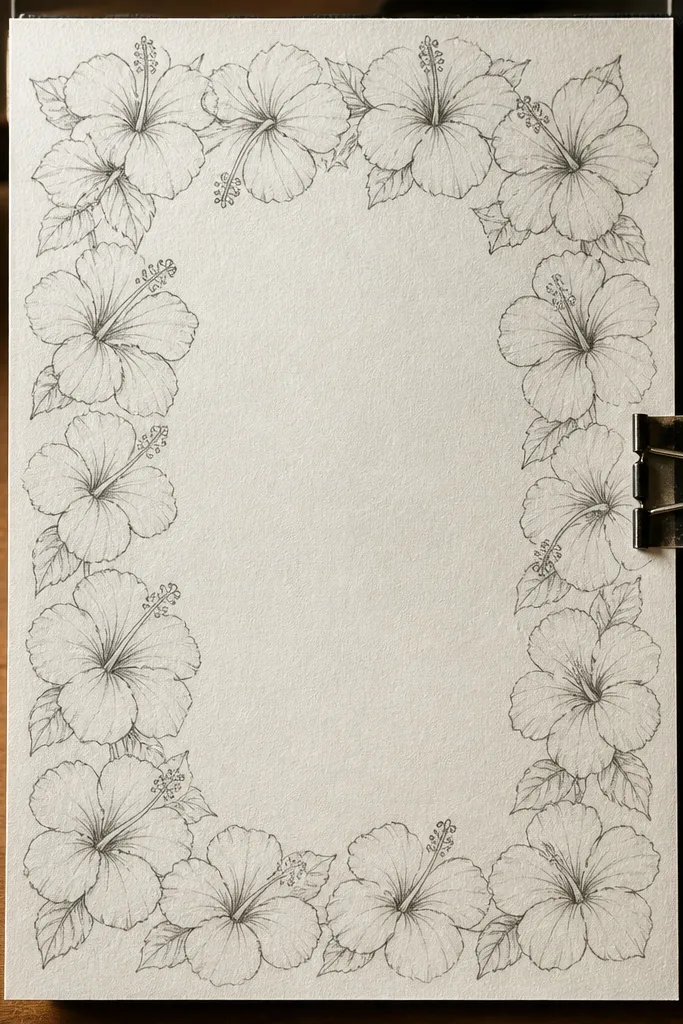
Borders make hibiscus feel cozy because they frame your page and create a rhythm. You’re drawing the same flower structure repeatedly, but with tiny variations in tilt so it doesn’t look mechanical. This is beginner-friendly because you can practice the petal shape without worrying about a perfect single drawing. The cozy effect comes from consistent line weight and gentle shading on every other petal.
Step 1: Draw a border rectangle about 1 inch from the page edge, then divide each side into 4 equal sections with faint pencil marks. Step 2: In each section, draw a simplified hibiscus: five teardrop petals and a small center swirl, but leave the center swirl shorter than you think. Step 3: Stagger the flowers so petals don’t line up perfectly across the border. Finally, shade just one or two petals per flower with light pencil strokes and outline with pen.
Pro tipUse a ruler for the border, then freehand everything inside the box.
AvoidDon’t outline over the faint border lines — erase them first so the pen doesn’t bite.
6. Hibiscus Flower Bud Close-Up
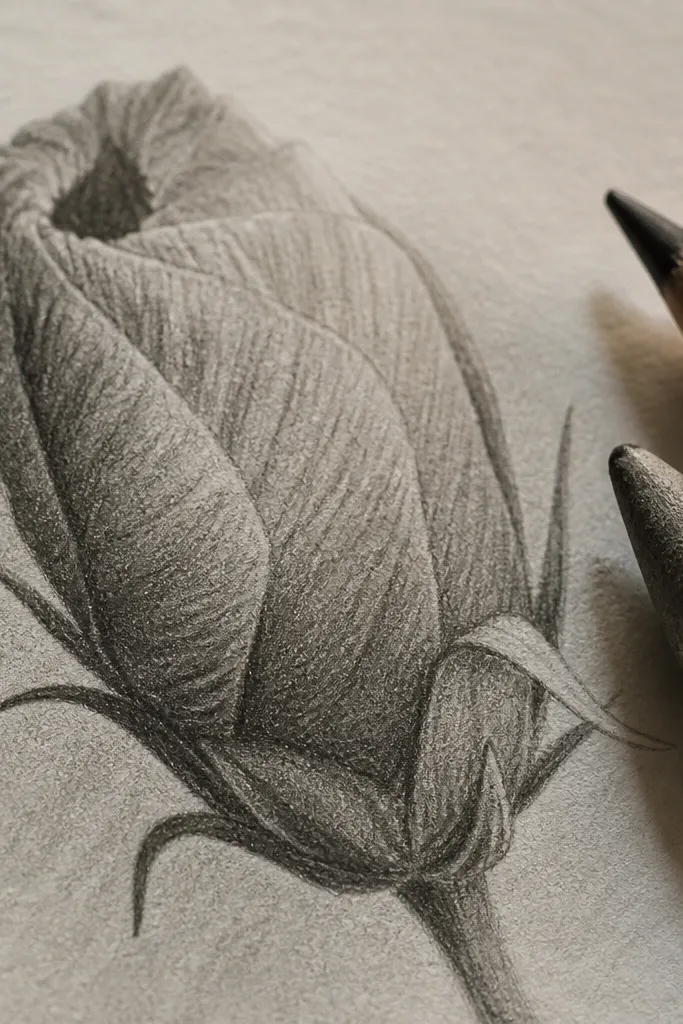
Close-up buds are forgiving because you’re drawing fewer petal edges and less center detail. This makes it easier to get a clean hibiscus look even if your petal shapes aren’t consistent yet. You also learn a useful skill: how to show “opening” by curving petals around a small center. The cozy look comes from the warm, tight composition — no wide stems or complicated leaves.
Step 1: Sketch a small teardrop shape for the outer bud and add two smaller teardrops tucked behind it. Step 2: Draw the center as a tiny spiral made from 6-8 short curved lines, then shade a small patch around the inner ring. Step 3: Outline only the outermost petal edges with pen, keeping inner lines lighter. Finally, add one leaf curve at the bottom using a single teardrop shape with a center line.
Pro tipIf your bud looks too flat, shade the inner notch area under the top petal edge.
AvoidAvoid drawing full five-petal hibiscus details on a bud — keep it partial.
7. Hibiscus with Watercolor-Style Pencil Wash
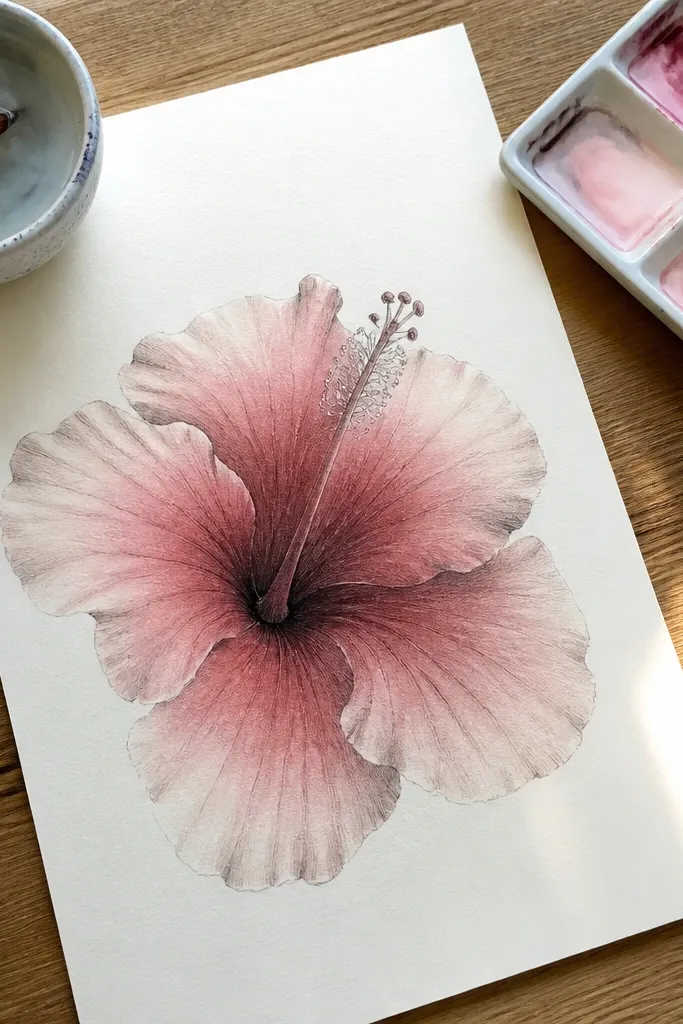
This one gives you that soft, cozy color look without needing real watercolor. You’re using pencil shading, then smudging or blending it in a controlled way so it looks like a wash. It works because hibiscus petals naturally have gradients — darker near the base, lighter at the edges. Beginner-friendly means you can stop early and it still looks good.
Step 1: Sketch the hibiscus with pencil first, then outline petals with a 0.5 pen once you’re happy with the shapes. Step 2: Shade each petal from the base inward using light 2B pencil, leaving the petal tips lighter. Step 3: Blend with a tissue or paper stump in short strokes that follow the petal curve. Finally, reinforce the center swirl lines with pen so the flower doesn’t blur.
Use less pressure near the tips; you want the lighter edge to stay visible after blending.
Don’t blend the center swirl until it disappears — that’s where the hibiscus identity lives.
8. Monoline Hibiscus on Blank Background
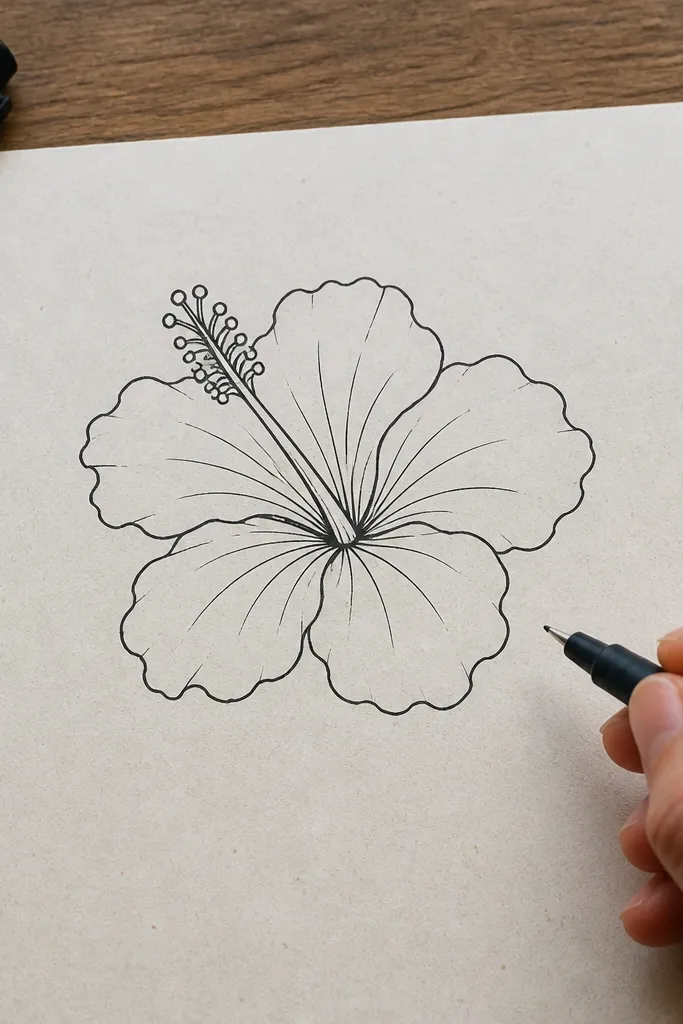
Monoline drawings feel cozy because they’re clean and calm. The trick is to use one pen thickness and let the shading be minimal. This is great when you’re nervous about messy lines, because the outline does most of the work. You’ll still add the center swirl so it reads as hibiscus, not a generic flower shape.
Step 1: Draw a center oval, then sketch five teardrop petals around it using pencil as guides. Step 2: Trace the petals with a single 0.3 or 0.5 pen, keeping the line weight consistent. Step 3: Add the center swirl with short curved lines, then add tiny dot accents inside the swirl. Finally, shade only two small patches under the petals with pencil for depth.
Pro tipMark the petal tips first with tiny dots; connect them to the teardrop bases for smoother curves.
AvoidAvoid adding extra decorative lines everywhere — monoline looks best when it’s simple.
9. Hibiscus with Crayon Resist Look (Simple)
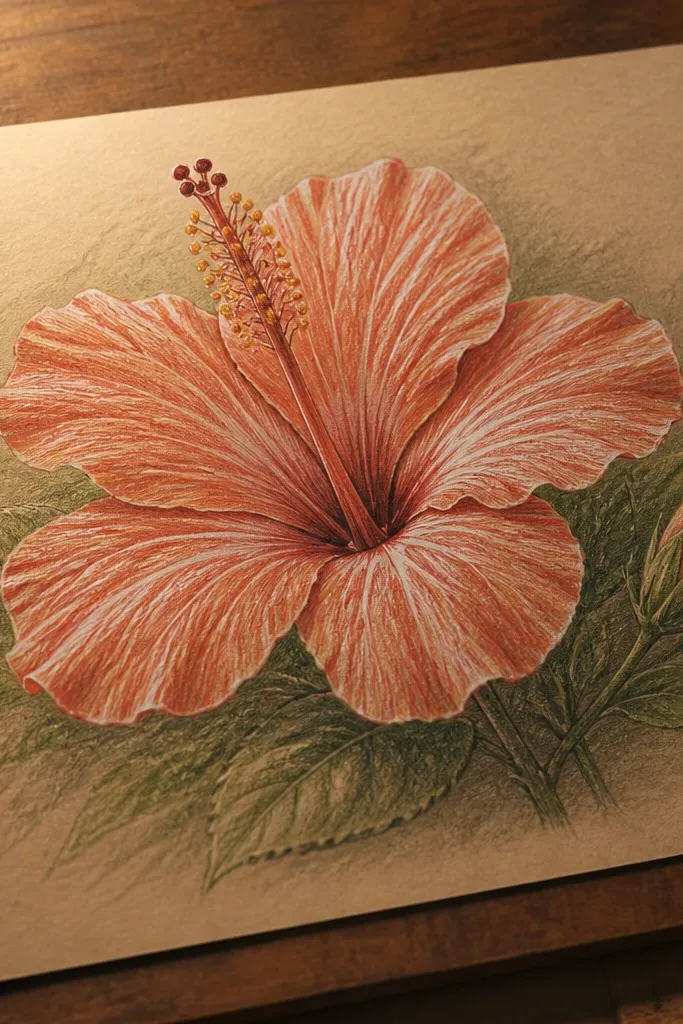
You get a cozy, slightly magical look using the simplest resist method: white crayon highlights. You’re basically saving bright petal streaks while you shade around them, so the flower has natural highlights. Beginners like this because it forgives uneven shading — the highlight streaks hide blotches. It also teaches a practical trick you can reuse in other drawings.
Step 1: Sketch the hibiscus with pencil, then lightly outline petals with a white crayon on the petal highlights you want to keep bright. Step 2: Shade the petals with a 2B pencil, working around the crayon streaks so the highlight stays lighter. Step 3: Outline with pen after shading so the flower edges stay crisp. Finally, add the center swirl with pen and a tiny pencil shadow under the center base.
Press the crayon highlight lightly but consistently so it resists pencil without looking waxy.
Don’t shade over the crayon highlights too hard — you’ll erase the resist effect.
10. Hibiscus with Doodle Background Dots
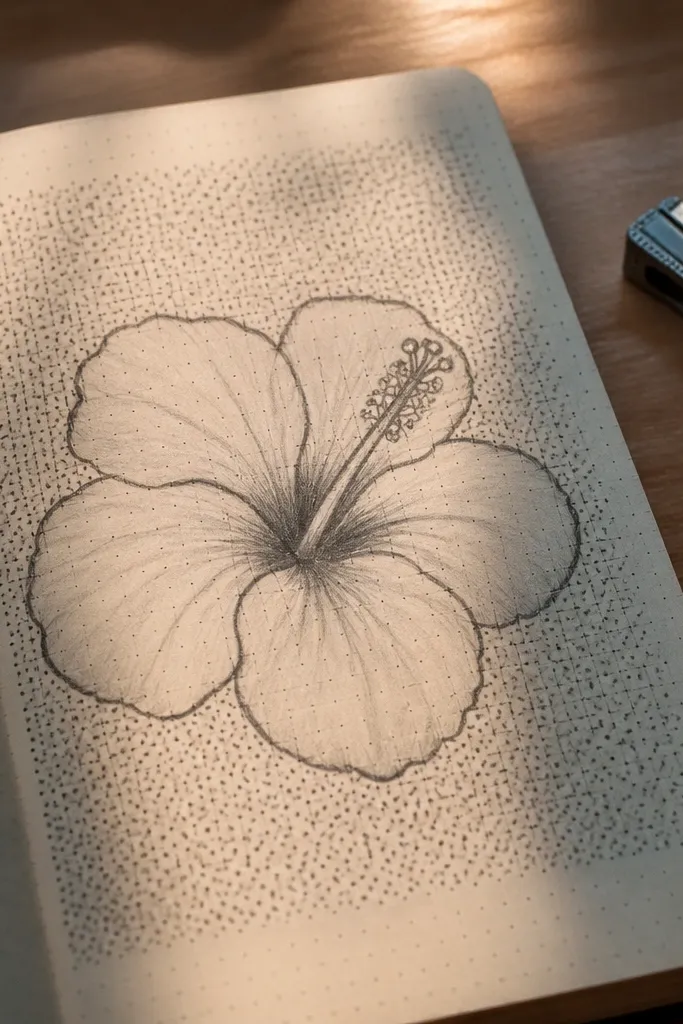
A dot doodle background makes hibiscus feel cozy because it fills space without adding complex objects. This is beginner-friendly because you only need a hibiscus outline and then you decorate with simple circles. The dots also help hide uneven spacing, which is the main reason beginners feel their drawings look unfinished. Keep the hibiscus as the focus and let the dots be quiet.
Step 1: Draw your hibiscus centered on the page using teardrop petals and a short swirl center. Step 2: Outline petals with pen, then add gentle pencil shading under each petal edge. Step 3: Around the flower, draw small dots of different sizes, keeping them at least 1/4 inch away from the petals. Finally, add a few tiny dashes between dot clusters to create movement.
Do the dots last so you can adjust the hibiscus placement without committing to a background first.
Don’t turn the dots into a dense pattern that competes with the center swirl.
11. Hibiscus Leaf and Stem Practice Page
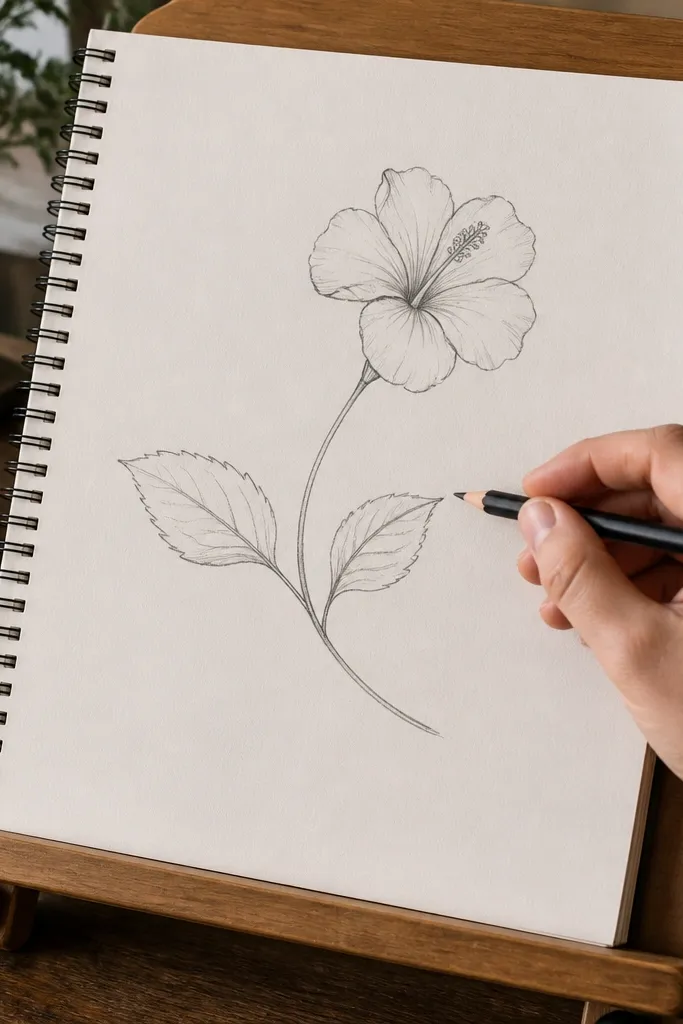
This idea is cozy because it trains the parts that usually break beginner drawings: stems and leaves. Instead of forcing a full complicated composition, you practice one stem curve, two leaf shapes, and then attach a small hibiscus at the top. Once your leaf edges look right, the flower looks better even if the petals are simple. It’s also fast, so you can repeat it and improve quickly.
Step 1: Draw a single S-curve stem line, then sketch two leaf teardrops on opposite sides of the stem with a center vein line. Step 2: At the top, add one hibiscus with five petals and a short center swirl, keeping the petals slightly smaller than the leaves. Step 3: Outline the leaf edges and hibiscus petals with pen, then shade only along the underside of each leaf. Finally, erase pencil construction lines once the outlines are dry.
Pro tipKeep leaf veins light pencil first, then trace only the outer leaf edge with pen.
AvoidAvoid drawing leaves as perfect ovals — hibiscus leaves taper and that taper matters.
12. Hibiscus in a Simple Circle Frame
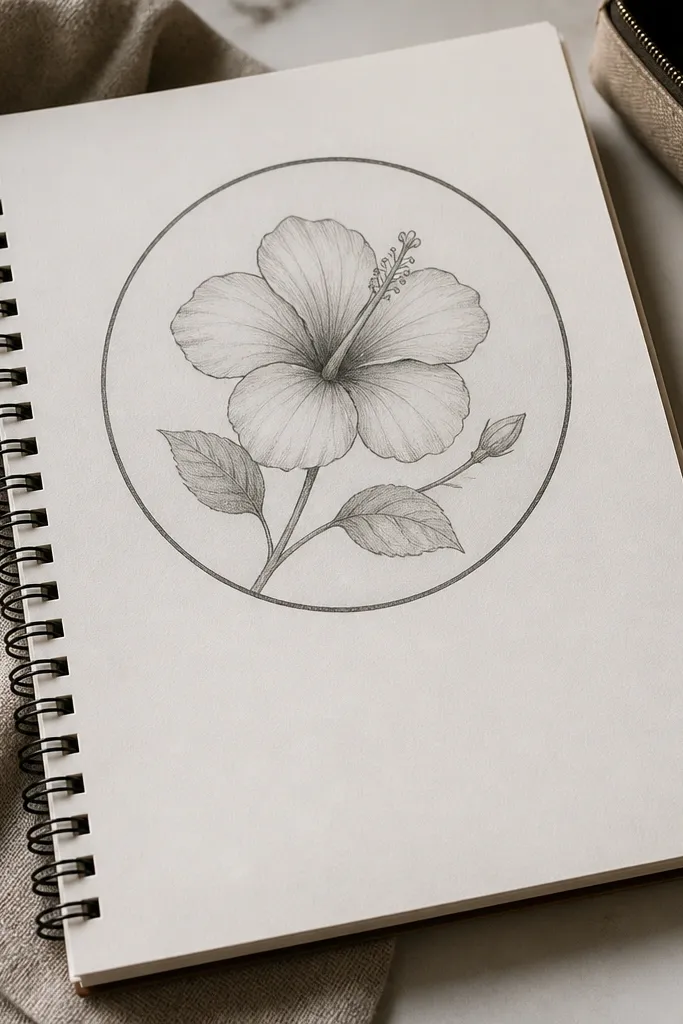
A circle frame makes your hibiscus feel cozy because it creates a clear boundary and keeps the drawing from drifting. It also gives you a practical composition rule: place the flower slightly above the center of the circle. This is beginner-friendly because you can sketch the circle first, then build the flower to fit. The result is a clean, giftable drawing that looks finished even with minimal shading.
Step 1: Draw a circle, then lightly mark the hibiscus center point slightly above the circle’s midpoint. Step 2: Sketch the hibiscus petals around that point with teardrops, letting some petals touch the circle boundary lightly. Step 3: Add the center swirl and outline with pen, then shade petal bases with 2B pencil. Finally, add a thin inner ring line just inside the circle to make it look like a label.
Pro tipIf petals get too big, shrink the teardrop width before you add details — resizing early is easier than fixing later.
AvoidDon’t shade all petals evenly — leave one petal lighter to create a cozy gradient.



