
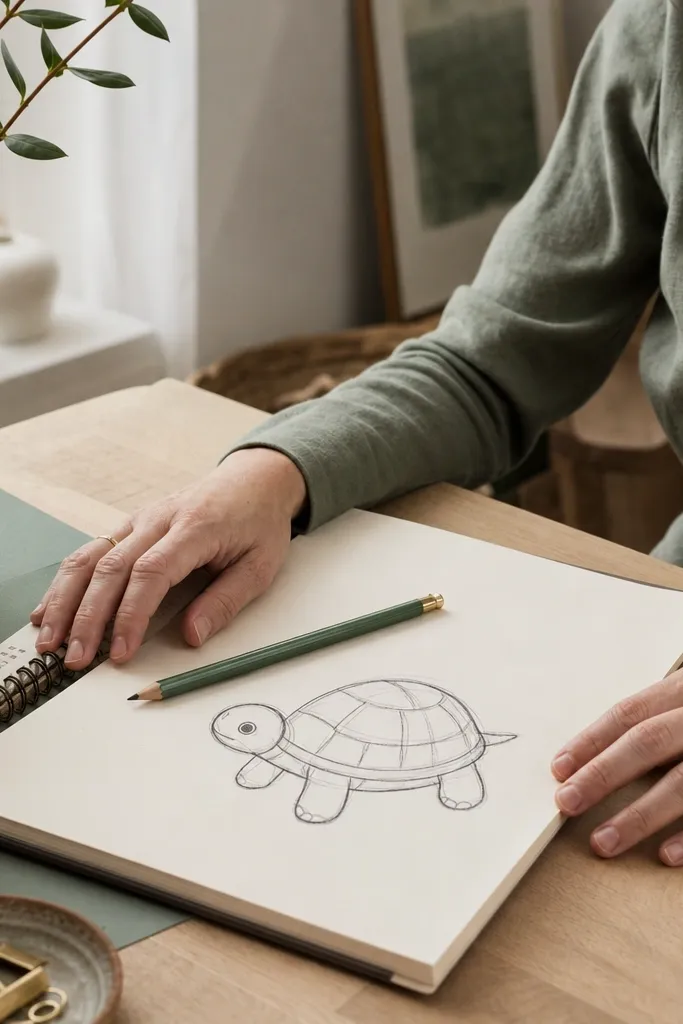
1. Circle Shell Starter Cozy Turtle
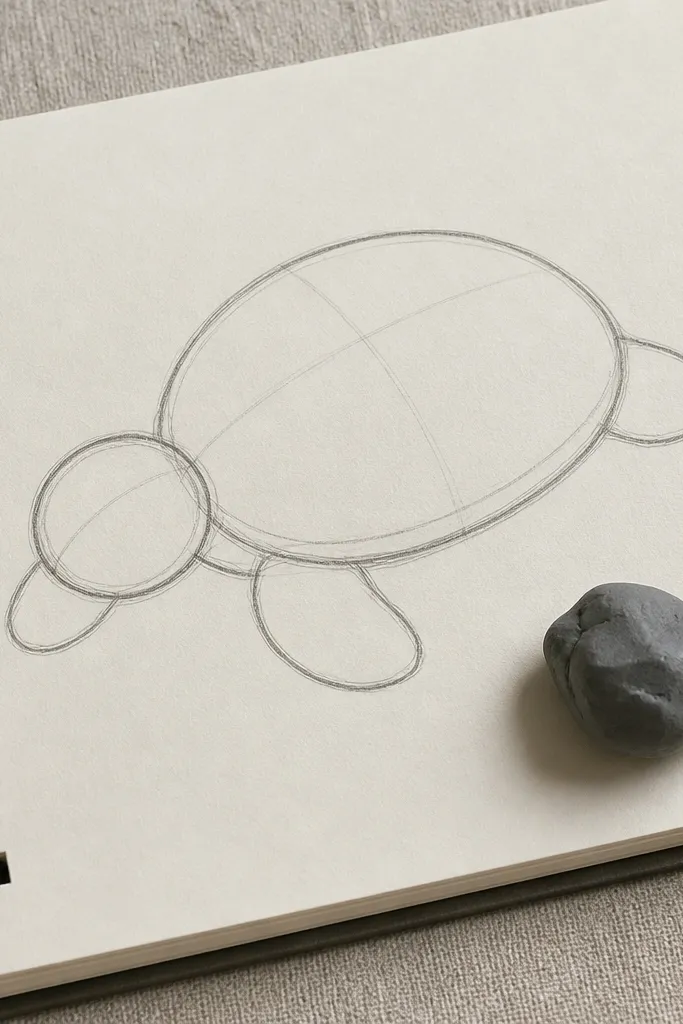
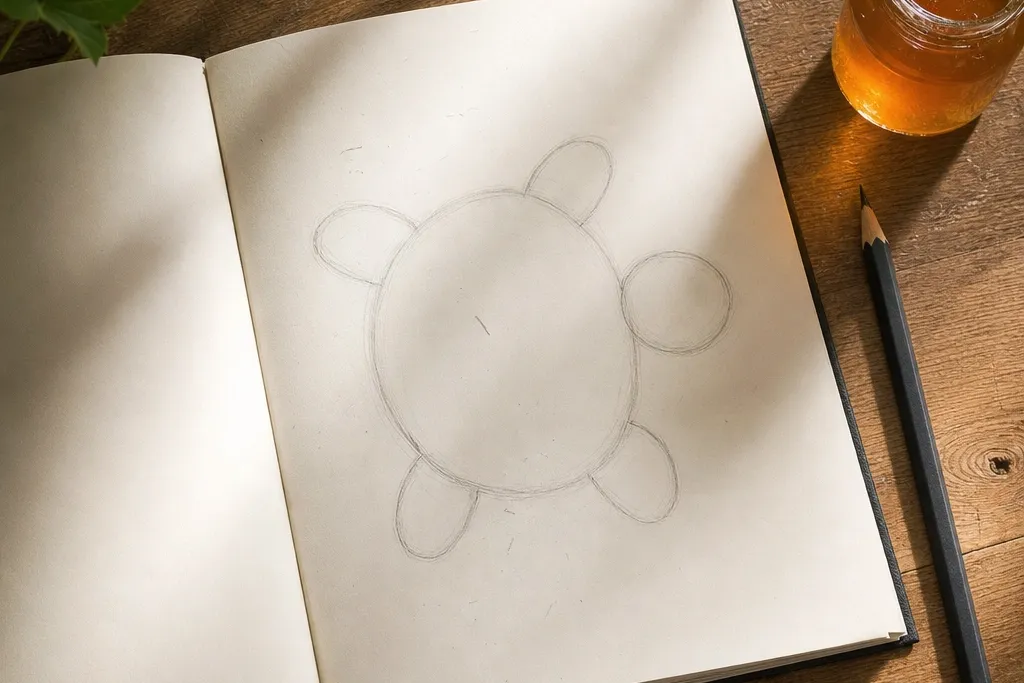
This is the fastest version of a cozy Turtle Drawing because it forces correct proportions before you add any shell details. Start with a big oval for the shell and a smaller circle for the head, then keep legs as rounded bumps. The look stays cute because every part has soft edges and similar curvature. It’s great for beginners and for sketching thumbnails quickly. You’ll end with a turtle that looks finished even before you color the shell.
Step 1: Draw a large oval for the shell and a smaller circle overlapping the front edge for the head. Step 2: Add four leg circles under the oval — two closer to the viewer and two slightly behind — then connect them with short curved lines. Finally, draw a tiny tail bump and place two small eye dots on the head circle, above the mouth line.
Pro tipKeep the head circle slightly smaller than you think — cozy turtles look friendlier with a compact face.
AvoidDon’t draw shell stripes until the shell oval looks centered and symmetrical.
2. Pastel Puddle Shadow Turtle
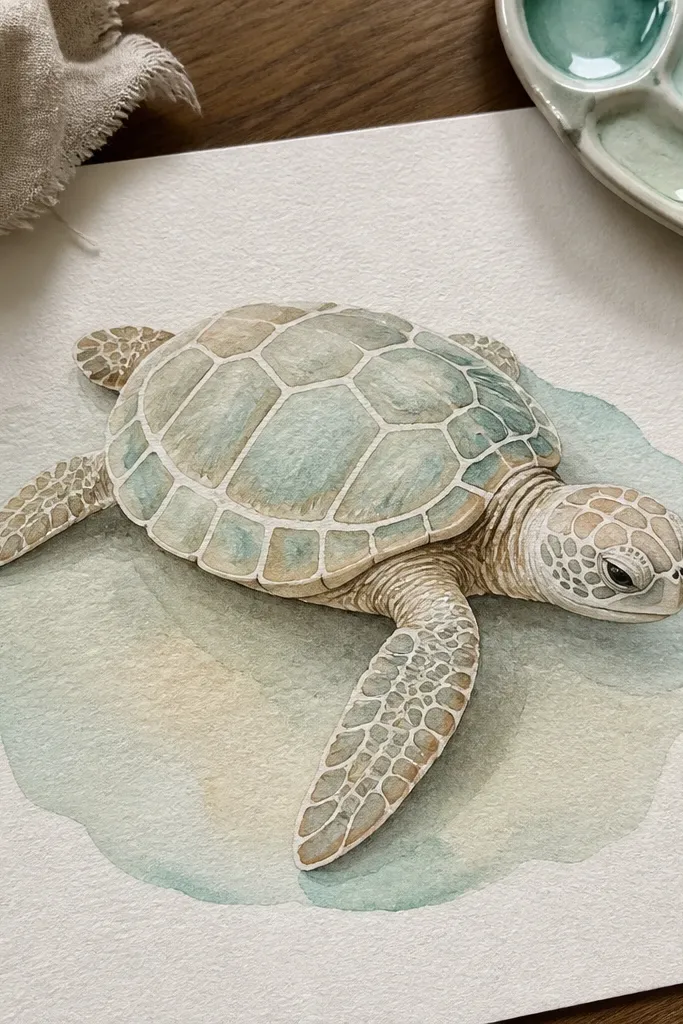
Cozy drawings look extra good when you anchor the subject with a simple shadow shape. This version adds a rounded puddle under the turtle, then uses a soft shadow gradient to make it feel warm and grounded. The turtle itself stays the same construction approach, but the background makes it “photo-ready.” It’s ideal for gifting, stickers, or any drawing you want to look intentional without complex scenery.
Step 1: Draw your standard oval shell turtle, then add a wide oval puddle shape under the legs. Step 2: Color the puddle with a light blue or lavender wash, leaving the edges paler. Finally, shade under the shell legs with a slightly darker tone and add one small highlight on the puddle edge.
Use the puddle as your guide for where the light comes from — all shadows should point away from that highlight.
Avoid hard-edged shadows; crisp black under the legs makes it look harsh.
3. Thick Outline Cozy Turtle Sticker Look
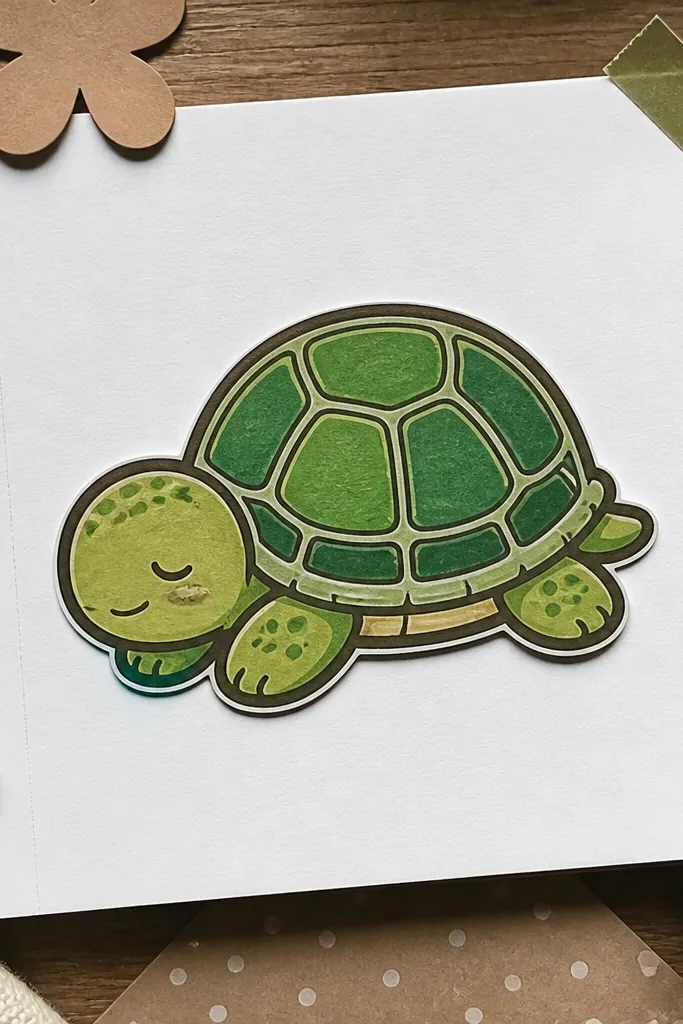
If you want that cozy Turtle Drawing to pop on a page or screen, line weight is the shortcut. This version uses a darker outer outline and lighter inner lines, so the shell segments and face details stay readable. It looks like a sticker because the silhouette is clear and the coloring stays inside the lines. It’s perfect for beginners because you only need one extra tool: a darker pen or marker for the final outline.
Step 1: Sketch the turtle with a light pencil, including shell segments as faint curved lines. Step 2: Go over the outer silhouette with a 0.8 or 1.0 black pen, then trace the eyes and mouth with thinner strokes. Finally, color the shell with 2-3 pastel tones and leave tiny white highlight gaps where you want shine.
Pro tipLet the outline touch the shell edges cleanly — a tiny gap makes the turtle look unfinished.
AvoidDon’t outline the construction lines inside the shell; keep inner lines lighter.
4. Wobbly Shell Segments Cozy Turtle
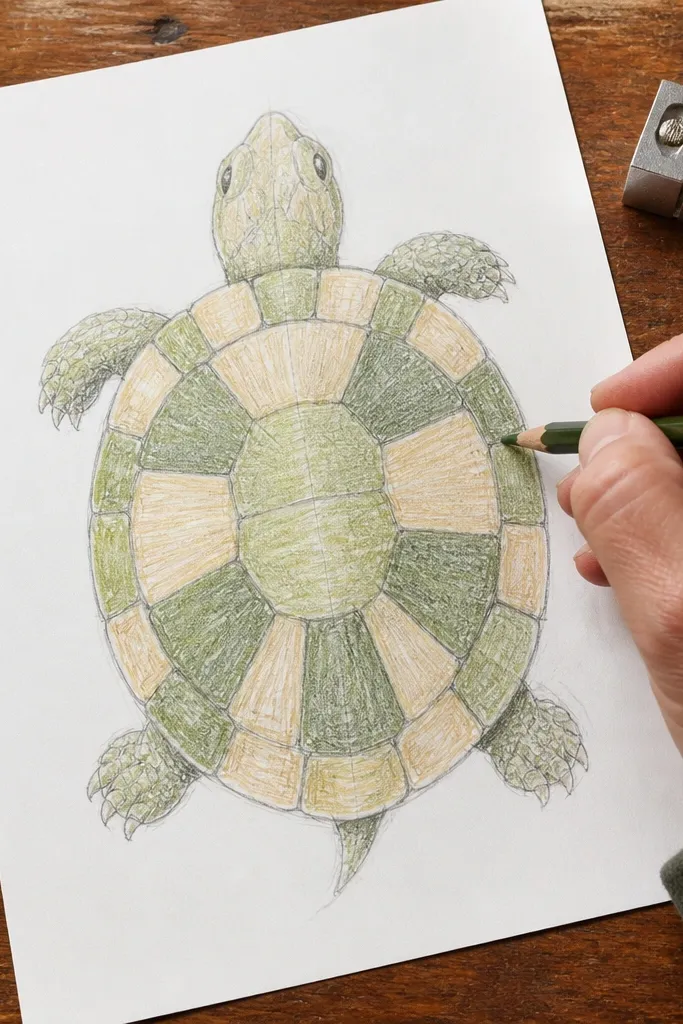
Perfectly straight shell patterns look mechanical. Cozy comes from gentle wobble and organic spacing, so this version deliberately varies shell segment widths. You still keep the shell oval as the base, but you draw each segment as a soft curve that wraps around the shell’s round body. The result looks handmade and warm, especially with colored pencil shading. It’s a great option if your first shells look too rigid.
Step 1: Draw the shell oval and add 5-7 segment lines that follow the oval curve, each one slightly different in length. Step 2: Make the segment edges look rounded by sketching a second line very close to the first, then erasing the extra. Finally, color each segment with a light base and a darker edge along one side of the segment.
Pro tipPick one side to darken consistently, like the lower-right edge — the turtle will look cohesive fast.
AvoidDon’t space segments evenly like a grid; real cozy shells have small irregular gaps.
5. One-Line Contour Turtle
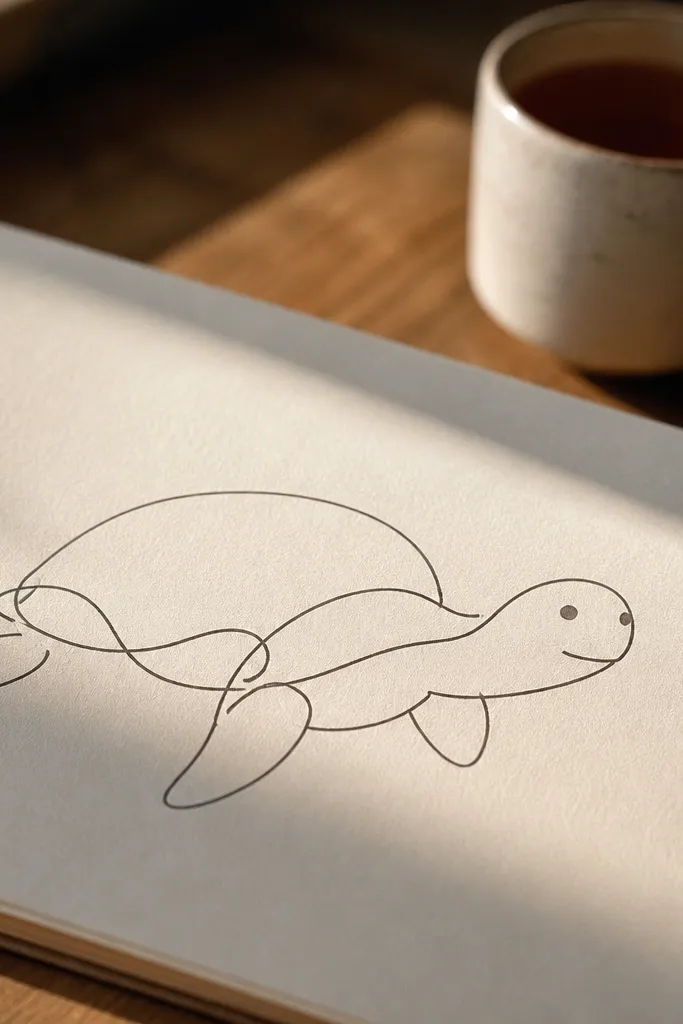
This is the simplest way to get an aesthetic cozy Turtle Drawing with almost no shading. One continuous contour line forces a calm, flowing look, and it keeps the proportions consistent because you’re drawing while watching the silhouette. You can still add two eye dots and a small mouth, but you skip heavy shell detail. The drawing reads as cozy because the line is steady and unbroken.
Step 1: Start at the top of the shell, then draw a smooth curve down to the front leg, around the head, and back to the underside. Step 2: Add the back leg and tail by continuing the same line without lifting. Finally, place two small eye dots and a tiny smile under the head curve.
Pro tipUse a softer pencil like 2B for the one-line pass so the line feels warm instead of scratchy.
AvoidDon’t add lots of shell texture; one-line turtles look best with restraint.
6. Tiny Flower Crown Turtle
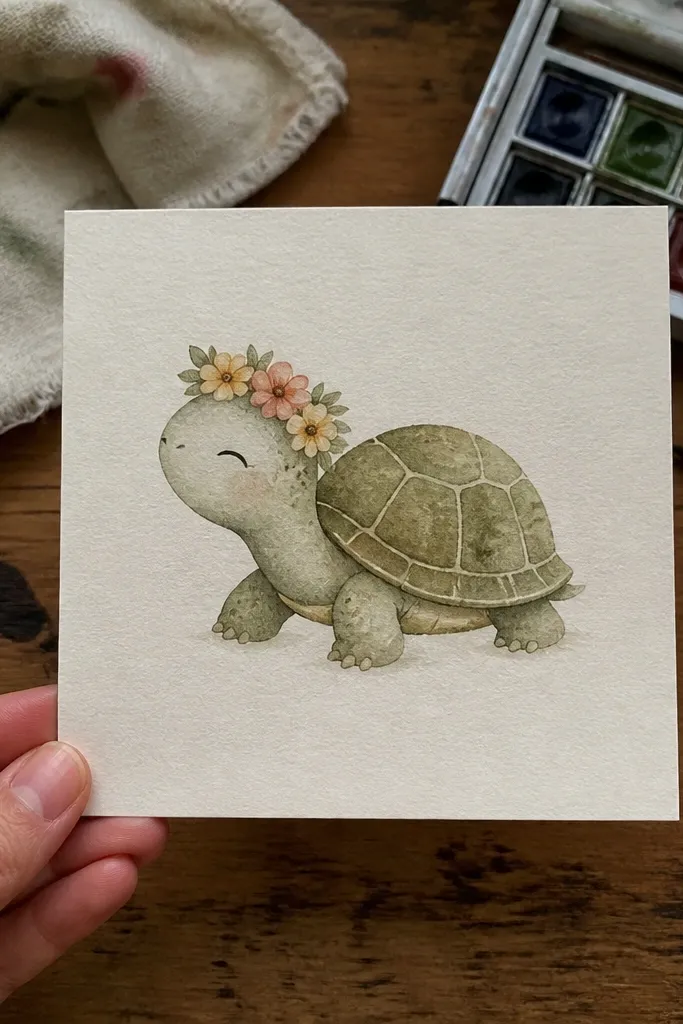
A cozy Turtle Drawing can look instantly charming with a small, controlled accessory. This version adds a tiny flower crown made of 3-5 small petals that sit on top of the head curve, not on the shell. It’s photogenic because the flowers create a clear focal point near the eyes. Keep the flower shapes small and simple so the turtle stays the main subject.
Step 1: Draw your shell and head circles, then add two small petal shapes on top of the head and one in the center. Step 2: Connect petals with tiny curved stems and draw a small leaf shape on each side. Finally, color the shell in one warm base tone and color the flowers with a contrasting pastel like peach or pale yellow.
Make the crown thinner than you think — wide crowns cover the face and lose the cozy expression.
Avoid adding too many flowers; three to five petals look cute, ten looks crowded.
7. Sunbeam Corner Turtle
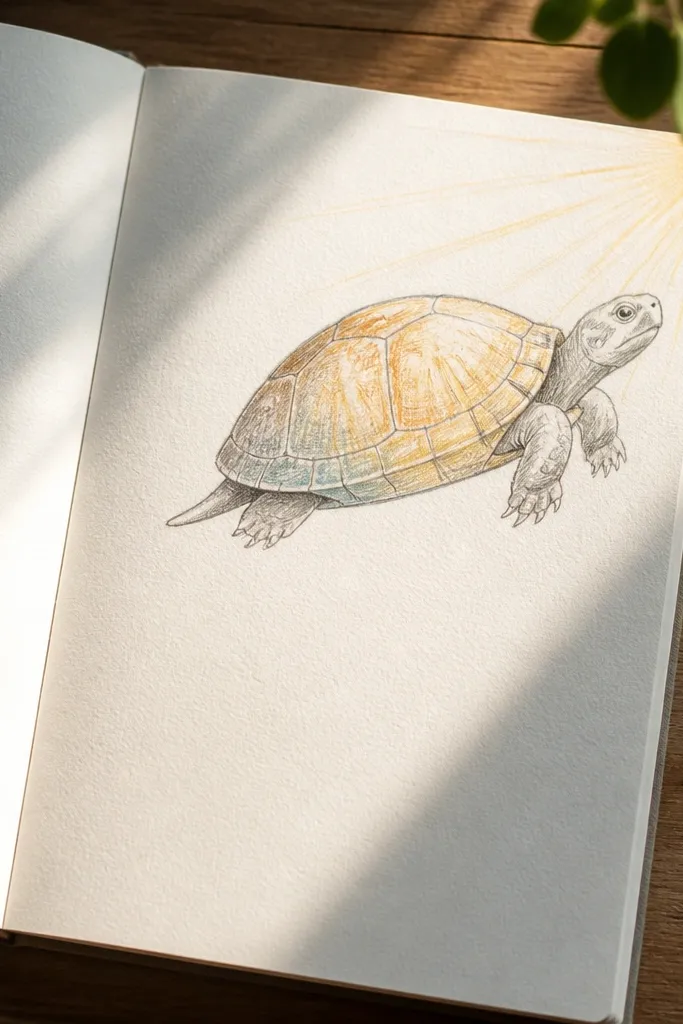
This version makes the turtle feel cozy by adding a warm light source. Draw the turtle in one corner of the page, then add short sun rays that point toward the shell. The turtle looks nicer because you highlight the shell edges and shade the opposite side. You don’t need a full background scene — just a few rays and a soft glow shape.
Step 1: Place the turtle so its shell oval sits near the page corner, then sketch 6-10 short rays starting from the corner. Step 2: Shade the shell with a light base, then add a slightly darker tone on the far side of each shell segment. Finally, add a soft warm glow behind the head and legs using a light yellow wash.
Keep rays short and few — too many rays make it look like a cartoon explosion.
Don’t shade every segment the same way; follow the light direction consistently.
8. Cozy Cup of Tea Turtle
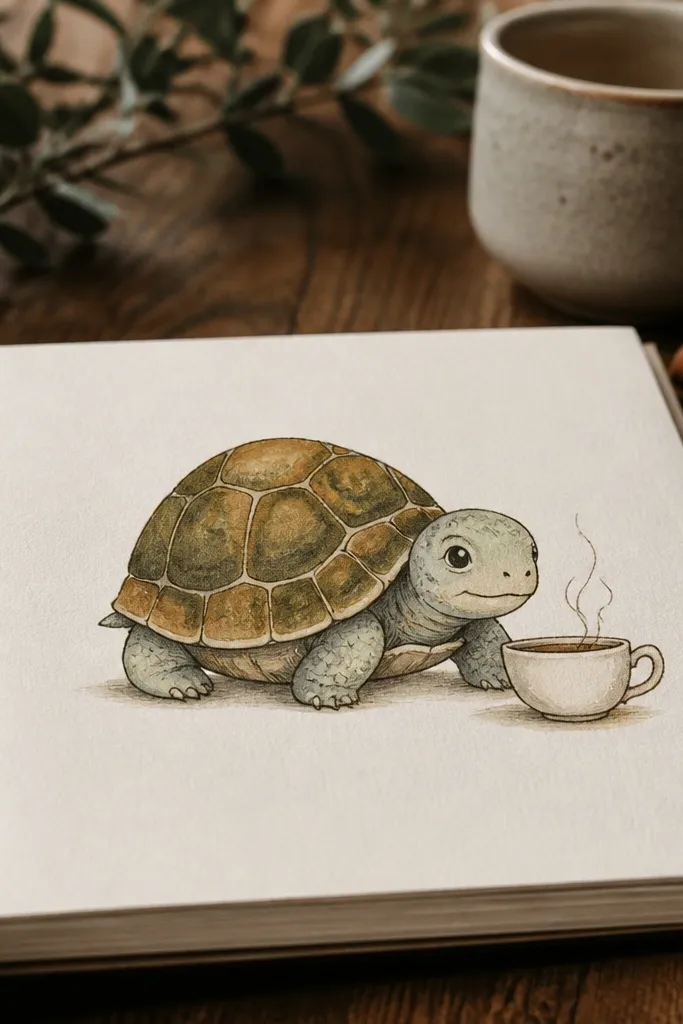
Pairing a turtle with one simple object makes the drawing feel like a moment, not just a character. This version adds a small cup with a handle and steam lines, keeping the steam thin and curved so it looks soft. The turtle’s shell can be colored in warm greens and browns, and the cup can be a pale cream with a slight shadow. It’s especially good for cozy stationery and “mood” drawings.
Step 1: Draw your turtle first, then add a cup shape on the side facing the viewer — draw an oval top, a curved body, and a small handle. Step 2: Add steam as 3-4 thin wavy lines rising from the cup. Finally, shade under the cup rim and under the turtle legs to tie them together.
Pro tipMake the steam lines taper thinner as they rise; it looks instantly airy.
AvoidDon’t let the cup overlap the turtle’s face; keep the face unobstructed.
9. Grid-to-Shell Practice Turtle
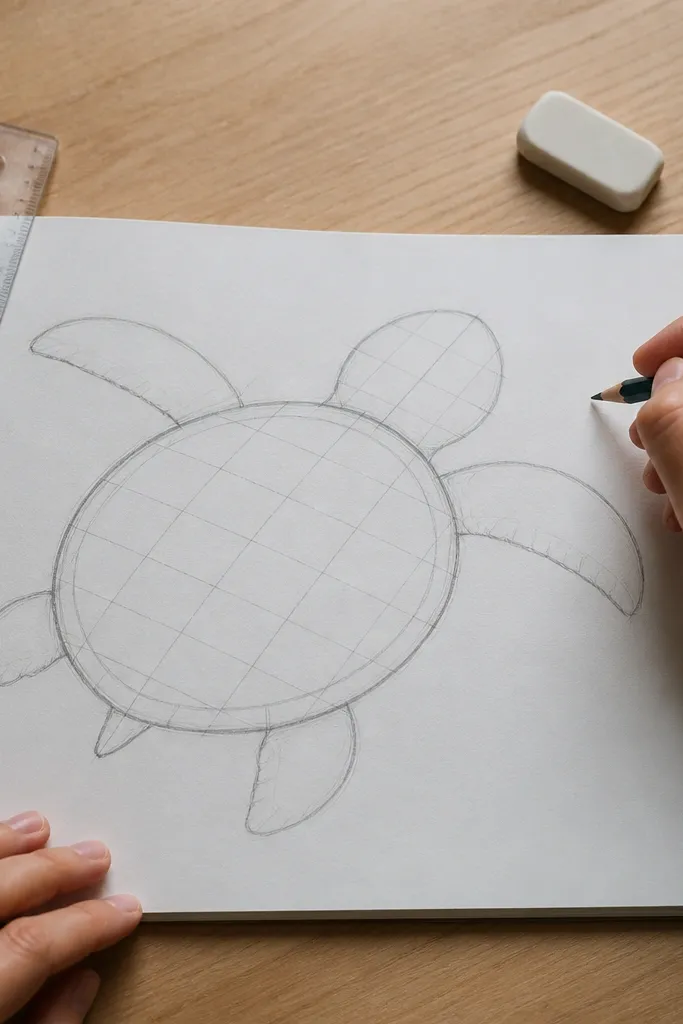
If your turtle always comes out lopsided, use a temporary grid. This version shows a construction grid only for the sketch stage, then you erase it before inking or coloring. The grid helps you keep the shell oval proportions correct and keeps the head from drifting. It’s not meant to stay visible in the final art, but it makes the drawing process smoother and more accurate.
Step 1: Lightly draw a square grid over your sketch area, then place the shell oval so it spans two grid columns. Step 2: Use grid intersections to place the head circle and the four leg bumps under the shell. Finally, erase the grid and redraw the shell outline and segment curves cleanly.
Pro tipErase the grid before you add shell texture; texture trapped over lines looks messy.
AvoidDon’t ink over the grid; you’ll fight messy edges later.
10. Soft Watercolor Wash Turtle
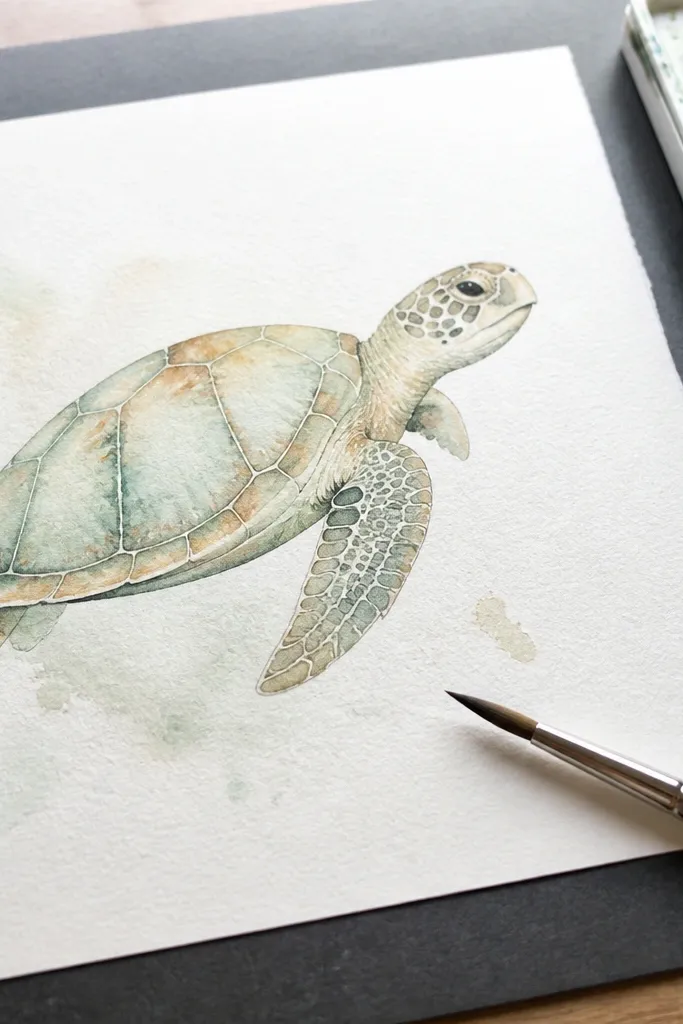
Watercolor-style shading makes any cozy Turtle Drawing look more handmade and forgiving. This version uses light washes for the shell and head, then adds a darker edge with minimal strokes. The key aesthetic is controlling saturation so the turtle stays soft, not muddy. It’s great if your pencil shading looks patchy; the wash hides small mistakes and still looks intentional.
Step 1: Sketch the turtle in pencil, then wet the shell area lightly with clean water using a small brush. Step 2: Add a very light wash for the shell base, then drop in a darker wash only at the segment edges. Finally, paint the head and legs with a pale tone and add a tiny highlight on the nose.
Pro tipUse fewer paint layers — two light layers look cleaner than five heavy ones.
AvoidAvoid painting over dry pencil lines repeatedly; it causes gritty texture and streaks.
11. Marker + Gel Pen Cozy Turtle
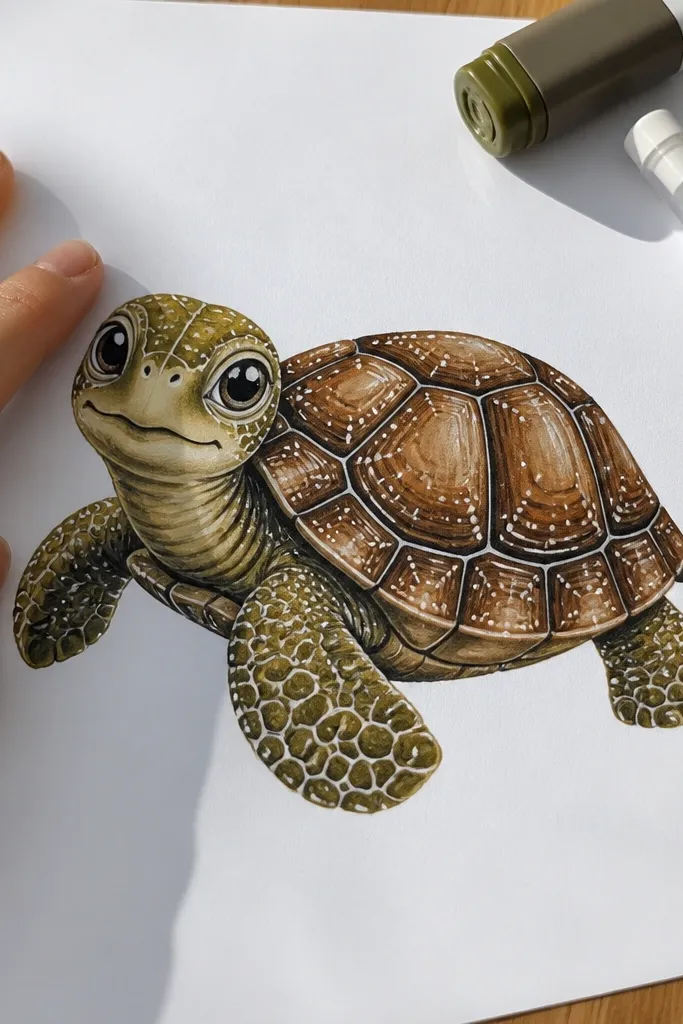
This combo gives you that clean cozy look: markers lay down the color fast, and gel pen highlights make the drawing feel fresh. Use markers for the shell base and legs, then add white gel pen dots and tiny curved highlights on the shell segments. The turtle looks more dimensional even without heavy shading. It’s also fast, which keeps the drawing process relaxing.
Step 1: Color the shell and head with a light marker base, leaving small uncolored gaps for highlights. Step 2: Add one darker marker shade along one consistent direction for segment edges and under the shell. Finally, use a white gel pen to add 5-8 small highlight marks and a thin highlight line on the nose.
Pro tipLet marker ink dry fully before gel pen; otherwise the highlight smears.
AvoidDon’t outline everything with gel pen; keep it for highlights and small details.
12. Kawaii Big Eyes Turtle
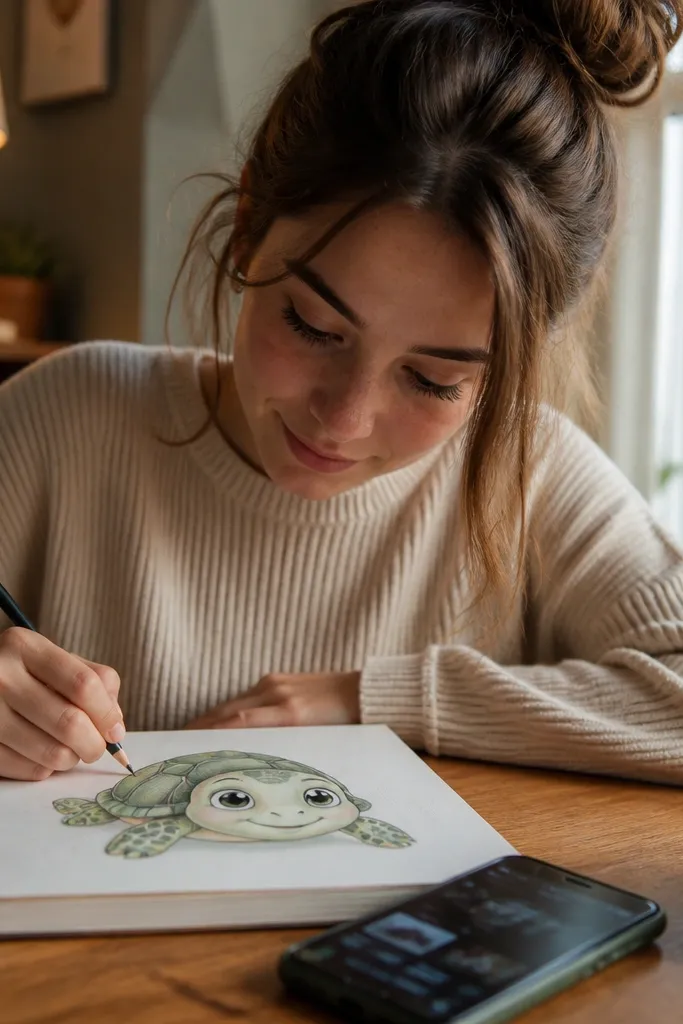
Big eyes change the whole mood of a cozy Turtle Drawing. This version exaggerates the eyes while keeping the shell proportions simple, so the turtle stays cute instead of scary. The shell gets fewer segment lines, and the face does the work. It’s a great choice when you want a “character” look that still stays easy to draw and color.
Step 1: Draw the head circle and place two larger eye circles near the top of the head, leaving a small gap between them. Step 2: Add a tiny smile and a small curved line for the mouth under the eyes. Finally, draw 4-6 shell segments and color with two pastel tones, keeping shading light.
Pro tipShade the lower half of each eye circle slightly darker; it makes the eyes look glossy.
AvoidAvoid placing eyes too low on the head; that makes the turtle look surprised or worried.
13. Side-View Cozy Turtle Profile
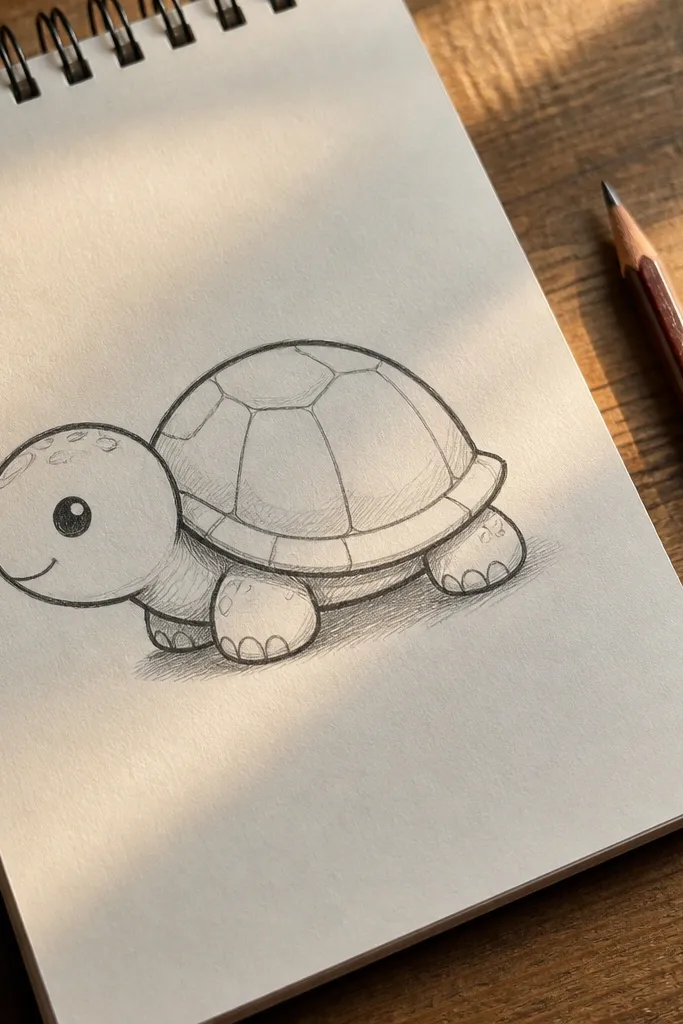
Most turtle drawings fail because the shell is drawn front-on every time. A side-view profile is still simple but looks more dynamic and more “designed.” The shell oval becomes a slightly tilted oval, and the head circle overlaps it. Legs become two visible bumps and one partially hidden bump. This version is photogenic because the shell curve reads clearly from the side.
Step 1: Draw a tilted oval for the shell, then attach a head circle at the front with a slight overlap. Step 2: Add three leg shapes under the shell — two visible in front and one tucked behind — then connect them with short curves. Finally, add a small tail bump and draw the eye as a simple dot with a tiny highlight.
Pro tipTilt the shell 10-20 degrees; a huge tilt makes it look like it’s falling.
AvoidDon’t draw the head as a perfect circle in profile; shift it slightly into an oval for the angle.
14. Cozy Shell Star Pattern Turtle
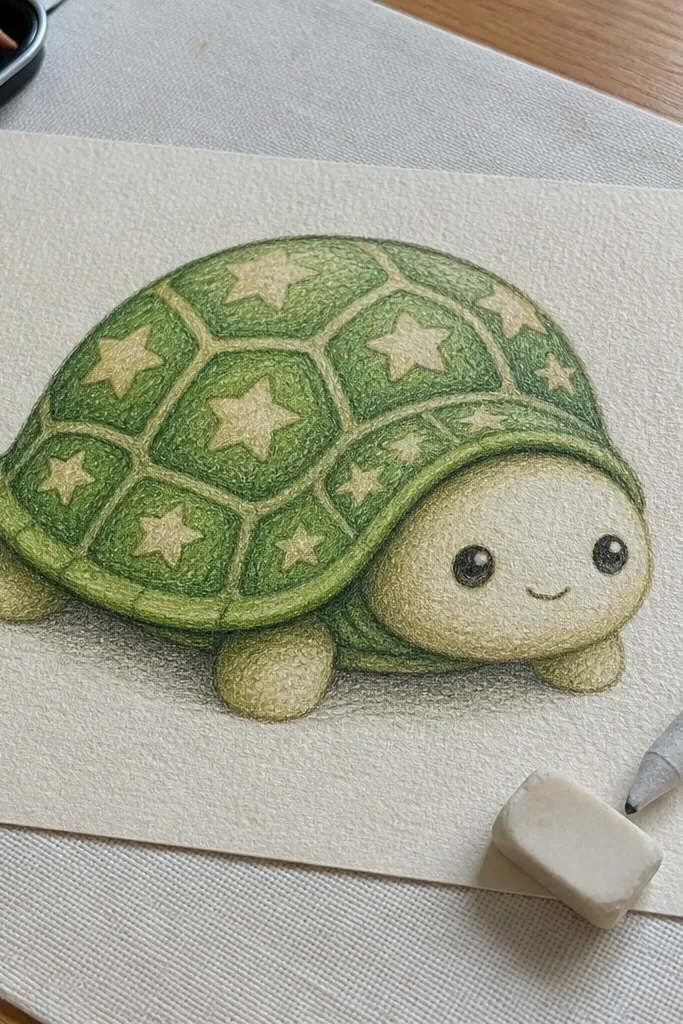
Patterns make a turtle look intentional, and stars read cute in a cozy Turtle Drawing. This version uses a simple star pattern inside the shell segments instead of dense lines. The trick is keeping the stars small and evenly curved to the shell shape, so they don’t look pasted on. It’s great for coloring with pencils because you can shade around each star for depth.
Step 1: Draw the shell oval and segment lines, then lightly sketch 6-10 small stars inside a few segments. Step 2: Darken star outlines with a pen or darker pencil and shade the space between stars using a darker base tone along one side. Finally, color the background lightly or leave it blank so the stars stay the focal point.
Pro tipMake stars slightly irregular in size; perfect symmetry looks less cozy.
AvoidDon’t cram stars into every segment; leave 1-2 segments plain for balance.
15. Cozy Turtle with Scarf Stripe
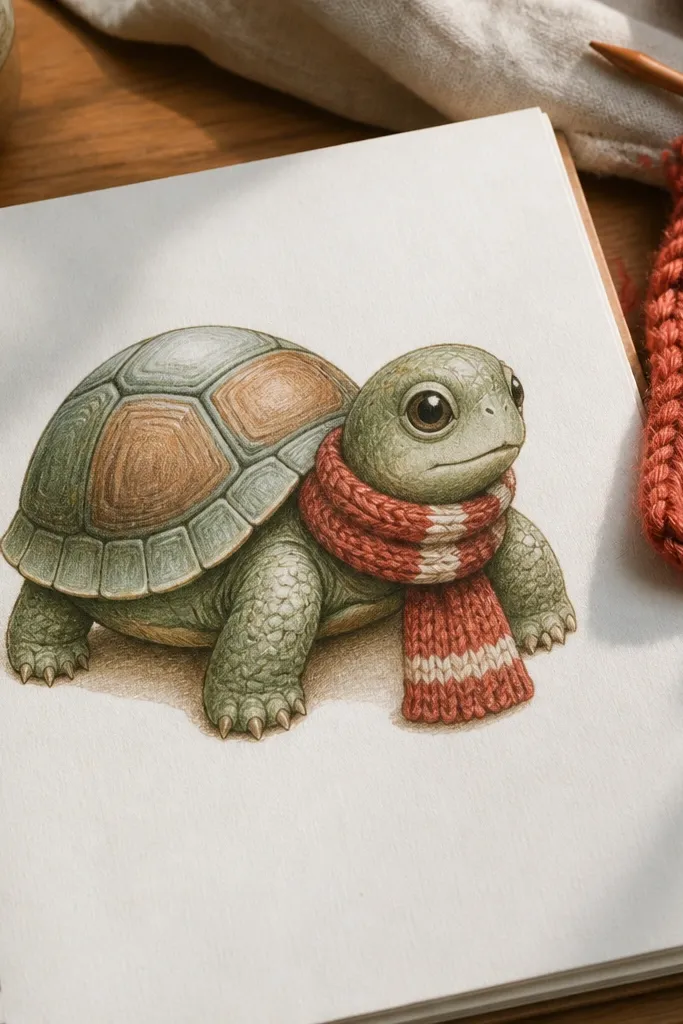
A scarf is an easy way to add color contrast without turning the drawing into a complicated outfit. This version places a short scarf around the neck area where the head meets the shell, with one stripe pattern so it stays clean. The turtle looks cozy because the scarf creates a warm, human-like touch. It’s a good choice for holiday cards or winter-themed art.
Step 1: Draw your turtle normally, then add a curved scarf band around the neck — a simple loop that sits under the head. Step 2: Add one diagonal stripe across the scarf and a small knot shape at the front. Finally, color scarf in a warm tone like red or mustard and shade under the scarf where it overlaps the shell.
Shade the scarf edge closest to the shell darker; it makes the scarf look wrapped.
Don’t draw a long scarf that reaches the shell — keep it short and tidy.
16. Chunky Crayon Texture Turtle
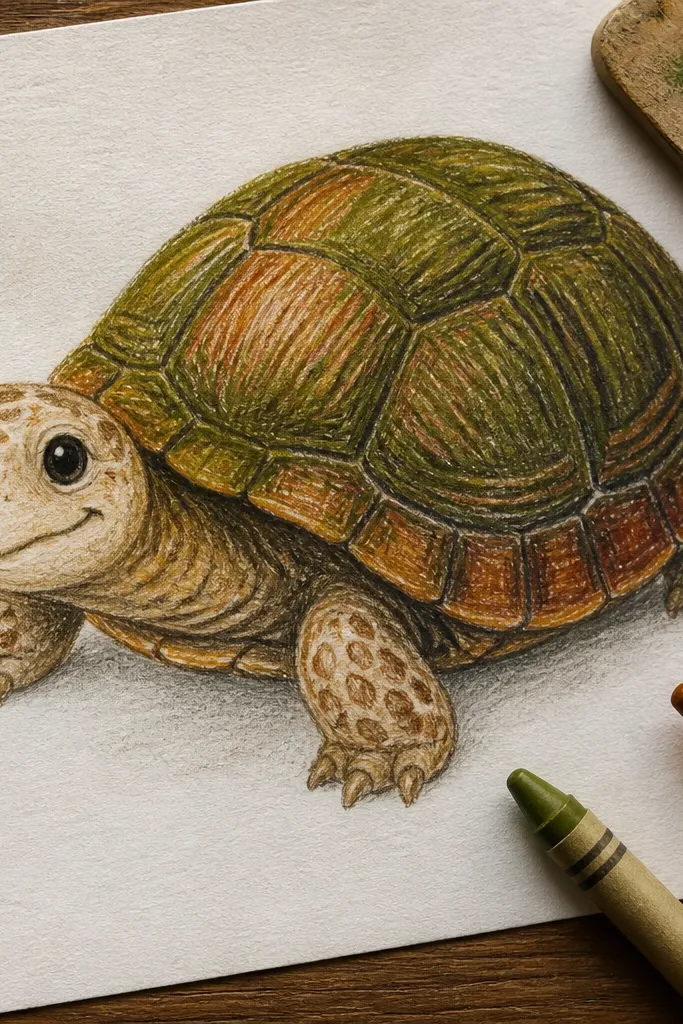
Texture is what makes a cozy Turtle Drawing look handmade, even if the shapes are simple. This version uses thick, directional coloring so the shell looks like it’s made of crayons. You keep the turtle construction clean, then color in visible strokes that follow the shell curve. The end result looks warm and tactile, and it photographs well because the texture catches light.
Step 1: Sketch the turtle with light pencil, then color the shell using thick strokes that curve around each segment. Step 2: Use a second darker crayon color for segment edges, staying inside the segment borders. Finally, add a light cream highlight on the shell and a darker outline on the legs.
Pro tipColor in one direction per segment; changing direction mid-segment looks patchy.
AvoidDon’t blend everything smooth — cozy crayon texture needs visible stroke marks.
17. Christmas Ornament Turtle
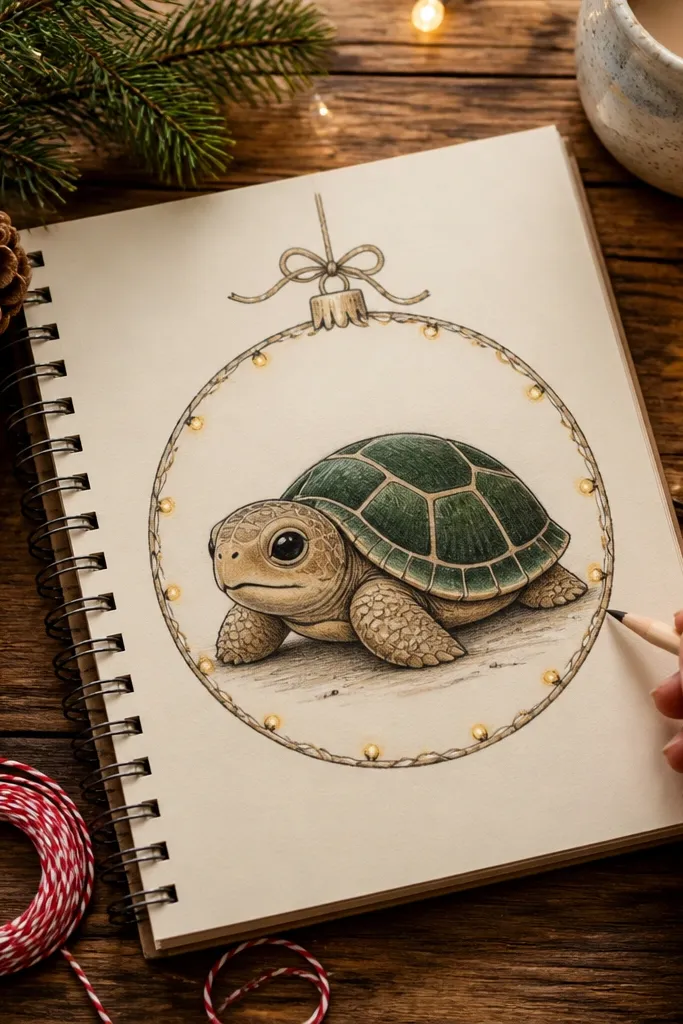
Framing the turtle inside an ornament turns a simple drawing into a holiday-ready image. This version draws a circular border around the turtle, then adds a small ribbon top and tiny “light” dots. The turtle stays centered, with the shell pattern simplified to keep the ornament clean. It’s photogenic because the circle frame guides the viewer’s eye to the face.
Step 1: Draw a circle frame first, then place the turtle inside it using your shell oval and head circle construction. Step 2: Add a small ribbon loop at the top of the circle, then place a few tiny dot lights around the border. Finally, color the turtle with warm greens and browns and lightly shade the ornament border.
Leave the outer border mostly clean; the turtle should be the focus, not the background.
18. Cozy Turtle on Leaf Pad
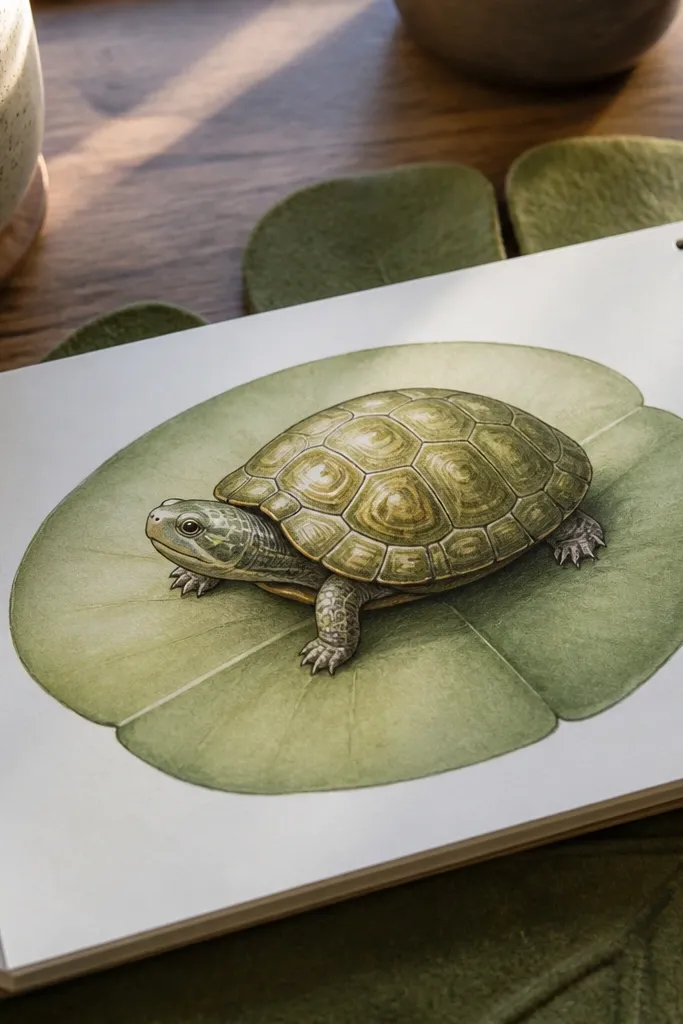
A leaf pad gives you a natural base for shadows and makes the turtle look like it belongs somewhere. This version draws one big leaf under the shell, then adds two or three simple vein lines so it doesn’t turn into a botanical drawing. The turtle looks cozy because the leaf creates a soft green shape behind it. It’s great for spring-themed drawings and for learning simple background shapes.
Step 1: Draw the turtle first, then sketch a large leaf behind and under it, angled so it shows its curve. Step 2: Add 3-5 vein lines starting from the leaf stem toward the edges. Finally, shade under the turtle legs with a darker green shadow and add a small highlight on the leaf tip.
Pro tipShade the leaf edges darker than the center; it makes the leaf feel curved fast.
AvoidAvoid adding lots of leaf clutter; one leaf is enough for a cozy look.
19. Minimal Shell Linework Turtle
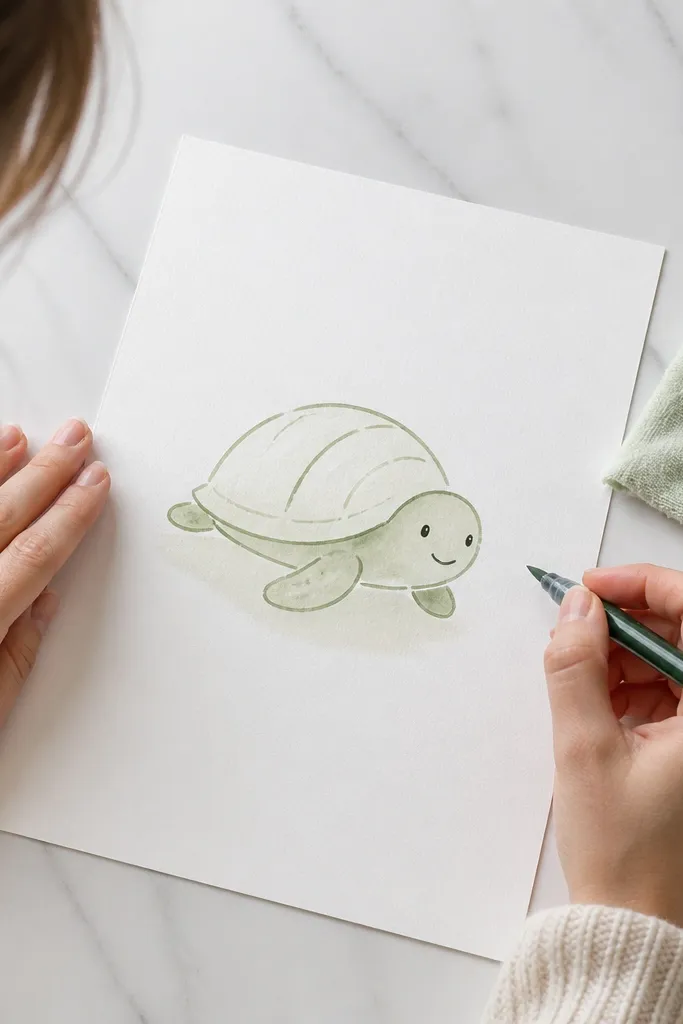
Some cozy Turtle Drawings look best when the shell texture is almost invisible. This version uses just 3-4 shell line curves and relies on a soft shadow under the shell to show shape. The face stays sweet with a tiny smile and simple eyes. Minimal linework is also easier to finish neatly with markers or pencils. If your drawings get messy when you add details, this one fixes that.
Step 1: Draw the shell oval and add only 3-4 curved segment lines across the shell. Step 2: Add the legs as rounded bumps and keep the tail small. Finally, color the shell with one light tone and add a single darker shadow band along the bottom edge.
Pro tipUse a ruler or straight edge only for the shadow boundary if you want it extra clean.
AvoidDon’t draw tiny shell scale dots; minimal shells need fewer marks.
20. Cozy Turtle with Polka Dot Background
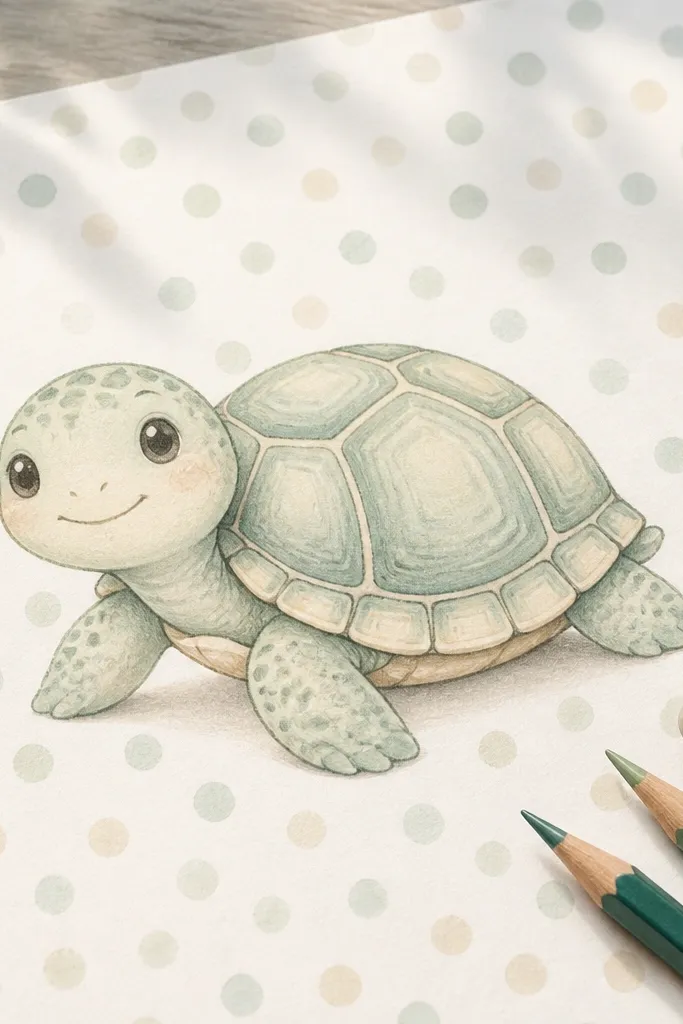
A polka dot background makes a cozy Turtle Drawing feel playful without turning into a full scene. The turtle stays the same construction, but you add soft, evenly spaced dots behind it. Keep the dots light and let them fade slightly so they don’t overpower the shell texture. This is a strong option for printable art because the background pattern repeats nicely.
Step 1: Draw the turtle and leave the background area blank around it. Step 2: Add polka dots behind the turtle — keep them small and spaced consistently, using a light pastel color. Finally, add a faint shadow under the turtle legs so it looks layered on top of the dots.
Pro tipMake dots smaller near the edges of your page; it adds depth without complex shading.
AvoidAvoid dark polka dots; dark dots compete with the turtle.
21. Cozy Turtle with Cloud Blanket
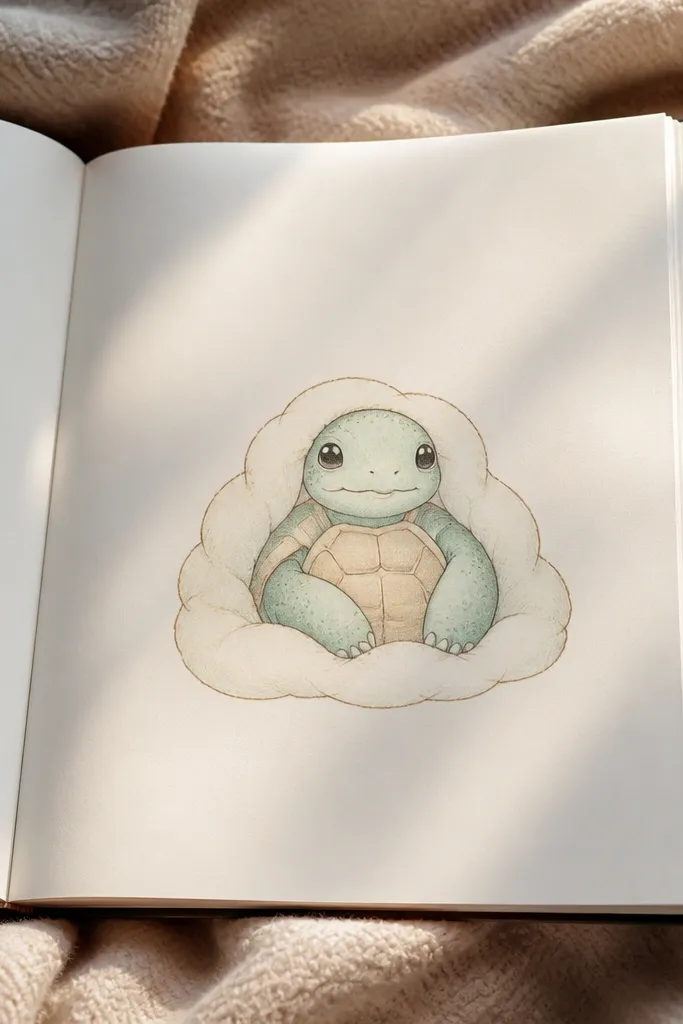
This version turns a turtle drawing into a cozy “wrapped up” moment. You draw the turtle normally, then add a soft cloud blanket shape around the shell and legs. The blanket edges should be round and uneven so it feels plush, not like a hard blanket. It’s visually striking because the cloud outline frames the turtle face. Color the blanket in pale blue or cream for a warm, calm look.
Step 1: Sketch the turtle first, then draw a large rounded cloud shape behind and around the shell. Step 2: Add a few puff bumps on the blanket edge so it looks soft. Finally, shade the blanket underside slightly darker and color the turtle shell lighter so it stays readable.
Let the blanket overlap the shell slightly — layering makes it look cozy instead of pasted on.
22. Cozy Turtle in a Heart Frame
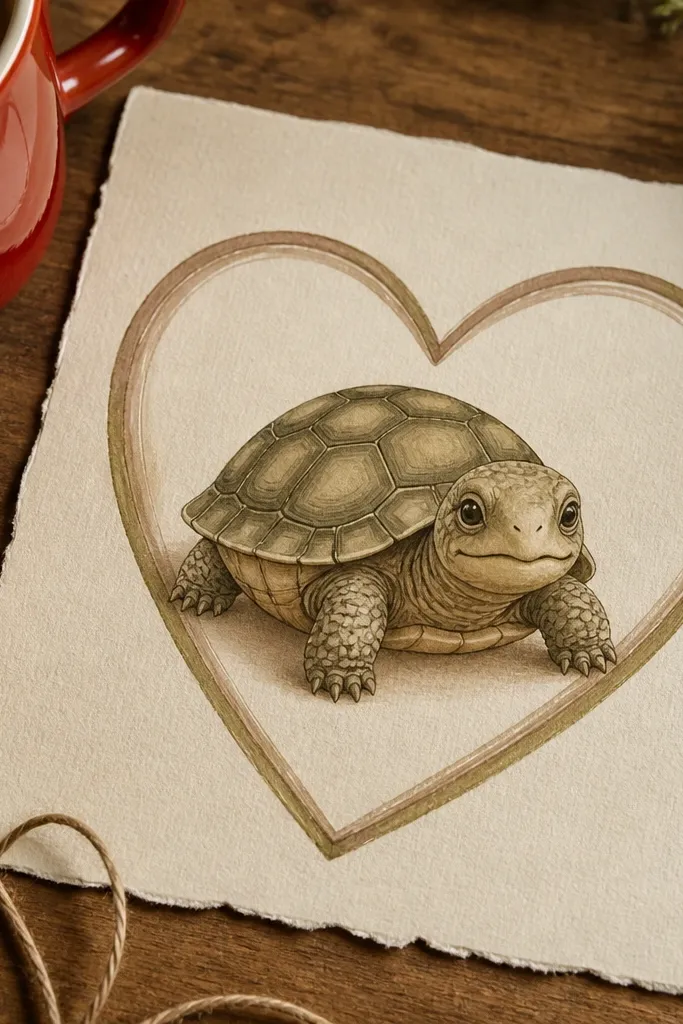
Heart frames make a cozy Turtle Drawing instantly giftable. This version draws a heart outline behind the turtle, then keeps the turtle’s shell patterns simple so the heart stays clean. The heart also creates natural space for shadows and helps center the composition. It’s a great choice for Valentine-style art without needing a full background scene.
Step 1: Draw a heart shape first, then place the turtle inside so its shell oval sits in the bottom half of the heart. Step 2: Add one or two shell segments and keep leg shapes rounded. Finally, color the heart outline with a light warm tone and add a soft shadow under the turtle legs.
Keep the heart outline thickness consistent; uneven thickness makes it look messy.
Don’t fill the entire heart with dark color; leave it light so the turtle reads.
23. Cozy Turtle with Leafy Shell Borders
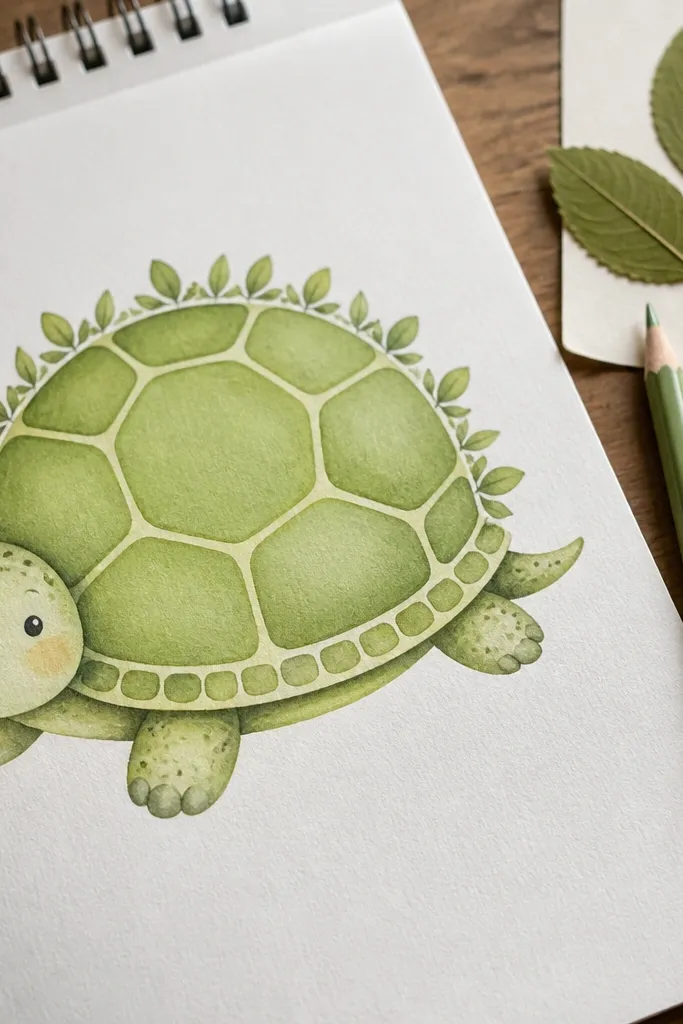
Edges are where cozy drawings look crafted. This version keeps the shell segments simple, then adds tiny leaf shapes along the shell’s outer border so the turtle looks like it’s wearing a natural frame. The center of the shell stays clean, which keeps the drawing from becoming cluttered. It’s a good choice for colored pencil shading because you can shade the leaves and the shell in the same direction.
Step 1: Draw your shell oval and only 4-6 segment lines. Step 2: Along the outer border, sketch small leaf shapes that follow the oval curve, like 10-14 tiny leaves total. Finally, color the shell base and add darker shading under the leaf shapes to separate layers.
Pro tipMake leaves point outward slightly; it makes the border look intentional.
AvoidAvoid adding leaf shapes inside the segments; keep them only on the outer border.
24. Cozy Turtle with Simple Geometric Patterns
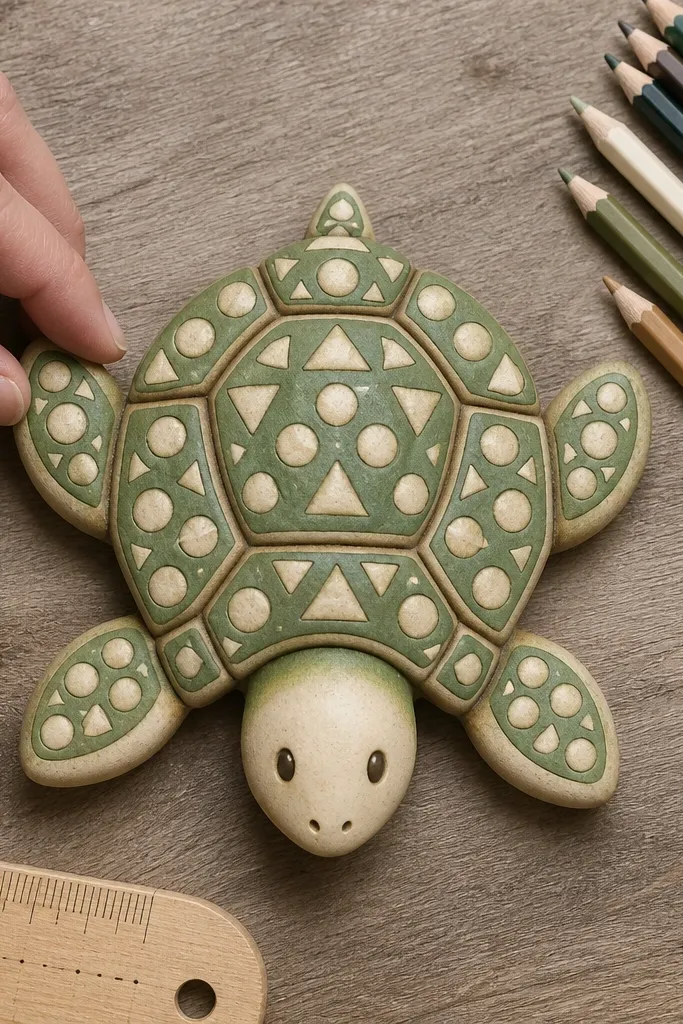
Geometric patterns make the drawing look modern and clean while still staying cozy if you keep shapes small and rounded. This version uses a mix of tiny triangles and circles inside shell segments, then shades only the segment edges. The turtle face stays simple so the pattern doesn’t distract. It’s photogenic because the repeating shapes create texture without heavy realism.
Step 1: Draw the shell oval and define 5-6 segments. Step 2: Inside each segment, place 3-6 small shapes — circles and rounded triangles — keeping them evenly sized. Finally, color the segments in two light tones and add a darker edge shade on one side of each segment.
Use one shape per segment for the cleanest look, like circles in two segments and triangles in two.
Don’t mix too many shape types at once; it turns into visual noise.
25. Cozy Turtle with Soft Night Sky Accent
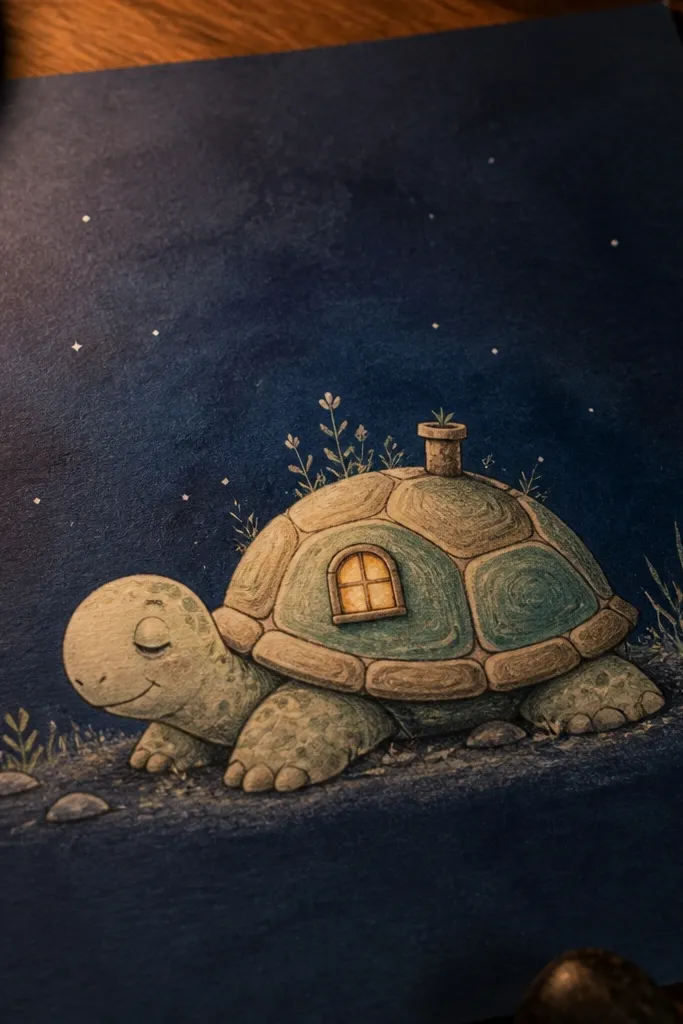
A dark background makes the turtle look cozy because warm colors glow against blue. This version uses a deep blue wash behind the turtle and adds just a few small star dots. The turtle itself stays light and warm, with a shell base that contrasts the background. It’s great for creating a dramatic but still cute look, especially with colored pencils or gel pens.
Step 1: Color the background behind the turtle with deep blue, keeping it lighter near the turtle edges. Step 2: Add 6-12 tiny star dots using white gel pen or white paint. Finally, shade the shell with warm colors and add a bright highlight on the nose and shell edges.
Keep stars sparse; too many stars make it feel busy instead of cozy.
Don’t darken the turtle too much or it will disappear into the background.



