
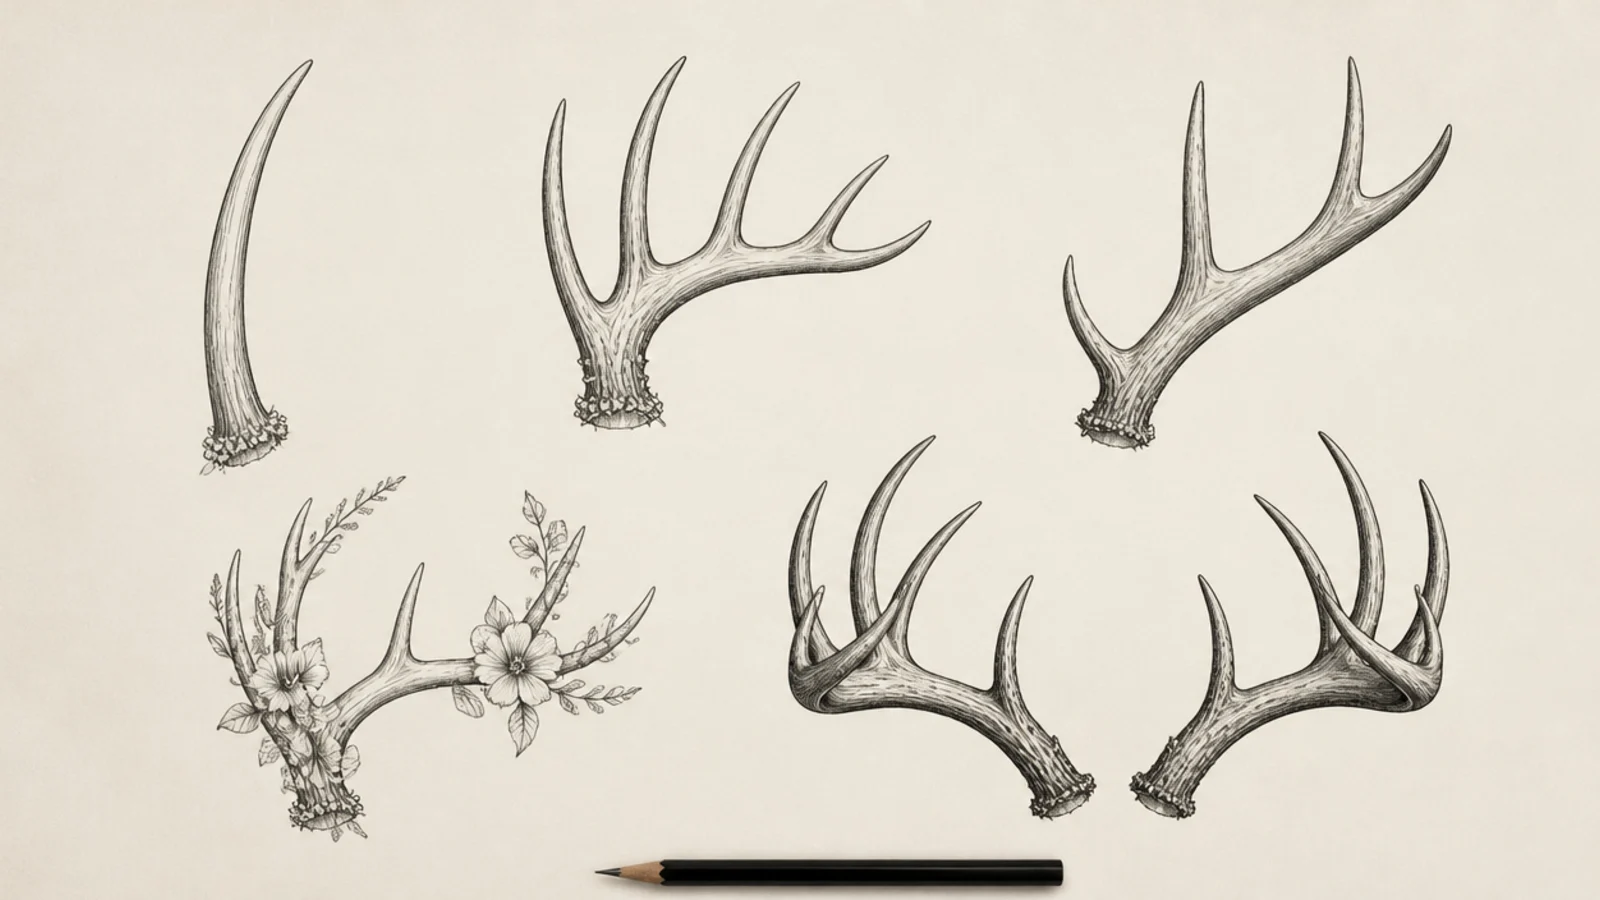
1 Young Single-Spike Antler
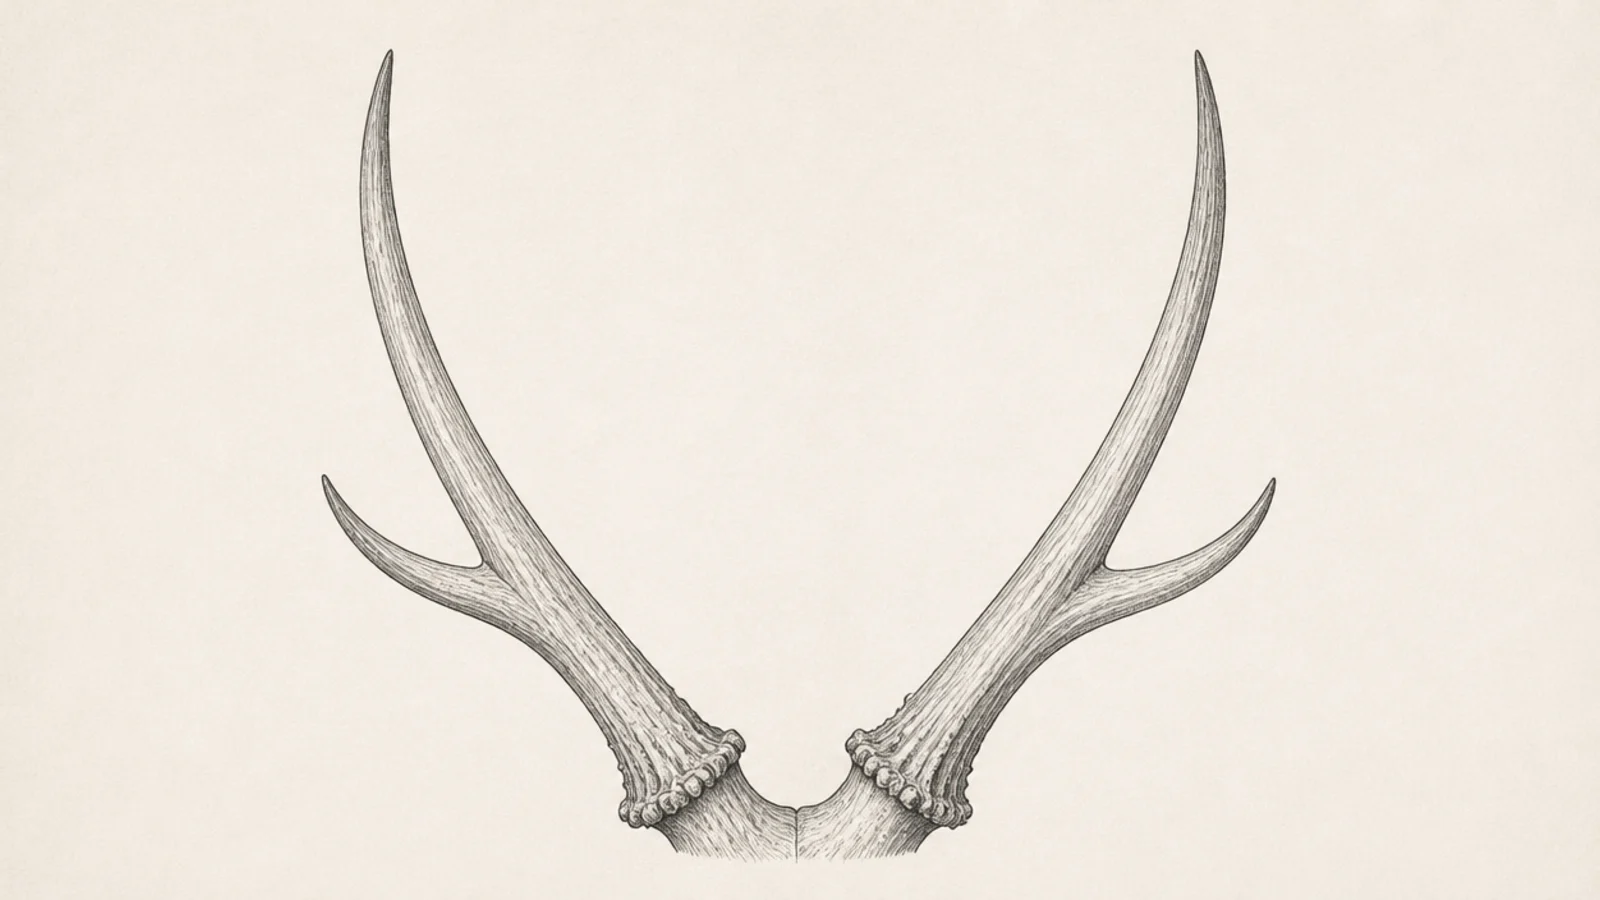
A young buck’s spike antlers are just two simple tapered beams with no branches. They are the easiest antlers to draw and the base for the rest. It teaches the beam shape alone.
Pro tipTaper each spike from a thick base to a fine point for a natural look.
Step 1 draw one tapered beam curving up from the base. Step 2 add a rough burr ridge at the bottom. Step 3 mirror the beam on the other side for the pair.
AvoidDon’t add branches; a spike is a single unbranched beam by definition.
2 Simple Branching Pair
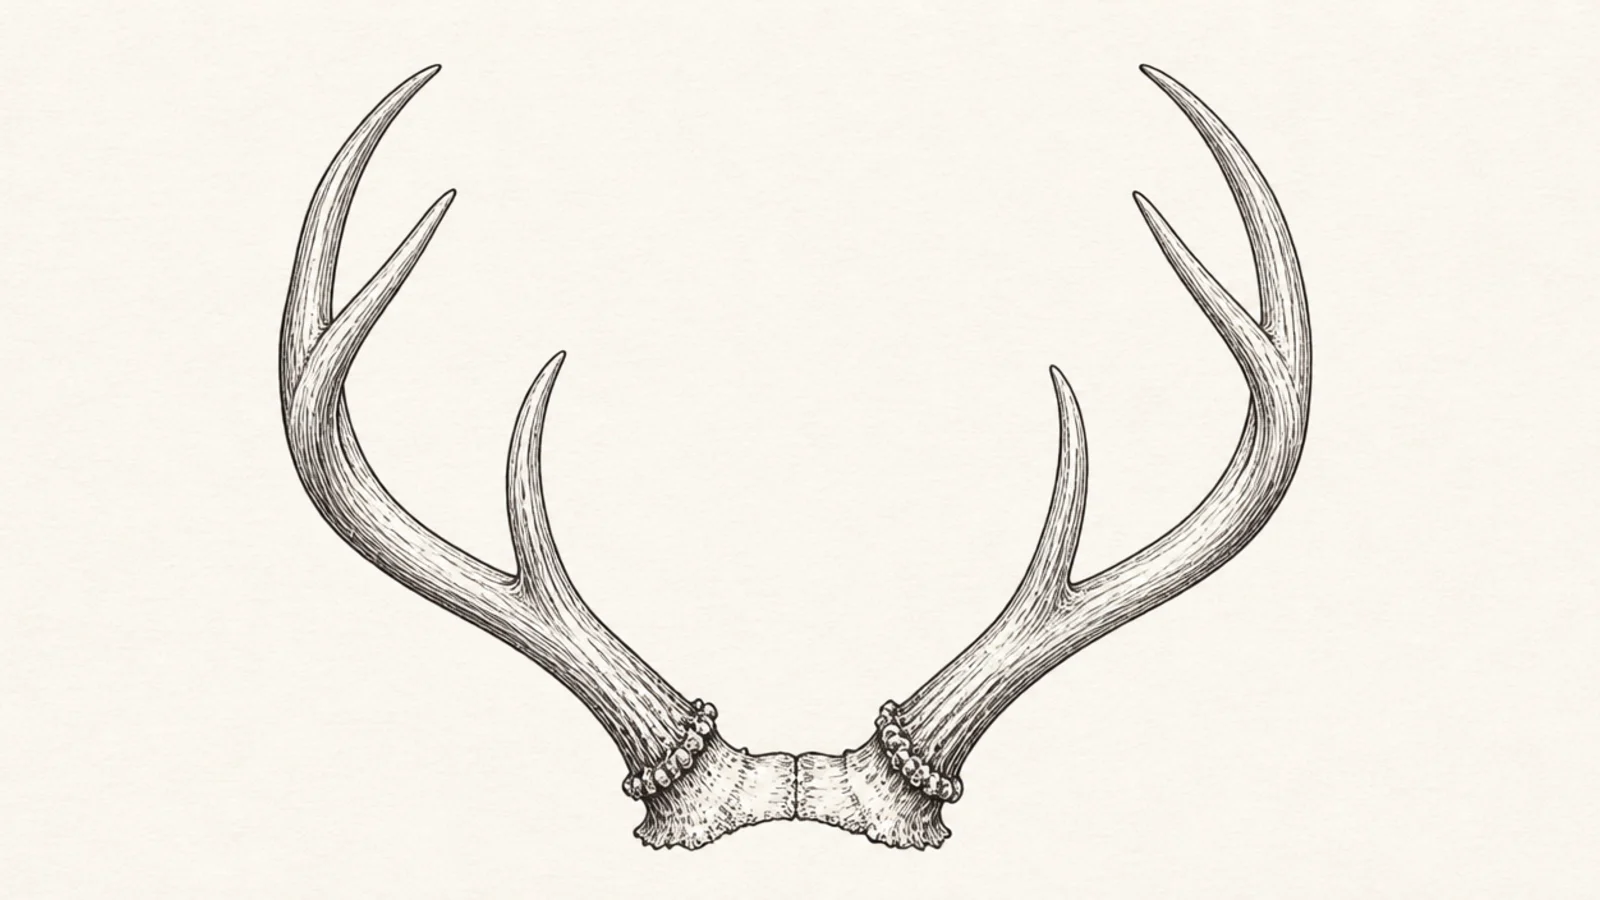
A basic branching pair adds a few tines to the beam, the core antler shape. It is the fundamental study everything else builds on. It teaches how tines branch and sweep together.
Pro tipSweep all the tines in the same forward direction so they flow together.
Step 1 draw the two main beams curving up and outward. Step 2 branch two or three tines off each beam, all sweeping up and forward. Step 3 taper every tip and add the burr at the base.
AvoidDon’t point the tines every which way; matching sweep is what reads as antlers.
3 Typical Whitetail Rack
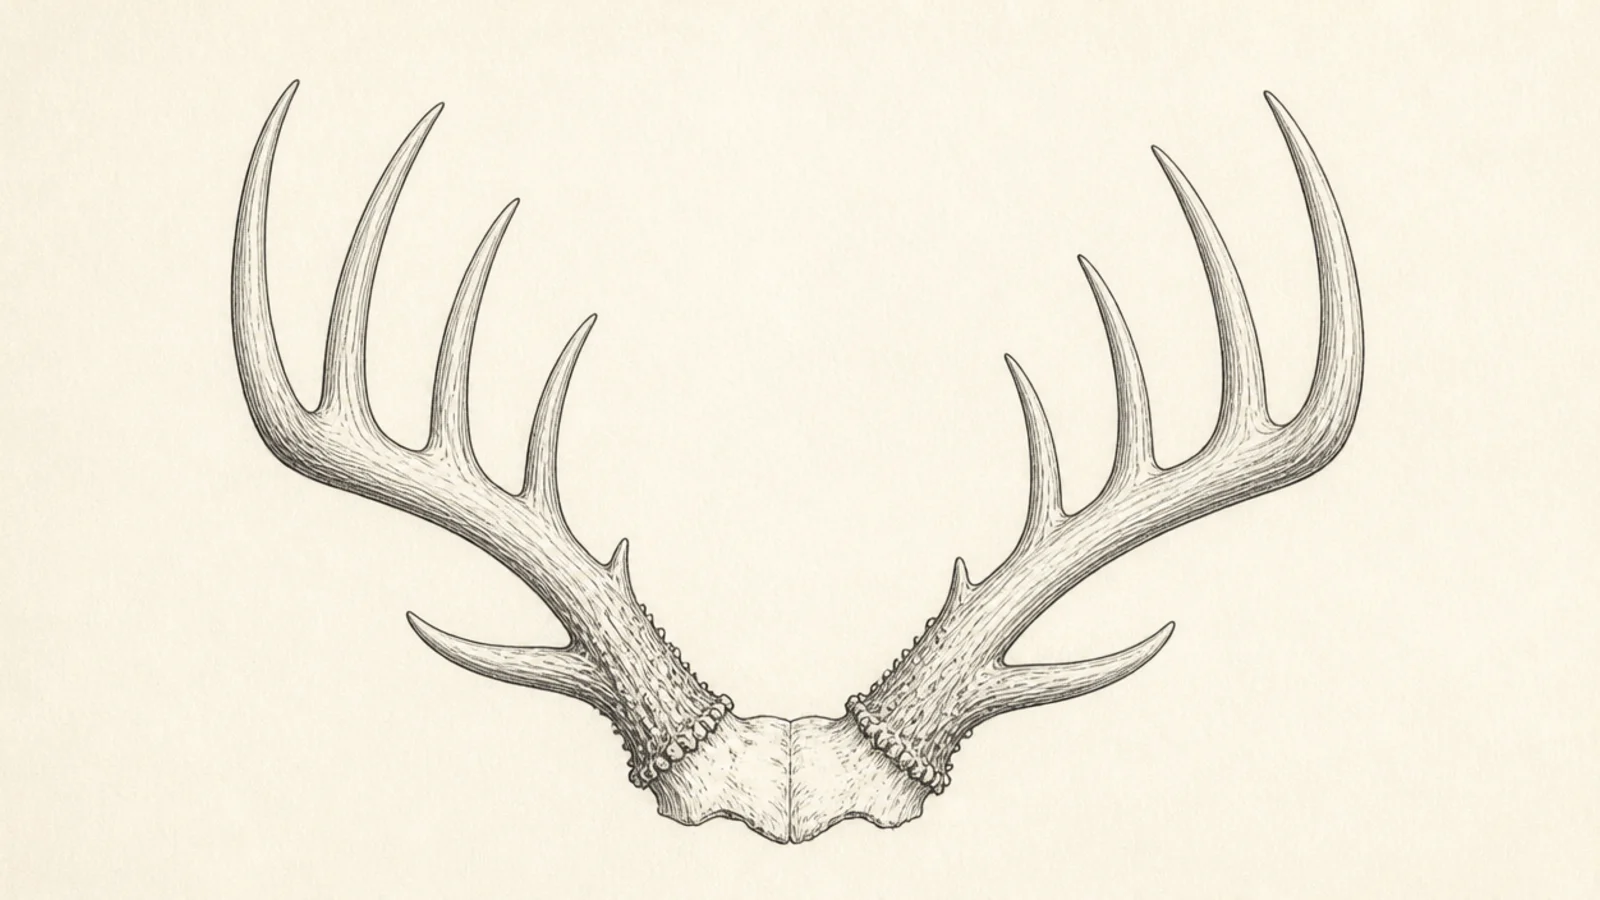
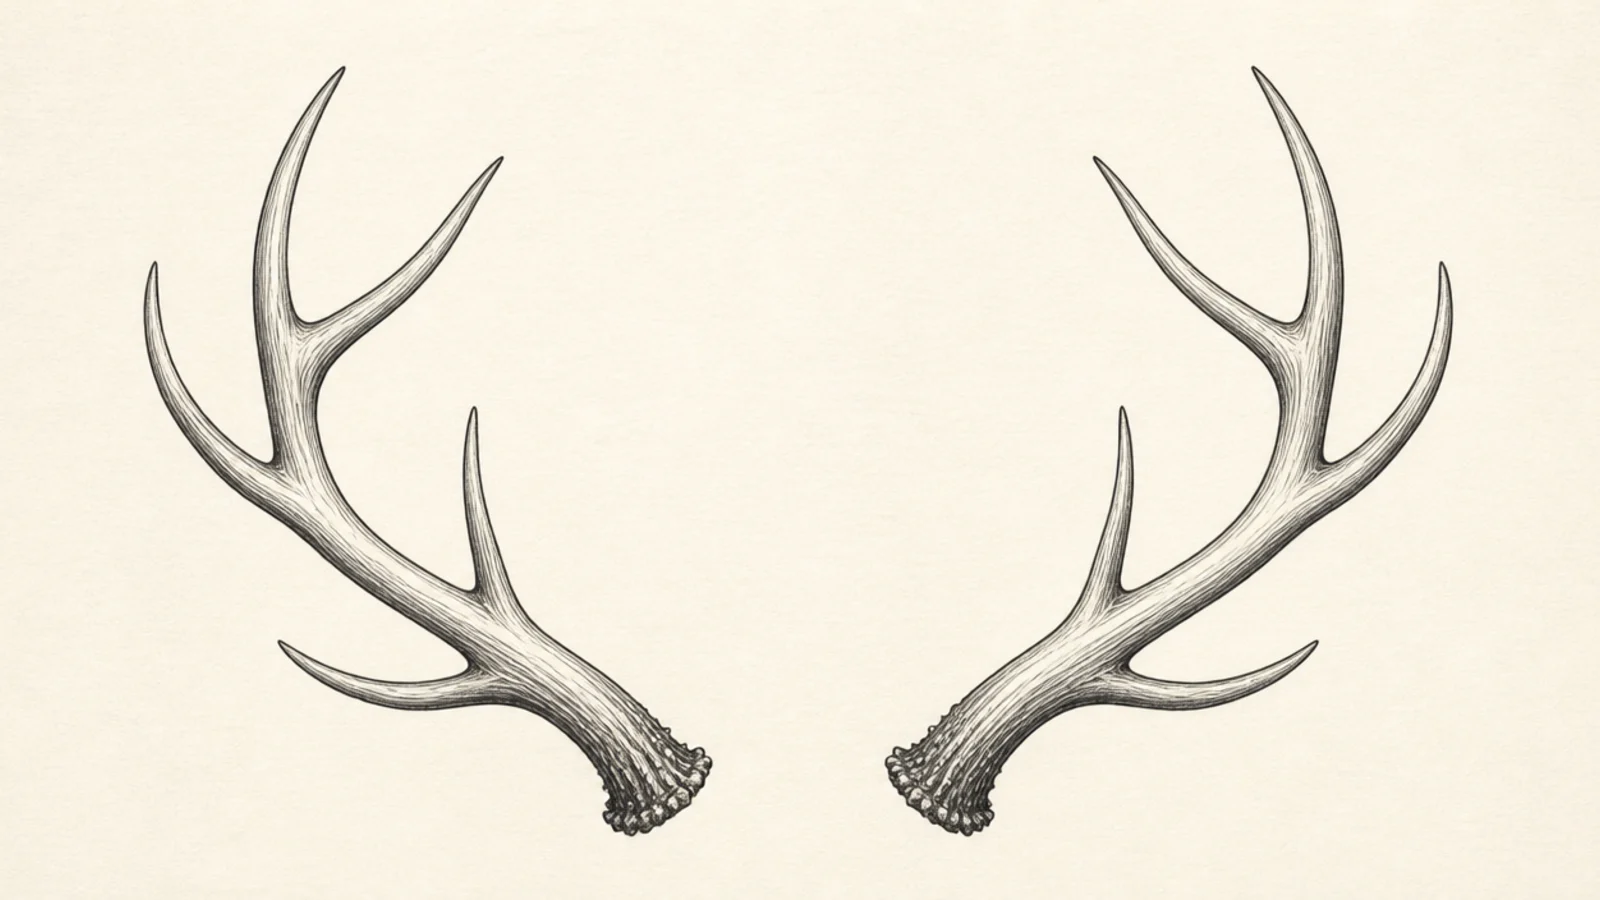
A whitetail rack has one main beam per side with separate tines rising vertically off it. It is the classic deer antler shape. It teaches the single-beam pattern clearly.
Pro tipSpace the vertical tines evenly along the beam like a row of fingers.
Step 1 draw each main beam sweeping out and curving back in. Step 2 rise four evenly spaced vertical tines off the top of each beam. Step 3 add a small brow tine near the base and taper all points.
AvoidDon’t fork the tines; whitetail points rise singly off one main beam.
4 Mule Deer Forked Rack
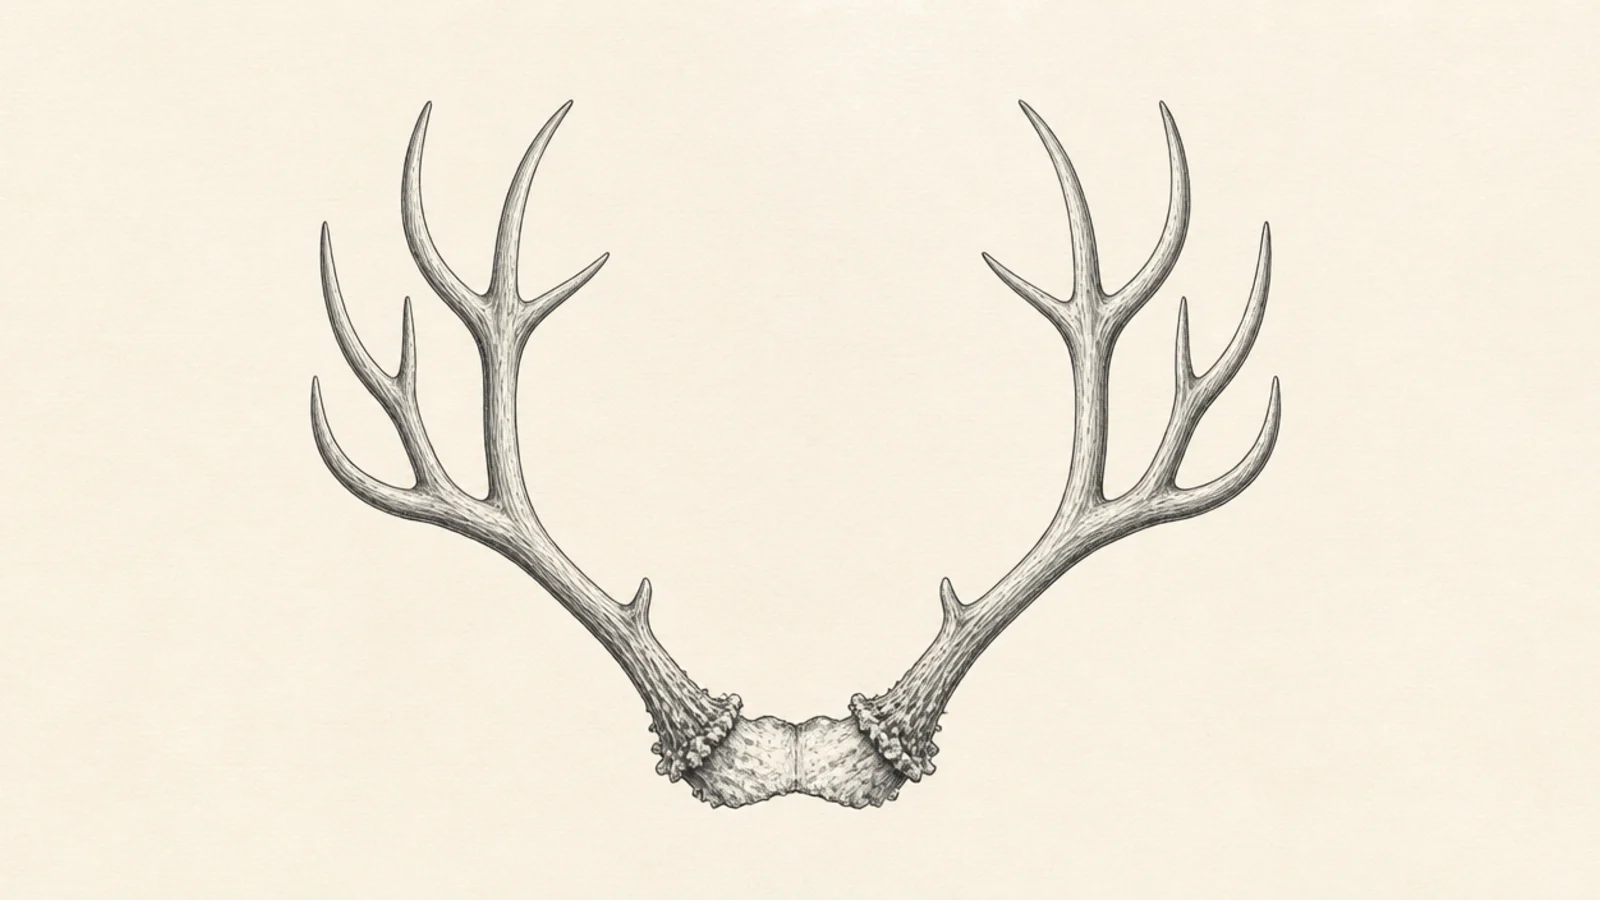
A mule deer rack forks — each branch splits into two, and those split again. The repeated Y-shape is distinctive. It teaches a second branching pattern.
Step 1 draw the beam splitting into two near the base. Step 2 split each of those branches into two again. Step 3 taper the four tips and add the burr, keeping the forks balanced.
Use even Y-forks so each split makes two roughly equal branches.
Don’t rise single tines off one beam; mule deer antlers fork repeatedly.
5 Velvet Antlers
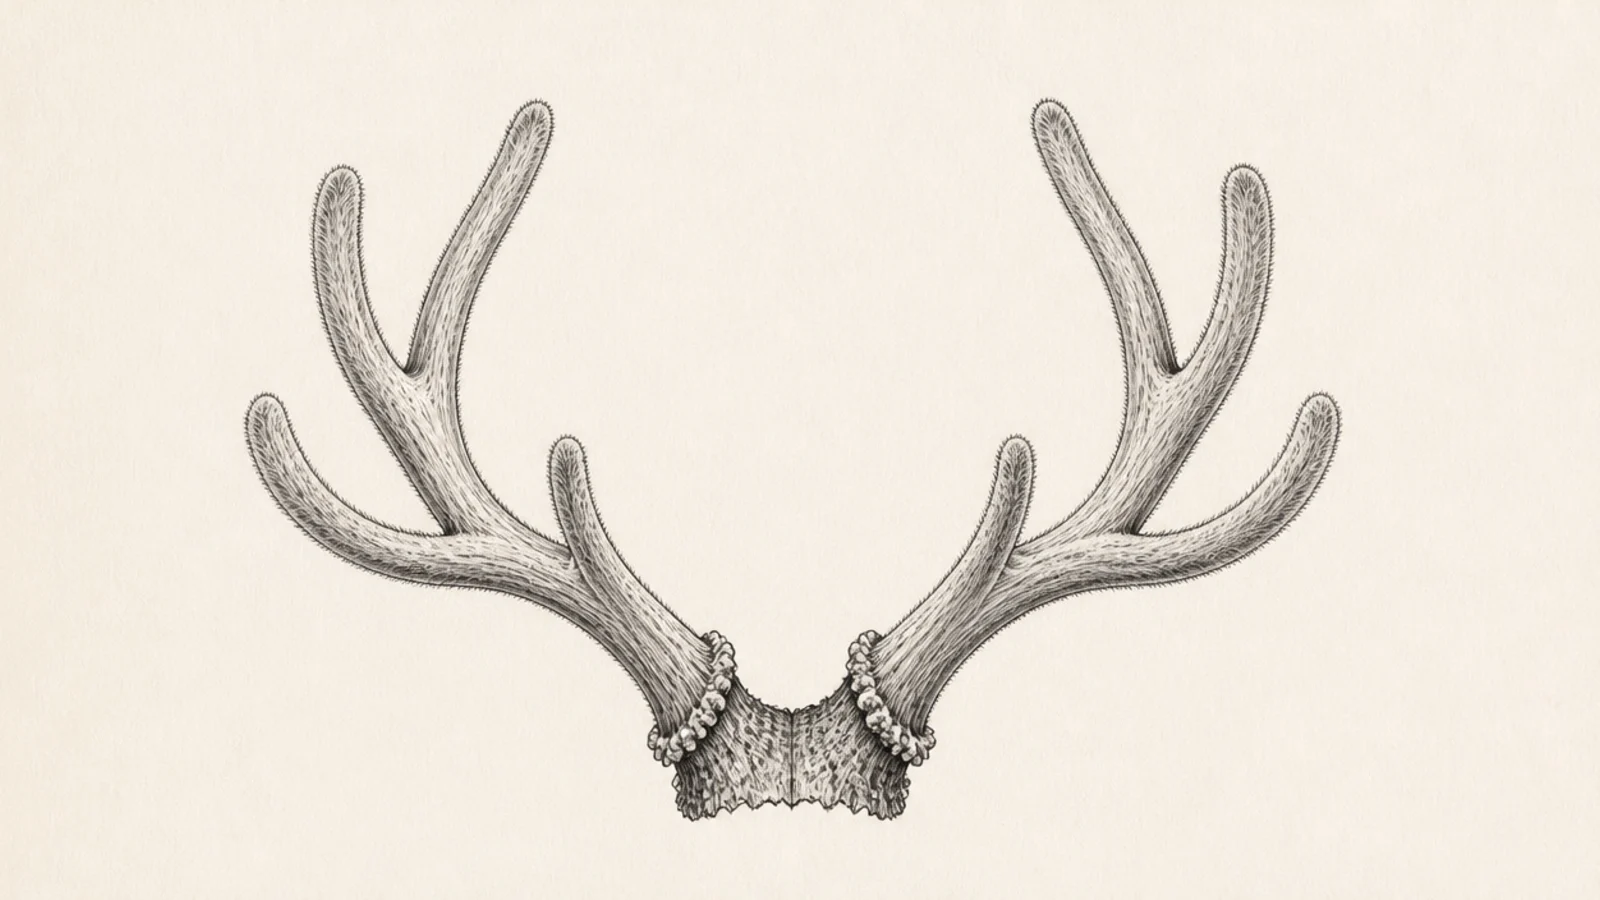
Velvet antlers are growing antlers covered in soft fuzzy skin. The rounded, furred look is different from hard bone. It teaches a softer rendering.
Step 1 draw a branching antler with thicker, rounder beams. Step 2 soften every edge and round the tips instead of pointing them. Step 3 add short fuzzy strokes along the edges to suggest velvet.
Round the tips and add soft fuzz along the edges for the velvet texture.
Don’t draw sharp points; velvet antlers are rounded and soft.
6 Elk-Style Sweeping Antlers
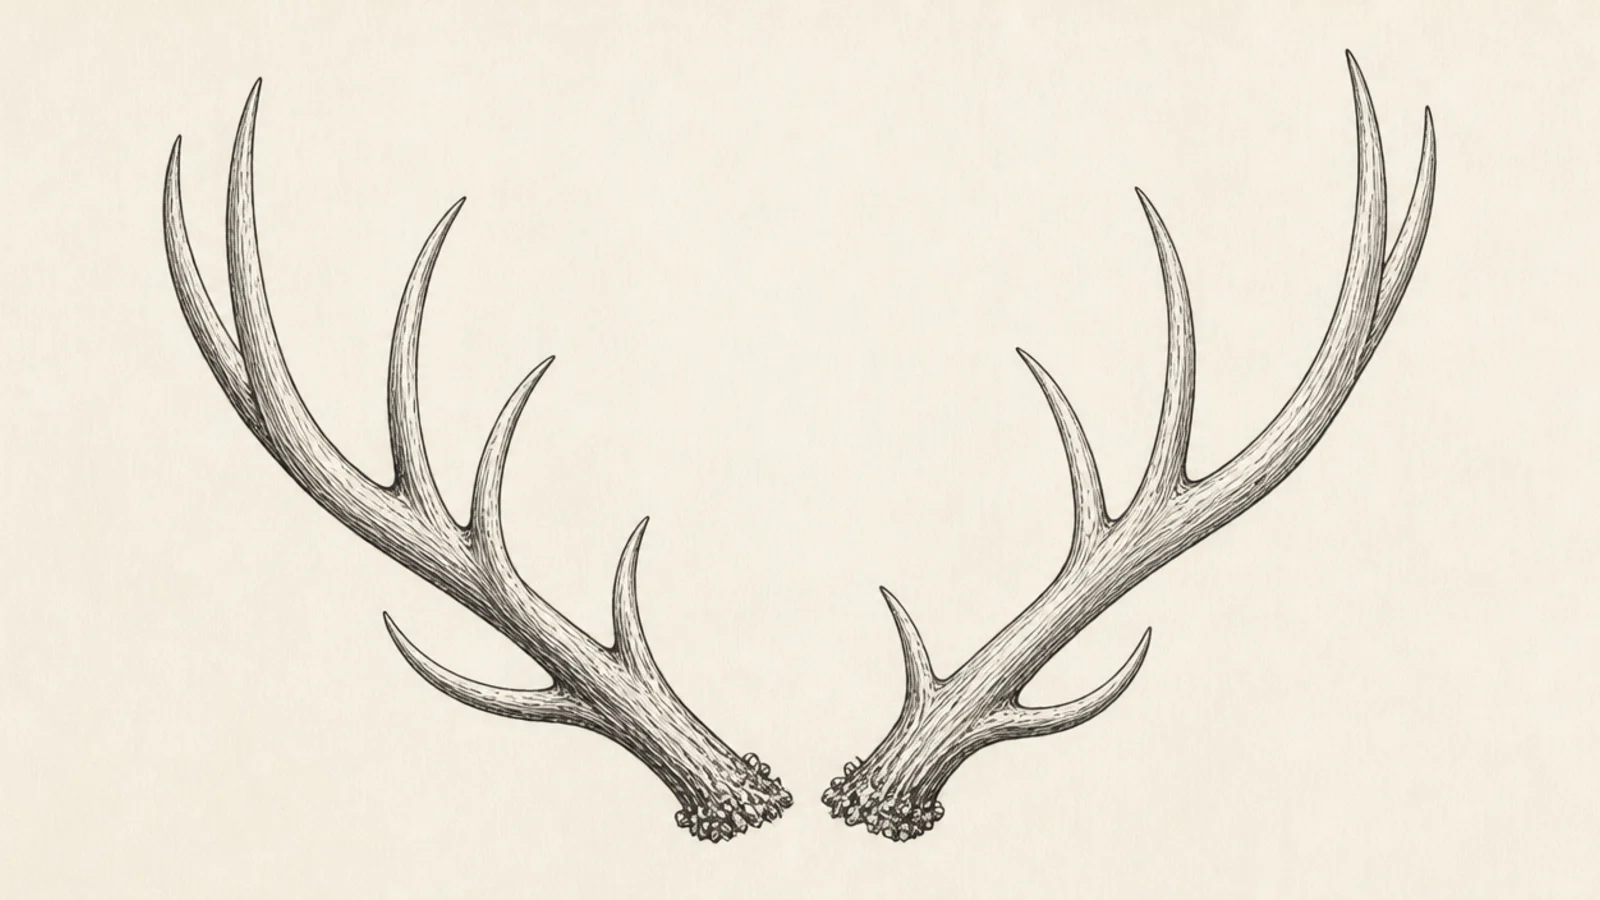
Large elk-style antlers sweep back over the shoulders in a grand arc. The long dramatic beams are impressive. It teaches a bigger, backward-flowing shape.
Pro tipSweep the beams well back over the shoulders for the grand elk shape.
Step 1 draw two long beams arcing up and far back. Step 2 branch several tines off the front edge of each beam. Step 3 taper the long tips and thicken the bases for weight.
AvoidDon’t keep them short and upright; elk antlers arc long and backward.
7 Front-View Symmetry Study
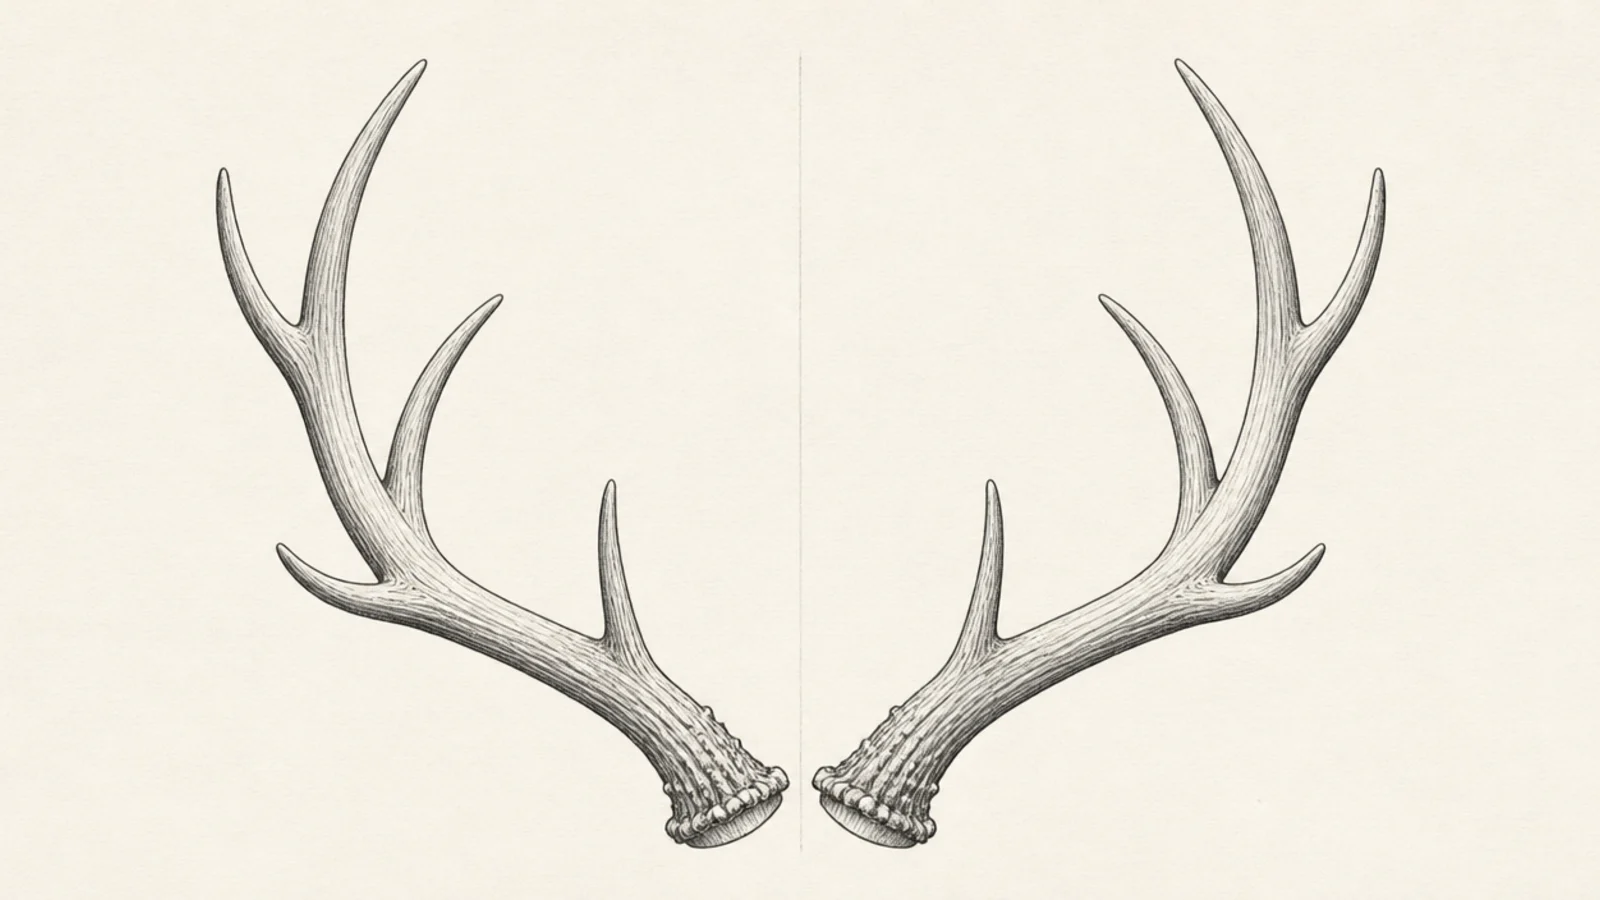
A dead-on front view is the best way to practice antler symmetry. Both sides mirror across the center. It teaches balanced spreading.
Pro tipMatch each tine’s height across the center line so the spread looks even.
Step 1 draw a light center line. Step 2 build the left antler with its beam and tines. Step 3 mirror every tine to the right, matching height and angle.
AvoidDon’t eyeball both sides freehand; the center line keeps it symmetrical.
8 Side-Profile Antlers
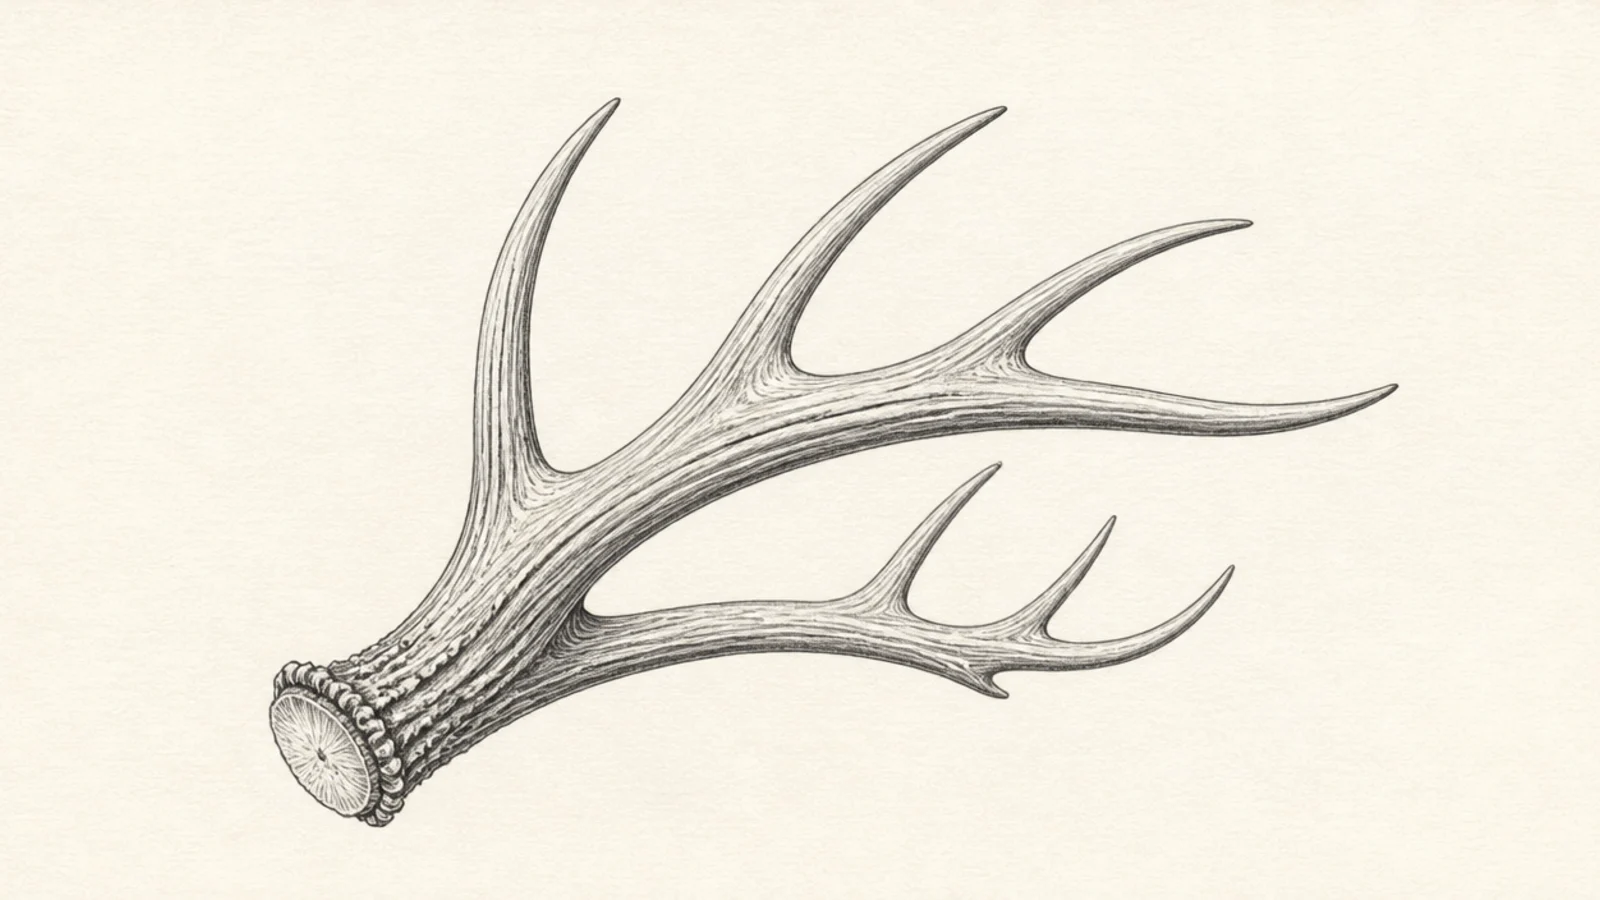
A side profile shows how antlers sweep forward and how the near one overlaps the far one. It teaches depth and overlap. The angle is more dynamic than a flat front view.
Step 1 draw the near beam larger and fully. Step 2 draw the far beam smaller and partly behind the near one. Step 3 branch the tines forward and taper the tips.
Make the far antler smaller and overlap it behind the near one for depth.
Don’t draw both antlers the same size; overlap and scale create the profile.
9 Clean Line-Art Antlers
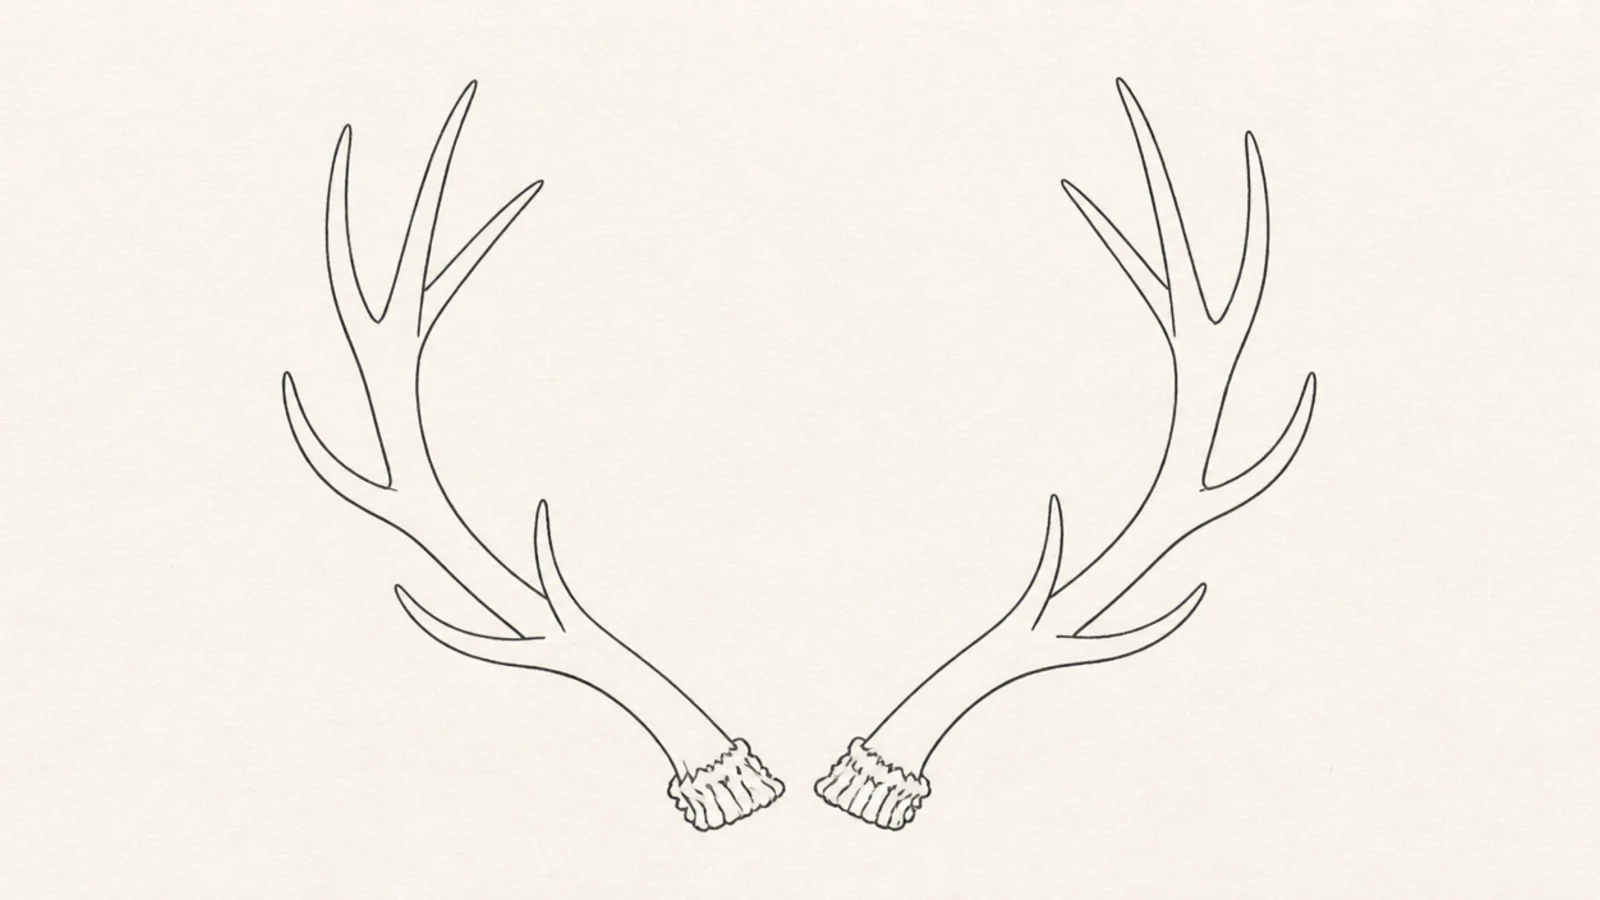
Clean line-art antlers use one even line weight for a crisp modern look. There is no shading to distract. It is perfect for logos and prints.
Step 1 sketch the antler pair lightly. Step 2 trace it once with a fineliner in a steady even pass. Step 3 erase the pencil and leave the clean outline unshaded.
Use one consistent line weight so the line-art look stays crisp.
Don’t over-trace or shade; a single clean pass is the whole design.
10 Floral Antlers
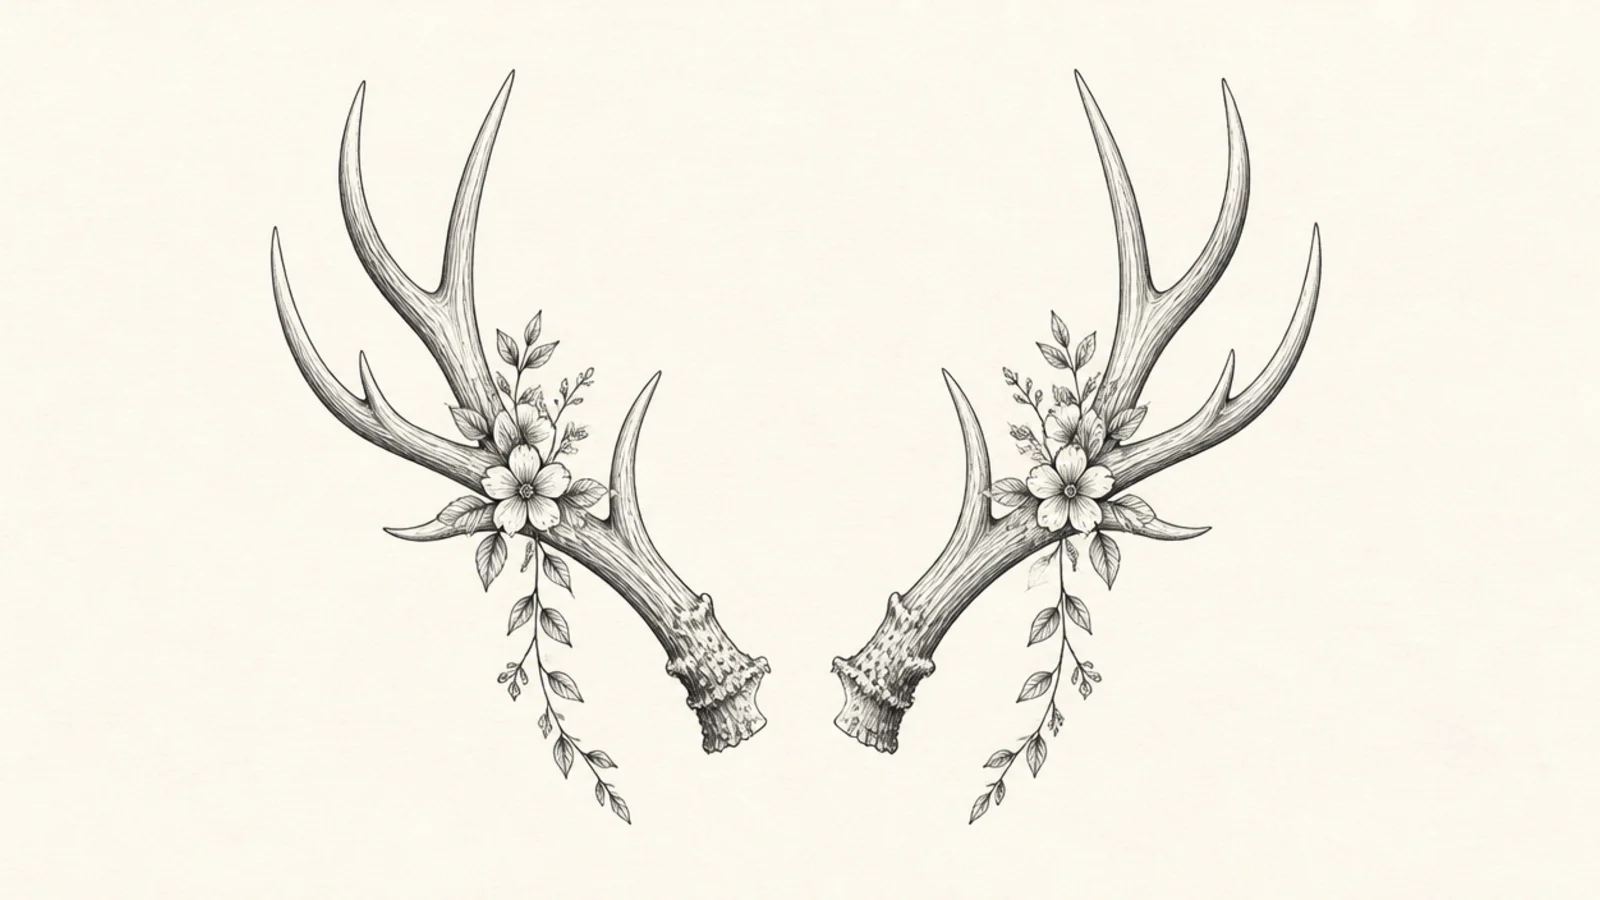
Floral antlers weave small flowers and leaves along the beams for a boho look. The blooms soften the hard antler lines. It is decorative and pretty.
Step 1 draw a clean antler pair. Step 2 cluster a few small flowers where the tines branch. Step 3 tuck leaves and buds into the gaps and let a couple trail down.
Cluster the flowers at the branch points so they sit naturally in the forks.
Don’t cover the whole antler; a few blooms keep the shape readable.
11 Single Shed Antler
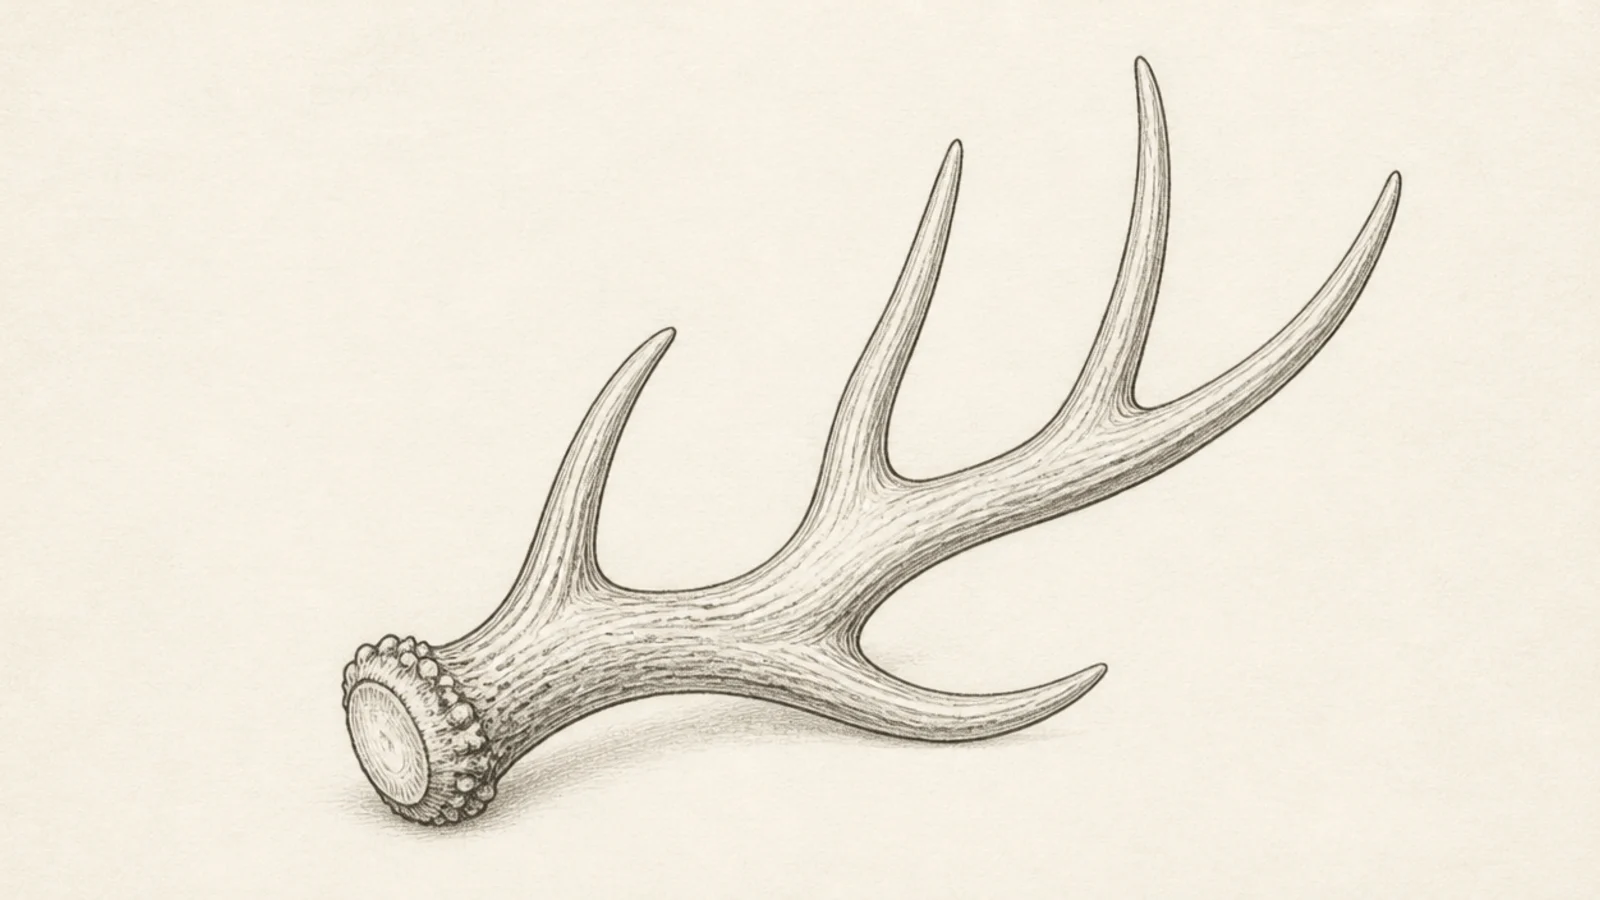
A single shed antler, dropped naturally, is a great solo study with a rounded base. Drawing just one lets you focus on its form. It has a rugged, found-in-nature feel.
Pro tipRound the shed base and add bumpy pearling to make it look real.
Step 1 draw one beam lying at an angle. Step 2 round off the base where it detached from the skull. Step 3 branch the tines and add pearling bumps and light shading.
AvoidDon’t draw a flat cut base; a natural shed has a rounded knobby base.
12 Multi-Point Trophy Rack
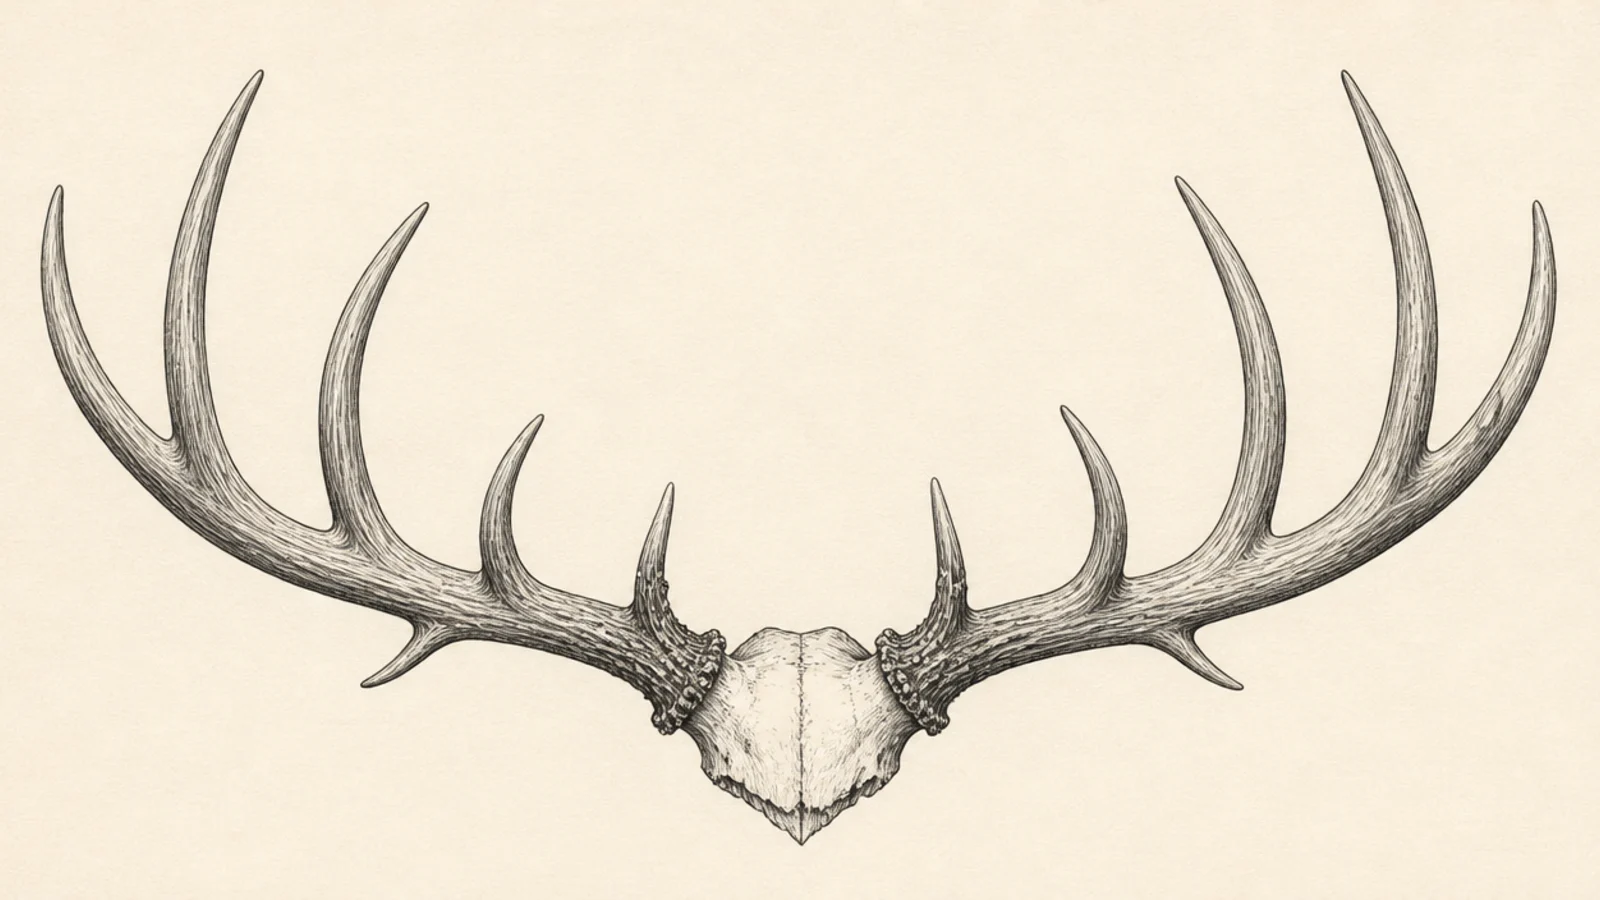
A big trophy rack packs many tines onto long beams for an impressive display. It is the most complex study here. It teaches spacing many points cleanly.
Pro tipSpace the many tines evenly and vary their lengths slightly for realism.
Step 1 draw two long wide-sweeping beams. Step 2 rise five or six tines off each, spaced evenly. Step 3 add brow tines low, taper every point, and thicken the bases.
AvoidDon’t crowd the tines together; even spacing keeps a big rack readable.
13 Geometric Antlers
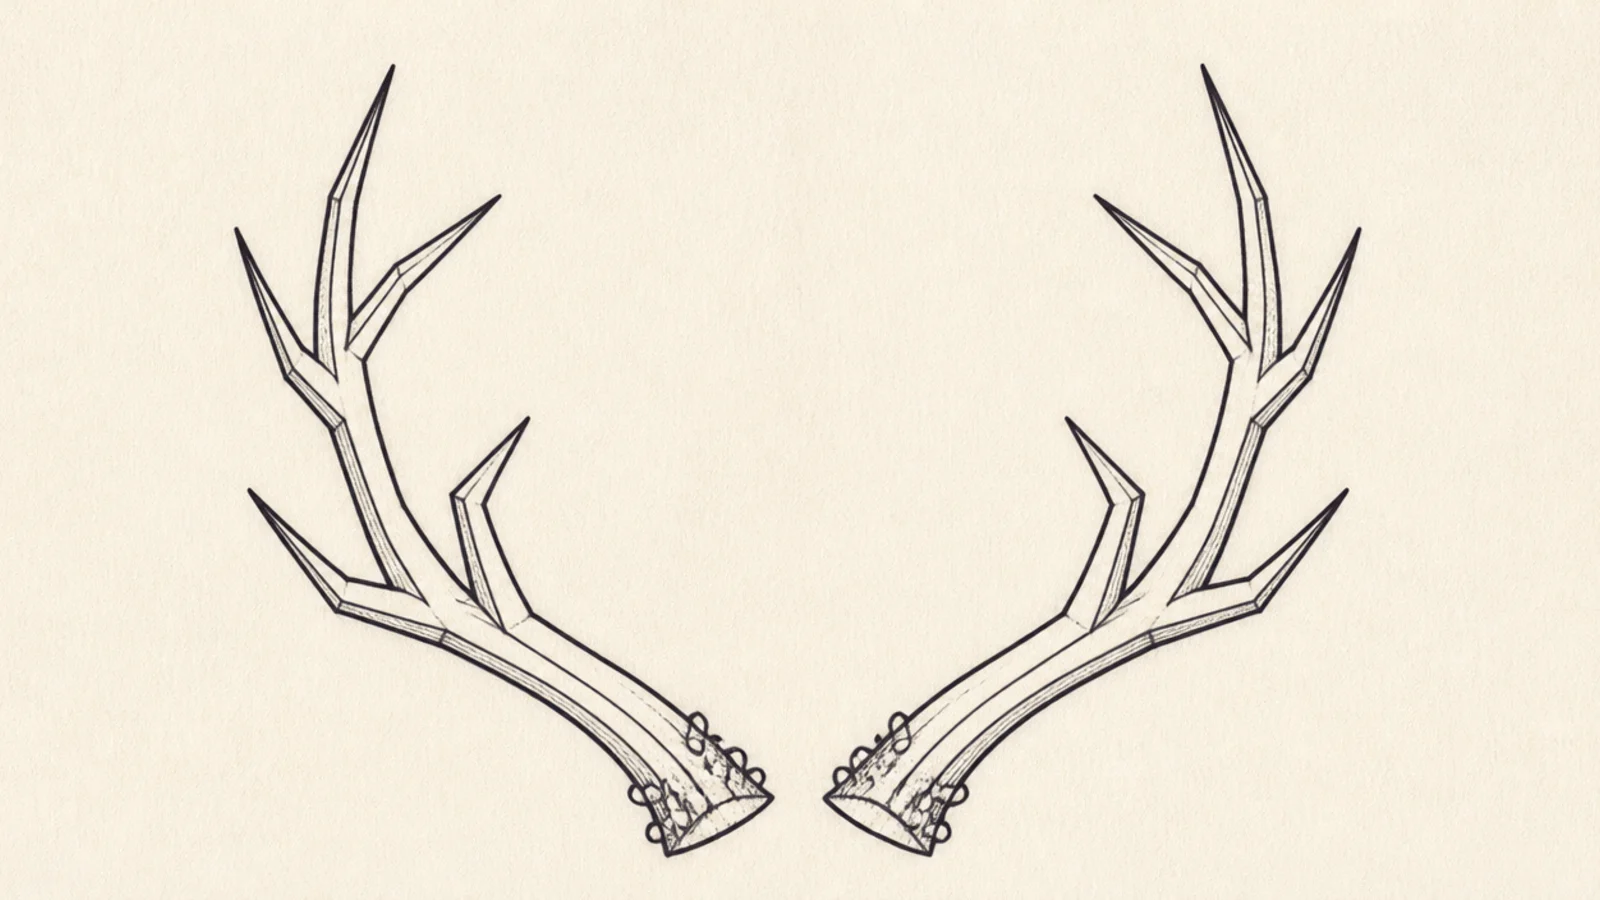
Geometric antlers use straight angular lines instead of curves for a modern graphic look. The sharp zigzags feel contemporary. It is great for stylish design work.
Pro tipUse only straight lines and crisp corners so the geometric style stays clean.
Step 1 draw each beam as a straight angled line. Step 2 branch the tines as straight zigzag segments. Step 3 keep every joint a sharp corner and mirror the pair.
AvoidDon’t round any lines; the angular look lives in the straight edges.
14 Antler Silhouette
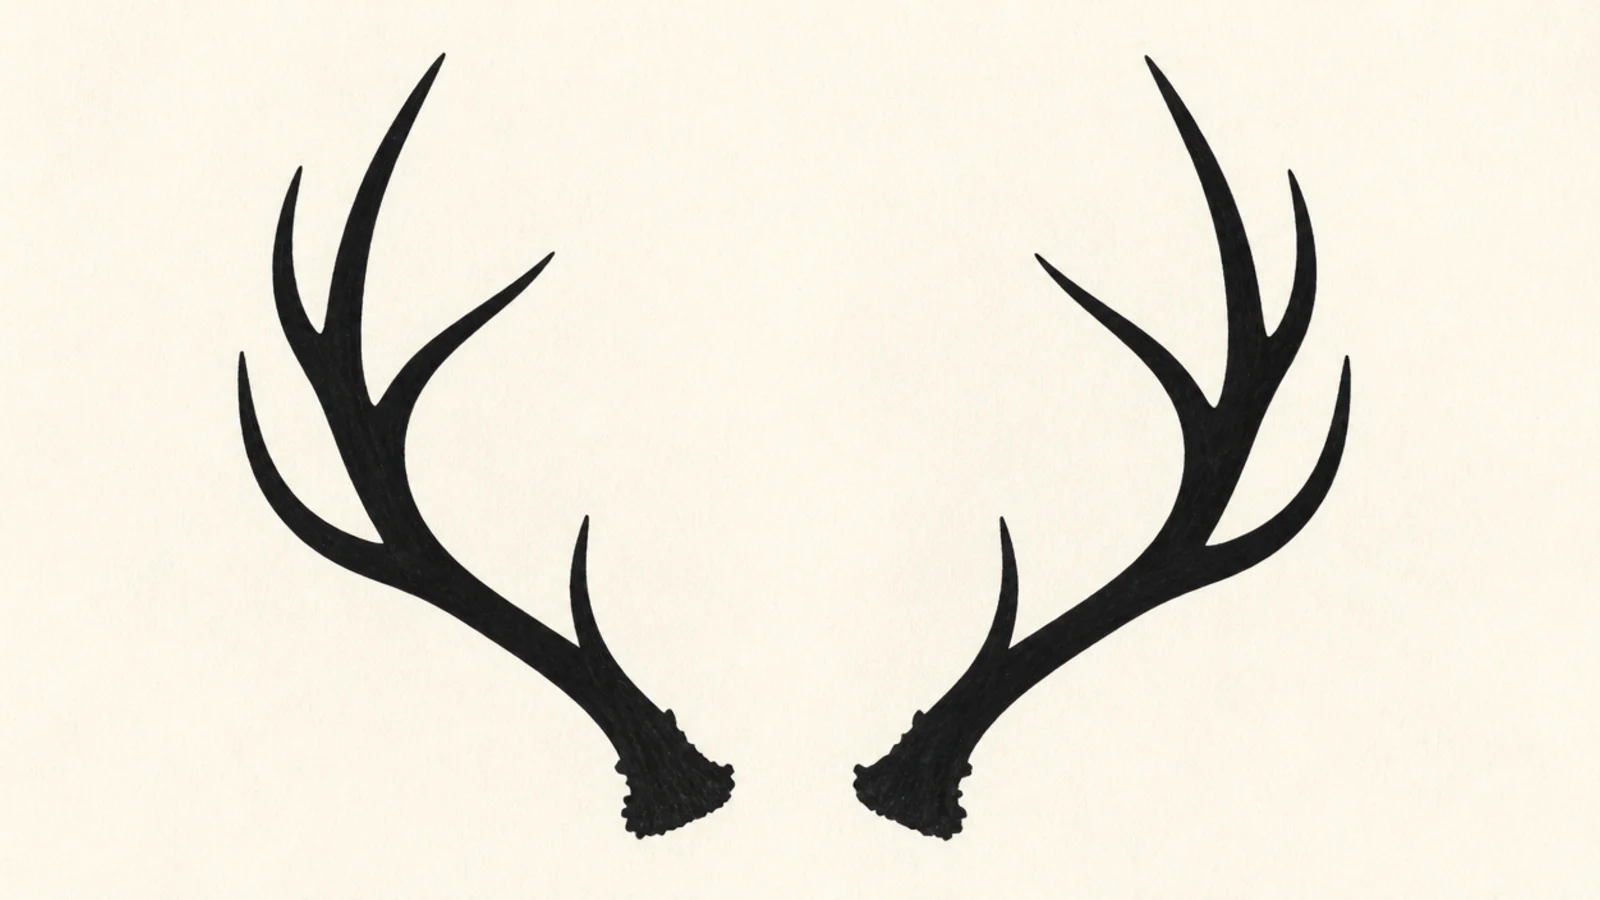
A solid silhouette reduces the antlers to their strongest branching shape. There is no interior detail to fuss over. It looks bold and graphic.
Step 1 draw a clean antler-pair outline. Step 2 fill it solid black. Step 3 keep every tine tip crisp since the outline carries the whole design.
Spend your effort on crisp tine tips; they make or break the silhouette.
Don’t add inner lines; the flat solid shape is the entire design.
15 Shaded Realistic Antlers
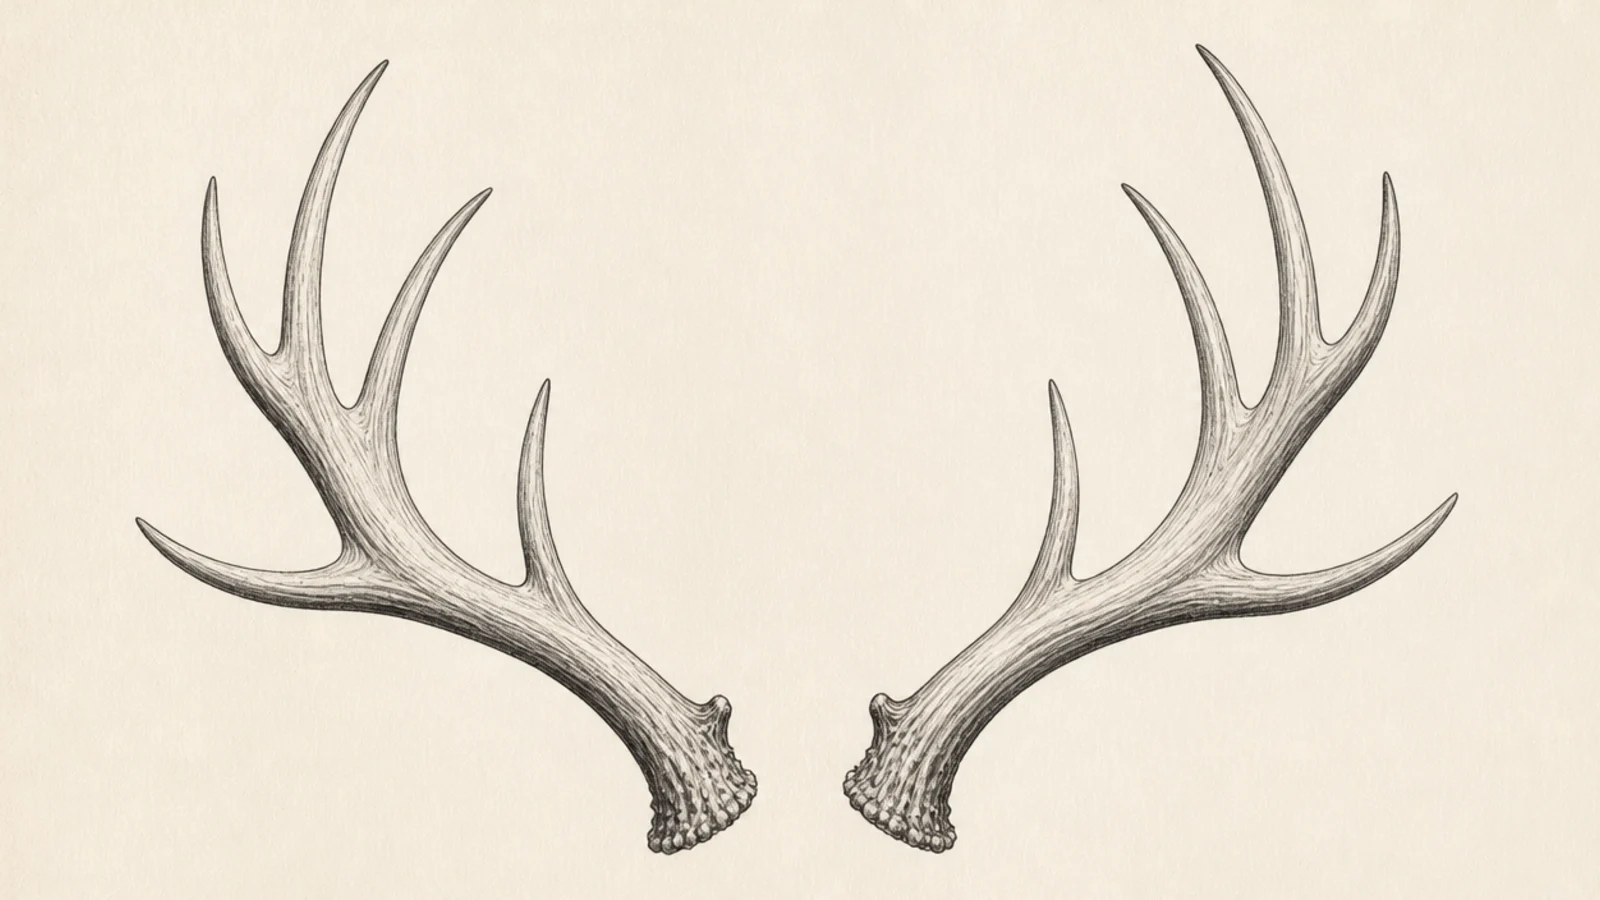
Shaded realistic antlers add value to show their rounded, bony volume. The shading turns flat lines into solid form. It is a satisfying way to close the practice set.
Pro tipShade the underside of each round beam and leave the top ridge bright for volume.
Step 1 draw a branching antler pair. Step 2 pick one light direction and shade the underside of each beam and tine. Step 3 leave the top ridges light and add pearling texture at the base.
AvoidDon’t shade flatly; rounding the value is what gives the antlers form.



