
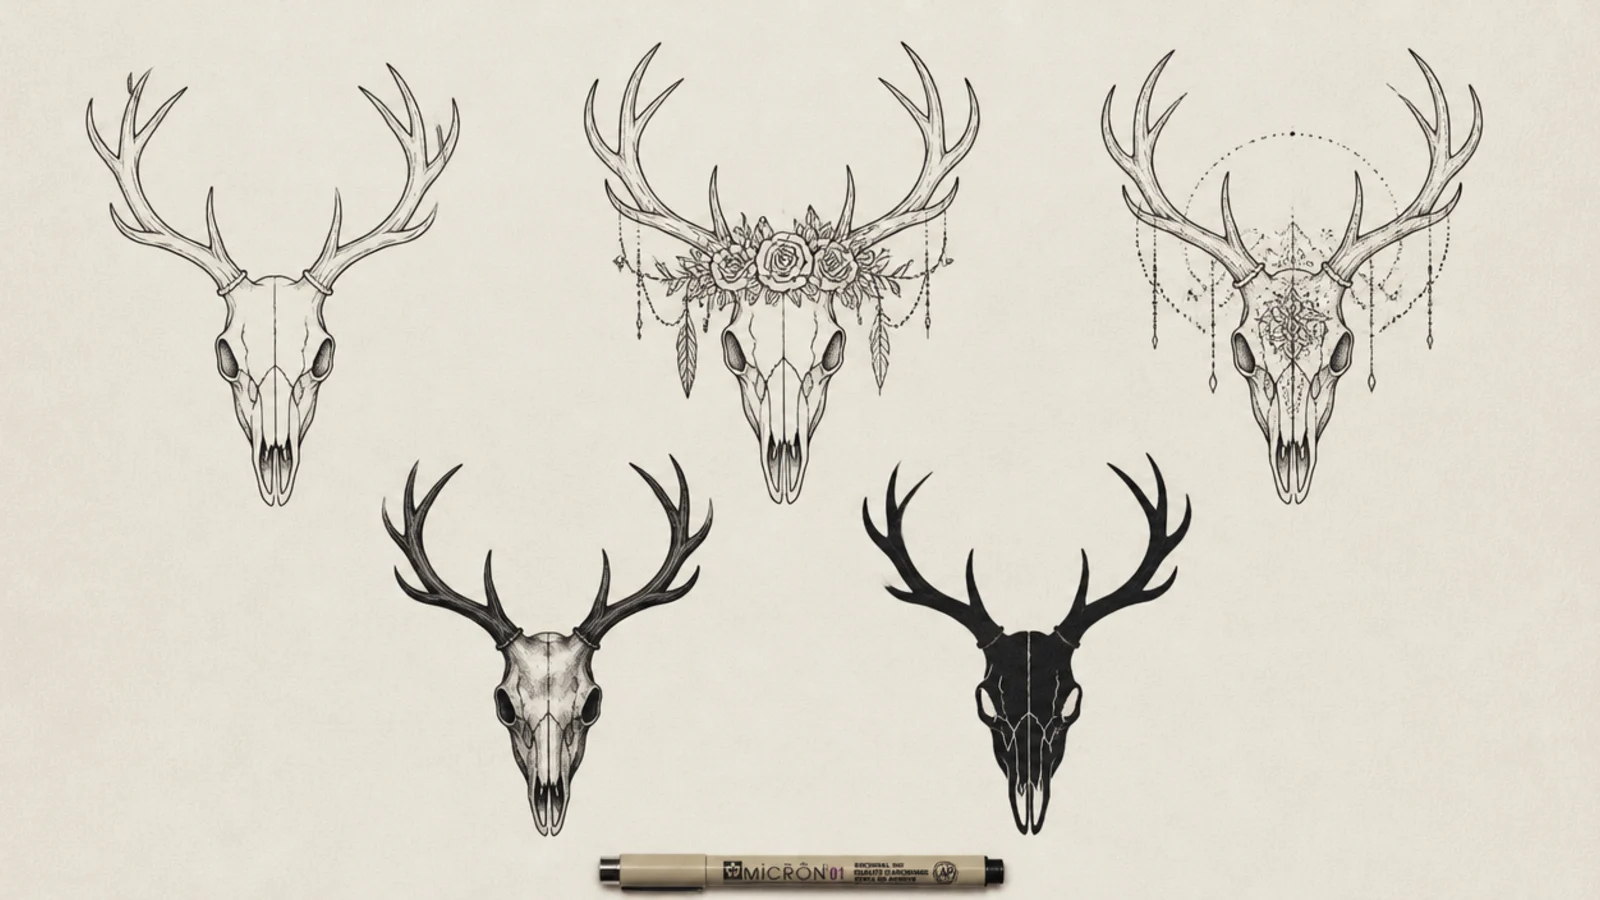
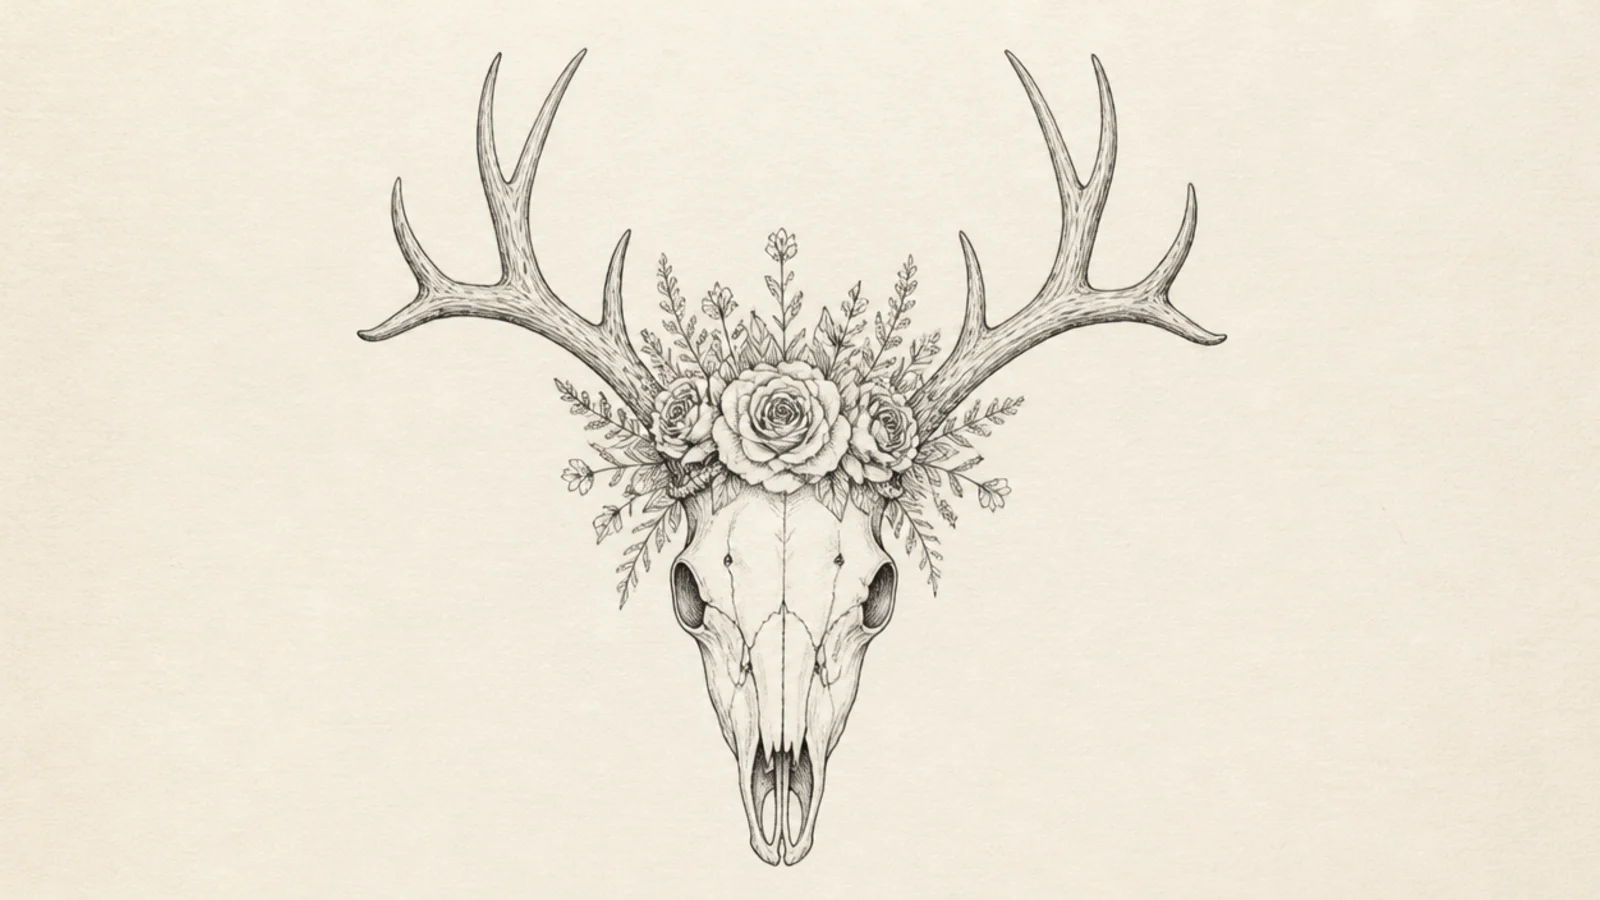
1 Clean Line Deer Skull
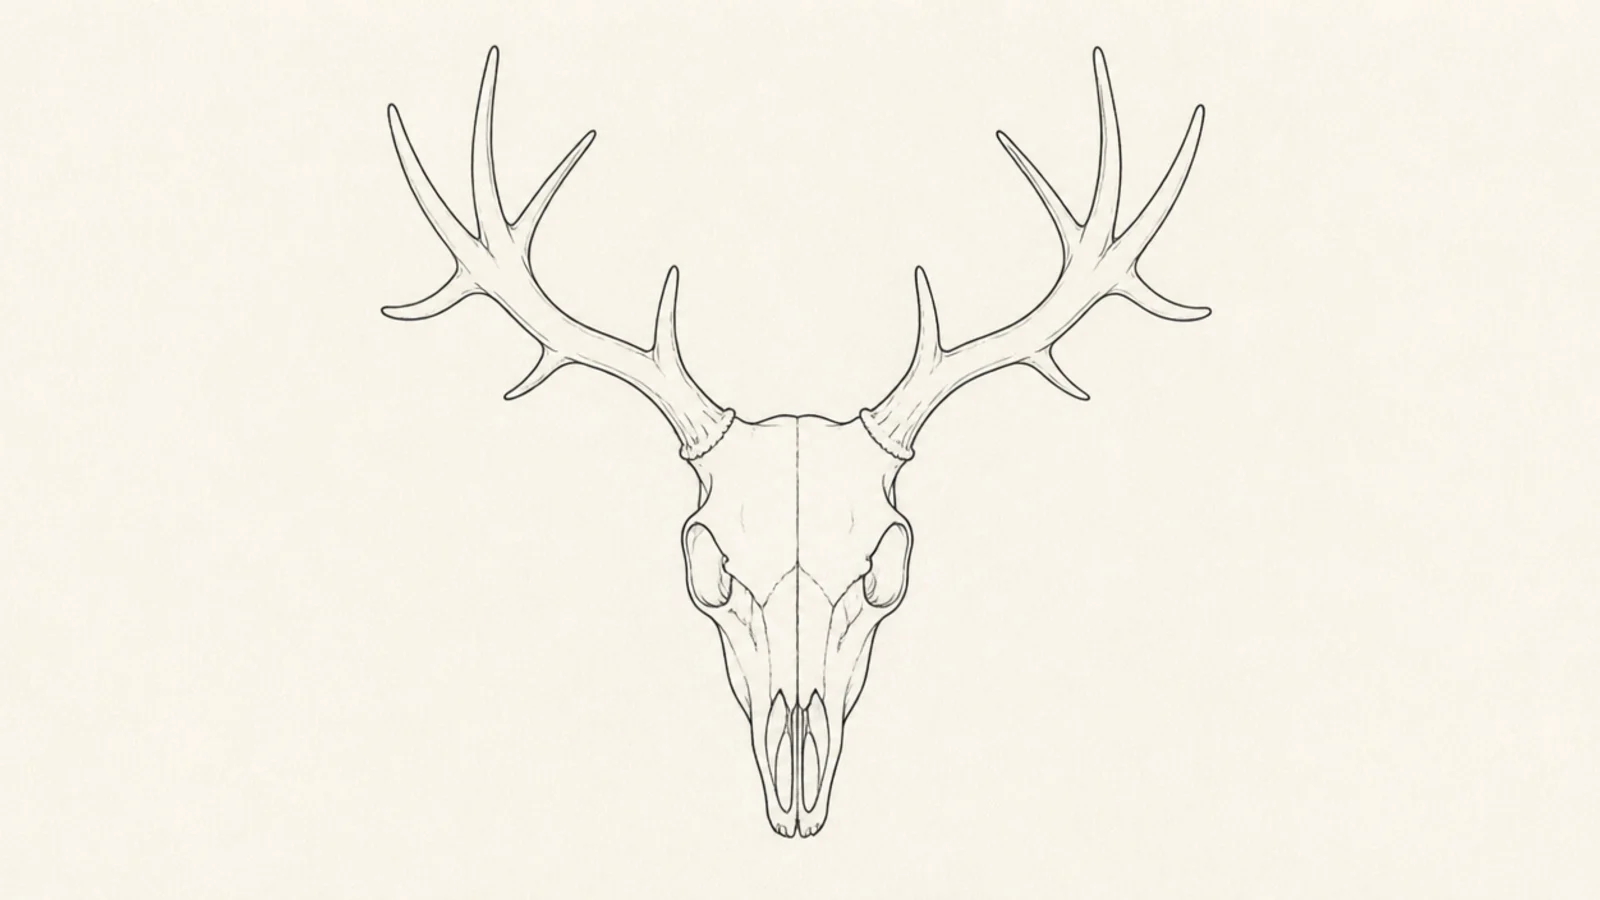
A clean line skull with no shading is the foundation for every other style here. It puts all the focus on getting the structure right. It looks crisp and modern on its own.
Step 1 draw the wedge skull with a center line. Step 2 add two eye sockets, the nasal opening, and the teeth. Step 3 draw two branching antlers with a steady even line weight.
Use one consistent line weight so the clean-line look feels intentional.
Don’t add shading yet; a crisp even outline is the whole point of this one.
2 Front-Facing Symmetry Study
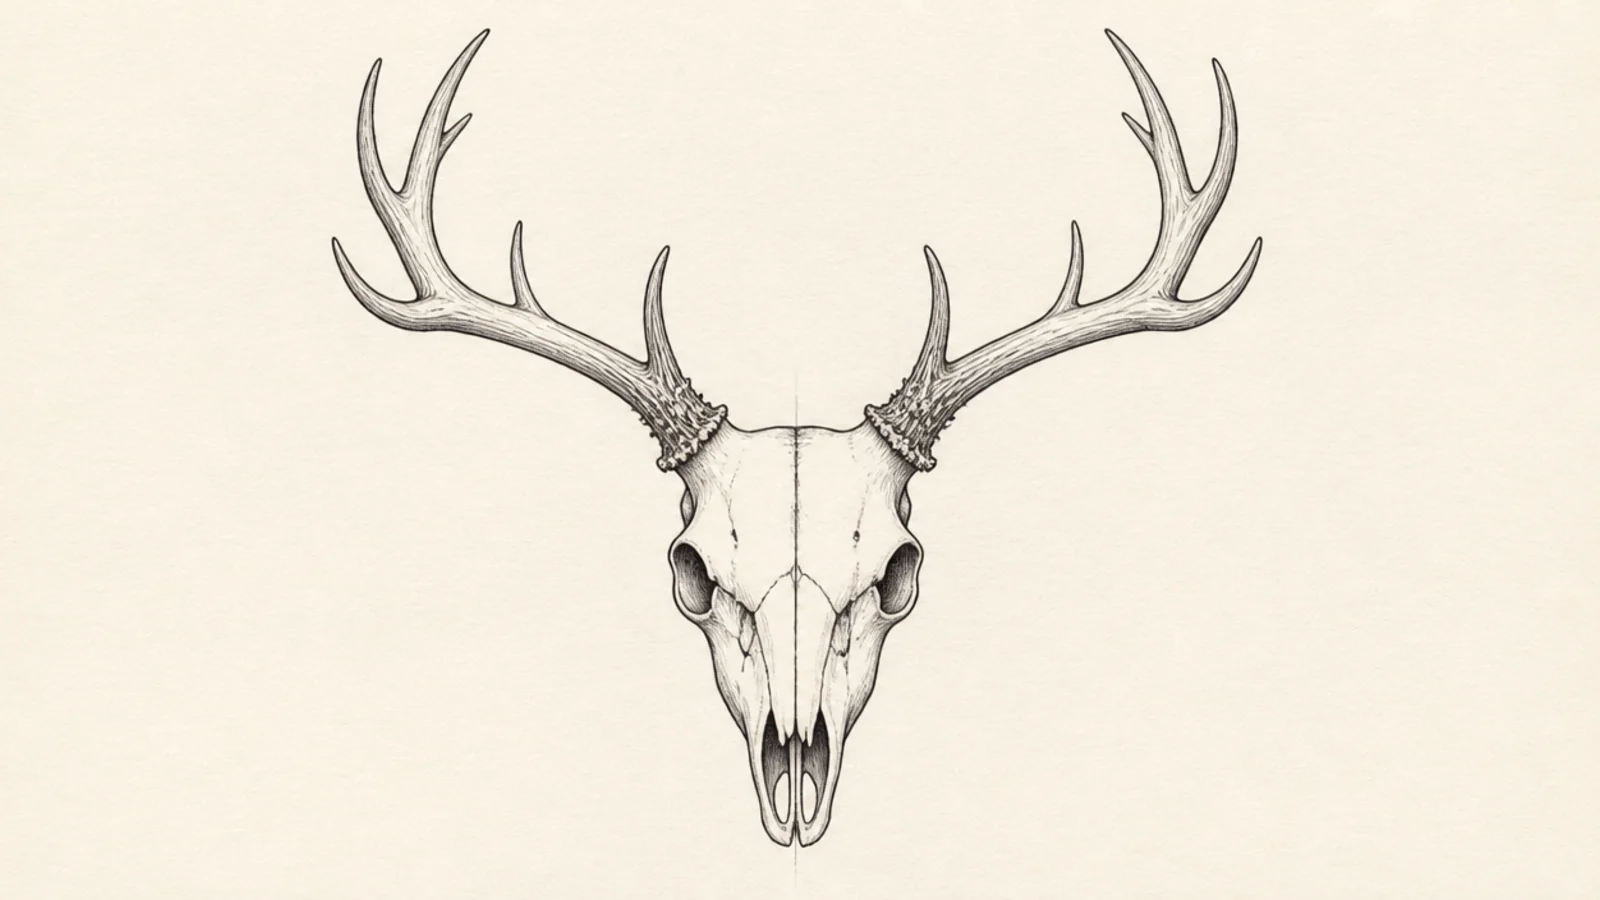
A dead-on front view is the best way to practice symmetry. Both sides mirror across the center line. It teaches the core skill every skull drawing relies on.
Step 1 draw a strong vertical center line. Step 2 build the left half of the skull and antler. Step 3 mirror every shape to the right, matching socket, cheek, and tine placement.
Draw light guide lines across the skull to keep the eyes and antler bases level.
Don’t eyeball both sides freehand; the center line keeps the symmetry honest.
3 Three-Quarter Deer Skull
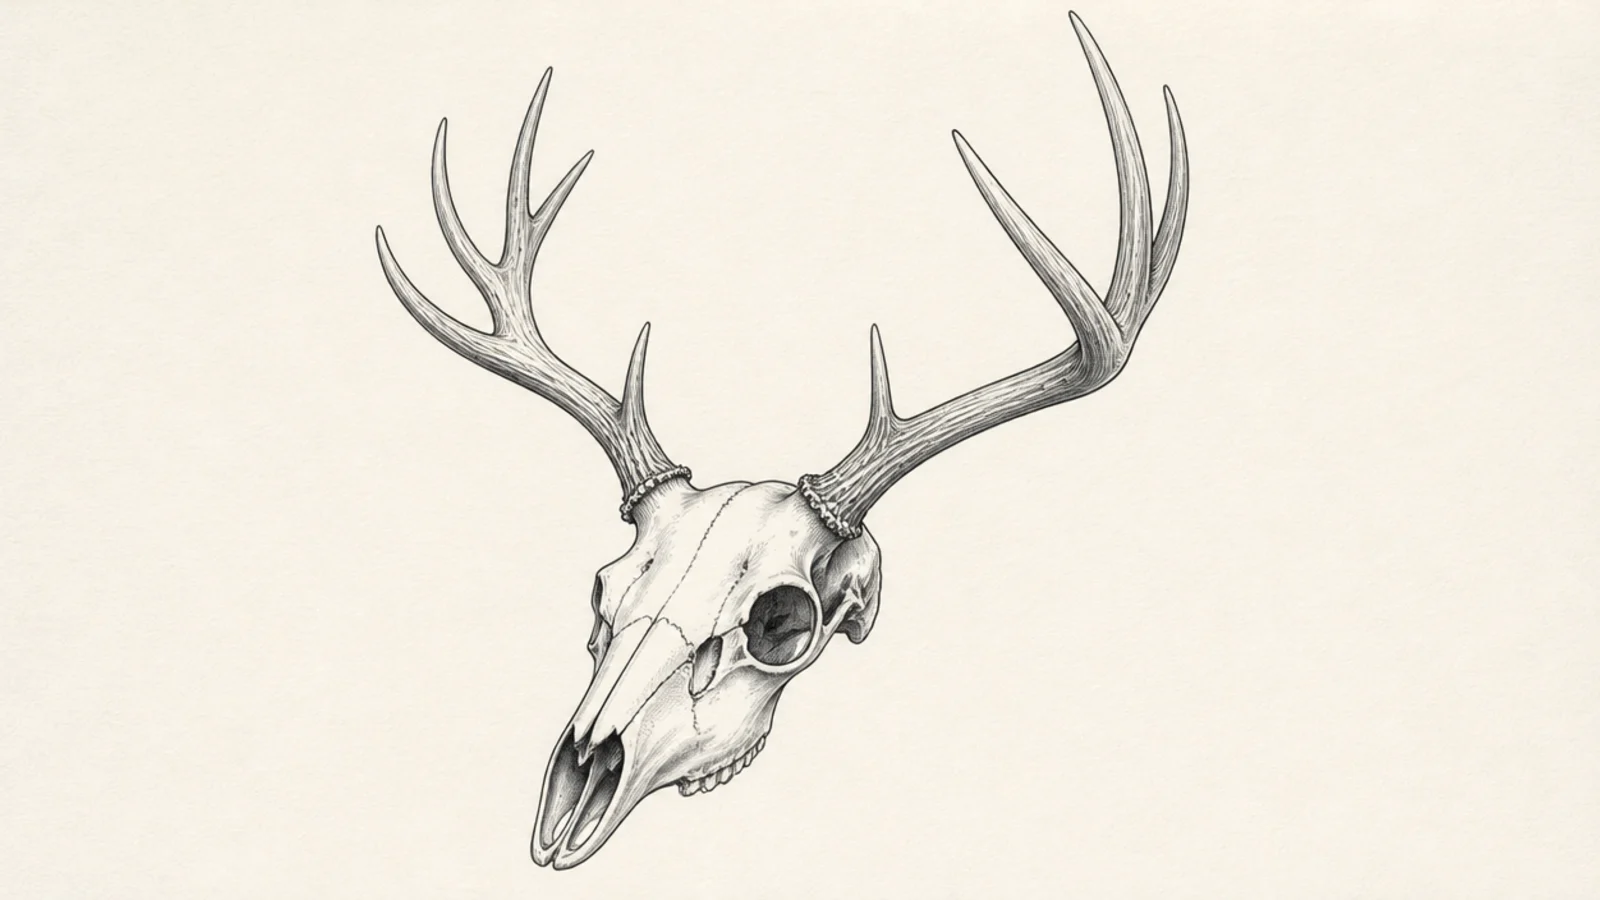
Step 1 draw the wedge tilted so one side of the face recedes. Step 2 make the far eye socket smaller than the near one. Step 3 angle the antlers so one reads closer and larger.
Turning the skull to a three-quarter angle shows its depth and the long muzzle. It is more dynamic than a flat front view. It teaches foreshortening on the nasal bone.
AvoidDon’t keep both sides equal; unequal sizes create the three-quarter depth.
Pro tipShrink the far-side features slightly so the turn of the head reads clearly.
4 Rose-Crown Boho Skull
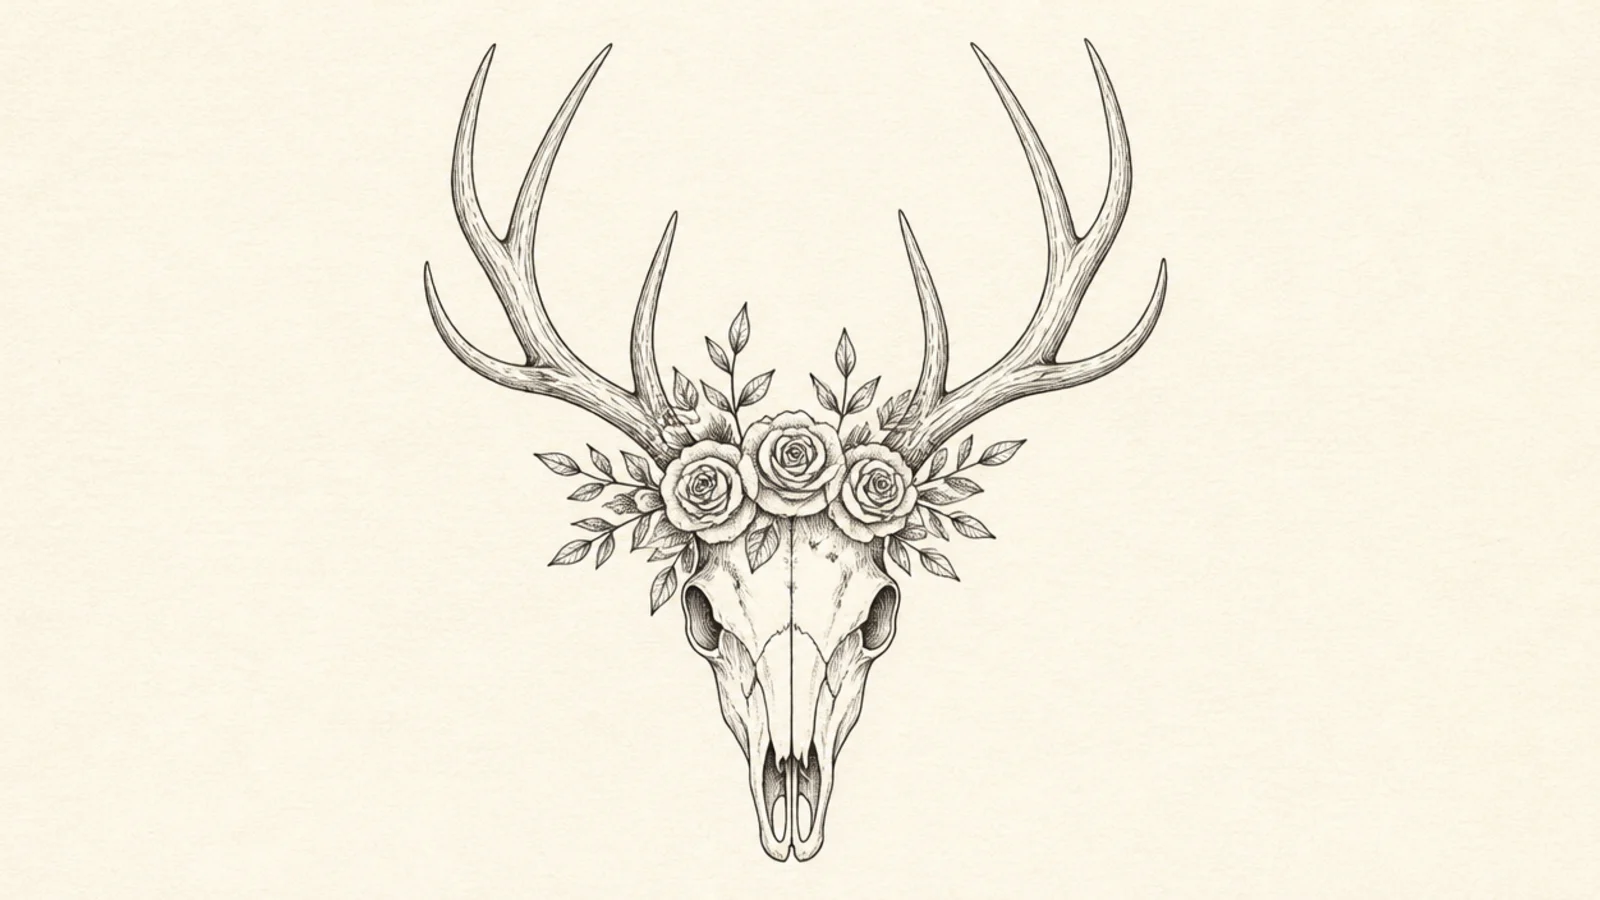
Step 1 draw a clean skull and antlers. Step 2 nestle three or four spiral roses at the base of the antlers. Step 3 tuck small leaves and buds into the gaps and let a few trail down.
A cluster of roses draped over the skull is the signature boho deer look. The soft flowers contrast beautifully with the hard bone. It feels romantic and mystical.
AvoidDon’t scatter the flowers evenly; clustering them looks more natural and lush.
Pro tipOverlap the roses slightly so the crown looks full rather than spaced out.
5 Wildflower Antler Skull
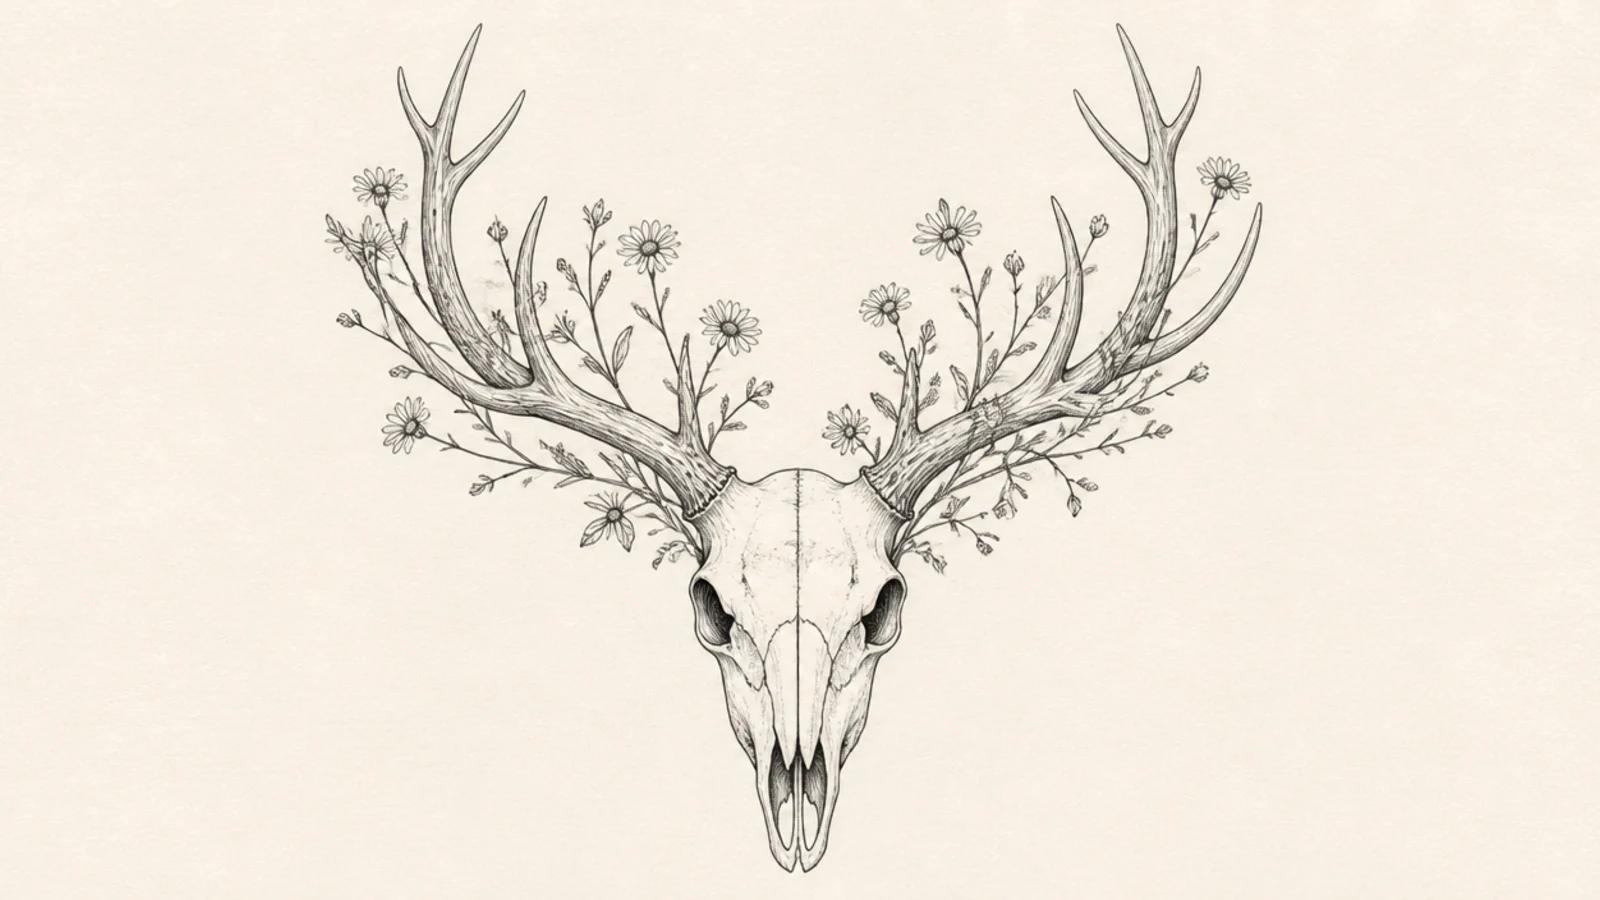
Delicate wildflowers woven through the antler branches give an airy, meadow feel. The thin stems echo the antler lines. It looks light and pretty.
Step 1 draw the skull and open branching antlers. Step 2 weave thin wildflower stems along the tines. Step 3 top the stems with tiny daisies, buds, and sprigs of foliage.
Let the flower stems follow the antler branches so they look grown-in.
Don’t use big heavy blooms; small delicate flowers suit the airy wildflower look.
6 Dot-Work Mandala Skull
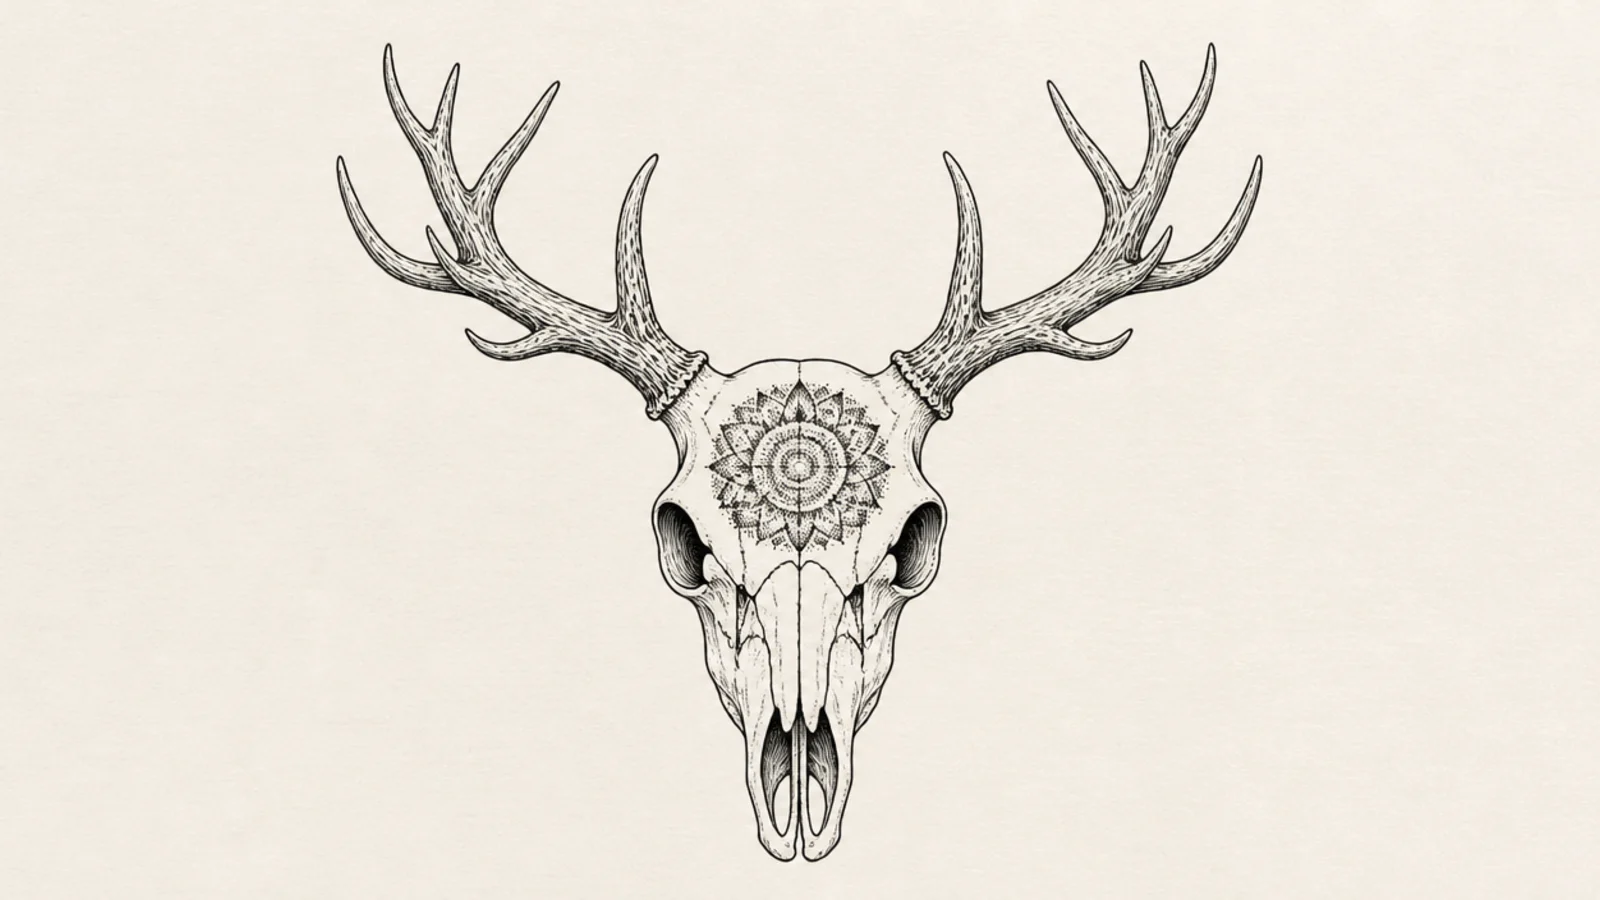
Filling the forehead with mandala dot-work turns the skull into an ornamental tattoo design. The stippled pattern is meditative to draw. It looks intricate and spiritual.
Step 1 draw the skull and antlers. Step 2 mark a small mandala center on the forehead. Step 3 build rings of dots and petals outward, packing them tighter toward the center.
Keep the dots evenly spaced within each ring so the mandala looks clean.
Don’t rush the dots; uneven spacing makes the mandala look messy.
7 Floral Eye-Socket Skull
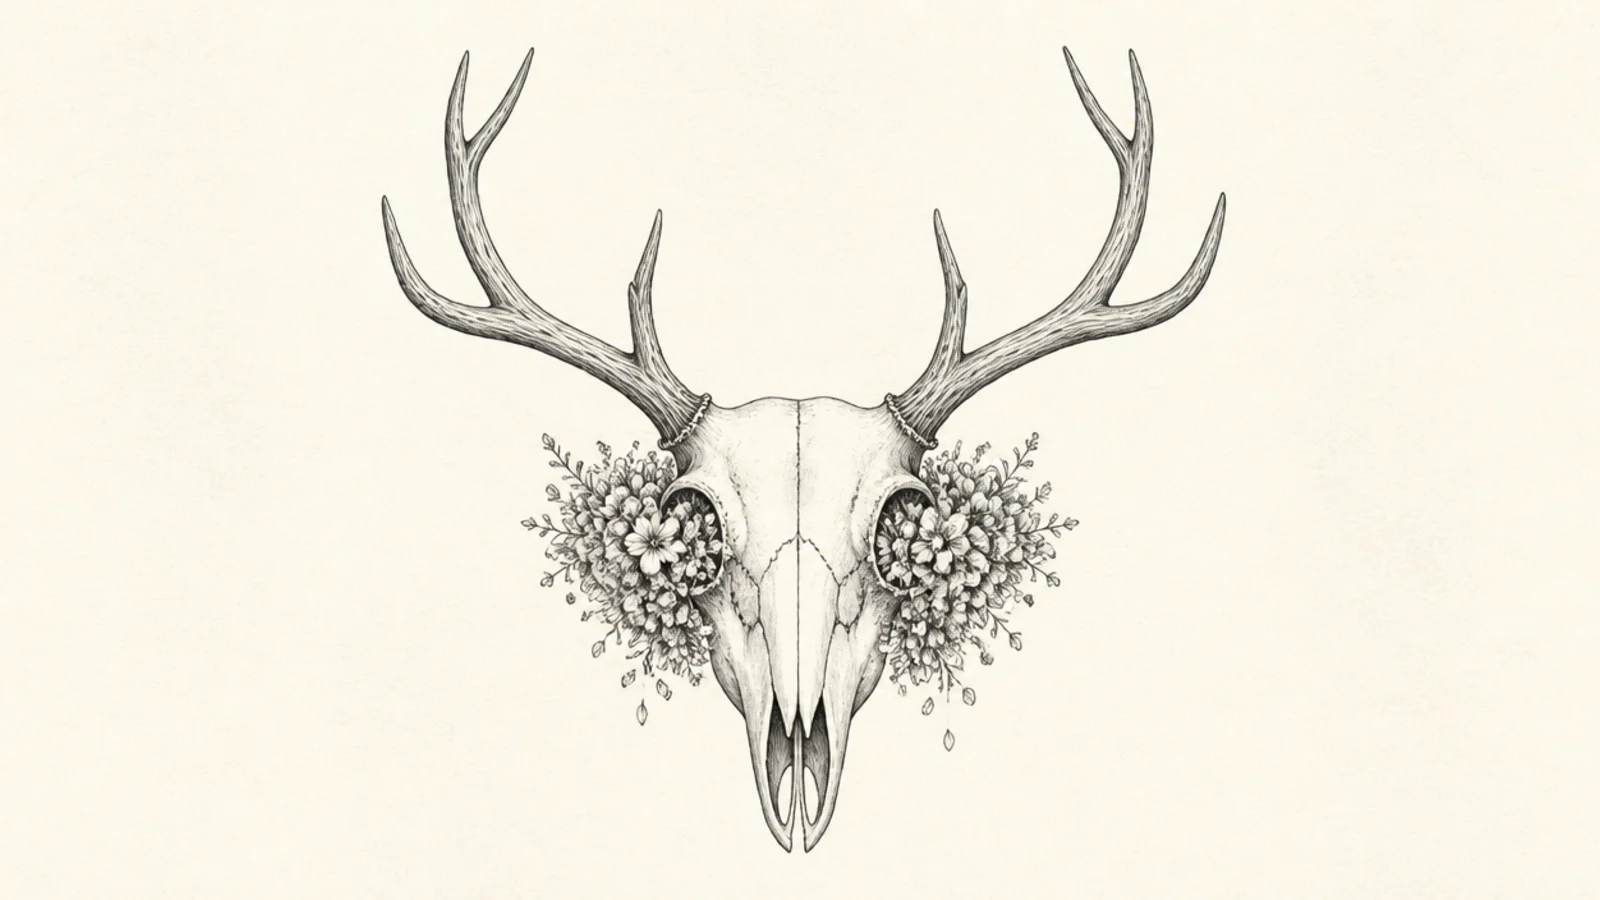
Flowers blooming out of the eye sockets is a striking surreal touch. The soft blooms replace the empty hollows. It carries a poetic life-from-death message.
Step 1 draw the skull and antlers. Step 2 fill each eye socket with a small tight cluster of blossoms. Step 3 let a few petals and leaves spill over the edge of the sockets.
Keep the flowers small and dense so they sit inside the socket shape.
Don’t let the flowers hide the skull; the contrast of bone and bloom is the point.
8 Dark Academia Shaded Skull
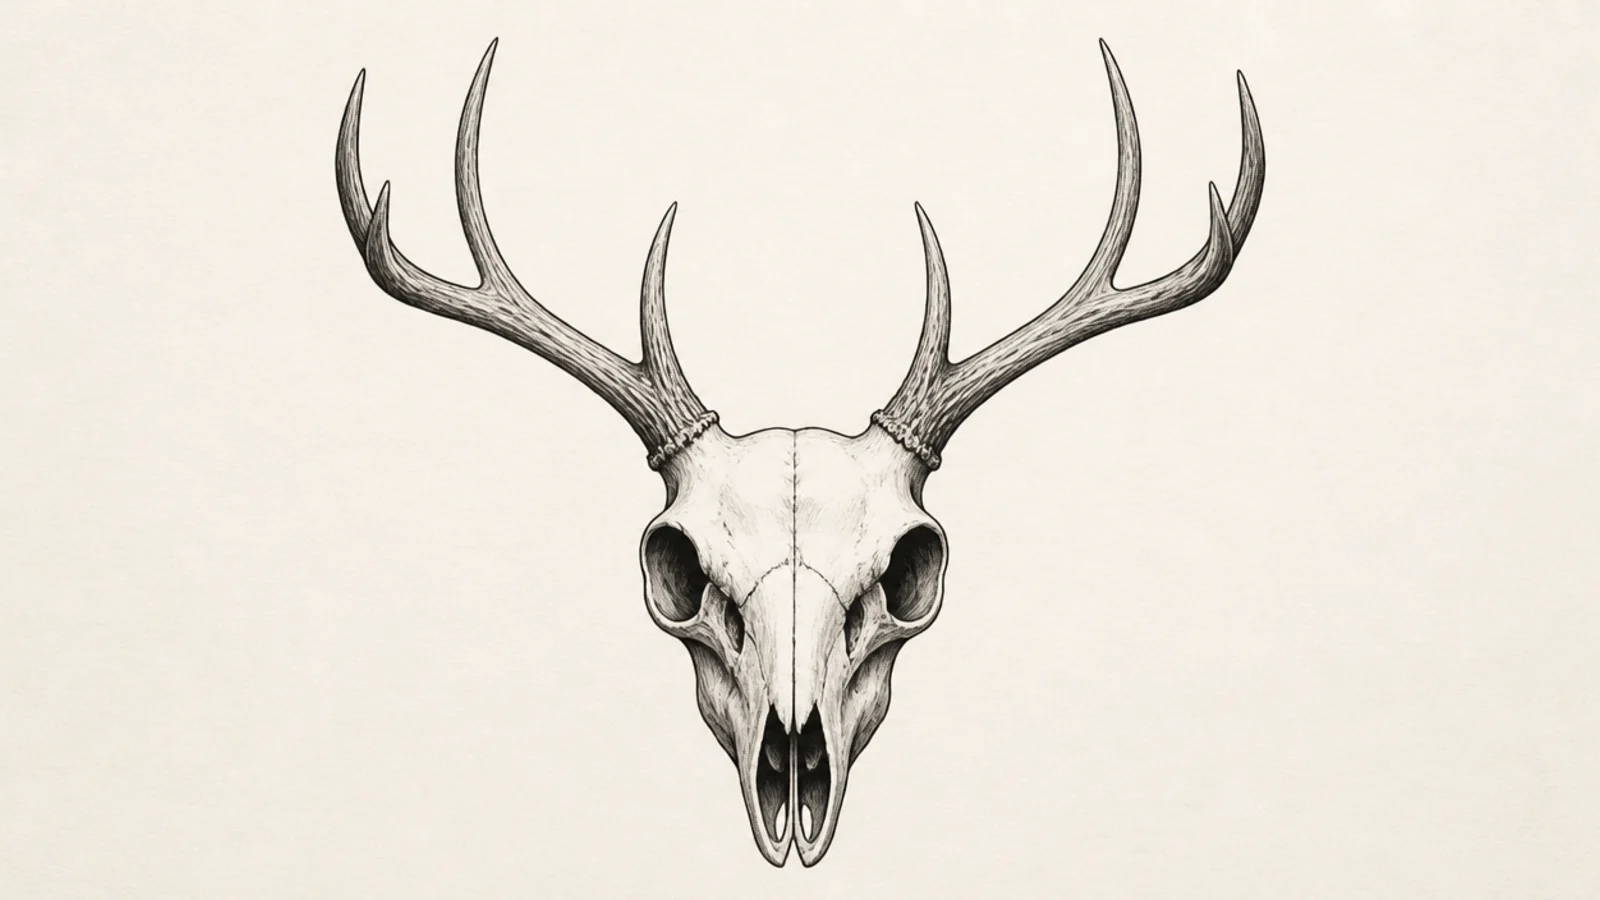
A fully shaded skull with deep socket shadows has a moody, scholarly mood. The strong contrast makes it feel weighty and real. It is dramatic dark-academia wall art.
Step 1 draw the skull structure lightly. Step 2 pick one light direction and darken the sockets, nasal cavity, and under the cheekbones. Step 3 leave the forehead and antler ridges bright for contrast.
Push the inside of the sockets nearly black so the eyes read as deep hollows.
Don’t shade everything grey; keep the lit ridges bright for real depth.
9 Watercolor Wash Skull
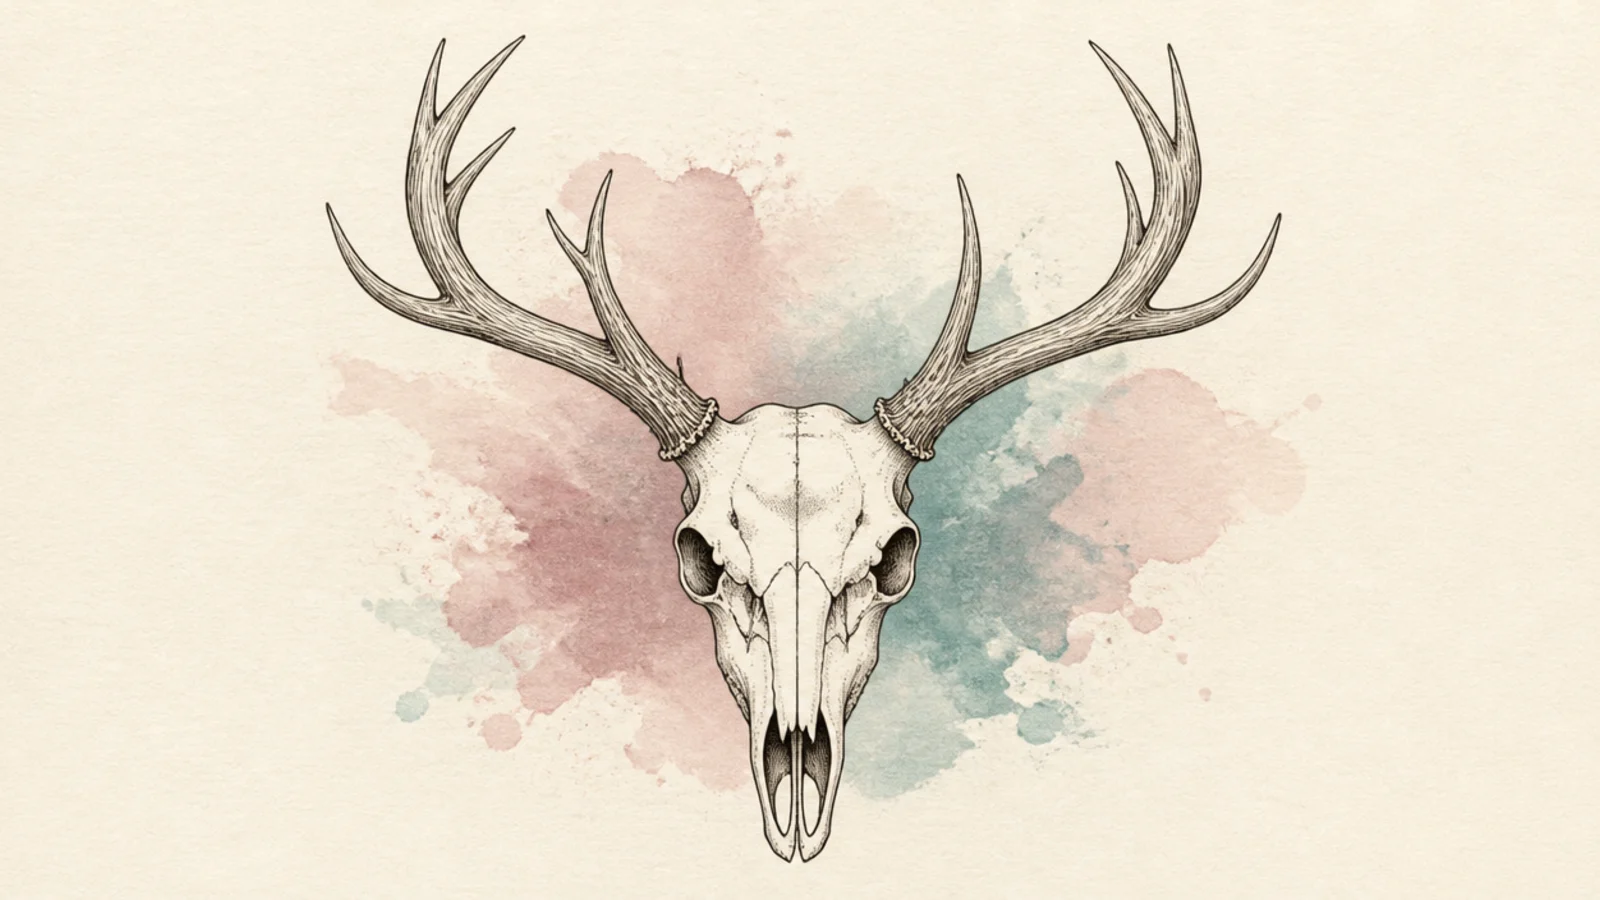
Step 1 ink a clean skull and antlers. Step 2 float a muted wash of dusty rose or teal behind and around it. Step 3 let a little color bleed into the antlers while keeping the line work sharp.
A soft watercolor wash behind an inked skull adds color and atmosphere. The loose color contrasts with the crisp lines. It feels gallery-ready and artistic.
AvoidDon’t paint over the whole skull; leave the bone light against the colored wash.
Pro tipLet the wash dry before inking so the skull lines stay crisp and clean.
10 Geometric Low-Poly Skull
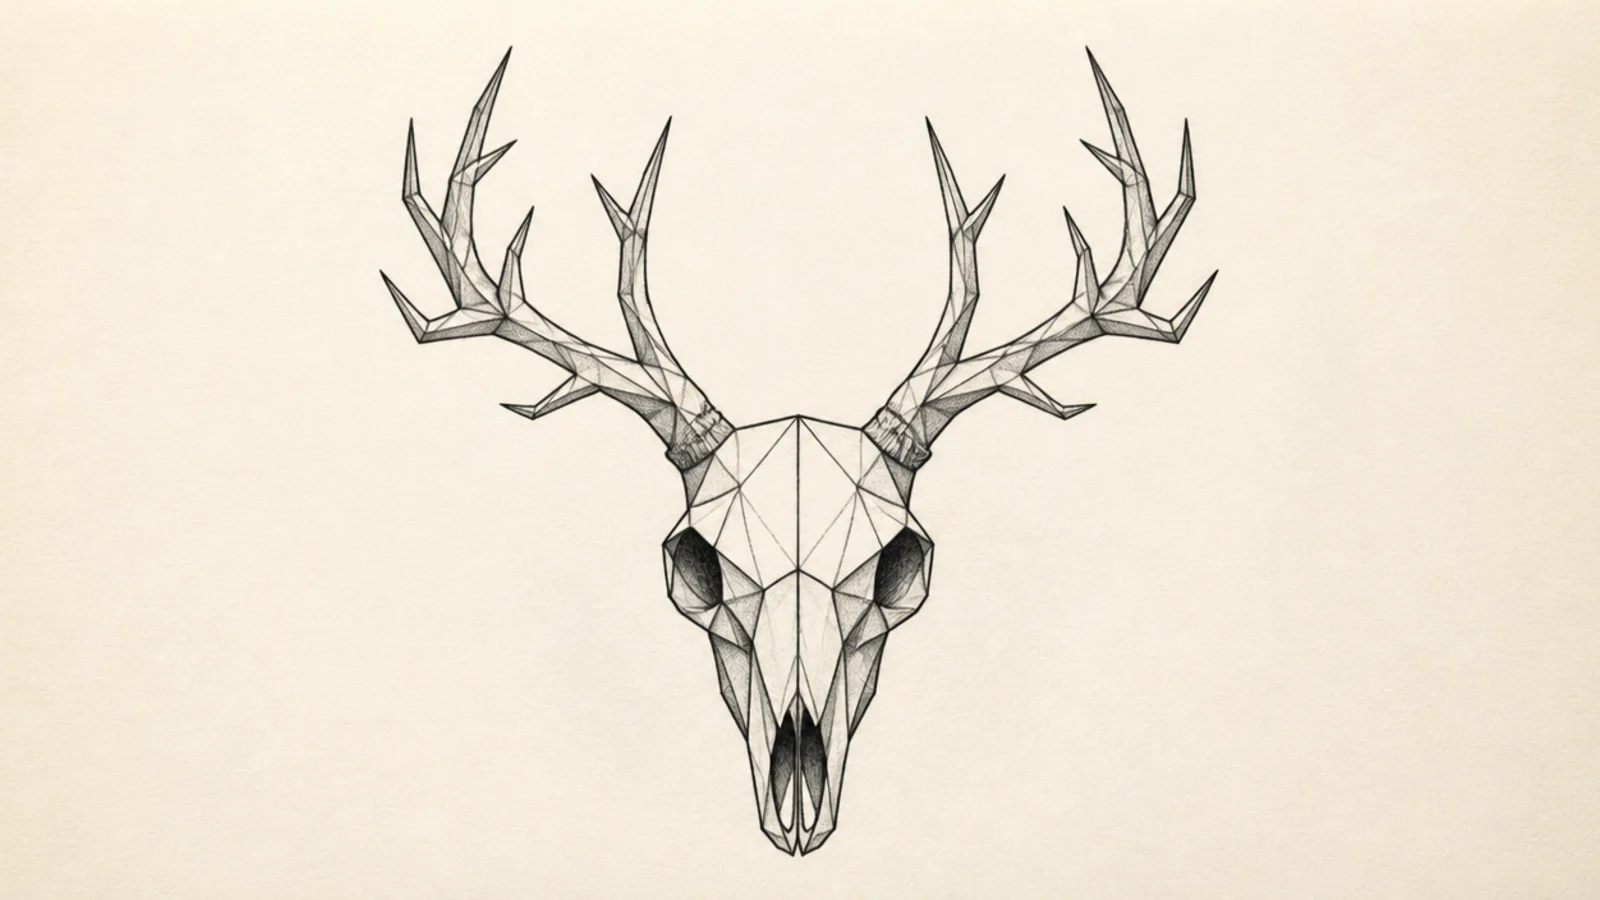
Step 1 draw the skull as a faceted shape with straight edges. Step 2 divide the surface into triangular planes. Step 3 shade alternating facets light and dark to suggest the rounded form.
Breaking the skull into angular facets gives a sharp, modern low-poly look. The flat planes describe the form with straight lines. It feels contemporary and graphic.
AvoidDon’t curve any lines; the low-poly look lives entirely in straight edges.
Pro tipFollow the real planes of the skull so the facets still read as a head.
11 Celestial Moon-Phase Skull
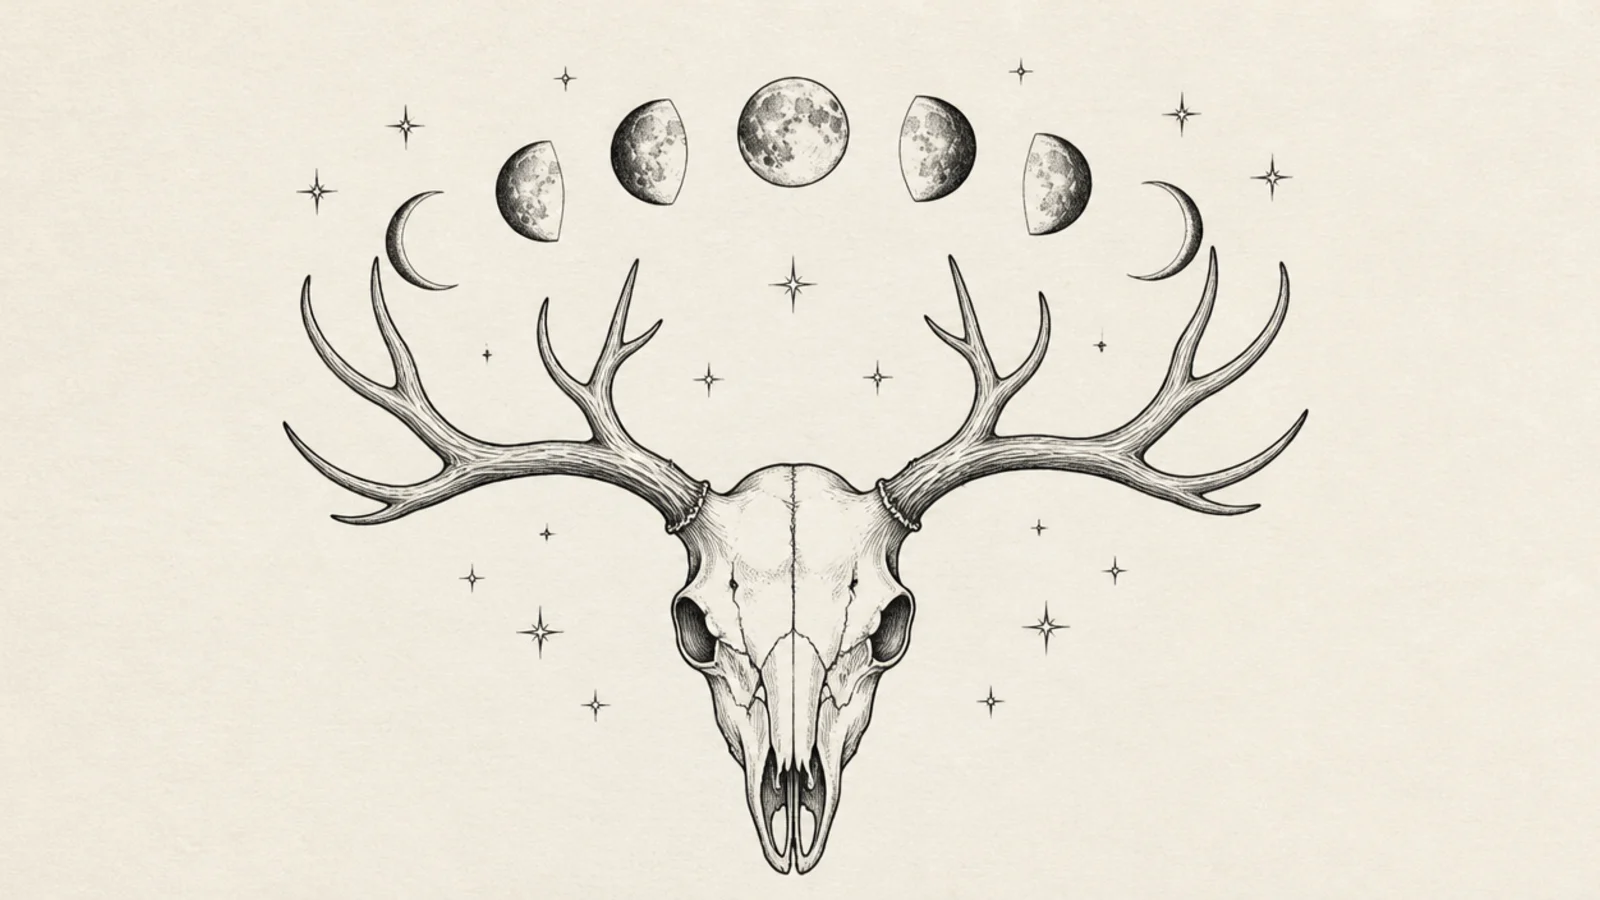
Step 1 draw the skull and antlers. Step 2 arc a row of moon phases over the antlers from crescent to full. Step 3 scatter small stars and dots in the space around them.
Framing the skull with moon phases and stars gives a celestial, witchy feel. The arc of moons echoes the antler spread. It looks mystical and decorative.
AvoidDon’t crowd the stars; a few well-placed dots read as a night sky.
Pro tipCurve the moon phases in an arc that matches the sweep of the antlers.
12 Eucalyptus-Wrapped Skull
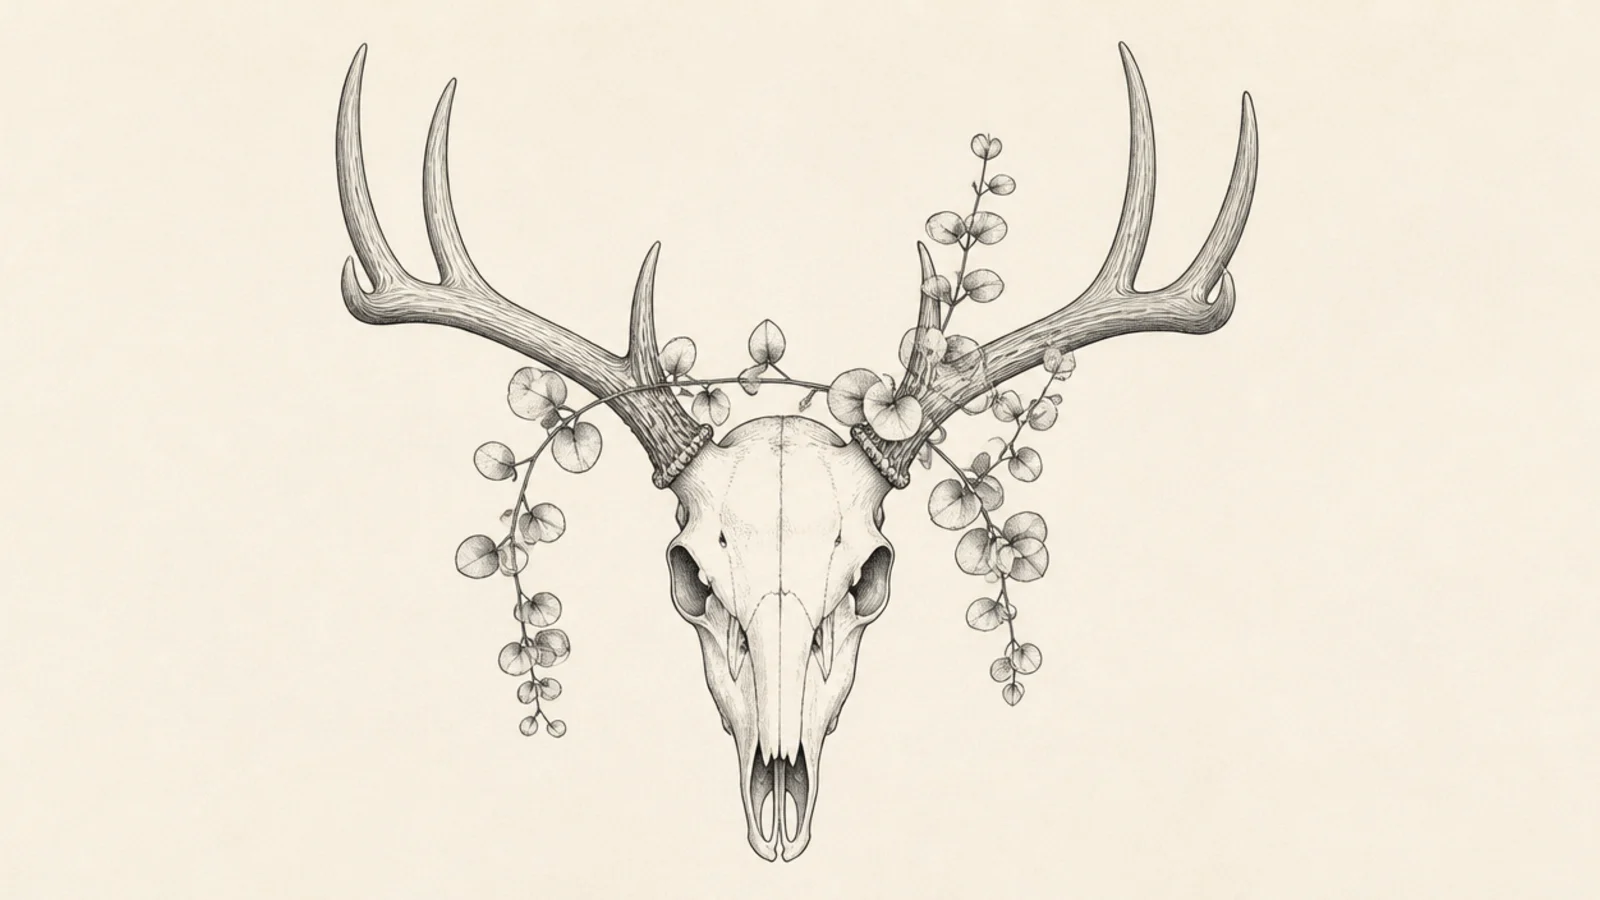
Step 1 draw the skull and antlers. Step 2 drape one or two eucalyptus stems over and around the antlers. Step 3 line each stem with pairs of small round leaves.
Strands of round-leafed eucalyptus draped over the antlers give a soft, modern botanical look. The trailing sprigs feel elegant. It is a favorite for tattoo flash.
AvoidDon’t make the leaves too large; small round leaves read clearly as eucalyptus.
Pro tipLet the sprigs trail asymmetrically for a natural, draped feel.
13 Skull With a Fabric Drape
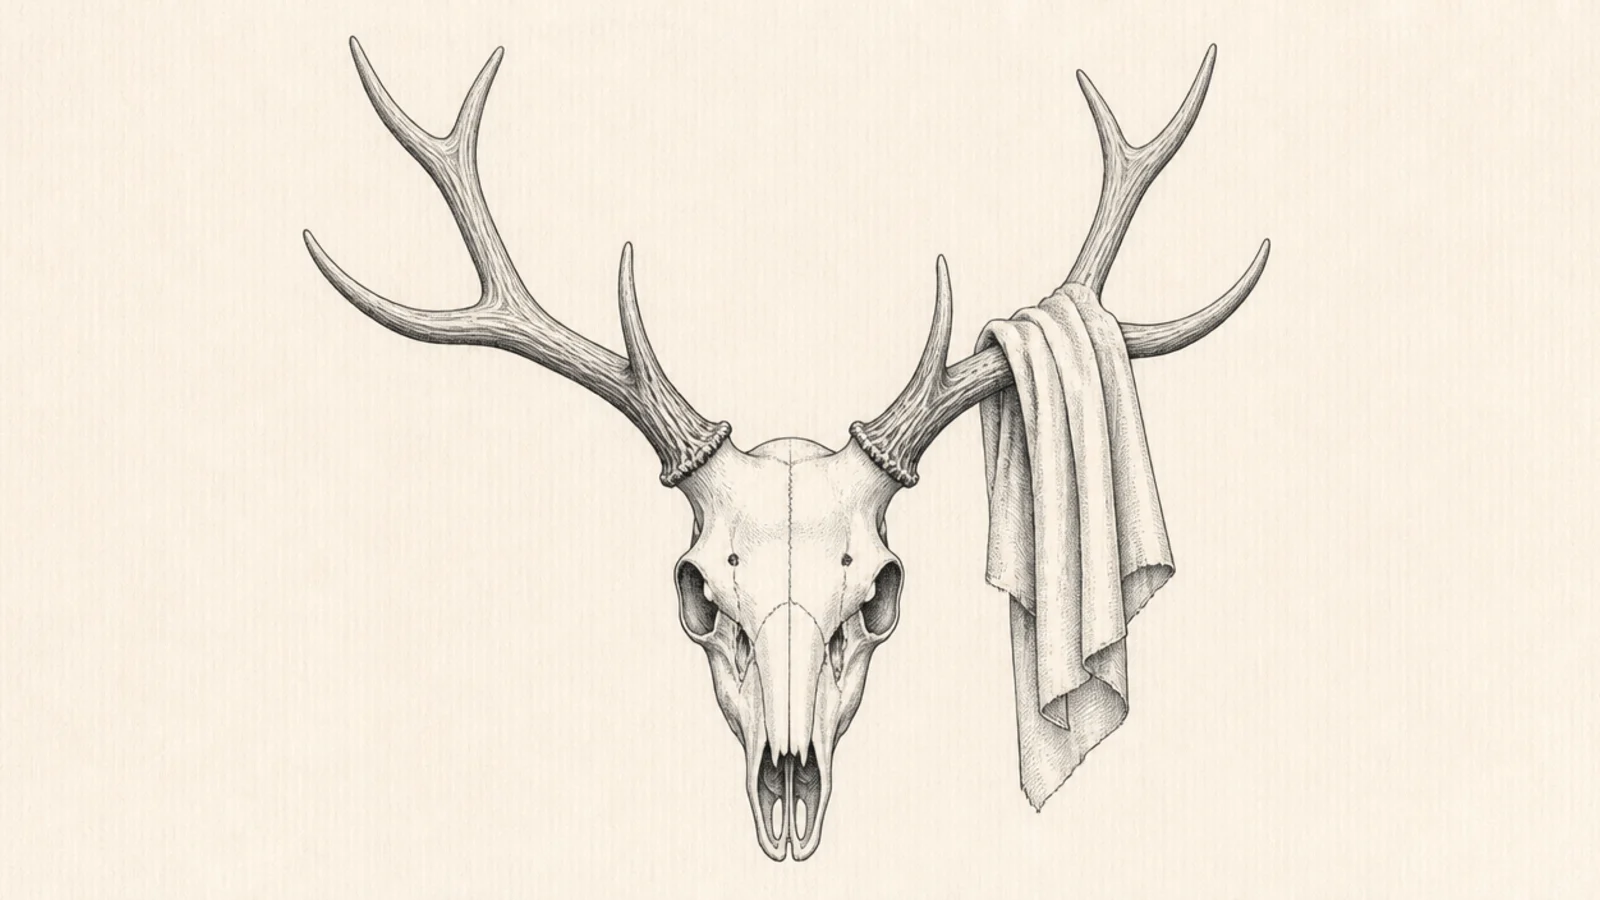
A soft cloth draped over an antler adds a still-life elegance and a chance to draw folds. The fabric contrasts with the hard bone. It looks like a classic study.
Step 1 draw the skull and antlers. Step 2 drape a length of cloth over one antler so it hangs down. Step 3 shade the folds, darkening the valleys and leaving the ridges light.
Shade the deepest fold valleys darkest to make the fabric look soft and heavy.
Don’t draw stiff straight folds; soft curving folds look like real cloth.
14 Single-Antler Skull Fragment
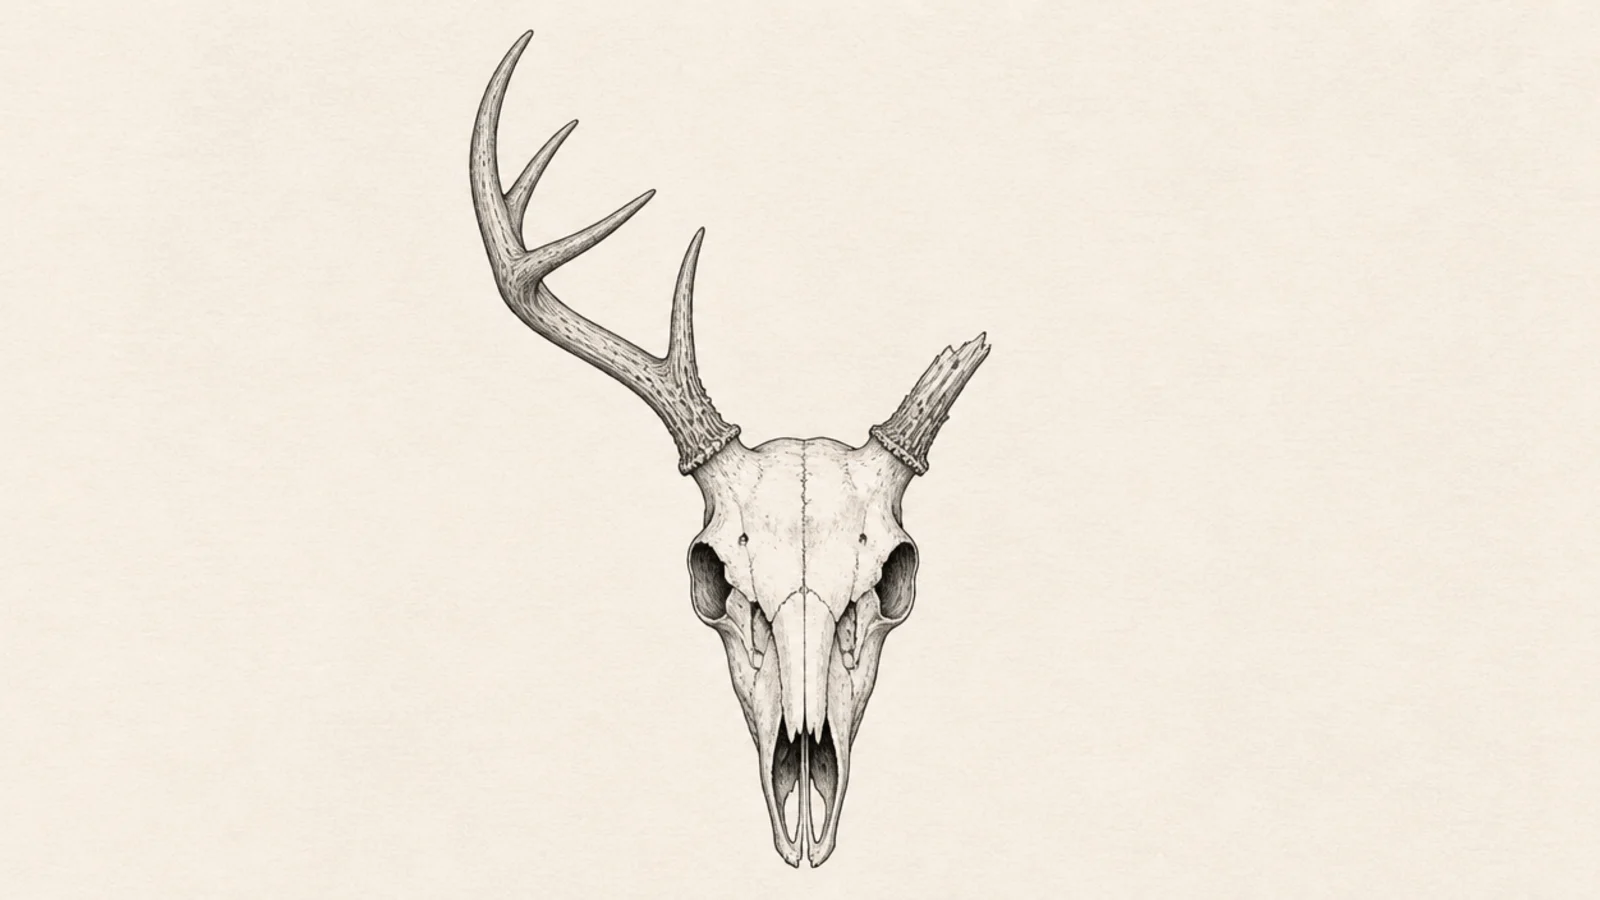
Step 1 draw the skull with one full antler and a broken stub on the other side. Step 2 add cracks and rough weathered edges. Step 3 shade lightly to suggest bleached, aged bone.
A weathered skull with just one antler tells a rugged, found-in-the-woods story. The broken asymmetry is interesting and forgiving. It feels raw and natural.
AvoidDon’t make it too neat; the rough, broken quality is what gives it character.
Pro tipAdd a few cracks and chips so the bone looks weathered and found in nature.
15 Bold Tattoo-Flash Skull
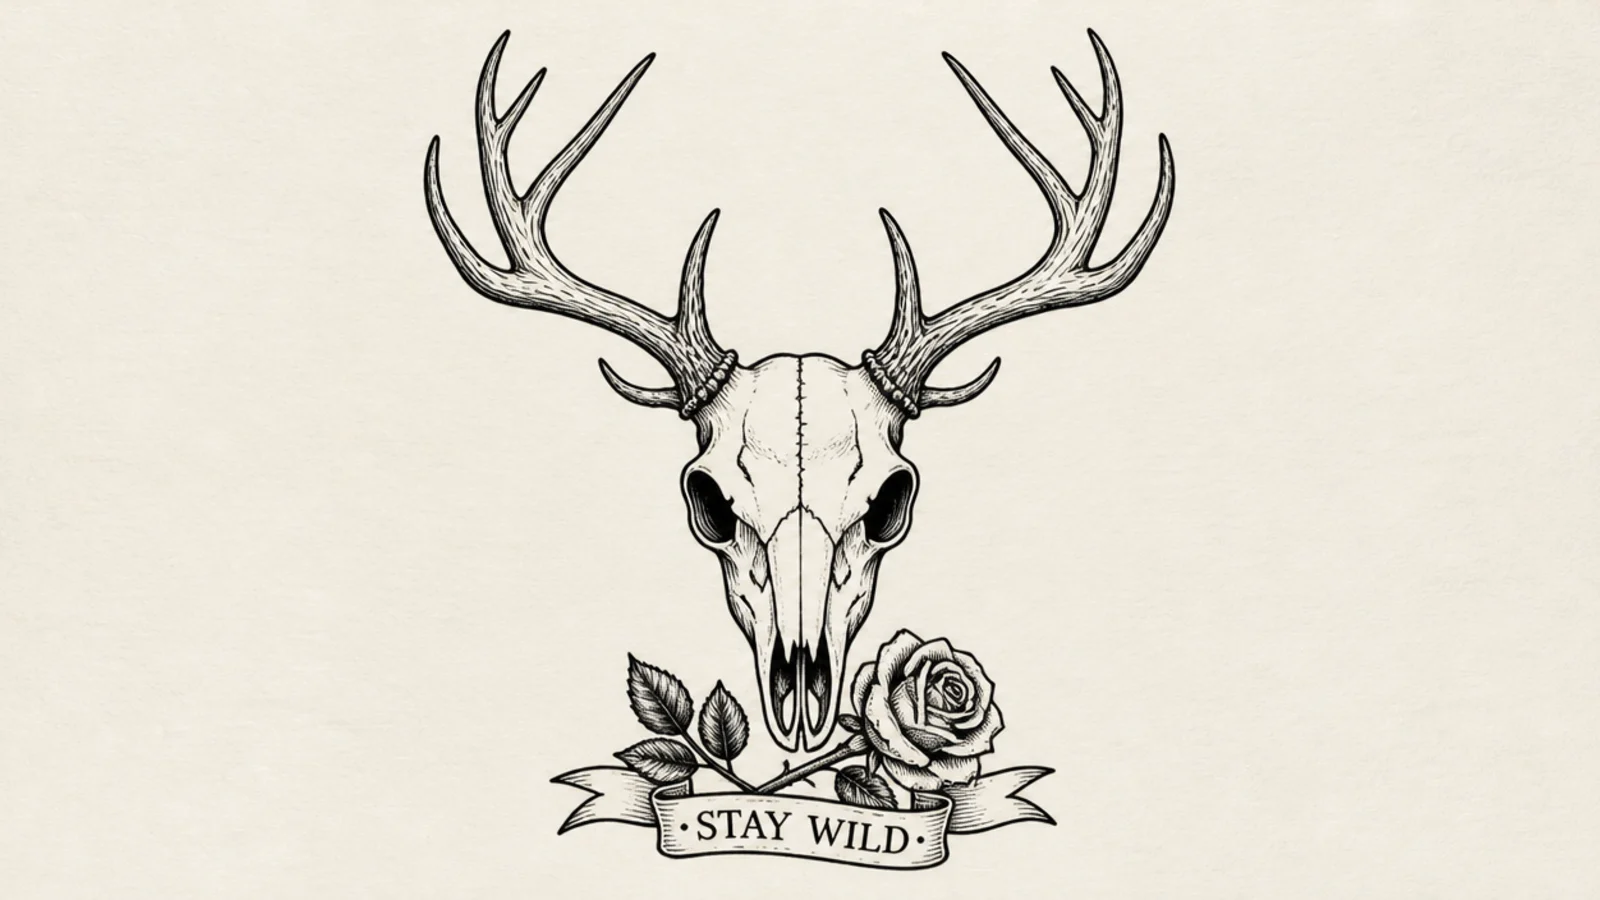
A bold, high-contrast skull with thick outlines is built for tattoo flash. The heavy lines and solid blacks read from across a room. It looks punchy and confident.
Step 1 draw the skull with thick bold outlines. Step 2 fill the sockets and nasal cavity solid black. Step 3 add a banner or a single rose and keep the whole design high-contrast.
Use thick outlines and solid black fills so the design stays bold and readable.
Don’t add delicate shading; bold flat shapes suit the tattoo-flash style.
16 Skull With Crystals
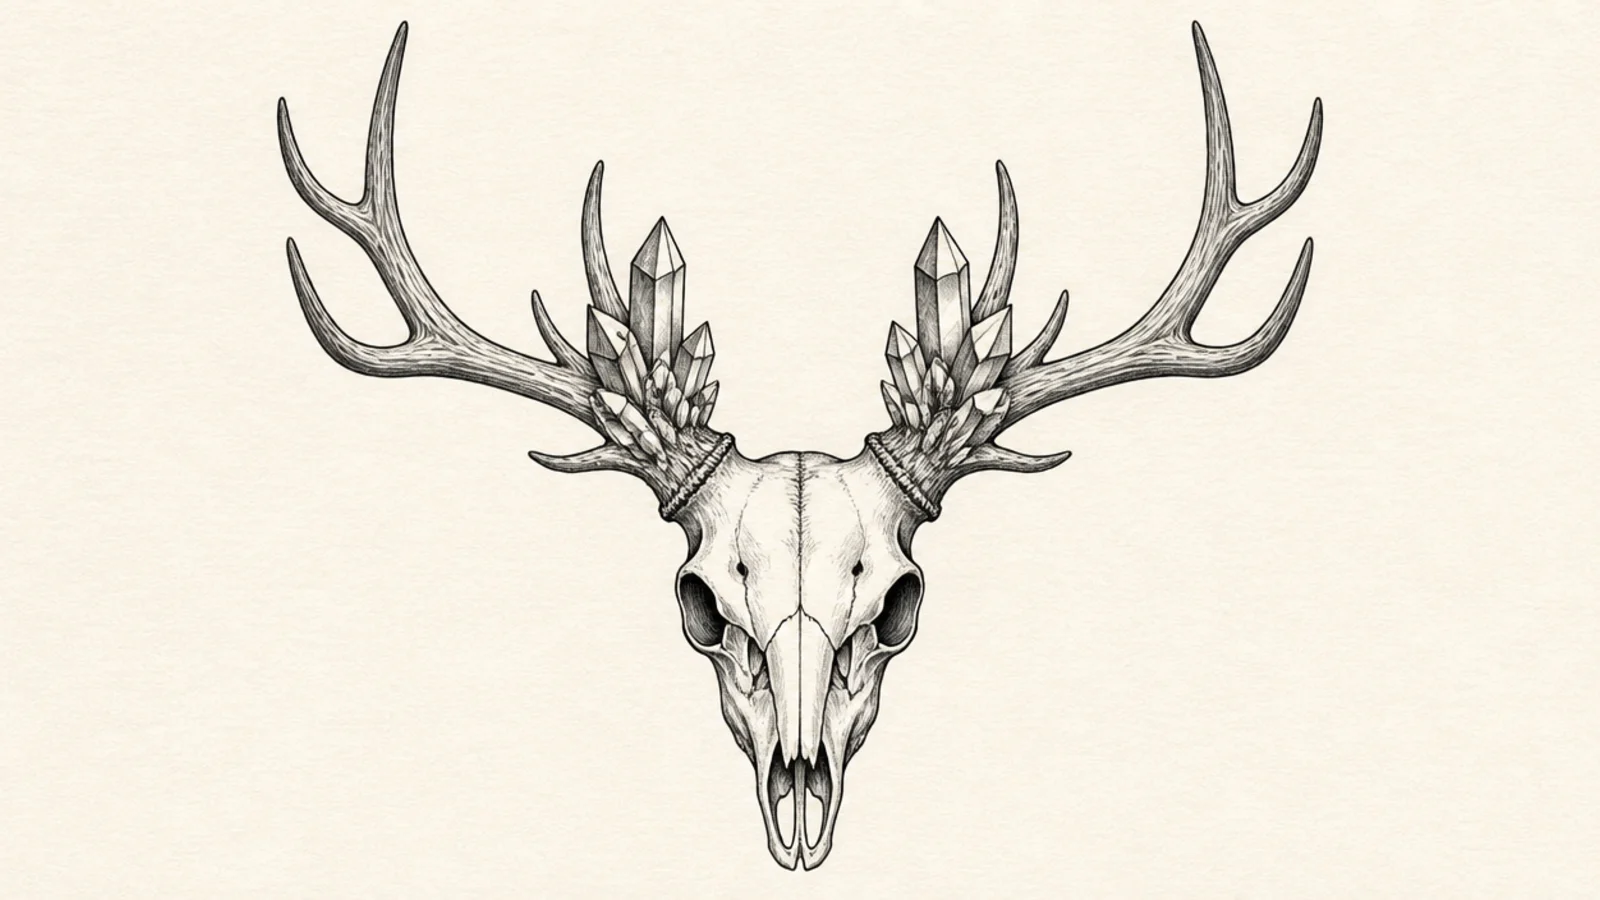
Step 1 draw the skull and antlers. Step 2 cluster a few angular crystal shapes at the base of each antler. Step 3 shade each crystal facet differently to make them sparkle.
Faceted crystals sprouting from the antler bases give a magical, mineral look. The sharp gems contrast with the organic bone. It feels enchanted and modern-boho.
AvoidDon’t shade every facet the same; varied facet tones make crystals glint.
Pro tipVary the size and angle of the crystals so the cluster looks natural, not lined up.
17 Elegant Silhouette Skull
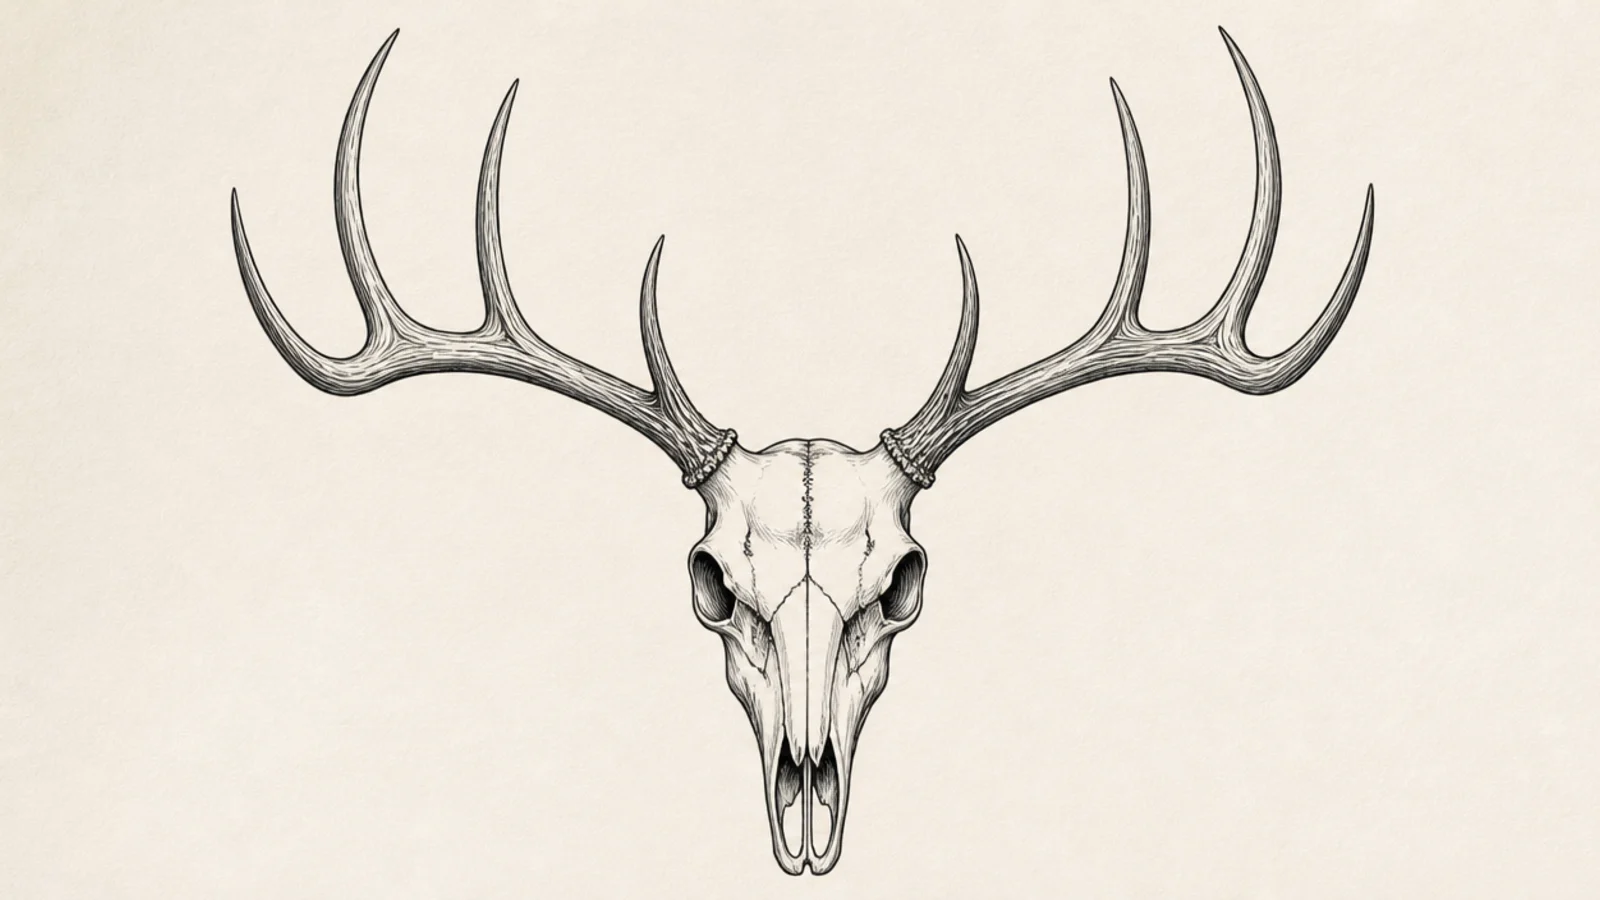
A solid silhouette reduces the skull to its strongest shape — the crown and spreading antlers. There is no interior detail to fuss over. It looks graphic and dramatic.
Step 1 draw the full skull-and-antler outline carefully. Step 2 fill it solid black. Step 3 keep every antler tip and edge crisp since the shape carries the whole piece.
Spend your effort on a clean antler outline; the tips make or break the silhouette.
Don’t add inner lines; the flat solid shape is the entire design.
18 Vintage Botanical Plate Skull
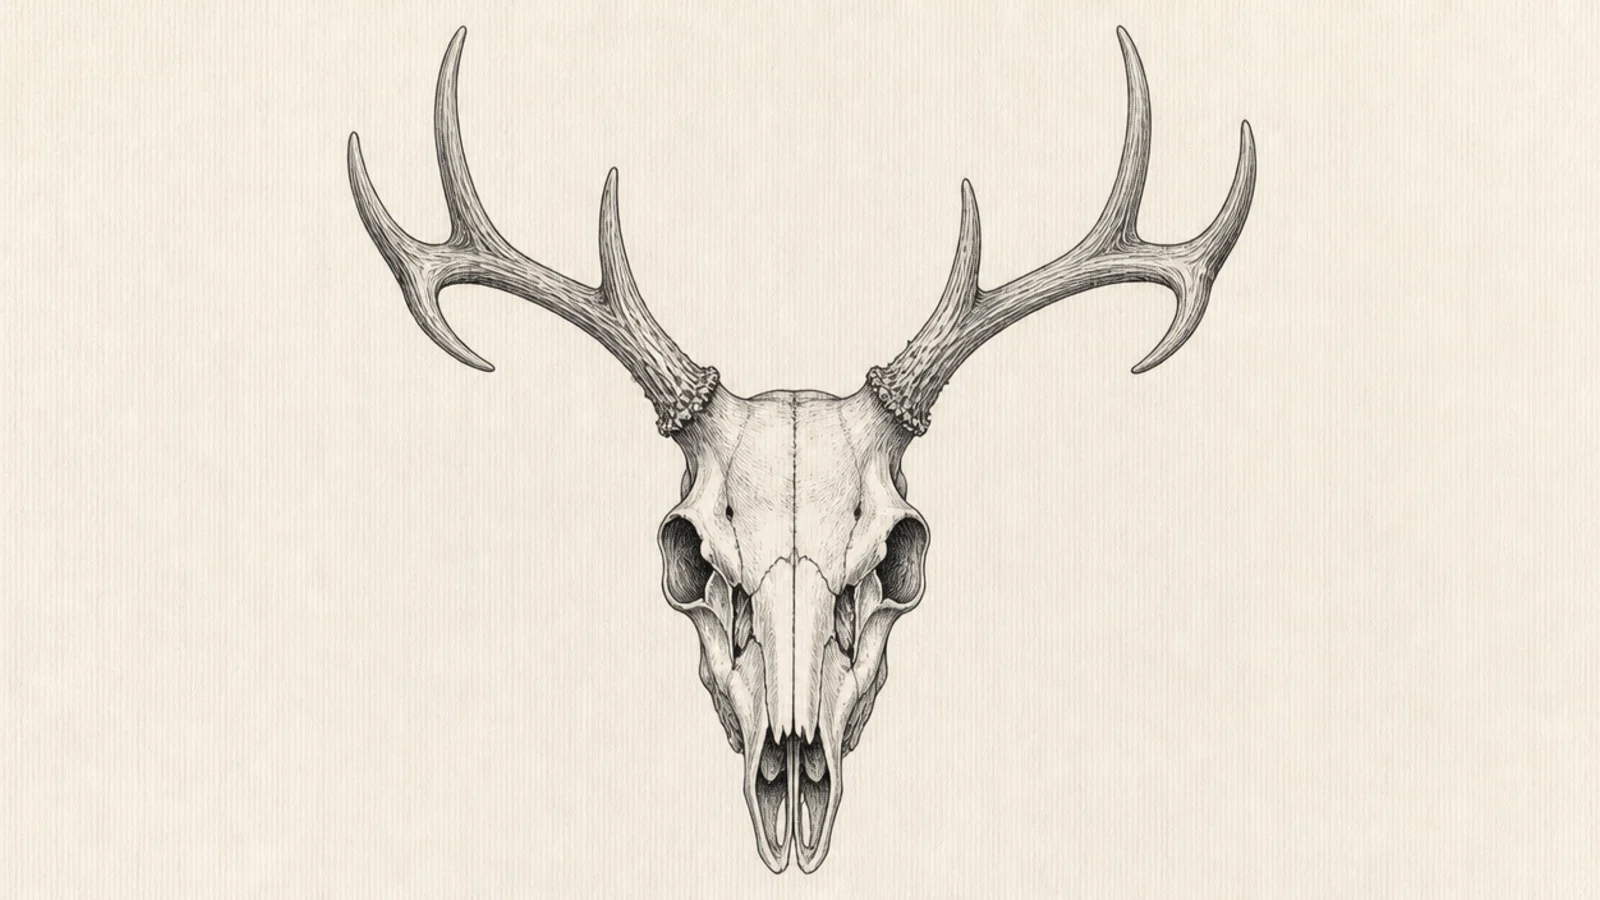
Step 1 draw the skull accurately with a light hard pencil. Step 2 build the tone with fine parallel hatching that follows each surface. Step 3 crosshatch the deepest hollows for the darkest values.
Rendering the skull like an old natural-history plate gives a refined, vintage feel. Fine hatching describes every plane and pit. It looks scholarly and timeless.
AvoidDon’t scribble the shading; controlled hatching gives the vintage plate look.
Pro tipFollow the curve of each surface with your hatch lines so the form reads.
19 Ornate Line-Art Skull
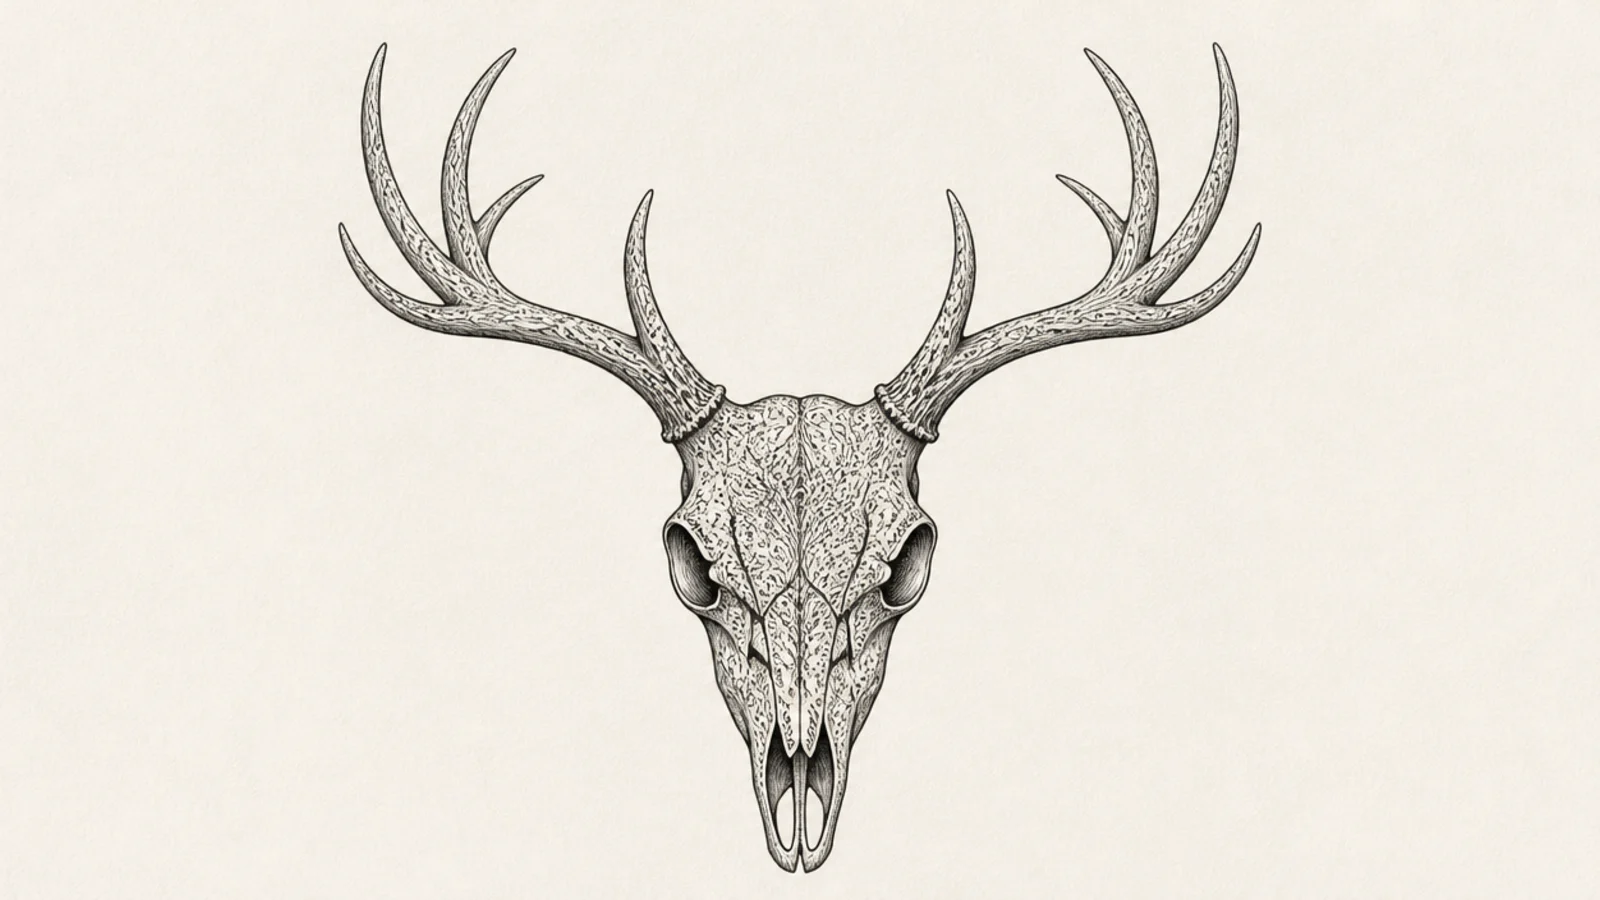
Covering the skull with decorative filigree turns it into an ornamental design. The swirling lines follow the bone’s contours. It looks like an intricate engraving.
Step 1 draw the clean skull and antlers. Step 2 add flowing filigree swirls across the forehead and cheeks. Step 3 fill smaller gaps with dots and fine paisley shapes.
Let the filigree follow the skull’s planes so the pattern wraps the form.
Don’t cover every millimeter; leave some plain bone so the pattern breathes.
20 Full Floral-Crown Skull
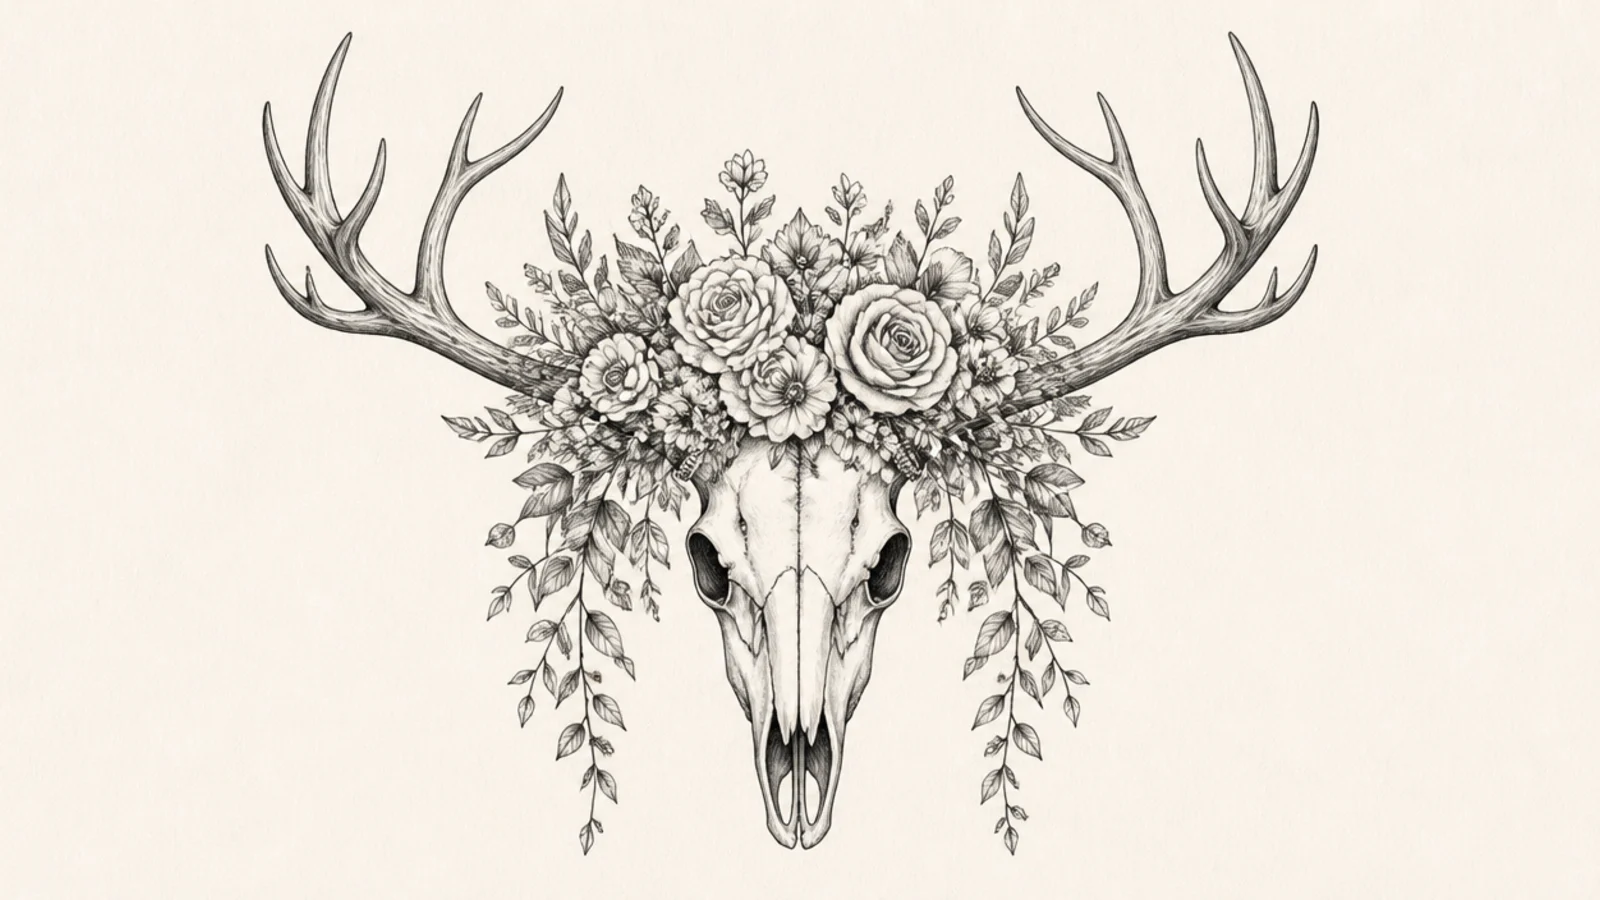
Step 1 draw a strong symmetrical skull and antlers. Step 2 build a full crown of mixed roses, wildflowers, and leaves across the top. Step 3 let greenery trail down both sides and add light shading for depth.
A finished piece combines the skull with a lush full floral crown and trailing greenery. It pulls together everything the list has taught. It is a stunning wall-art or tattoo centerpiece.
AvoidDon’t make every flower identical; varied blooms make the crown feel abundant.
Pro tipMix flower sizes and let some greenery trail off the edges for a lush finish.



