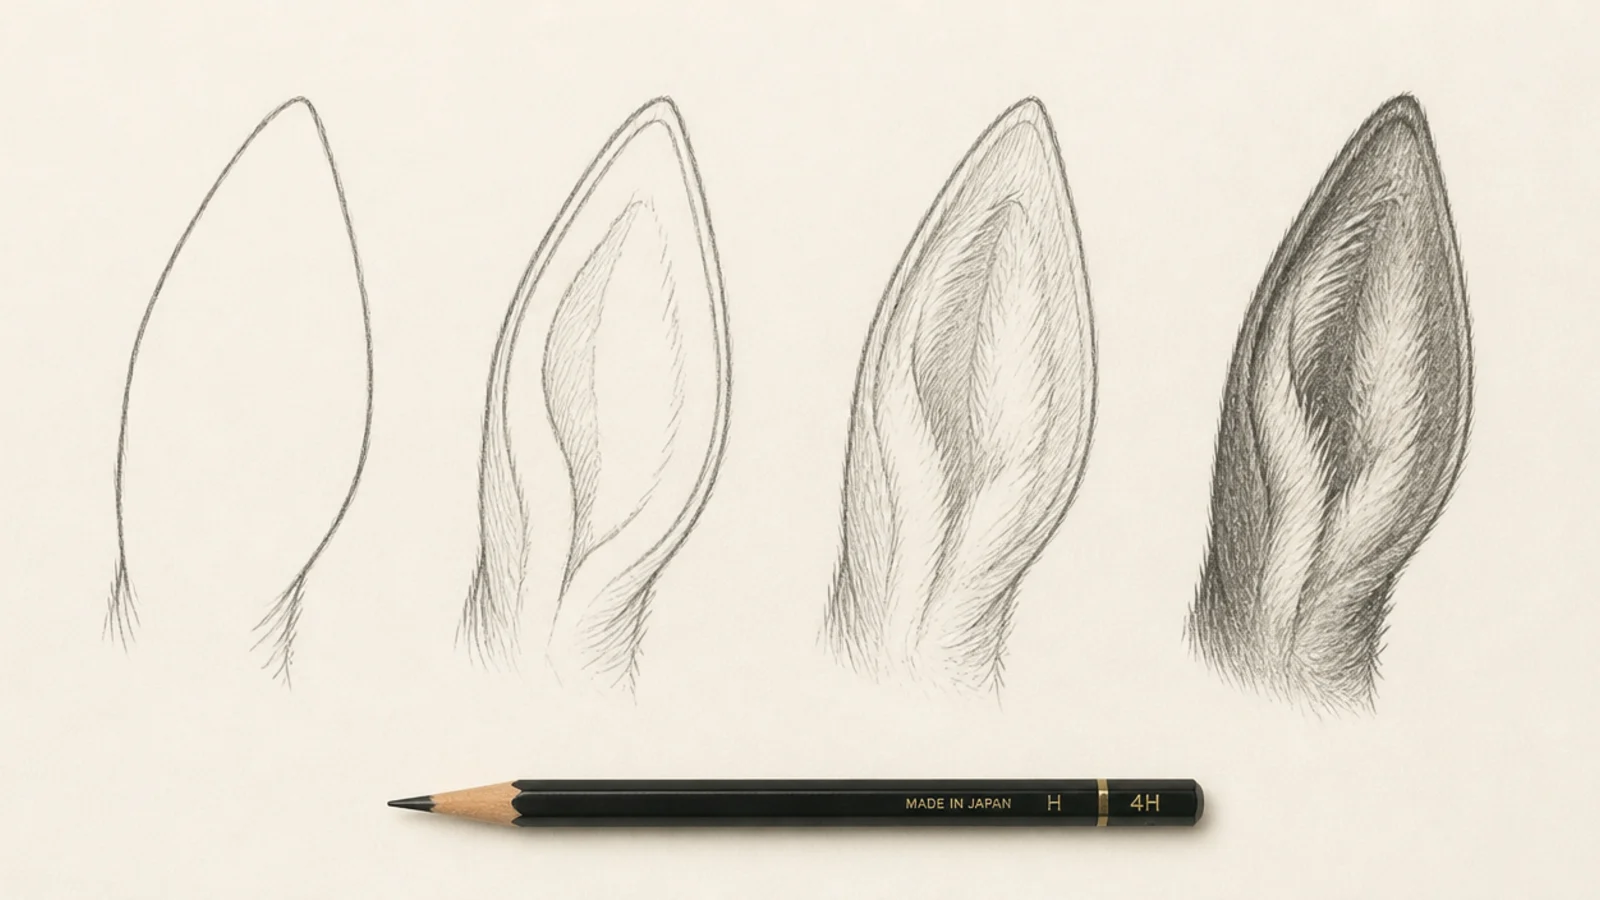
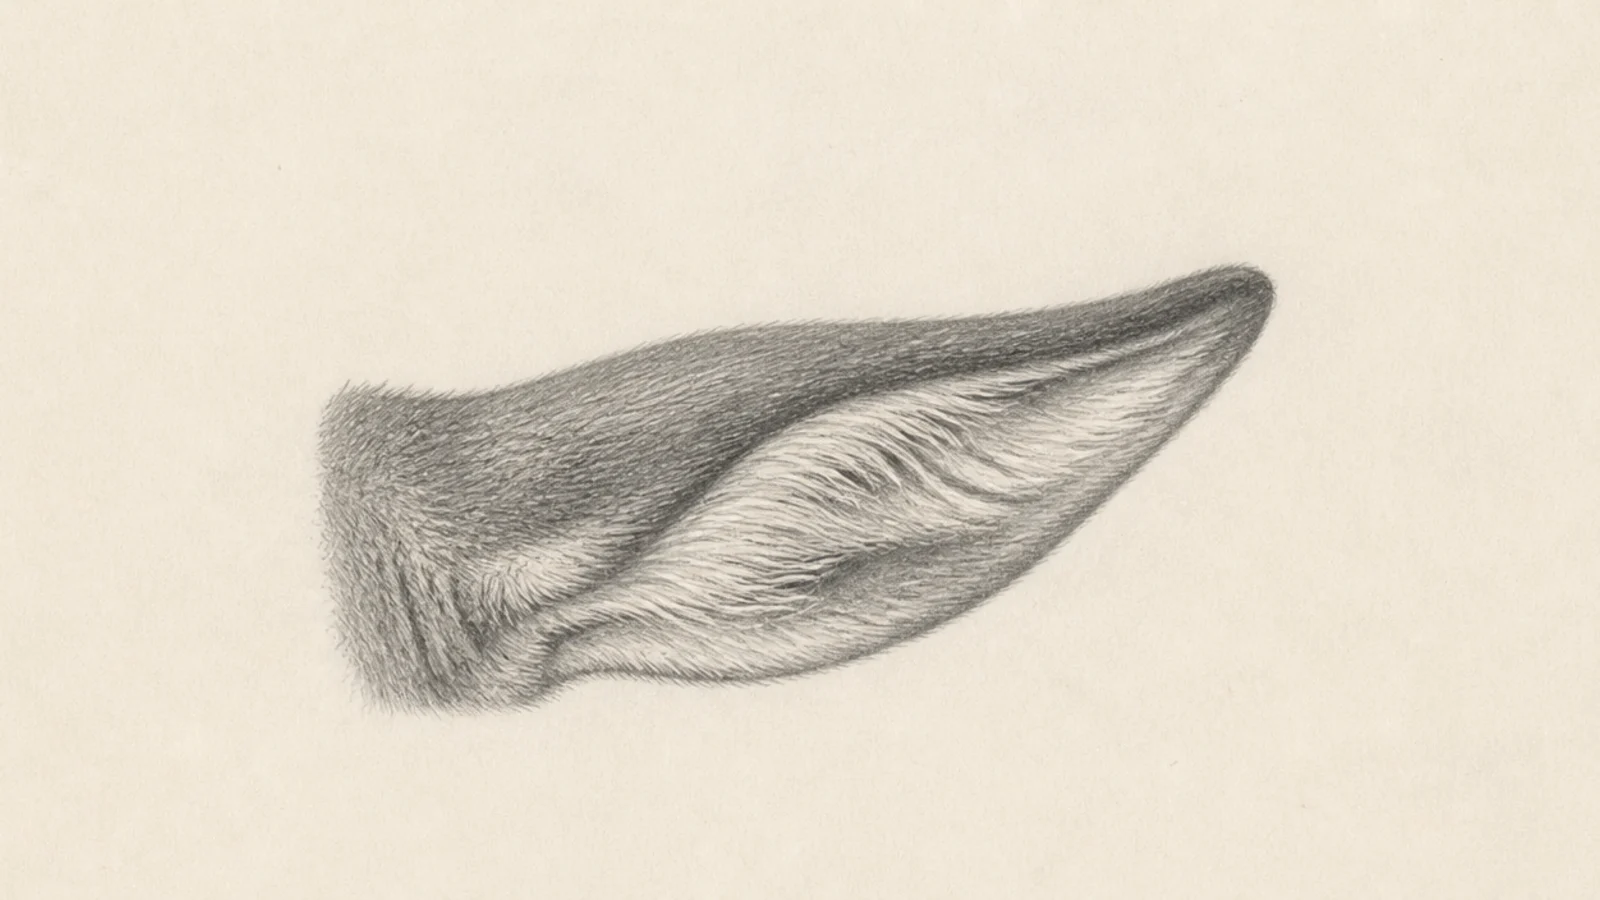
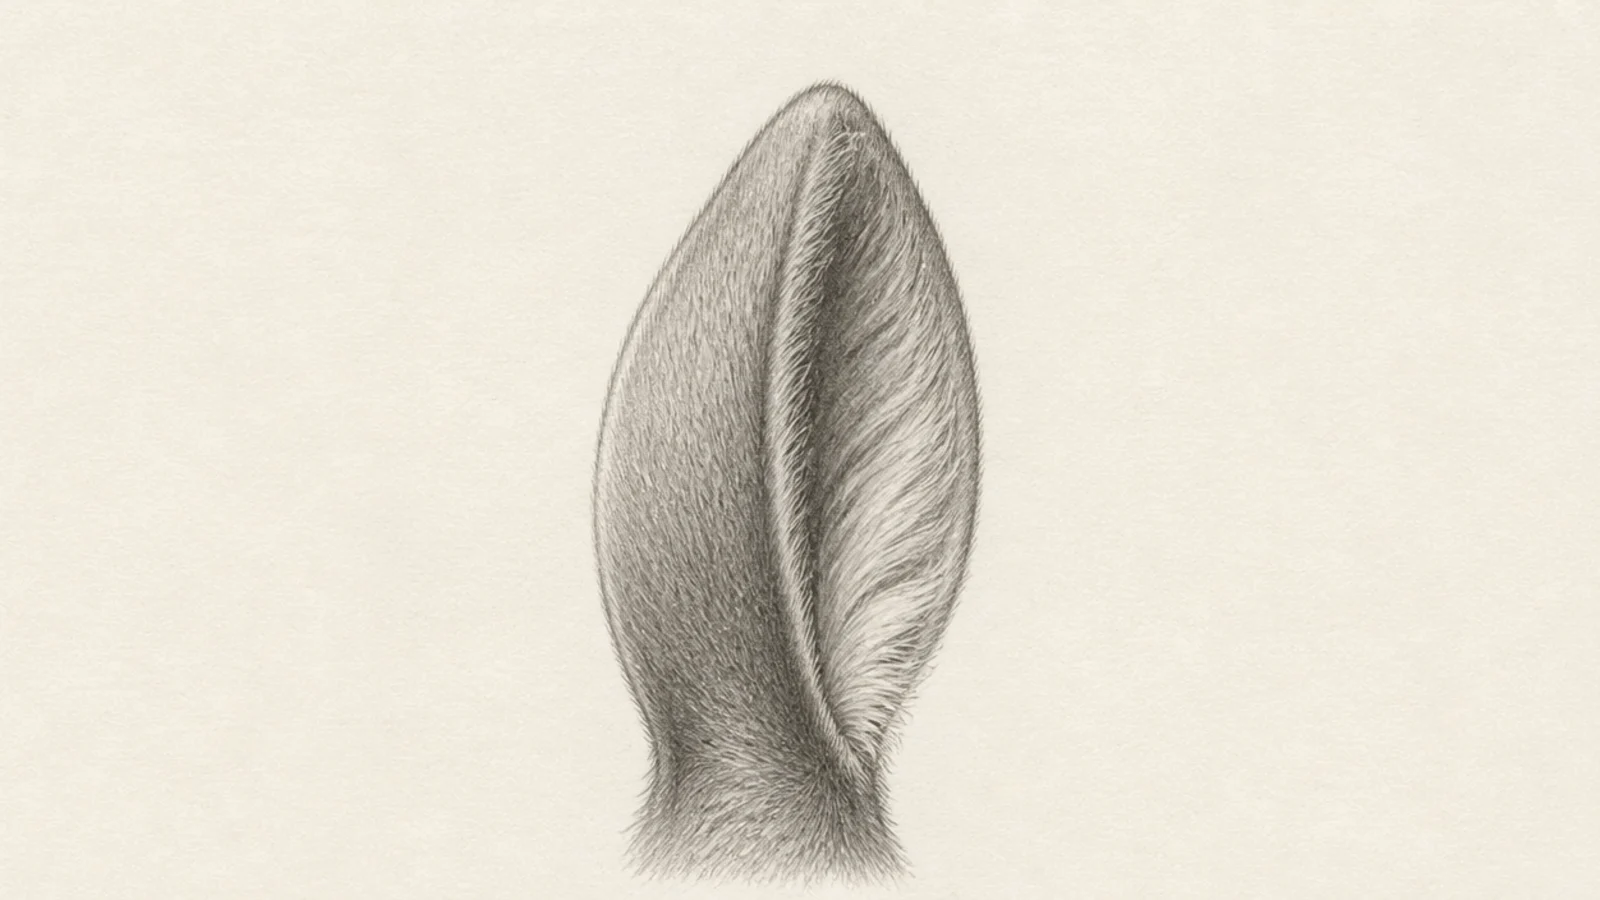
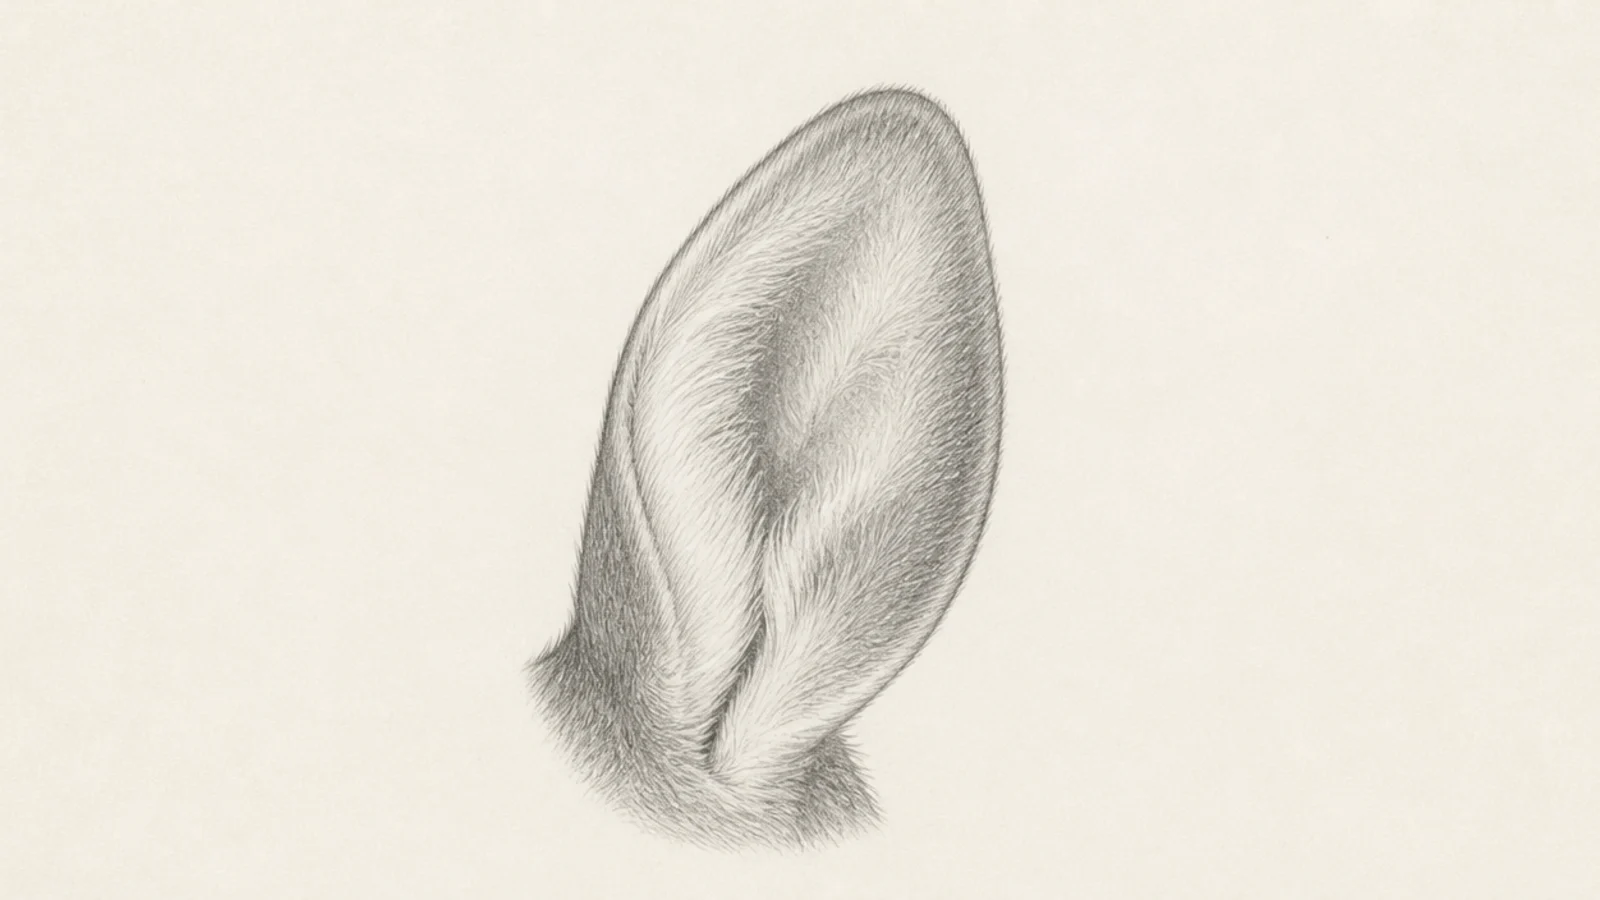
Deer ears make or break a deer portrait — they carry the animal’s expression and give the head its alert, gentle character. Luckily they follow a simple order: draw the tall leaf shape, cup the inside, add the fur, then shade for depth. Get that sequence right and the ears look soft, three-dimensional, and full of life instead of flat. This guide walks you through 4 easy steps that work for any angle, plus a few bonus variations — forward, back, and from behind — to try once you have the basic ear down.
The key to a realistic deer ear is remembering it is a cupped, three-dimensional funnel, not a flat leaf. Start with the outer shape — a tall, rounded teardrop or leaf — then draw the inner cup line that follows it, because that inner curve is what turns a flat shape into a scoop that catches sound. Build the shape and cup before you add a single hair, so the fur has a solid form to sit on.
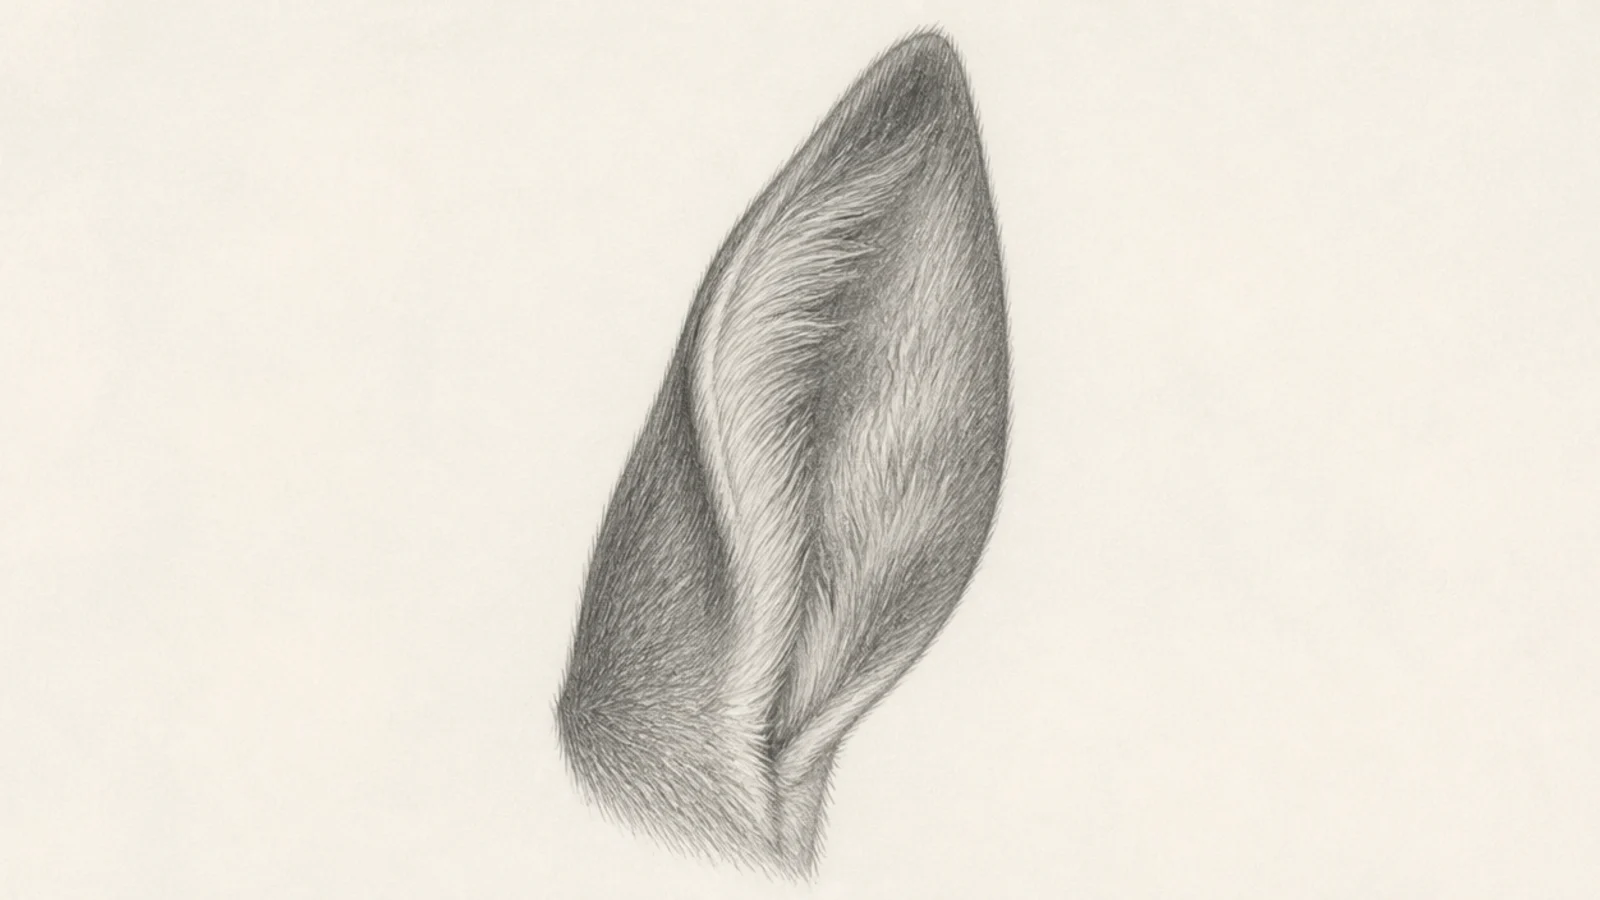
These four steps take you from a blank shape to a soft, believable ear, and the bonus variations after show the ear forward for an alert deer, laid back for a relaxed or wary one, from behind, as a pair on the head, and the rounder ear of a fawn. Follow the steps once as written, then draw the second ear to match.
Step by step
Draw the outer ear shape. Start with the outer silhouette — a tall, rounded teardrop or leaf shape, wider in the middle and tapering to a soft point at the top and a narrower base at the bottom. Keep the line light and smooth. Decide the ear’s angle now, since a forward ear, a side ear, and a back-laid ear all start from this same shape tilted differently. Getting a clean outer shape first gives the rest of the ear a solid foundation.
Add the inner cup and base. Inside the outer shape, draw a second curved line that echoes it, sitting a little in from the rim — this is the inner cup that makes the ear a three-dimensional funnel rather than a flat leaf. At the bottom, add the thicker base where the ear meets the head, with a small fold or twist that shows how the ear pivots. This inner line is the single most important step for making the ear look real.
Add the fur. Now add the two kinds of fur. On the inside, draw long, slightly wispy hairs starting at the inner rim and flowing inward toward the center, keeping them light and varied in length. On the outer back of the ear, use short, sleek strokes that follow the ear’s curve. Let a few inner hairs spill over the rim so the edge looks soft rather than cut with scissors.
Shade for depth. Finish with shading that describes the cup. Darken the inside of the ear, especially deep in the cup and along the base fold, since the inside is usually in shadow. Keep the outer back lighter where it catches the light, and add a soft shadow where the ear meets the head. Blend the outer fur smooth and leave the inner hairs pale against the darker cup. This light-and-dark pass is what lifts the ear into three dimensions.
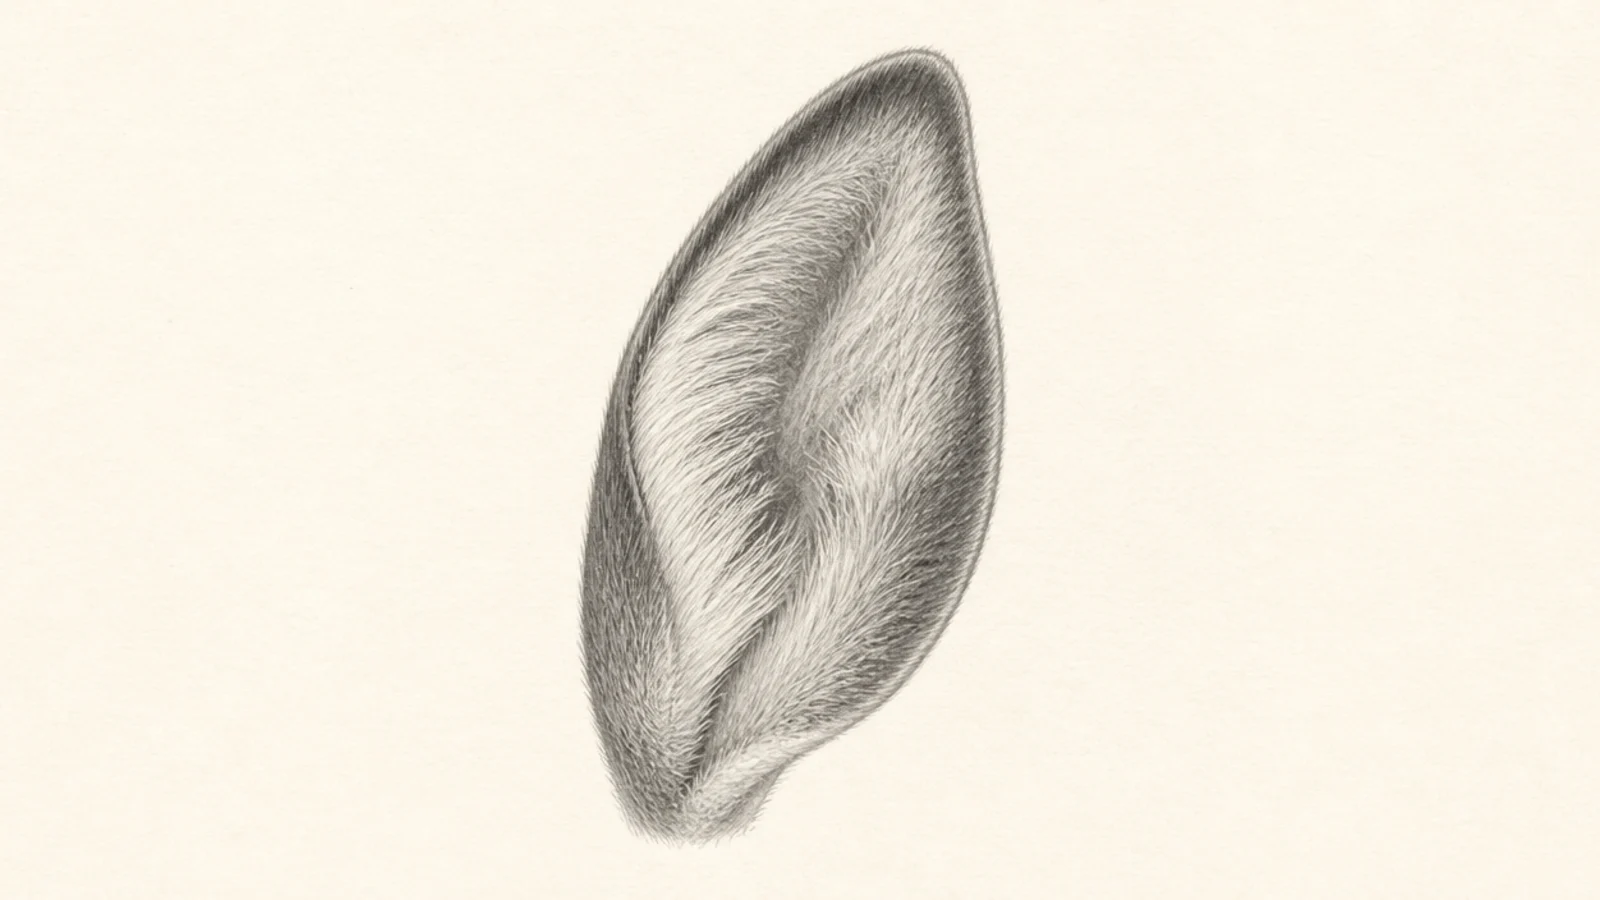
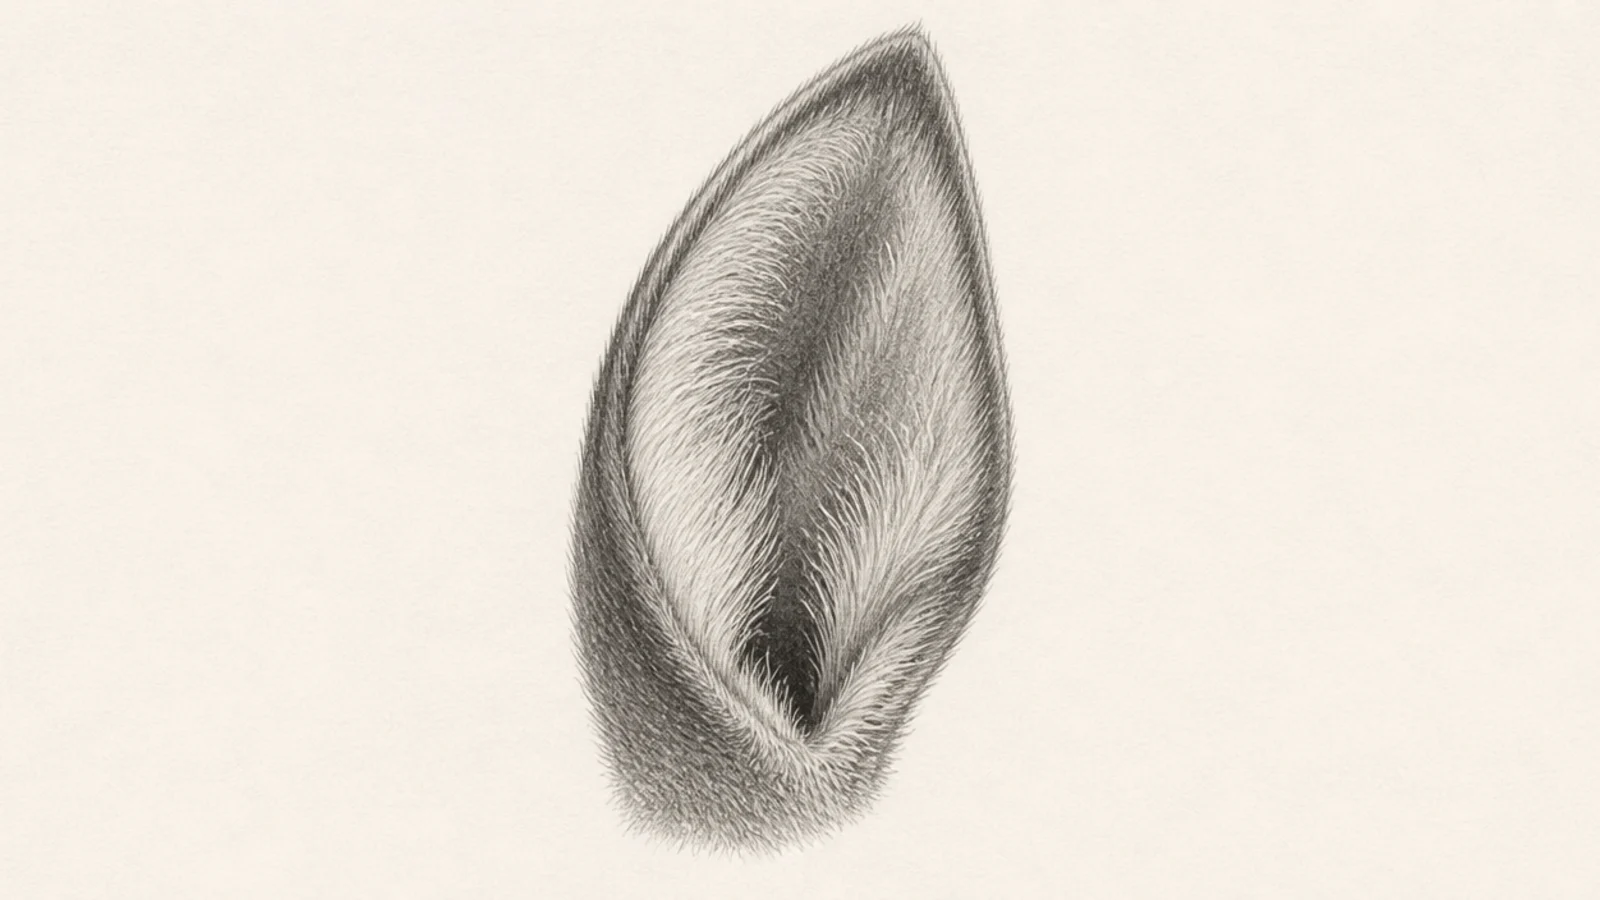
The ear turned forward with the cup facing you reads as alert and listening. It is the most expressive angle. It shows the inner cup and fur most clearly.
Follow all four steps with the shape tilted so the opening faces the viewer. Show the full inner cup and pale hairs, and shade the deep cup darkest.
Pro tipFace the cup opening toward the viewer so the alert listening reads.
AvoidDon’t hide the inner cup; the forward angle is all about showing it.
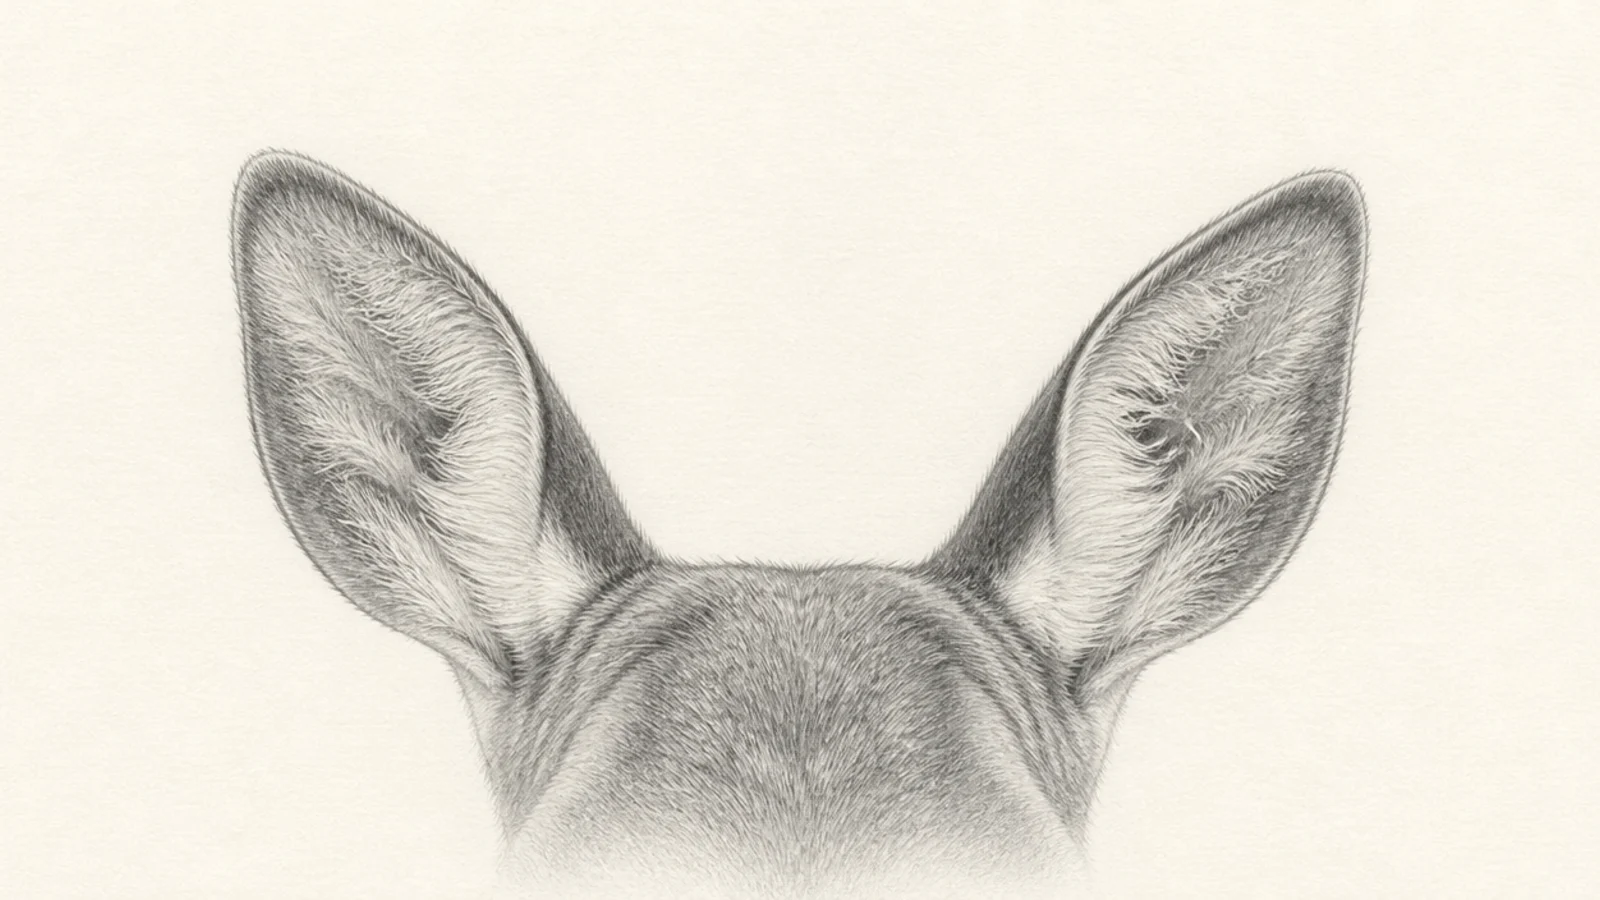
Both ears placed on the head shows how they sit and pivot as a pair. It ties the ear study back to a portrait. It teaches placement and symmetry.
Draw the top of a deer head, then place an ear on each side using all four steps. Angle them slightly differently so they look alive rather than identical.
Angle the two ears slightly differently so they look natural, not cloned.
Don’t make both ears perfectly identical; a small difference reads as alive.
A fawn’s ear is shorter and rounder relative to its head, with soft downy fur. The baby proportions are sweet. It shows how age changes the ear.
Draw a shorter, rounder version of the ear shape. Add softer, downier inner fur and keep the shading gentle for a young, soft look.
Pro tipRound the shape and soften the fur to get the young fawn ear.
AvoidDon’t draw a tall pointed ear; a fawn’s ear is short and rounded.
Quick answers
How do you draw deer ears step by step?
Draw the tall leaf-shaped outer shape first, then add an inner cup line that follows it to make the ear three-dimensional. Next add the fur — long wispy hairs flowing inward on the inside and short sleek fur on the outer back — and finish by shading the inside of the cup darker than the outer back. That four-step order gives you a realistic deer ear at any angle.
Why do my deer ears look flat?
Usually because they are missing the inner cup and the shading that describes it. A deer ear is a cupped funnel, not a flat leaf, so draw the inner curve inside the outer shape and shade the inside of the cup darker than the lit outer back. That contrast between the shadowed inside and the lighter back is what makes the ear look three-dimensional.
How do I draw the fur inside a deer's ear?
Draw long, slightly wispy hairs starting from the inner rim and flowing inward toward the ear canal, leaving them lighter than the surrounding fur since inner-ear hair is often pale. Vary their length and let them overlap a little. Keep the outer back of the ear covered in short, sleek fur that follows the ear’s curve instead.
How do deer ears show the animal's mood?
Ears pointed forward with the openings showing mean the deer is alert and listening, ears turned out to the sides mean it is relaxed, and ears laid flat back mean it is wary or frightened. Because deer ears pivot independently, angling them is one of the quickest ways to give a deer drawing a clear expression and a sense of life.