
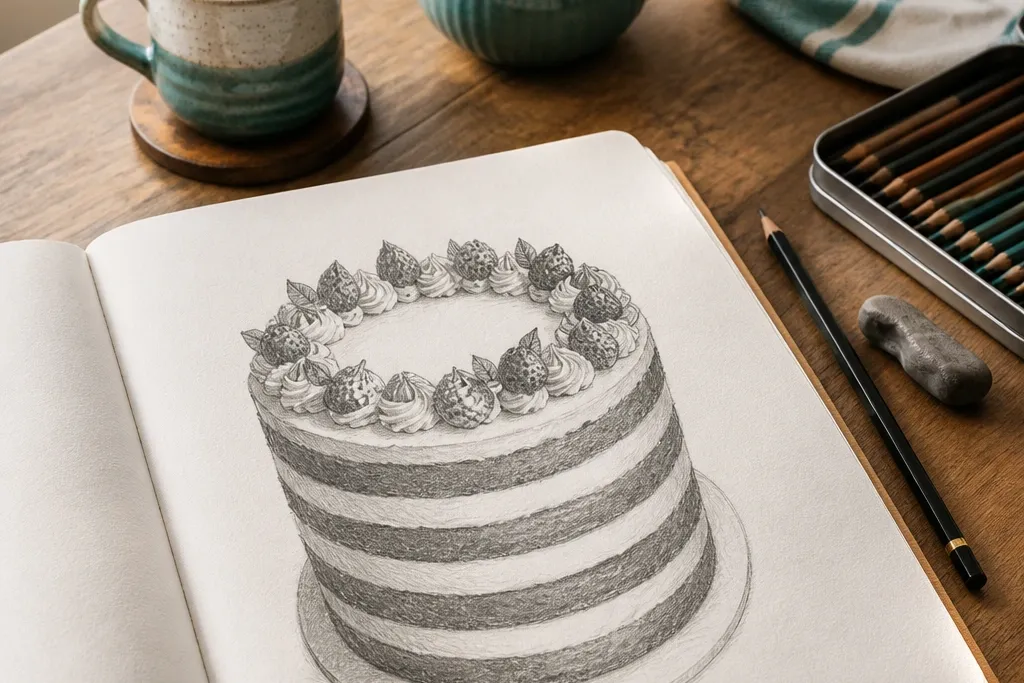
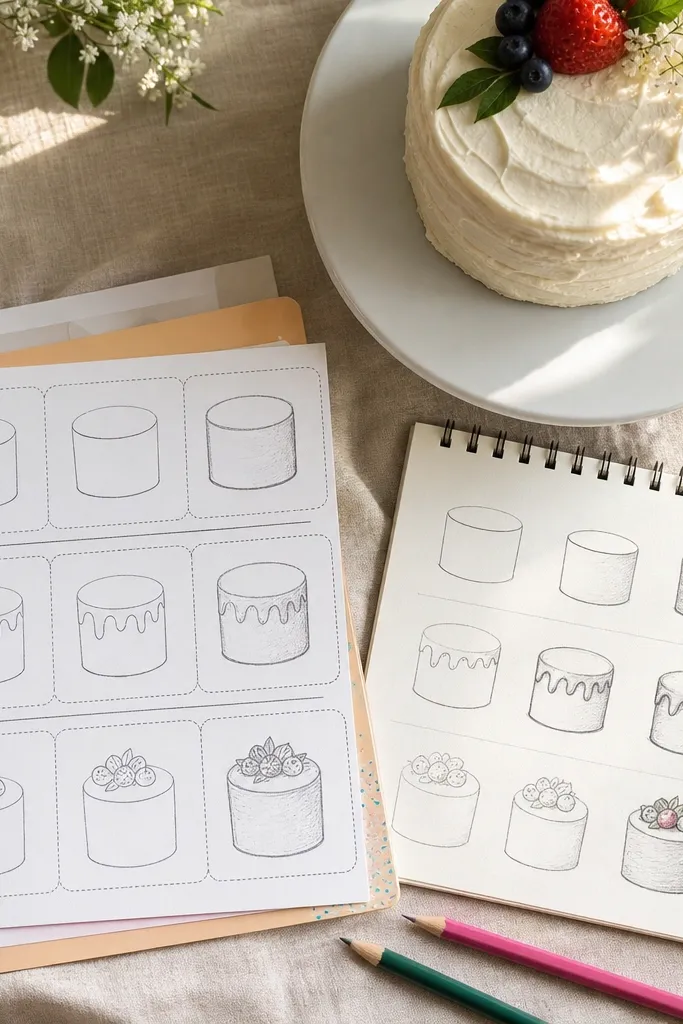
1. Round cake with a smooth top and two frosting ridges
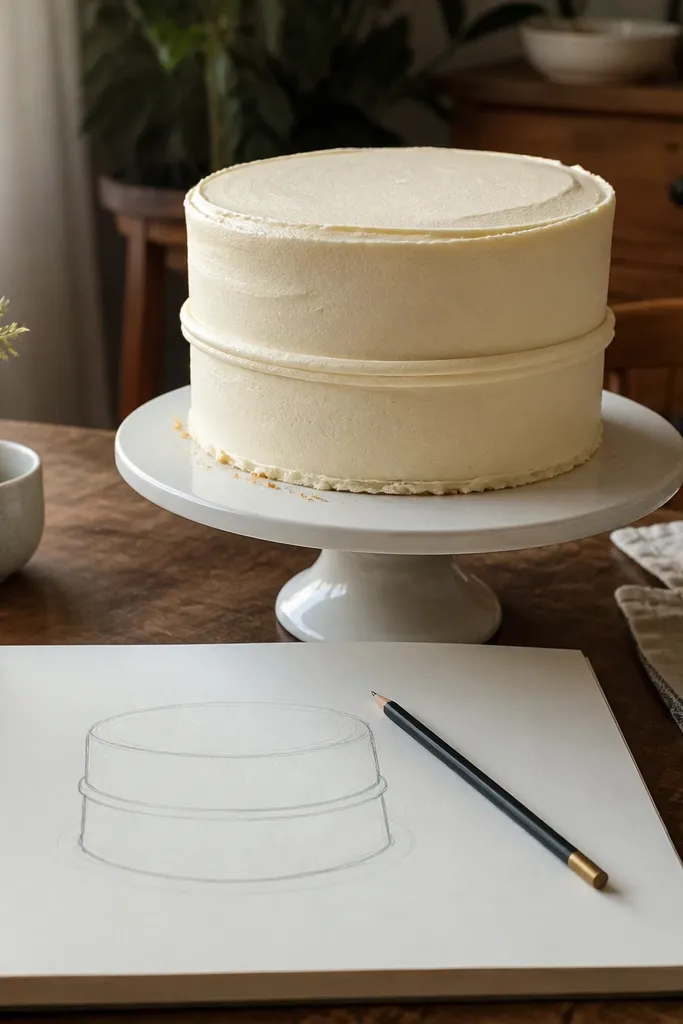
This is the best first cake because it teaches structure without overwhelming texture. You draw one clean circle for the top, then a second line for the frosting ridges, which gives you a clear “frosting thickness” right away. The look is calm and readable, even if your lines are not perfect yet. It also trains you to keep the cake edge straight and the top flat, which is where most beginner sketches go wrong. Expect about 10-15 minutes for your first clean version.
1) Lightly sketch a circle for the cake top, then add a slightly larger circle below it for the base edge. 2) Draw two parallel curved ridges across the top — one closer to the center and one near the edge — keeping the spacing consistent. 3) Add a gentle side outline by connecting the base edge to the top circle with a smooth curve, then erase construction lines. 4) Shade under the ridges with a thin pencil line and blend lightly toward the center.
Pro tipWhen you draw the ridges, use short arcs that repeat, not one long swoop.
AvoidDon’t shade the whole cake immediately; beginners over-darken and lose the layer shape.
2. Sheet cake with a single clean slice cut
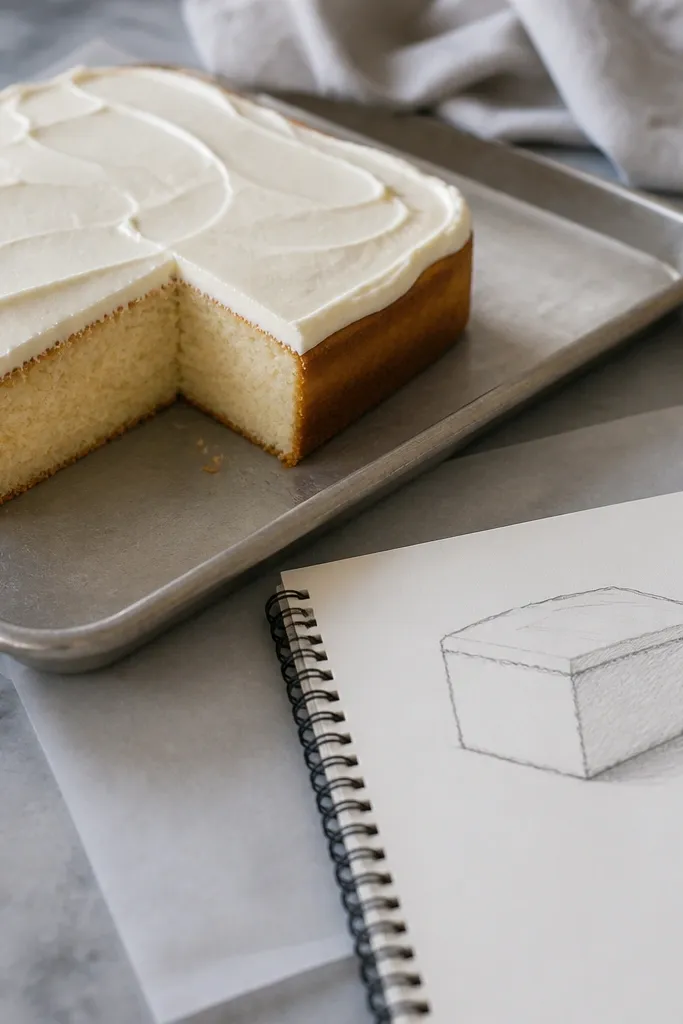
Sheet cakes are forgiving because you get strong geometry — rectangles and straight edges. This step teaches you how to draw a slice cut without turning it into a messy wedge. You’ll learn to create depth using just two lines: the cut face and the shadow at the base. It’s also a great warm-up before more detailed decoration. The final drawing reads clearly on paper, even with minimal shading. Plan 10-20 minutes.
1) Draw a rectangle for the cake top, then add a second rectangle slightly lower to show the thickness. 2) Choose one corner and draw a diagonal slice line from the top edge down to the lower edge. 3) Add the cut face by drawing two short lines that meet at the diagonal, then connect to the bottom rectangle. 4) Shade the slice shadow under the cut face using a soft pencil gradient.
Pro tipKeep the slice angle consistent with a ruler or straight edge for the first version.
AvoidDon’t draw the cut face with random lines; two clean edges are enough.
3. Stacked cake with three equal layer bands
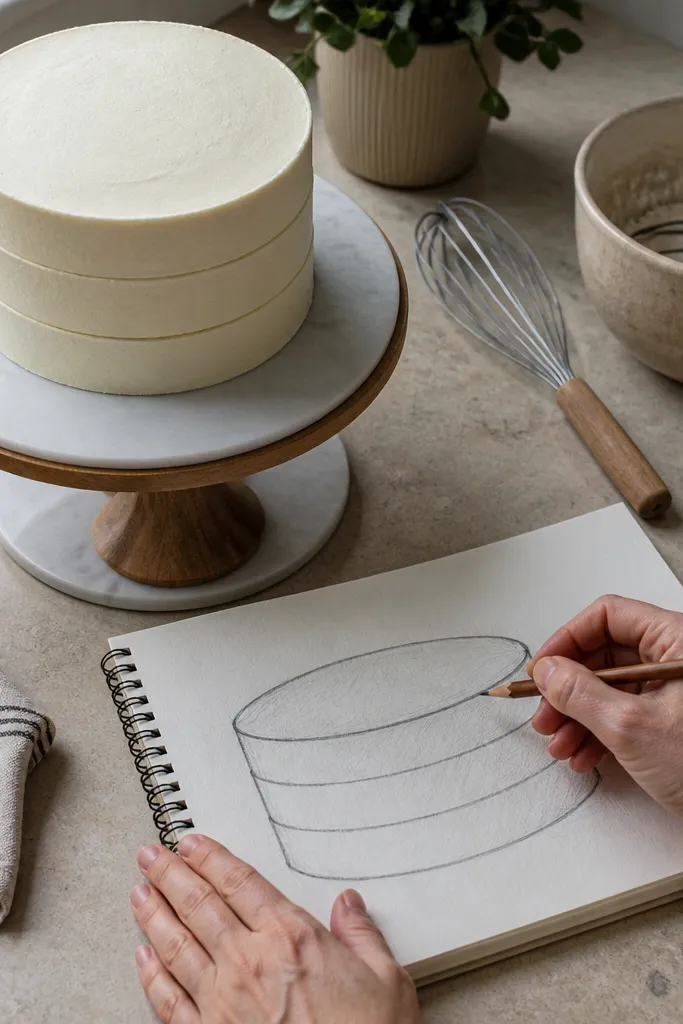
Stacked cakes look impressive, but beginners lose them when layer thickness changes. This step forces symmetry: each layer band has the same thickness all around, so the stack reads as stable. You’ll learn to draw three sets of ellipses (top and bottom edges) without worrying about frosting details yet. Once the structure is right, you can add simple frosting bands and it will look like a real cake. This is a strong confidence builder. Give yourself 15-25 minutes.
1) Draw three ellipses for the top edges, spaced vertically, with each top ellipse slightly smaller than the one below. 2) For each layer, draw the matching bottom ellipse at a consistent distance to create equal band thickness. 3) Connect each top ellipse to its bottom ellipse with smooth side curves, then erase any helper lines. 4) Add a simple frosting band as a slightly wavy line along each top ellipse and shade just under each band.
Pro tipMeasure layer thickness by eye: keep the vertical gap between each pair of ellipses the same on all sides.
AvoidDon’t freehand the bottoms with uneven spacing — that’s what makes stacks look like they’re melting.
4. Frosting swirl top using repeating C-shapes
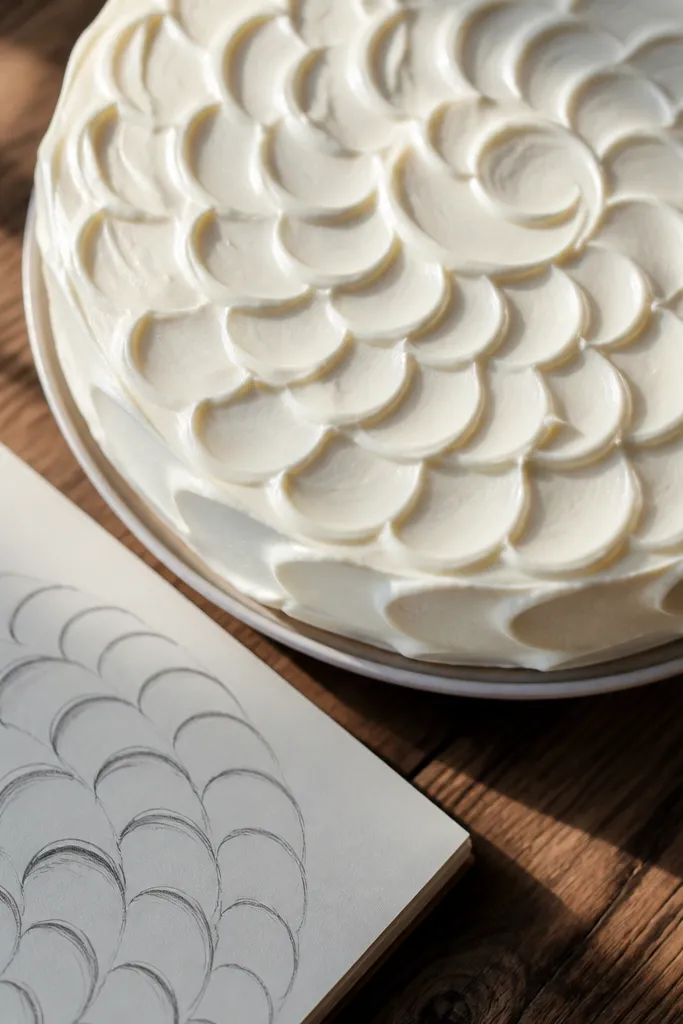
Swirls can look intimidating, but this version turns them into a pattern you can repeat. You’re not inventing decoration each time; you’re placing the same C-shape over and over, then slightly varying size near the edges. This teaches beginners how frosting texture can be consistent without looking robotic. It also helps your lines stay smooth because you control the curve of each C. The result looks like real frosting ridges, not scribbles. Budget 15 minutes.
1) Draw the basic round cake top circle and a shallow frosting edge line. 2) Starting near the center, draw a small C-shape, then place another C-shape next to it with a tiny gap. 3) Continue outward in rows, making the Cs a bit larger near the rim. 4) Shade between rows by lightly darkening the inner side of each C.
Keep the C-opening facing the same direction across the whole top.
Don’t press hard on the pencil while drawing the Cs; deep grooves make erasing harder.
5. Chocolate drip rim with three controlled drops
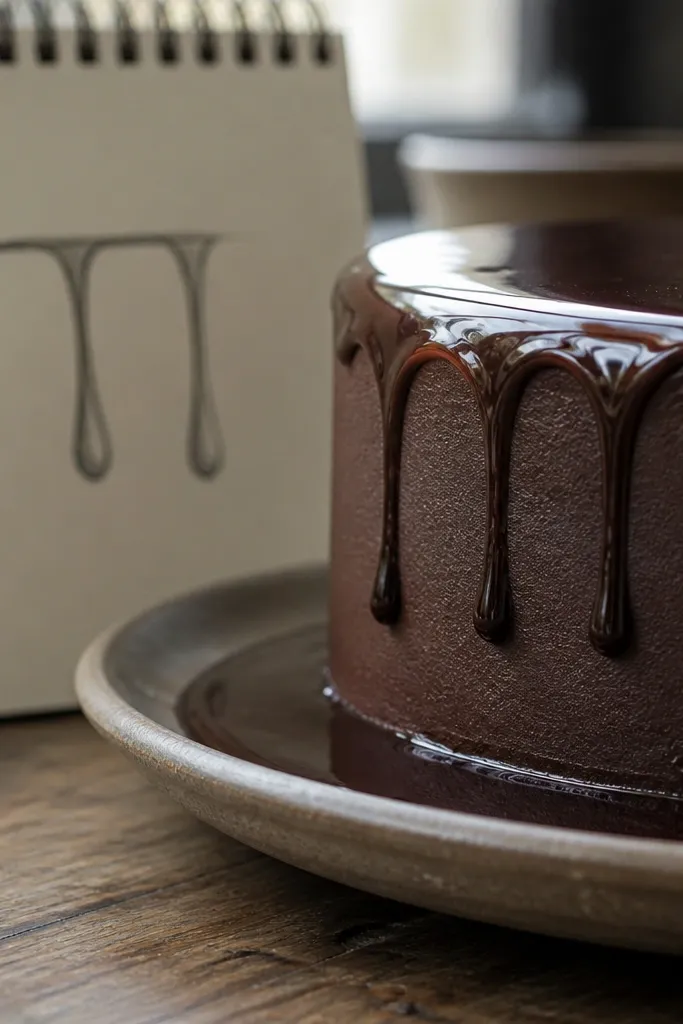
Drips are one of the easiest “wow” details because you only need a few drops to sell the look. This step teaches controlled drip shapes: the top rim is a straight wavy line, and each drip has a narrow neck that widens slightly as it falls. Beginners love drips because mistakes are easy to correct by erasing one drop and redrawing it. The drawing still looks intentional even with only three drips. This takes about 10-15 minutes.
1) Draw your round cake top circle and add a wavy frosting rim line about 1-2 cm above the top edge. 2) Pick three drip positions across the rim and draw each drip as a narrow vertical curve that widens at the bottom. 3) Add a rounded base for each drip where it touches the cake top. 4) Shade under the rim line and along the left side of each drip for depth.
Make drip bottoms rounded, not sharp. Sharp ends look like ink blobs.
Don’t add too many drips at once; three clean drips look better than eight messy ones.
6. Frosting rosette dots around the edge
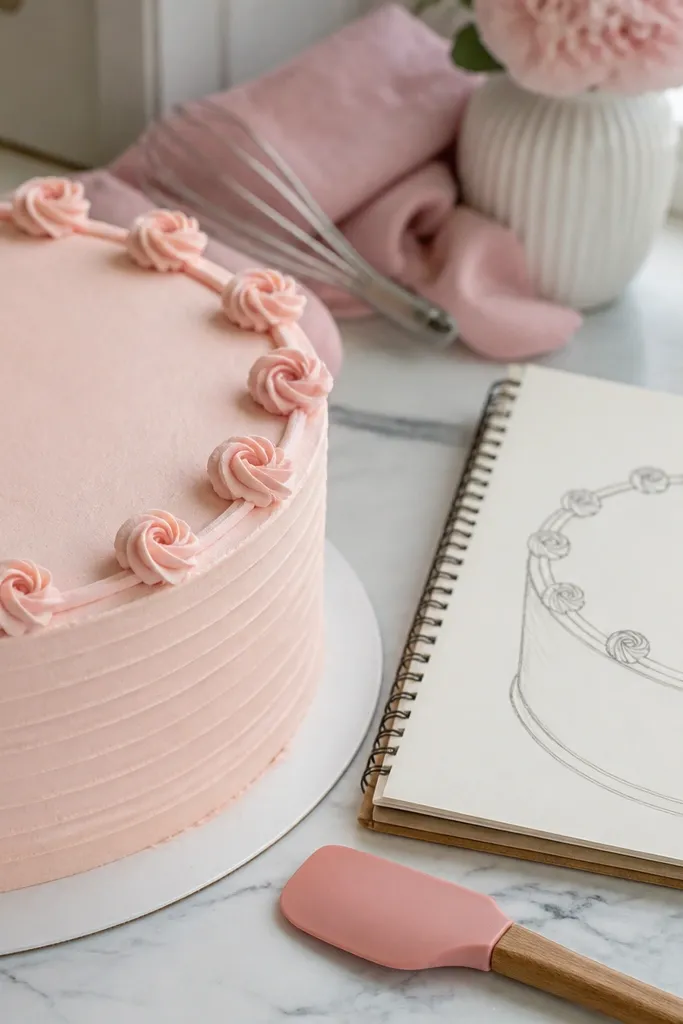
This is a beginner-friendly decoration because it uses tiny repetitive marks instead of long swirls. You’ll place small rosette dots around the rim, then connect them with a simple frosting edge. The texture reads clearly at a glance, and it hides uneven frosting edges. It also teaches spacing — the difference between a neat pattern and a chaotic one. If you want a cake that looks decorated without heavy shading, this is it. Plan 10-15 minutes.
1) Draw the round cake top circle and a frosting edge line following the rim. 2) Along the rim, place small rosette marks: draw a tiny spiral or loop (about the size of a pea) and repeat around the edge. 3) Keep the loops touching lightly so the pattern looks continuous. 4) Shade under the edge line with a thin pencil stroke, then erase any stray marks.
Pro tipUse the pencil tip for the rosettes, not the side of the graphite.
AvoidAvoid uneven spacing that bunches up in one area — keep the dots in a ring.
7. Buttercream basket weave on the side
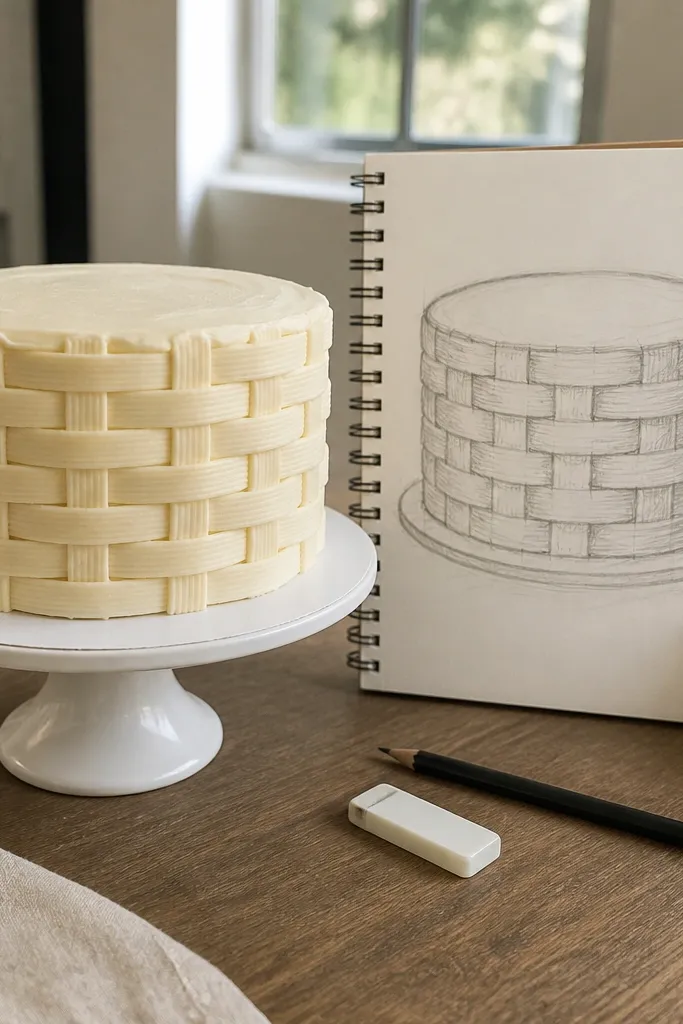
Basket weave sounds complex, but beginners can draw it with straight lines and one rule: alternate over-under bands. This step gives you a clear texture on the side of the cake without touching the top. The pattern makes the cake look more dimensional because lines wrap around the curve. It’s also forgiving: if a line is slightly off, the weave still reads. This is great when you want texture but don’t want to practice advanced shading. Time: 20 minutes.
1) Draw a simple round cake side — a top ellipse, a bottom ellipse, and curved side connection lines. 2) Add horizontal bands around the side by drawing 4-6 evenly spaced curved lines. 3) For the weave, draw vertical curved lines that cross the horizontal bands, alternating which lines sit “on top” by slightly darkening every other crossing. 4) Lightly shade one side of the cake to make the weave wrap.
Pro tipDarken only the crossings you want to look like they’re “over” the band.
AvoidDon’t make vertical lines perfectly straight across the whole side; they should follow the curve.
8. Piped frosting border with a zigzag edge
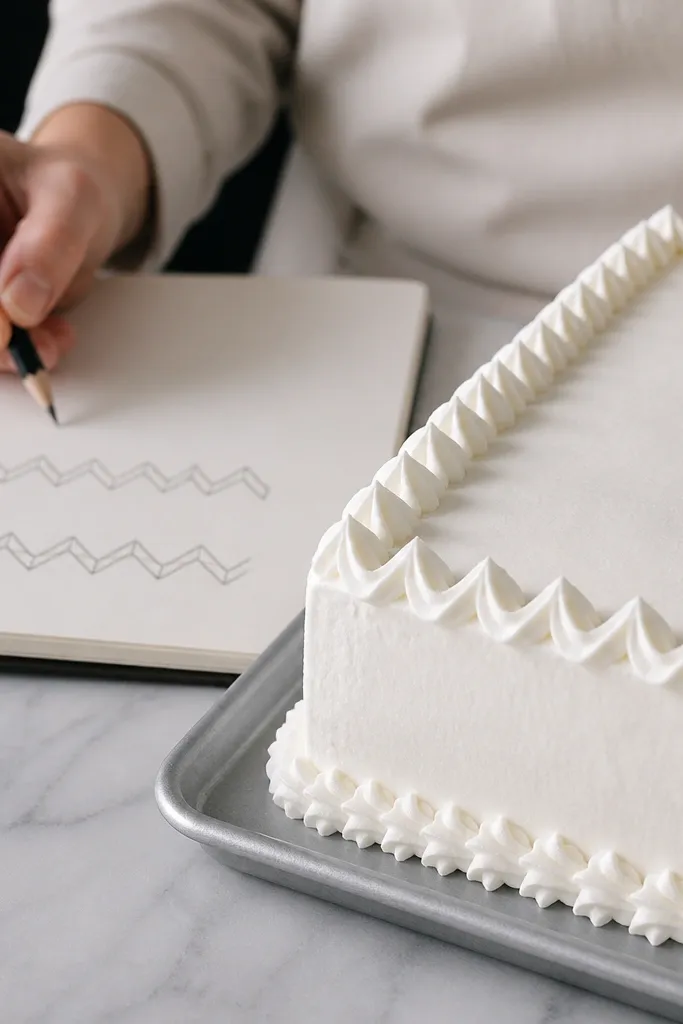
A zigzag border is the fastest way to make a plain cake look decorated. You’re training your hand to draw consistent peaks and valleys, which is the same skill you’ll use for many frosting styles. The look works on both round and sheet cakes, so it’s a versatile beginner step. It also reduces how much shading you need because the border creates contrast. Keep it simple: one border and a clean top. Time: 10-12 minutes.
1) Draw the cake top shape (circle or rectangle) and add a frosting edge line just inside the rim. 2) On that edge line, draw repeating peaks: V shapes pointing up and down around the circumference. 3) Connect the border to the top with a short inner curve so it looks piped, not drawn on top. 4) Shade under the border with a single thin line and a light blur toward the center.
Make each V the same height. Use the width of one peak as your spacing unit.
Don’t overdo the border thickness; thick zigzags make the cake feel cartoonish.
9. Mini cake with a simple candle flame
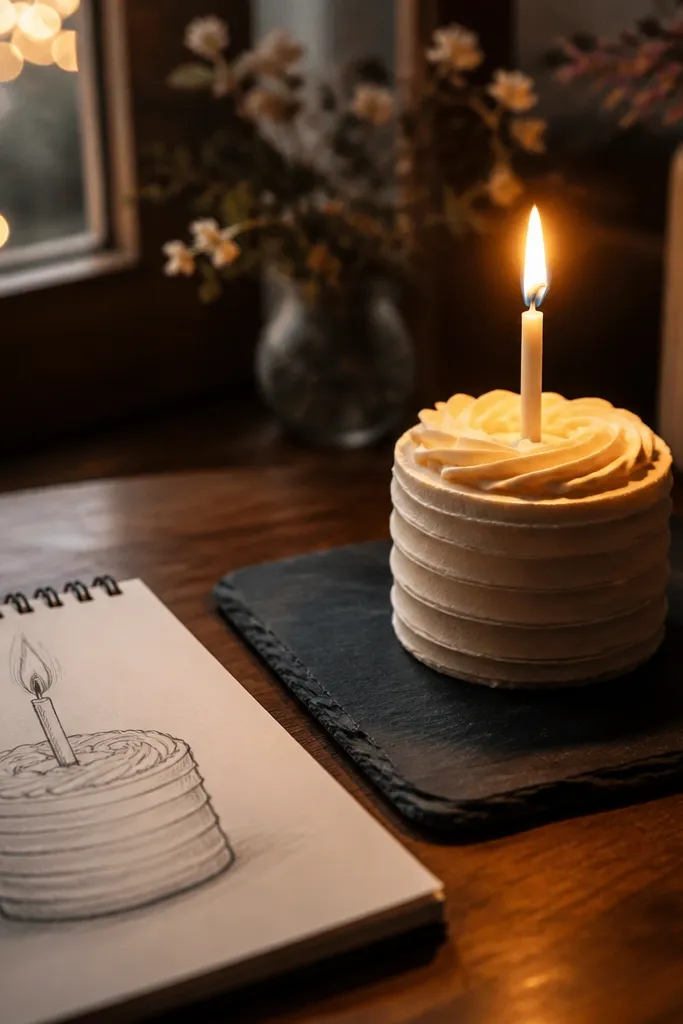
This step is for beginners who get stuck because cakes feel flat. Adding one candle gives you a clear focal point and teaches basic layering: cake base, frosting top, then the candle. The flame is simple — a teardrop with a small inner curve — and it makes your drawing look more “complete” without extra decoration. It’s also a quick way to practice clean outlines and one light shadow. Time: 12-18 minutes.
1) Draw a small round cake: a top ellipse and bottom ellipse with curved sides. 2) Add a frosting top line and a second wavy line to show frosting thickness. 3) Draw a straight candle stick centered on top, then add a teardrop flame above it and a smaller inner teardrop. 4) Shade under the candle stick and along one side of the frosting for depth.
Pro tipKeep the flame wider at the bottom than at the tip — that shape reads instantly.
AvoidDon’t draw the candle too thick. A thick stick makes the cake look smaller than it is.
10. Cake slice with layered crumb lines
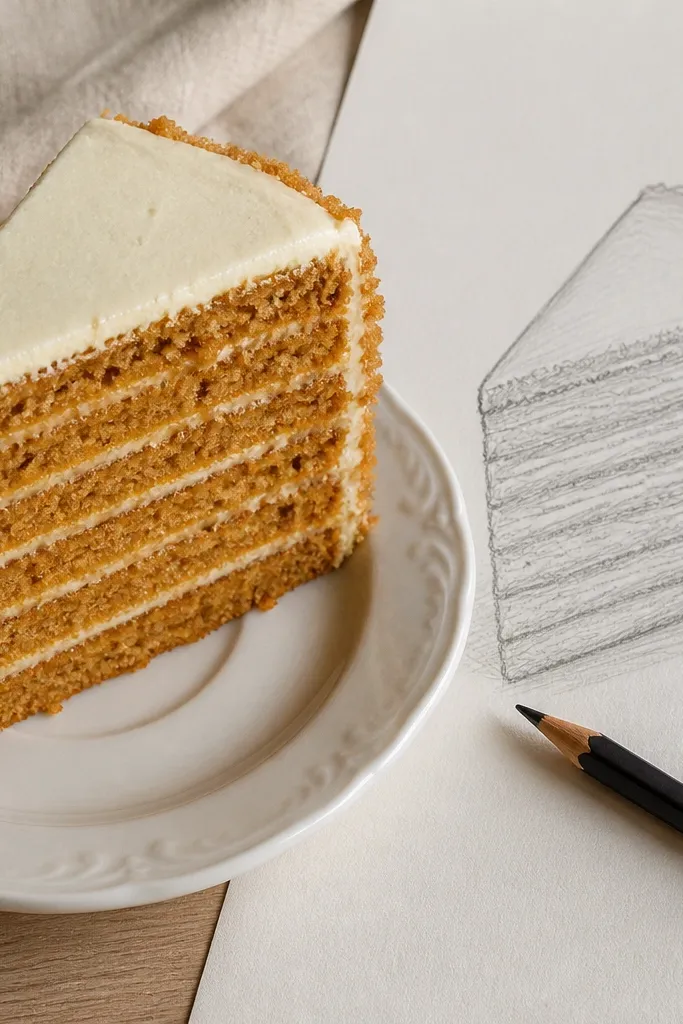
If your cake slice always looks like one solid wedge, this fixes it. You’ll add crumb layers using a couple of straight horizontal lines across the cut face. The trick is to keep those lines parallel and evenly spaced, so the slice looks stacked even in 2D. This is one of the easiest ways to make a beginner drawing look more “real.” You’ll also learn where to place shadow: along the bottom edge of the slice and under the frosting lip. Time: 15 minutes.
1) Draw the slice wedge: a diagonal top edge and a bottom edge, then connect them with side lines. 2) Add frosting by drawing a curved frosting cap at the top edge. 3) Inside the slice face, draw two or three crumb lines that are parallel to the frosting edge. 4) Shade under the frosting cap and along the bottom edge of the slice with light pencil pressure.
Use a ruler for the crumb lines once, then freehand the next slice.
Don’t curve the crumb lines. Curved crumb lines make the slice look warped.
11. Frosting basket with horizontal ruffles
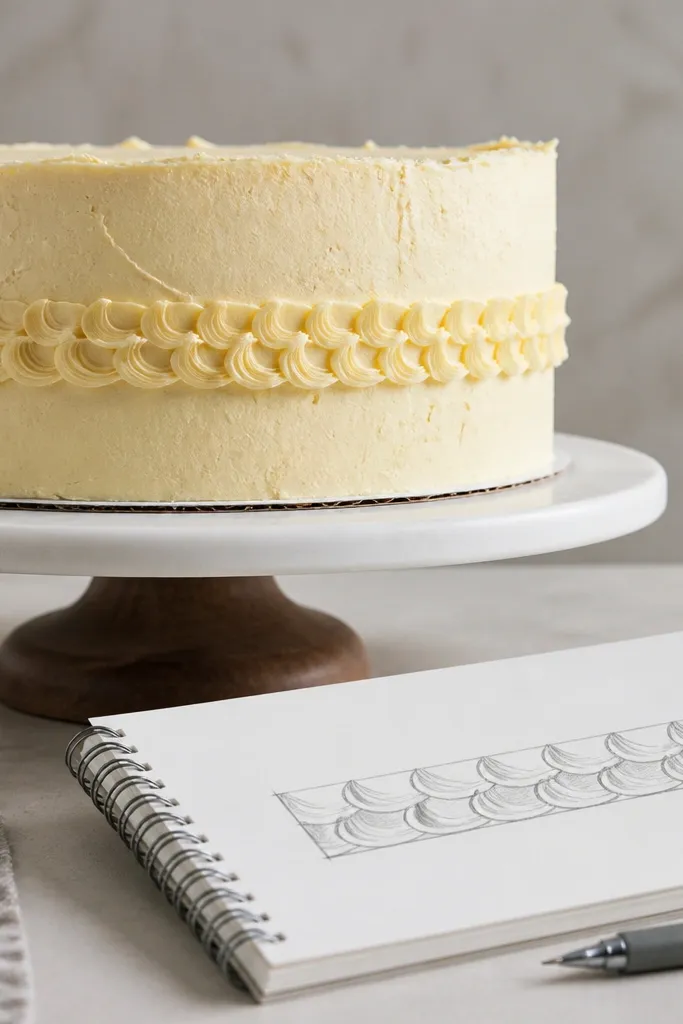
Horizontal ruffles turn a plain cake side into something textured without complex geometry. You draw a series of short scallops along a band, then repeat across the side. The result looks like piped frosting ridges. This step helps beginners because it’s pattern-based and forgiving — small inconsistencies still read as ruffles. It also adds dimensional cues with simple shading under each scallop row. Time: 20 minutes.
1) Draw a round cake side outline with top and bottom ellipses. 2) Choose 5-6 frosting bands across the side and lightly sketch them as horizontal guide curves. 3) On each band, draw small scallops: tiny bumps that repeat along the curve. 4) Shade the underside of each scallop row so the ruffles cast tiny shadows.
Keep scallops the same width within one band for a clean look.
Don’t outline every scallop with heavy pen; light pencil lines look smoother.
12. Simple rosette swirl center on top
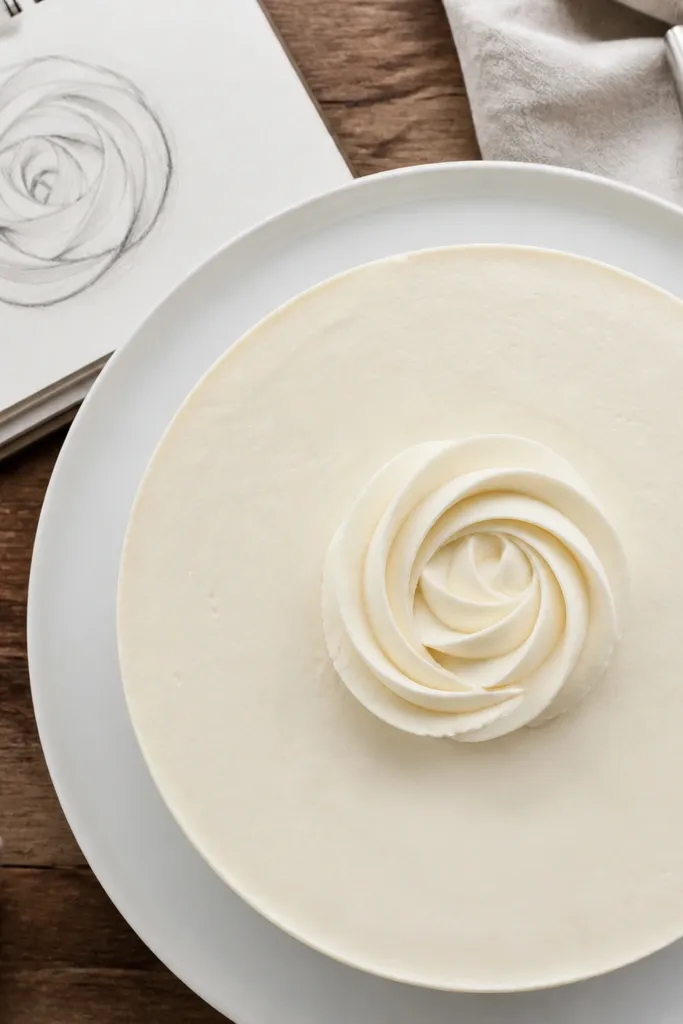
A single rosette center is a smart beginner choice because it gives you a focal point without filling the whole top. You’ll practice drawing a tight spiral and then adding small petal curves around it. This teaches controlled curves and spacing. The rest of the cake can stay plain, which keeps the sketch from turning into decoration overload. It’s also easy to fix: erase one petal and redraw it. Time: 12-20 minutes.
1) Draw the round cake top circle and add a frosting edge line. 2) In the center, draw a small spiral — start with a loop and curl inward. 3) Around the spiral, draw 8-10 petal curves that look like teardrops pointing outward. 4) Shade under the petals lightly and add a thin shadow under the frosting edge.
Make petal tips consistent — same height and same curve tightness.
Don’t crowd the petals. Leave small gaps so the rosette reads as separate shapes.
13. Frosting spiral border around a sheet cake
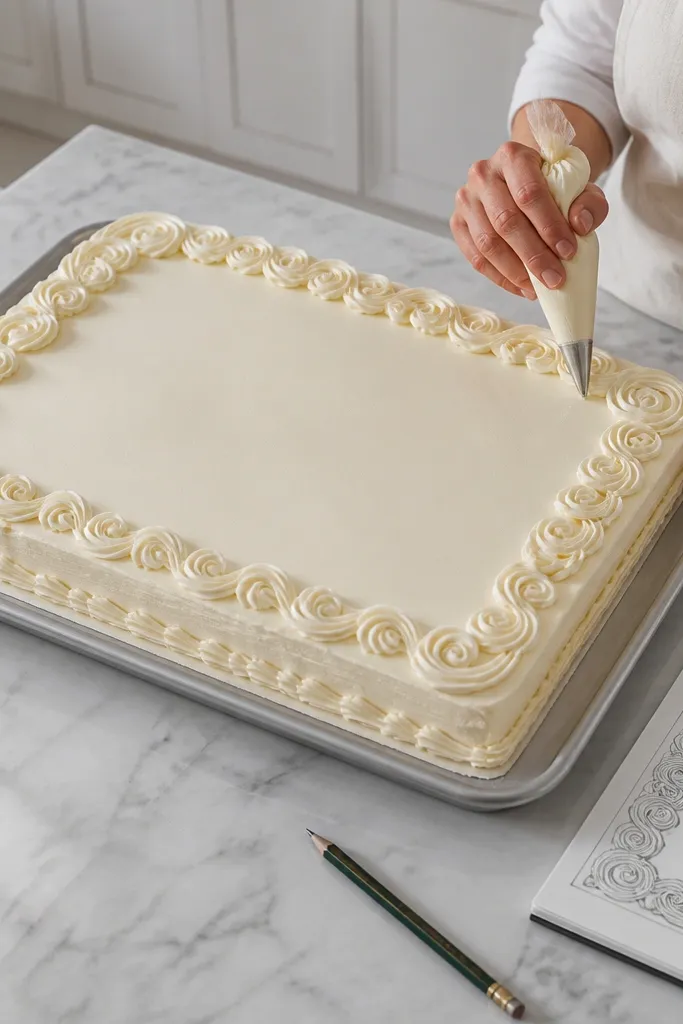
Sheet cakes can look too flat, so a spiral border gives them shape. You’ll draw a border that follows the rectangle edges, using small spirals at the corners and repeating curls along each side. It’s beginner-friendly because each spiral is a small repeatable unit. This design also looks clean with minimal shading. Time: 15 minutes.
1) Draw the sheet cake rectangle and add a second rectangle below for thickness. 2) Add a frosting edge line inside the top rim. 3) Along each long side, draw repeating curls that curve inward, and at the corners draw one larger curl to connect the sides. 4) Shade under the border with a thin line, then lightly blend on the side face.
Do corners last. Getting the corners right makes the whole border look intentional.
Don’t make spirals too big. Oversized spirals cover the cake shape.
14. Minimal cake with frosting smear and crumb specks
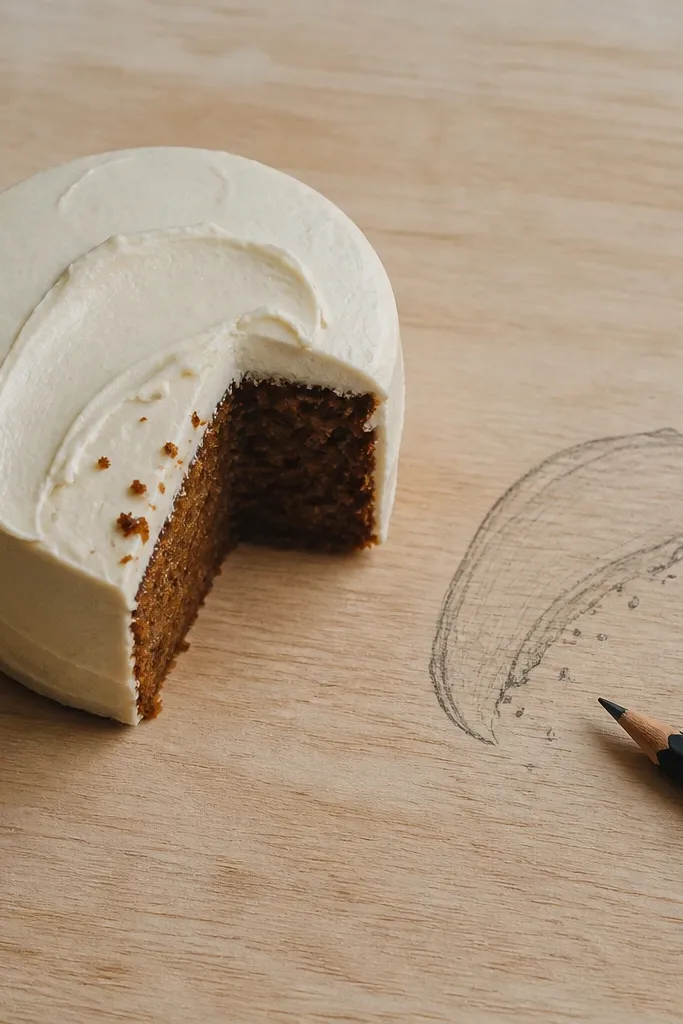
This step is for beginners who want a more realistic look without lots of lines. You draw frosting as one soft smear shape, then add tiny crumb specks on the cut edge. The smear teaches edge control: it should follow the cake top and look slightly thicker in the center. Crumb specks are tiny dots, so they’re easy to do and easy to erase. It also works great for practice because you’re not relying on perfect symmetry. Time: 10-15 minutes.
1) Draw a simple round cake top circle and a side outline. 2) Add frosting as a single curved band on top that is thicker in the middle and thinner at the edges. 3) Shade lightly under the frosting edge. 4) On the side or slice edge, add 10-20 tiny dots as crumb specks and blend one shadow area behind them.
Pro tipUse a light pencil for crumb dots so they don’t turn into dark confetti.
AvoidDon’t shade the frosting like a solid block; keep the smear edge softer.
15. Cake with simple sprinkles using short strokes
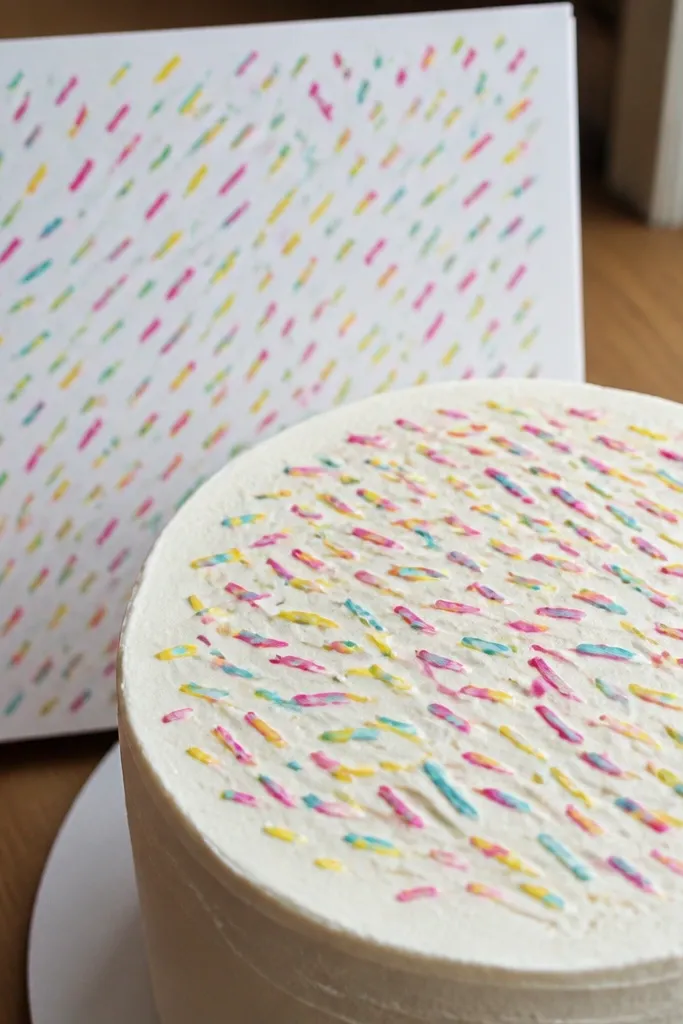
Sprinkles look hard, but you can draw them as short strokes with consistent angles. This step teaches pattern repetition and gives you an easy way to add color later with markers or colored pencils. Keep the sprinkles mostly on the top frosting so the rest of the cake stays clean. It also makes your cake look playful without complex frosting techniques. Time: 12-18 minutes.
1) Draw a round cake top with a smooth frosting edge. 2) Add sprinkles as short lines (about 1-1.5 cm) that tilt in different directions, but keep their lengths similar. 3) Place sprinkles mainly near the center and let a few reach toward the rim. 4) Shade the frosting base lightly so the sprinkles sit on top visually.
Pro tipPick two sprinkle angles and alternate them. That alone makes it look designed.
AvoidDon’t outline each sprinkle with heavy pressure; thin strokes read cleaner.
16. Two-tone frosting layers with a clean color boundary
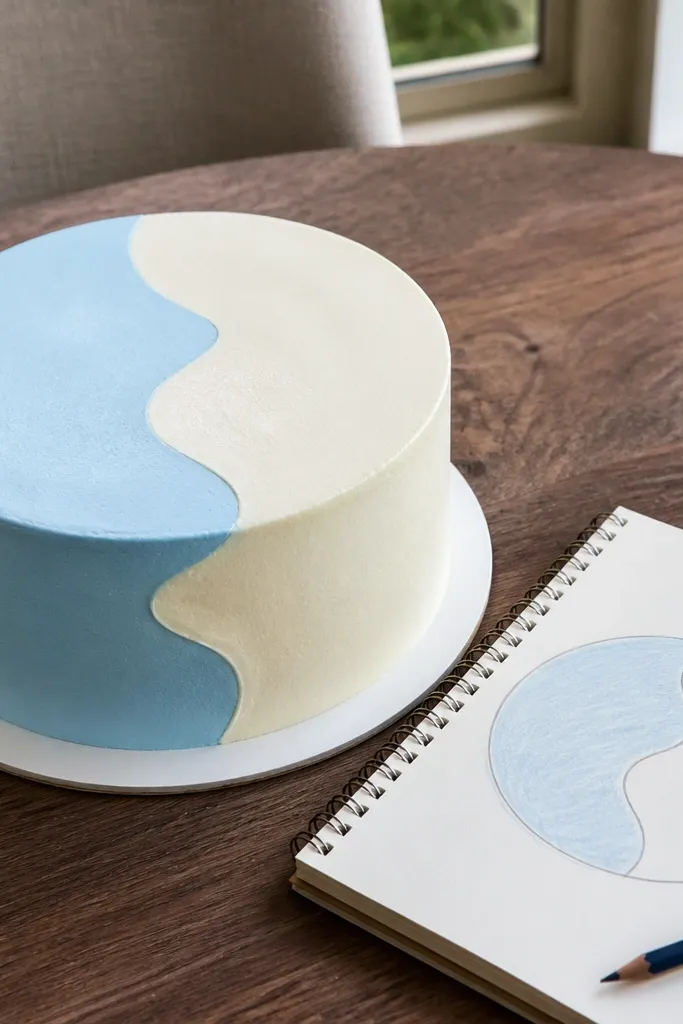
Two-tone frosting is a beginner-friendly way to create depth because your color boundary does part of the shading work. You draw one cake, then add a wavy line where the frosting changes color, and keep each color area simple. Even if your wavy line isn’t perfect, it reads as a frosting seam. This step also teaches a practical habit: plan your boundary line before adding texture. Time: 15-25 minutes.
1) Draw a round cake with a top circle and side outline. 2) Add a wavy seam line around the top — this is where frosting color changes. 3) Shade lightly under the seam and around the side to separate the layers. 4) If you’re coloring, use one light color for the upper frosting and a slightly darker color for the lower band, then leave a tiny highlight gap.
Pro tipMake the seam line smoother than you think it needs to be. That one line controls the whole look.
AvoidDon’t add sprinkle texture across both colors at once; it muddies the boundary.
17. Cake top with piped stars pattern
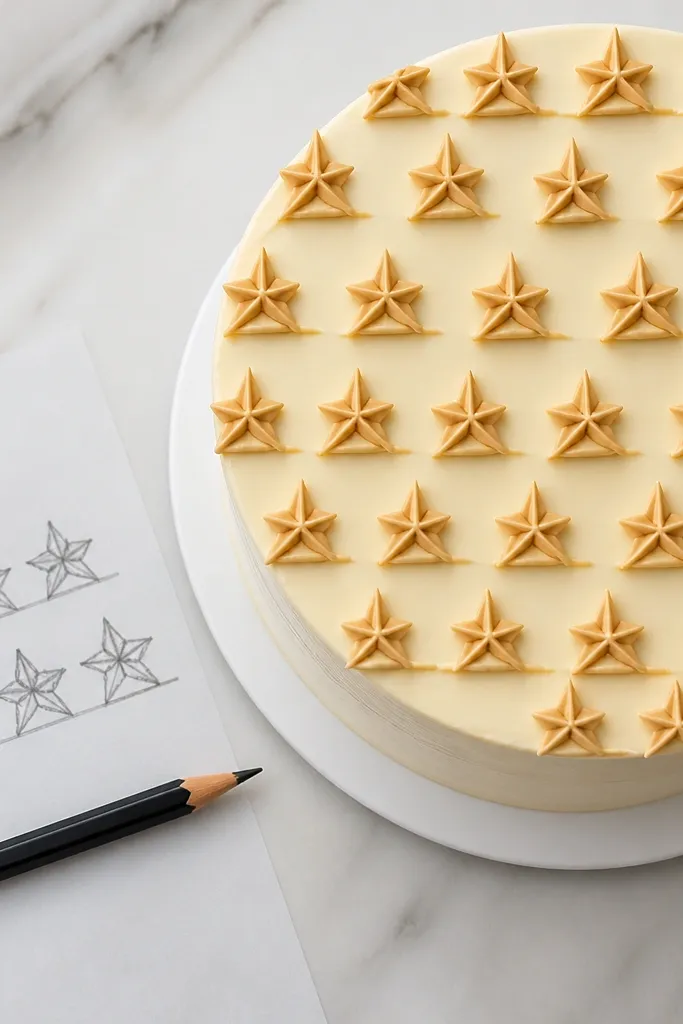
Star piping looks crisp and “real bakery” without needing advanced realism. You draw a small star shape repeatedly, then add a simple frosting base line so the stars sit on top. Beginners like this because each star is a small unit you can repeat for a clean finish. It also works well with a single darker outline for definition. The drawing ends up looking polished even with light shading. Time: 20-25 minutes.
1) Draw the cake top circle and a frosting base line near the rim. 2) Sketch one star: a center point with four points, then add small inner indent lines. 3) Repeat stars around the edge in a ring, keeping the star size consistent. 4) Shade the underside of the stars with a thin pencil line and lightly blend downward.
Pro tipIf your stars look lopsided, use a tiny dot grid to place the star centers first.
AvoidDon’t fill the entire top with stars. A ring looks cleaner for beginners.
18. Cake with whipped cream curls and a cherry
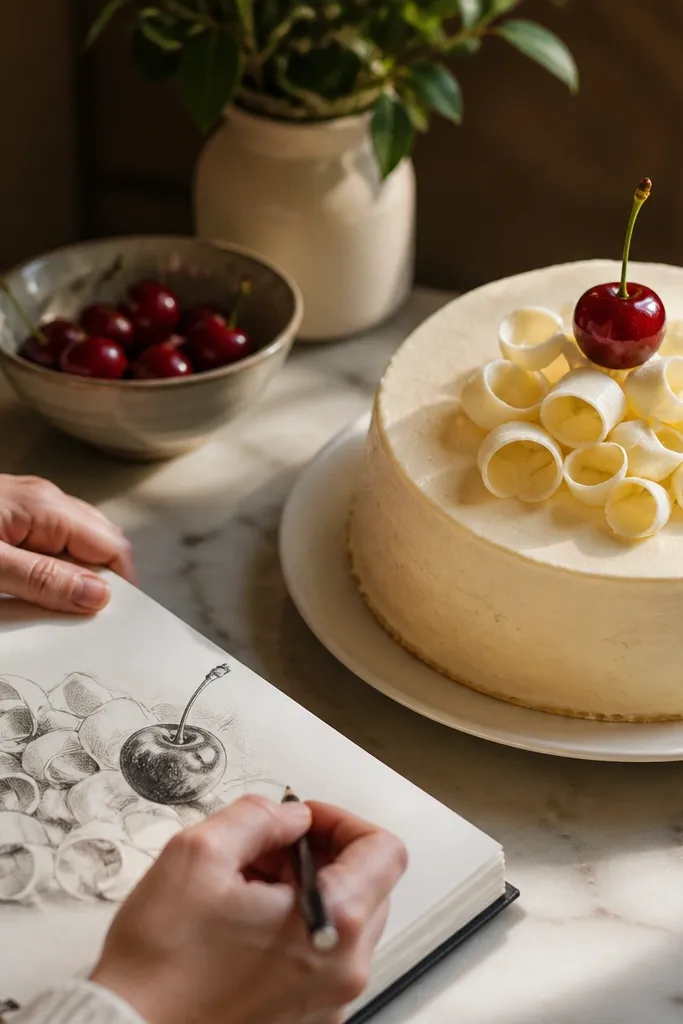
Whipped cream curls plus one cherry is a simple way to make a cake feel celebratory. The curls are just repeated loops that stack slightly, and the cherry is a circle with a small highlight and a tiny stem. This step teaches how to add small props without cluttering the whole drawing. You’ll learn where highlights go: on the cherry and on the top edge of the frosting. Time: 15-20 minutes.
1) Draw the cake top circle and frosting edge line. 2) Add 3-5 whipped cream curls: draw a curved loop and a second loop slightly behind it, stacking them. 3) Draw the cherry as a circle on top of the curls, add a small highlight spot, then draw a short stem. 4) Shade under the curls and lightly under the cherry to anchor it on the frosting.
Pro tipLeave a white highlight on the cherry by not shading that spot.
AvoidDon’t shade the cherry all the way to the highlight — you need that contrast.
19. Cake with a clean frosting wave edge and side shading
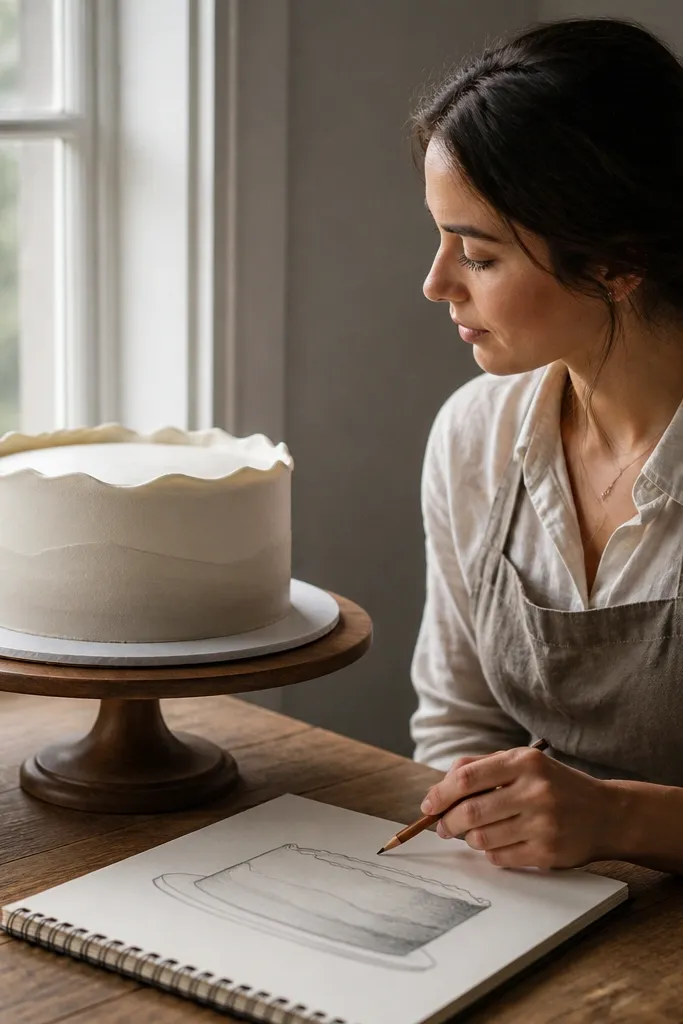
This is the “make it look finished fast” design. The frosting wave edge creates a crisp top texture, and the side shading gives the illusion of volume without heavy detail. It’s forgiving because the wave edge can be slightly uneven and still read as frosting. You’ll also practice a basic shading gradient: darker near the bottom and lighter toward the top. This is ideal when you want a clean sketch that doesn’t require lots of decoration. Time: 10-15 minutes.
1) Draw a round cake outline with a top circle and side curve. 2) Add a frosting wave edge: draw a line across the rim made of repeating bumps. 3) Shade the side by starting darker at the bottom edge and lifting pressure as you move upward. 4) Add a thin shadow line under the frosting wave edge and blend softly toward the center.
Pro tipBlend with a tissue or blending stump lightly. Over-blending makes frosting look smudged.
AvoidDon’t shade both sides equally. One light direction keeps the cake readable.
20. Cake with simple fondant panel and seam lines
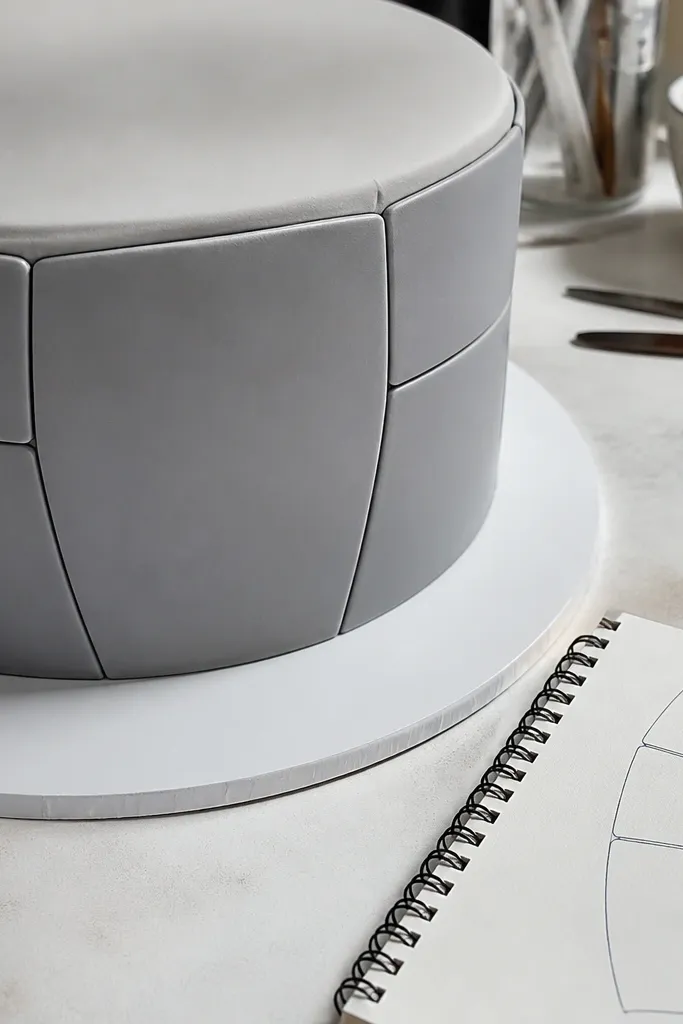
Fondant panels look neat and they teach structure on the side of a cake. You’ll draw one panel shape (like a curved rectangle) and add seam lines that suggest the frosting is smooth and wrapped. This is great for beginners because you’re using straight-ish lines and controlled curves, not tiny textures. It also gives you a clear place to practice shading: the seam line casts a small shadow. Time: 20 minutes.
1) Draw the cake side outline with top and bottom ellipses. 2) Sketch one fondant panel: a curved rectangle that follows the cake’s side contour. 3) Add two seam lines: one along the panel edge and one slightly inside for definition. 4) Shade right next to the seam line lightly, then erase stray guide marks.
Pro tipKeep seam lines thin. Thick seams make the cake look like paper cutouts.
AvoidDon’t add texture on top of the panel; fondant panels should stay smooth.



