
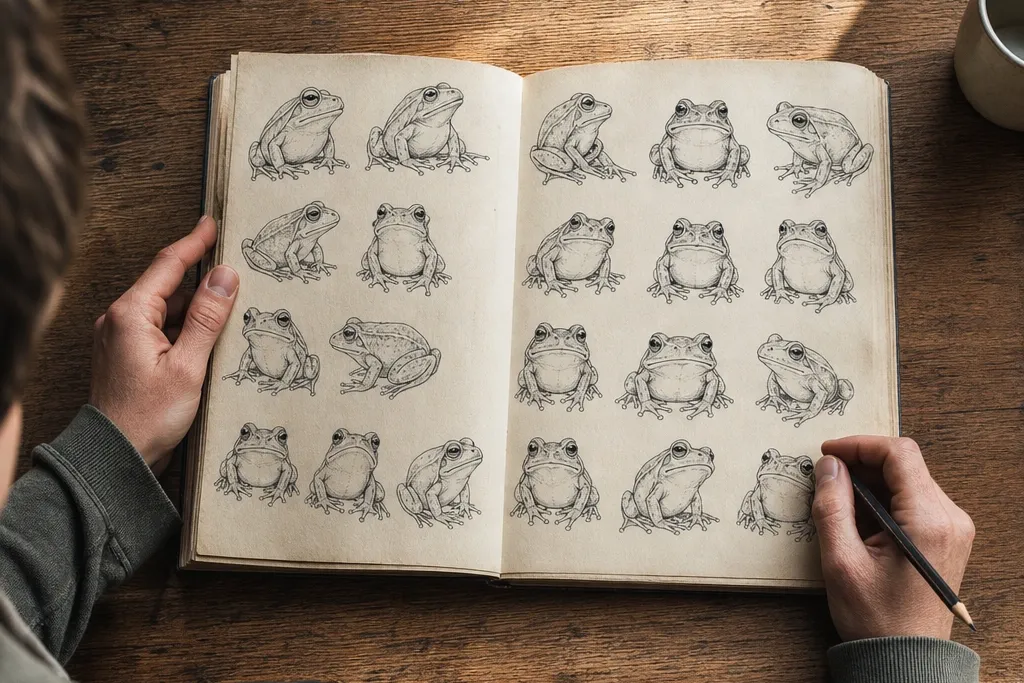
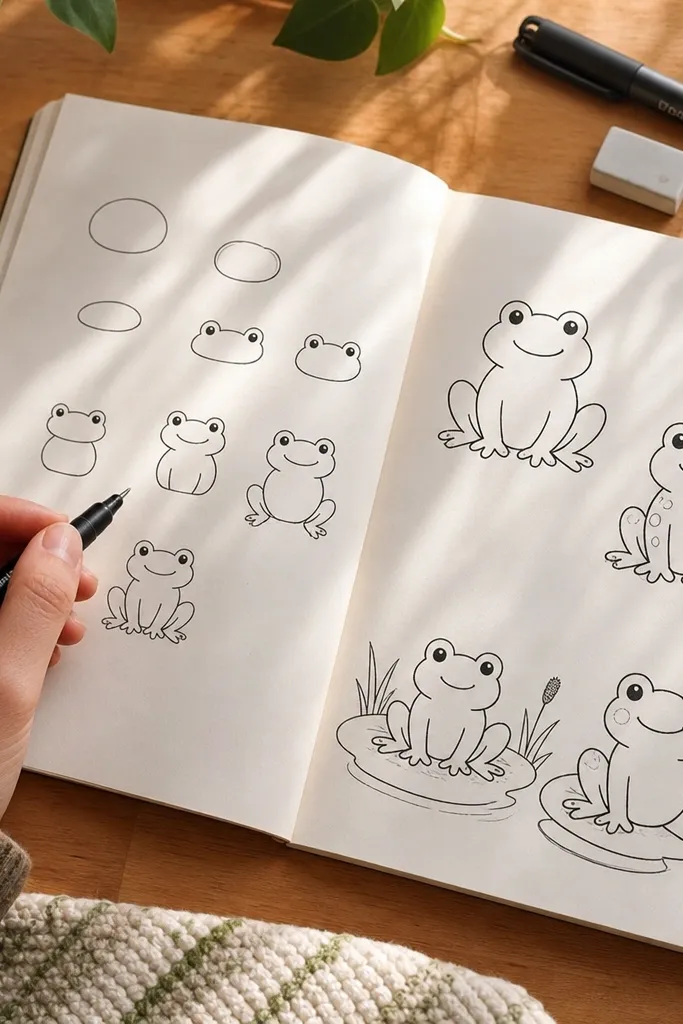
1. Sticker Frog with Big Eyes
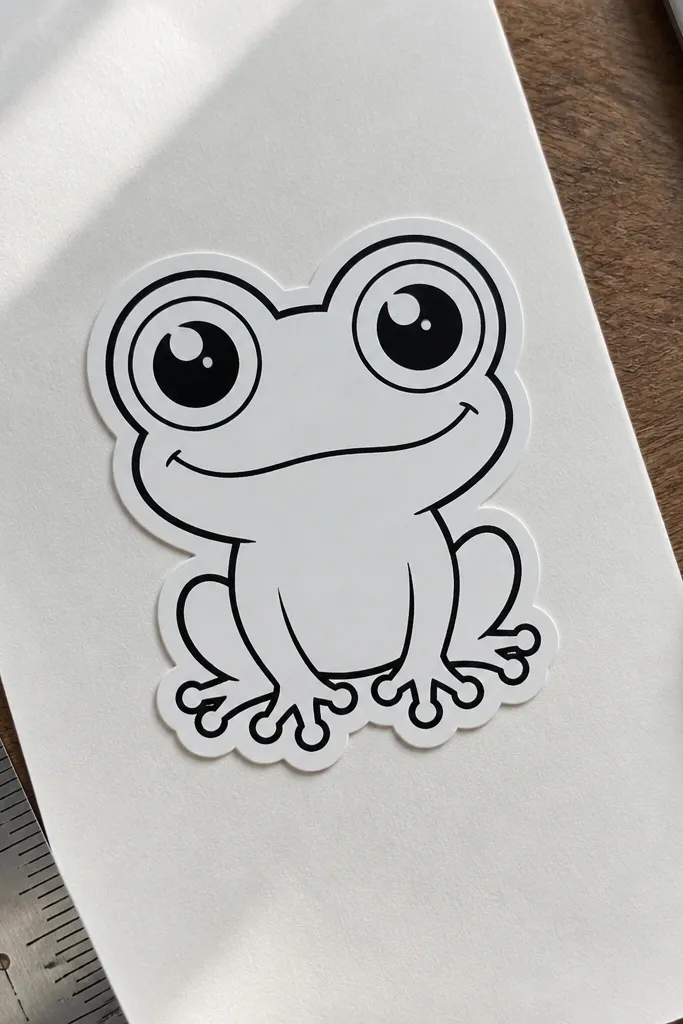
This one is for the “I want it to look adorable fast” mood. The eyes take up most of the head, so you avoid the face drifting out of proportion. Keep the outline thicker around the outer head, then use a thinner line for the inner eye details so it reads like a sticker. Add a tiny highlight dot on each pupil — two dots total — and the frog instantly looks glossy. Time-wise, it’s a 10-minute drawing that still looks finished.
First, draw two large circles for the eyes on a straight line, then sketch a rounded head shape around them like a slightly squashed oval. Next, place a small curved mouth under the eye line and add two nostril dots just above the mouth area. Finally, outline the outside with a darker pen, then shade a small patch under the chin with light pencil and blend lightly with your fingertip or a tissue.
Pro tipUse a ruler or the edge of a notebook to keep the eye line straight.
AvoidDon’t draw the eyes last — if they’re uneven, the whole face looks off.
2. Side-Profile Frog Sitting Pose
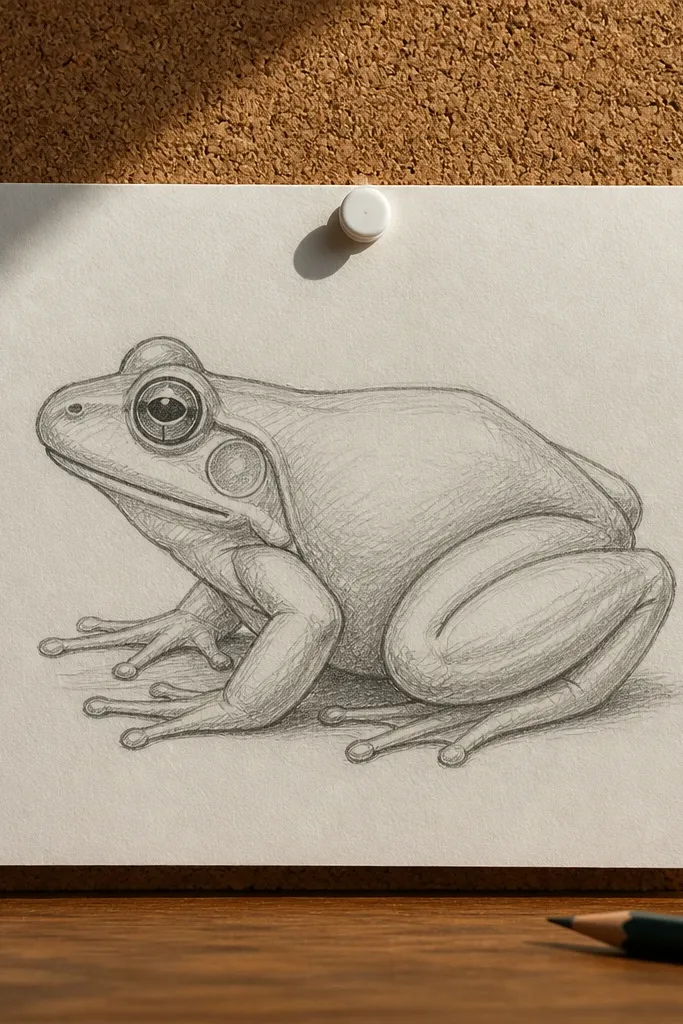
Side profile is where most people stall, because they try to “wing” the head shape. This version uses a simple head cone and a body ball so it stays easy. The legs are the star here — thick ovals for the thighs and shorter rounded shapes for the feet make the pose feel cute instead of stiff. Add a small shadow under the belly to anchor it on the page. It looks great on a blank background because the silhouette is clear.
Start by drawing a large circle for the body, then add a smaller circle in front for the head. Connect them with a smooth curve under the chin. Next, draw the front leg as a bent tube shape and the back leg as two stacked ovals, then add rounded toes at the end. Finish by outlining the silhouette, then add a darker shadow shape under the belly and a single highlight dot on the eye.
Keep the nose and mouth marks tiny so the profile doesn’t turn into a mask.
Don’t make the legs the same width — the back leg should look bulkier.
3. Chibi Frog with Tiny Arms
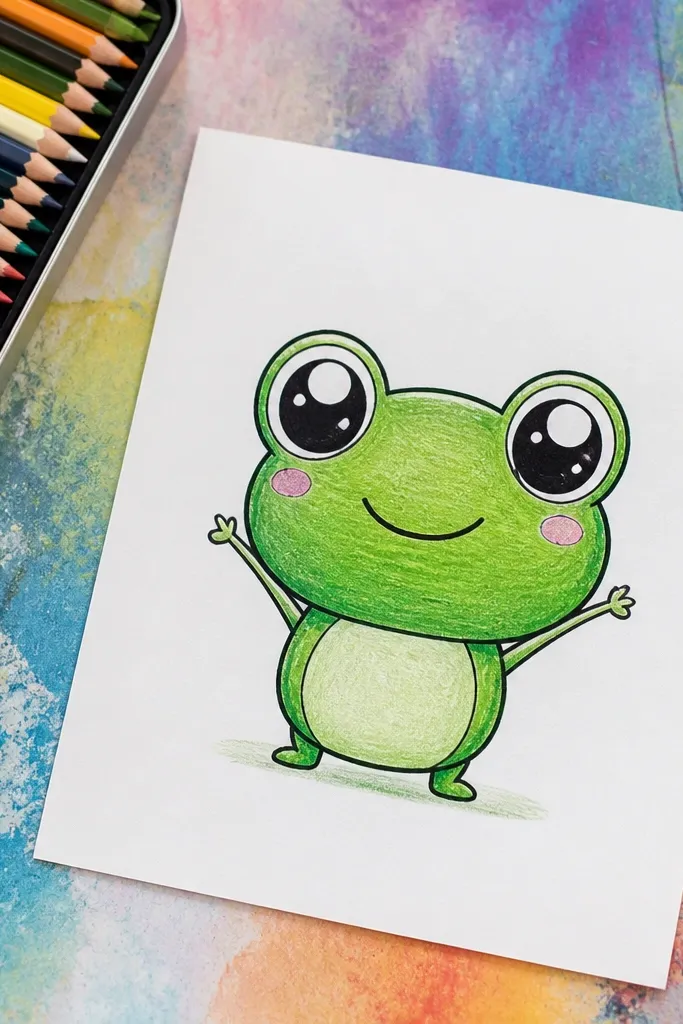
Chibi frogs look good because the proportions are intentionally wrong in a charming way. This one has a big head and a smaller body, plus stick-like tiny arms that point upward. The face is simple: two big eyes, a little curve for the mouth, and a small cheek curve. If you keep the arms short and the belly round, it reads as cute instantly. This is a great choice for decorating notebooks and planners.
Draw a big circle for the head, then add a smaller rounded belly shape beneath it. Place the eyes slightly above the center of the head, and keep the eye gap to about one eye width. Next, add two tiny arms as short curved lines that end in small rounded hands, then sketch two feet as half-ovals. Outline the whole character with a darker pen, then add a small shadow under the belly and a faint line for the chin fold.
Make the mouth a shallow U shape — it looks friendly instead of silly.
Don’t give the arms long fingers — tiny hands are part of the chibi look.
4. Frog in a Lily Pad Frame
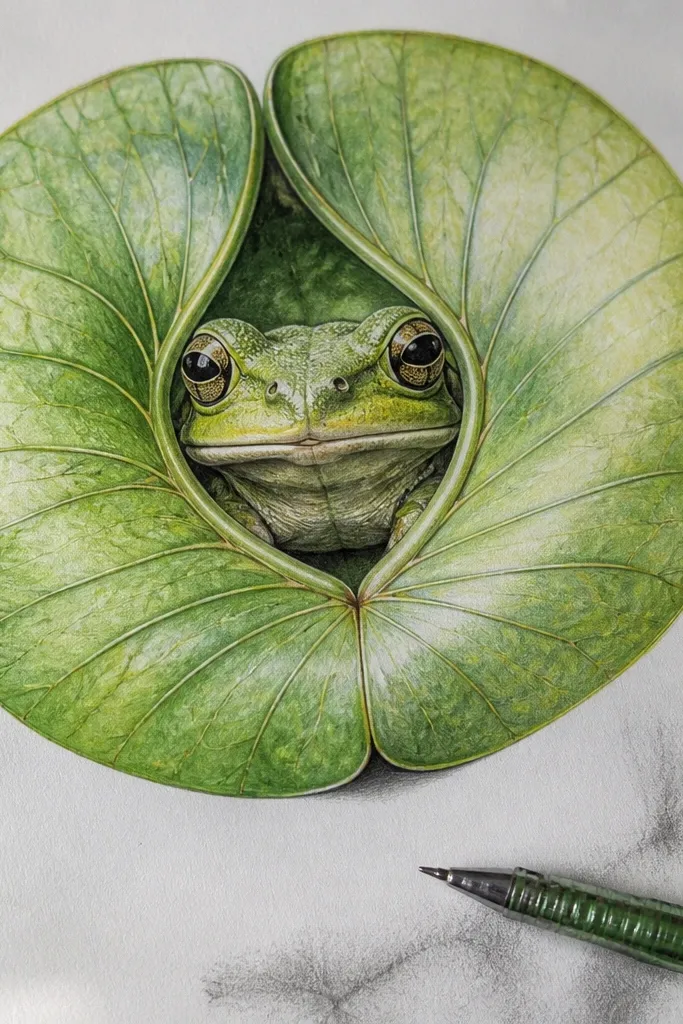
A lily pad turns a simple frog into a complete scene without extra work. The leaf shape gives you a strong composition and a natural border, so your frog looks more “designed” than just floating. Draw the frog peeking from behind, with only the head, eyes, and part of the body visible. Add a few leaf veins and one or two water dots for a clean, aesthetic finish. This is ideal if you want your drawings to look intentional even with minimal detail.
Start by drawing a large lily pad leaf shape — a rounded oval with a slight notch at the bottom. Add 5-7 curved vein lines radiating from the base of the leaf. Next, sketch the frog head behind the leaf edge, then place the eyes so they sit above the leaf line. Finally, outline the frog and leaf separately with different line thicknesses, then add small water dot circles near the leaf edge and a light shadow under the frog chin.
Pro tipKeep the lily pad outline a touch thicker than the frog outline for stronger framing.
AvoidDon’t add too many water dots — two or three is enough.
5. Pattern Frog with Polka Spots
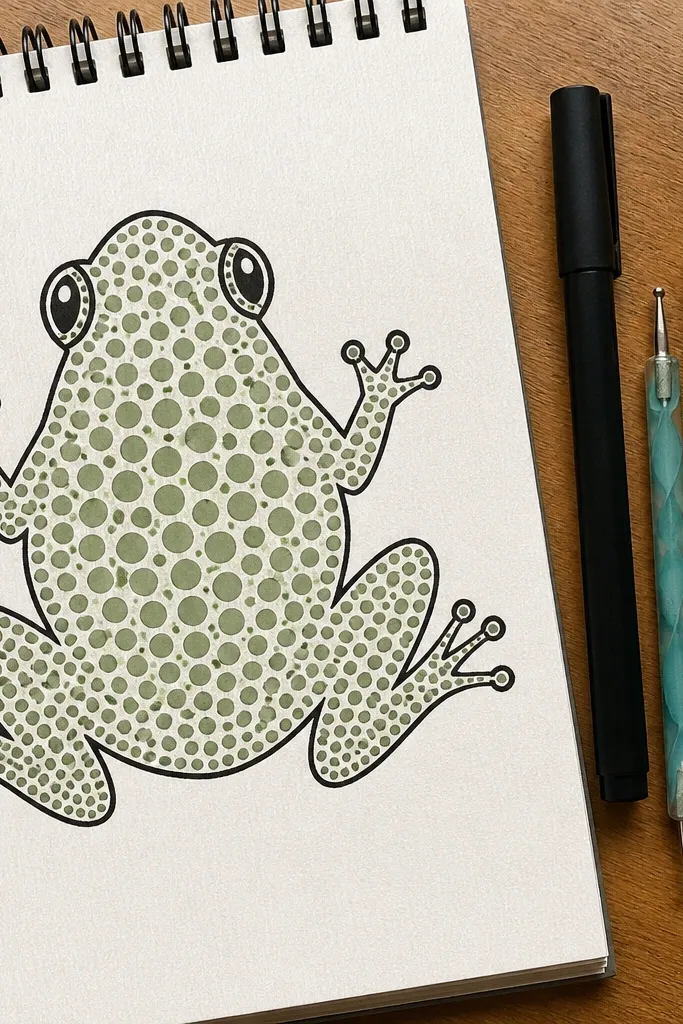
Patterns make frogs look polished even when the anatomy is simple. This drawing uses a round body and a clean outline, then fills the body with spaced polka dots. The trick is spacing: dots should get slightly smaller toward the legs so the body looks round. Use a consistent dot size for the head, then taper sizes down for the body edges. It’s a strong option for printable stickers, cards, and aesthetic page fills.
Draw a rounded body oval and a smaller head oval on top, then place eyes on the upper third of the head. Sketch a simple mouth curve and a tiny nose dot. Next, outline the frog, then add dots: start with larger dots on the belly center and smaller dots near the legs. Finally, shade one shadow patch near the underside and darken the outline so the dots don’t flatten the frog.
Pro tipUse a pen tip as a “dot stamp” so every circle is the same size.
AvoidDon’t cram dots too close to the outline — leave a thin edge so the frog reads.
6. Frog Face Only with Teeth-Free Smile
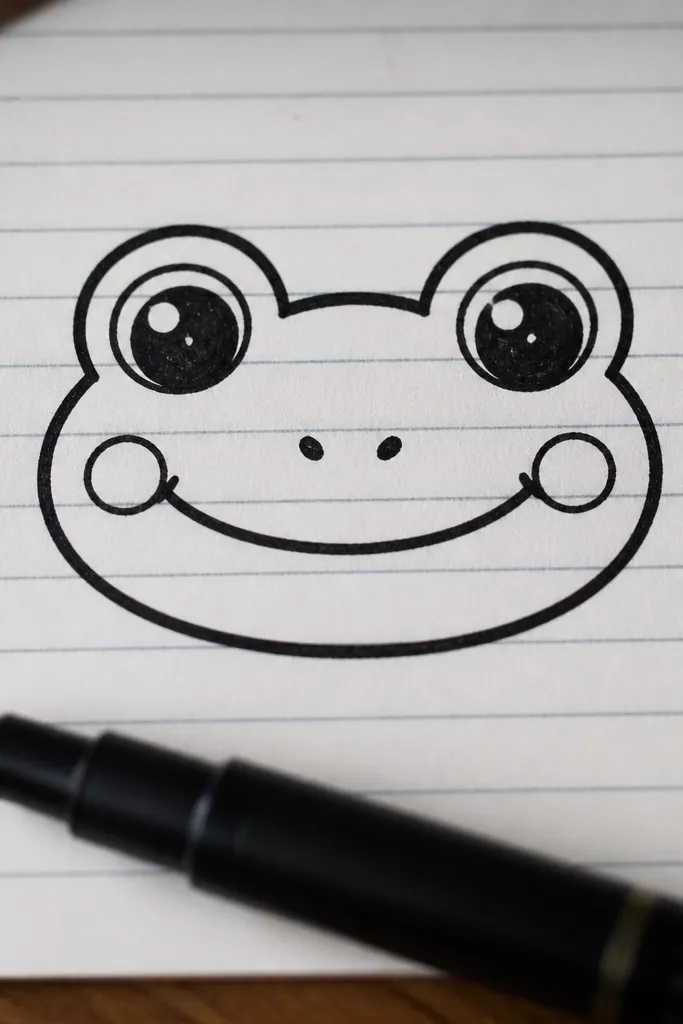
Face-only drawings are the cheat code for easy mastery. When you remove the legs, you stop worrying about pose and focus on expression. This frog has a calm, cute mouth and round cheeks, so it looks friendly on any page. Keep the face symmetric and place the eyes evenly — your brain reads symmetry as “correct.” Add one cheek highlight and a tiny chin shadow for a finished look.
Start with a circle for the head, then draw two equal eyes as circles on a straight line. Place the mouth as a small curved smile under the eye line, and add a tiny nose dot between the eyes and mouth. Next, outline the face with a darker pen, then add two small cheek bumps as short curves. Finally, shade a small area under the chin and add one highlight dot in each pupil.
If symmetry is hard, lightly fold the paper and mark the center line before drawing.
Don’t widen the mouth too much — it makes the face look startled.
7. Frog Wearing a Headband Bow
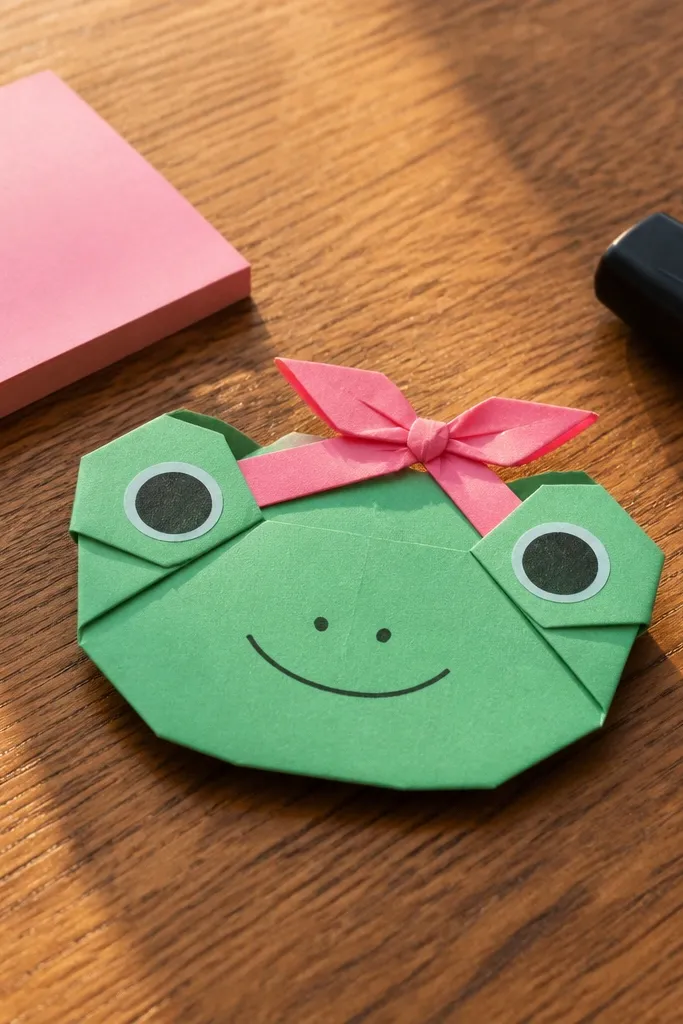
This adds personality without changing your core skill. The bow gives you extra visual interest, and the frog stays simple: head oval, eye circles, small smile. Put the bow across the top of the head so it frames the eyes. Use two or three folds in the bow lines, not a bunch of tiny creases. It’s a strong aesthetic pick for gifts, birthday cards, and scrapbooking.
Draw a rounded head and place big eyes on the upper half. Add a small curved mouth and two nostril dots. Next, sketch the headband as a thin curved band above the eyes, then draw a bow with two loops and a center knot. Outline everything with a darker pen, then shade under the chin and add a soft highlight on the forehead.
Make the bow lines thicker than the inner frog lines for a clear hierarchy.
Don’t over-detail the bow — three lines per section is enough.
8. Frog with Sweater Texture
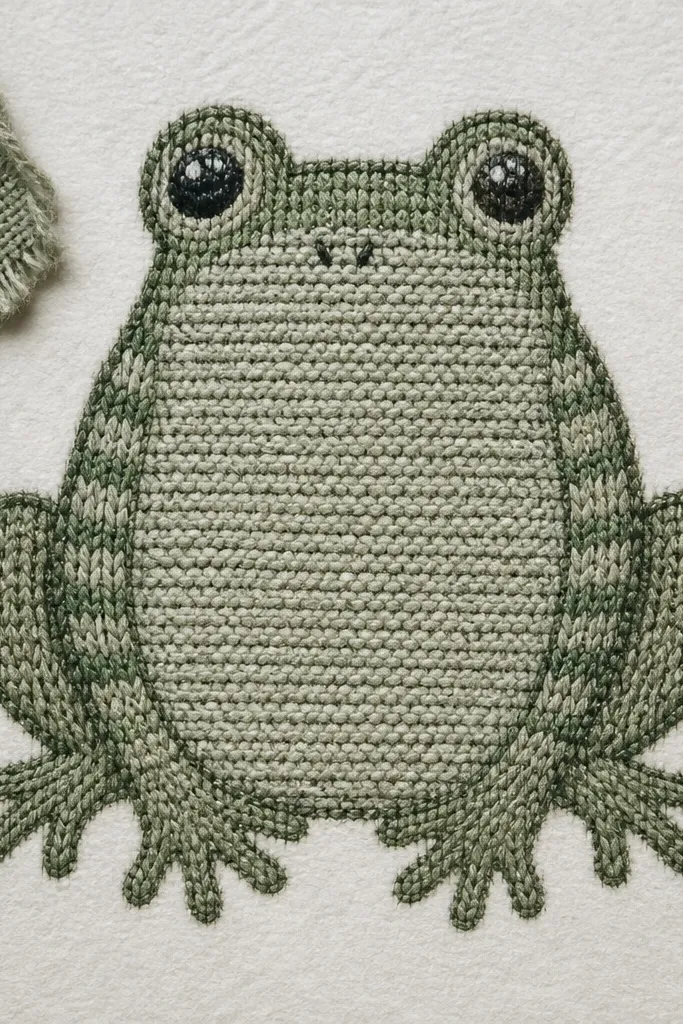
Texture makes a simple frog look like a crafted illustration. This design uses a sweater pattern: short repeating lines across the belly and a few vertical stripes on the sides. The frog shape stays easy — oval body and rounded head — while the texture does the heavy lifting for visual appeal. Add a darker outline and one shadow patch under the sweater fold. This one looks great in monochrome ink too.
Sketch an oval body and a round head, then place eyes and a small mouth. Outline the frog and add a basic sweater neckline curve across the belly. Next, draw knit texture: horizontal short strokes across the belly and a couple of vertical lines near the sides. Finally, shade under the chin and add a slightly darker sweater fold line at the center.
Pro tipKeep texture lines parallel and consistent in spacing so it doesn’t look messy.
AvoidDon’t shade over the texture heavily — it will muddy the pattern.
9. Frog with Polished Side Eye Expression
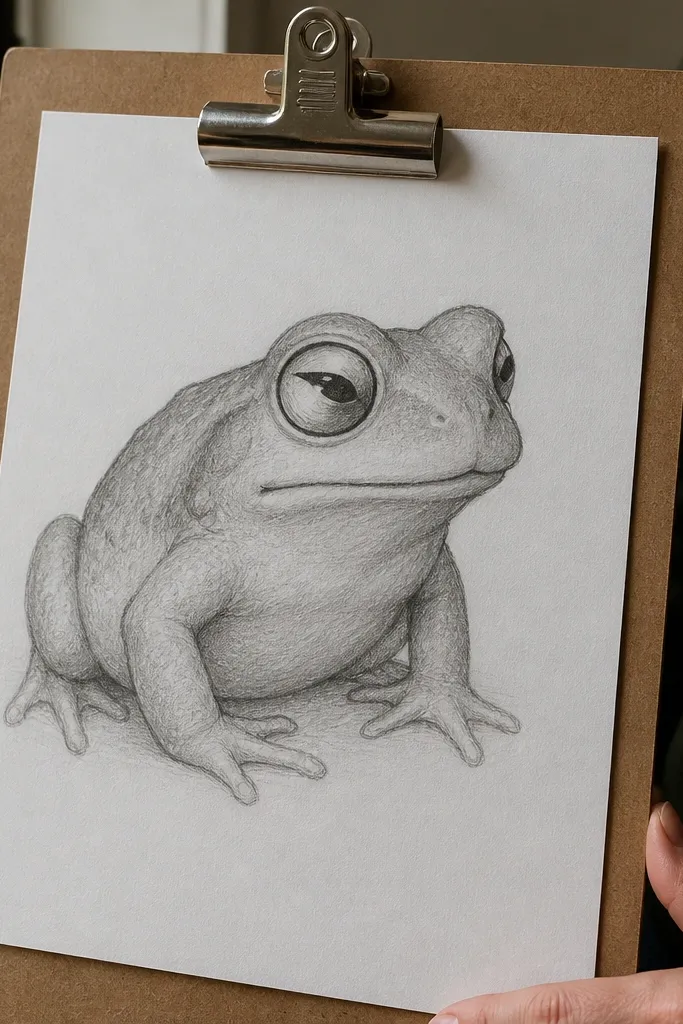
Expressions are where drawings become “aesthetic,” not just accurate. This frog looks thoughtful with a slight eyebrow ridge and a sideways gaze. The eye trick is simple: draw the eye circle slightly turned, then place the pupil off-center toward the direction of the gaze. Add a tiny cheek line and a gentle mouth curve. It’s a clean, minimal look that still feels expressive.
Draw a head oval and add two eye shapes — one full circle and one slightly squashed to imply side angle. Place the pupil off-center in the eye that faces sideways. Next, draw a short curved line above the eye to act like an eyebrow ridge, then add a small mouth curve that matches the expression. Finish by outlining and adding a light shadow under the jaw and a small highlight dot on the eye.
Pro tipIf the face feels blank, add one small wrinkle line near the eyebrow — just one.
AvoidDon’t rotate both eyes the same way — side-eye needs one dominant gaze.
10. Frog Holding a Tiny Heart
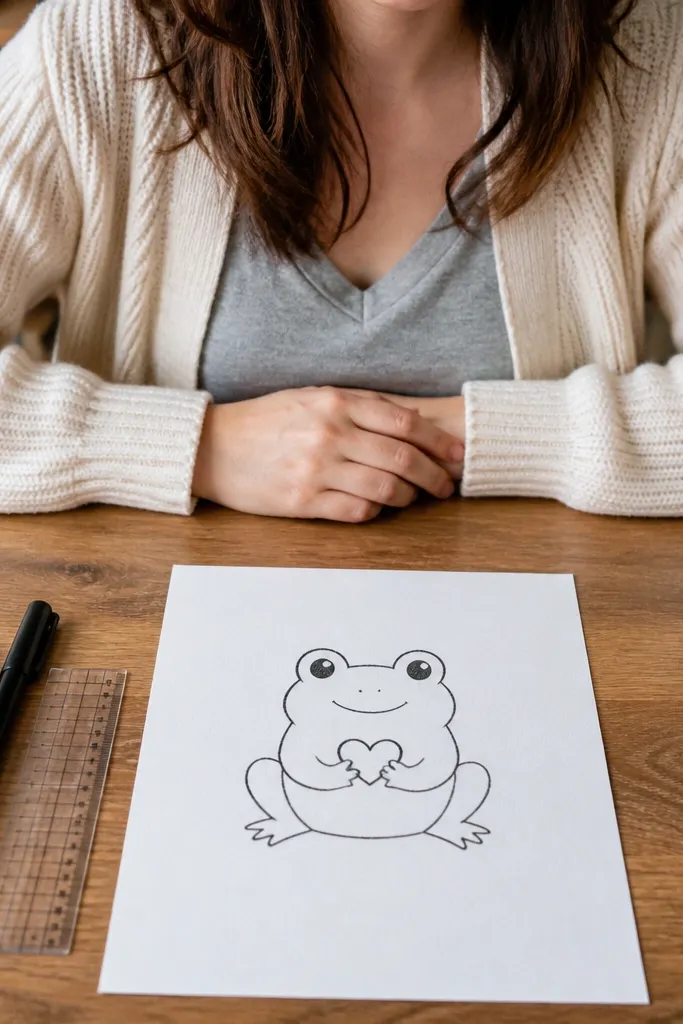
This is a super photogenic concept because the heart is a clear focal point. The frog stays simple, but the arms angle toward the heart so the composition reads instantly. Use a small heart shape with a clean outline and keep it centered between the paws. The frog’s expression should be soft: round eyes and a tiny smile. It’s perfect for Valentine-style sketches without turning into a complicated scene.
Start with a rounded head and body oval, then place eyes and a small mouth. Draw two bent arms as curved lines reaching toward the center of the page. Next, add a simple heart shape between the paws, then outline the paws as small rounded tips. Finally, add a shadow under the chin and a darker outline around the frog, then lightly shade the heart with a single pencil layer.
Make the heart slightly tilted — flat hearts look stiff.
Don’t make the heart too large — it should look held, not pasted.
11. Frog with Big Bow Tie
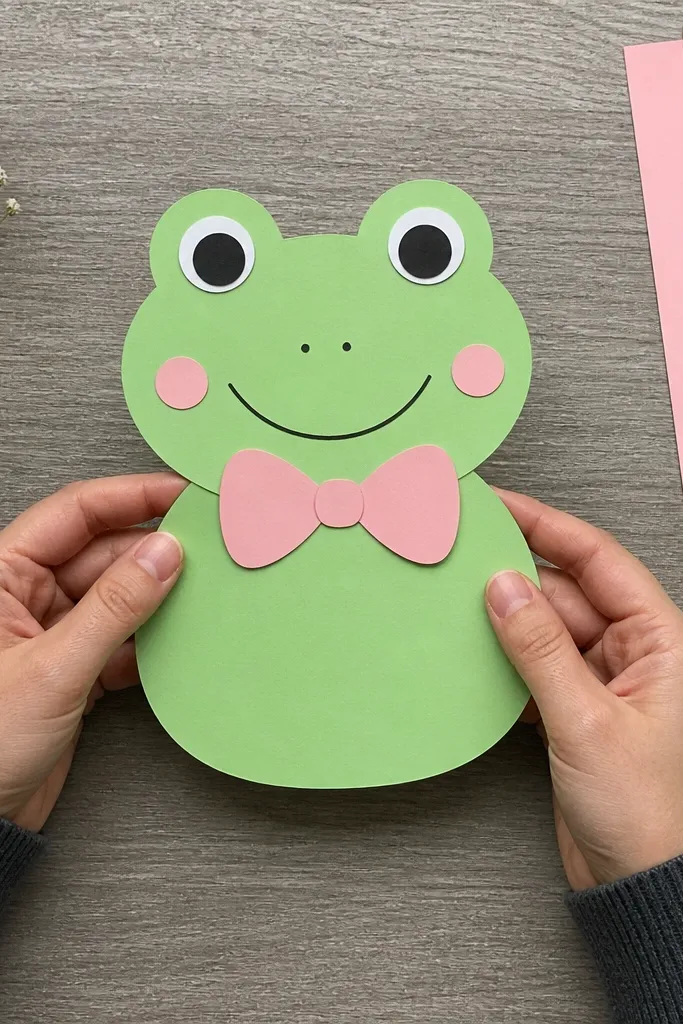
A bow tie gives you that “character design” look while staying beginner-friendly. The frog shape is basic, but the bow tie adds structure under the chin and makes the face feel styled. Draw the bow tie in one clear shape: two loops and a center knot, then a small band line. Keep the frog’s body rounded so the tie doesn’t float. This one works great in black ink with light pencil shading.
Draw the head oval and body oval, then place eyes and a small mouth. Outline the chin area as a smooth curve. Next, draw the bow tie: two symmetrical loops on either side of the center knot, with a small band line across the top of the knot. Finally, outline the frog and bow tie in darker ink, then add a shadow under the bow tie and a highlight dot in each eye.
Pro tipUse symmetry marks lightly under the bow tie so both loops match.
AvoidDon’t add extra bow tails — keep it tight and simple.
12. Frog on a Branch Perch
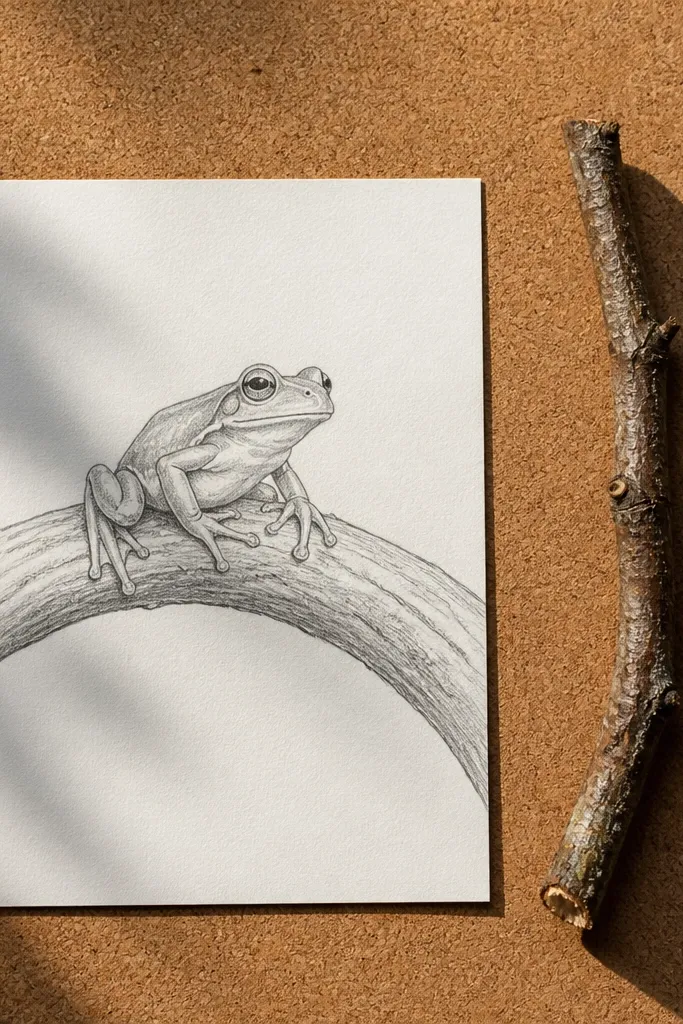
This is the easiest way to make a frog look like it belongs in a scene. The branch gives you a visual base and lets the frog sit in a stable pose. Keep the branch as one thick curved line with a few bark lines, then draw the frog perched on top. The frog’s legs wrap slightly around the branch so the connection is clear. Add a ground shadow under the branch contact point.
Sketch a thick curved branch line across the page, then add 3-5 bark lines along it. Draw the frog head and body above the branch, then place the feet so they touch the branch line. Next, outline the frog and add toes as small rounded bumps. Finally, shade where the feet meet the branch with a darker pencil patch and add a light shadow under the belly.
Pro tipMake the branch thicker than the frog outline for a stronger anchor.
AvoidDon’t draw the feet hovering — touch the toes to the branch line.
13. Frog with Simple Watercolor Wash Look
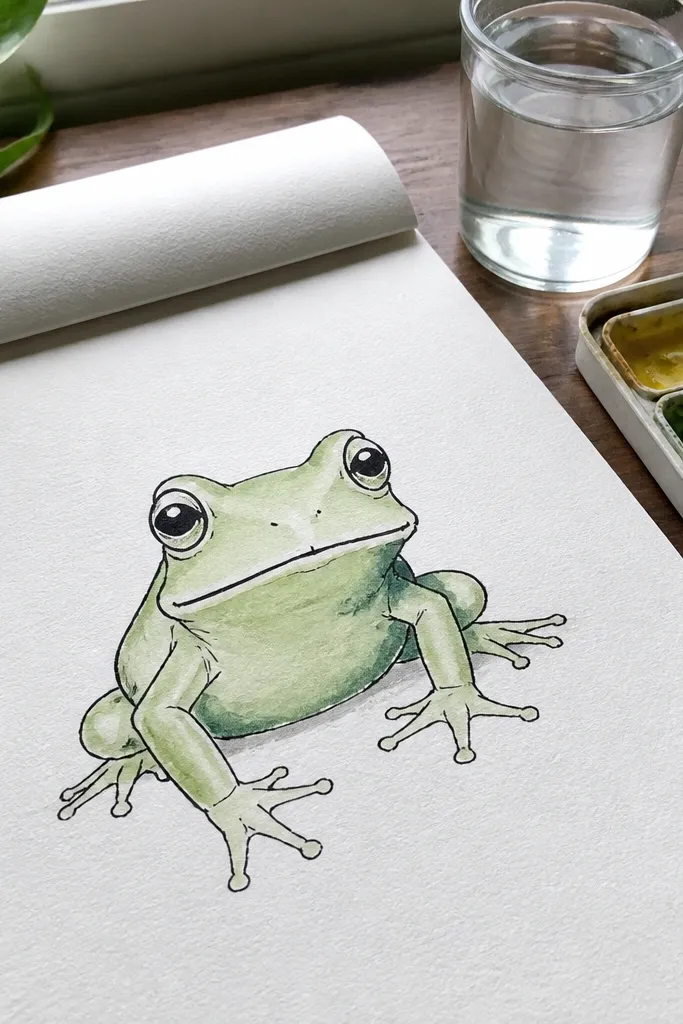
If you like the soft, aesthetic look, this is the clean way to get it without complicated watercolor skills. You use one light green wash for the body and a darker green for one shadow area under the chin and on one side. Keep the outline darker so it doesn’t blur. The eyes stay crisp with a black pupil and a tiny white highlight. This style looks great on off-white paper and makes even simple shapes feel finished.
Use a watercolor brush or a wet paintbrush to lightly wet the body area, then apply a light green wash over the head and body. After it dries a bit, add a darker green shadow patch under the chin and along one side. Next, outline the frog with a pen once the wash is dry, then paint tiny green dots for nostrils if you want. Finally, add pupils and highlights with a dark pen or watered-down ink.
Pro tipLet the wash dry fully before outlining so you don’t get fuzzy edges.
AvoidDon’t flood the paper — too much water makes the outline bleed.
14. Frog Mask Face for Costumes
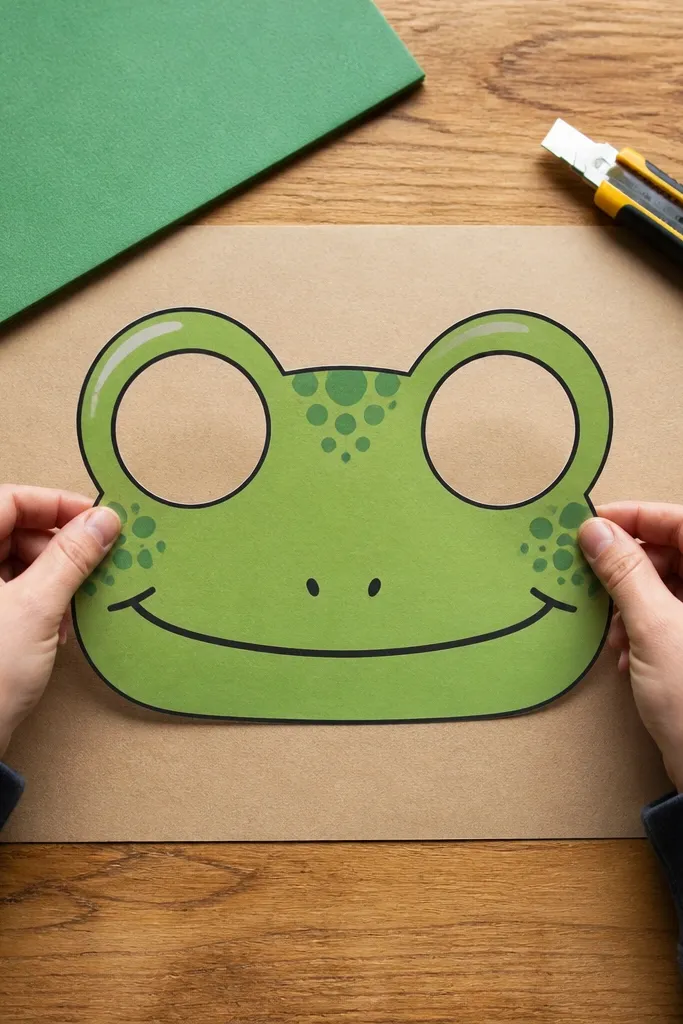
This one is fun because it turns a drawing into a usable pattern. The mask shape is a big rounded rectangle with curved corners, and the eyes become two big cutout circles. Keep the mouth as a simple curved opening line. If you draw it cleanly, you can trace it onto craft foam later. It’s also very photogenic because the face is centered and bold.
Draw a rounded rectangle mask outline, then place two large eye circles near the top third. Add a simple nose dot and a curved mouth opening line in the middle. Next, outline the mask edge with a darker line and add a small chin curve to define the lower face. Finally, draw a thin border ring around the eye circles to show where cutout edges would go.
Pro tipKeep the eye holes equal size — mismatched circles ruin the mask look.
AvoidDon’t add tiny details around the eyes — mask drawings need bold shapes.
15. Frog with Cute Feet Spread Pose
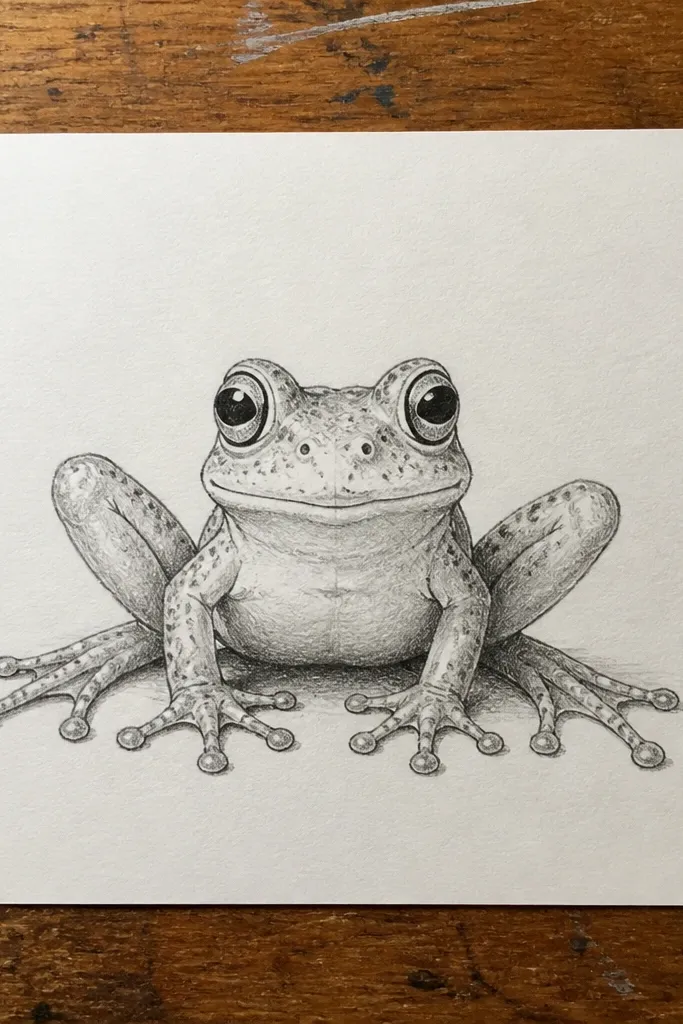
Spread feet make the frog look playful and stable. This design uses simple shapes for the legs: two big ovals for thighs, then rounded toe clusters that fan outward. The face stays friendly with big eyes and a small mouth. Add a shadow under the belly and along one inner leg to give it a grounded look. It’s a great choice if you want an action pose without complicated movement lines.
Sketch a rounded body oval and a head oval on top, then draw the eyes and mouth. Next, draw two thighs as large ovals on each side, then add feet as half-ovals with 3-4 rounded toes each. Finally, outline with a darker pen, then add a shadow under the belly and a light inner shadow on the legs where they touch the body.
Pro tipUse toe clusters of three for a cleaner look than five tiny toes.
AvoidDon’t over-stretch the legs — keep the feet near the body edges.
16. Frog with Cute Scarves and Stripes
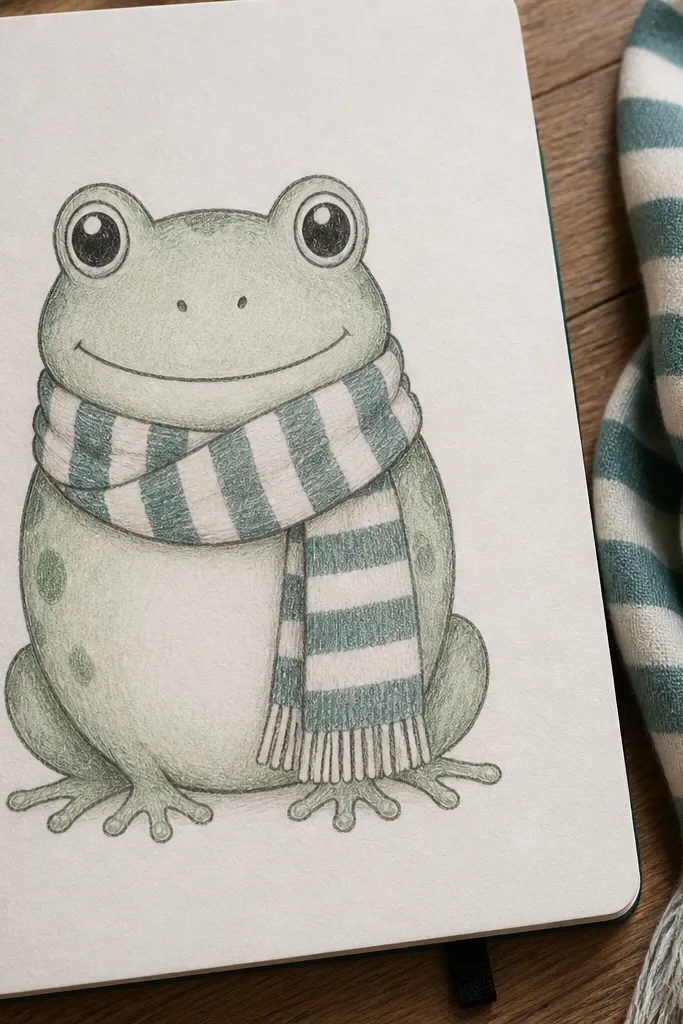
A scarf creates instant style and gives you a place to add color or pattern. The frog shape stays easy, but the scarf wraps around the neck and overlaps the body, which makes the drawing feel layered. Use two stripe thicknesses and keep them consistent to avoid a messy look. This project is great for practicing line weight because the scarf edges should look slightly more prominent than the facial details.
Draw the head and body ovals, then place eyes and a small mouth. Outline the neck area and add a scarf band as a curved line across the top of the body. Next, draw two scarf ends that hang down with simple curves, then add stripes as parallel bands across each scarf section. Finally, outline everything in dark pen and shade under the scarf knot with a single pencil shadow.
Pro tipMake stripe spacing uniform by counting 6-8 stripes across the scarf width.
AvoidDon’t wrap the scarf too tight — it should look like fabric, not a band.
17. Frog in a Cute Frame Border Doodle
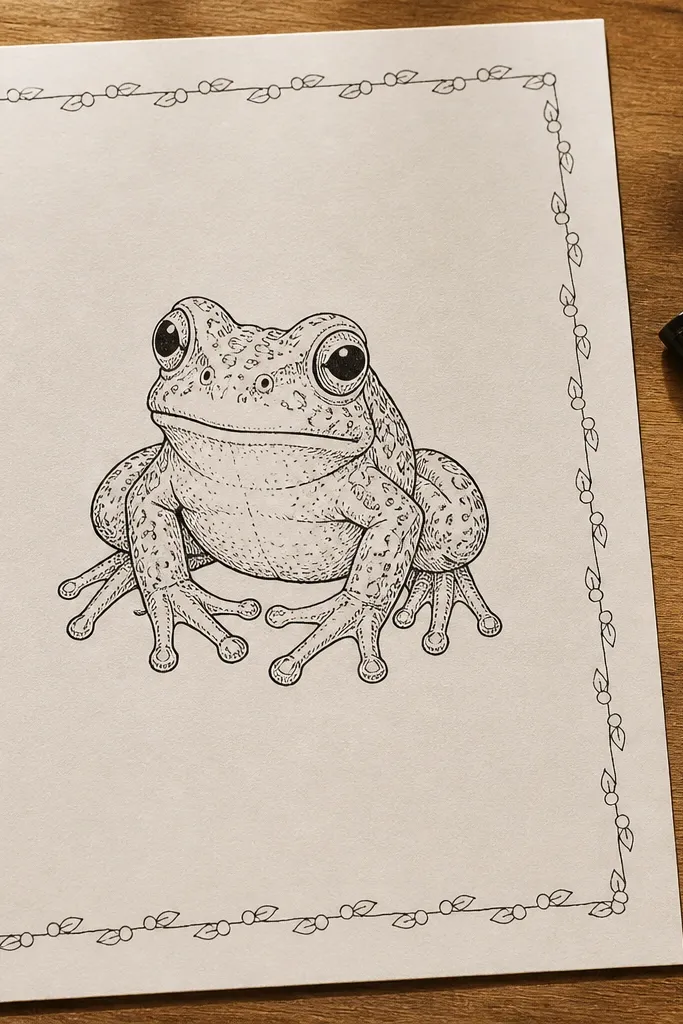
This is one of the best ways to make a frog drawing look “finished” on a page. The frame border gives you a designed composition while the frog stays simple and centered. Use small repeating doodles like circles or tiny leaf shapes around the border, not inside the frog. Keep the border line thin and consistent so the frog remains the main subject. It looks great for planner pages and art journaling.
Draw your frog centered first with eyes, mouth, and a rounded body outline. Then draw a rectangular border around it with a comfortable margin of about 1 cm from the frog outline. Next, fill the border corners and sides with small repeating doodles: 5-7 tiny circles per side or a mix of circles and short leaf shapes. Finally, outline the frog darker, and add one shadow under the chin so it pops from the border.
Pro tipUse one doodle shape only if you want it to look clean and modern.
AvoidDon’t crowd the border — leave breathing space so the frog stays readable.
18. Frog with Leaf-Tech Badge Shape
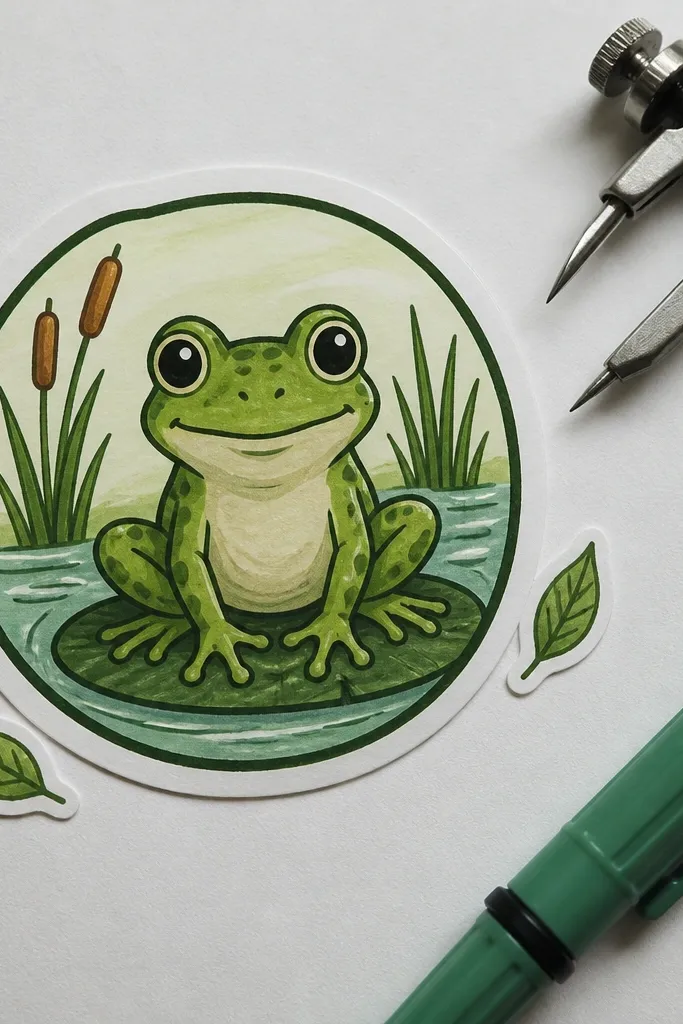
Badges look great because they have a clear outer edge and a defined interior. This design puts the frog in a circular or rounded badge outline, then adds two tiny leaf icons outside the badge line. The frog stays simple, but the badge makes it feel like a sticker or logo. It’s ideal if you want a clean graphic look for prints or digital downloads later. Use flat colors or simple pencil shading to keep it aesthetic.
Draw a badge outline as a circle or rounded shield, then sketch the frog inside it with big eyes and a small smile. Next, add two small leaf icons near the top-left and top-right outside the badge outline. Finally, outline the badge and frog with darker lines, then add a light shadow under the frog chin and one highlight dot in each eye.
Pro tipKeep the badge border thicker than the leaf icons for a clear hierarchy.
AvoidDon’t place leaf icons too close to the frog — it should feel separate.
19. Frog Holding a Bubble Wand
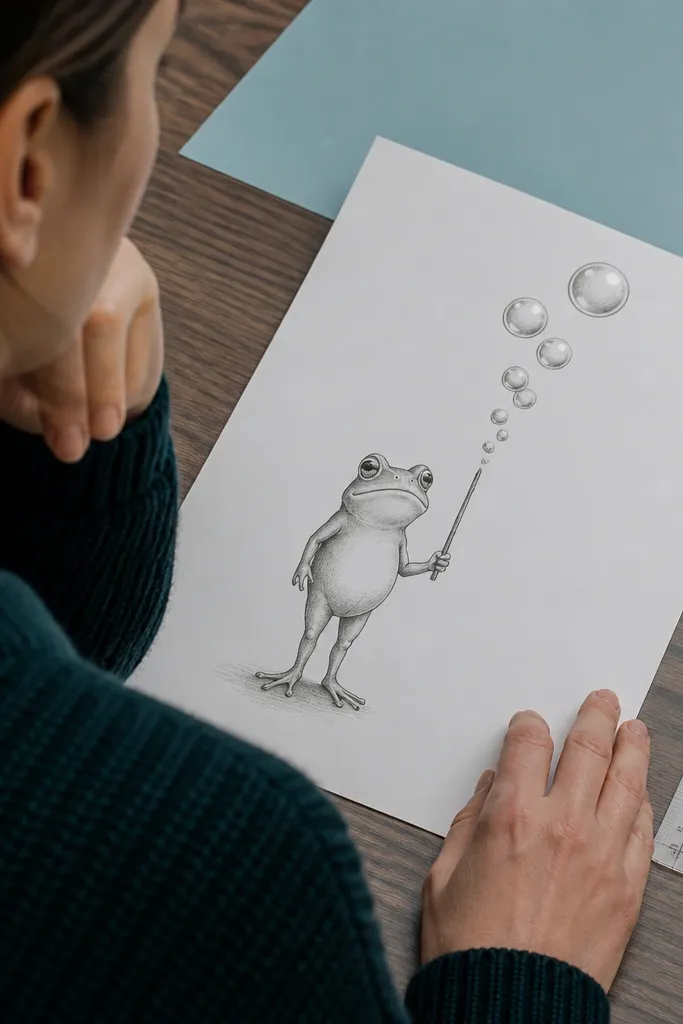
Bubbles are a visual shortcut to make a drawing feel lively. The frog stays easy, but the bubble shapes give you variety in size and spacing. Draw the wand as a simple stick in the frog’s front hand, then add 5-7 bubble circles that rise upward. Add tiny highlight dots on each bubble and one shadow where the wand meets the hand. This looks especially good on white paper with dark outlines.
Start with a frog head and body oval, then place eyes and a small mouth. Draw one front arm holding a straight wand line angled slightly upward. Next, add bubble circles above the wand — vary their sizes and overlap slightly. Finally, outline everything with dark pen, then add highlight dots inside bubbles and shade under the frog chin lightly.
Make the bubbles overlap a little — separate circles look flat.
Don’t outline every bubble with the same thickness — vary slightly for natural depth.
20. Frog with Gradient-Like Pencil Shading
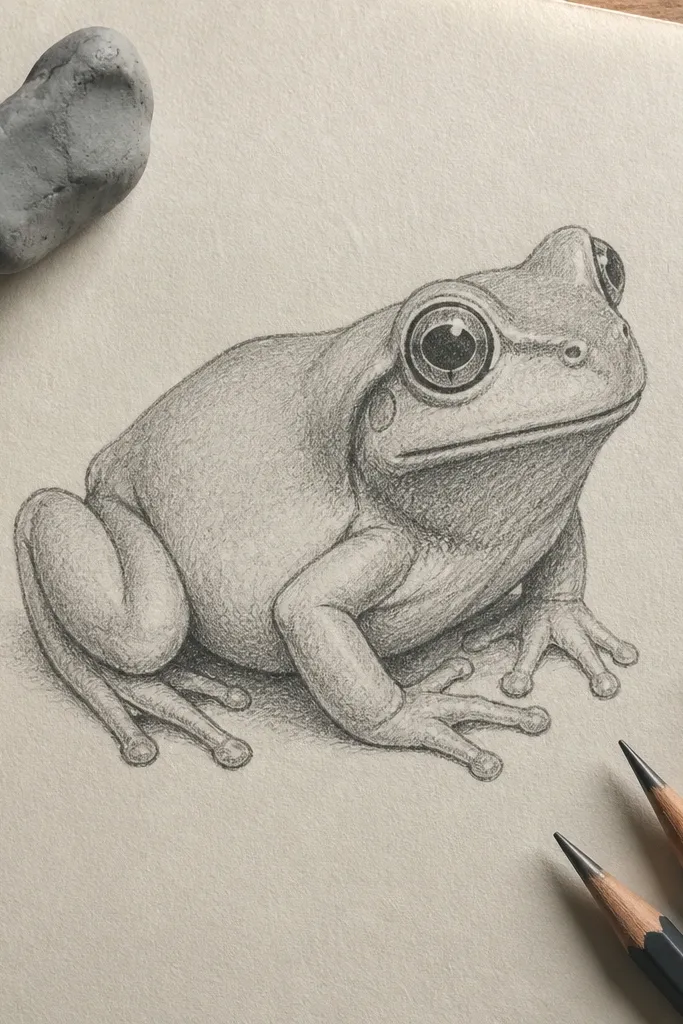
This is for when you want a more grown-up, clean look without color. You create a gradient effect using pencil layers: light shading on the body and a darker patch under the chin and along one side. The trick is to keep the outline dark and let the shading do the depth work. The result looks smooth and intentional, not scribbly. It’s a good choice for sketchbook pages where you want the drawing to look “finished” even in grayscale.
Draw the frog with a rounded head and body oval, then put eyes and a simple smile. Outline the frog in dark pen or a darker pencil, then erase construction lines if you used pencil. Next, shade the body with light HB strokes, starting with the brightest area on the upper side. Finally, add darker shading under the chin and on one side, then blend gently with a tissue or blending stump.
Pro tipUse fewer pencil grades and more layers — smooth gradients come from repeated light passes.
AvoidDon’t press hard on the first layer — it locks in grainy texture.



