
1. Big-Eyed Circle Frog Face
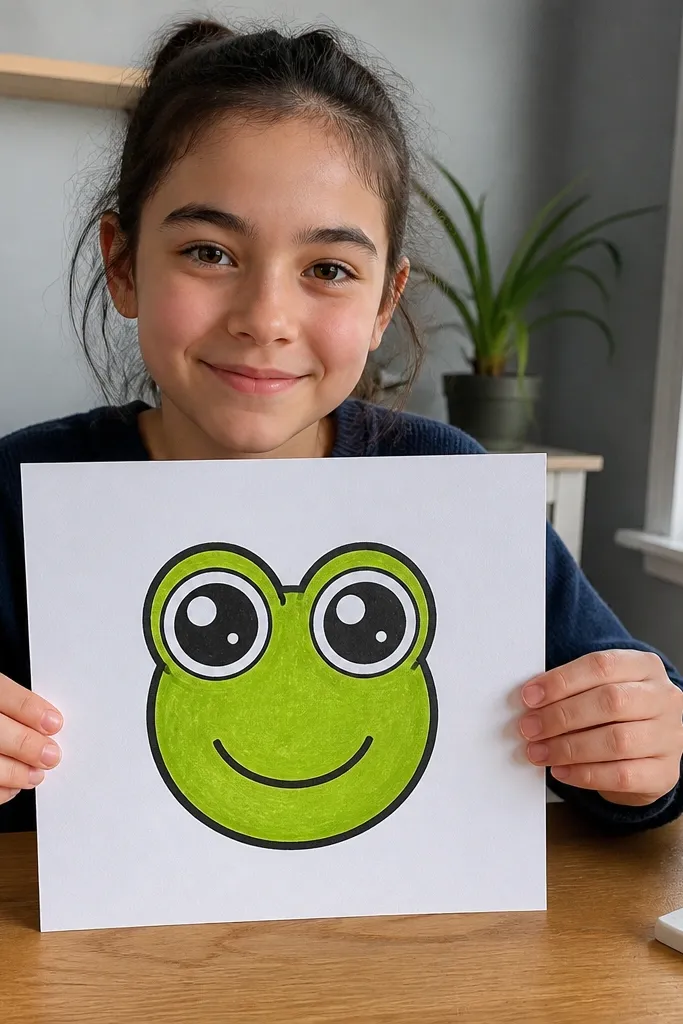
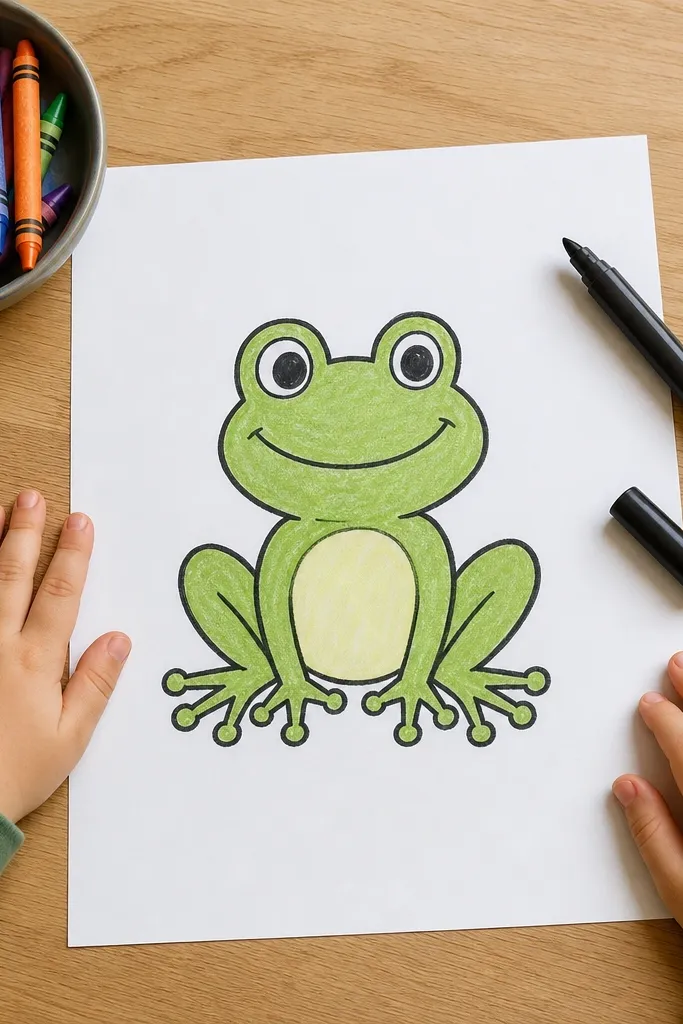
This one is the quickest “I made a frog” drawing. It’s built from a body circle that doubles as the head, plus two huge eye circles that sit high and close together. The smile line gives the whole drawing personality, even if the kid’s lines wobble. Use a thick black outline and color the eyes with a bright white highlight — the frog looks polished on any paper. It’s great for short attention spans and for finishing a sketchbook page fast.
Step 1: Draw one large circle for the head, then add two smaller circles for the eyes near the top. Step 2: Inside each eye, draw a tiny circle for the pupil and leave a small blank white spot for the highlight. Step 3: Add a curved smile and two small nostril dots, then outline the whole face with a thick marker. Step 4: Color the frog green, leave the belly cream, and shade around the eyes with a darker green.
Pro tipHave kids press lightly on the first pencil lines, then go darker only on the final outline.
AvoidDon’t add tiny details like scales on the first attempt; it kills the clean look.
2. Toadstool Hugging Frog
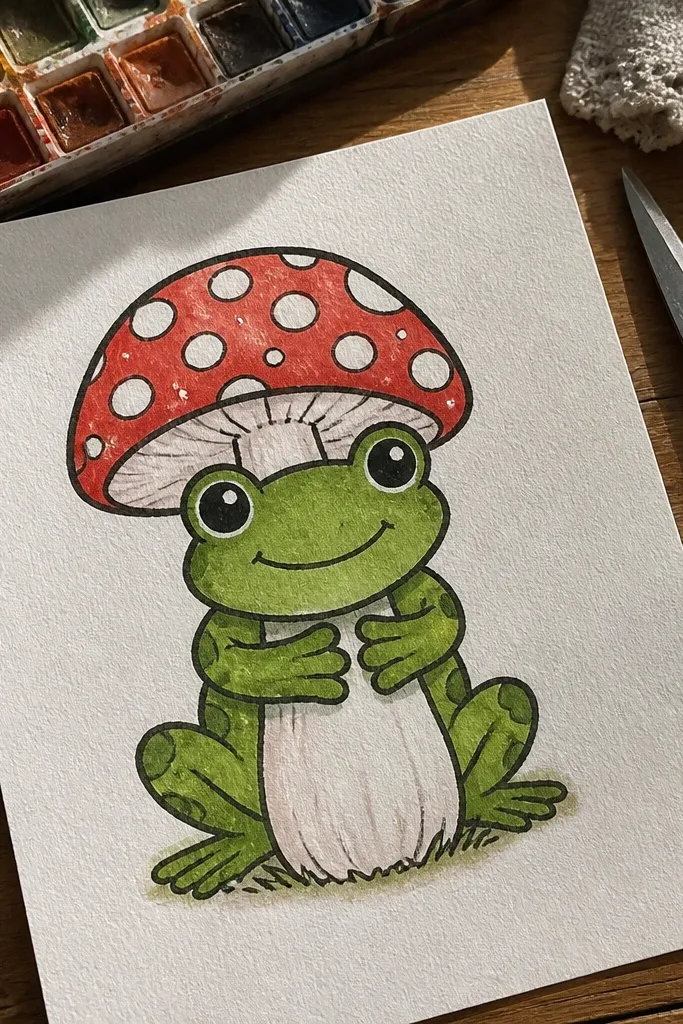
This frog looks adorable because it has a clear “prop” kids recognize. The mushroom gives a strong red-and-white color contrast against a green frog, which makes the drawing pop in photos. The frog’s arms wrap around the stem, so the pose looks intentional instead of random. Keep the mushroom simple: a rounded cap and a straight stem. The result is a friendly, storybook image that’s easy to color neatly.
Step 1: Draw a big mushroom cap as an oval with a slightly wavy bottom edge, then draw a vertical stem. Step 2: Place the frog’s body as a rounded oval on the right side of the stem and add two tiny arm arcs wrapping around the stem. Step 3: Draw the frog’s head on top with two large eyes and a small curved mouth, then outline everything. Step 4: Color the mushroom red with white spots, and color the frog green with a cream belly and darker green spots.
Use three spot sizes on the mushroom cap so it looks balanced, not patterned-looking.
Skip complex mushroom gills; the cap shape and spots do the heavy lifting.
3. Lily Pad Side-View Frog
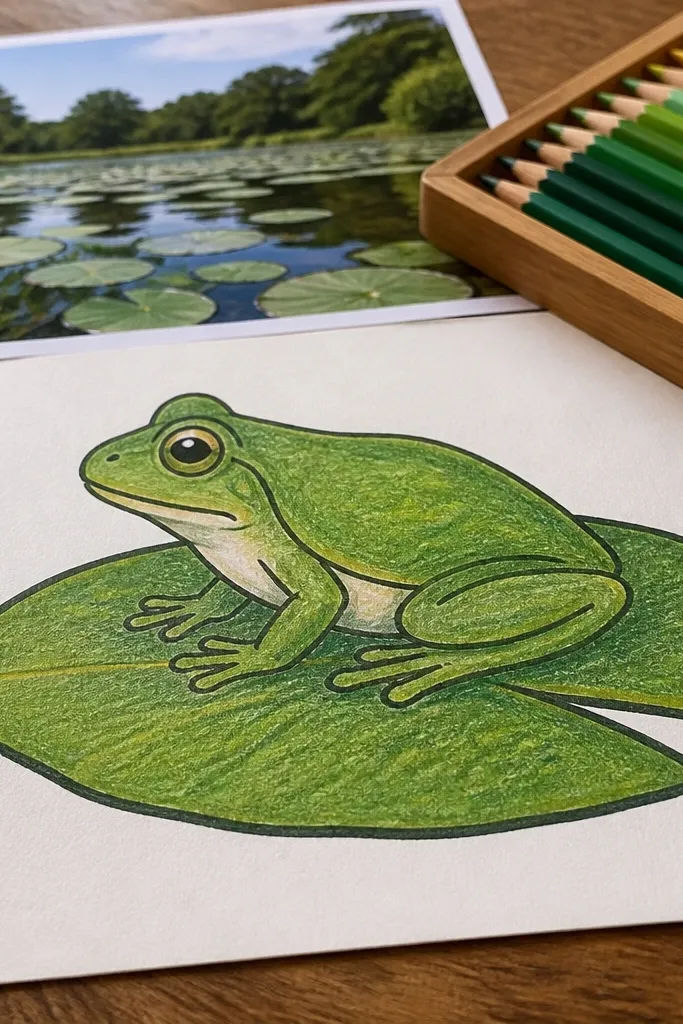
Side-view frogs look “smarter” because you can show a simple profile: one eye, a clear mouth line, and a body shape that faces left or right. The lily pad grounds the frog so it doesn’t float awkwardly. This design is photogenic because the lily pad can be colored with layered greens and a midrib line that makes it look dimensional. It’s a good step up from face-only drawings without becoming hard.
Step 1: Draw a lily pad as a large leaf shape with a wavy edge and a center line. Step 2: Sketch the frog’s body as a sideways oval resting on the pad, then add a smaller oval for the head at one end. Step 3: Add one eye (a circle) on the head and a short curved mouth line, then draw legs as rounded shapes tucked under the body. Step 4: Outline in black, then color the pad with light green edges and darker green shading under the frog.
Pro tipAdd a few pond dot circles in the background with a light blue crayon for instant depth.
AvoidDon’t place the eye too far forward; keep it near the head oval’s top edge.
4. Jumping Frog with Action Lines
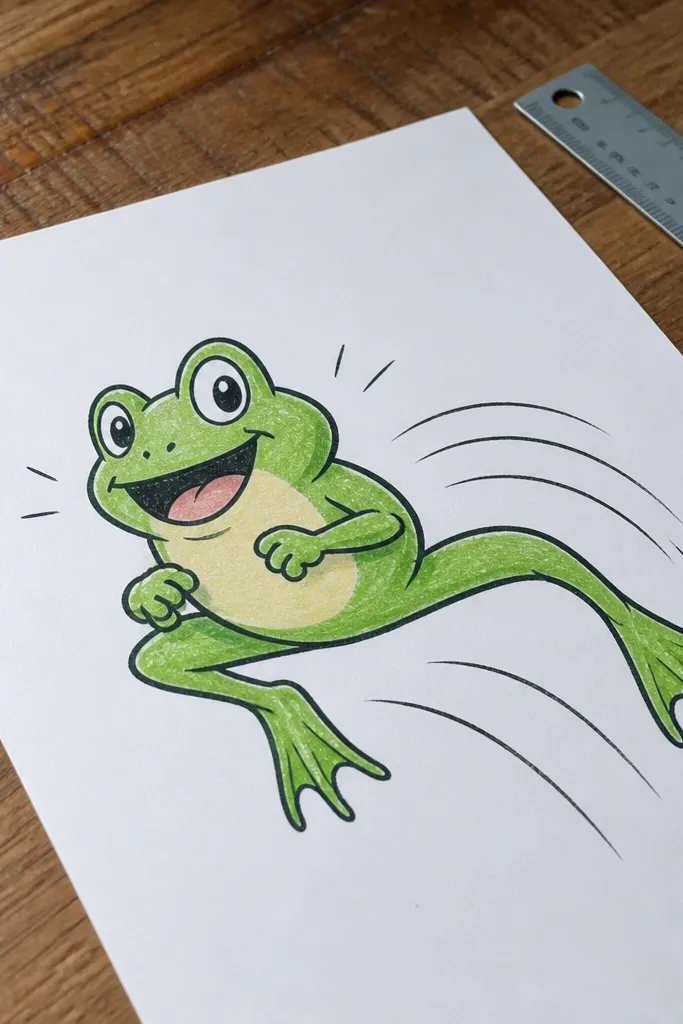
This one feels energetic because it uses bent legs and curved “motion” marks. The frog’s body stays round and compact, while the legs stretch into two big arcs. Action lines behind the frog make it look like it’s mid-leap, and kids love drawing them. It’s also a great way to teach that legs should be thick shapes, not thin lines. Color the background with a light sky blue wash and the frog will stand out.
Step 1: Draw a round body oval and a smaller head oval attached on one side, then add two large bent legs as thick U-shapes. Step 2: Draw two back toes as three small rounded bumps each, then add one front leg tucked in. Step 3: Add big eyes and a simple smile, then outline the frog and legs with a thick marker. Step 4: Add 3-5 curved motion lines behind the frog and color the body green with a lighter belly patch.
Keep the motion lines behind the frog, not around the face, so the eyes stay the focal point.
Avoid drawing long skinny legs; thick arcs read as “jumping” immediately.
5. Frog Wearing a Tiny Crown
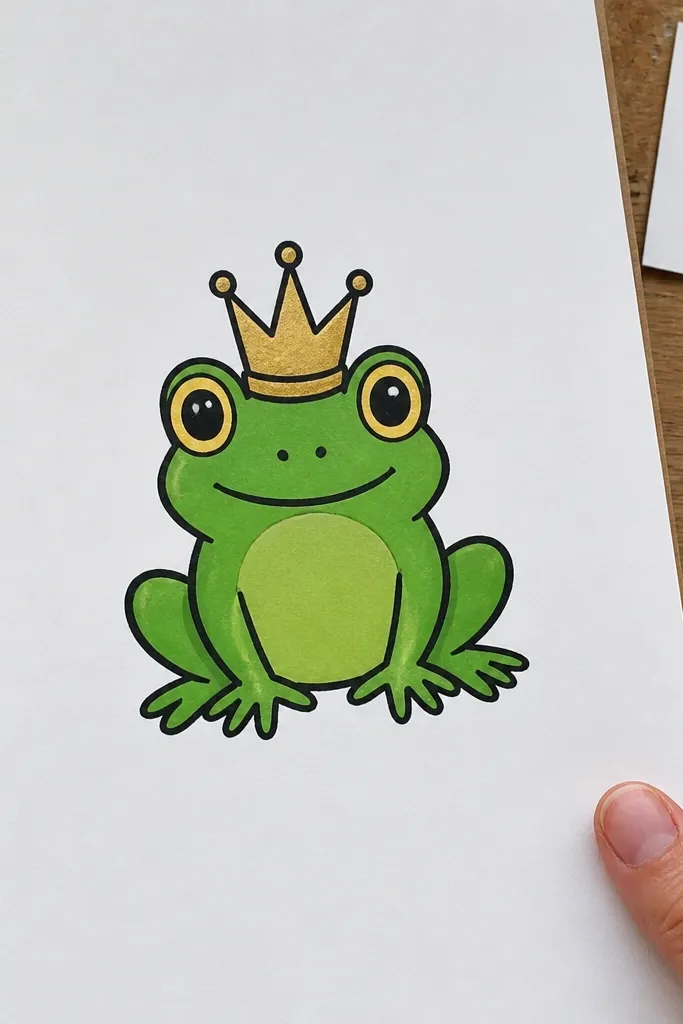
A crown makes the frog instantly fun, and it’s a clean way to add a gold color without overcomplicating the drawing. The crown sits on top of the head, so kids don’t have to struggle with perfect side placement. Use simple crown points — three to five triangles — and a band across the top of the head. The contrast of green frog + gold crown + dark outline looks great in photos. This is a solid pick for a kid who likes “characters” more than nature scenes.
Step 1: Draw a frog head as a large oval with two big eye circles and a tiny smile. Step 2: Add a crown band as a curved line across the top of the head, then draw 3-4 triangle points rising above it. Step 3: Outline the frog and crown, then add a small highlight line on the crown. Step 4: Color the frog green, the belly cream, and the crown yellow-orange with a slightly darker shade on the triangle edges.
Use the same black marker weight for crown and frog so the whole character looks unified.
Don’t add jewels all over the crown; one or two dots are enough.
6. Spots and Belly Pattern Frog
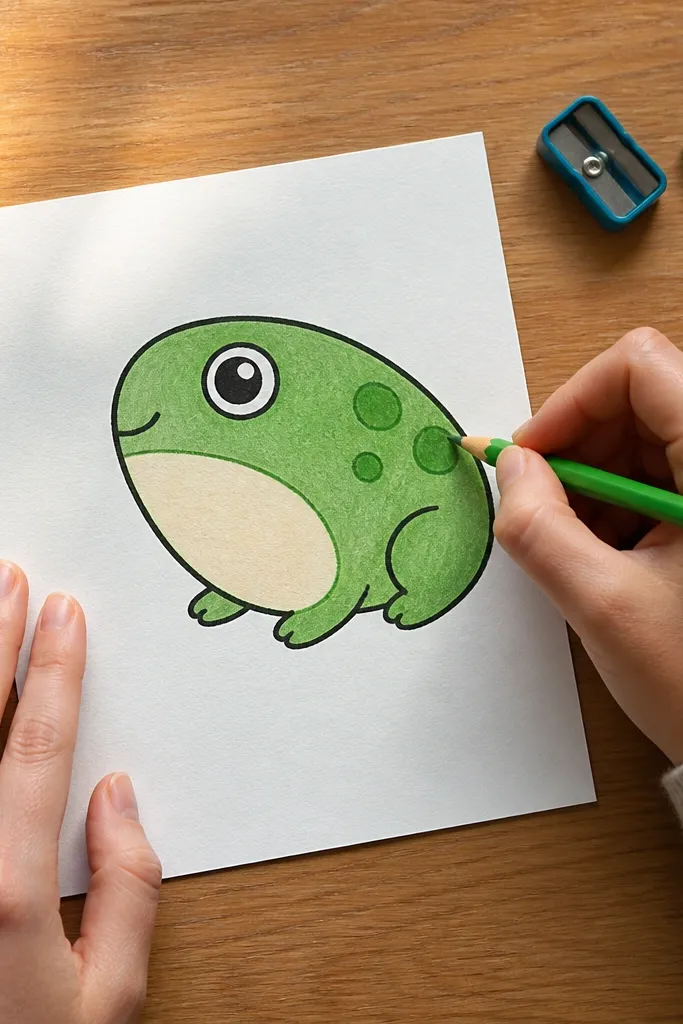
This design teaches kids a simple coloring trick: a patterned belly looks finished even when the frog outline is basic. The frog’s body is one oval, with a cream belly patch shaped like a sideways teardrop. Then you add a few darker green spots on the back. Because the pattern is limited, the drawing stays neat and photogenic. It’s perfect for kids who want “decorating” without drawing complicated scales.
Step 1: Draw a rounded frog body oval, then add a smaller head oval at one end with two big eyes. Step 2: Sketch the belly patch as a teardrop shape along the lower middle of the body. Step 3: Add spots: 6-10 circles or ovals on the upper body and a few smaller ones near the legs. Step 4: Outline everything, then color green on top, cream on the belly, and darken the spots with a darker green crayon.
Pro tipKeep spots bigger than the eyes; small spots tend to look messy on cheap paper.
AvoidSkip random spot placement across the whole body; the belly needs to stay mostly clean.
7. Frog on a Stick Figure Branch
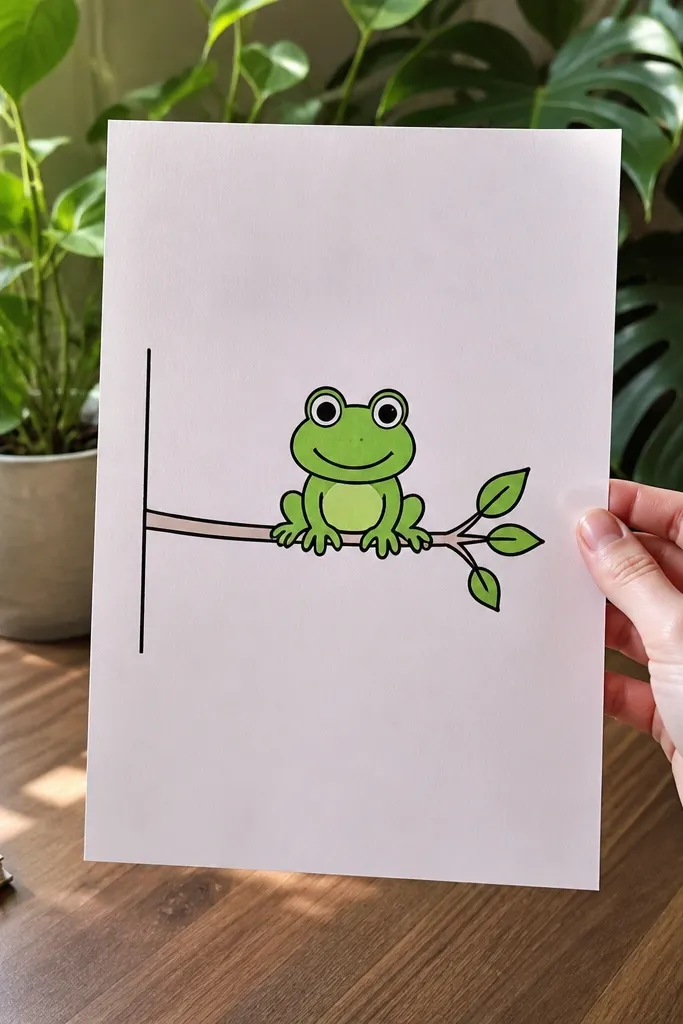
This frog is all about framing. A simple branch line gives the frog a place to sit, and it makes the drawing look like a scene, not a floating character. Kids get a clear structure: branch first, frog second, then a few leaf shapes for color. The frog’s legs sit on the branch like rounded pads, which looks cute and stable. It’s a nice middle option for kids who want “more” than a face but can’t handle full backgrounds.
Step 1: Draw a diagonal branch as a thick line with a few small bumps where it splits. Step 2: Draw the frog body as a rounded oval on top of the branch, then add two front legs as short curved “claws.” Step 3: Draw the head oval with big eyes and a small smile, then outline the frog and the branch. Step 4: Add two to three leaf shapes near the branch and color them green shades while keeping the frog green with a cream belly.
Color leaves with two greens and one light yellow-green so the scene looks layered.
Don’t add too many branch lines; one thick branch reads better than a tangled sketch.
8. Watercolor-Pencil Style Frog with Soft Edges
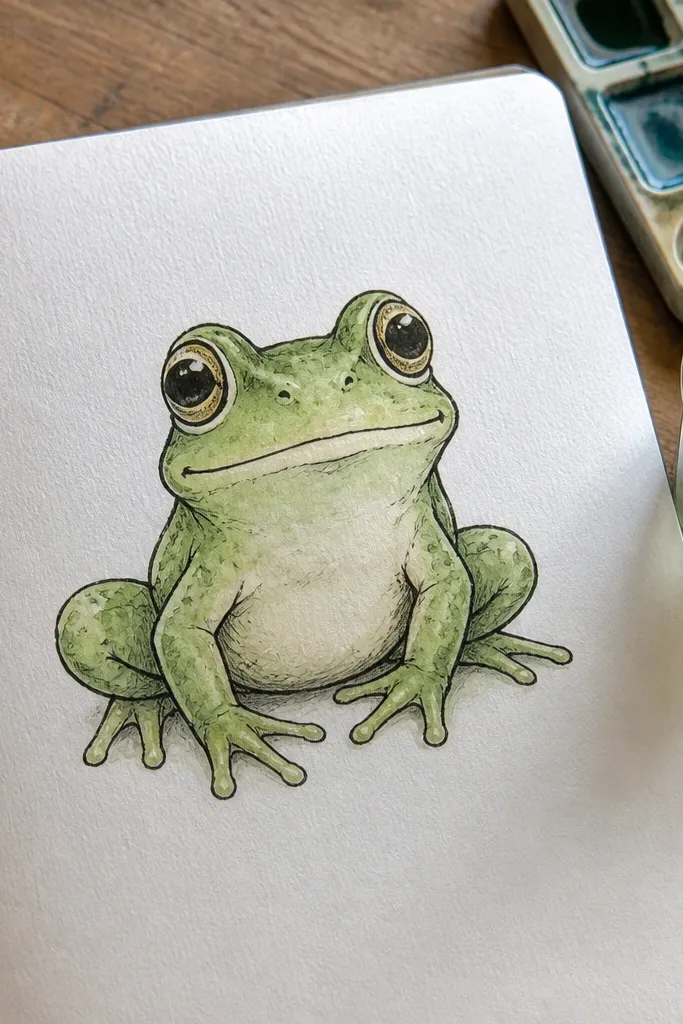
This one looks aesthetic because it uses soft coloring while keeping crisp outlines. The frog outline stays dark, but the inside color fades slightly at the edges, like a gentle watercolor effect. Kids get a “fancy” look without complicated paint skills. The easiest way is to use colored pencils and blend with a wet brush only on the green areas. It’s photogenic because soft edges are visually soothing and the eyes stay sharp.
Step 1: Draw a simple frog body oval and head oval, then outline with a black marker or dark pencil. Step 2: Color the frog green with colored pencil, leaving the belly light and unblended. Step 3: Lightly wet a brush and touch it only to the green areas, not the black outline, then let it dry completely. Step 4: Color the eyes darker and add a tiny highlight spot so the face stays readable.
Pro tipPractice on scrap paper first to learn how fast the pencil color spreads when wet.
AvoidDon’t over-wet the page; too much water makes paper buckle and mud colors.
9. Frog Holding a Heart Leaf
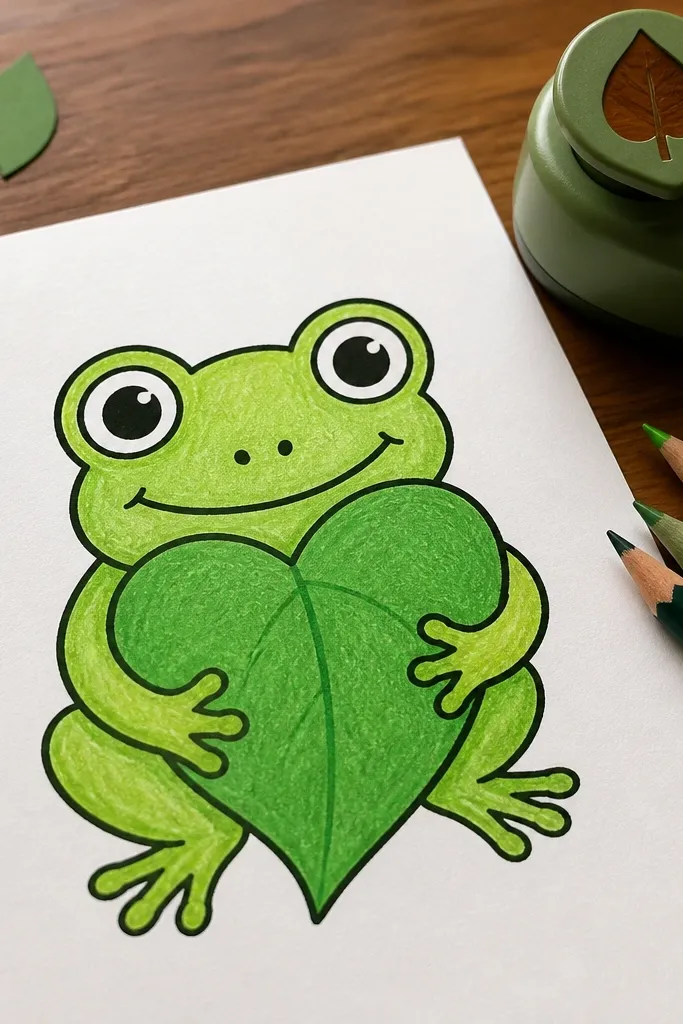
A heart leaf is the reason this drawing looks cute in a single glance. The frog’s arms wrap around the leaf, so the pose has a clear story: “holding something meaningful.” The heart shape also gives kids an easy outline to follow, which keeps the whole picture clean. Use a bright green leaf with a darker midrib line and a lighter edge for a fresh look. This one is ideal for Valentine-season drawings or anyone who loves expressive characters.
Step 1: Draw a heart shape for the leaf and add a center line running from top to point. Step 2: Place the frog body below the heart, then add two front arms as rounded shapes reaching up to the leaf sides. Step 3: Draw big eyes on the head and a small smile, then outline everything. Step 4: Color the leaf bright green, shade the edges darker green, and color the frog with a lighter belly patch.
Pro tipAdd a tiny stem line to the heart leaf so it looks like it really belongs to the plant.
AvoidDon’t make the leaf too large; keep it slightly smaller than the frog head plus eyes.
10. Polka-Dot Lily Pad Frog
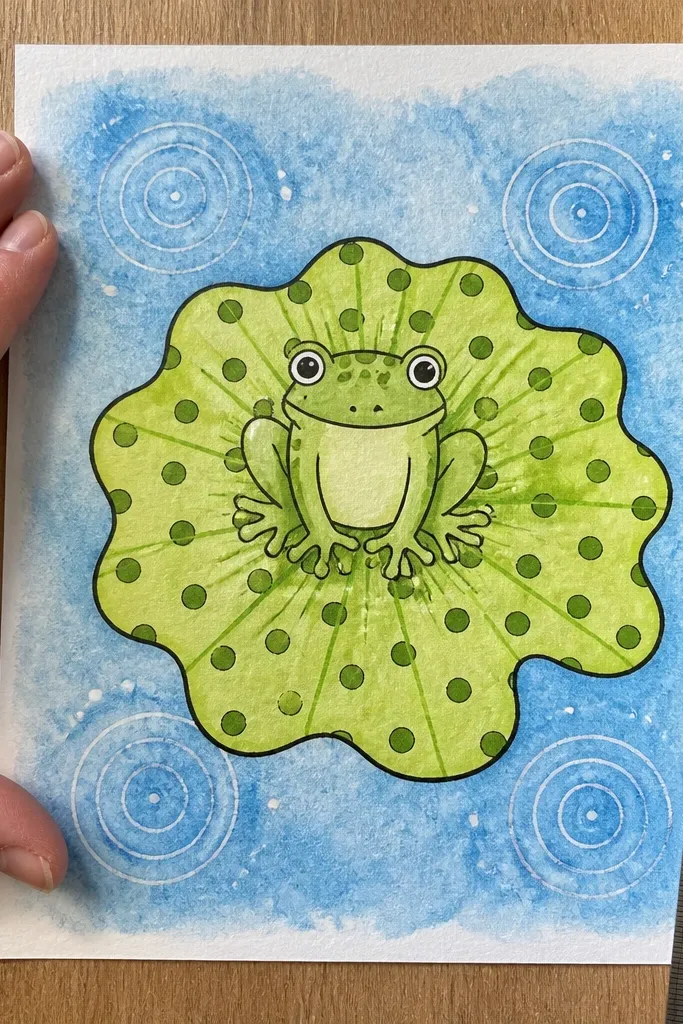
Polka dots on the lily pad give the scene a graphic look that reads well in photos. The frog itself stays simple, so kids don’t get lost in details. You draw one lily pad with a wavy edge, then add evenly spaced dots — a pattern kids can control. Add a simple pond background by drawing three or four water ripple circles. This is a strong “aesthetic balance” project: pattern + character + a clean background.
Step 1: Draw a lily pad leaf shape and add a center vein line. Step 2: Add 10-15 dots across the pad, then draw the frog body oval sitting on top of the pad. Step 3: Draw the frog head with big eyes and a smile, then outline the frog and pad. Step 4: Color: lily pad light green with darker dots, frog green with cream belly, and water ripples in pale blue.
Use a pencil dot guide first so dots stay evenly sized and spaced.
Avoid putting dots on the frog too; keep the pattern only on the lily pad.
11. Frog Crowned by a Flower
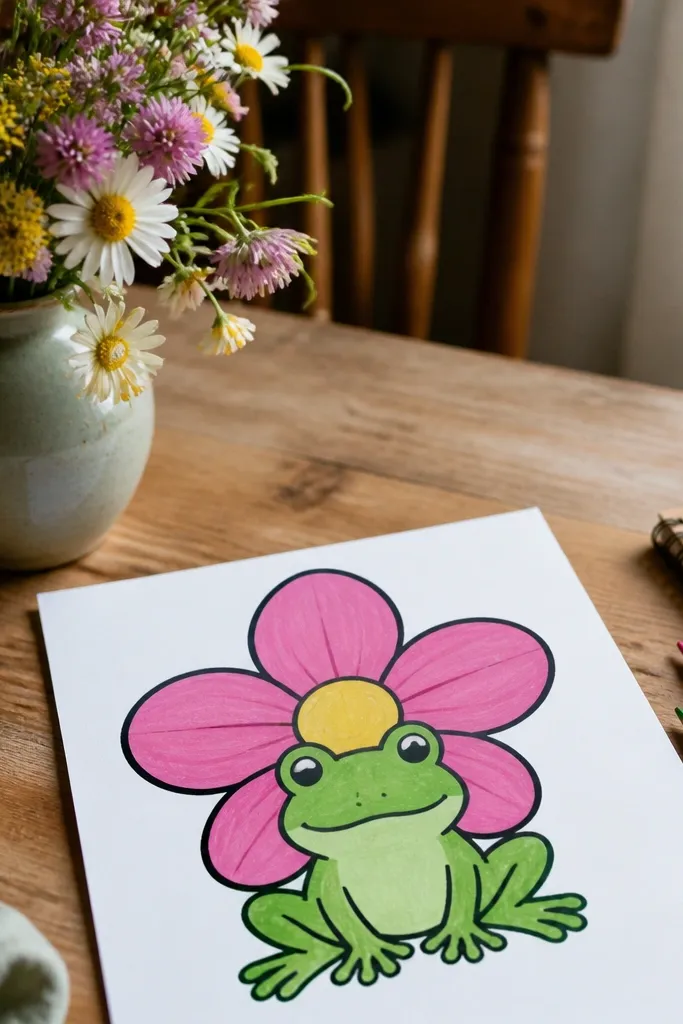
This design looks like a character portrait. The flower frames the frog’s face and gives you a bright pop of color without a complicated background. Use a simple five-petal flower with a round center, then place the frog under it like it’s peeking out. Kids can color the flower in bold colors like pink and yellow while keeping the frog green and cream. The framing makes the frog read clearly even if the frog lines aren’t perfect.
Step 1: Draw a five-petal flower above the frog using rounded teardrop petals around a circle center. Step 2: Draw the frog’s head as an oval under the flower, then place two big eyes on the top half of the oval. Step 3: Add a curved mouth and two small nostril dots, then outline. Step 4: Color the petals, then color the frog green with a cream belly and a darker green outline for the eyes and mouth area.
Pro tipShade the flower center with a darker color so it looks like a real focal point.
AvoidDon’t place the frog too low; it should clearly sit under the flower petals.
12. Row of Three Tiny Frogs
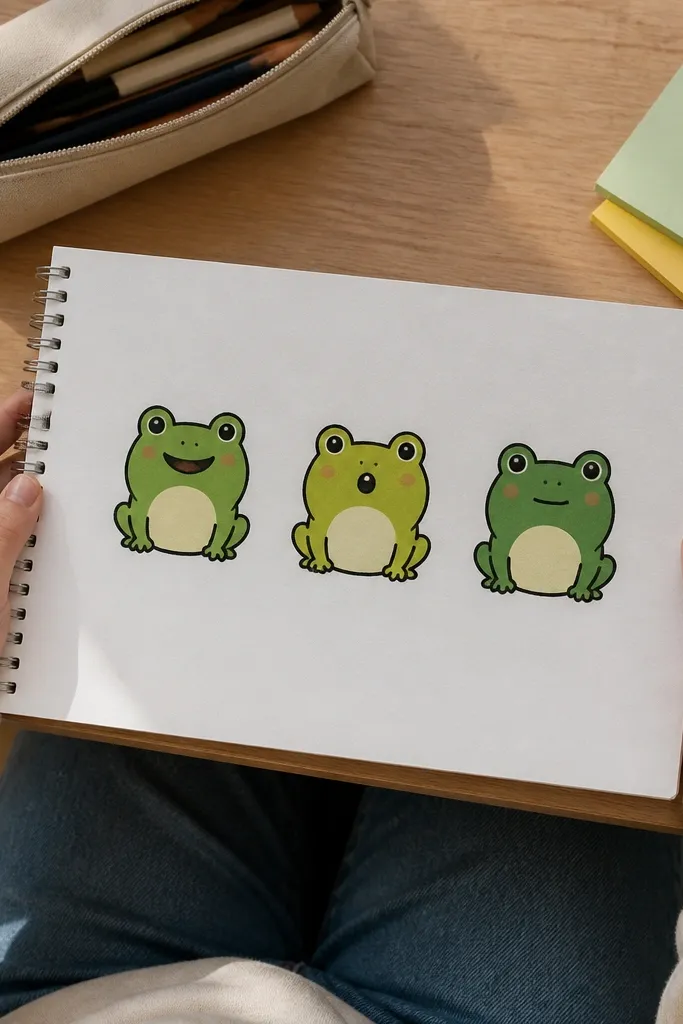
A row of three tiny frogs is a cheat code for looking intentional. Even if each frog is simple, the variety in faces makes the page feel complete. Use the same shape for all three bodies so kids aren’t redrawing from scratch each time. Then change the mouth curve — one smiling, one surprised, one calm. This is great when you want a full, photo-friendly sheet without spending an hour. It also teaches kids that repeating a shape is a skill, not a shortcut.
Step 1: Draw three small body ovals in a line, leaving equal space between them. Step 2: For each frog, add eyes and a different mouth shape: smile, open “O,” and a straight line. Step 3: Add two short legs on the bottom of each body as rounded bumps. Step 4: Outline all frogs, then color them with either green shades or green plus one accent like teal or mint on one frog.
Pro tipKeep the eyes the same size across all three frogs so the row looks tidy.
AvoidDon’t crowd them; equal spacing is what makes the row look designed.
13. Frog with Big Toe Pads
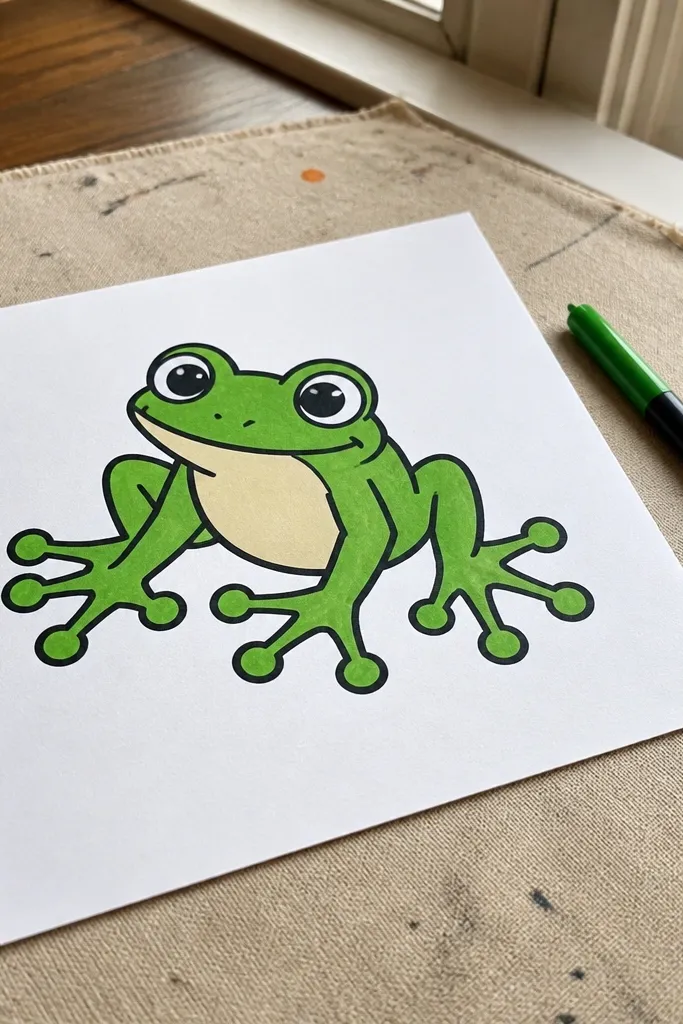
Toe pads make frogs look instantly more realistic and more cute. Kids can exaggerate the pads without making it messy, because the pads are simple rounded shapes. This project also teaches a clean anatomy trick: draw legs as rounded sticks, then cap the ends with bigger pads. The frog outline stays simple, but the feet add a “wow” factor. Color it with a slightly darker green for the pads to separate them from the body.
Step 1: Draw a frog body oval and head oval, then outline the face with two big eyes and a smile. Step 2: Add two legs as thick curved lines, then attach big rounded toe pads at the ends. Step 3: Add tiny toe dots inside the pads if you want, then outline everything. Step 4: Color the body green and use a darker green for toe pads and a cream belly patch.
Pro tipMake pads wider than the legs; that proportion is what reads as frog feet.
AvoidDon’t draw toes as skinny lines; pads should look like soft cushions.
14. Frog Sitting on a Green Button
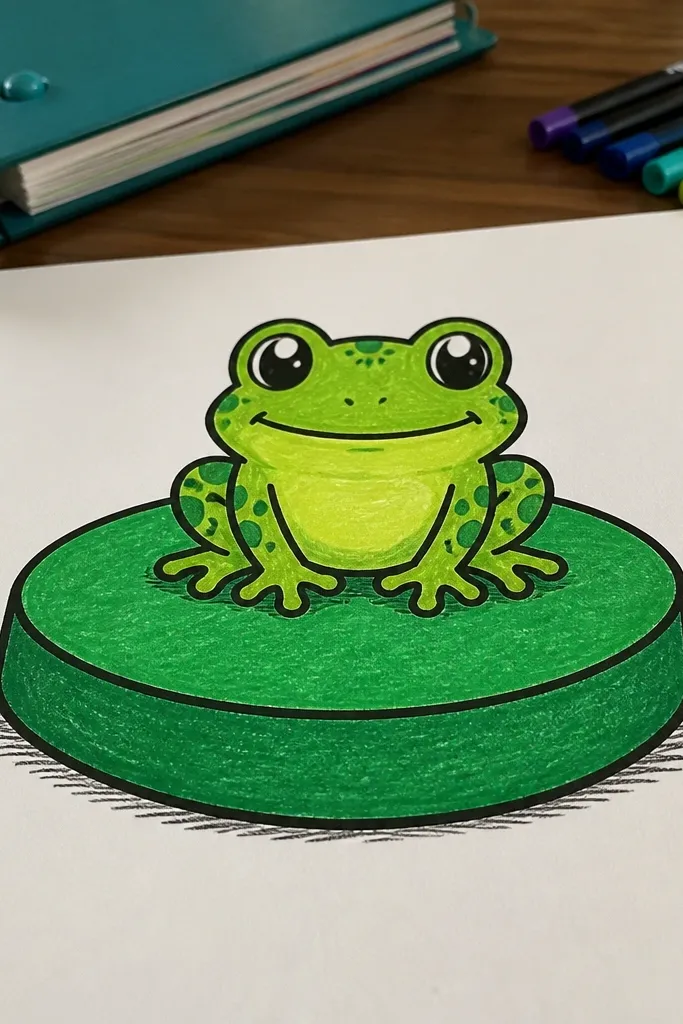
This is a graphic, cute drawing that feels modern because it uses a single bold “platform.” The green circle button gives the frog a clean base, and you can add a few tiny shadow lines under the frog for depth. Kids love the simplicity: frog on top, face details, done. It also works well for classroom posters because it’s easy to color uniformly. The frog looks centered and photogenic because the platform is a big shape.
Step 1: Draw a large circle for the button/platform and add a slightly darker ring inside it. Step 2: Draw the frog body oval on top, then add the head oval with big eyes and a smile. Step 3: Add two front legs as rounded bumps and two back legs hidden behind the body. Step 4: Outline everything, then color the button with light green and dark green ring, and color the frog green with a cream belly.
Pro tipAdd one short curved shadow under the frog belly using a darker green crayon.
AvoidDon’t clutter the platform with patterns; one ring and one shadow line look clean.
15. Frog in a Bubble Frame
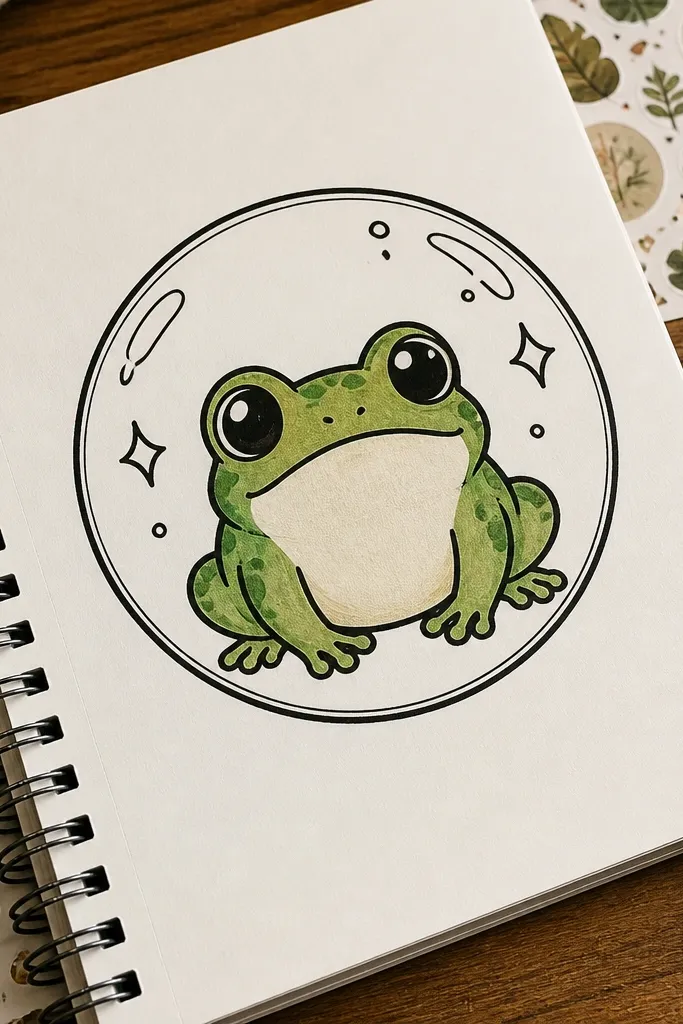
A bubble frame makes the frog look like a sticker. It’s a great aesthetic trick when kids feel their drawing isn’t “neat enough.” The circle border gives structure, and you can add tiny star sparkles around the bubble for instant charm. Keep the frog lines bold so they stay readable against the bubble outline. Color the bubble background lightly in one color, then color the frog with another — the contrast looks intentional in photos.
Step 1: Draw a big circle border (the bubble) and add a small highlight streak on the top left of the circle. Step 2: Inside the bubble, draw a simple frog face as an oval with big eyes and a smile. Step 3: Add a belly patch and two short legs so the frog doesn’t look cut-off. Step 4: Outline the frog and bubble with black, then color the bubble background and frog with contrasting colors.
Pro tipUse a gel pen or darker marker for the bubble outline so it looks crisp when photographed.
AvoidDon’t add stars touching the frog face; keep sparkles outside the bubble interior.
16. Frog Holding a Leaf Like a Umbrella
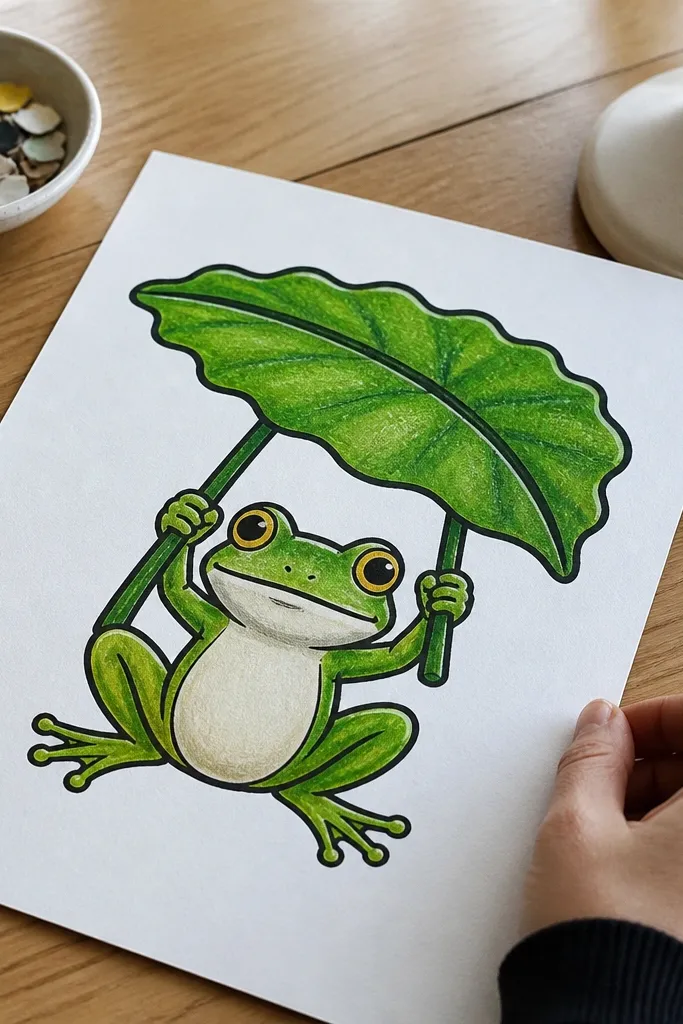
This is one of the most photogenic action poses because it gives you a big leaf shape and a clear “hold” silhouette. Kids draw the leaf first, then the frog sits under it with arms reaching up. The umbrella leaf makes the drawing feel playful and protects the face area, so the frog looks cute even when the background is minimal. Use a light green leaf with darker veins for depth. Add a few raindrop lines for extra charm.
Step 1: Draw a large leaf as a teardrop with a wavy edge and a center vein line. Step 2: Under the leaf, draw the frog body oval and head oval, then add two arms reaching to the leaf sides. Step 3: Add raindrop lines falling from the leaf edge, then outline everything. Step 4: Color the leaf in two greens and keep the frog green with a cream belly; use pale blue for raindrops.
Make raindrops uneven in length; it looks more natural than perfectly spaced lines.
Don’t overcrowd the raindrops; 8-12 drops looks better than 30.
17. Frog with a Speech Bubble Saying Ribbit
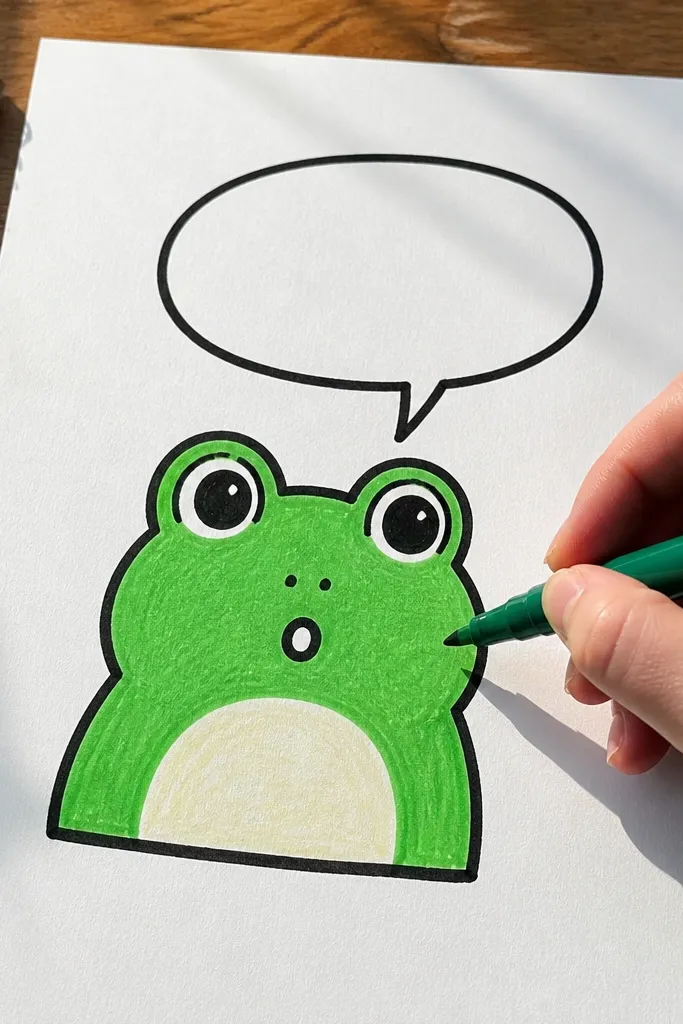
Speech bubbles make drawings feel like characters, not worksheets. The frog face stays simple, and the bubble gives you a place for a message kids can copy. Use the bubble outline in black and add a tiny tail pointing to the frog mouth. This is excellent for kids who want to “add something” beyond coloring. Keep the frog expression big and friendly so the speech bubble doesn’t steal focus.
Step 1: Draw the frog face as a big oval with two eyes and a smile, then outline the mouth area. Step 2: Add a round speech bubble to one side with a small tail pointing toward the frog mouth. Step 3: Draw bubble text as chunky letter-like shapes or simply the word “RIBBIT” in bold block letters. Step 4: Outline everything, then color the frog green and the speech bubble lightly with a pale color so it stands out.
Pro tipUse block letters with thick strokes so they look readable even on small speech bubbles.
AvoidDon’t make the bubble too big; it should frame the frog, not replace it.
18. Frog Wearing Sunglasses
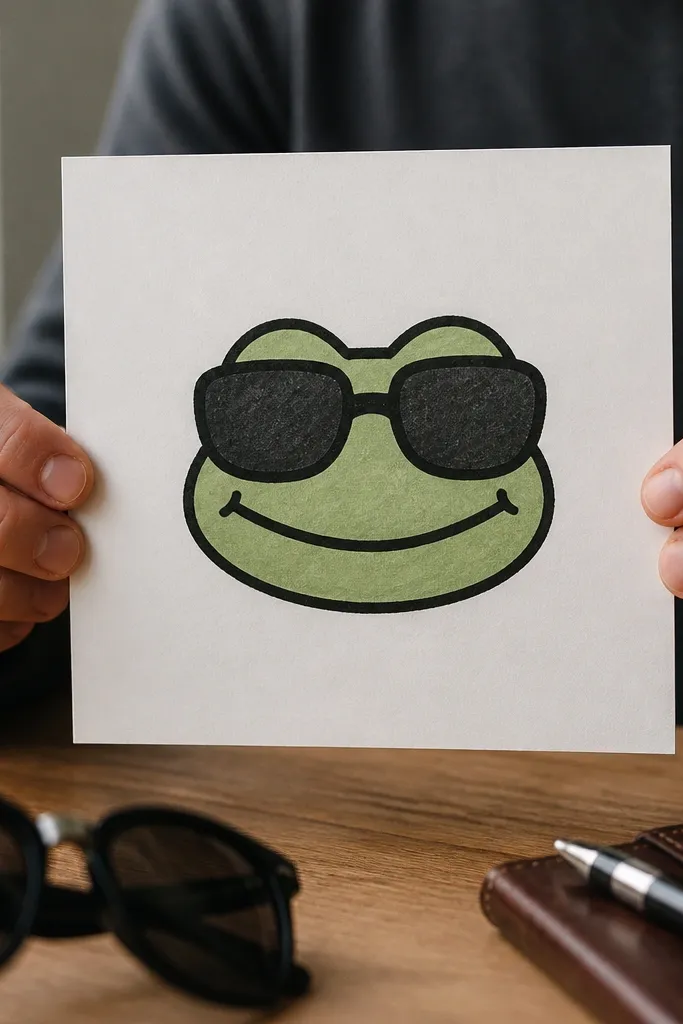
Sunglasses give the frog a cool, modern look without needing any complicated art. The sunglasses sit across the eye area, so even kids who draw eyes unevenly still get a good result. Make the sunglasses as two rounded rectangles with a curved bar connecting them. Then draw the frog mouth and a small cheek line if you want. This project is quick, fun, and very photo-friendly because the contrast of dark frames and green skin reads instantly.
Step 1: Draw the frog head as an oval and add two eye circles in the top half. Step 2: Draw sunglasses over the eyes as two curved rectangles and connect them with a bar. Step 3: Add a simple smile and outline the frog. Step 4: Color the sunglasses dark gray or black and color the frog bright green with a cream belly patch.
Pro tipLeave a tiny highlight gap inside each sunglasses lens so they look shiny.
AvoidDon’t cover the whole face with sunglasses; keep them centered over the eyes.
19. Frog on a Rainbow Arc
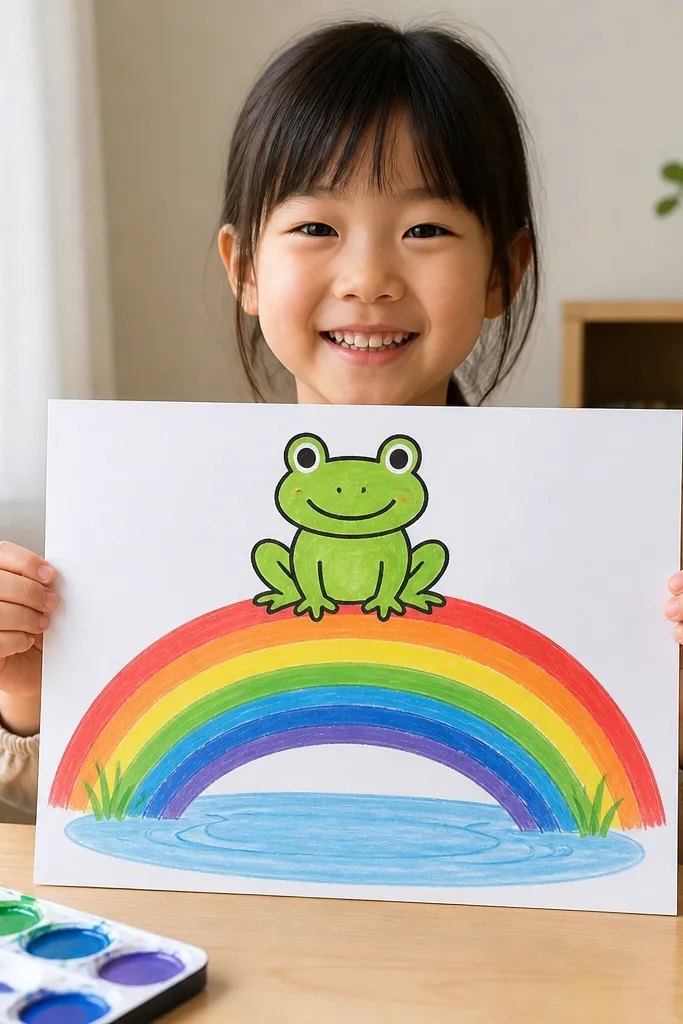
A rainbow arc instantly makes the drawing feel finished. The frog sits on top of the arc like it’s a stage, which keeps the composition clean and centered. Kids can color the rainbow in broad bands without worrying about gradients. Add a simple pond base or light blue background if you want, but the rainbow does most of the aesthetic work. This one is great for kids who like bold color and want their frog to look bright, not subtle.
Step 1: Draw a large rainbow arc across the page using 4-5 thick bands. Step 2: Place the frog body oval on top of the arc, then draw the head oval with big eyes and a smile. Step 3: Add legs as rounded shapes and outline the frog and rainbow bands in black. Step 4: Color each rainbow band with a different bright color, then color the frog green with a cream belly.
Pro tipKeep rainbow bands evenly spaced so the frog looks like it’s sitting on a stable platform.
AvoidDon’t add extra clouds and textures; the rainbow already fills the background.
20. Frog with a Bubble Tail
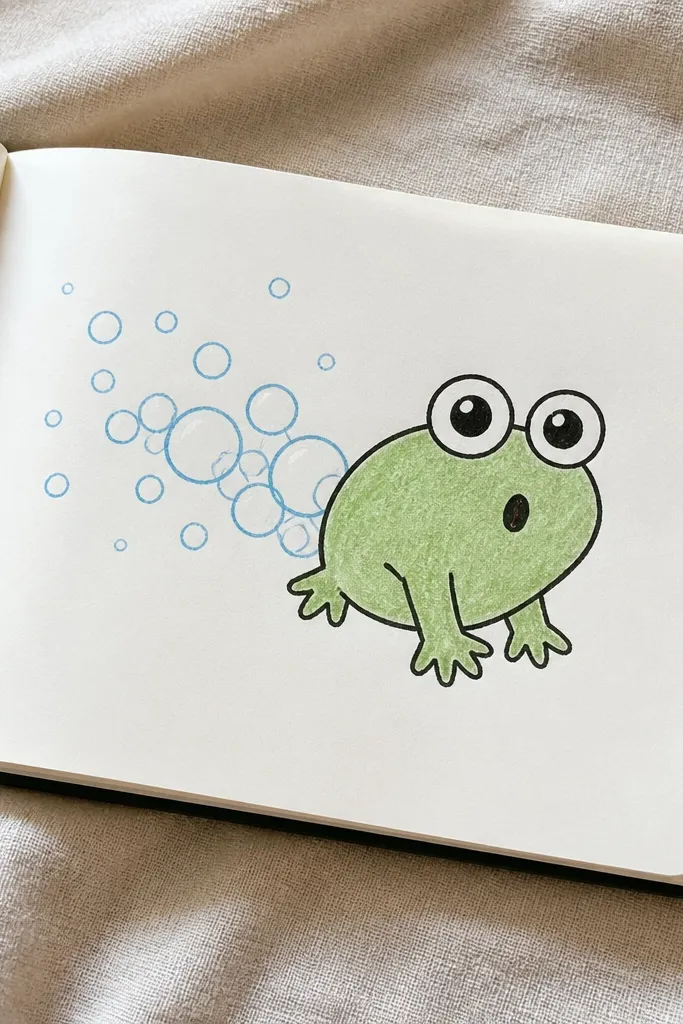
Bubbles make any frog drawing look playful and airy. The frog can be simple, but the bubbles create motion and visual interest. This design is also easy to color because bubbles can be left mostly white with a light blue outline. The frog’s face stays the focus, with big eyes and a small “O” mouth. It’s a great choice when you want the drawing to feel lively without drawing a complicated background.
Step 1: Draw the frog face as an oval with big eyes and an “O” mouth shape. Step 2: Add a small body oval below and legs as rounded bumps. Step 3: Draw 6-10 circles above the mouth as bubbles, spacing them out. Step 4: Outline everything, then color the frog green and add light blue outlines to the bubbles while leaving the center white.
Vary bubble sizes from small to large so the cluster looks natural, not patterned.
Don’t color bubbles solid; they should look like light, not heavy paint.



