
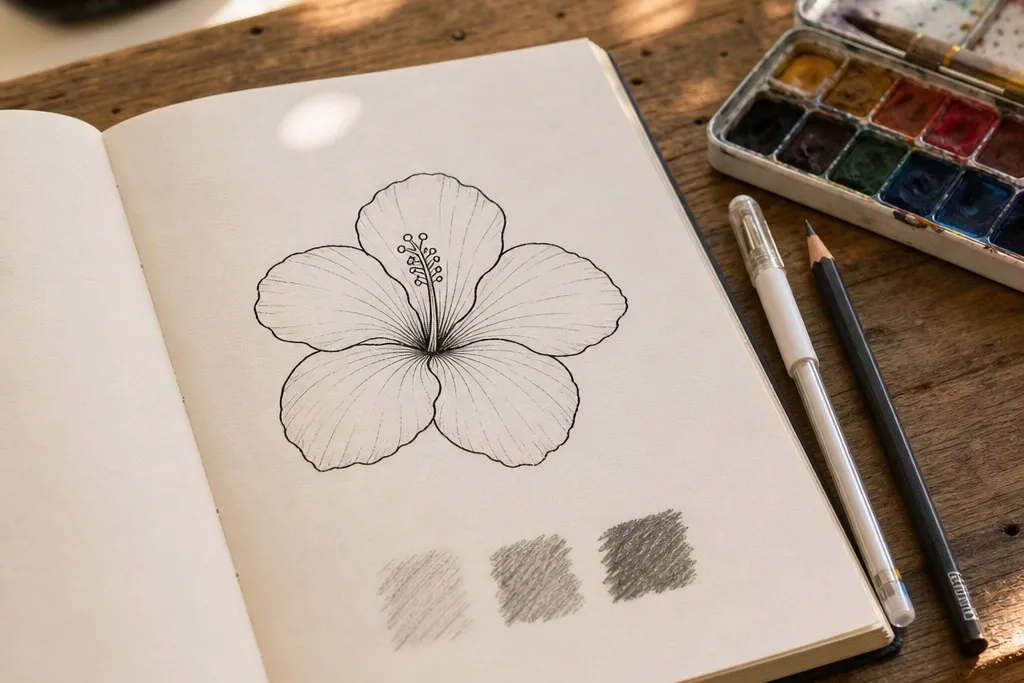
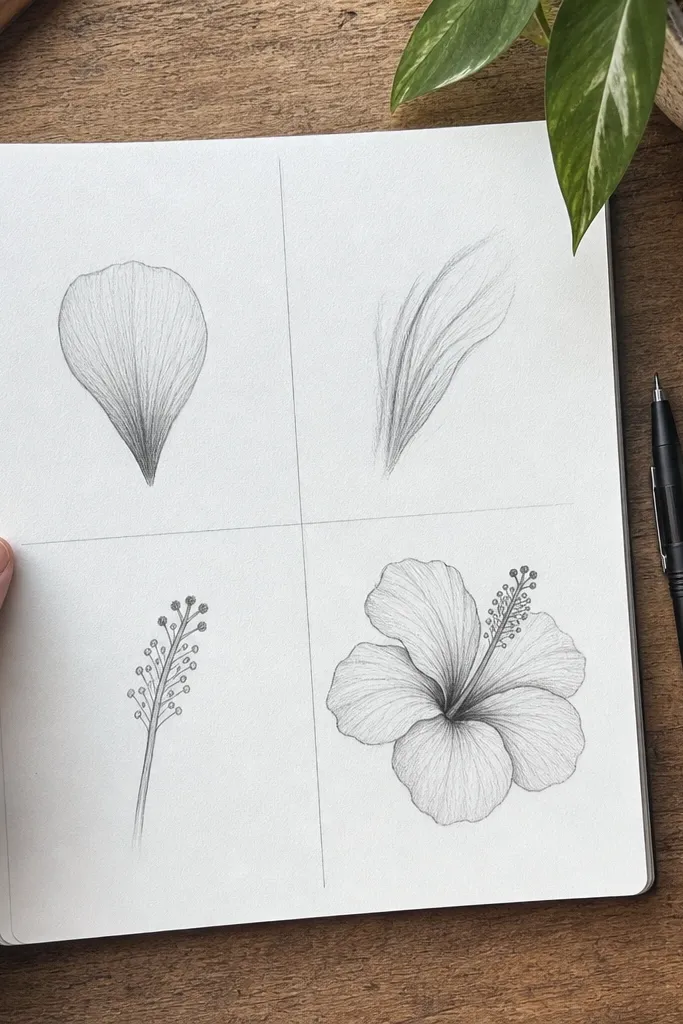
1. Single Hibiscus with 5 Teardrop Petals
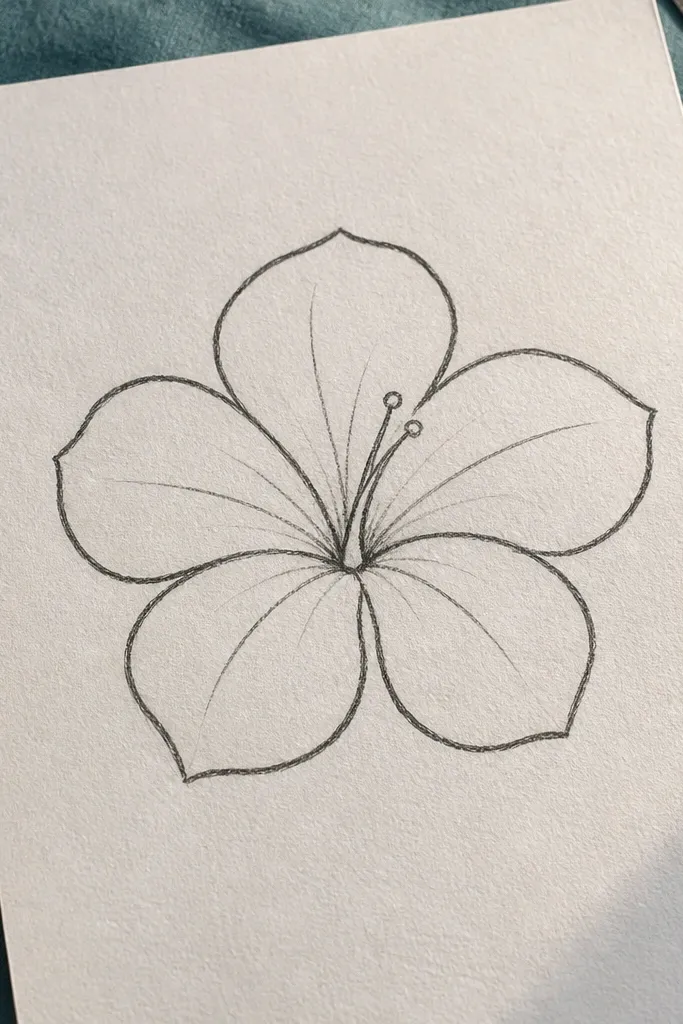
This is the project I recommend first because it teaches the petal construction without overwhelming you. Draw five teardrops around one center point, then add a short inner crease line on each petal. Keep the center minimal: two short curved stamens and one tiny seed dot. The result looks clean and graphic even if your lines aren’t perfect yet. It also works for beginners who want to practice symmetry because you can count petals and adjust spacing easily.
Start by sketching a small circle for the center and five teardrop outlines around it. Then add an inner crease line on each petal that starts near the center and fades halfway out. Finish by drawing two curved stamens that sit slightly above the center, plus one tiny dot where the stamen tips meet. Darken the outer petal edges with a fineliner and lightly erase construction lines.
Pro tipMark the center first with a small dot, then draw petals from that dot outward.
AvoidDon’t add extra petal lines in the first attempt — keep it to one crease per petal.
2. Two Hibiscus Buds with One Open Bloom
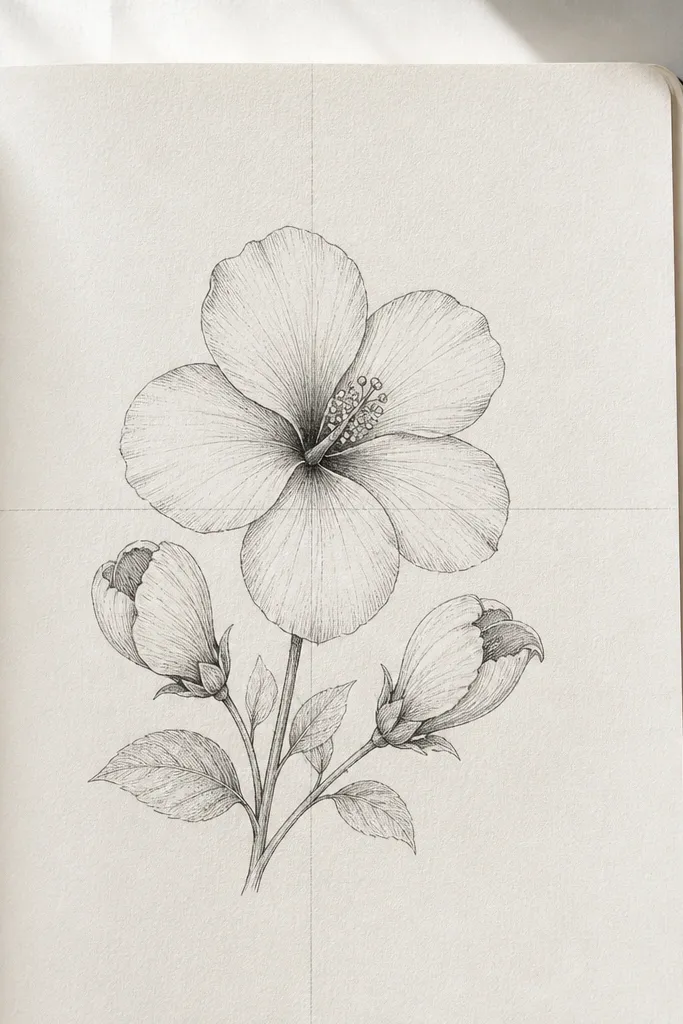
This layout makes your page look intentional because you’re not drawing a single floating flower. Buds are forgiving shapes: use curled “C” forms for the petals that haven’t opened yet. Place the open hibiscus in the middle, then tuck the buds slightly lower so they frame the bloom. The contrast between closed and open petals looks pretty and gives you practice with different shapes. Beginners like this because it adds variety without requiring realistic shading.
Draw the open hibiscus first using the 5 teardrop method and keep petals slightly wider than before. To make buds, sketch two small curled teardrops that overlap, and add one inner fold line on each bud. Place the buds lower and angled toward the open flower. Finally, add a simple curved stem line connecting all three blooms.
Pro tipAngle the buds toward the open flower so the composition reads as one plant.
AvoidAvoid placing buds at random heights — keep them within a tight band under the main bloom.
3. Hibiscus Mandala Layout with 10 Petals
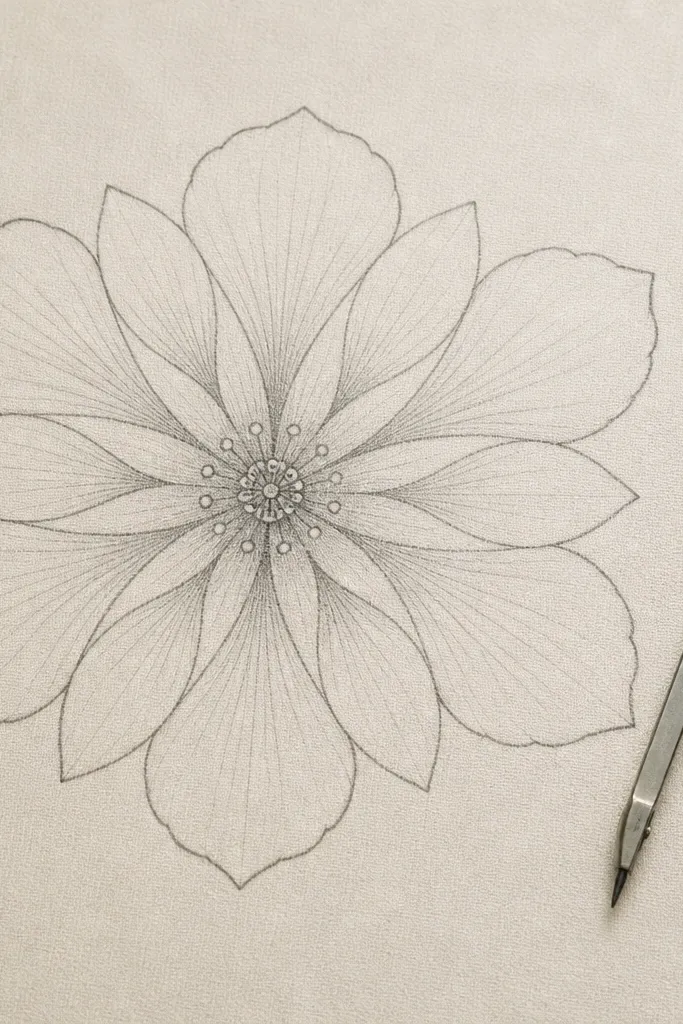
This one looks fancy without being hard because you’re repeating a shape. Instead of five petals, you draw ten, alternating slightly larger and smaller teardrops. The symmetry makes the drawing look “designed,” even if you’re using basic lines. Add a small stamen cluster at the center and keep the shading minimal — just a few darker petal edges. It’s a great choice for beginners who want a high-impact page quickly.
Start with a light circle and lightly mark ten radial points around it. Draw teardrops between those points, alternating sizes so the flower looks layered. Add a tight stamen cluster using short curved lines that point upward. Darken the outer edges and add two or three short crease lines inside the petals.
Pro tipUse radial tick marks lightly — they save you from counting errors when you ink.
AvoidDon’t shade every petal — pick only the outer ring for darker edges.
4. Side-View Hibiscus with Curved Petals
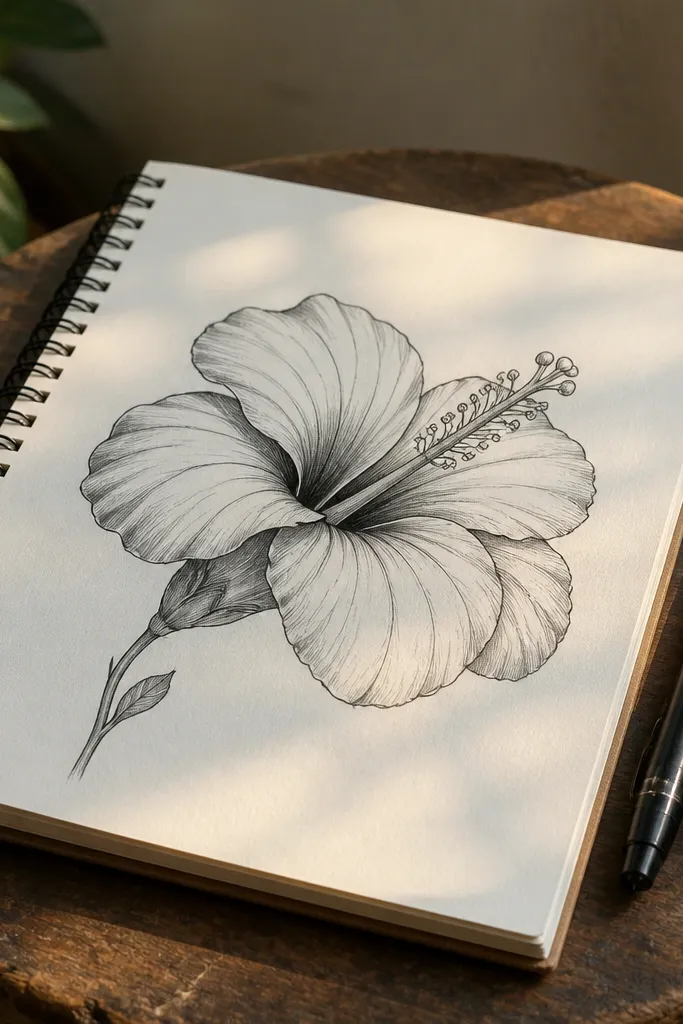
Side view teaches you how hibiscus petals overlap, which makes your drawing look more dimensional. The trick is to draw fewer petals in full and let some petals peek from behind. Use teardrops but curve their outer edges so the flower feels tilted. The center still needs a clear stamen shape, but you can shrink it slightly to match the angle. This style looks more “illustration-like” than a straight front view.
Sketch a tilted center point and draw three front petals as complete teardrops. Add two more petals that are partially hidden by drawing only their outer halves. Then place the stamen cluster slightly off-center toward the visible petals. Finish by adding one strong crease line per visible petal and a few light lines under the overlapping edges.
Pick one direction for the tilt and keep every petal’s curve following that direction.
Avoid drawing all five petals equally — the overlap is what creates the side view.
5. Hibiscus Flower Outline Only with Decorative Center
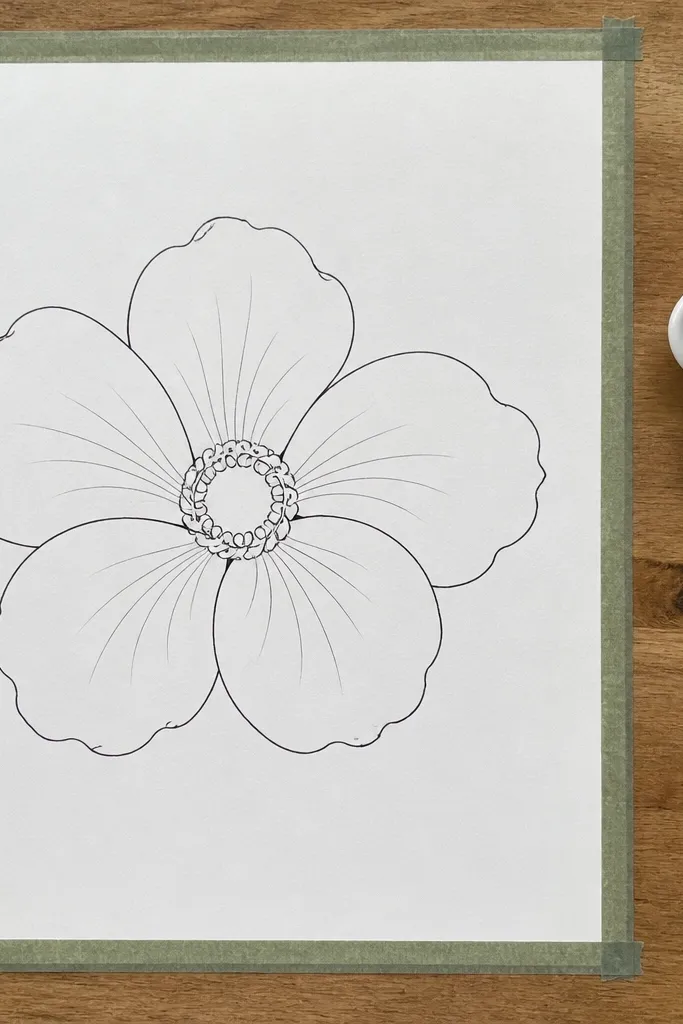
If you want a clean, modern look, skip shading and focus on line work. This design uses crisp outlines for the petals, then turns the center into a decorative pattern. Instead of many tangled stamens, draw a small spiral or loop ring that sits where the stamens would be. It looks intentional and graphic, and it’s beginner-friendly because you’re only drawing two things: petal outlines and a center pattern. Great for gel pen or fineliner.
Draw five teardrop petals with a smooth outer outline and one inner crease line each. Keep the petals unfilled. For the center, draw a small loop ring and add 6-8 tiny curls around it like a mini halo. Darken the petal edges slightly more than the inner crease so the flower reads clearly.
Pro tipUse a thicker pen for the outer petal edges and a thinner pen for the center loops.
AvoidDon’t overcrowd the center — eight loops look clean; twenty loops look chaotic.
6. Watercolor-Style Hibiscus with Wet Edges (Pencil + Brush)
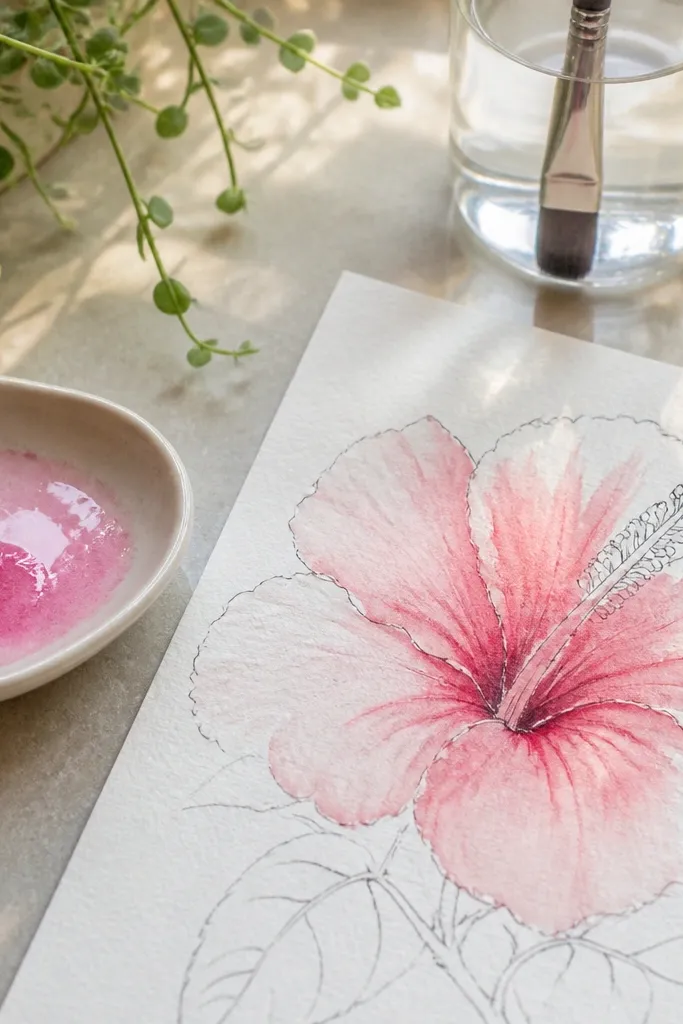
This one gives you that airy, aesthetic look without needing real watercolor skills. You draw the hibiscus in pencil, then use a damp brush to lift and spread light pigment or color pencil. The wet edges make petals look natural and less harsh than marker. Keep the color concentrated near the center and fade it outward for a believable bloom. It’s a good option if you want photos that look soft and pretty.
Sketch the hibiscus with light pencil: five teardrops and a simple stamen cluster. Add color pencil or soft pastel to the inner half of each petal, then lightly dampen the area with a clean brush and water. Let the outer petals stay lighter so you get a fade. Finish by re-drawing the petal outlines lightly with a fineliner once dry.
Pro tipTest the dampness on scrap paper — too wet bleeds the crease lines away.
AvoidAvoid coloring the entire petal evenly — watercolor-style looks wrong when it’s flat all the way out.
7. Hibiscus with Ombre Petals Using 3 Pencil Values
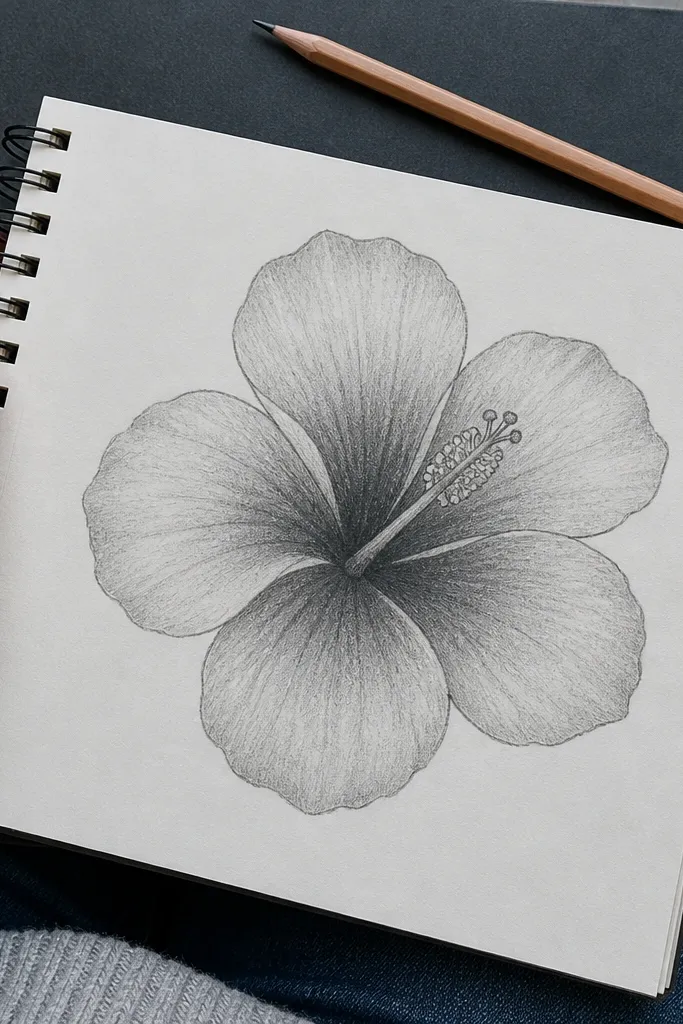
Ombre makes hibiscus drawings look finished fast because the petals have depth. This design uses only three pencil values: light, mid, and dark. You shade near the center darker, then fade toward the petal tip. It’s still beginner-level because you’re not blending perfectly — you’re building a clear gradient. The look is photogenic and reads well in sketchbook photos.
Draw the hibiscus with pencil first and keep outlines light. Shade the inner third of each petal with a 2B, then shade the middle third with an HB. Leave the outer third mostly untouched, then gently blend the boundary lines with a tissue. Add a darker crease line where the crease meets the center.
Use the side of the pencil for ombre — it creates smoother gradients than the tip.
Don’t shade the stamen area the same color as petals — keep it lighter so the center pops.
8. Hibiscus in a Flower Pot Frame
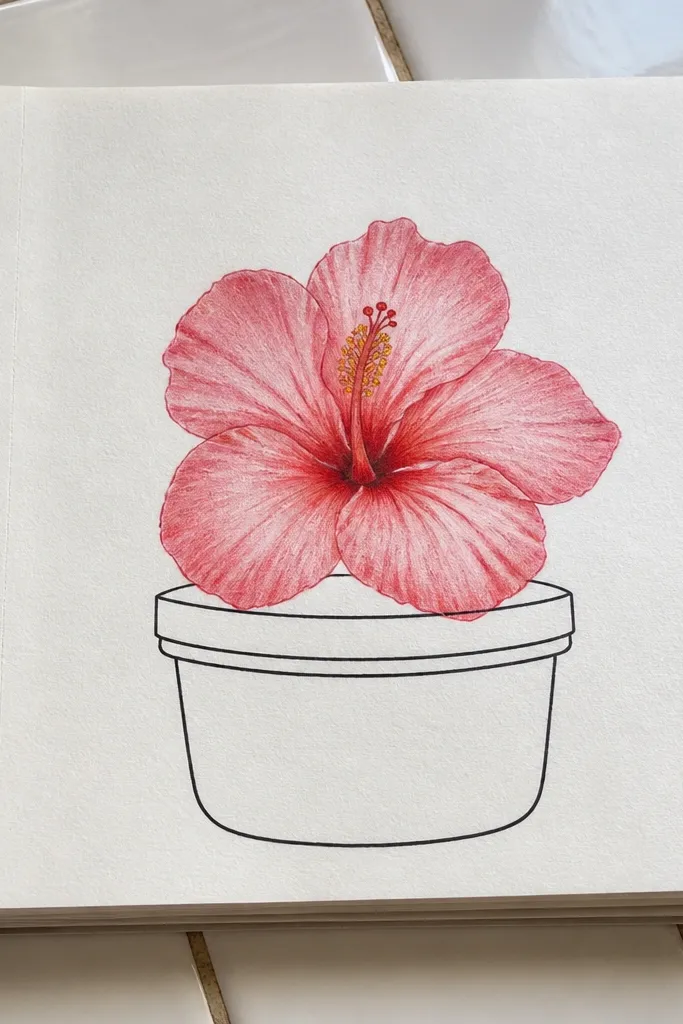
This is a composition trick: you draw the pot as a frame, and the flower instantly looks like a finished illustration. Beginners get a clear structure, and it prevents the common problem of flowers floating awkwardly on the page. Keep the pot simple with two lines for the rim and one curved base. Then draw one hibiscus bloom above it with clean teardrops and a simple center. Add one leaf that leans toward the pot for balance.
Draw a rectangular pot shape with rounded corners and add a simple rim line. Place the hibiscus center just above the pot opening. Draw five petals around the center and add one inner crease line per petal. Finish with one leaf on the left or right and a short stem line connecting leaf and flower.
Pro tipCenter the hibiscus so the top petal tips align with the pot rim height.
AvoidDon’t add multiple leaf positions — one leaf is enough for a neat frame.
9. Hibiscus and Tropical Leaves Border
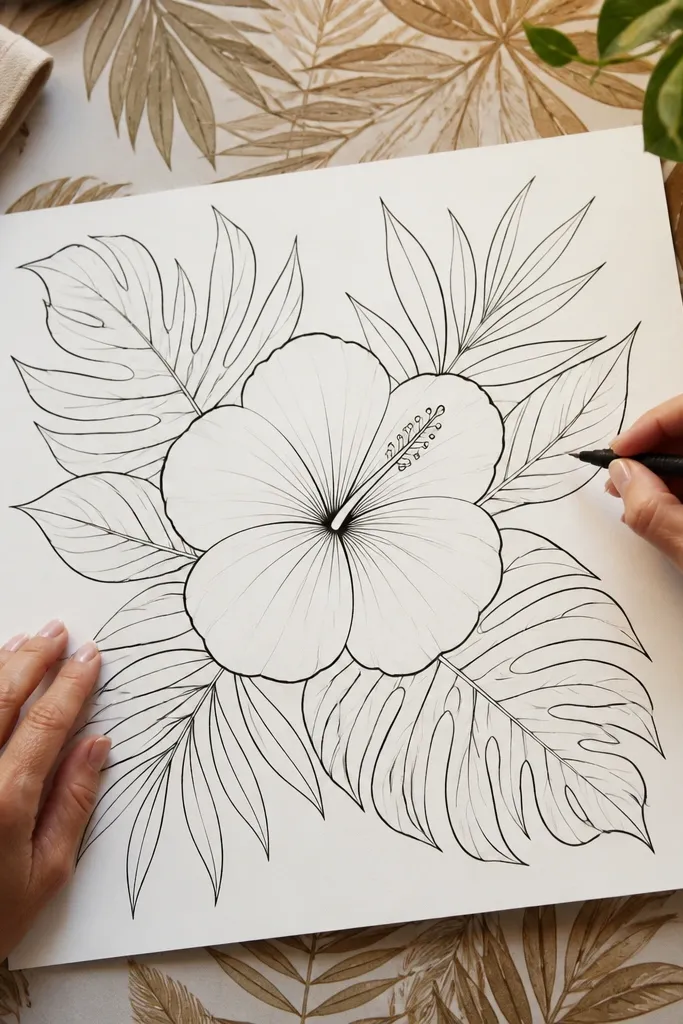
A border makes your drawing look like decor, not practice. You keep the hibiscus as the main focal point, then add a few big tropical leaves around it using simple curves and pointy ends. The hibiscus petals stay clean and readable while the leaves add movement and fill space. This style is great for beginners because leaves are built from lines and a center vein, not complex shading. The result looks like a printable pattern page.
Draw the hibiscus in the center using five teardrops and a simple stamen cluster. Around it, draw 6-8 tropical leaves: each leaf is a long oval with a pointed tip and one central vein line. Keep leaves mostly outside the hibiscus so they don’t cover the center. Add light stems connecting the leaves so the border feels organized.
Pro tipVary leaf sizes by about 20-30% so the border doesn’t look flat.
AvoidAvoid filling the border with tiny leaves — they turn into clutter in photos.
10. Hibiscus Line Art with Colored Petal Edges
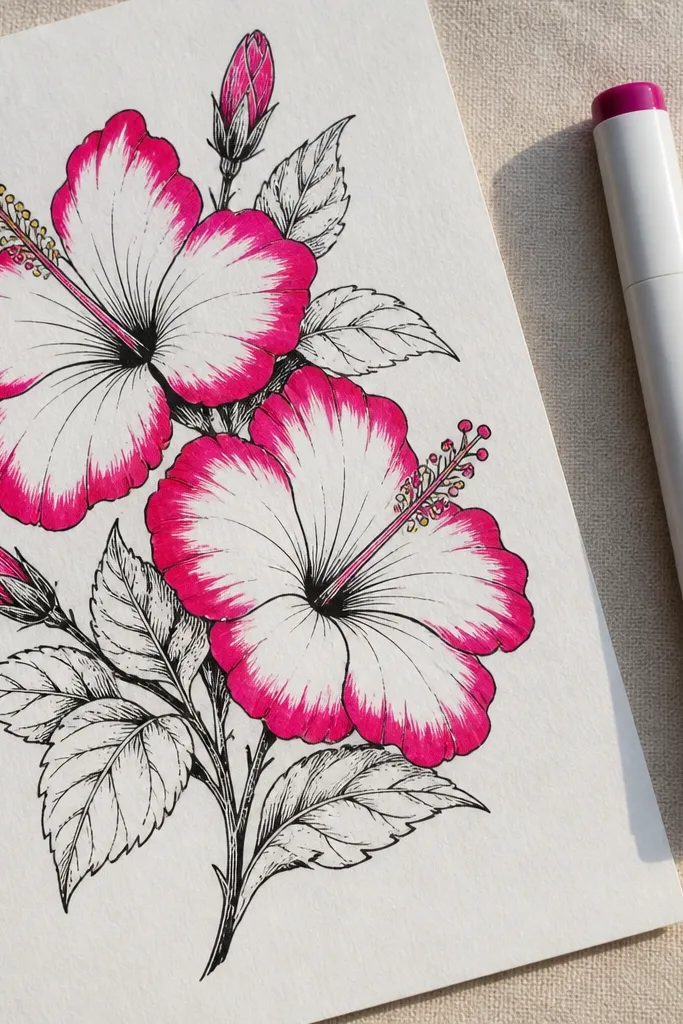
This style looks sharp because it keeps outlines consistent and adds color only where it matters. You draw everything in black fineliner, then color just the outer rim of each petal with a bright marker or colored pencil. The center stays mostly white or lightly shaded so it doesn’t get muddy. This is a great beginners project because you don’t need smooth blending — you’re coloring edges, not gradients. Photos look crisp and graphic.
Sketch the hibiscus with black fineliner: five teardrops, inner crease lines, and a small stamen cluster. Add a single leaf beneath the flower with a central vein. Color the outer edge of each petal with a saturated color like pink or red, leaving the interior mostly uncolored. Optionally add one darker edge line near the center for contrast.
Use a light touch for color so you don’t cover your crease lines.
Don’t color inside the petals heavily — edge-only color keeps it clean.
11. Hibiscus with Cross-Hatched Petal Texture
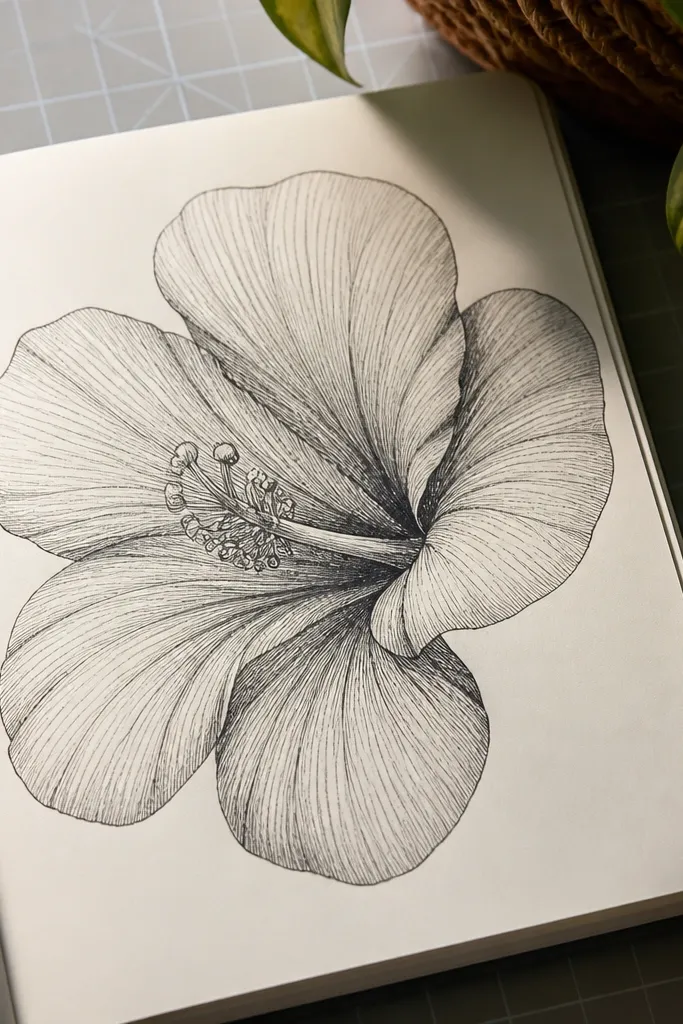
Cross-hatching adds texture without requiring realistic shading. You shade each petal with straight hatch lines that follow the petal direction, then add a second set at an angle near the crease for depth. The hibiscus still stays “beginner easy” because you’re drawing patterns, not shadows. This style looks great in monochrome pencil and also works with pen. It’s especially photogenic when the lines are crisp.
Draw the hibiscus with light pencil outlines and one inner crease per petal. Ink or darken outlines, then add hatch lines starting near the center and moving toward the petal tip. Add a second hatch angle only in the inner half of each petal. Keep the stamen area lightly outlined so the texture stays on petals.
Hatch with a ruler-free steady rhythm — uneven line spacing looks intentional, not messy.
Avoid hatching the entire petal evenly — leave the outer third lighter.
12. Hibiscus with Gel Pen Highlights
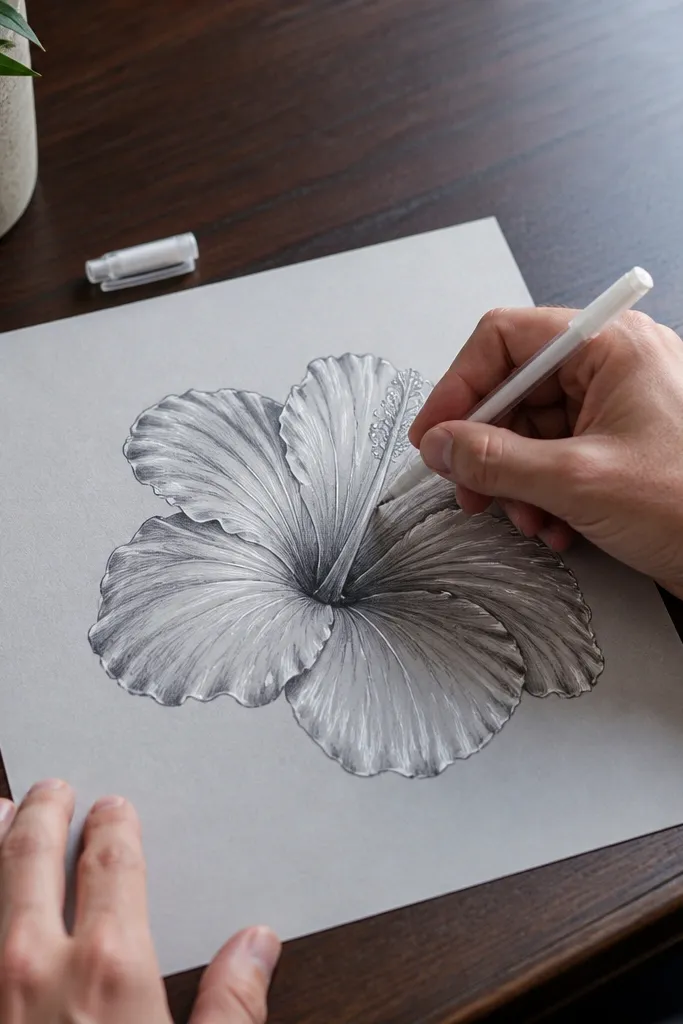
Highlights make drawings look glossy and fresh. This style uses light pencil shading for petals, then adds white gel pen highlights along crease lines and petal edges. The white highlights catch the light in photos, so your drawing looks more detailed even if the shading is simple. Beginners like it because it’s forgiving: you can correct edges by re-tracing with black pen and then placing highlights where you want the shine.
Sketch the hibiscus with pencil and outline it with fineliner. Shade each petal lightly with HB, darker near the center. Add a few short darker pencil strokes at the inner crease to define folding. Once everything is dry, draw thin white gel pen highlight lines along the crease and outer petal edge.
Use gel pen after shading is fully set so the ink doesn’t smear.
Don’t use thick gel pen strokes — thin lines look like real highlights.
13. Hibiscus Florals on a Grid Background
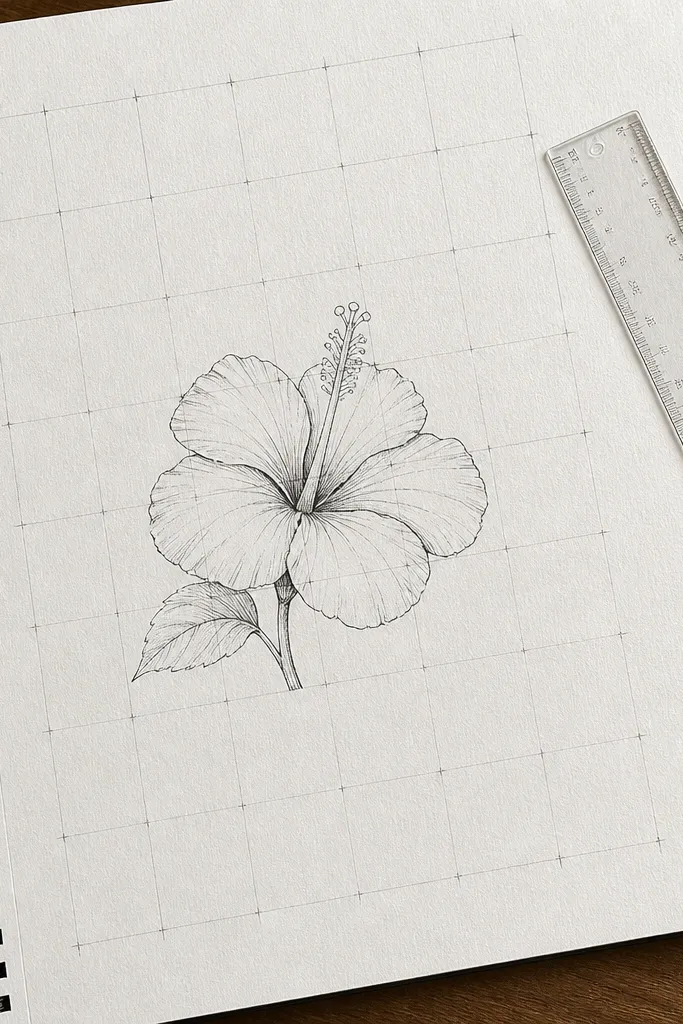
A grid background makes your drawing look designed and helps beginners keep proportions. You can practice multiple hibiscus flowers on one page without losing alignment. Draw the grid lightly with a ruler, then place one bloom per grid square cluster. Keep the hibiscus line work clean and add minimal shading so it stays readable. This is a great choice for people who want a neat sketchbook spread that looks aesthetic even with simple tools.
Lightly draw a grid using a pencil and ruler, then erase after placement if you want it subtle. Choose one grid cluster and draw a hibiscus centered inside it using five teardrop petals. Add simple stamen lines and one leaf that fits the grid. Finish by darkening the flower lines and leaving the grid faint in the background.
Pro tipUse a 1-inch grid if you’re drawing on standard sketch paper — it keeps hibiscus sizes consistent.
AvoidDon’t ink over the grid — it competes with the flower.
14. Hibiscus Flower with Patterned Petal Veins
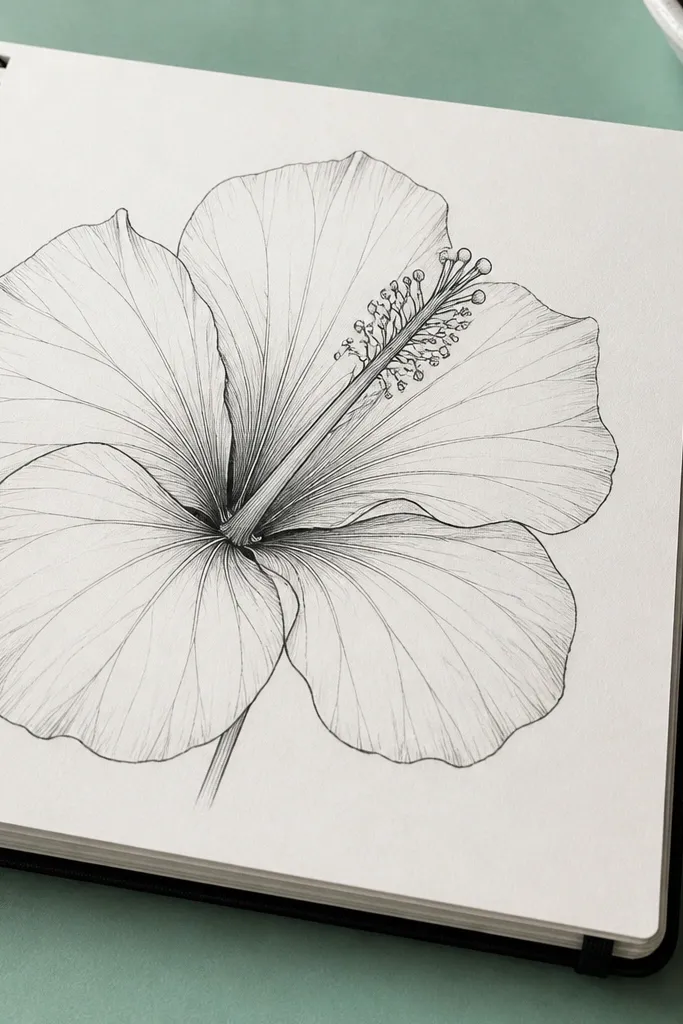
Veins make hibiscus petals look real without heavy shading. Instead of only one inner crease line, you add thin vein lines that radiate from the center toward the petal edges. Keep the veins simple: 3-5 lines per petal is enough. This style is photogenic because the fine lines create texture and depth. It’s a great stepping stone if you already can draw the basic hibiscus and want a more detailed look.
Draw the hibiscus outline with five teardrop petals and a clear center point. For each petal, draw one main inner crease line, then add 2-4 thinner vein lines that start near the center and curve slightly outward. Keep the veins lighter than the outer petal outline. Add a stamen cluster with 6 short lines and a small central dot.
Vary vein length — full-length veins on every petal look too uniform.
Avoid drawing veins all the way to the petal tip — stop them halfway to keep it airy.
15. Hibiscus with Bold Marker Silhouette and Soft Pencil Fill
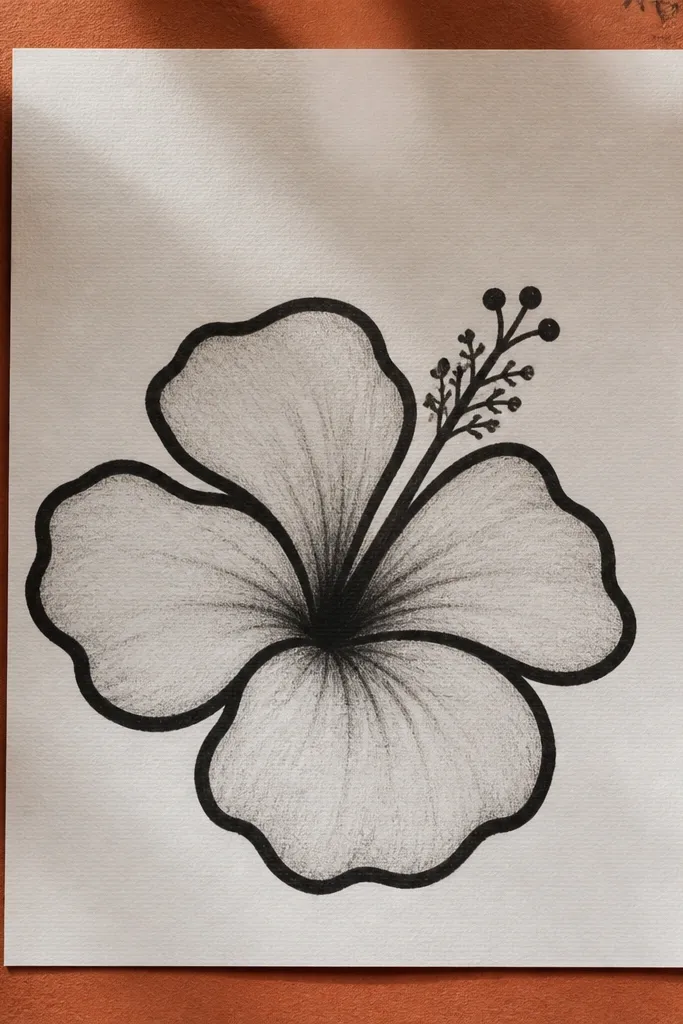
This mix of bold outline and soft fill looks clean and modern in photos. The marker silhouette gives you strong edges, while pencil shading adds gentle depth. Beginners like it because the outline is doing most of the work; the pencil fill can be messy and still look good. Use this if you want your hibiscus to look like a sticker or poster illustration. It also hides shaky pencil lines because the marker defines the final shape.
Sketch the hibiscus lightly with pencil and place the center first. Trace the final petal outlines with a brush marker or thick fineliner. Fill each petal with light pencil shading, concentrating dark at the inner crease area. Add the stamen tips with a darker pen line, then erase the pencil sketch once marker is dry.
Let marker dry fully before erasing so you don’t lift ink.
Don’t press hard with pencil under the marker — you’ll get dents you can’t erase.
16. Minimal Hibiscus with One-Line Stem and Leaf
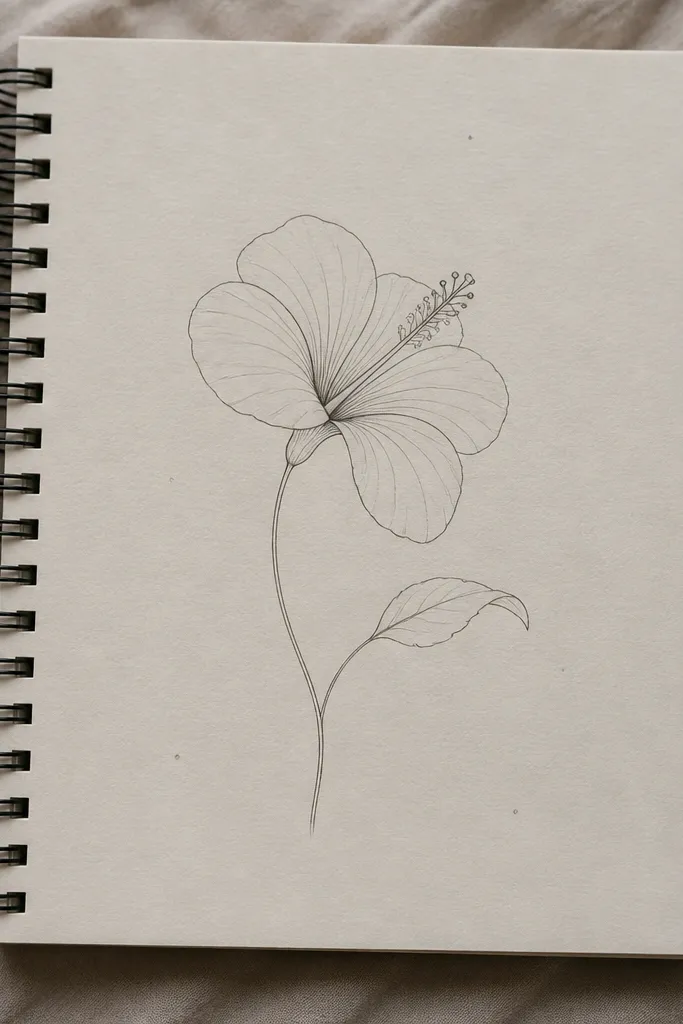
Minimal drawings are harder than they look because every line has to count. This style keeps the hibiscus petals simple and uses one-line stem and leaf shapes to frame it. You still draw the inner crease and a small stamen cluster, but you avoid extra outlines and shading. The result is airy and aesthetic, and it works great for beginners who want a clean, modern look. It also scans nicely for digital sharing.
Draw five teardrop petals with a single continuous outline style, then add one inner crease line per petal. Put a tiny dot in the center and draw 3 short curved stamens above it. Add one continuous stem line that curves under the flower, then attach one leaf using a simple oval with one vein line. Keep all lines the same thickness for a consistent look.
Use a steady hand and slower pace — minimal line art shows hesitation.
Avoid adding extra leaves — one leaf keeps the composition clean.
17. Hibiscus on Patterned Paper with Dots and Waves
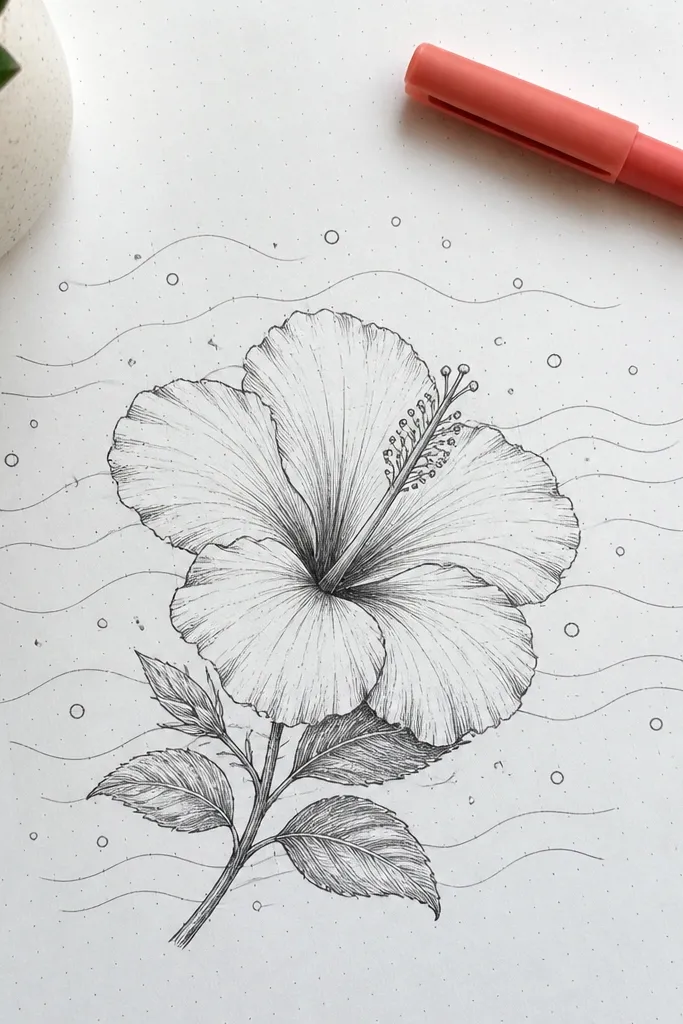
This project looks playful and designed because the background adds energy without complicating the flower. You draw the hibiscus normally, then add a simple dot-and-wave pattern behind it. The key is to keep the background light so the petals remain the focal point. It’s perfect for beginners because you can use any basic pattern you like as long as it stays faint. Photos look bright and fun, especially with pink-red petal color.
Lightly create a dot-and-wave background using a pencil or very light gray pen. Then draw the hibiscus on top with bold petal outlines and one inner crease line per petal. Add color to the petals if you want, but keep the background uncolored. Finish with a simple stamen cluster and one leaf that matches the line weight.
Keep the pattern behind the petals faint by using a lighter pen or pencil only.
Don’t put heavy pattern lines inside the hibiscus — it competes with petal shape.
18. Hibiscus with Layered Petals in 3 Steps
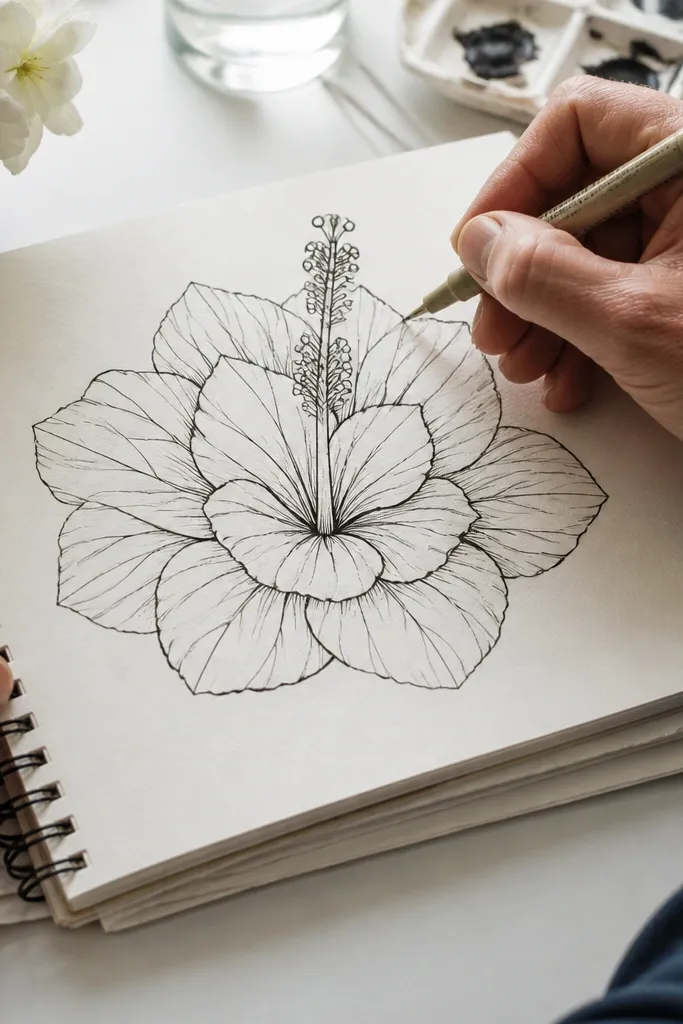
Layering is how you make hibiscus drawings look more complex without drawing more complicated shapes. You draw the petals in three rings: outer petals, middle petals, and inner petals. Even if your teardrops aren’t perfect, the layered structure makes the flower look intentional. Keep the inner petals smaller and slightly offset so overlap reads clearly. This project gives you that “bloom” look that beginners want for aesthetic pages.
Draw the outer ring first with five larger teardrops and a small center dot. Add a second ring with five medium teardrops that sit between the outer petals, slightly closer to the center. Finally, add a third inner ring with small teardrops or rounded petals. Draw one crease line per petal and a stamen cluster in the center.
Offset each ring by half a petal width so the overlaps look natural.
Avoid drawing all three rings the same size — that flattens the flower.
19. Hibiscus Flower in a Circle Frame
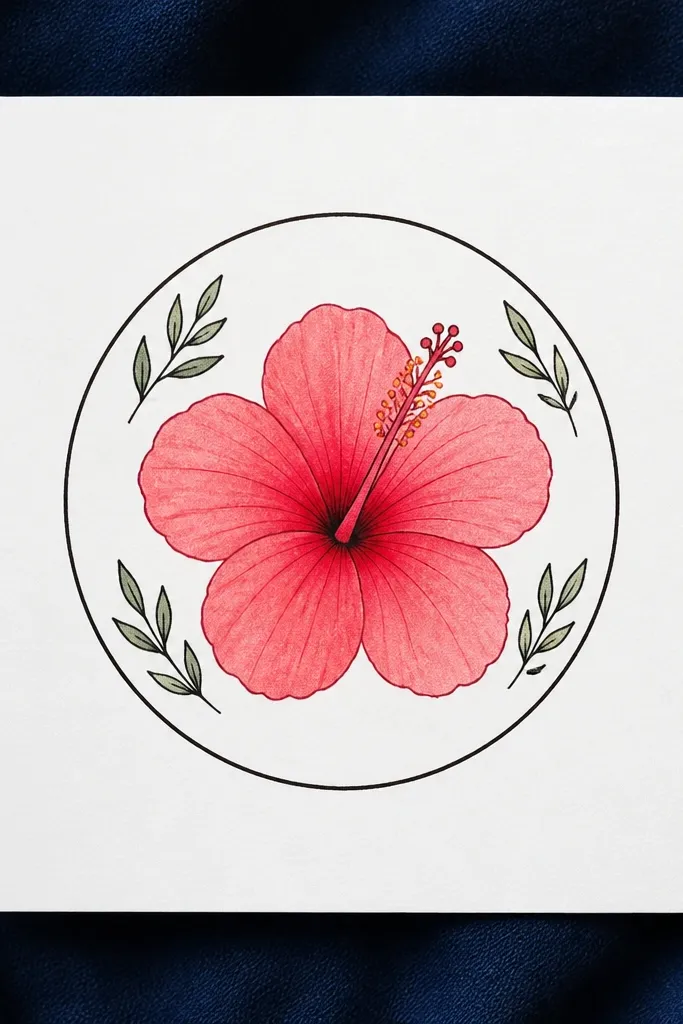
Circle frames make hibiscus drawings look like stickers, labels, or wall art. You get an instant boundary that prevents the drawing from feeling unfinished. The flower sits centered, and the leaf accents can stay small and tidy. This style is beginner-friendly because the circle guides spacing, and you can stop after outlining and light shading. It’s also a great way to practice clean edges and centered composition.
Draw a circle on your page and lightly mark the center point. Sketch the hibiscus inside the circle, keeping petal tips close to the circle edge but not touching it. Add two small leaves on opposite sides or one leaf plus a short stem curl. Finish with ink outlines and light pencil shading near the center crease lines.
Keep the hibiscus about 80% of the circle diameter so it feels balanced in photos.
Don’t let petal tips hit the circle line — it makes the flower look stuck.
20. Hibiscus with Neon Gel Pen Accents
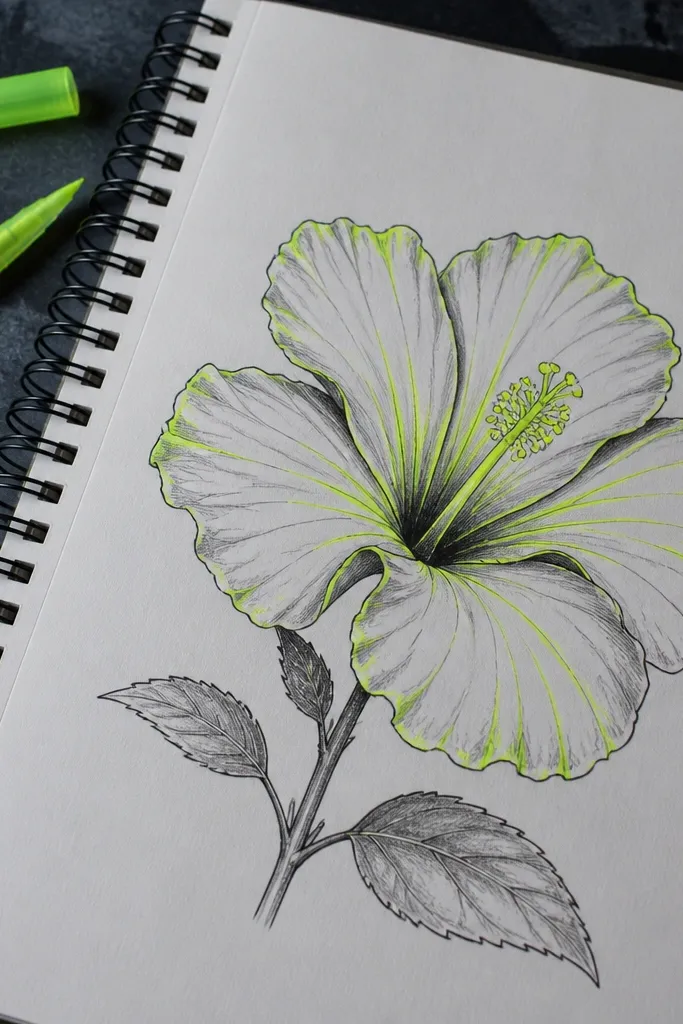
Neon accents instantly make a hibiscus drawing pop on paper, especially if you keep the base sketch simple. Start with a normal pencil or fineliner hibiscus, then add neon highlights along the crease lines and stamen tips. The contrast makes the flower look lively even without heavy shading. This is a good choice for beginners who want a bold aesthetic and have gel pens already. It’s also easy to control because you only add color to a few lines, not entire petals.
Draw a clean hibiscus with fineliner and keep the petals mostly uncolored. Add a light pencil wash or minimal shading inside petals if you want depth. Then use neon gel pen to trace the inner crease lines and add a bright outline around the stamen tips. Finish by adding 2-3 small neon dots near the center for sparkle.
Pro tipUse neon only on lines you want to emphasize — too much neon makes petals look noisy.
AvoidAvoid coloring the entire petal with neon — keep it to creases and stamen details.



