
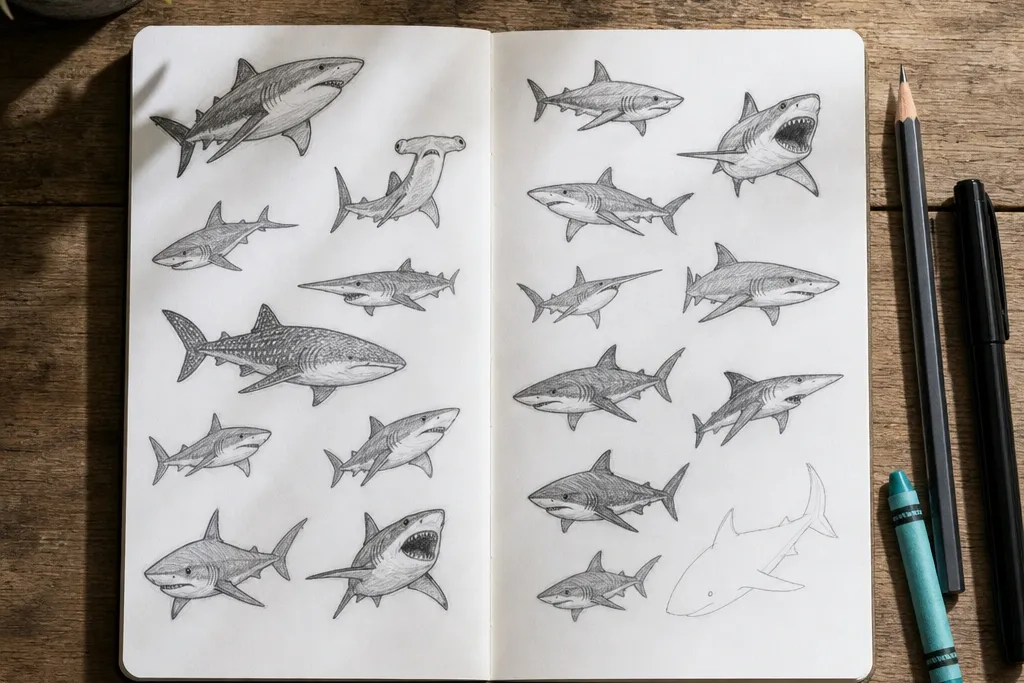
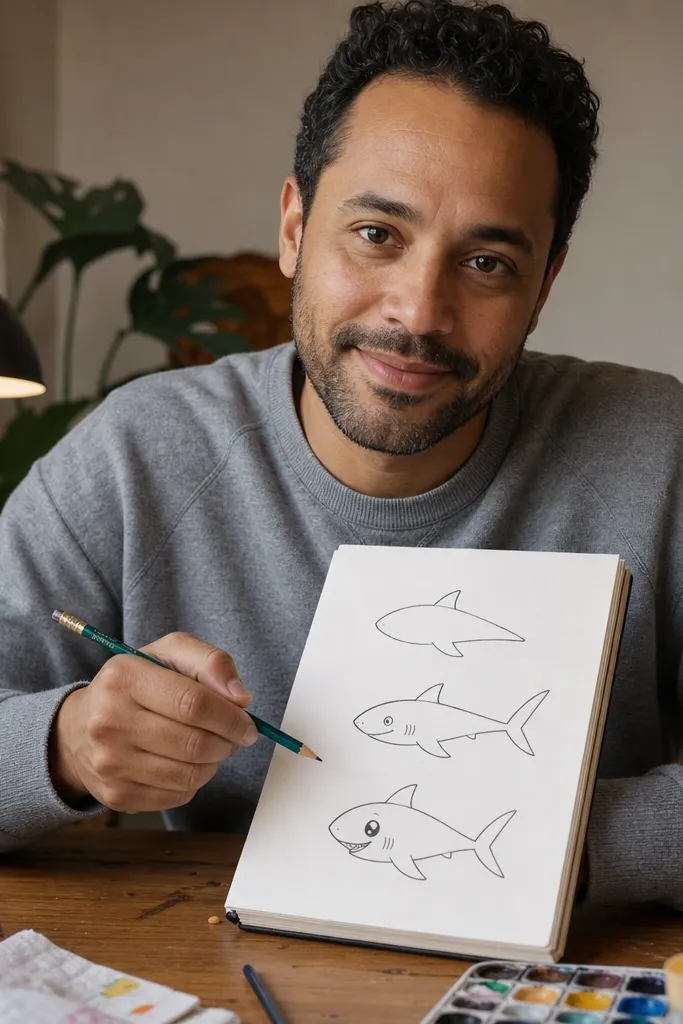
1. Bubblegum Cartoon Shark with Big Smile
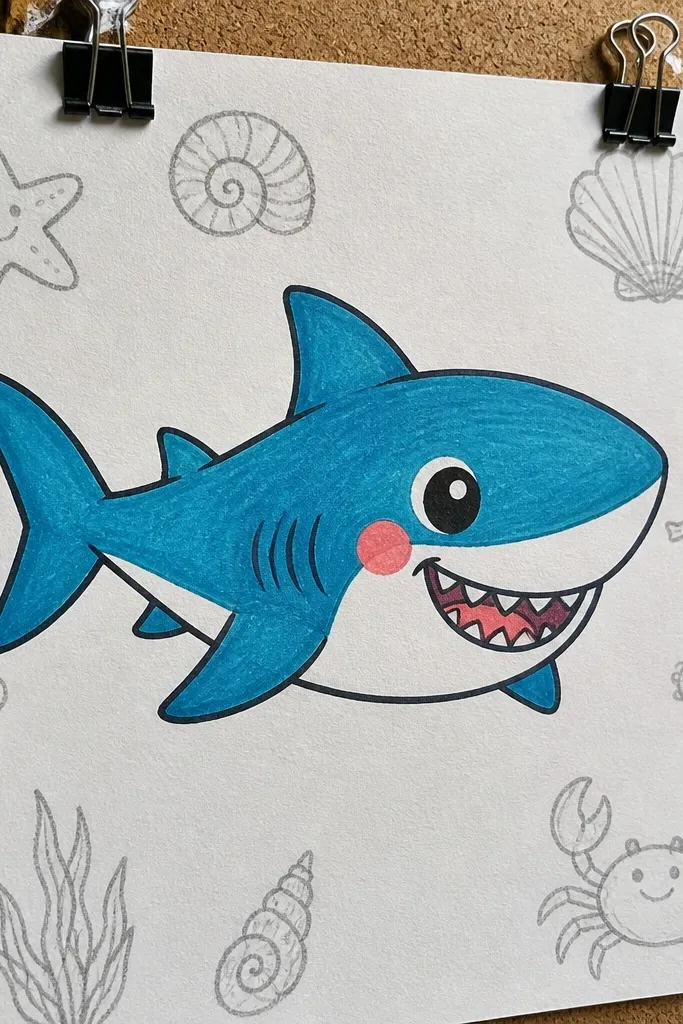
This one is a confidence builder because the expression does most of the work. The shark reads as cute, not scary, and the big smile gives you a clear focal point that looks good even with simple lines. Use a round eye with a tiny white dot, then draw a curved mouth line that sits slightly lower than the center of the head. Color the body with a soft sky-teal and keep the belly lighter so the shape pops in photos. It works great for kids' sketchbooks, greeting cards, and a quick “label the page” art challenge.
Step 1: Draw a horizontal oval for the torso, then add a smaller oval for the head that overlaps the front third of the torso. Step 2: Sketch a wedge snout at the front, then place a triangle dorsal fin on top and a smaller fin on the side. Step 3: Add a big curved smile, then dot two tiny teeth on the top and bottom. Finally, outline in black marker and add three bubble circles above the head.
Pro tipKeep the smile line thick with the marker so it stays readable after you color.
AvoidDon’t place the eyes too high or the shark turns into a weird fish-face.
2. Side-Profile Shark with Zigzag Teeth
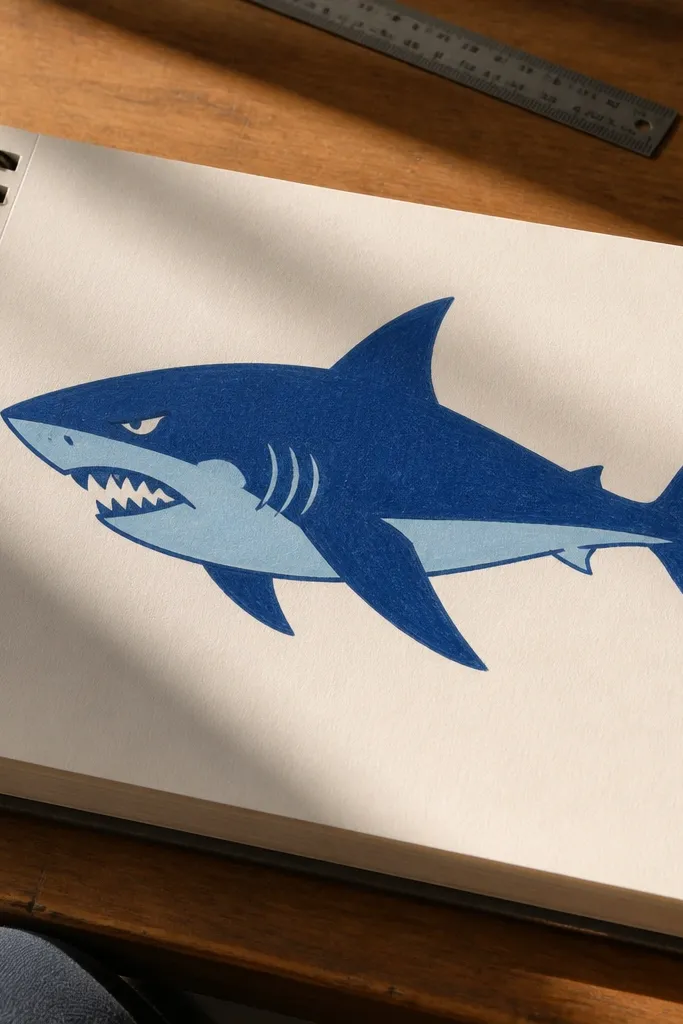
Side profile sharks look instantly “real” because the body angle is clear. The zigzag teeth make this drawing visually bold without needing shading gradients. Draw the head slightly pointed and keep the top line smoother than the bottom line so the silhouette looks fast. For color, use a two-tone scheme: darker blue for the top and a pale gray belly. This one is perfect for a mini series because you can repeat the same head and teeth pattern while changing the pose.
Step 1: Draw a long teardrop shape for the body, narrower toward the nose. Step 2: Add a triangular dorsal fin near the middle and a smaller pectoral fin near the belly line. Step 3: Draw the tail as a forked shape with two short triangles. Step 4: Add a tooth row along the open mouth with small zigzags, then ink the outline and teeth.
Pro tipMake the teeth the same height across the row so the mouth looks clean.
AvoidAvoid drawing too many teeth — five to seven zigzags look better than a messy fence.
3. Shark Fin Only Logo Style
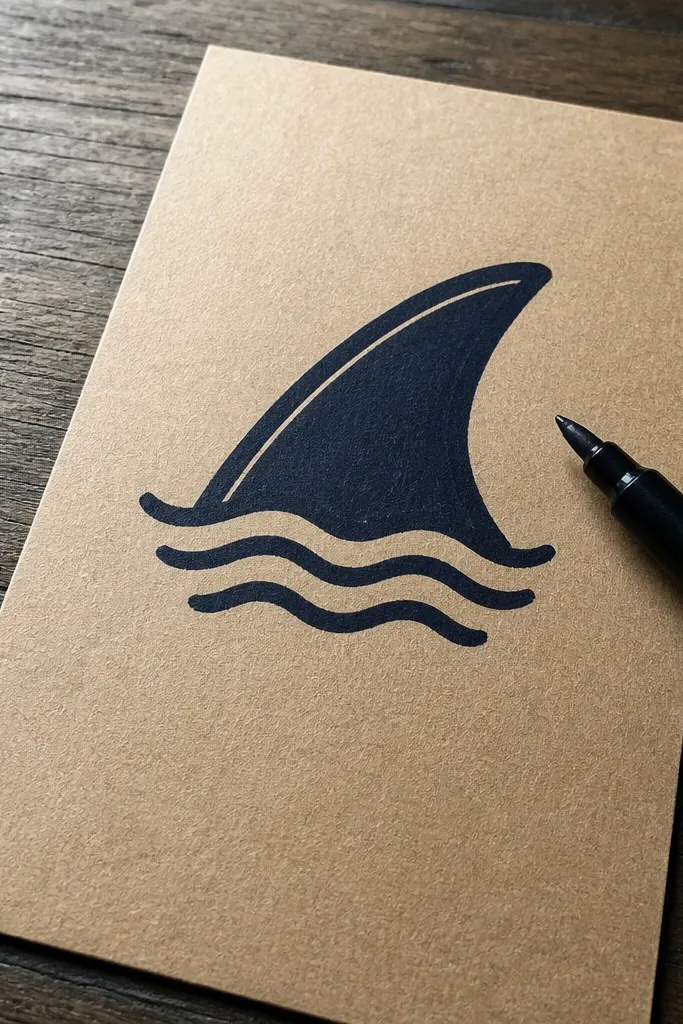
Sometimes you want maximum aesthetic with minimum drawing. This is a single-fin logo that still reads as shark, especially when you add a few wave lines. Keep the fin shape bold and symmetrical; that’s what makes it look graphic and modern. Use a thick marker outline and fill the fin with a solid dark navy, then add three thin wave curves under it. This works for stickers, bookmarks, and quick “cover art” for a drawing folder.
Step 1: Draw a tall triangle fin with a slight curve on the leading edge and a flatter trailing edge. Step 2: Add a small notch near the base to suggest where the fin meets the body. Step 3: Trace the outline with a thick black marker, then fill the fin solid with navy or charcoal. Step 4: Draw three short wave lines beneath the fin and color the waves a lighter blue.
Pro tipUse a ruler for the base line if you want the fin to look crisp and logo-like.
AvoidDon’t add eyes or a face — the charm here is pure silhouette.
4. Cute Baby Shark Face in a Circle

Face-in-a-circle drawings are easy to nail because the circle gives you instant structure. This style makes the shark look friendly and graphic, which photographs well against plain backgrounds. Keep the snout rounded and draw a tiny mouth with two or three tooth nubs. A single blush cheek dot on each side makes it look extra cute without clutter. Color the body with one flat teal shade and keep the belly area uncolored or lightly shaded.
Step 1: Draw a perfect circle, then place a smaller snout oval in the lower center. Step 2: Add two round eyes above the snout, then draw a short smile curve. Step 3: Mark three tiny tooth bumps along the mouth line. Step 4: Outline everything in black, then add two small cheek dots and color the fin and head area.
Try a white gel pen for the eye highlight if your paper shows color bleed.
Avoid placing the snout too low or the face will look stretched.
5. Tiger Shark Pattern with Stripes
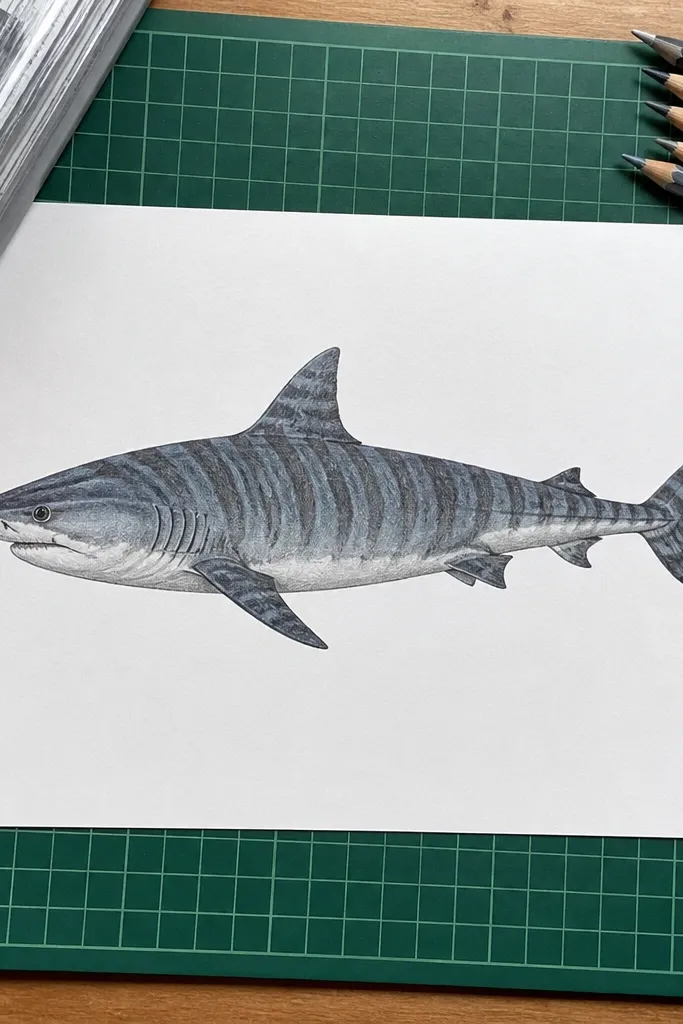
Tiger shark style looks amazing because stripes give you texture without complex shading. The stripes also hide small drawing imperfections, which is why this is a great “I want it to look good fast” option. Draw the shark in side profile, then add large wavy bands across the body and tail. Use a dark gray or muted blue base and color the stripes darker with a slightly different tone so they separate clearly. This one is perfect for coloring pages, markers, and even simple crayon work.
Step 1: Draw a side-profile shark body in a teardrop shape with a forked tail and dorsal fin. Step 2: Add the mouth line and a small gill slit just behind the head. Step 3: Draw 5 to 7 wavy stripes that curve slightly with the body shape. Step 4: Ink the outline, then color the base and stripes in two separate tones.
Pro tipKeep stripe spacing even; uneven stripes make the body look uneven even if the outline is fine.
AvoidDon’t use thin stripes — make them wide enough to read from a photo.
6. Shark vs. Boat Top-Down Scene
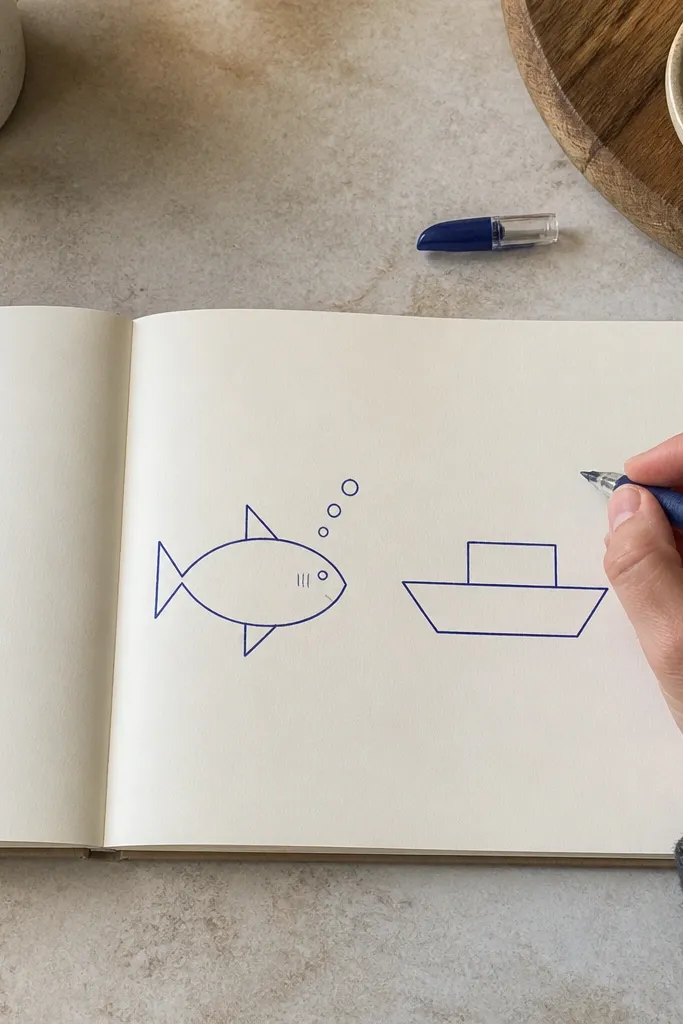
This drawing looks like a tiny story, but it stays simple because top-down views use basic shapes. The shark is easy: a rounded body, a fin triangle, and a tail arrow. The boat is even easier: a trapezoid hull and a rectangle deck. The contrast between shapes makes the whole page look busy in a good way. Add a few bubble dots around the shark to sell the underwater feeling.
Step 1: Draw a boat from above: a wide trapezoid for the hull and a small rectangle for the deck. Step 2: Place a shark under it with a curved oval body and a triangle dorsal fin on top. Step 3: Add a tail arrow on the back and a simple mouth line on the front. Step 4: Draw 6 to 10 small bubble circles around the shark, then outline in black and color the boat gray-blue.
Pro tipUse one consistent bubble size so the underwater area looks intentional.
AvoidAvoid detailed waves; the bubbles do the heavy lifting.
7. Shark Swimming Through a Bubble Border
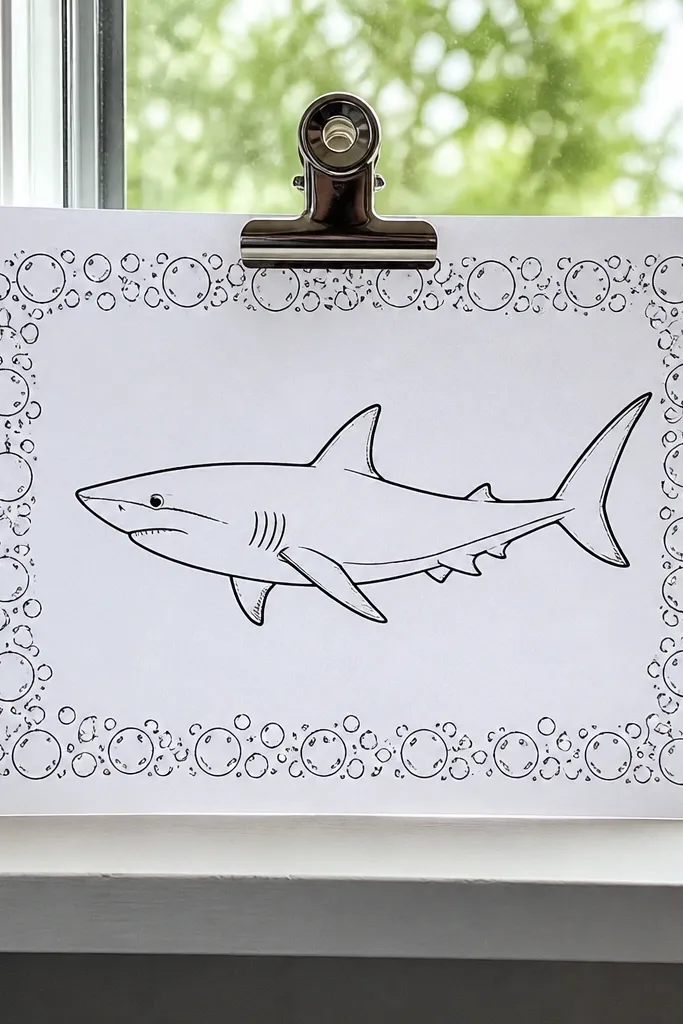
A border makes your shark look like a finished print. This one uses a simple rectangle frame made of bubbles, and the shark swims through the middle. The border gives you strong composition, which is why it looks good even when the shark is basic. Draw the shark in a slight curve so it feels like motion, then keep the fin lines clean. Color the bubbles with a light blue tint and the shark with a darker teal so the contrast is obvious.
Step 1: Draw a rectangle border on the page, then fill the border area with small bubble circles. Step 2: Sketch a swimming shark: a curved body line, a teardrop torso, and a dorsal fin triangle. Step 3: Add pectoral fin and tail fork, then ink the shark only. Step 4: Color the shark dark teal and lightly color the bubbles, leaving some white space.
Leave a few bubbles uncolored to create a glossy look.
Don’t ink the bubble border too thick or it will overpower the shark.
8. Neon Outline Shark on Dark Paper
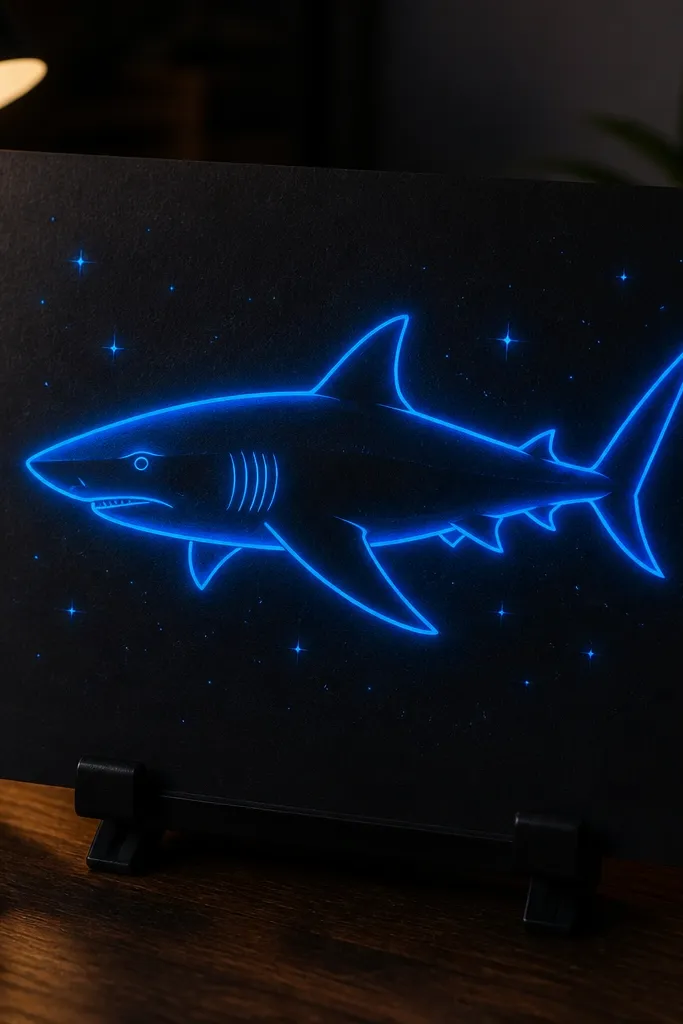
If you want maximum “aesthetic” with minimal effort, neon outline on dark paper is the move. The shark looks sharp because the outline is the whole design — no complicated shading needed. Use a bright green or electric blue marker, then add tiny star sparkles behind the shark for a clean pop. This style photographs especially well because the contrast is strong. Keep the shark shape simple: clean side profile, one dorsal fin, and a smooth tail.
Step 1: Choose dark paper (black or deep navy). Step 2: Draw a side-profile shark in pencil, then trace the outline with neon marker. Step 3: Add one highlight line on the belly and a few short gill marks. Step 4: Finish by adding 8 to 12 tiny star dots in white or pale neon and lightly color the fin.
Pro tipUse a light touch with pencil so you don’t leave gray shadows on dark paper.
AvoidAvoid coloring the whole body — neon outlines look best when they stay graphic.
9. Shark Head with Watercolor Wash Teeth
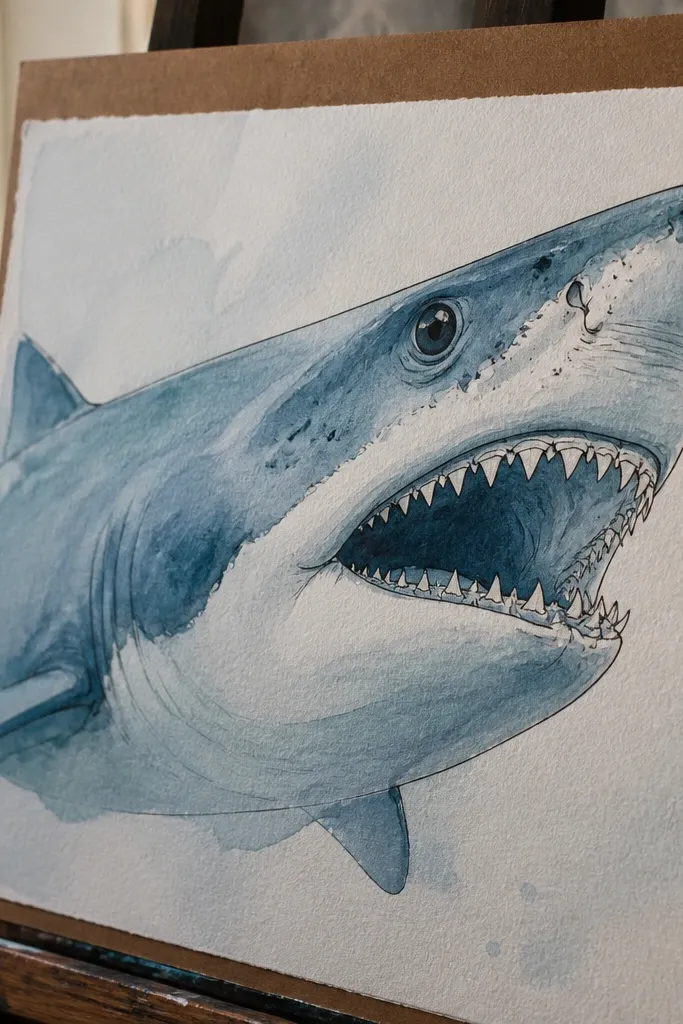
This one looks more advanced because the teeth sit on top of a soft wash. You get a smooth gradient vibe without doing airbrushing or complicated blending. Start with watercolor or watered-down ink for the body, then ink the teeth and outline after the wash dries. The teeth stay crisp and white-ish because you’re not smearing wet paint around them. This is a great option for sketchbooks and loose watercolor paper.
Step 1: Draw a shark head outline in pencil, with a rounded snout and small mouth opening. Step 2: Wet the body area lightly and add a thin watercolor wash in one color, keeping the belly a lighter tone. Step 3: Let it dry fully, then trace the outline and add a row of small triangular teeth. Step 4: Add a few darker wash spots for depth, then let everything dry again.
Use paper towel blotting right after the wash — it keeps the edges soft but controlled.
Don’t ink teeth before the wash dries or the lines will feather.
10. Origami-Style Folded Shark with Angular Lines
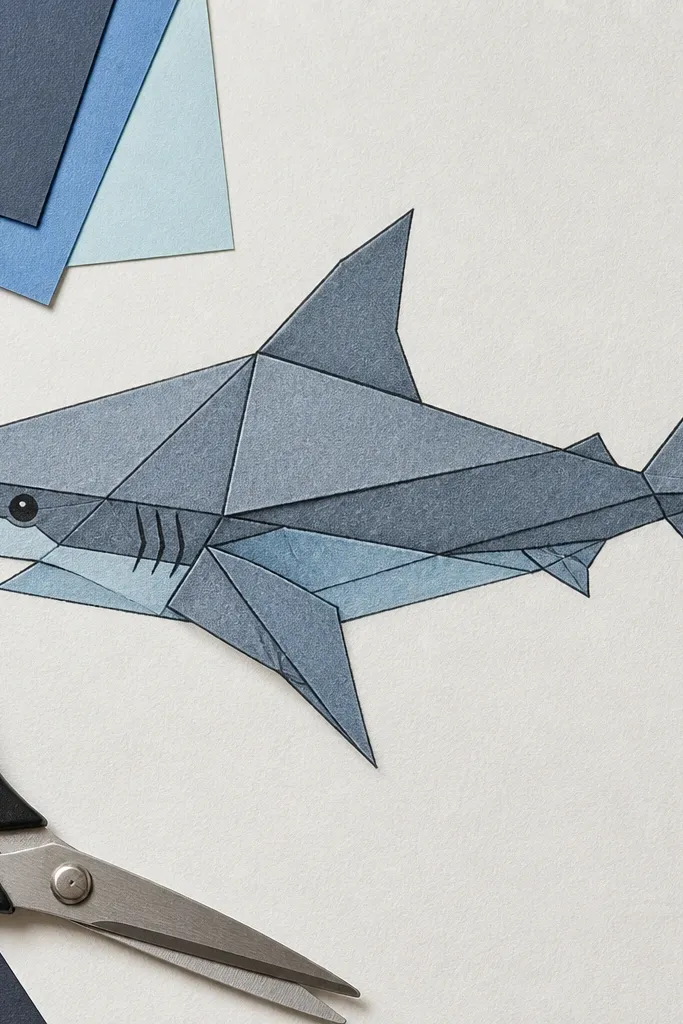
Angular, origami-style sharks look graphic and modern. The folded look comes from drawing a few diagonal “facet” lines on the body, not from heavy shading. It’s also forgiving: if your lines aren’t perfect, the facet lines make them look intentional. Color with two tones like slate gray and light blue, then leave the facet edges darker. This style is great for doodle pages because it looks cool even when the shark is small.
Step 1: Draw a simplified shark outline in side profile with sharp edges instead of curves. Step 2: Add 3 to 5 diagonal lines across the body to create fold facets. Step 3: Place a dorsal fin triangle and a tail fork made of two angled triangles. Step 4: Ink the outer outline thick and ink the facet lines thin, then color each facet with one of two colors.
Pro tipKeep facet lines parallel to the body angle so the illusion looks consistent.
AvoidAvoid random scribble lines — only add a small number of clean facets.
11. Shark with Patterned Belly Dots
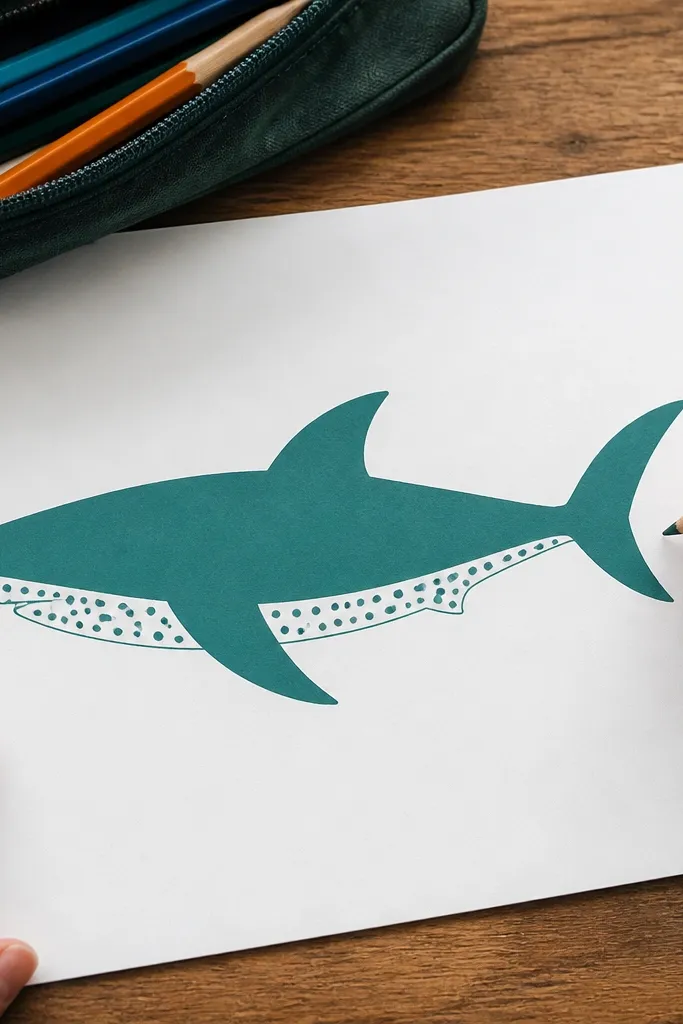
Dots on the belly make this shark look designed rather than sketched. The body stays simple, but the dot pattern gives texture and makes the shape feel dimensional. Use a side profile, draw the belly line as a gentle curve, and then place evenly spaced dots inside the belly area only. Color the body one solid color and leave dots white or color them slightly lighter for contrast. This style works for marker drawings and gives you a consistent, repeatable pattern for a whole set.
Step 1: Draw the shark body in side profile using an oval for the torso and a wedge snout. Step 2: Add dorsal fin and tail fork, then ink the outline. Step 3: Draw a belly curve line and keep everything below it as the dot zone. Step 4: Add 20 to 30 dots in a grid-like pattern, then color the body and leave the dots lighter.
Use a pencil dot grid lightly first if you want perfect spacing.
Don’t put dots across the whole body — it turns into noise.
12. Shark Cartoon with Ombre Fin Tips
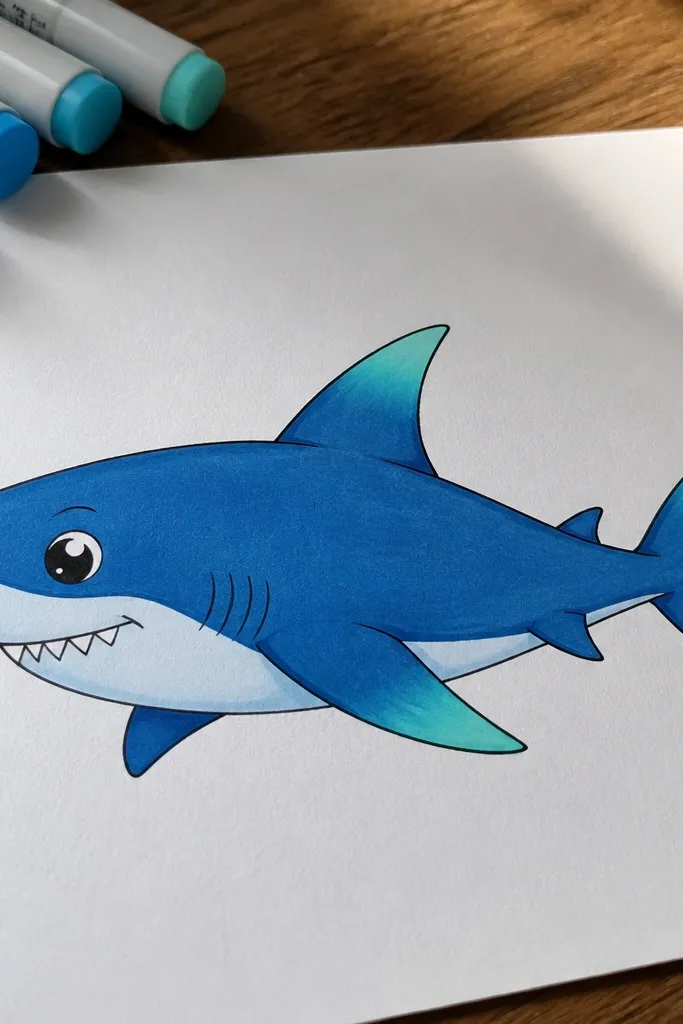
This looks polished because the fin tips create a clean color story. The shark stays a simple cartoon, but you add an ombre effect only on the dorsal fin and tail fin edges. That limited color work makes the drawing pop without turning into a full coloring project. Use one base blue and blend into a lighter teal at the tips. The result is photogenic and smooth-looking, even with basic coloring tools.
Step 1: Draw a rounded cartoon shark body with a small snout, two fins, and a tail that looks like a rounded triangle. Step 2: Outline with black marker and color the body solid blue. Step 3: For ombre tips, color the fin edges with a lighter teal and blend toward the fin base with lighter strokes. Step 4: Add a simple eye and a small smile, then finish with a few bubbles.
Pro tipBlend by layering light strokes, not by scribbling hard — it keeps the edges clean.
AvoidAvoid ombre on the whole body. Keep it only on fin tips.
13. Shark Silhouette with Cutting-Wave Background
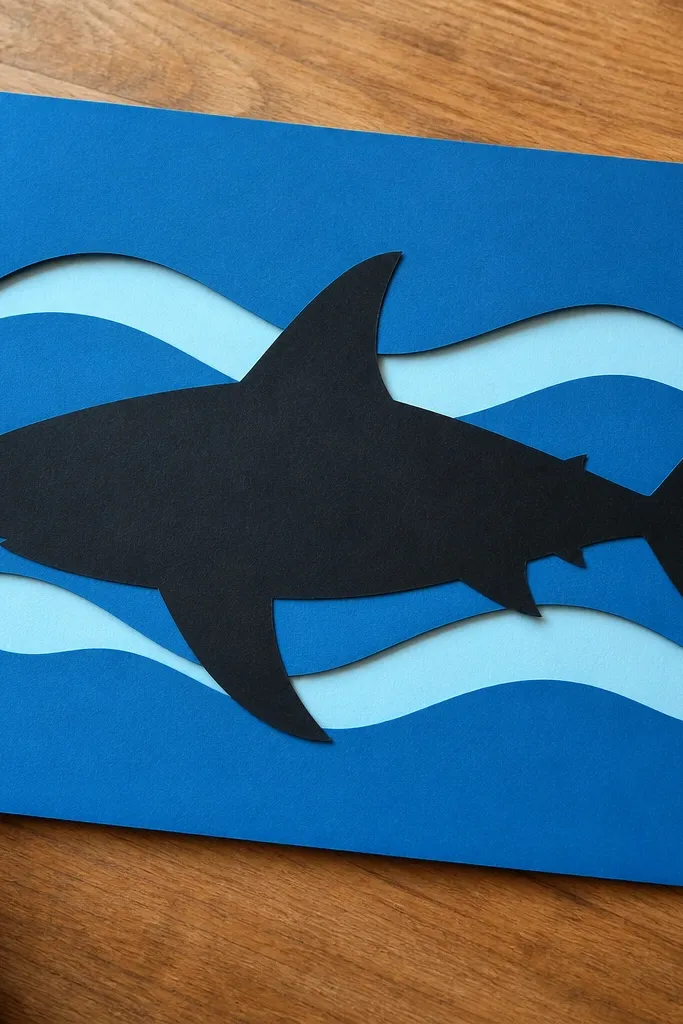
Silhouette art looks bold and clean because you’re committing to one shape. The wave bands behind the shark create motion and give you a strong graphic look without drawing extra details. Use a large shark silhouette, then carve in three wave stripes in white or light blue. This style is great for craft paper, marker-on-paper art, and even simple poster designs. It’s also easy to scale up if you want bigger drawings.
Step 1: Draw a large side-profile shark shape in pencil, then trace it with thick marker and fill it solid. Step 2: Add three wave bands behind the shark with curved lines, keeping them mostly horizontal. Step 3: Color the waves white or light blue and leave the shark dark. Step 4: Add one tiny fin highlight line on the shark using a lighter color.
Keep the wave bands spaced evenly so the background looks designed, not accidental.
Don’t add teeth to a silhouette — it breaks the graphic look.
14. Shark Head Floating with Bubble Trails
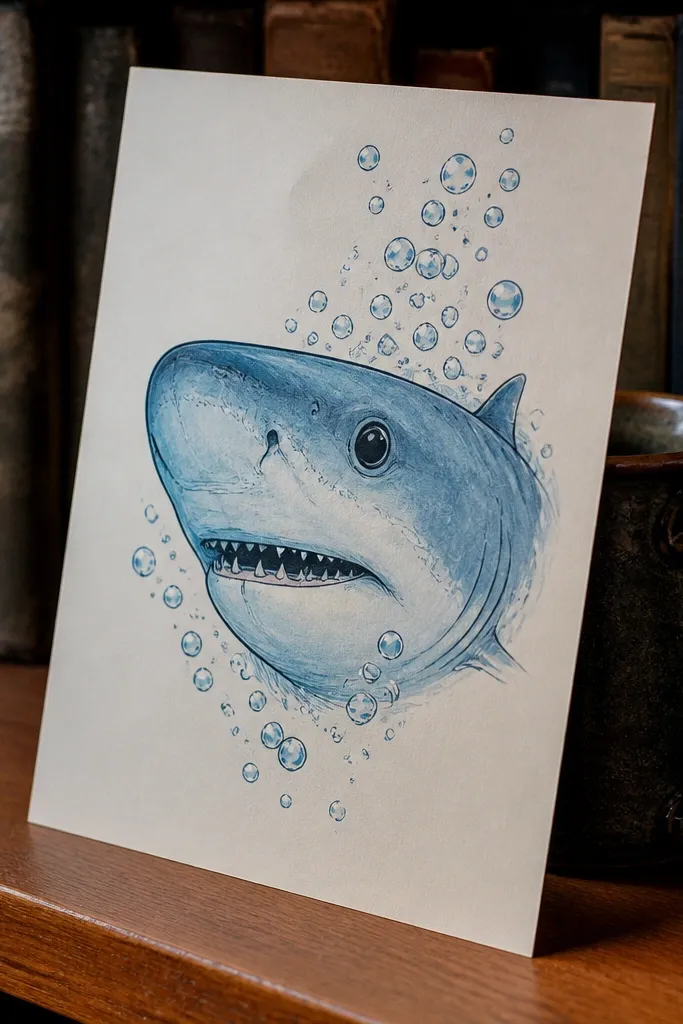
This one is simple but looks lively because the bubbles guide the eye. A floating head drawing works even when you keep the shark small — the bubble trails create movement and depth. Draw the shark face with a rounded snout and a slightly open mouth, then add bubble trails rising from the mouth area. Color the shark in two tones: deeper blue on top, light gray on the belly. It’s perfect for notebook doodles and page corners.
Step 1: Draw a shark head outline with a rounded top and pointed snout. Step 2: Add the eye, then draw a small open mouth line and two tiny gill slits. Step 3: Add bubble trails: 2 to 3 columns of circles rising upward from the mouth. Step 4: Ink the shark and bubbles, then color the shark and lightly color the bubbles.
Pro tipMake bubbles smaller as they rise — it instantly sells depth.
AvoidDon’t draw bubbles in random sizes all over the page.
15. Chibi Shark with Tiny Arms
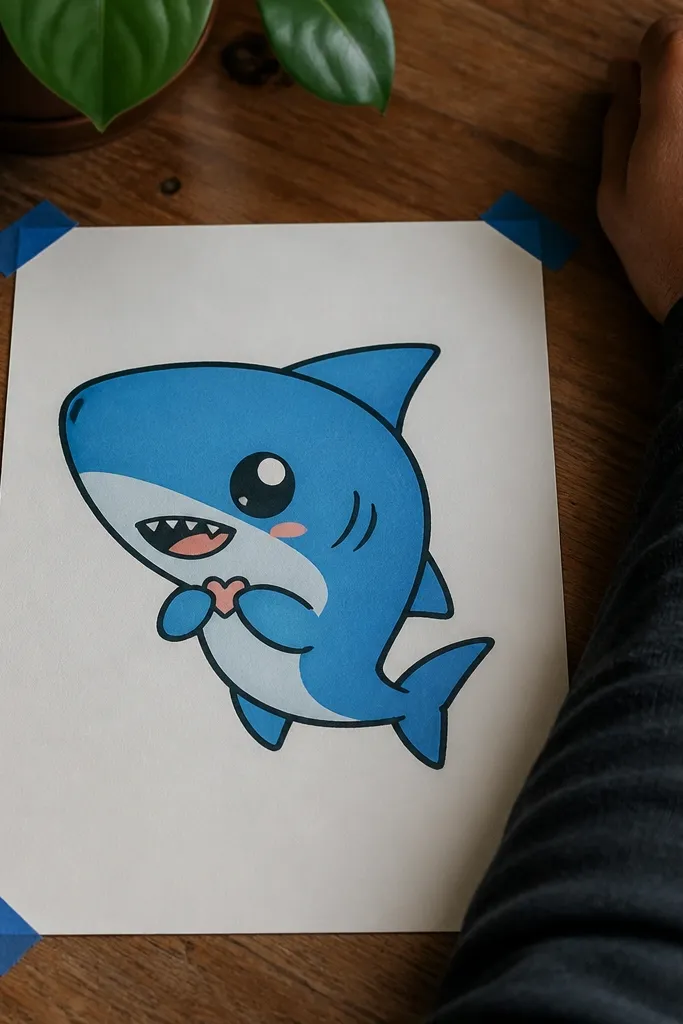
Chibi sharks are adorable and very photo-friendly because their proportions are exaggerated. The small arms and heart detail gives you a clear “cute moment” without needing complex teeth or shading. Draw a bigger head, smaller body, and tiny fin triangles. Use thick outlines and flat color blocks so the drawing looks clean on camera. This style is great for gifts, stickers, and decorating a folder with a consistent character.
Step 1: Draw a large circle for the head, then a smaller rounded body below it. Step 2: Add two fin triangles on top and a small tail triangle at the back. Step 3: Draw two tiny arm lines sticking out and a small heart shape between the hands. Step 4: Ink thick, then color with one main teal and a lighter belly.
Pro tipKeep the heart outline thick so it reads at small sizes.
AvoidDon’t make the arms too long or the chibi proportions collapse.
16. Shark in Profile with Motion Lines
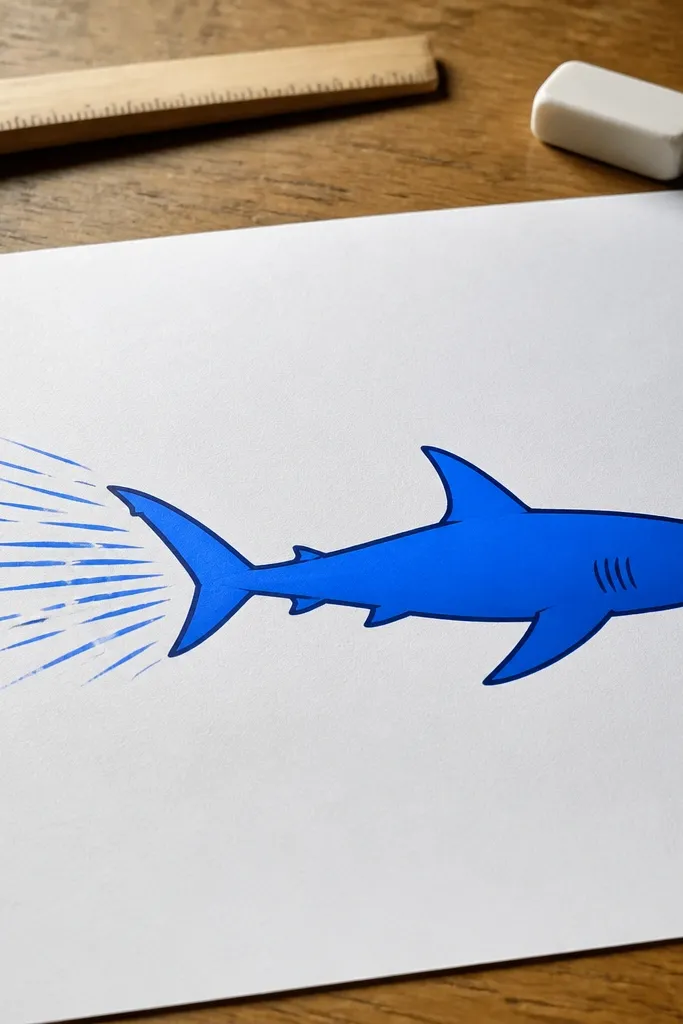
Motion lines make your shark look faster even if the drawing is basic. This style is all about silhouette and direction: draw the shark in side profile, then place 6 to 10 short lines behind the tail pointing backward. The lines should be spaced tighter near the tail and spread slightly as they go farther back. Color the shark solid, then keep motion lines light gray or pale blue. It photographs like a comic panel.
Step 1: Sketch a side-profile shark body with a smooth top line and forked tail. Step 2: Add dorsal fin and pectoral fin, then ink the outline. Step 3: Draw motion lines behind the tail — short, angled rectangles or strokes. Step 4: Color the shark and leave the motion lines light so the shark stays the main subject.
Pro tipAngle the motion lines to match the tail direction, not the page edge.
AvoidAvoid heavy black motion lines — they compete with the shark outline.
17. Shark Egg Surprise with Small Teeth
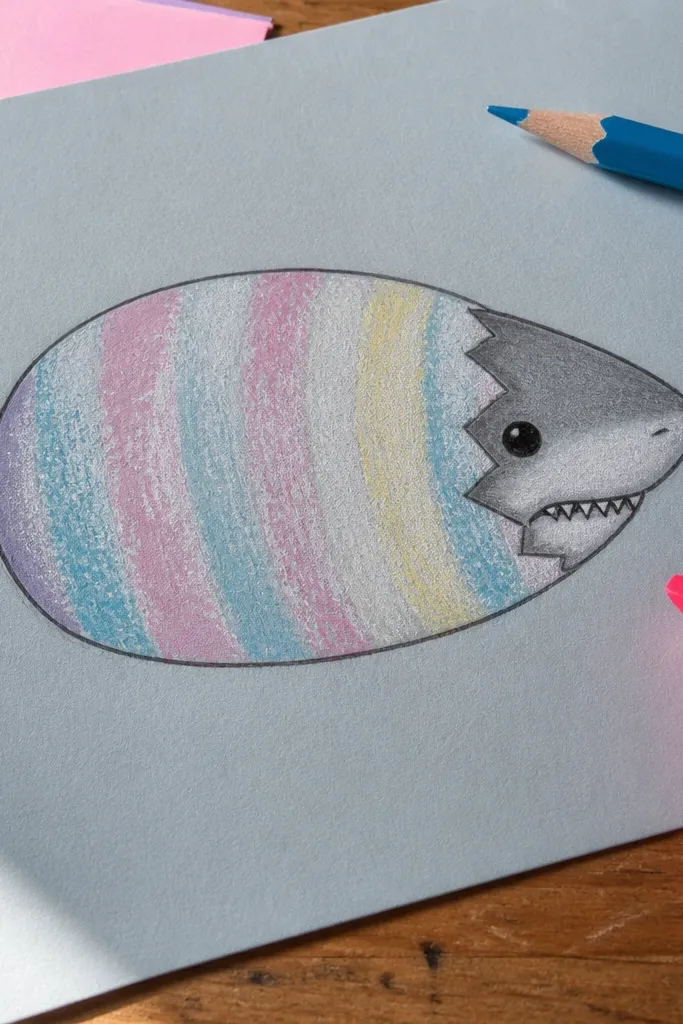
This drawing is visually fun because it combines a simple egg shape with a small shark face. The egg gives you a smooth, easy oval to draw, and the shark head peeking out creates the character moment. Tiny teeth and a single eye are enough to make it read as a shark. Color the egg with pastel stripes and keep the shark body a light blue-gray. It’s great for themed sketchbooks and quick “one-page” crafts.
Step 1: Draw an egg oval, then add a curved opening at the top like a cracked lid. Step 2: Inside the opening, draw a small shark head with a rounded snout and one dorsal fin behind it. Step 3: Add one eye and a short mouth with 3 tiny teeth. Step 4: Outline everything, then color egg stripes and fill the shark lightly.
Pro tipUse two pastel stripe colors only; three colors makes it look messy fast.
AvoidAvoid drawing full shark body below the egg — keep it peeking for the cuteness.
18. Angry Cartoon Shark with Thick Eyebrow Frowns
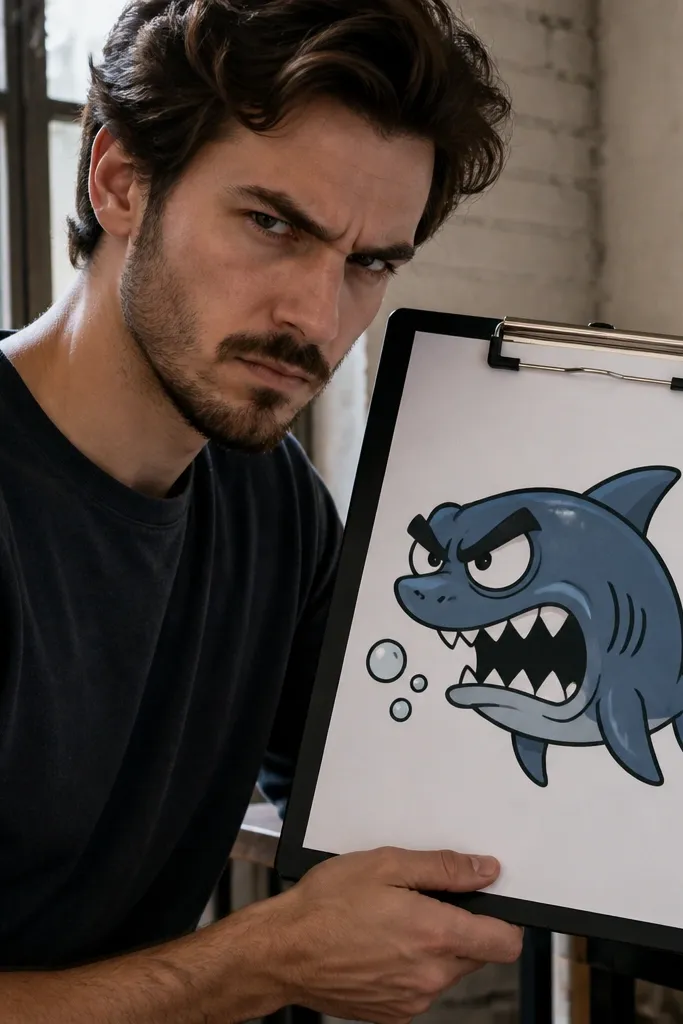
Angry expressions are the fastest way to make a shark drawing look interesting. This style uses thick eyebrow lines and a wide open mouth to communicate attitude without complex detail. Keep the teeth simple: small triangles along the top and bottom mouth edges. Add a few bubbles near the mouth for extra energy. Color with darker blue and a lighter belly, then use a lighter shade for the mouth interior. It’s a strong choice for a set because each drawing can keep the same expression style.
Step 1: Draw a rounded shark head with a pointed snout and a curved cheek line. Step 2: Add thick eyebrow shapes that angle downward toward the snout. Step 3: Draw an open mouth with a curved top and bottom, then add 6 to 8 triangular teeth. Step 4: Add a dorsal fin triangle and one small side fin, ink everything, then color and add 4 to 6 bubbles.
Pro tipMake eyebrows thicker than teeth so the face reads instantly.
AvoidDon’t overfill the mouth with tiny teeth — fewer triangles look cleaner.
19. Shark with Stained-Glass Style Panels
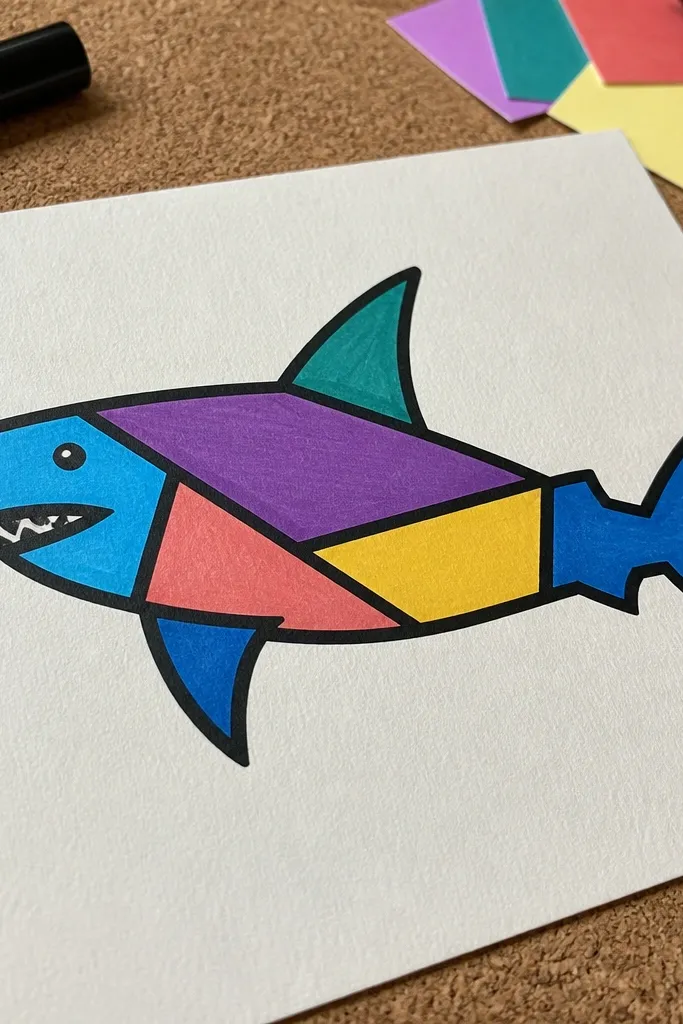
Stained-glass panels make a shark look like a finished craft even if it’s just marker and color. The panel look comes from drawing bold outline “leading” lines inside the shark shape, then filling each panel with one flat color. This style is extremely photogenic because the color boundaries are sharp. Choose 4 to 6 colors max so the drawing doesn’t turn muddy. It’s a great option for paper crafts, marker coloring, and kids who want a clear win.
Step 1: Draw a side-profile shark outline in pencil, then ink with a thick black marker. Step 2: Add 6 to 10 internal panel lines — irregular but connected so they don’t float. Step 3: Fill each panel with one flat color using crayons, markers, or colored pencils. Step 4: Add a simple bubble row outside the shark so the colors pop against the page.
Pro tipUse a ruler for one panel edge if you want a crisp “glass” feel.
AvoidDon’t use too many colors. Stick to 4-6 and repeat one or two shades.
20. Shark Wearing a Scarf in a Cozy Winter Card
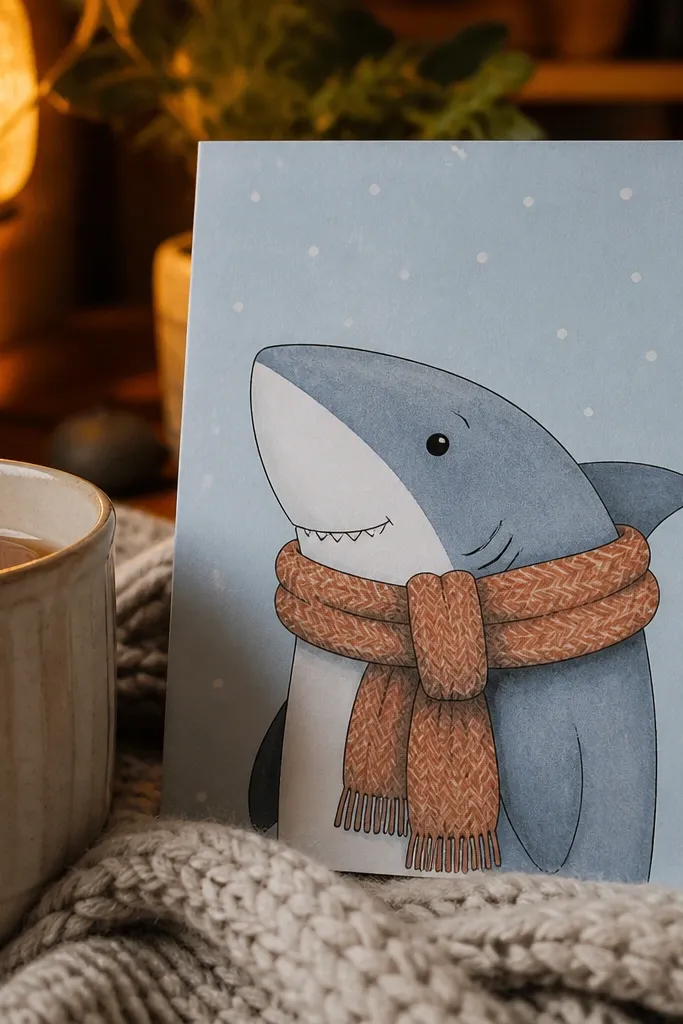
This one is easy to draw and it looks adorable because the scarf gives you a clear shape to repeat — loops, ends, and a knot. Keep the shark body simple with two triangles for the fins and a rounded snout, then let the scarf do the heavy visual lifting. Use a limited color set so it photographs clean: light blue background, white snow dots, and a warm scarf. It’s perfect for anyone who wants a cute shark drawing that still feels finished in under an hour, even if drawing faces feels hard. Make it as a greeting card, wall art, or a sticker sheet for a school craft corner.
Start with a card-sized frame: draw a rounded rectangle 10 x 7.5 cm (or 4 x 3 in) on your paper, leaving a 1 cm border. Sketch the shark using three shapes: an oval for the head, a wider oval for the body, and a small triangle for the tail that points down and left; add a simple eye dot and a curved smile. Draw the scarf as two parallel bands across the neck, then add 5 to 7 scarf loops on the front and a knot at one side; keep the scarf ends slightly curled. Add snow by tapping white paint or a white gel pen to make small dots, then outline the shark with a dark pen and color the scarf with red or rust. Finish with a thin white highlight line along the scarf folds so it pops on camera.
Use a ruler to keep the scarf bands straight, then freehand the loops so they look playful instead of mechanical.
Don’t shade the whole shark — keep it flat-color with crisp outlines so the drawing stays readable and cute.



