
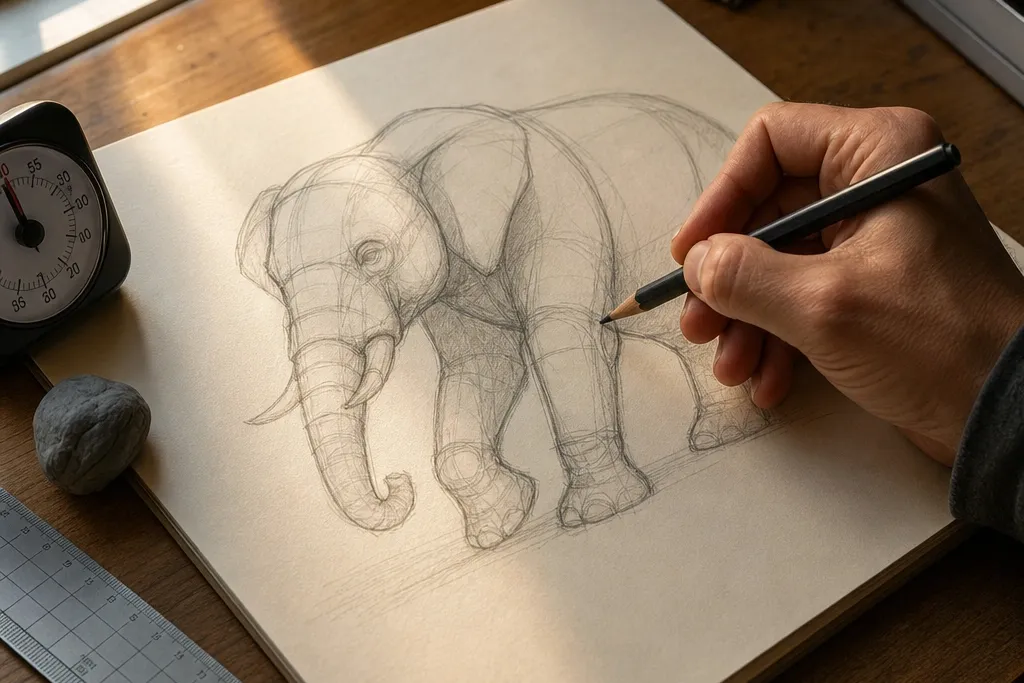
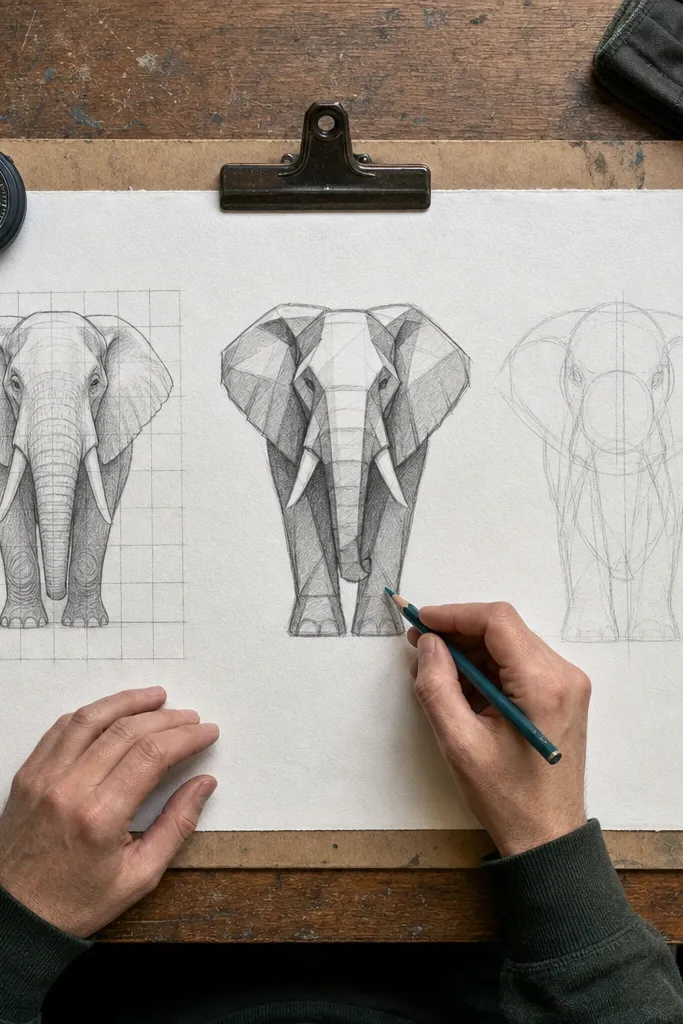
1. Grid Transfer Elephant (2x2 blocks to a clean silhouette)
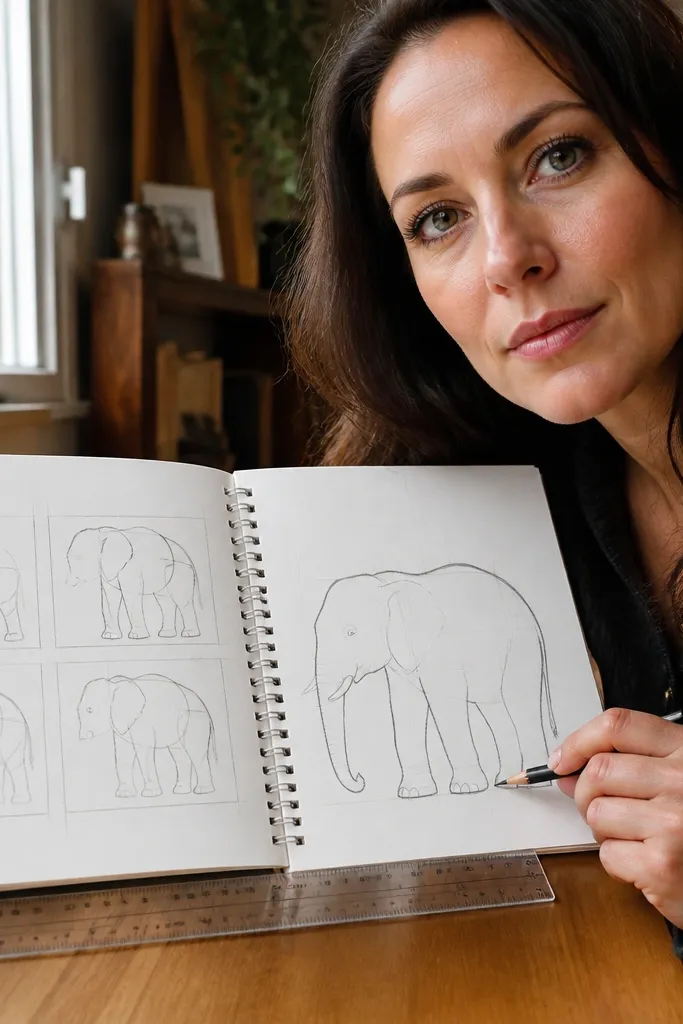
Start by picking one reference image with a side or 3/4 view where the trunk is clearly visible. Draw a light square grid on your paper and match it to the reference grid (for example, make 2 cm squares on your paper so it stays manageable). Copy only big shapes first: head ball, body wedge, trunk tube, then the four leg columns. After you place the outline, add ear folds and tusk curves, then shade with a 2B pencil using one direction so the legs and trunk look rounded. Finally, erase the grid lines once the outer silhouette and trunk contour are locked.
This is the most reliable Elephant Drawing best easy method when your drawings keep coming out lopsided. The grid removes the hardest part for beginners — matching the trunk length and leg spacing to the head. You sketch the guide lightly, then place each feature into its block, so the elephant reads correctly even if your hand is shaky. It’s also fast: once you set the grid, you can redraw the same elephant 2-3 times and improve each pass without changing your process.
AvoidDon’t start by drawing the tiny ear details; lock the trunk and legs first.
Pro tipUse a ruler and keep the grid faint — if the grid is too dark, it will fight your final lines.
2. 3-Ellipse + Trunk Tube Construction
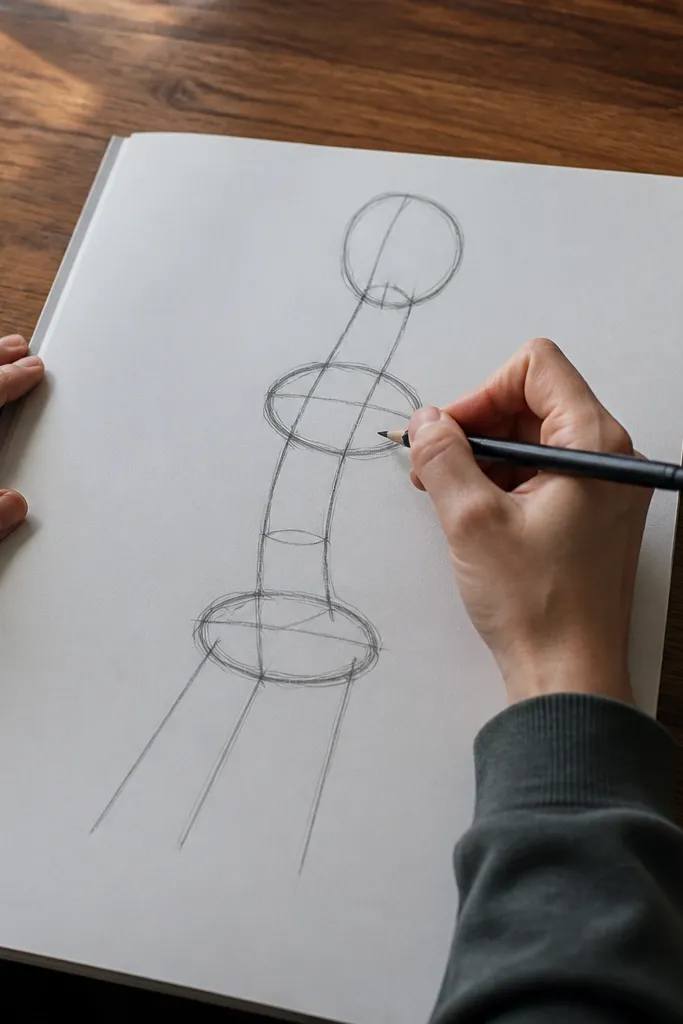
Draw three ellipses: one large for the head, one medium for the chest/body, and one smaller for the hip/body. Add a centerline through the head ellipse so you can place the eye and tusk correctly. Sketch the trunk as a tube: draw two parallel lines for the trunk thickness, then curve them to match the reference. Block in legs as four vertical-ish rectangles that taper slightly at the feet, then refine into rounded cylinders. Use a kneaded eraser to lighten construction lines, ink your final outline, then shade the trunk underside and the leg shadows with a 2B pencil.
This method is my top pick for beginners who want an Elephant Drawing best easy method without tracing. You create the elephant’s structure from three ellipses (head, chest/body, hip/body) and connect them with straight-ish construction lines. The trunk is a tube you bend — so instead of drawing a flat ribbon, you draw a shape that naturally gets thickness and form. It’s forgiving because you can adjust the tube curve and leg placement before you commit to final outlines.
AvoidSkip trying to draw wrinkles or hair texture early; it distracts from getting the trunk thickness right.
Pro tipIf your trunk looks flat, add a darker underside shadow right under the curve — it instantly reads as a tube.
3. Block-In Silhouette First (one confident outer line)
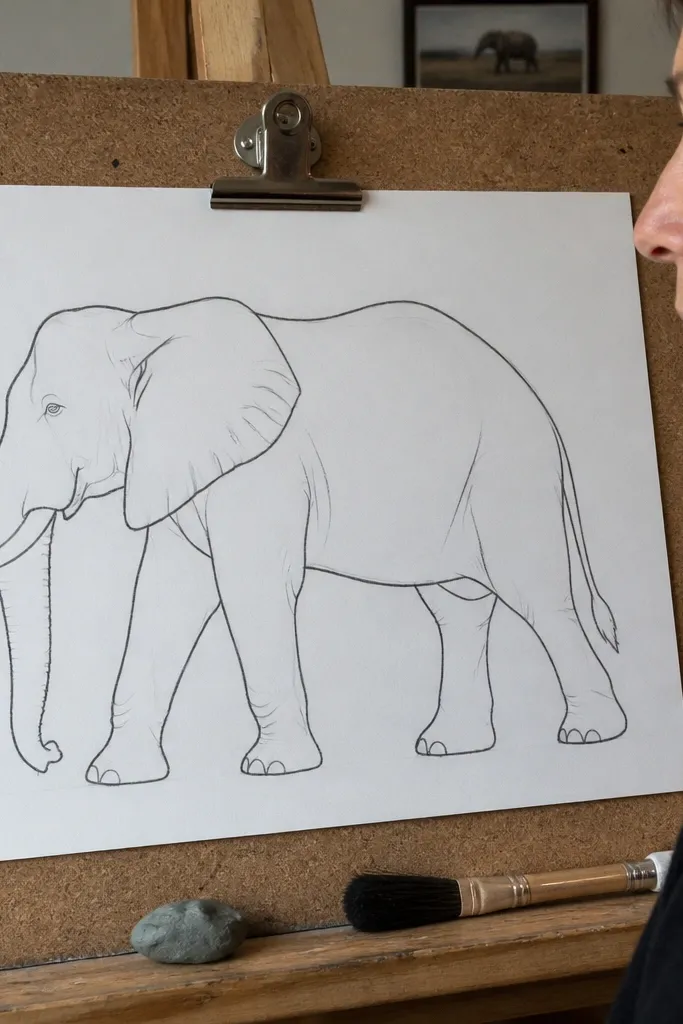
Start by drawing a single outer contour that matches the elephant’s side silhouette: head bulge, body mass, and trunk sweep. Don’t add details yet — just keep the outline smooth and confident. Then block in the legs as four simple columns attached to the body mass, using light lines so you can adjust feet placement. Add the ear shape as a folded triangle or fan, then draw the tusk curve as one clean arc from the mouth area. Shade with a 2B pencil by blocking one shadow area under the trunk and across the legs, then blend lightly with a paper stump or tissue.
If you hate erasing and you keep smudging your own sketch, this is a clean Elephant Drawing best easy method. You start with a bold silhouette that captures the elephant’s mass and posture. Only after that do you add legs and ear folds, which keeps the drawing from turning into a messy construction mess. This approach is great for sketchbooks because it stays organized, and it forces you to make a clear decision about the elephant’s pose early.
AvoidDon’t outline every contour twice; one clean silhouette saves you from wobble.
Pro tipPlan your light source before shading: pick a direction and shade only what sits in shadow, not the whole elephant.
4. Trace Lightly, Then Redraw (placement training in 2 passes)
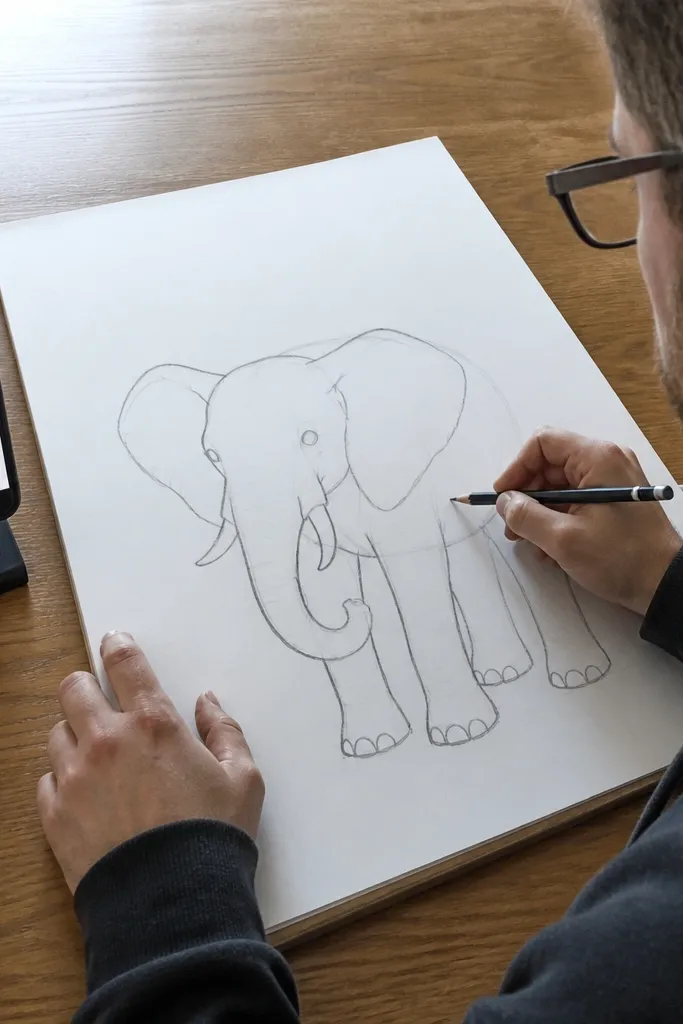
Print or display a reference image and place tracing paper or thin copy paper on top. Trace only the major lines: outer silhouette, trunk thickness edges, eye area, and the leg outline. Keep it light so you can erase and redraw without confusion. Remove the tracing and redraw the elephant from memory using the same structure: big head ball, trunk tube, and leg columns. Finish by adding ear folds and minimal shading with a 2B pencil under the trunk and along the leg shadows.
This method works when you’re stuck because you don’t know where to put features. Tracing isn’t the goal — placement is. You trace lightly to learn the trunk curve, eye position, and leg spacing, then redraw from scratch using that memory. The result is an Elephant Drawing best easy method that still teaches you something, because the second pass forces your brain to translate the reference into your own marks.
AvoidDon’t copy every wrinkle from the reference; beginners get lost in detail and lose the pose.
Pro tipOn the redraw, exaggerate the trunk curve slightly — tiny differences in curve shape make the elephant look more like an elephant.
5. Projected Outline (phone on stand, then freehand refine)
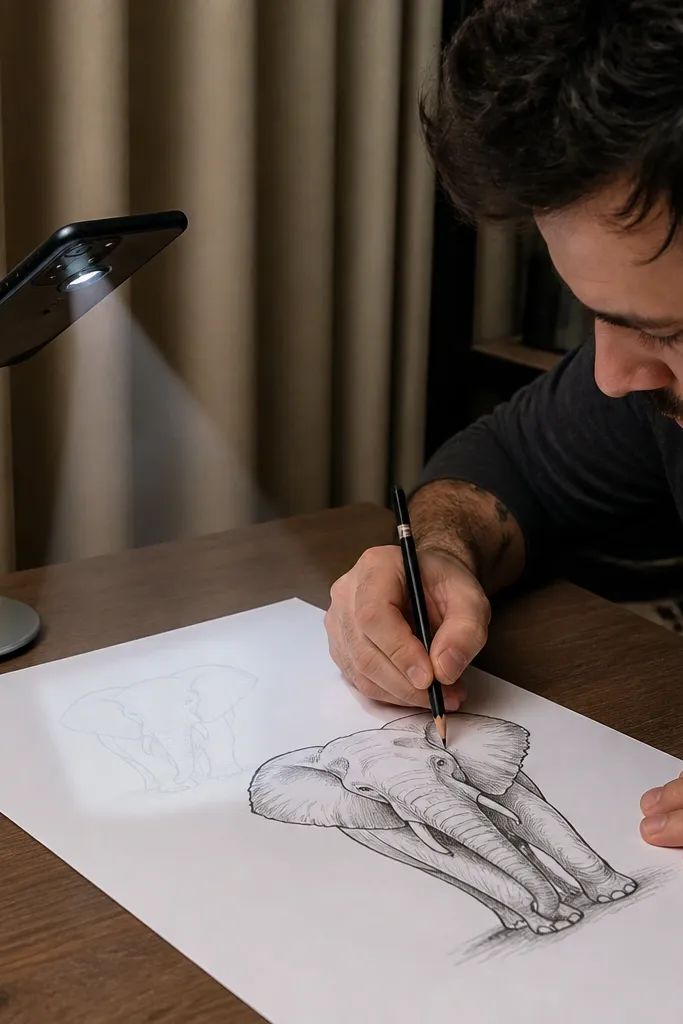
This is the fastest path to a clean Elephant Drawing best easy method when you want more time for refinement than construction. A projected outline gives you accurate placement instantly, so you can focus on clean line quality and shading. You still need to refine — projected lines can look stiff — but it turns a frustrating first sketch into a controlled drawing session. It’s ideal for evenings when you want results quickly.
Set your phone or small projector to display a clear elephant reference on a wall or desk surface. Tape the paper flat and place it where the projection is sharp, then lightly trace the outer silhouette and trunk edges. Remove the paper and redraw a cleaner version on a fresh sheet using the traced lines as a guide for proportion. Refine legs into cylinders and adjust the foot angles so they sit naturally under the body. Shade with 2B: darker underside under the trunk and soft shadow shapes on the legs, then blend lightly.
Use a dim room so the projected edges look crisp; fuzzy projections create messy outlines.
Don’t ink over the projection lines exactly as traced; redraw with cleaner curves and fewer points.
6. Landmark Gesture Sketch (head ball, shoulder hump, leg beats)
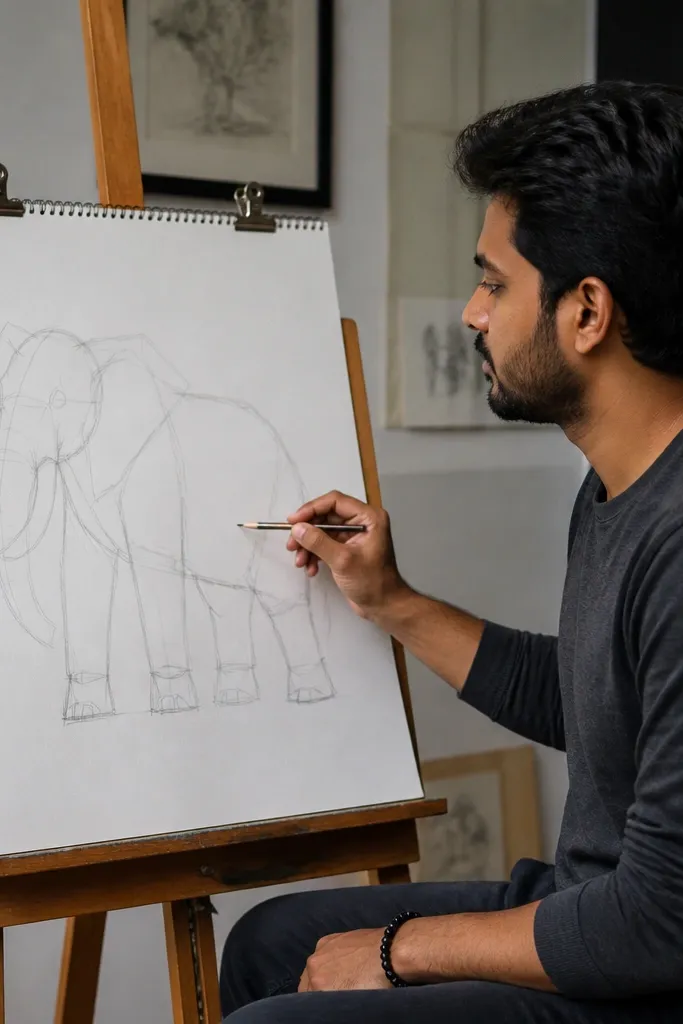
Start with a centerline and place a head ball as a circle or oval. Add a shoulder hump wedge behind it, then indicate the body mass with a simple curved line. Sketch the trunk as a tube line that starts near the mouth and bends down, then connect it to the body with one smooth curve. Add four leg beats as short rectangles, then extend them into columns toward the ground. Finally, refine only the outer contour, add the ear fold shape, and shade the underside of the trunk and the inner sides of legs with a 2B pencil.
This method is for when you want to draw elephants from imagination sooner, but still keep it easy. You ignore most detail and place only landmarks: the head ball, the shoulder hump, the chest/body mass, and the four leg beats. It’s fast and helps you stop overthinking, because the drawing is built from anchors, not from copying tiny shapes. You’ll still get a recognizable elephant if your trunk curve connects correctly to the head and body.
AvoidDon’t start with tusks and toenails; the pose comes first.
Pro tipKeep your gesture lines separate from your final lines — it keeps the drawing from getting muddy.
7. Tusk-and-Ear Simplified Forms (minimal detail, maximum readability)
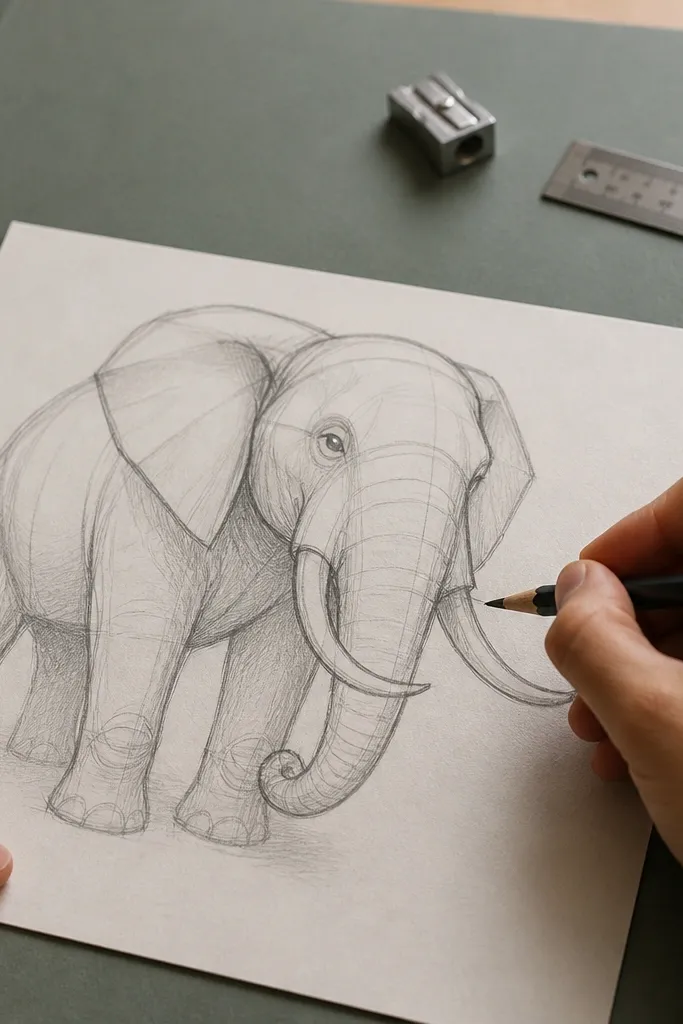
Use the 3-ellipse + trunk tube construction to block the head, body, and legs first. Place the tusk as a single curved line that starts near the mouth and arcs down and forward. Draw the ear as a fan shape attached to the side of the head, then add one fold line to suggest thickness. Connect the trunk tube edges to the mouth area and make sure the trunk underside has a shadow shape. Shade with a 2B pencil: one dark area under the trunk and one along the leg joints, then blend lightly.
Beginners often waste time on tusks and ear wrinkles and end up with a drawing that still doesn’t look right. This method keeps those features simplified into two shapes: tusks are one arc, ears are a folded fan. Everything else is built from volumes, so you get an Elephant Drawing best easy method that looks like an elephant even with minimal facial detail. It’s also great if you’re using a reference that’s too detailed or blurry.
AvoidDon’t draw every ear crease; one fold line is enough for readability.
Pro tipIf the face looks wrong, fix the tusk arc and eye placement before you touch anything else.
8. Cylinder-Legs Shading Plan (make legs look round fast)
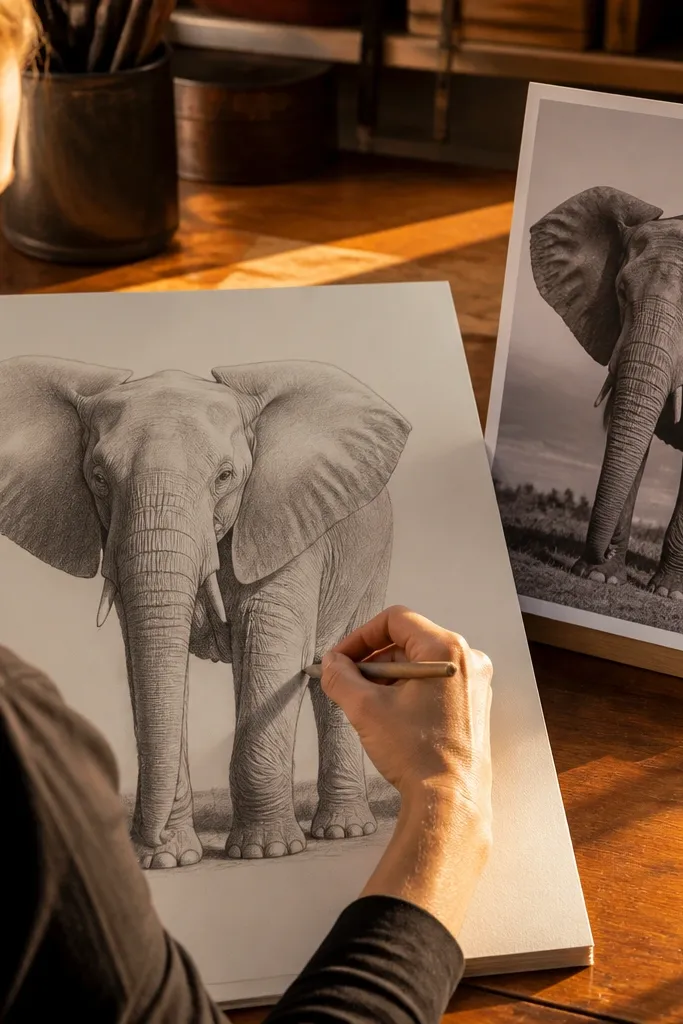
Start with any construction you like: grid transfer or 3-ellipse works best. Refine each leg into a cylinder by drawing a centerline on each leg and tapering slightly at the foot. Choose a light direction, then shade the underside of each leg as a soft band using a 2B pencil. Add one darker joint shadow where legs bend and one shadow cast under the trunk. Blend edges lightly with tissue, then erase any leftover construction lines after shading.
This is an easy upgrade to any beginner elephant method. Most beginner drawings fail because legs are drawn like flat shapes with no form. If you treat legs as cylinders, you can shade with just two tones and the whole elephant reads in seconds. You don’t need fancy blending — you need consistent shadow placement. This approach turns a basic outline into an elephant drawing that looks dimensional.
AvoidDon’t add random dark patches; shade only the underside and joint areas.
Pro tipKeep shadows on the same side of every leg — inconsistent shading makes the drawing look “stuck on.”



