
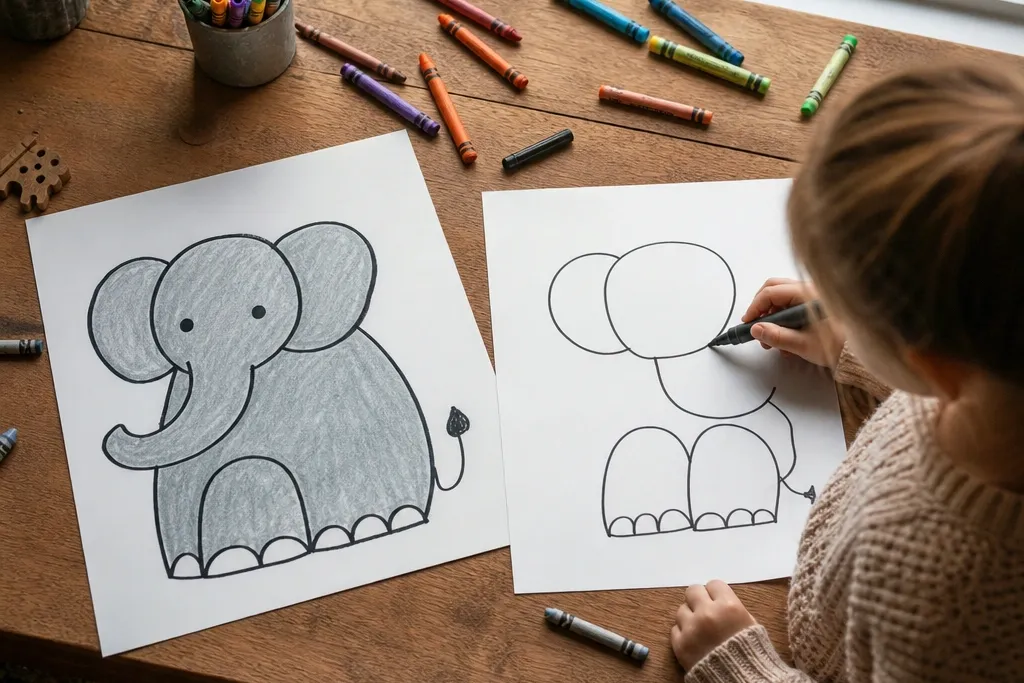
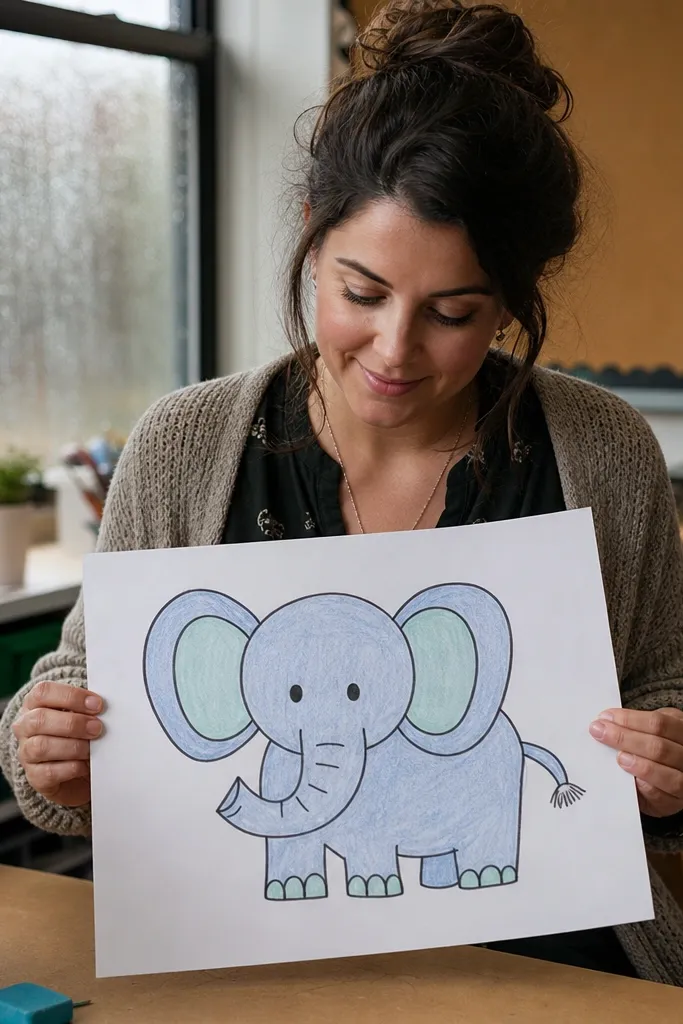
1. Bean Body Elephant with Big Smile
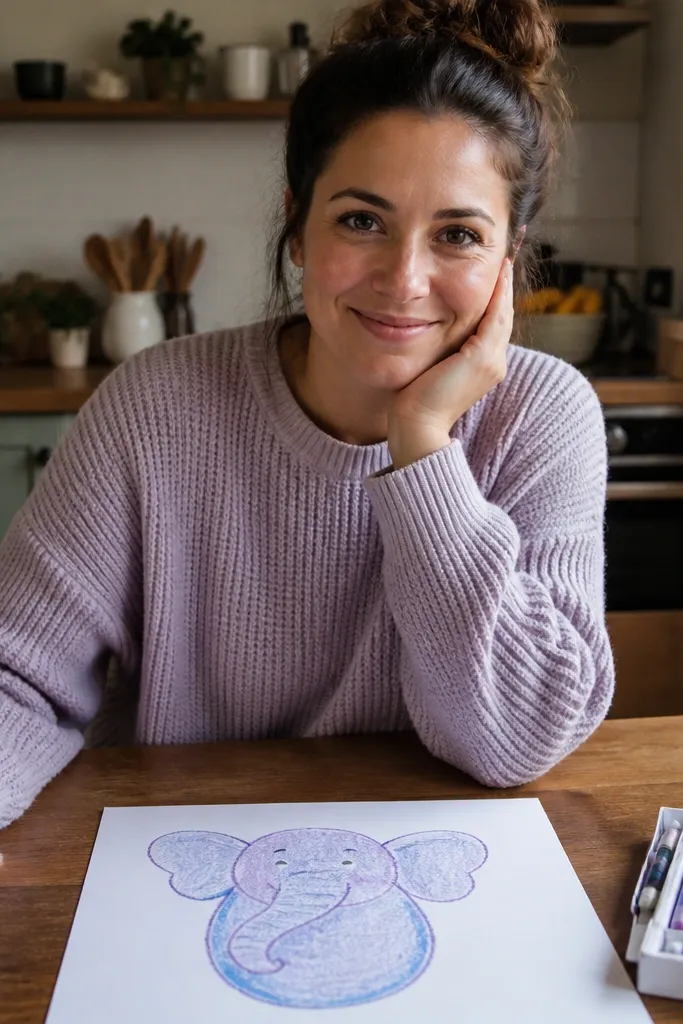
This one is the easiest “wow” because the elephant’s personality is in the face, not in realistic anatomy. The body is drawn as a smooth bean, so kids don’t have to figure out where the belly ends. The trunk is one friendly curve that points down, and the ears are two rounded shapes that sit like wings on the sides of the head. Finish with a thick outline and a warm cheek blush color so it looks cute and readable even when the drawing is small.
Step 1: Draw a large bean shape for the body and a smaller circle that overlaps the top front. Step 2: Add the trunk as a single S-curve that comes off the front of the head, ending in a little hook. Then draw two short legs as rounded rectangles and add the smile, one eye, and two tiny tusk bumps. Step 3: Go over the final lines with a thick black marker, erase pencil marks, and color the ears and cheeks with a bright contrast color.
Keep the trunk line thick — a thin trunk makes the whole drawing feel shaky.
Don’t start with tusk lines; sketch the trunk and smile first.
2. Circle-Head Elephant Walking Sideways
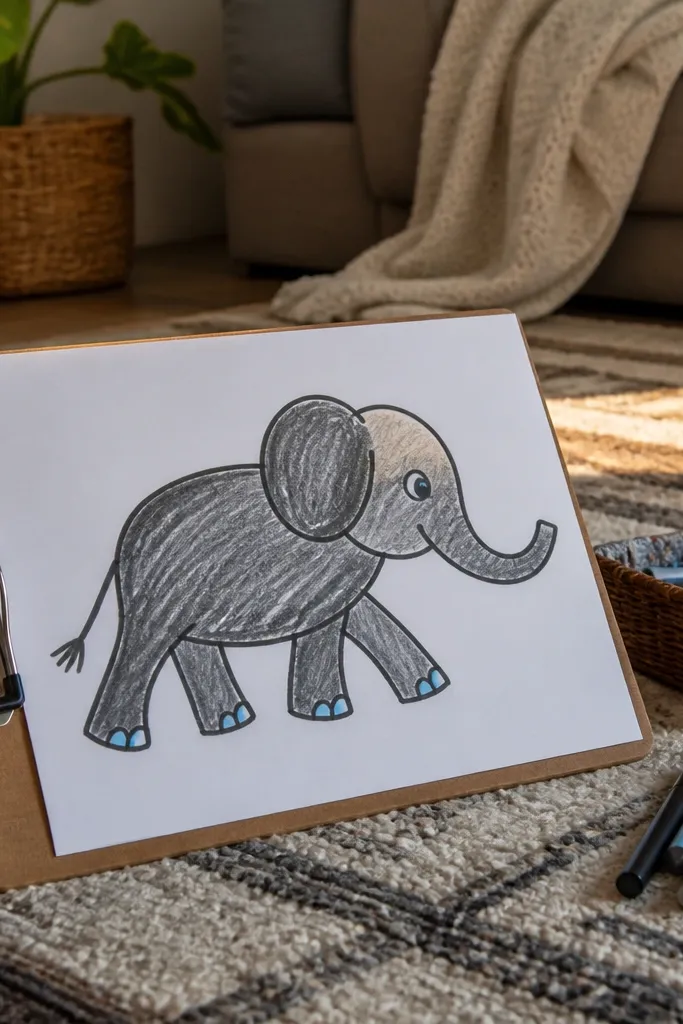
Side profiles look dynamic and clean in photos, and this version makes motion easy. The head is a circle, the body is a rounded oval, and the legs are simple arcs that overlap slightly. Because it’s sideways, the trunk has a clear direction — kids can draw it as a curve that follows the body line. Use a single color for the elephant and a different color for the ground so it pops.
Step 1: Draw a circle for the head and a large oval for the body, touching at one edge. Step 2: Add the trunk as a long curved line extending forward, then draw the tip as a small circle. Step 3: For the legs, draw two legs closer to the viewer as rounded “pill” shapes and two legs behind as smaller arcs. Finally, add a tail curve and a small ear on the far side.
Pro tipMake the legs overlap by at least one-third — it helps the walk read instantly.
AvoidAvoid drawing all four legs the same size; the near legs should be bigger.
3. Triangle Ear Elephant with Pattern Spots
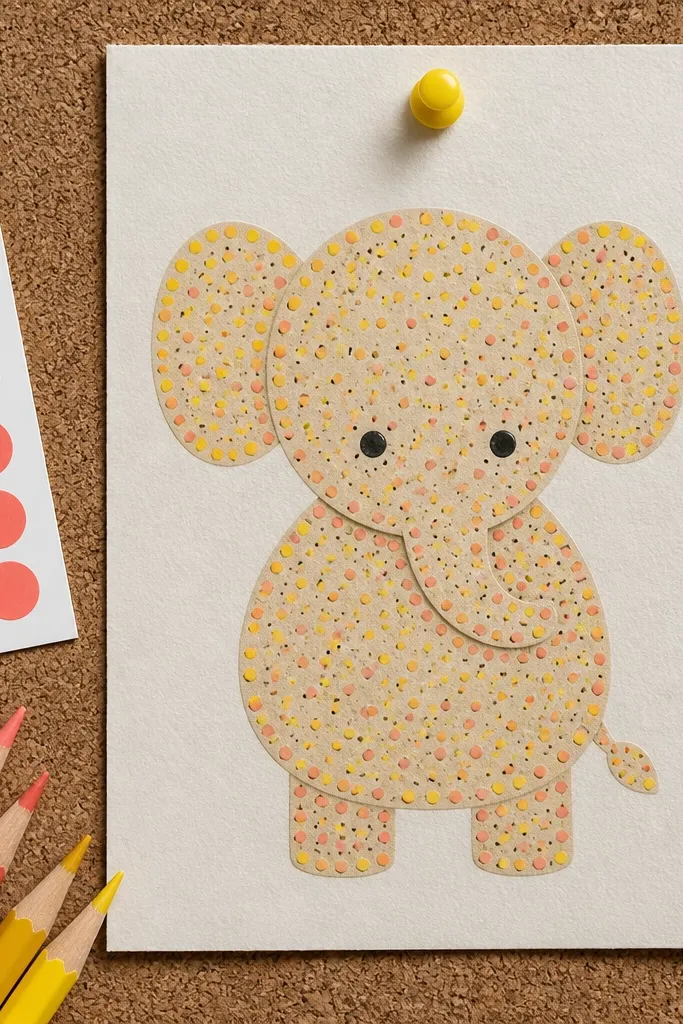
Pattern elephants look finished even with minimal shading, and the ear shape gives a clear, graphic silhouette. Kids love repeating dots or tiny circles, and it hides uneven coloring. You’re using simple geometry: head as a circle, body as an oval, ears as triangles rounded at the corners. Then the kid adds spots in a few zones so the elephant doesn’t look empty.
Step 1: Draw a circle for the head, then a big oval for the body that overlaps it. Step 2: Make ears from two rounded triangles and place them on the sides of the head. Step 3: Add the trunk as a curved line that ends in a rounded shape, plus two short legs. Step 4: Use a marker or crayon to add 3-4 spot clusters: one on the ear, one on the body side, one near the belly, and one near the trunk base.
Pro tipUse a white gel pen for tiny highlight dots on top of the spots if you have it.
AvoidDon’t cover the whole body with spots; leave some clean oval areas.
4. Heart-Ear Elephant with Simple Tusks
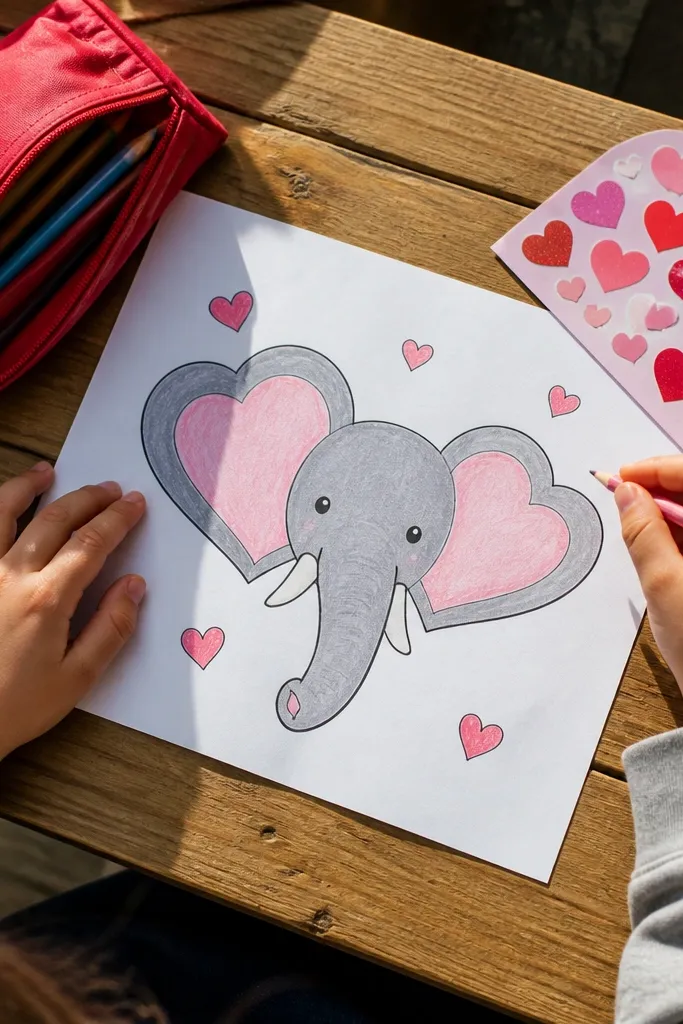
Heart shapes instantly make an elephant feel friendly, not serious. Kids can draw hearts without getting lost in details, and the heart-eared design frames the face nicely. The trunk stays simple: one curve and a small end loop. Keep the tusks as two short lines with rounded tips so the drawing stays “easy” and doesn’t turn into a sketchy mess.
Step 1: Draw an oval for the body and a smaller circle for the head. Step 2: Replace the ears with two hearts — one heart on each side, attached near the top of the head. Step 3: Add the trunk as a curve that comes down and forward, then add the tusks as two short parallel lines from the mouth area. Step 4: Draw two legs and a tail curl, then outline with a thick marker.
If the heart ears wobble, redraw them with bigger curves — big hearts look cleaner.
Don’t make the tusks long; short tusks keep the face balanced.
5. Lollipop Trunk Elephant (One-Line Trunk)
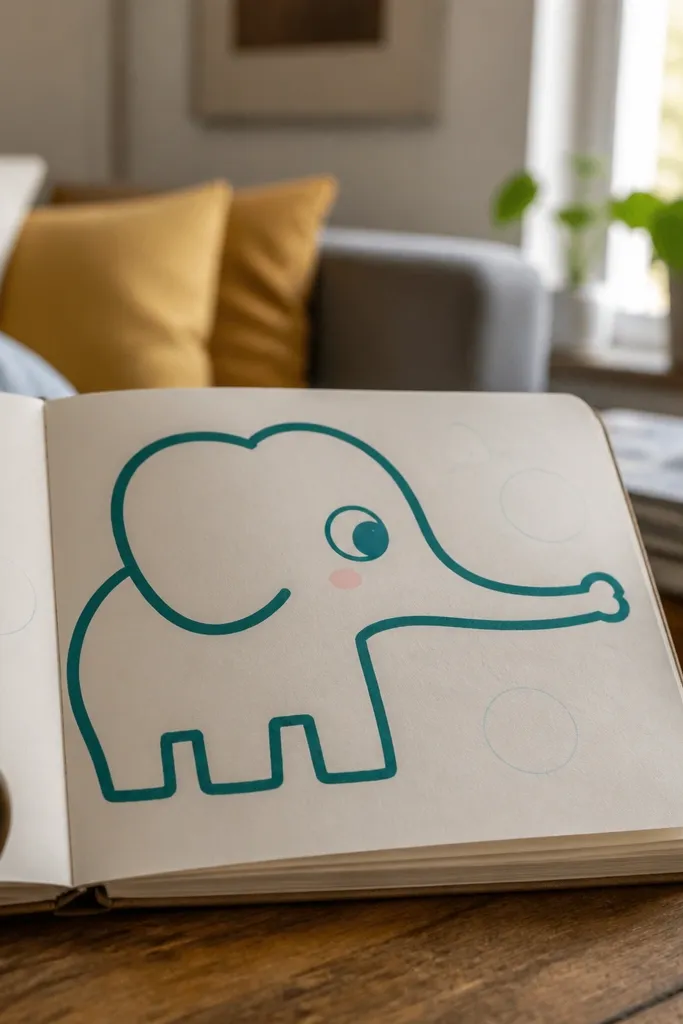
This is the trunk practice version, and it’s the fastest way to stop wobbly elephant drawings. The trunk is one continuous line that curves like a lollipop handle, then ends with a simple rounded tip. Because the trunk is the focal line, kids don’t need to draw lots of texture. Add a big eye and a small blush dot, and the elephant looks charming even with basic coloring.
Step 1: Draw a large oval body and a small head circle touching the top front. Step 2: Draw the trunk as one smooth curve starting at the mouth area and bending down, then finish with a rounded circle for the tip. Step 3: Add two front legs as rounded rectangles and two back legs as smaller curved lines. Step 4: Outline everything with a thick marker and color the elephant in one flat shade.
Pro tipUse your pencil lightly for the trunk first, then commit to the marker line only after the curve looks right.
AvoidAvoid adding extra trunk lines; one trunk line reads best.
6. Elephant Face Only with Ears Frames
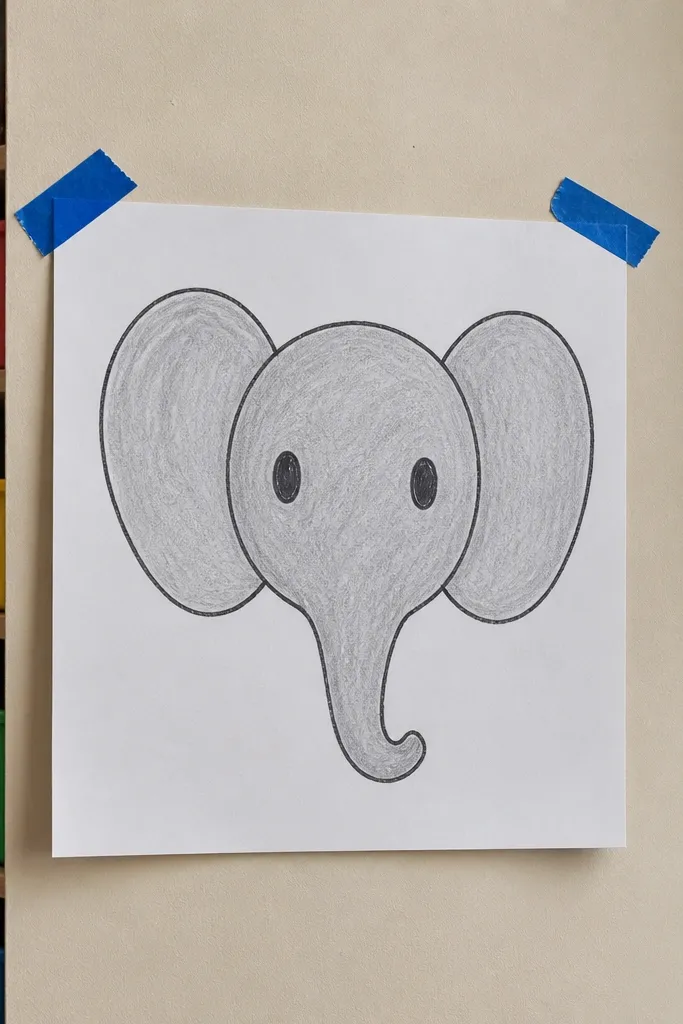
Face-only drawings are a lifesaver for kids who lose patience before the full body. It still counts as an elephant drawing because the ears, eye placement, and trunk tip do the identity work. The ears become two big rounded shapes that frame the face like a mask. Then the trunk tip is a tiny curved shape at the bottom center, which makes the drawing look complete without extra legs.
Step 1: Draw two big rounded ear shapes on the left and right, leaving a gap in the middle. Step 2: Add the face as a small oval between the ears, then place one eye slightly above center. Step 3: Draw the trunk tip as a small curve or comma shape at the bottom, and add a tiny tusk bump on each side. Step 4: Outline with a thick marker and color the ears with a darker shade for contrast.
Pro tipMake the ears bigger than the face — it’s the easiest way to get a cute look.
AvoidDon’t overcrowd the face with many lines; keep it to eye, tusk bumps, trunk tip.
7. Elephant in a Flower Pot Scene
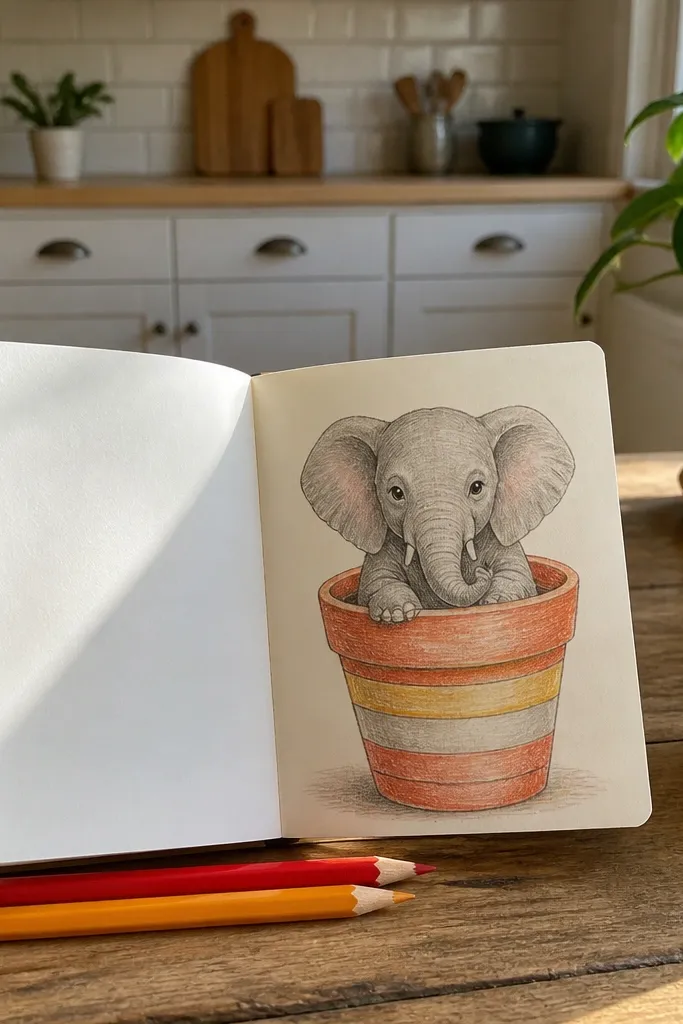
This one looks adorable because the elephant has a built-in “grounding” object. Drawing a simple flower pot gives kids a chance to build a complete scene without complex backgrounds. The elephant can be half-body, which makes it easier — just draw the head, ears, trunk, and the top of the legs. Color the pot with stripes and add 3 flowers, and you’ll get a picture that looks like something you’d hang on a fridge.
Step 1: Draw a flower pot as a trapezoid with a curved rim at the top and a flat base. Step 2: Add the elephant head popping out of the pot — use a circle head, rounded ears, and a trunk curve that dips toward the pot. Step 3: Draw only the top of the legs as two rounded shapes under the head. Step 4: Color the pot with stripes, then draw 3 simple flowers on top.
Pro tipUse one bright pot color and one muted elephant color so the scene reads instantly.
AvoidAvoid adding detailed grass blades; the pot already fills the scene.
8. Elephant Balloon Parade
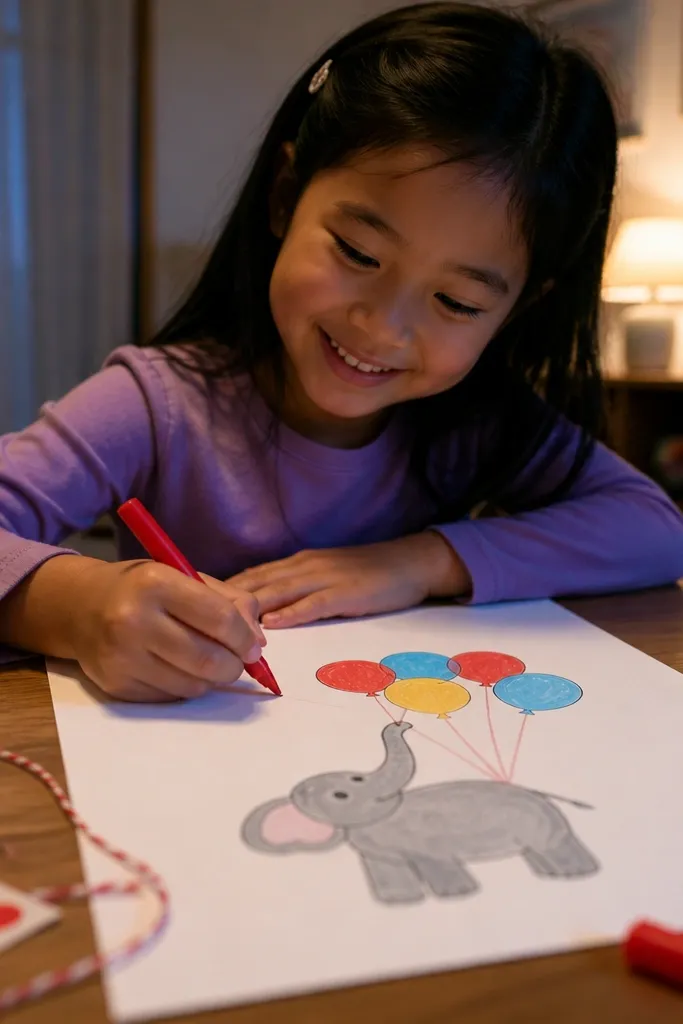
Balloon shapes give structure and clean symmetry, which makes kids' drawings look “designed” even when they’re simple. The elephant is still easy: oval body, round head, simple trunk reaching up to a cluster of balloons. Because the balloons are circles, they’re quick to draw and fun to color. Add a few small knot dots at the bottom of the balloons and it looks playful and photogenic.
Step 1: Draw an oval body and a circle head, then add ears as two rounded triangles. Step 2: Draw the trunk as a curve reaching upward toward the balloons, ending in a small hand-like bump. Step 3: Draw 3-4 balloons as circles above the trunk and add strings as straight lines down to the elephant’s trunk. Step 4: Outline and color each balloon a different bright color.
Pro tipGive the balloons slight spacing; touching circles make the image look messy.
AvoidDon’t draw tiny balloon details; keep them as plain circles.
9. Elephant with Raised Trunk Like a Paintbrush
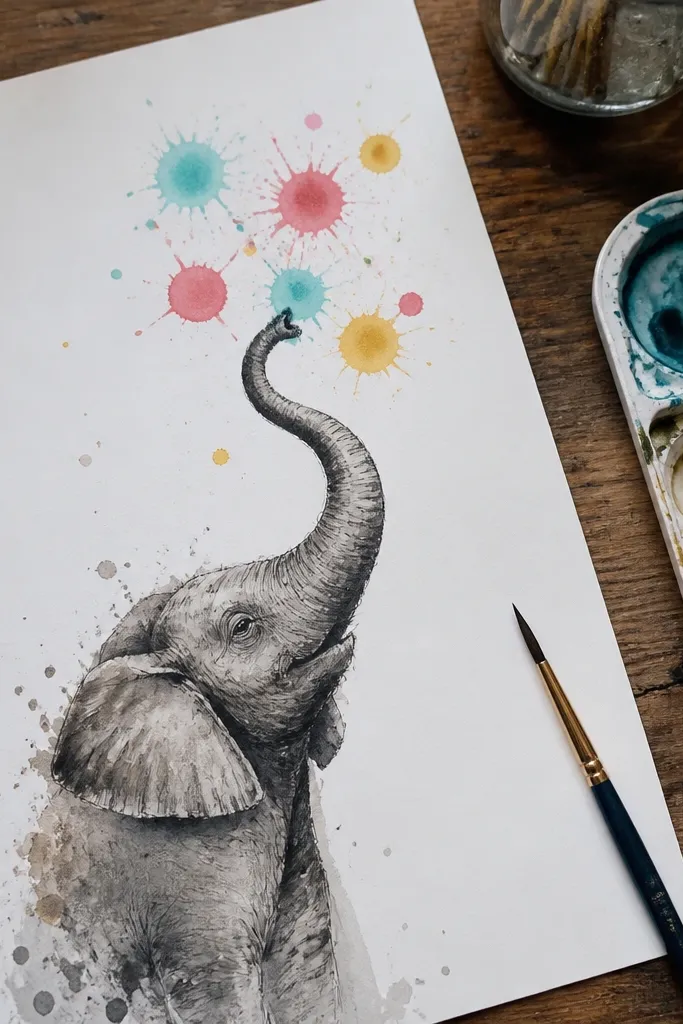
This version looks dynamic because the trunk is lifted, and the tip creates a clear action. Kids get a simple “story” to draw: the elephant is making paint splats. The trunk is still an easy S-curve, but it points upward instead of down. Add 5-7 paint splat dots in different sizes and the drawing instantly feels finished.
Step 1: Draw an oval body and a circle head, then add ears as rounded triangles. Step 2: Draw a trunk curve that lifts upward, ending in a rounded tip. Step 3: Place 5-7 splats near the trunk tip as small blobs or circles, then add two legs and a tail curl. Step 4: Outline with a thick marker and color the splats in bright colors while keeping the elephant mostly one shade.
Make splats bigger near the trunk and smaller farther away — it reads like motion.
Avoid adding realistic paint strokes; blob splats are cleaner and easier.
10. Elephant Mandala Squares Border
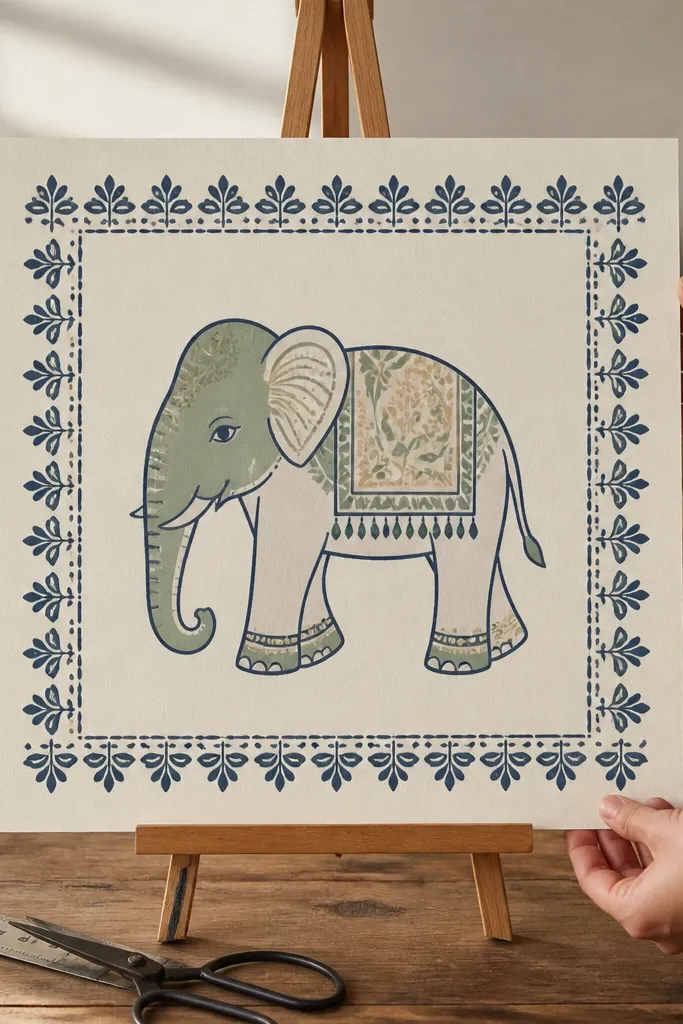
Kids don’t have to fill the whole page with detail — they just need one decorative frame. A square border with repeated tiny shapes makes the elephant look like it belongs in a poster. The elephant stays simple: outline-first body, ears, trunk, and legs. Then the border does the “aesthetic” work with dots, tiny triangles, or alternating squares.
Step 1: Draw a square border near the edges of the paper, leaving a margin of about 1 inch. Step 2: In the center, sketch a simple elephant using an oval body and circle head, ears as rounded triangles, and trunk as a curve. Step 3: Fill the border with repeated tiny motifs in a pattern — for example, dot, triangle, dot, triangle around the edges. Step 4: Outline elephant and border with marker, then color the border lightly with 2-3 colors.
Pro tipUse a ruler for the border only; the elephant should stay freehand.
AvoidAvoid over-coloring the border — too many colors kill contrast.
11. Elephant Side Profile with Chunky Legs
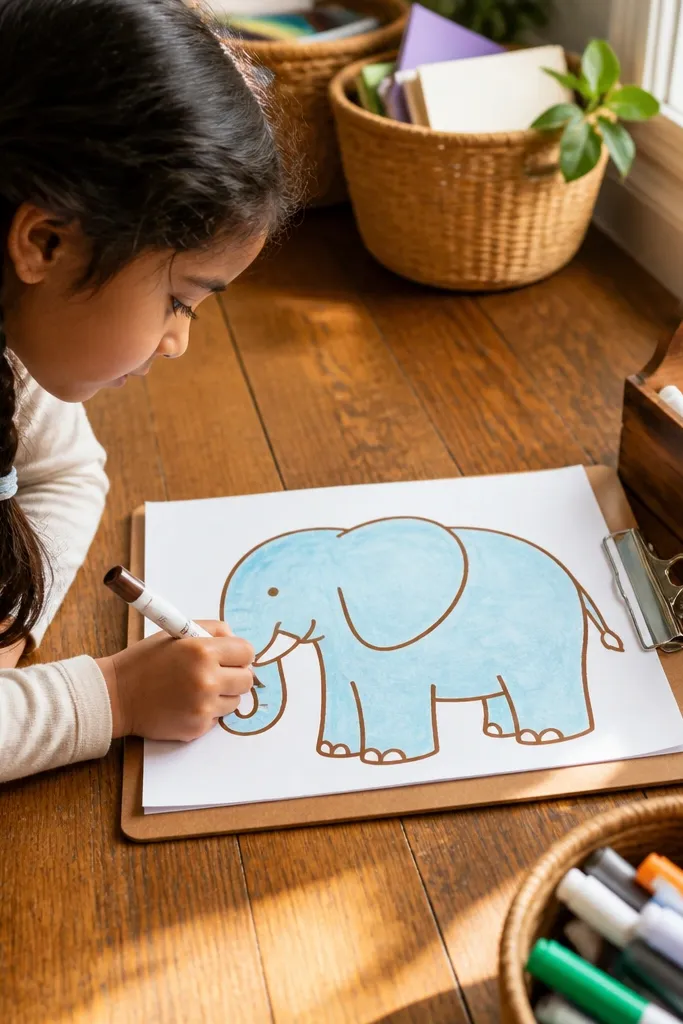
Chunky legs make the elephant look cute and sturdy, and they’re easier to draw than thin legs. This is a side view that emphasizes silhouette, so kids can get a clean result even if the lines aren’t perfect. The trunk is a single curve, and the head and body overlap slightly to keep proportions friendly. Use thick outline and one simple ground line for instant “finished” vibes.
Step 1: Draw a large oval body and attach a smaller circle head at the front. Step 2: Add ears as rounded triangles and draw the trunk as a curve that swings forward. Step 3: Draw four chunky legs as rounded rectangles, with the near legs bigger than the far legs. Step 4: Add a ground line and a simple tail curve, then outline and color.
Round the corners of the legs — sharp corners look less child-friendly.
Avoid making the legs too long; keep them about half the body height.
12. Elephant Alphabet Letter A Style
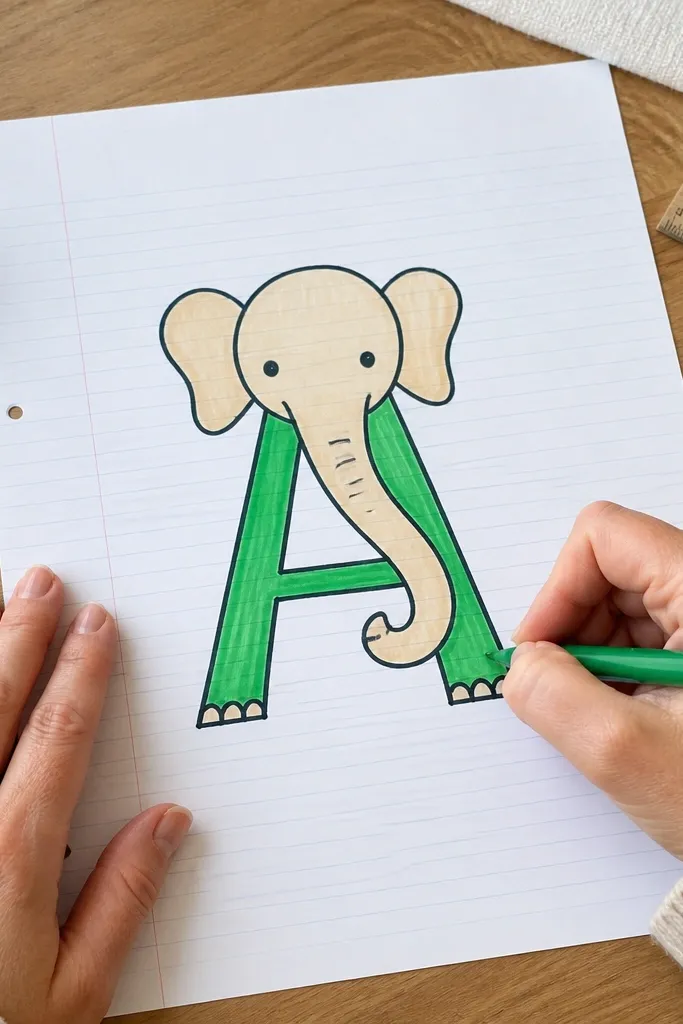
Turning the elephant into a letter shape is a fast way to make it look intentional. Use the letter A as the base construction: draw the A lines first, then add a head circle on top and a trunk curve that connects to the lower stroke. It’s great for classrooms because kids can practice letter and drawing together. The final look is bold, graphic, and easy to color.
Step 1: Lightly draw a large capital A on the page as your construction guide. Step 2: Add a circle head at the top of the A and attach ears as rounded triangles on either side. Step 3: Draw the trunk as a curved line coming from the head and wrapping toward the crossbar area. Step 4: Add two small tusk bumps and outline the entire elephant shape with marker.
Pro tipColor the crossbar and trunk tip in a different shade for pop.
AvoidDon’t erase the A guide too early; keep it until the outline looks right.
13. Elephant Face with Rainbow Eye and Cheek Dots
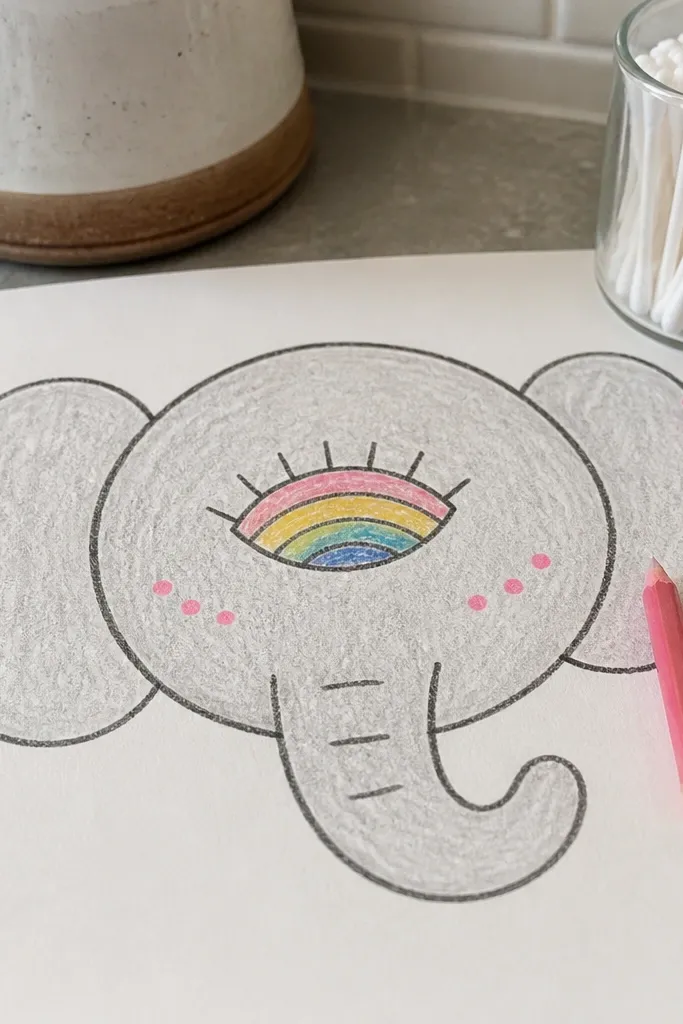
This is an attention-grabber because the eye is the only “color detail” that kids need to nail. The rest stays simple: oval face, rounded ears, and a small trunk tip. A rainbow eye can be drawn as 3-5 curved bands inside the eye shape, which looks great in photos and gives the kid a fun challenge that still stays easy. Cheek dots finish the cuteness.
Step 1: Draw an oval face and add two rounded ear shapes on the sides. Step 2: Place one eye slightly above center, then draw inside it as 3-5 curved rainbow bands. Step 3: Add a small trunk tip at the bottom and two tiny tusk bumps near the mouth. Step 4: Color cheeks with 3-4 dots and outline with thick marker.
Use colored pencils for the rainbow eye so the bands stay neat.
Avoid drawing rainbow bands all the way around the eye — keep them inside.
14. Elephant Footprint Pattern
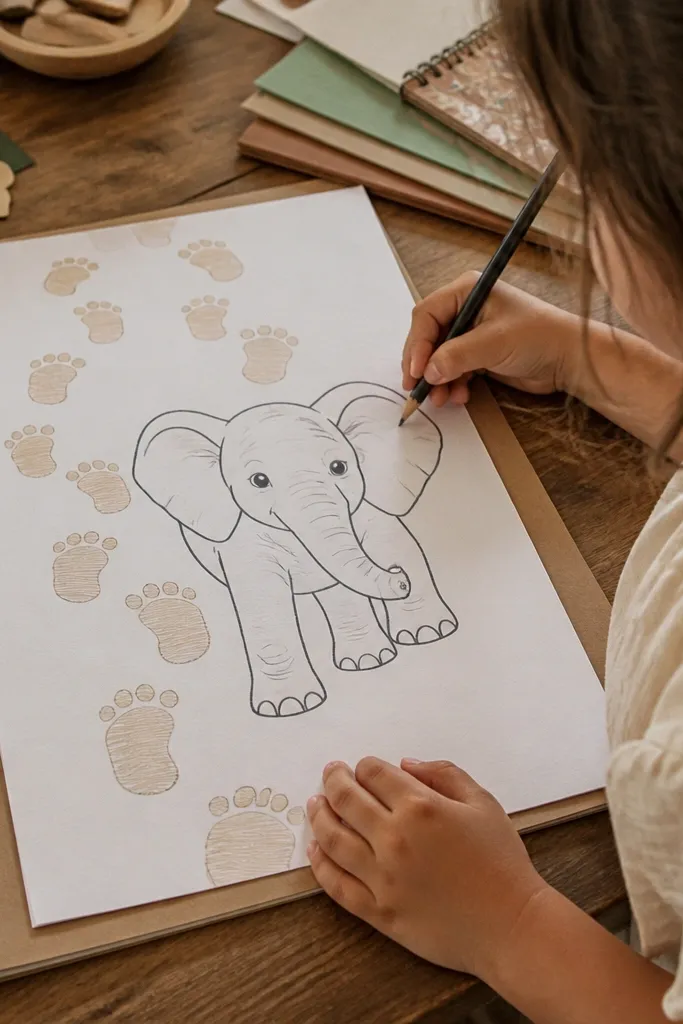
Footprints give kids an easy background that looks intentional, not blank. You draw a simple elephant outline in the foreground, then repeat small footprint shapes behind it. It looks like an activity scene without needing a full landscape. The elephant itself can be minimal, with focus on ears, trunk, and one leg. Color the footprints in a lighter shade so they don’t steal attention from the elephant.
Step 1: Draw the elephant basics: oval body, circle head, rounded ears, and trunk curve. Step 2: Add one front leg and one back leg, keeping them simple. Step 3: Draw 8-12 footprints in a row behind the elephant using an oval for the toe pad and a curved line for the heel. Step 4: Outline and color — elephant in darker color, footprints in lighter color.
Space footprints evenly; repeating spacing makes it look like a pattern, not random doodles.
Don’t shade the footprints heavily; keep them flat for a cleaner look.
15. Origami-Style Elephant with Fold Lines
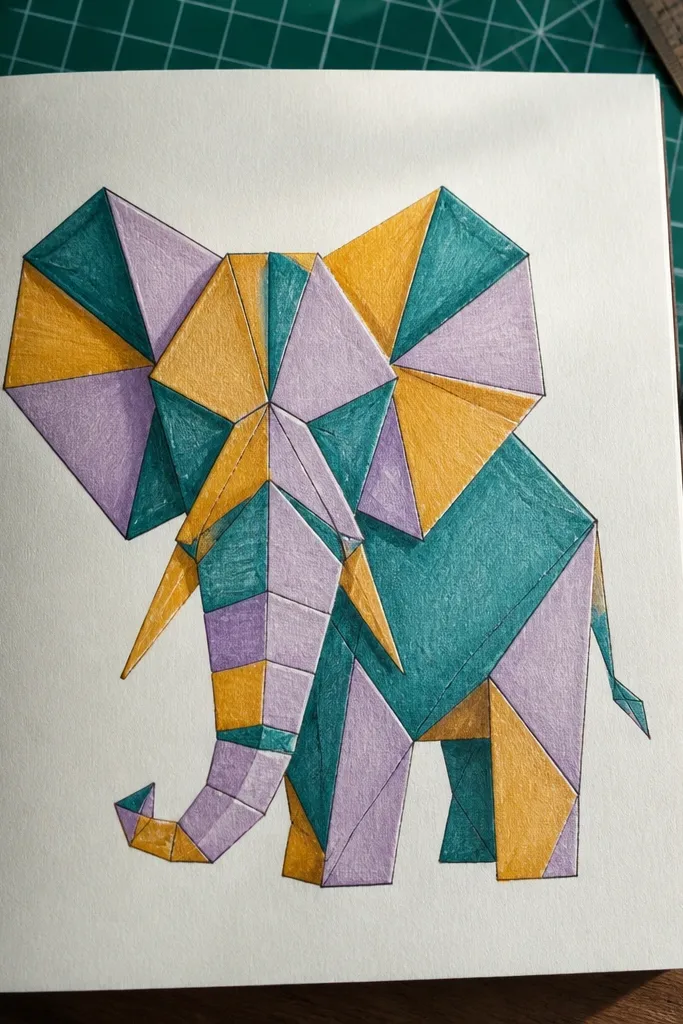
Fold lines make the drawing look like paper art, and kids think it looks “advanced” without actually doing advanced drawing. You keep the elephant shape simple, then add a few triangular fold lines across the body and ears. The result looks crisp and graphic, especially when you color each fold section differently. It’s a great option for kids who like geometry and clean lines.
Step 1: Sketch a simple elephant outline with an oval body and circle head, plus rounded triangle ears. Step 2: Add 4-6 fold lines across the body using straight segments that meet at a center point or along the trunk curve. Step 3: Draw the trunk as a simple curve and outline all major lines with marker. Step 4: Color each fold section with a different shade, leaving the fold lines white or lightly colored.
Use a ruler for the fold lines only — it keeps the “origami” look sharp.
Don’t add fold lines too close together; 4-6 is plenty.
16. Elephant with Clouds and a Simple Sun
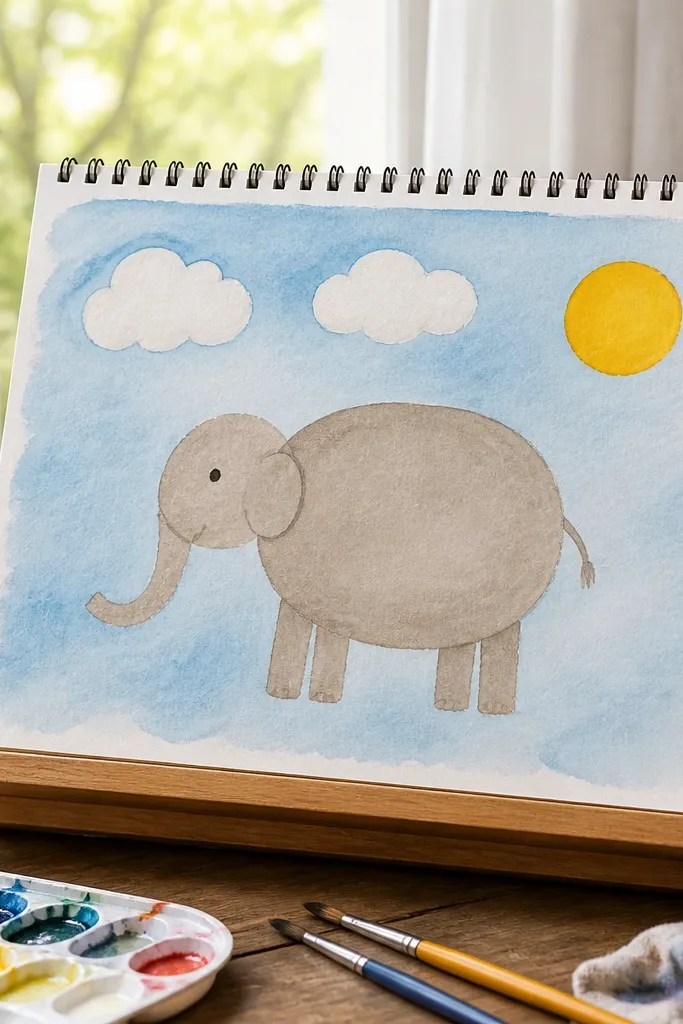
A sky scene makes the elephant look complete without turning it into a full landscape drawing. The elephant is still easy: big oval body, small head circle, trunk curve, and short legs. Then you add two cloud puffs and one sun circle. Keep the clouds plain and rounded, and use a bright background color wash so the elephant reads clearly.
Step 1: Draw the elephant first with a body oval and overlapping head circle, plus ears and trunk. Step 2: Add two cloud shapes above the elephant as simple circles merged together. Step 3: Draw a sun as a circle, then add 8 short rays as lines. Step 4: Color the sky with a light blue wash or crayons and color the elephant with one solid shade.
Pro tipLeave a white space around the trunk tip so it doesn’t blend into the sky color.
AvoidAvoid drawing too many clouds; two is enough for a clean look.
17. Elephant Wearing a Crown (Easy Circles)
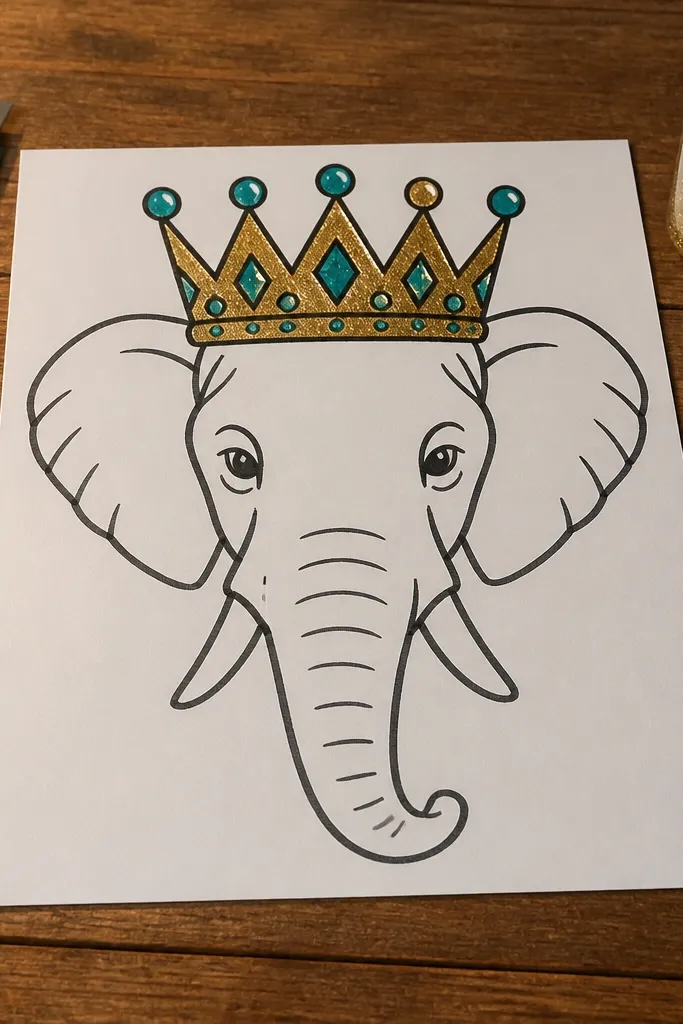
A crown instantly makes any elephant drawing look special, and circles make it simple. The elephant outline stays basic, but the crown adds a bold focal point kids enjoy coloring. Draw the crown as a row of rounded triangles with circle jewels along the top. Keep the trunk and tusks simple so the crown remains the star.
Step 1: Draw an oval body and circle head, then add ears and trunk curve. Step 2: Sketch a crown on the top of the head: 3-5 rounded triangles and a small base line. Step 3: Add 3-4 circle jewels on the crown and outline everything with a thick marker. Step 4: Color the crown with two colors and color the elephant with one base shade.
Pro tipMake jewel circles bigger than you think — they read well after coloring.
AvoidAvoid extra crown details like spikes; simple shapes look cleaner.
18. Elephant with a Heart Balloon Floating
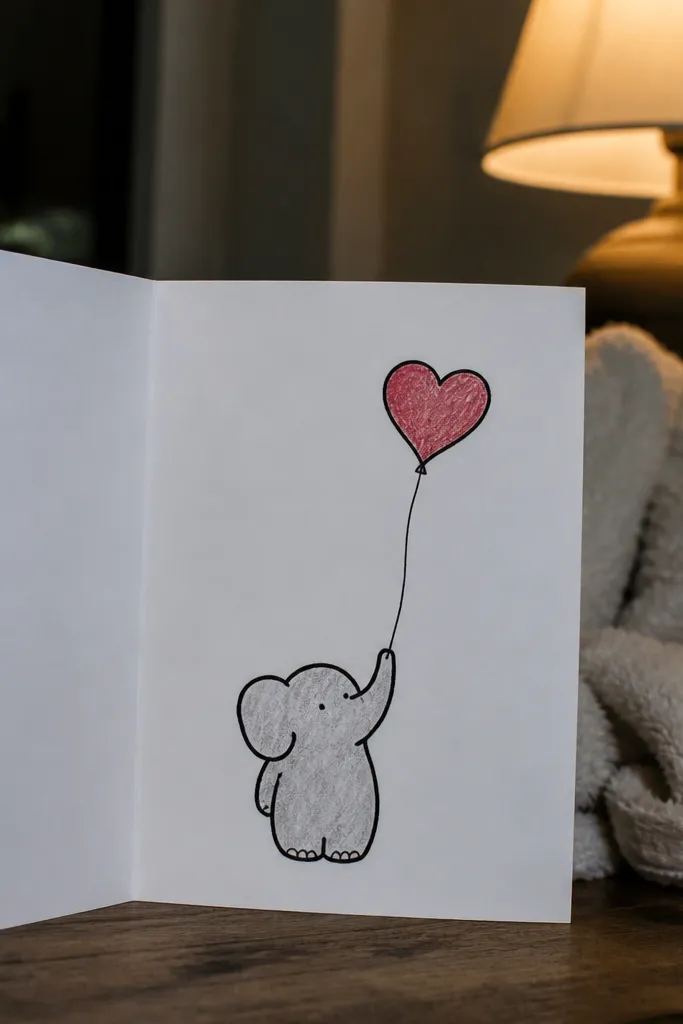
Heart balloons add warmth and make the drawing feel like a card even though it’s still easy. The trunk is a single curve reaching up to the heart, and the rest stays simple with rounded ears and a bean body. Use thick outline and color the heart with a strong red or pink. Add one small string line from the heart to the trunk and it looks instantly organized.
Step 1: Draw the elephant body as an oval and the head as a circle overlapping the top. Step 2: Add ears as rounded triangles and draw the trunk as a curve that reaches upward. Step 3: Draw a heart balloon above the trunk and add one string line down to the trunk tip. Step 4: Add one eye, a small tusk bump, outline, then color.
Color the heart balloon solid, then add a tiny white highlight dot to the top curve.
Avoid drawing multiple strings; one string keeps it tidy.
19. Elephant in a Frame Border (Photo-Ready Poster)
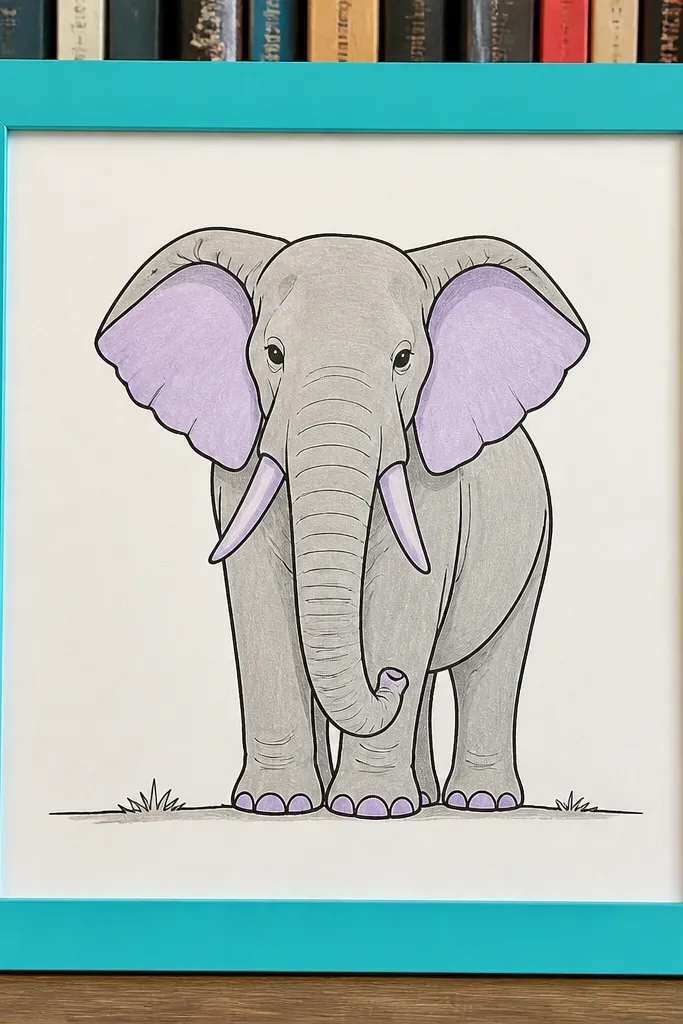
Big frames make kids' drawings look like posters, which is exactly what makes them feel fun to keep and easy to photograph. The elephant stays simple, but the frame adds structure and clean edges. Use a thick border in a bright color and keep the elephant in the center with bold outlines. Add a small ground line and one grass tuft so the elephant doesn’t float.
Step 1: Draw a rectangular frame border around the page, leaving about 1 inch margin. Step 2: Sketch a simple elephant inside: oval body, circle head, rounded ears, and trunk curve. Step 3: Add two legs, a tail curl, and a short ground line with one grass tuft. Step 4: Outline elephant and frame with marker, then color the frame and elephant separately.
Use marker for the frame and colored pencil for the elephant if your kid smudges crayons.
Don’t color the frame and elephant the same shade — separation matters.
20. Elephant with Balloon Letters in the Background
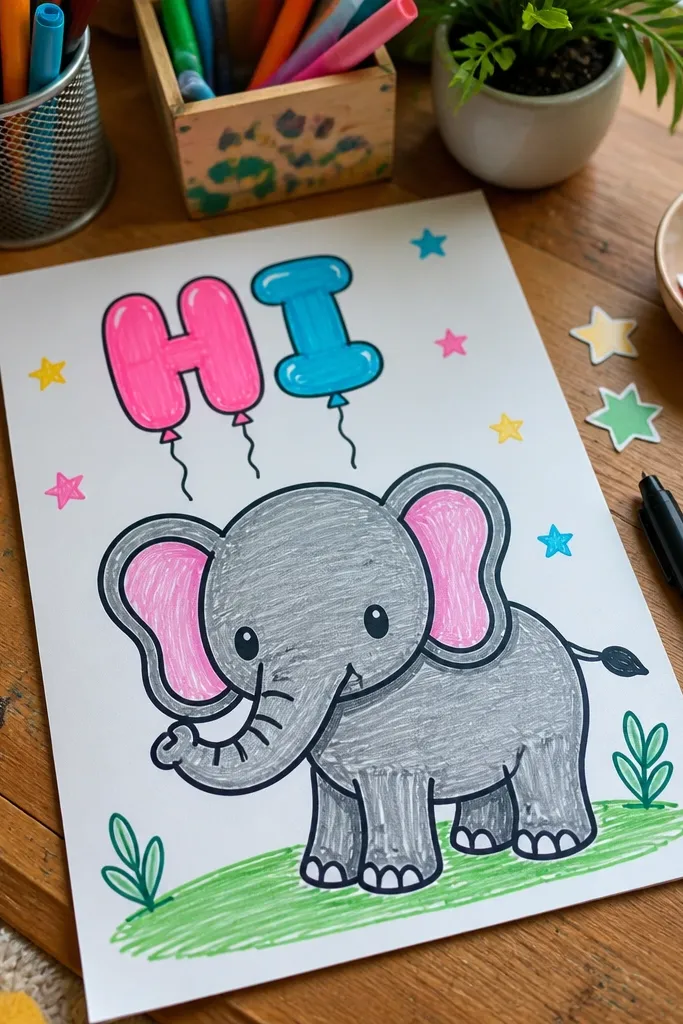
This is a “cute chaos” drawing that still stays organized. The elephant is the clear foreground — simple outline and thick marker. Behind it, kids add balloon letters like “HI” or “WOW” using rounded bubble shapes, plus a few small stars. The letters create a playful background without needing real scenery. It’s especially good for birthdays because it looks like a handmade card.
Step 1: Draw the elephant first in the center using the oval body and circle head method. Step 2: Add one balloon letter word behind the elephant using bubble letters made from thick rounded strokes. Step 3: Place 5-8 small stars around the letters and keep them simple five-point outlines or filled dots. Step 4: Outline and color — elephant in one base color, letters in bright contrasting colors.
Keep the letters behind the trunk and ears so the foreground elephant stays readable.
Avoid writing too many words; one short word looks best.



