
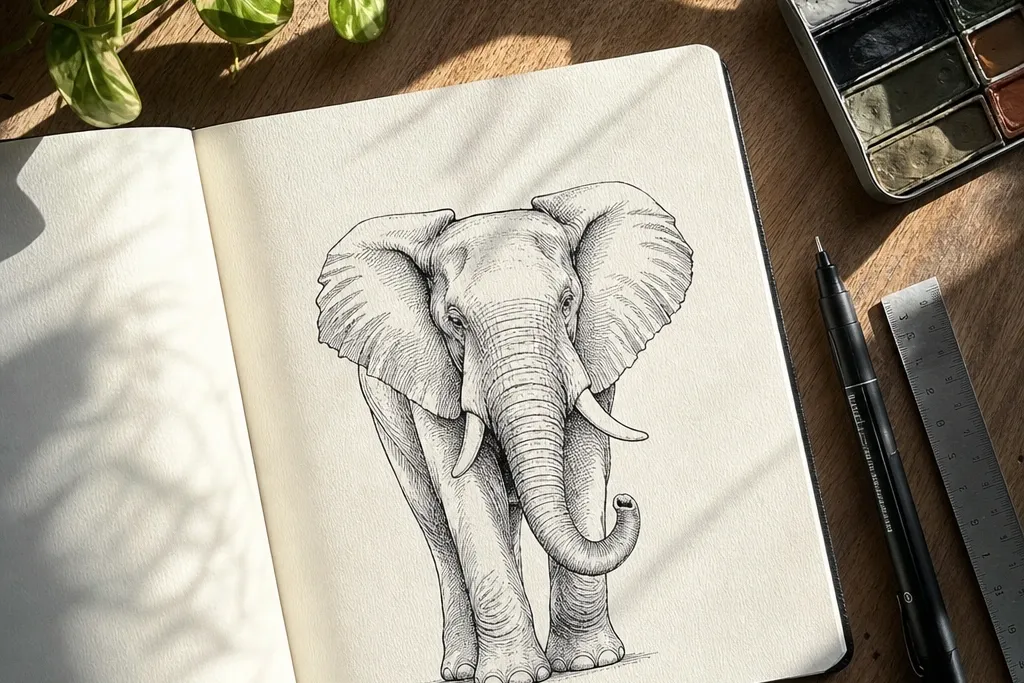
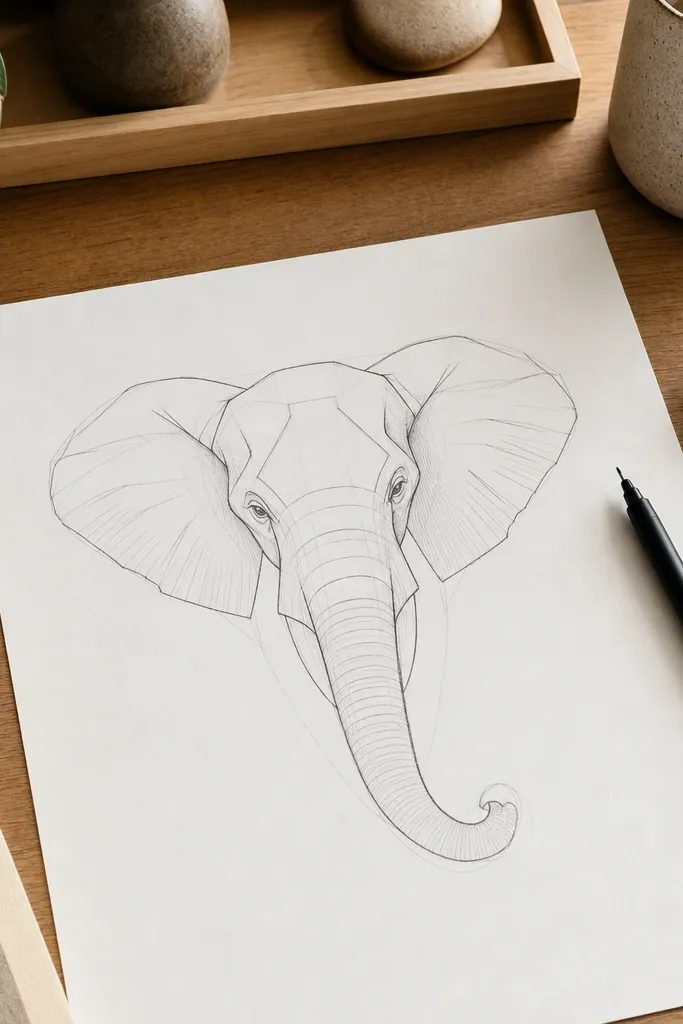
1. Single-Line Trunk Curl Elephant
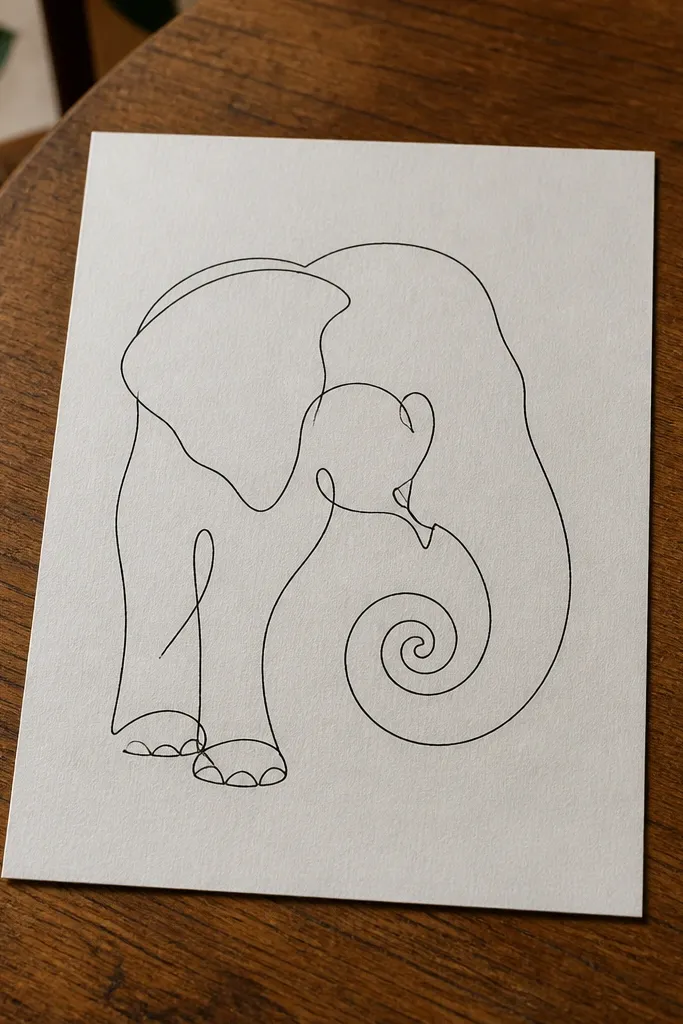
This is the cleanest “look expensive fast” elephant line drawing. The whole design is built from one continuous contour line, so your drawing reads as intentional instead of unfinished. Place the trunk curl as the main focal point — the tight spiral-like curve pulls the eye and gives the drawing movement. Keep the eye small and placed slightly forward so the face feels alert, not sleepy.
Start at the top of the forehead and draw a smooth slope into the eye socket, then continue into the cheek line. Without lifting your pen, sweep down to form the trunk curl, then loop back for the tusk edge and end at the ear. Go back for only one extra line on the inside of the trunk if you want separation. Finally, thicken the trunk outer curve with a slower pass so it pops against the page.
Slow down on the trunk curl. A confident curve reads better than lots of tiny wiggles.
Don’t add extra lines everywhere — the single-line look breaks when you over-detail.
2. Two-Weight Face Outline with Shadow Line
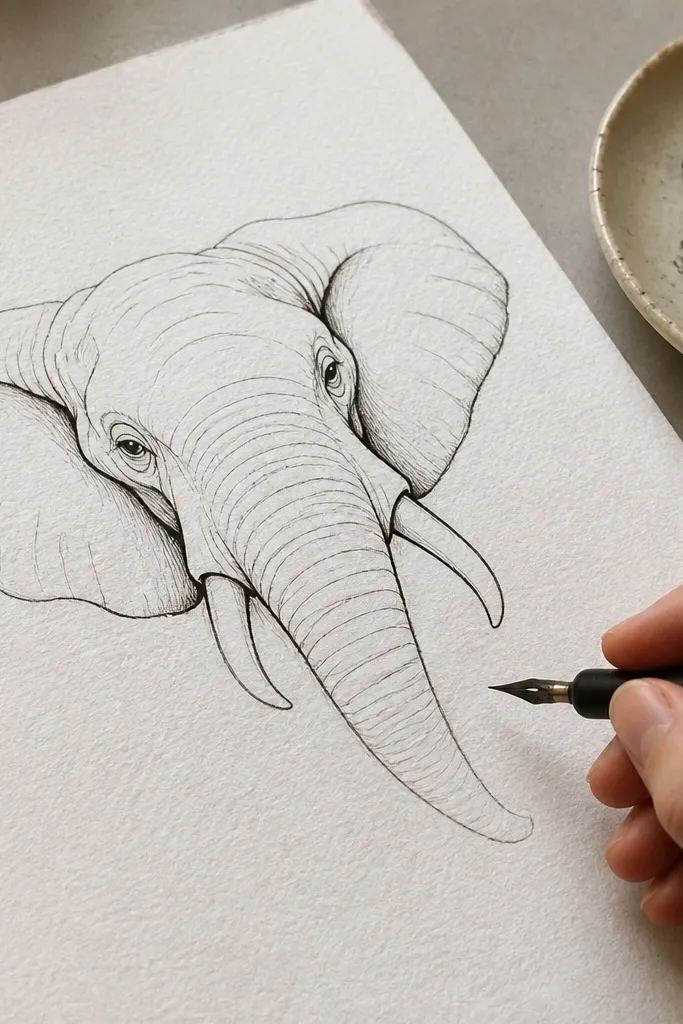
Draw the full head in one weight first: forehead slope, eye, cheek, tusk edge, ear wrap, and trunk base. Switch to a thicker fineliner (or press harder) and add a single shadow contour under the ear and down toward the trunk. Add one short interior line to define the mouth crease — just a few millimeters. Finish by tracing the trunk outer edge once more with the darker line.
This one makes elephants look dimensional without shading. You draw the outer contour in a lighter line, then add a second shadow line only on the “farther” side of the face — usually under the ear fold and along the trunk base. It gives you that clean, gallery print vibe because the contrast is controlled. Keep the ear outline airy and the tusk edge thin so the shadow line does the heavy lifting.
AvoidAvoid random thickening around the whole face; it kills the crisp, intentional contrast.
Pro tipChoose one shadow side and commit. If both sides get thick, the drawing looks messy.
3. Ear-Forward Minimal Elephant Profile
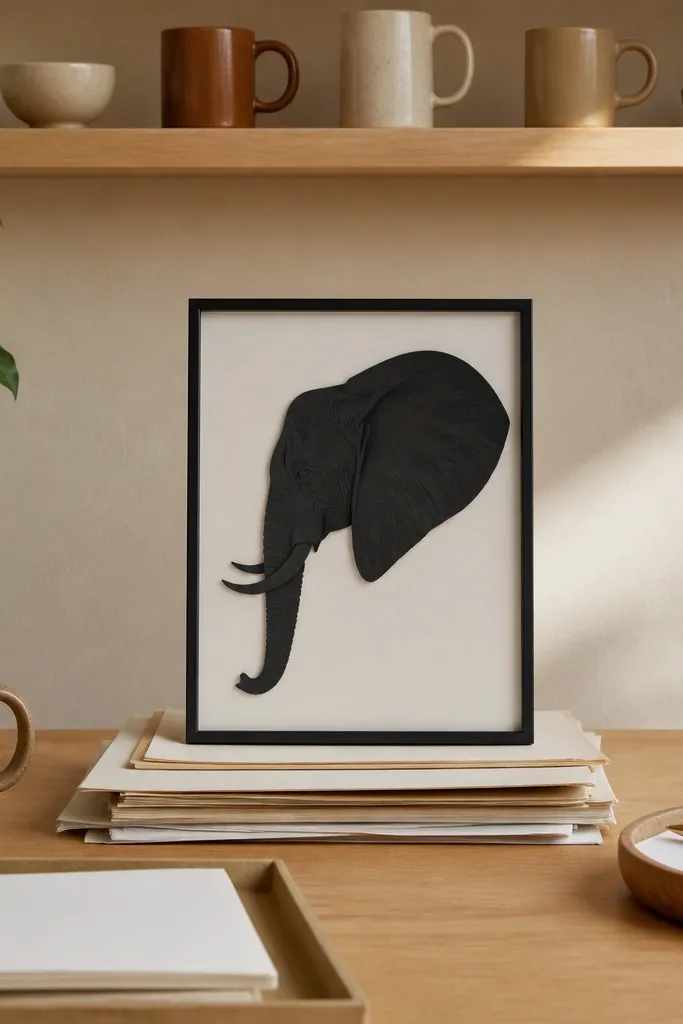
If you want a bold, aesthetic profile that fits small frames, make the ear the hero. Most people draw an elephant like a blob because they focus on the trunk first; this flips the order. Start with a large ear shape that wraps behind the head, then use short, confident lines for the tusk and trunk. The result looks graphic and modern, especially with black ink on cream paper.
Sketch the head as a simple wedge: forehead slope and jaw line. Add a large ear outline behind the head, then place the eye as a small dot or tiny oval on the front edge. Draw the tusk as a single curved line from the jaw, then connect it to the trunk line that dips and curls. Darken the ear outer edge slightly and leave the inside ear line light.
Keep the ear edges smooth. A wobbly ear outline makes the whole profile look nervous.
Don’t turn the ear into a bunch of leaf veins — keep it clean for a modern look.
4. Mandala-Detail Elephant Face
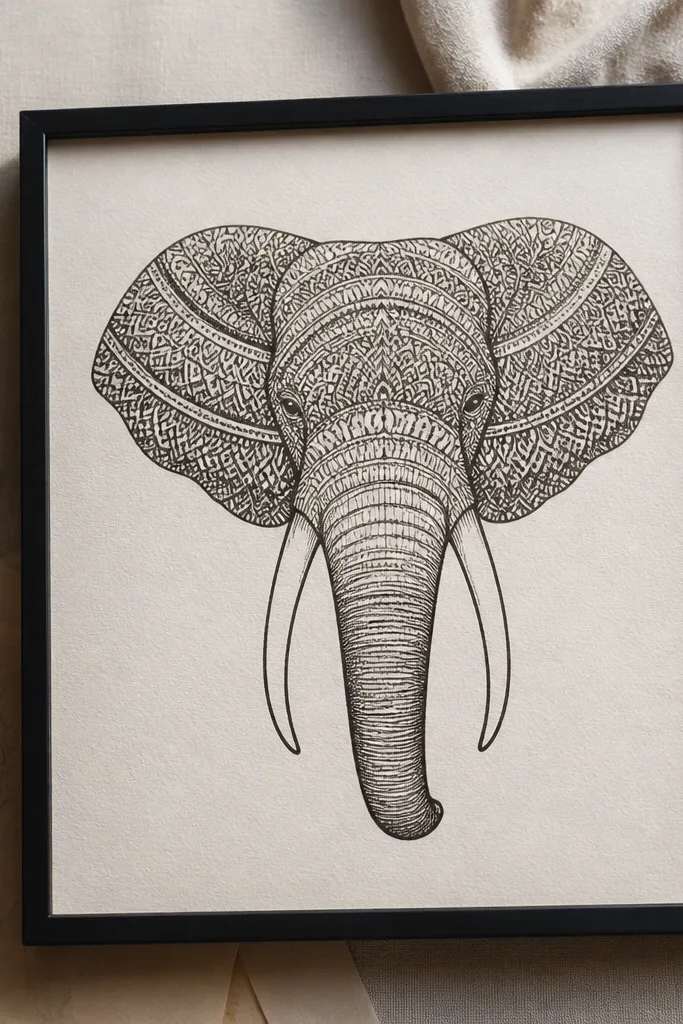
Start with a clean elephant head outline in thin fineliner: ear, eye, trunk base, tusk edge. Then add mandala arcs inside the ear — curved bands that follow the ear’s curve. Add a small cluster of concentric arcs on the forehead and a ring of tiny dots near the eye. Leave the trunk outline unpatterned so it stays readable.
This idea is for when you want the elephant drawing to look like art you’d buy, not a sketch. Use the elephant’s ear and forehead as “pattern zones” and keep the trunk and tusk simple. The patterns should echo the elephant shapes: curved bands in the ear, concentric arcs near the forehead, and tiny dots around the eye area. The contrast between simple silhouette and detailed pattern is what makes it photogenic.
AvoidDon’t pattern the trunk. It makes the drawing busy and hard to read.
Pro tipUse a ruler for dot placement if you want symmetry. Even a light guide improves the look.
5. Blind Contour Elephant + Minimal Background
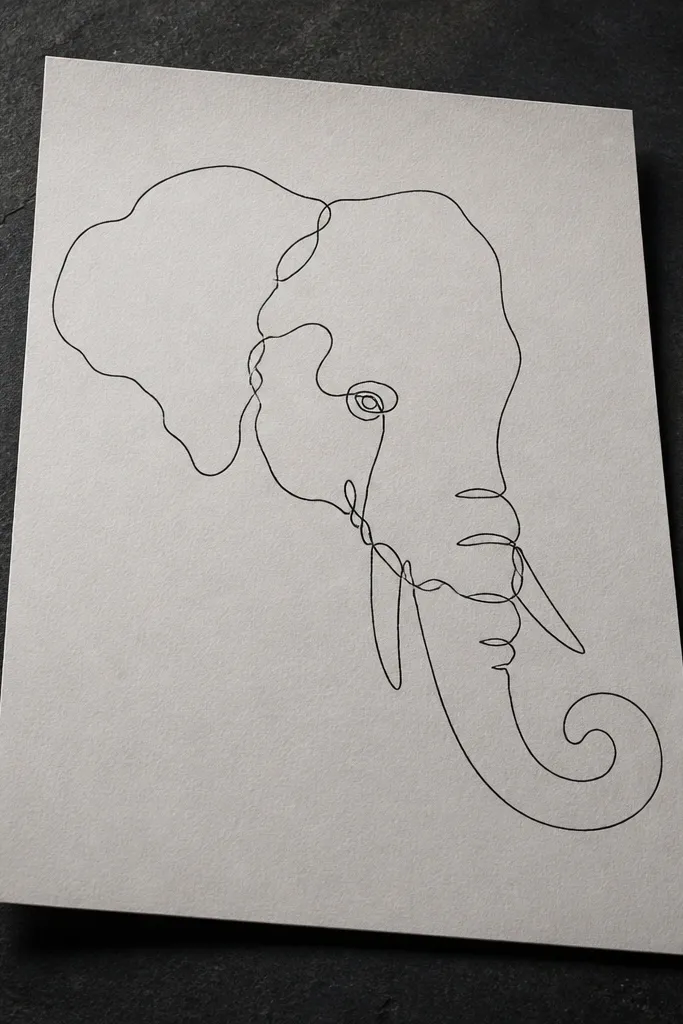
Use a single line and draw the elephant head without looking at your hand — start at the forehead and move through eye to ear and down to the trunk. Keep the line continuous even when it overlaps the trunk area. After the contour is done, add two simple background shapes like a curved oval or a rectangle corner using very light lines. Finally, darken the eye and tusk edge slightly to anchor the face.
Blind contour drawings look artsy because they’re imperfect in a controlled way. For elephants, the trick is to keep the contour shapes recognizable: forehead slope, eye socket, ear fold, trunk curl. Then add only one or two negative-space background shapes so the elephant doesn’t feel cramped. This is a great option for sketchbook pages because the final look comes from line confidence, not perfect anatomy.
AvoidAvoid shading with crosshatching. It will fight the blind contour vibe.
Pro tipIf your line breaks, restart and keep going. A new continuous line is cleaner than patching gaps.
6. Tusk-Only Line Elephant
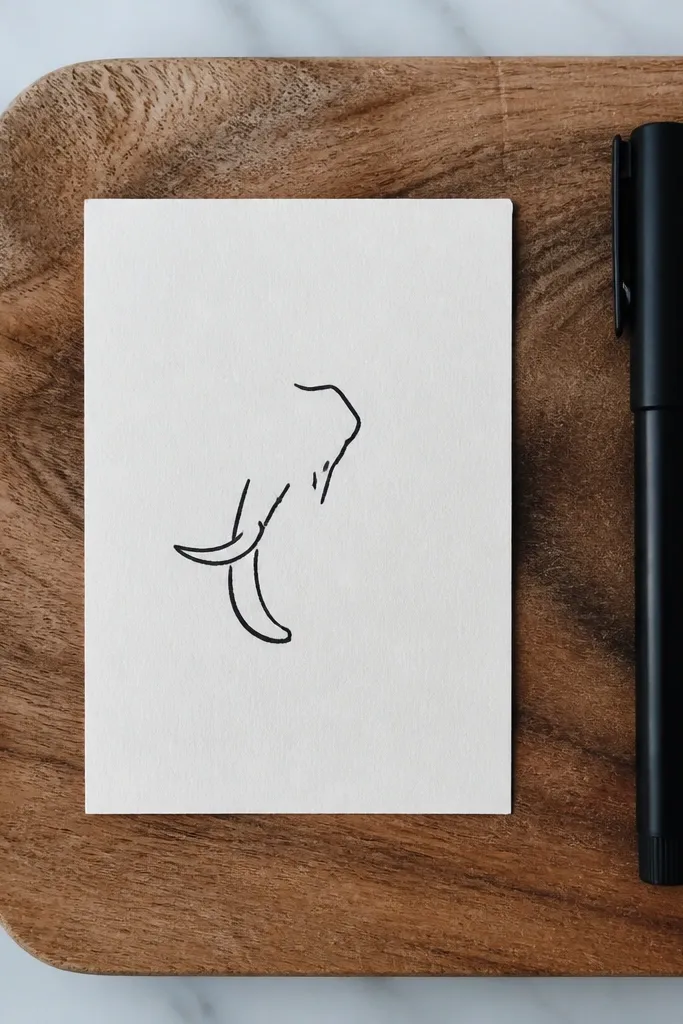
This is the minimalist trick that still reads as an elephant. You don’t draw the whole body — you hint at it using tusk curves, a trunk arc, and a tiny ear edge. The jaw and forehead can be implied with just two lines. It looks stunning as a small print because the negative space does the work, and the viewer’s brain finishes the silhouette.
Draw a curved tusk line that starts near where the jaw would be, then taper it slightly. Add a trunk arc that sweeps down and back up toward the jaw, leaving the inside of the trunk mostly blank. Add a short line for the ear edge — just enough to show the fold. Place a tiny eye dot on the forehead line and stop.
Keep the tusk line smooth and long. Short tusk lines look like random hooks.
Don’t add a full ear and full trunk. That turns it into a normal outline and loses the minimalist magic.
7. Geometric Elephant Head Outline
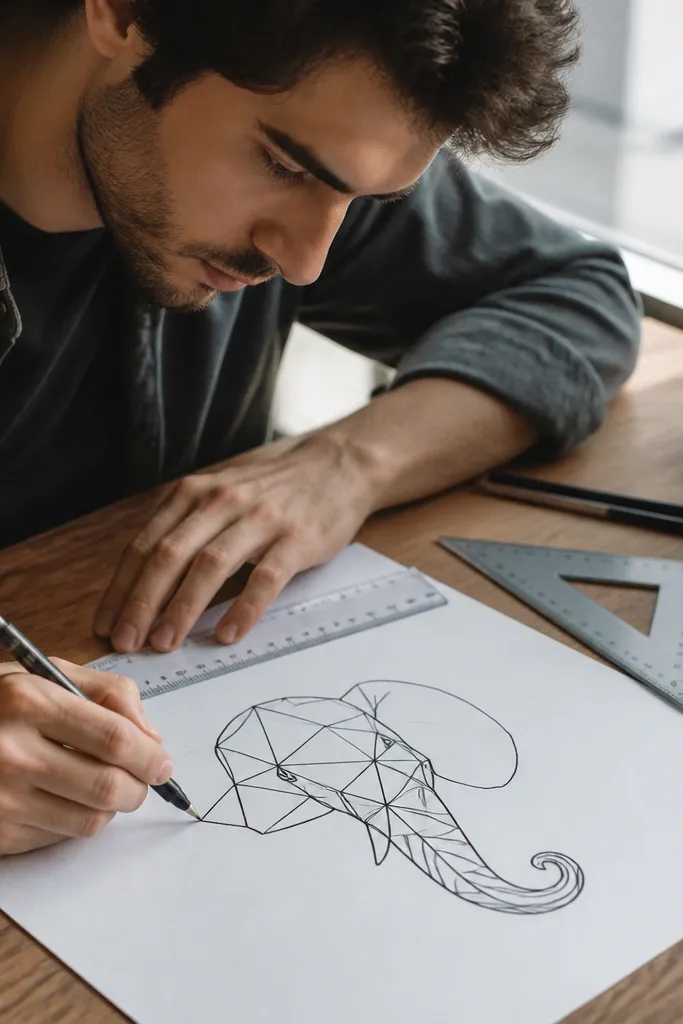
Geometric linework makes elephants look crisp and modern. Use straight-ish lines for the forehead wedge and jaw, then blend into curved lines only where it matters: trunk curl and ear edge. The beauty comes from the contrast between sharp geometry and soft organic curves. This is a strong choice for clean frames, stickers, and digital prints because it holds up at small sizes.
Sketch the head as a triangle-wedge for the forehead and a smaller wedge for the jaw. Use a curved line to connect the jaw to the trunk base, then draw the trunk curl as a smooth C-shape. Build the ear as a large rounded polygon: a few straight segments connected into a curve. Add the tusk as a single diagonal curve and finish with one eye dot.
Use a light pencil grid if you want symmetry. Then ink over with fineliner when it feels balanced.
Avoid over-rounding every edge. The geometric look needs at least a few sharp corners.
8. Elephant in a Circle Frame
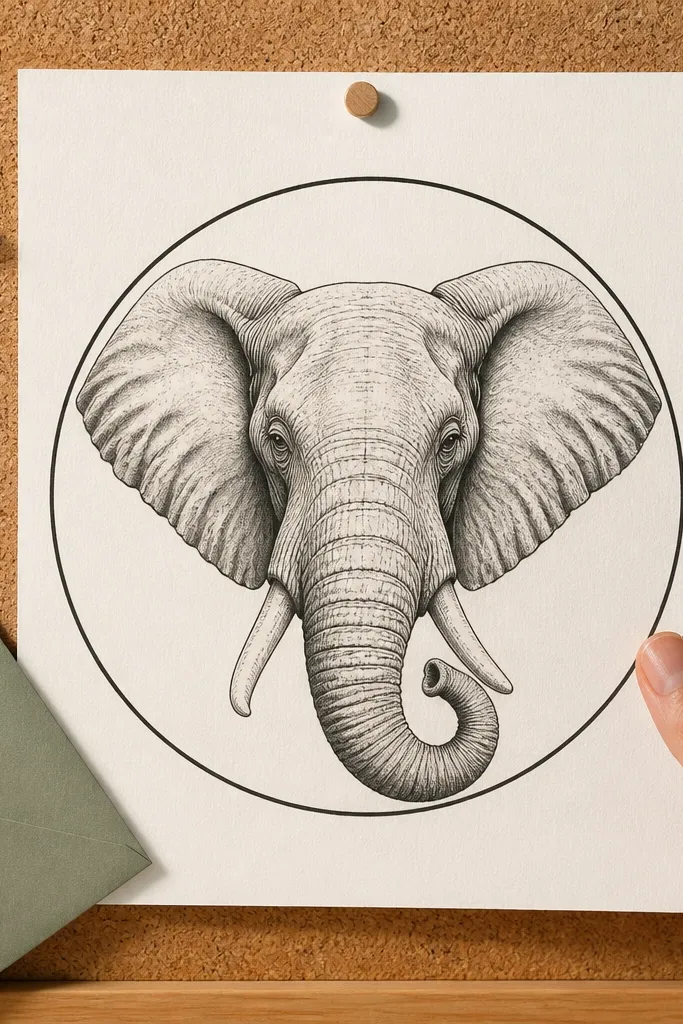
Draw a thin circle guideline first, lightly enough to erase later. Place the elephant head centered inside it: forehead slope, eye dot, ear wrap, tusk curve, and trunk line. Scale the trunk curl so it nearly touches the circle — not too far in. Ink the elephant lines, then trace the circle with a slightly thicker line for a clean border.
A simple frame makes your line drawing look like a finished design. Draw the elephant head inside a thin circle so the viewer’s eye stays centered, and use line weight to avoid clutter. Keep the ear and trunk close to the circle edge so the composition feels snug. This style looks great in printable formats and makes your elephant drawing feel intentional even if the lines are delicate.
AvoidDon’t crowd the ear and trunk against the border. Leave a small margin so lines don’t blur visually.
Pro tipErase the circle guideline before adding final ink if you used pencil. It keeps edges crisp.
9. Long-Form Trunk S-curve Elephant
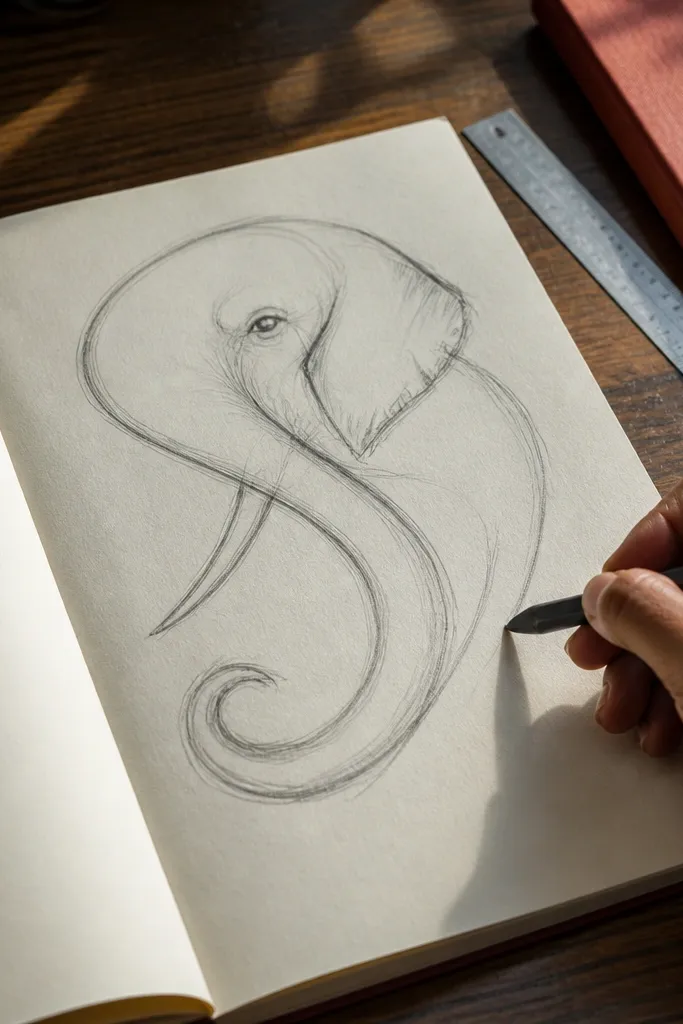
Start with the trunk S-curve: draw a smooth line that dips and rises, then connect the top end to the jaw area. Add the forehead slope and eye dot near the upper third of the curve. Draw the ear as a large rounded shape that sits behind the jaw. Finish with the tusk as a short diagonal curve and tighten the trunk edges with one extra pass.
The S-curve trunk line gives you motion and elegance without needing shading. This idea is built around one long trunk line that travels across the page, making it look like a continuous gesture drawing. Keep the rest of the face simplified: a small eye, one ear fold line, and a tusk that follows the trunk’s direction. It’s photogenic because the main line is dramatic and easy to read from a distance.
AvoidAvoid adding too many small trunk lines. One clean S is the whole point.
Pro tipUse a ruler to keep the S-curve smooth if your hand wobbles. Only guide at first, then freehand.
10. Elephant Footprint and Trunk Hand-Drawn Set
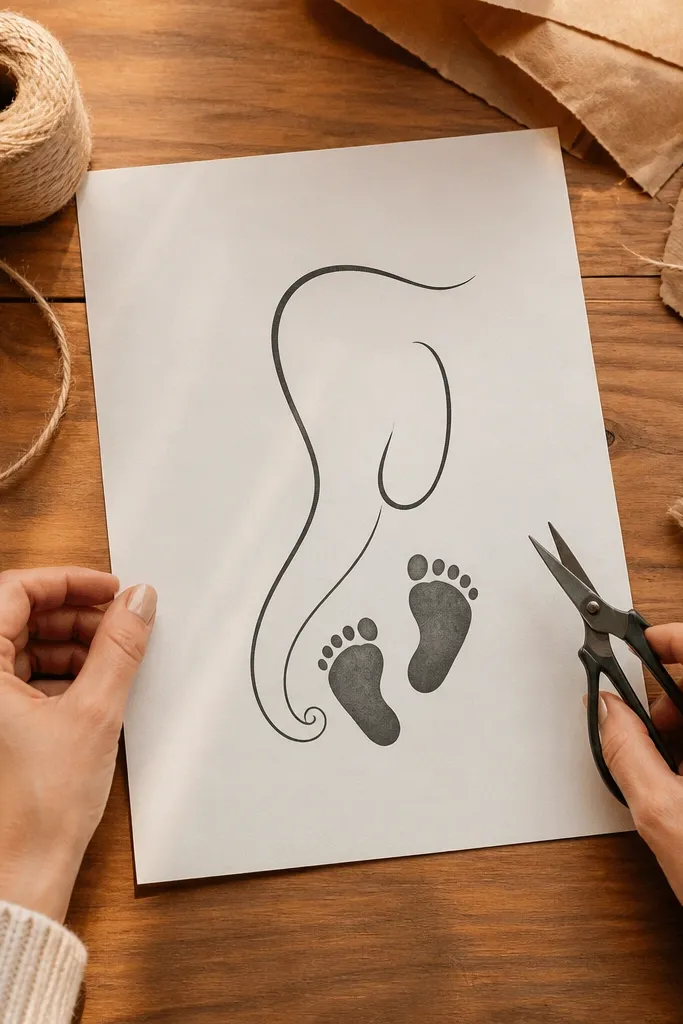
Draw the elephant trunk line first, making it curl into the composition like a ribbon. Then add one footprint underneath — a simple oval with three toe bumps and one heel bump. Add a second footprint smaller and slightly offset to suggest direction. Finally, draw a minimal head edge above the footprints and connect it to the trunk so the set feels unified.
This is a design idea, not just a face drawing. Pair the elephant trunk line with one or two simplified footprint shapes, and you get a mini scene that looks intentional on a page. The trunk line can be delicate and flowing, while the footprints anchor the composition. It’s especially good for wall art because it reads as a theme, not an isolated sketch.
AvoidDon’t add full legs and body. The footprints should stay simple for the clean look.
Pro tipKeep the footprints lighter than the trunk line. That keeps the focal point on the elephant shape.
11. Elephant Face with Crosshatch Shadow Bands
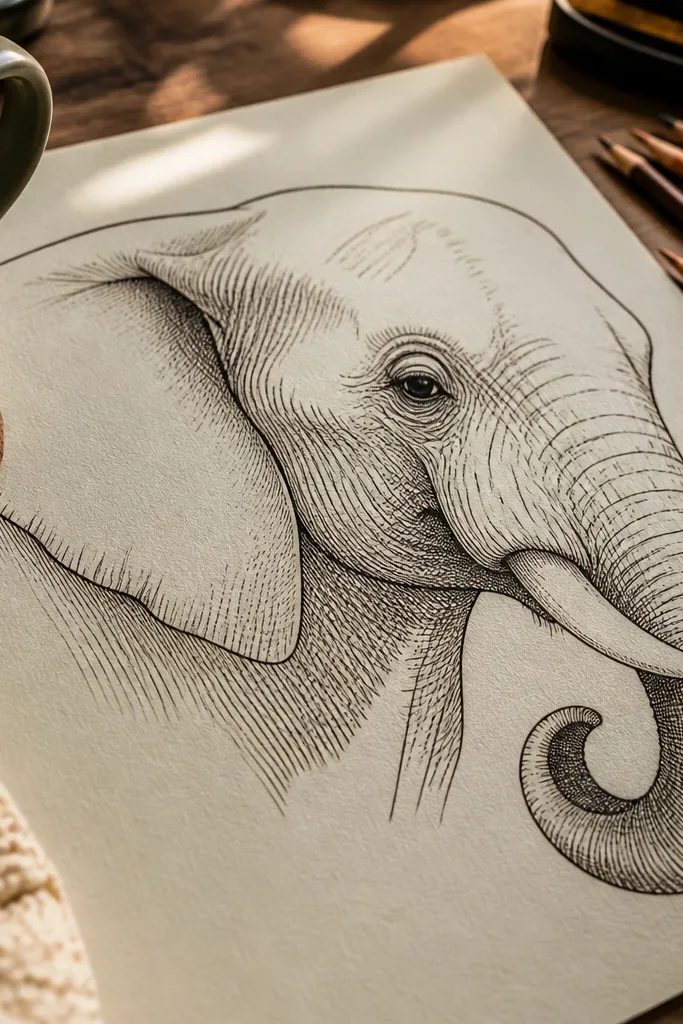
Ink the elephant head outline first with a fineliner — forehead, eye, tusk, ear, and trunk base. Choose one shadow region, like the cheek under the eye, and add crosshatch lines that run in one direction. Then add a second direction only in that region to form the crosshatch. Keep hatch density higher near the trunk base and lighter toward the edge.
Want a line drawing that looks more like illustration? Use crosshatch bands, not random scribbles. Place the hatch lines in controlled areas: under the ear fold, along the cheek, and inside the trunk curve. Keep the hatch spacing consistent so the texture looks intentional. This style is great if you want contrast that prints well in black and white.
AvoidAvoid hatching the entire ear. It turns into a dark blob instead of a clean illustration.
Pro tipUse a light touch for the first hatch pass. You can always add more, but you can’t un-scratch the paper.
12. Elephant Profile with Patterned Ear Border
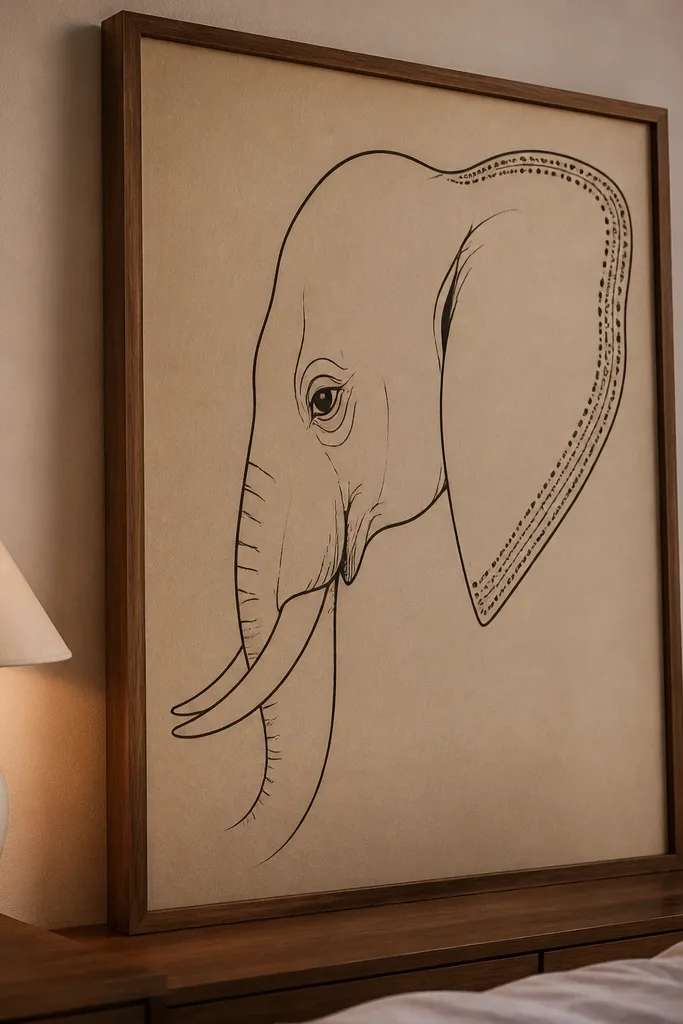
This is a stylish compromise between minimalist and detailed. You keep the face lines clean and then add a patterned border along the ear edge like a decorative trim. The pattern should stay within the ear outline so it looks designed, not accidental. This idea is photogenic because it frames the elephant silhouette and gives the drawing a clear style signature.
Draw the elephant profile: forehead slope, eye dot, cheek line, tusk curve, and trunk line. Outline the ear normally, then replace the ear outer edge with a repeating pattern like small arcs or tiny triangles. Keep the pattern scale consistent — about the width of the eye dot repeated. Finish by thickening the tusk edge slightly and leaving the trunk line thin.
Make one pattern test strip on scrap first. If your triangles look messy there, fix the pattern before you ink the ear.
Don’t add patterns anywhere else. The ear border is the whole aesthetic.
13. Elephant Head and Leaves Line Motif
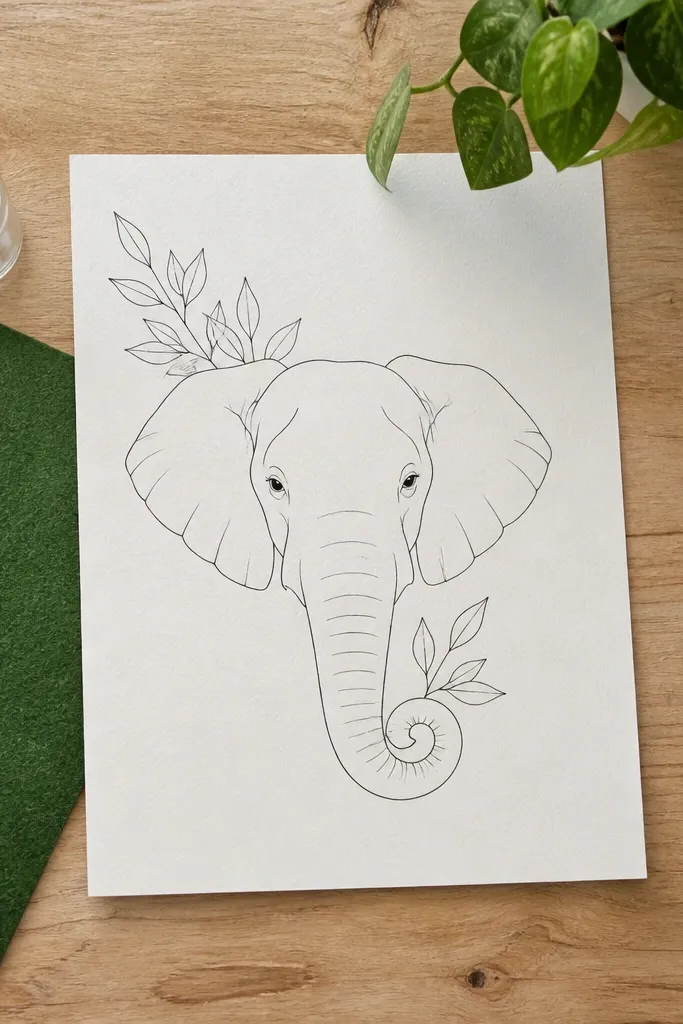
Adding a leaf motif makes the elephant drawing feel airy and design-forward. Keep the elephant line consistent and let the leaves vary in size for a natural composition. The best look is when leaves tuck behind the ear and trail near the trunk curl, guiding the eye through the drawing. This style works well for greeting cards and printable decor where the empty background matters.
Draw the elephant head outline first, leaving space around the ear and trunk. Add a few leaf sprigs behind the ear using simple teardrop leaves connected by a single stem line. Extend one longer leaf trail near the trunk curl so it echoes the curve. Finally, ink all lines and add one small dot cluster near the leaf base for extra visual rhythm.
Use two leaf sizes only. Too many sizes makes it look like random doodles.
Avoid filling the whole page with leaves. A few well-placed sprigs look intentional and clean.
14. Elephant Line Drawing on Grid Paper Look
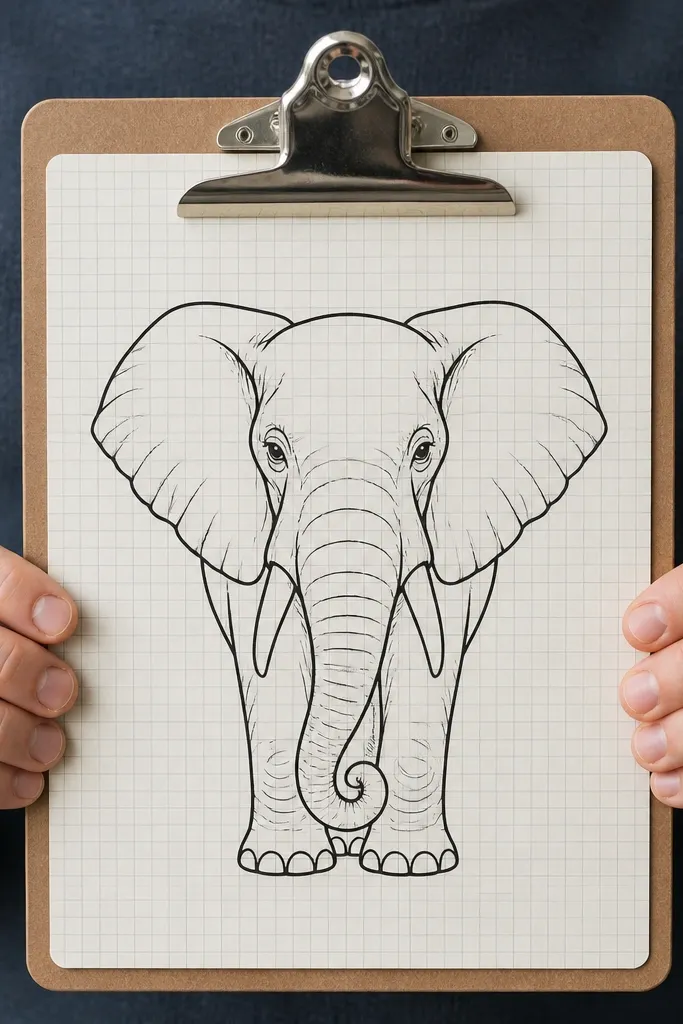
The grid-paper look turns a simple line drawing into a graphic print. You ink the elephant cleanly, then keep the light grid visible so the drawing feels structured and modern. This is a great way to get a perfectly centered composition without measuring everything by hand. It also helps you keep proportions consistent, especially for the ear placement and trunk curve.
Lightly mark a grid on your paper using a pencil — 1 cm squares is easy. Sketch the elephant head within the grid, placing the eye on a grid intersection and keeping the ear spanning two to three squares. Ink over the elephant lines with a fineliner, staying inside your sketch. Leave the grid pencil lines visible, or erase lightly after inking if you want a cleaner look.
Ink first, then decide about erasing. If you erase too early, smudges can dull the lines.
Don’t make the grid too dark. Heavy grid lines fight the elephant ink.
15. Elephant Face with Minimal Contour + Tiny Dots
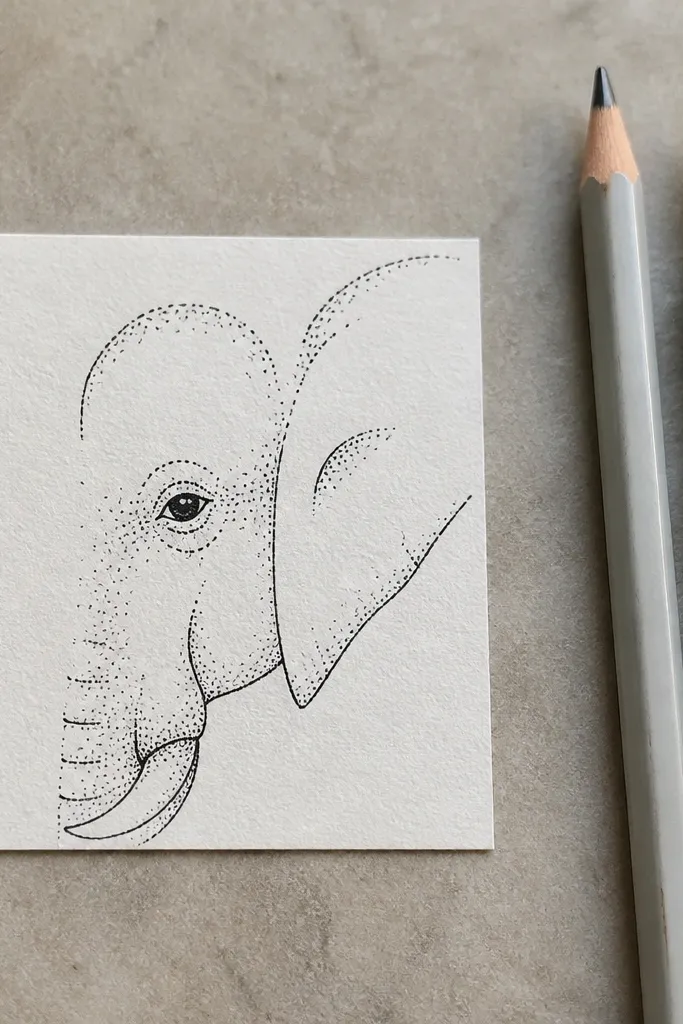
This is the “tiny detail, big charm” option. You keep the contour lines minimal — forehead, eye, ear fold, tusk edge, trunk base — and then add dot clusters as texture accents. The dots make the face feel alive without cluttering the silhouette. It’s especially photogenic on white paper because the dots create a soft gradient effect through spacing, not heavy shading.
Draw a clean minimal elephant head outline with thin fineliner, keeping the trunk line simple and smooth. Place the eye as a small filled dot, then add a tiny cluster of dots under the eye on the cheek. Add another small dot cluster inside the ear near the fold line. Finish by adding a few dots along the trunk base where the face meets the trunk.
Use a dot spacing rule: keep dots about the width of the fineliner tip apart for a consistent look.
Avoid random dots everywhere. Keep them in 2-3 controlled zones.



