
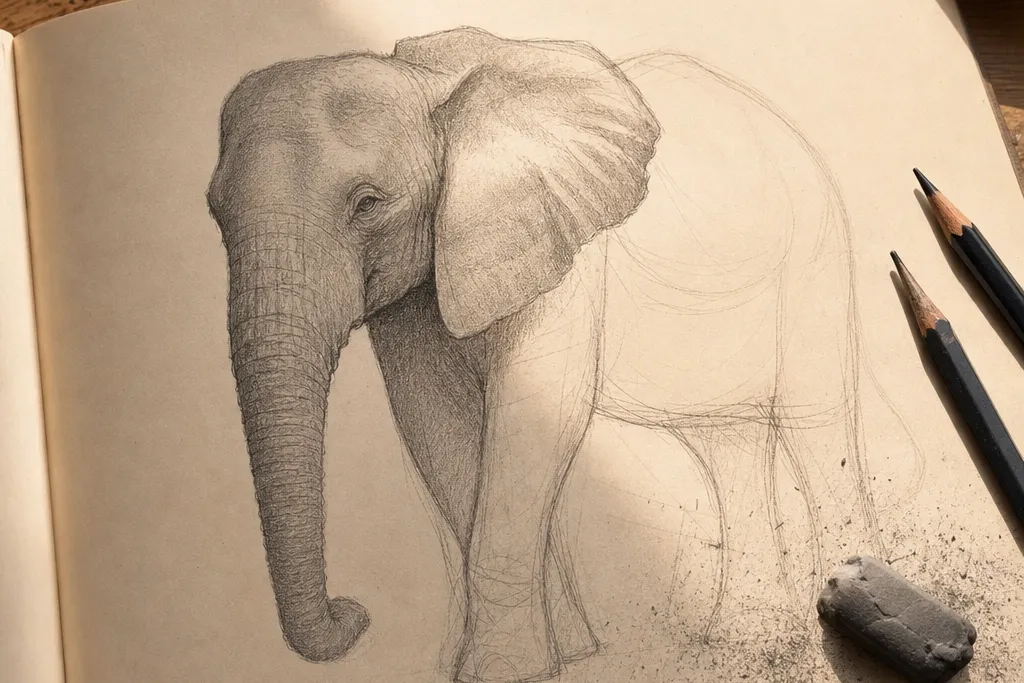
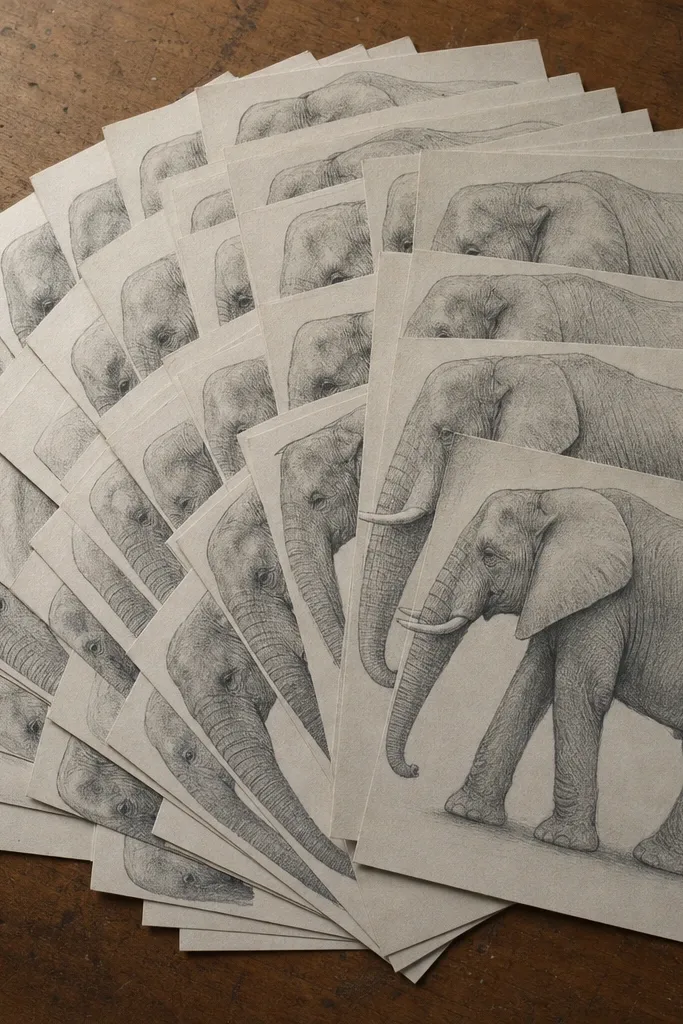
1. Grid-square baby elephant face with 3-value shading
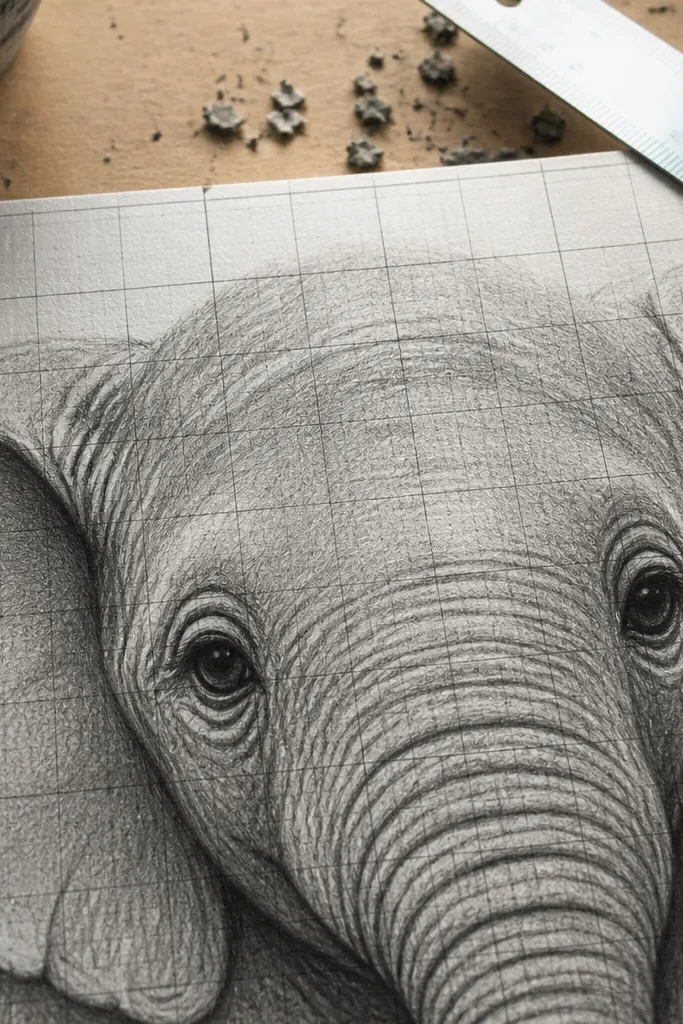
This one trains proportion fast because the grid turns “guessing” into measured placement. Start with a tight face crop so you can focus on the eye, the cheek bulge, and the trunk base without getting lost in the whole body. Use only three values: light paper, a midtone wash with 2B, and deep folds with 4B. The look stays clean and photogenic because you’re not over-rendering — the highlights keep the skin from flattening. It’s great for beginners who want results without spending hours on texture.
Step 1: Lightly draw a square grid on your paper (like 4x4 or 5x5), then sketch the elephant face inside the grid using big shapes only. Step 2: Place the eye first, then draw the trunk curve from the lower edge of the face toward the center line. Step 3: Add midtones with 2B, then use 4B only in the deepest crease and under the cheek fold; leave some highlight areas untouched. Step 4: Use a kneaded eraser to lift small highlight edges along wrinkle ridges.
Pro tipMark the trunk tip placement with a single line before shading, so the curve stays confident.
AvoidDon’t blend everything — keep most transitions soft by using light midtone layers, not smearing.
2. Side profile trunk spiral with controlled highlight edges
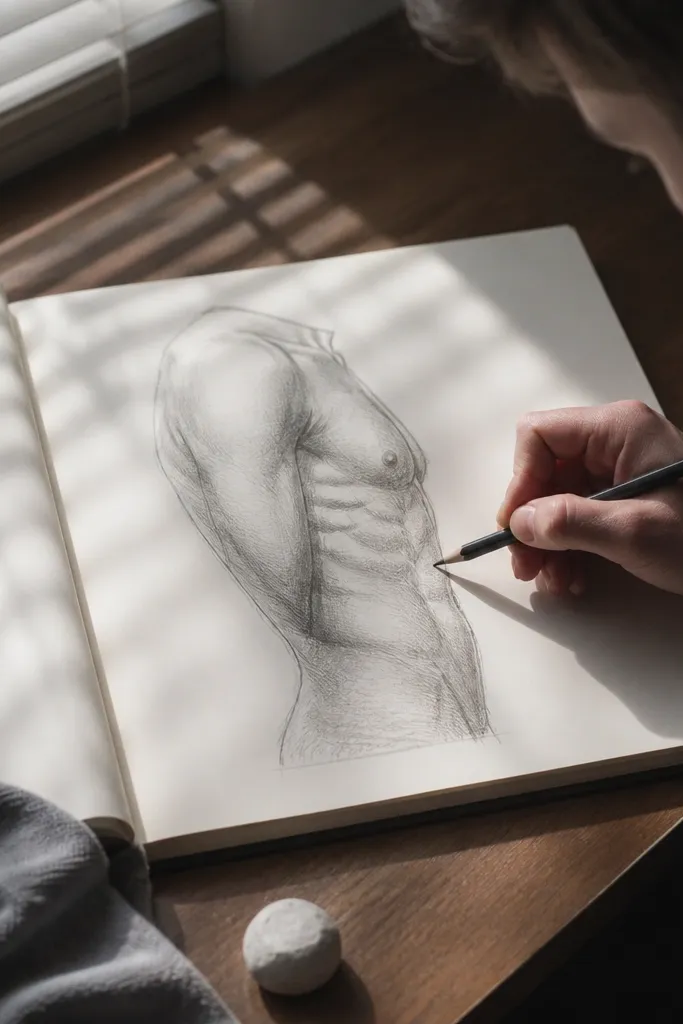
Side profile is where trunk drawing either looks elegant or turns into a sausage. This setup forces you to treat the trunk like a cylinder that curls, not a flat ribbon. The photogenic part is the highlight strategy: you keep a bright ridge line along the trunk curve and you shade the underside fold shadows under it. When the highlight stays consistent, the trunk looks dimensional even if the skin texture is light. Do this after you can place the eye and jawline without major wobble.
Step 1: Draw a simple silhouette outline in thin HB lines, focusing on the head mass, jaw bump, and the trunk spiral. Step 2: Add a centerline down the trunk to show the cylinder’s turn, then block shadows on the underside using 2B. Step 3: Deepen the major crease where the trunk touches the face with 4B, then lift a narrow highlight with a kneaded eraser along the top curve. Step 4: Use short, directional strokes to suggest skin folds only where they intersect the trunk cylinder.
Pro tipRotate your pencil in your hand so the strokes follow the trunk’s curve — it makes the highlight look intentional.
AvoidDon’t shade the entire trunk evenly; uneven value is what makes the curl read as 3D.
3. Ear plane study with triangle planes and soft gradients
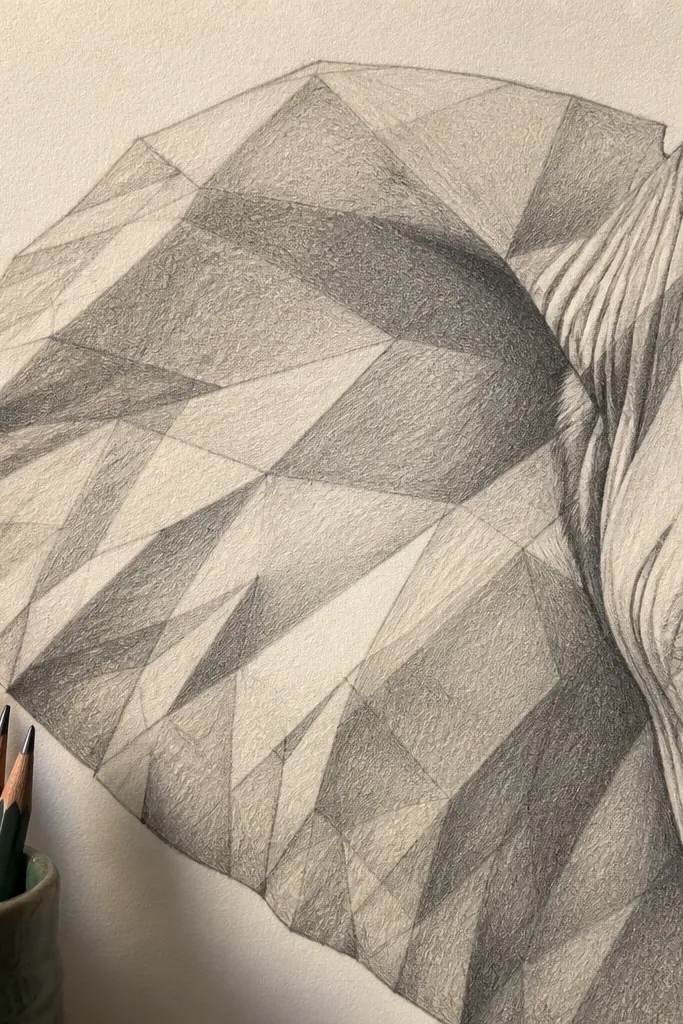
Elephant ears are all about planes. If you treat the ear like a single shape, it looks like a flat leaf. This practice makes the ear look sculpted by breaking it into overlapping triangles and wedge-like planes that you shade with gentle gradients. The look is clean because you’re not filling every crease; you’re showing where light hits and where skin folds overlap. It’s a strong mid-level exercise that improves the silhouette and makes your elephants instantly more believable.
Step 1: Sketch the ear outline lightly, then draw two or three internal wedge lines that show plane changes. Step 2: Shade one plane at a time with 2B, keeping the light side closer to paper and the shadow plane darker. Step 3: Add 4B only in the fold junctions where planes meet, then blend with a paper stump or soft tissue for a short distance. Step 4: Keep one small highlight area unblended so the ear looks glossy-dry rather than dusty.
Pro tipPress lighter on the outer ear edge and darker near the fold junctions — that gradient reads as form.
AvoidAvoid outlining every fold; plane shading does more for realism than lots of crease lines.
4. Tusk angle practice with value ladder
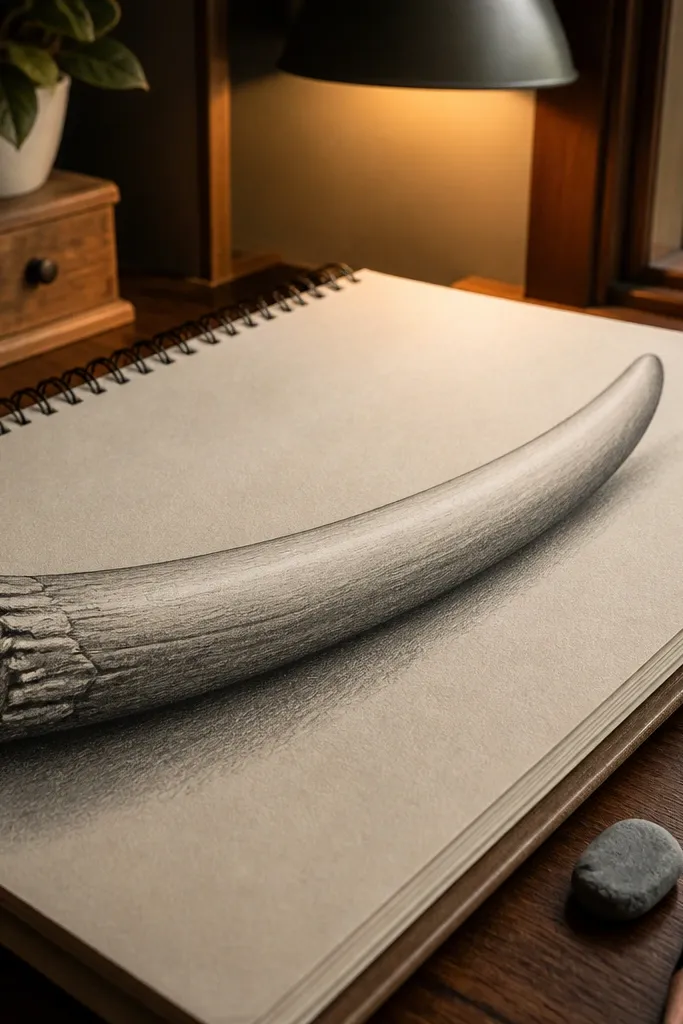
Tusks are simple shapes, but they’re tricky because they curve and catch light. This drawing teaches you to control a value ladder — from untouched paper highlight to midtone to sharp dark edge. The photogenic effect comes from clean tusk edges and smooth internal shading that suggests curvature. You’ll also learn spacing: tusks should sit in relation to the mouth opening and the head tilt, not floating randomly. This is a short, focused practice that pays off in every elephant portrait.
Step 1: Draw the head mass in light HB, then block tusks as two tapered curves with a shared base point. Step 2: Create a small value ladder on the side of your page (4 steps) so you know what your 2B and 4B should look like. Step 3: Shade tusks with 2B for the broad form, then use 4B for the inner edge shadow and the contact shadow near the mouth. Step 4: Lift a thin highlight stripe along the tusk curve with kneaded eraser.
Pro tipKeep the tusk highlight narrow and continuous; wide highlights look chalky and flatten the form.
AvoidDon’t draw tusk texture lines everywhere — use shading edges instead.
5. Shoulder and leg cylinder blocks with wrinkle stripes
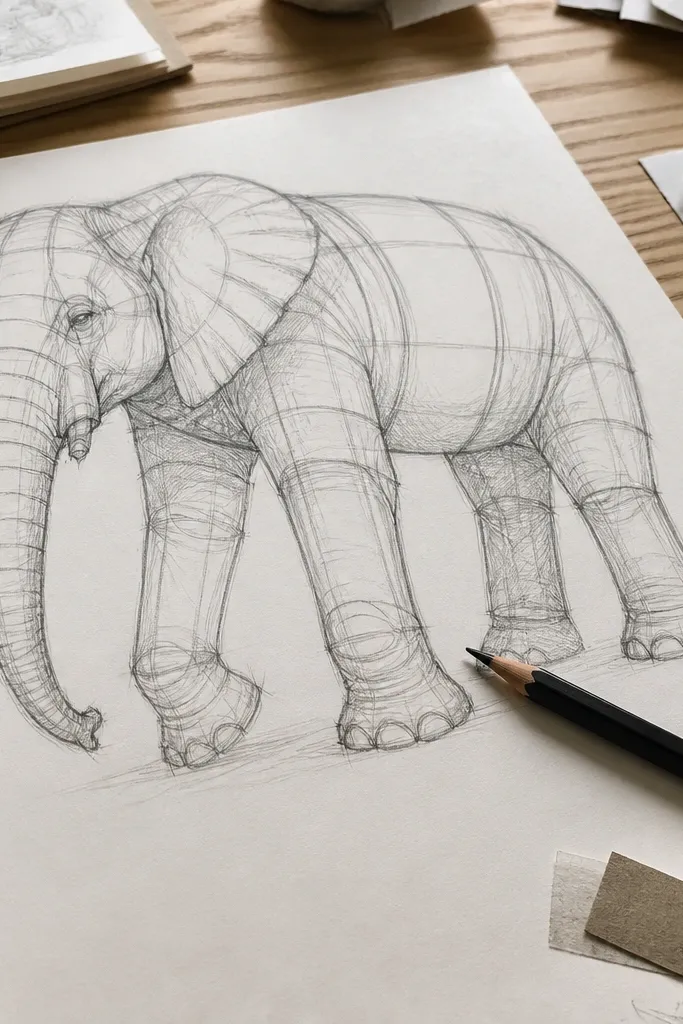
This setup fixes the most common elephant problem: the body looks like a blob. By constructing shoulders and legs as cylinders and boxes, you anchor weight and volume. Then you add wrinkles as stripes that wrap around the form, not as random marks. The result is a drawing that looks structured and “designed,” even when texture is minimal. It’s great for mid-level practice because it teaches you how to place folds in the right direction.
Step 1: Sketch the torso as a big rounded block and each leg as a cylinder with a slight twist in the knee area. Step 2: Add wrinkle direction lines that wrap around the cylinders using light HB — keep them tangent to the form. Step 3: Shade the underside shadows with 2B, then deepen fold valleys with 4B. Step 4: Use a kneaded eraser to create a few bright ridges where the folds catch light.
Use one light source direction for the whole page and commit to it — it stops the wrinkles from contradicting each other.
Don’t start with detailed wrinkles; structure first, then fold lines.
6. Back view hip folds with soft vignette shadow
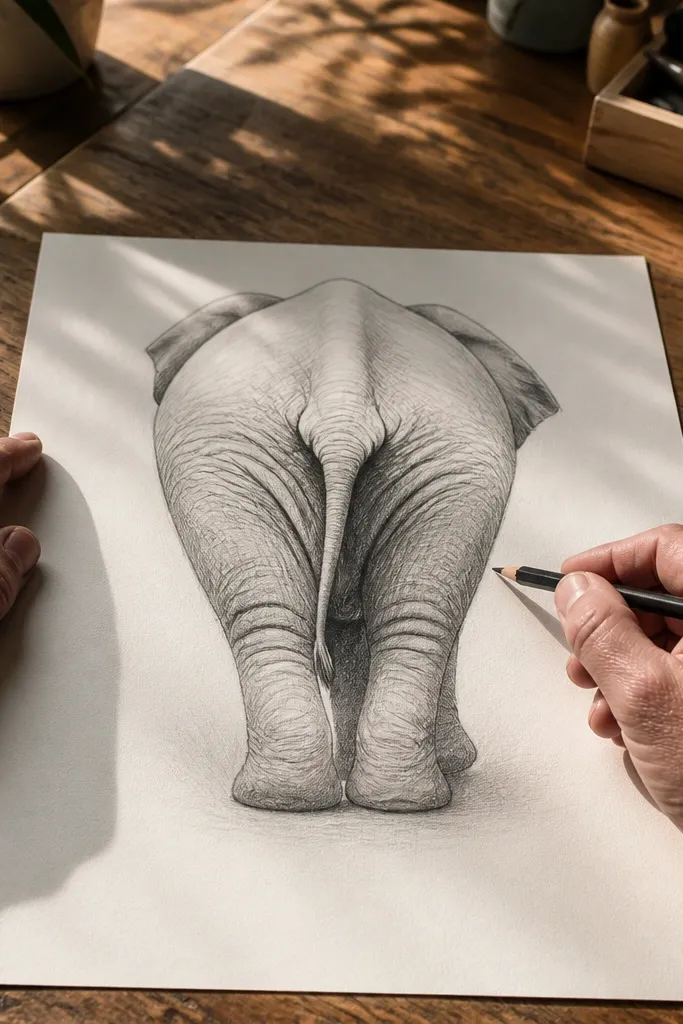
Back views teach you how shadows travel across curved skin. This drawing uses a soft vignette — darker at the fold center, lighter toward the edges — so the elephant reads as a 3D mass. It’s visually striking because the hip area has lots of layered folds, and you can keep them elegant with limited value range. You’ll learn where to place the darkest crease lines and how to keep the rest as smooth gradients. This is ideal when your earlier drawings look too harsh or too scratchy.
Step 1: Block in the hip and upper back as two large rounded shapes and place the tail base in the correct spot. Step 2: Shade the main shadow mass under the folds with 2B, then add 4B only at the deepest crease points. Step 3: Blend transitions gently with a tissue, keeping the outline of the fold ridges lighter. Step 4: Add a faint background shadow vignette around the silhouette to make the elephant pop.
Leave the outer fold edges slightly lighter than the center fold lines; that contrast gives the layers depth.
Avoid hard outlines around every fold; it turns the drawing into a coloring page.
7. Front-facing trunk and mouth with negative space teeth
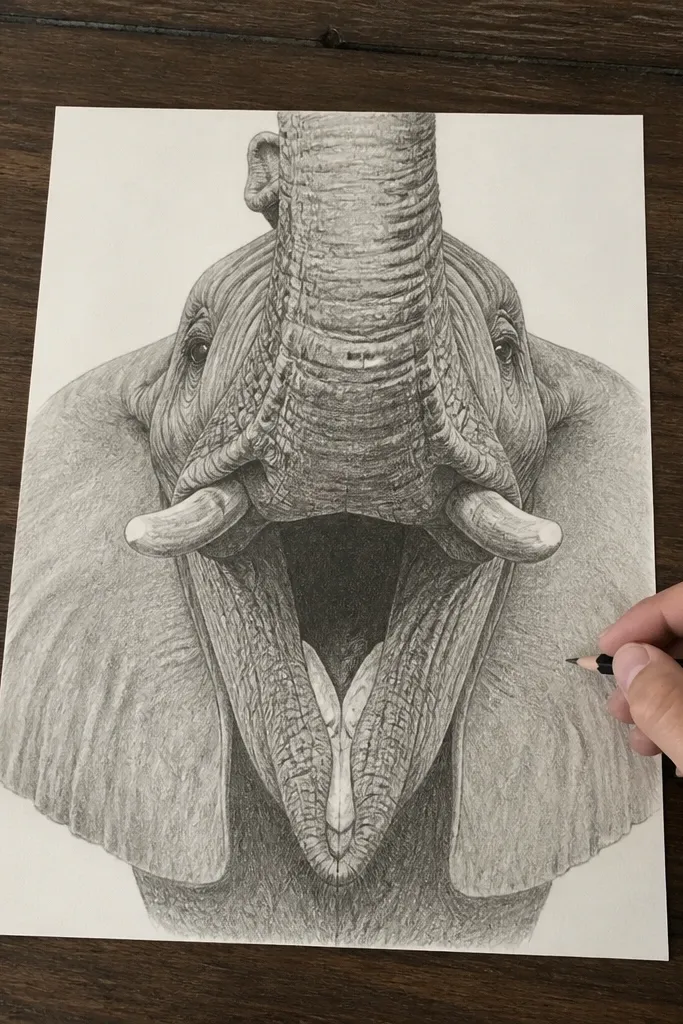
Front-facing elephants look simple until the mouth and trunk get messy. This practice makes the mouth read by using negative space for teeth and using the trunk’s underside shadow as the anchor. The look is clean and graphic: the mouth opening is a dark shape, the teeth sit as lighter negative shapes, and the trunk curve frames everything. You’ll improve your ability to keep symmetry without copying it blindly. It’s a rewarding exercise because small value choices make a huge difference in expression.
Step 1: Draw the face outline and lightly mark a center line. Step 2: Place the mouth opening first as a curved dark shape, then sketch the trunk edge around it. Step 3: Shade the mouth interior with 4B, leaving tooth spaces as paper highlights. Step 4: Add 2B midtones on the cheeks and trunk, then lift a highlight ridge on the trunk top edge.
Pro tipIf symmetry feels off, correct it by adjusting the mouth curve — it controls the whole face read.
AvoidDon’t outline teeth; rely on the dark mouth shape and the negative tooth spaces.
8. Close-up wrinkle map with three thicknesses of lines
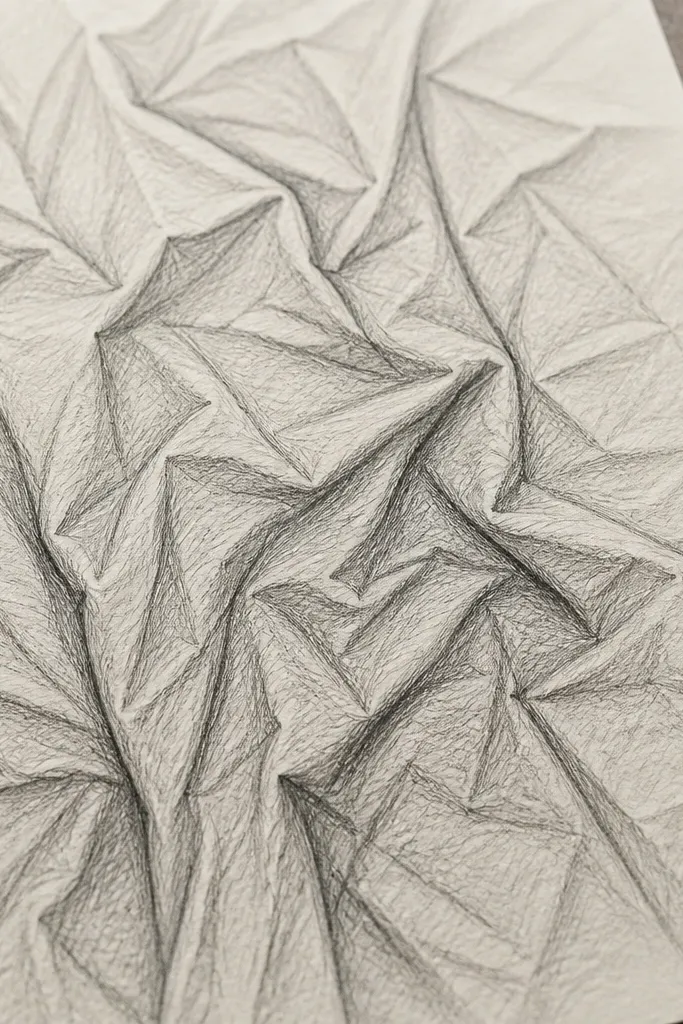
This is a texture-first drill that makes your wrinkles look intentional. You’ll draw a close-up patch of skin and treat wrinkles like ridges with thickness: light pressure for outer ridges, medium for fold boundaries, and dark for deep valleys. The photogenic result is crisp structure without clutter. You’ll learn that wrinkles have direction and overlap, not just patterns. Do this when your elephants look “spotted” with random marks instead of layered skin.
Step 1: Choose a small area of the elephant — cheek, trunk base, or ear fold — and draw a tight rectangle frame. Step 2: Sketch wrinkle ridges with HB, then assign each ridge a thickness category before you shade. Step 3: Apply 2B to ridge shadows and 4B only in the deepest valleys; blend minimally. Step 4: Use kneaded eraser to carve narrow highlight ridges along a few folds.
Pro tipTurn your page slightly while drawing — it keeps your wrinkle lines aligned with the skin’s flow.
AvoidAvoid filling the whole area with texture; leave some smooth skin between wrinkle clusters.
9. Elephant calf study with simplified silhouette and one shadow shape
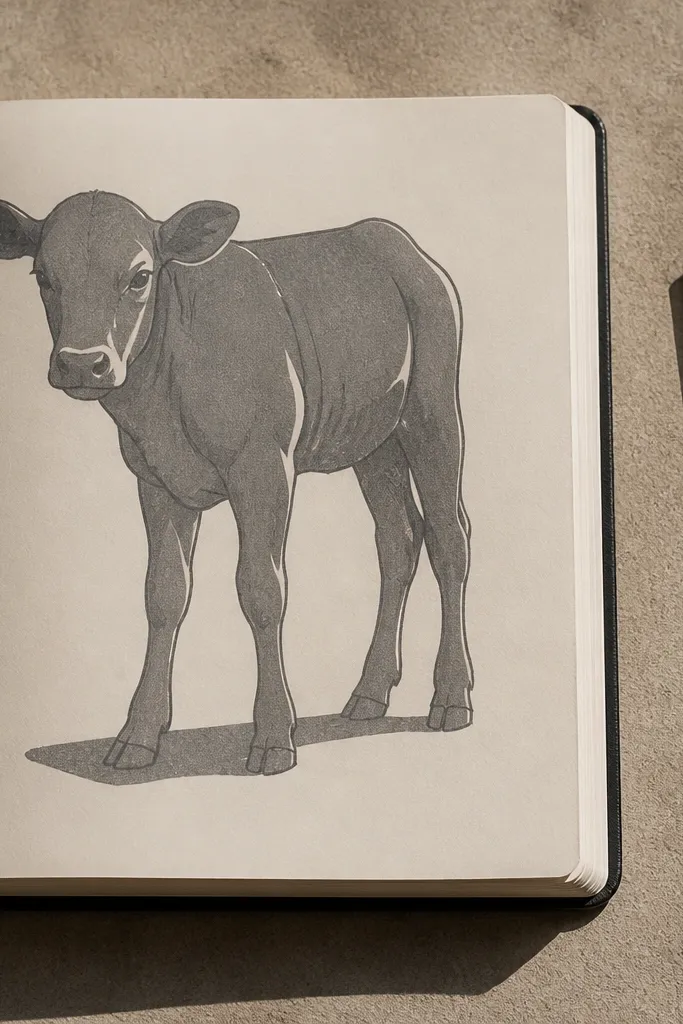
If your drawings look overworked, this forces restraint. You’ll draw a calf or small elephant using a simplified silhouette and one big shadow shape that wraps around the body. Wrinkles are suggested with a few directional lines, not rendered everywhere. The look is bold and graphic, and it photographs well because the values are clear. You’re training your eye to see form before detail, which makes later texture work faster and cleaner.
Step 1: Sketch the full elephant silhouette in very light lines, focusing on proportions of head-to-body and leg spacing. Step 2: Block the main shadow mass as one curved shape on the underside using 2B. Step 3: Add 4B only along the deepest fold that separates shadow from light, like under the belly fold. Step 4: Use a kneaded eraser to keep a crisp edge highlight on the body’s light side.
Pro tipKeep your outline light; let the shadow shape define the form.
AvoidDon’t add lots of small wrinkles before the big shadow is correct.
10. Trunk thickness study using ellipse cross-sections
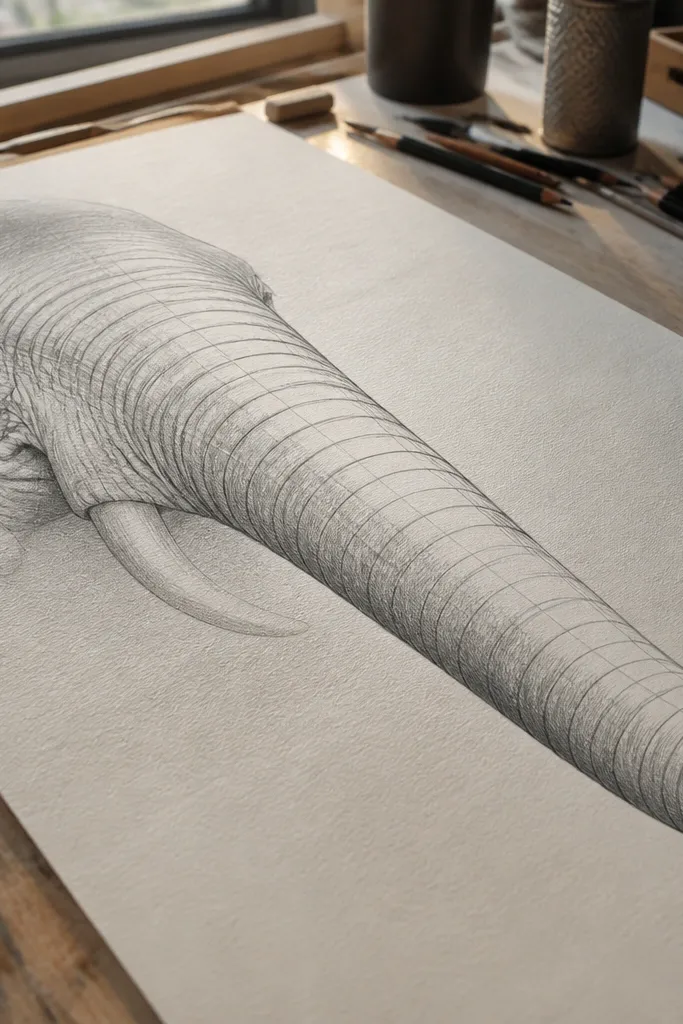
Many elephant trunks look flat because they lack thickness cues. This drawing solves that by adding ellipse cross-sections along the trunk — you’re basically mapping the cylinder’s rotation. The result is a trunk that looks like it has volume, not like a line drawing. Shading becomes predictable: one side is darker, the other stays lighter, and the highlight ridge follows the ellipse orientation. It’s a great drill for pencil practice because it forces measurable form rather than decorative texture.
Step 1: Draw the trunk outline lightly and place 3-5 ellipse cross-sections along its length. Step 2: For each ellipse, decide which side faces the light and shade that side lighter with 2B. Step 3: Shade the opposite side with 2B and deepen the underside fold with 4B where the trunk curves inward. Step 4: Lift a highlight ridge on the light-facing side using a kneaded eraser.
Pro tipMake the ellipses slightly rotated — if they all look the same, the trunk won’t twist convincingly.
AvoidDon’t skip the ellipses — the whole point is giving yourself thickness cues.
11. Elephant eye placement drill with eyelid shadow block
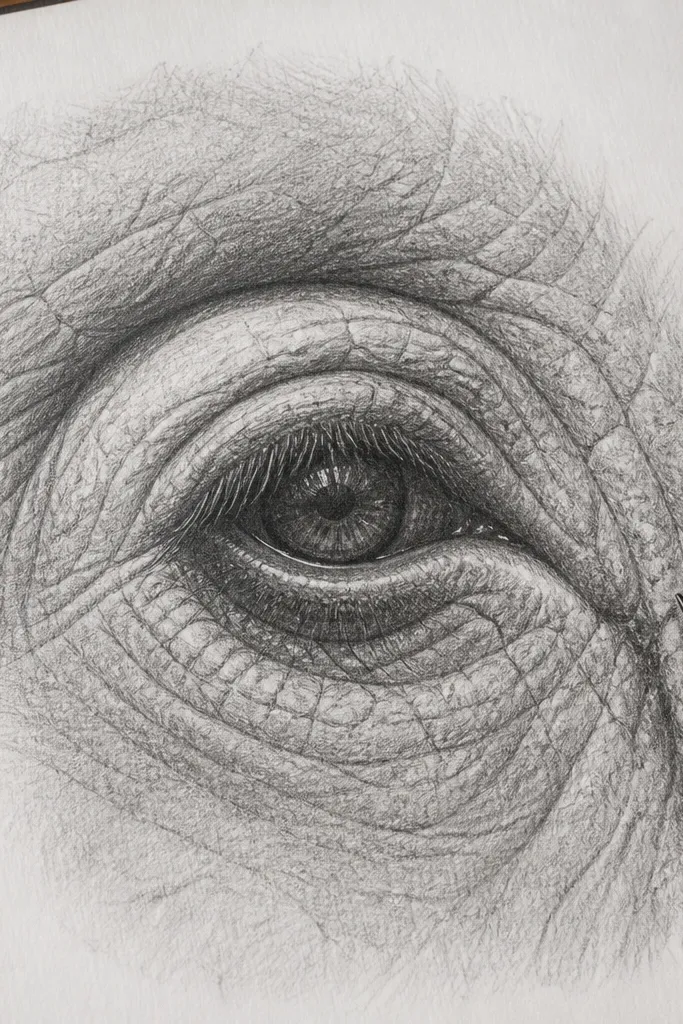
A lot of elephant drawings fail because the eye and eyelid shadow are vague. This drill makes the eye believable with a simple structure: eyeball shape, eyelid rim, and a shadow block under the lid. The look is clean and sharp, and it makes the elephant’s expression read instantly. You’ll also learn how to keep the eye highlight small and placed correctly. This is a fast, high-return practice that improves every portrait.
Step 1: Sketch the head plane and mark the eye socket with a light circle or oval. Step 2: Draw the eyelid rim and place the pupil so it sits slightly under the lid shadow. Step 3: Fill the eyelid shadow under the lid with 4B, keeping the eyeball highlight as untouched paper. Step 4: Use 2B to glaze midtones around the eye and cheek fold.
Keep the pupil darker than you think, but keep the highlight tiny and crisp.
Avoid drawing eyelashes or tiny skin specks; structure beats decoration here.
12. Standing legs perspective with toe and hoof shadow
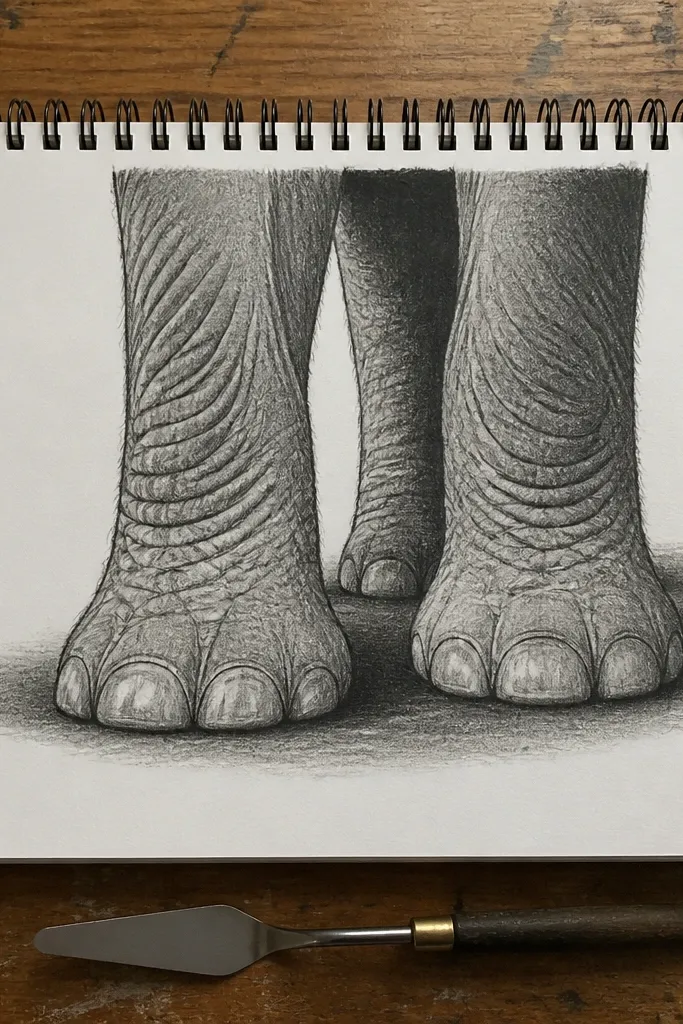
Perspective on elephant feet is where realism breaks. This drawing targets the ground contact: how the toes sit, how the hoof shadow pools, and how leg cylinders taper into the foot. When you nail that, the whole elephant looks grounded and less floaty. The aesthetic payoff is strong because the dark ground shadow and the leg value gradient create contrast. You’ll learn to keep edges clean at the contact points and softer along the leg sides.
Step 1: Draw the ground line lightly, then sketch two legs in perspective as tapering cylinders with feet blocks at the bottom. Step 2: Add the toe/hoof shapes as curved forms and draw the contact shadow as a single dark mass with 4B. Step 3: Shade the underside of each leg with 2B and blend only near the shadow boundary. Step 4: Lift a thin highlight along the leg’s outer edge to separate form from background.
Make the hoof shadow slightly wider than the foot shape; it reads as weight.
Don’t place the shadow directly under the center of the foot — contact shadows have shape.
13. Elephant trunk-to-leg overlap with cast shadow logic
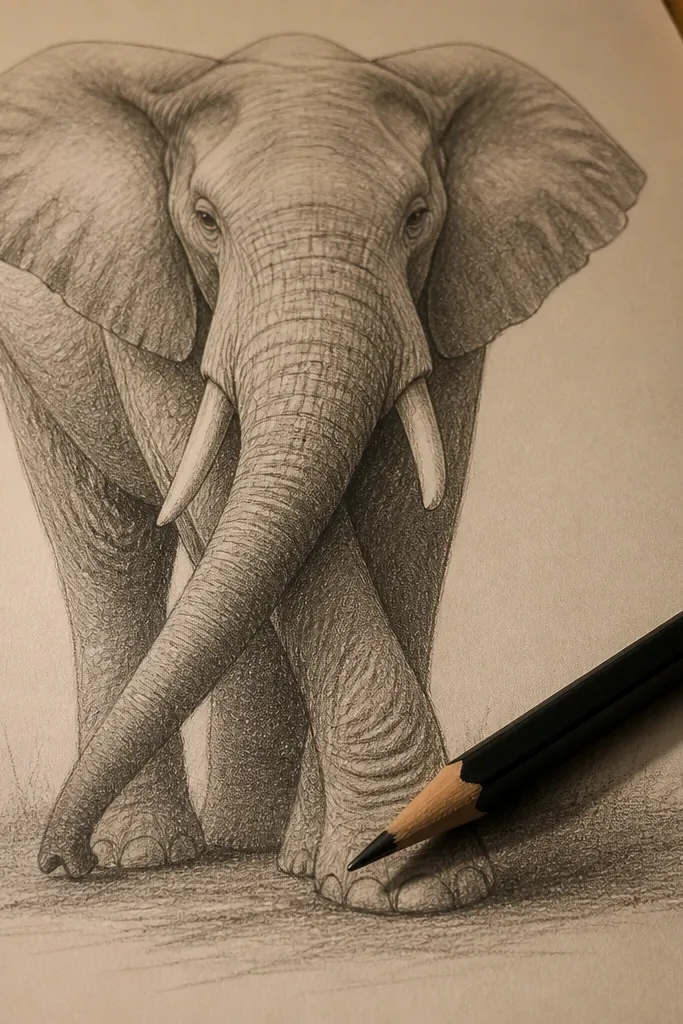
Overlaps teach your brain depth. This setup has the trunk crossing toward the legs so you must draw cast shadows where one form blocks another. The result looks more “3D” than any texture-only practice because your shadows explain what’s in front. It’s also photogenic because overlapping silhouettes create strong graphic shapes. Use limited values and crisp shadow edges for the overlap zones, then soften transitions elsewhere. This is a great step when your elephants look flat even though you’re shading wrinkles.
Step 1: Block the elephant head and trunk shape, then place the legs behind using lighter lines. Step 2: Identify overlap areas and draw cast shadows as dark shapes on the leg surface with 4B. Step 3: Add 2B midtones on trunk and leg, keeping the shadow side darker. Step 4: Lift small highlights on the trunk ridge so it pops off the cast shadow area.
Pro tipDraw the cast shadow first as a simple silhouette; then shade inside it.
AvoidAvoid shading the overlap area the same way as the rest of the skin — cast shadows are darker by design.
14. Elephant head round mass with ear-and-trunk silhouette only
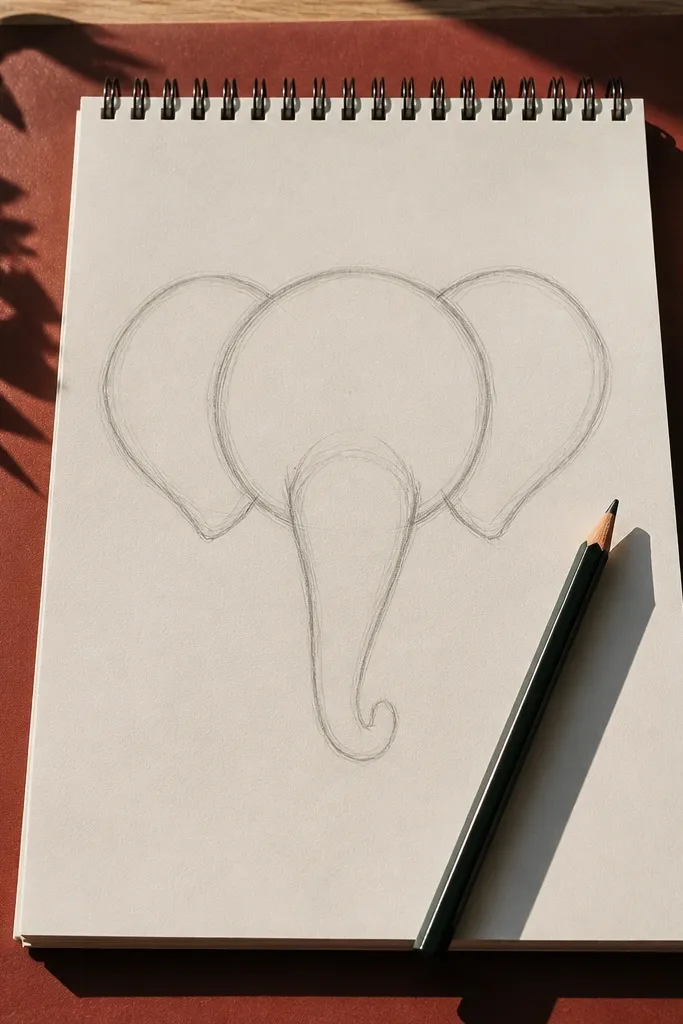
This is a silhouette discipline exercise. You’ll start with a round head mass, then add ear and trunk as separate silhouette shapes before any wrinkle texture. The look is striking because the head reads instantly from a thumbnail — that’s the whole point. After that, you add a single midtone shading pass to give volume. This makes your practice pages cleaner and more consistent, especially if your earlier sketches looked busy.
Step 1: Draw a large head circle/oval in HB and sketch ear and trunk outlines as solid-looking shapes. Step 2: Erase lines that don’t belong to the silhouette so the outline stays crisp. Step 3: Shade the head volume with 2B in one direction, leaving the light side lighter. Step 4: Add 4B only under the ear base and under the trunk contact point, then stop.
Pro tipKeep the ear and trunk edges bold — silhouette clarity is what makes the page look “finished.”
AvoidDon’t start with wrinkle lines before the silhouette is correct.
15. Wrinkle ridge crosshatch with paper-stump blending limits
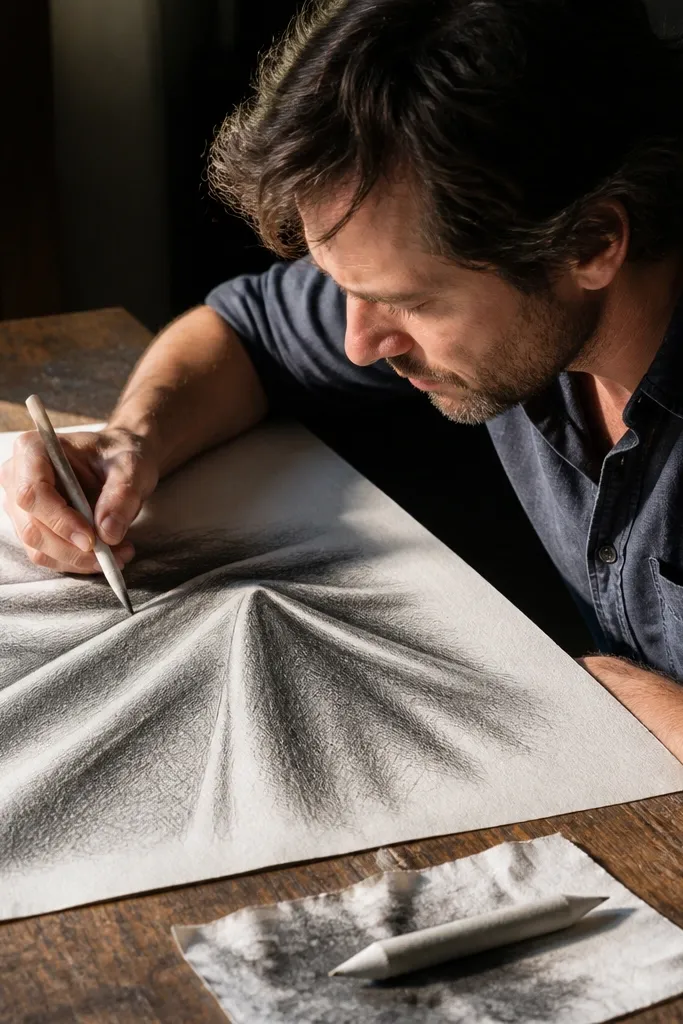
This drawing teaches texture control without turning into a gray blur. You’ll use crosshatch for wrinkle direction, then blend only the shadow masses with a paper stump. The photogenic part is the contrast between crisp hatch direction and soft shadow pools. When you lift highlights with kneaded eraser after blending, the ridges pop and look like layered skin. This is ideal if your shading looks either too scratchy or too smudged.
Step 1: Sketch the wrinkle ridges direction with HB, keeping them spaced. Step 2: Add crosshatch strokes with 2B that follow the ridge direction, darker in valleys. Step 3: Blend only the midtone shadow areas with a paper stump for a short time. Step 4: Lift a few highlight ridges with kneaded eraser so the texture reads clearly.
Blend in short passes — if you press hard, the crosshatch disappears.
Avoid blending over your highlight plan; highlights should stay clean.
16. Elephant portrait with soft background fade and edge separation
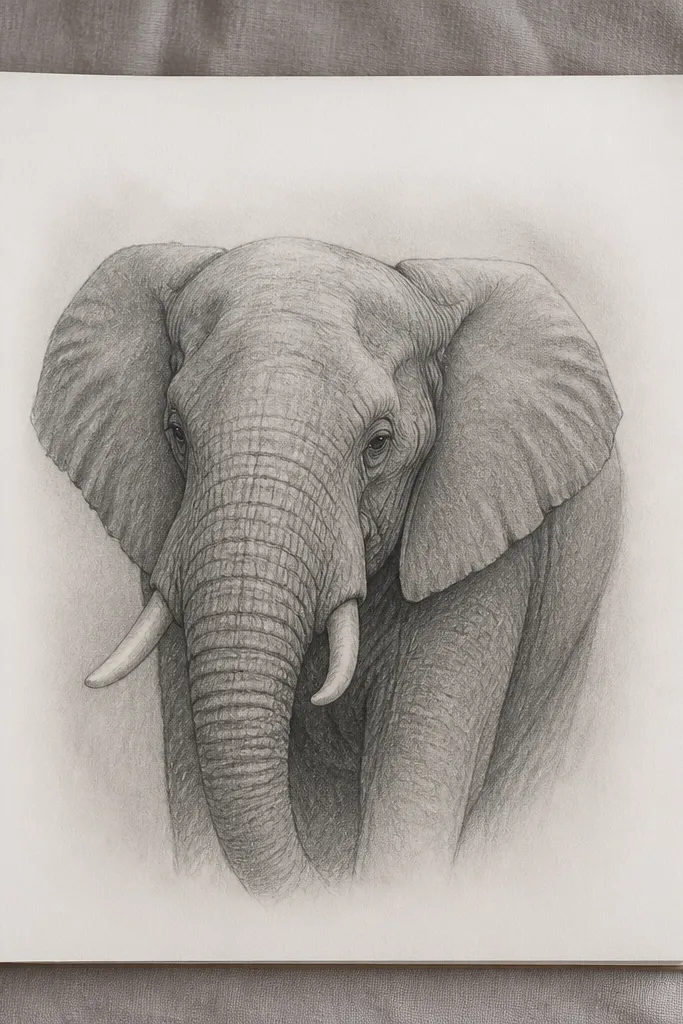
A plain background makes wrinkles hard to read. This setup uses a soft background fade so your elephant edges separate clearly. You’ll keep the elephant values slightly darker than the background midtone, then use 4B for fold valleys and 2B for skin planes. The look is more “gallery” because the background fade frames the form, especially around the ear and trunk. It’s a good final practice page when you want your work to look more intentional, not just anatomically correct.
Step 1: Draw the elephant head and upper torso with light lines, then decide where the light source hits the face. Step 2: Shade the elephant with 2B, then deepen fold valleys with 4B. Step 3: Create the background fade by shading lightly around the silhouette and leaving a small buffer near the elephant edges. Step 4: Use a kneaded eraser to maintain a crisp highlight edge on the trunk and cheek folds.
Keep a thin light gap between the elephant outline and the background fade; it makes the silhouette pop.
Don’t shade the background darker than the elephant’s main shadow mass.
17. Elephant trunk hanging pose with accordion fold rhythm
A hanging trunk is perfect for practicing rhythm. The folds repeat like accordion pleats, so you’re training spacing and value order instead of inventing random creases. The look is striking because the trunk has a clear repeating pattern with deep valleys and clean highlights at ridge tops. You’ll also learn how the trunk thickens and thins along its length. This is a strong exercise for building confidence with trunk anatomy.
Step 1: Sketch the hanging trunk as a curved cylinder and mark 4-6 fold intervals along it. Step 2: Draw each fold as a simple ridge line, then shade the valley under each ridge with 2B. Step 3: Use 4B to deepen every other valley for a repeating dark pattern, then lift small highlight ridges with kneaded eraser. Step 4: Finish the trunk tip with a slightly darker underside shadow to ground the end.
Pro tipKeep your fold intervals evenly spaced; uneven spacing is what makes hanging trunks look messy.
AvoidAvoid drawing every fold equally dark — alternate value depth for a readable pattern.
18. Elephant side body with belly fold highlight corridor
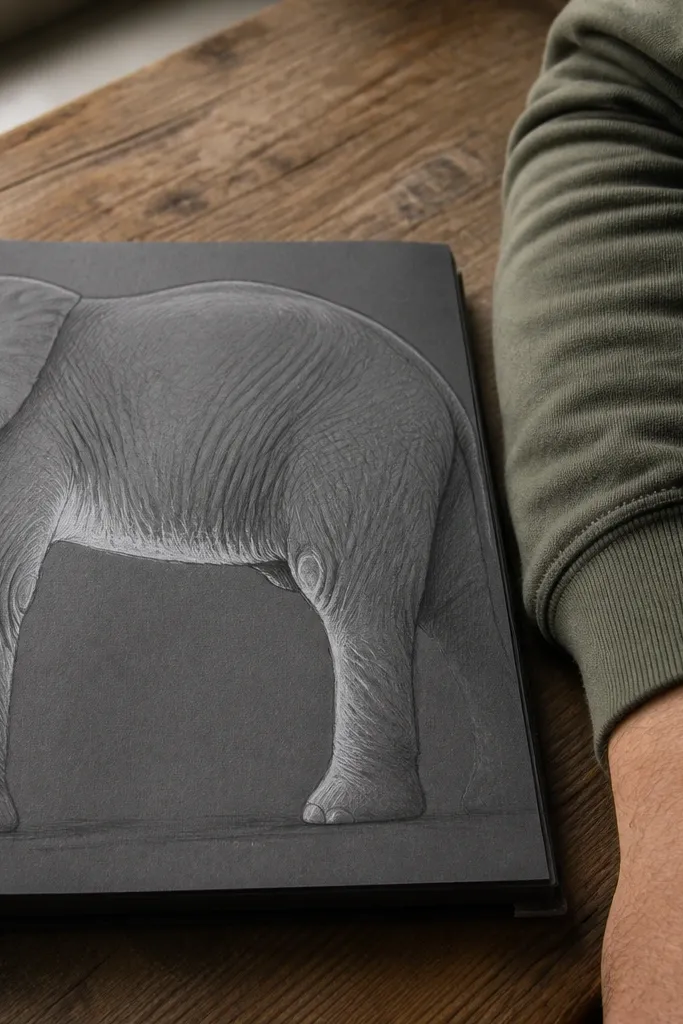
Side body drawings teach mass and belly fold logic. This setup creates a “highlight corridor” along the belly fold ridge, while the underside stays darker. The corridor gives you a clean, photogenic line of separation that makes the elephant look sculpted. You’ll also learn how wrinkles bunch near the fold junctions and spread out on the lighter skin planes. It’s a great choice if your elephants look like they have no structure under the skin.
Step 1: Sketch the side body silhouette — head, shoulder slope, belly curve, and back line — in light HB. Step 2: Shade the underside shadow with 2B and block the deepest belly crease with 4B. Step 3: Lift or keep a narrow highlight corridor on the belly fold ridge using kneaded eraser. Step 4: Add a few wrinkle folds only near the crease junction, leaving the rest smooth.
If the belly highlight looks too thin, widen it by lifting a second adjacent strip — not by darkening around it.
Don’t add wrinkle texture to the smooth planes; save it for fold junctions.
19. Elephant head study with one hard shadow shape only
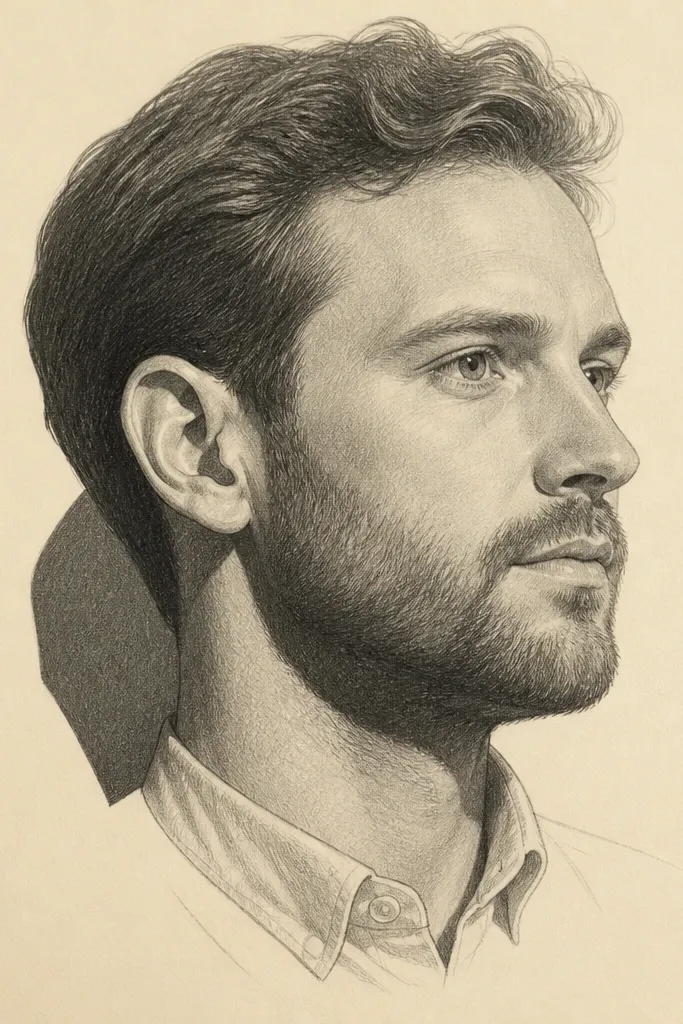
This is the “graphic” elephant page. You draw the head with light midtones, then commit to one hard-edged shadow shape — usually under the jaw or behind the ear. That single dark shape makes the drawing look finished and high-contrast, even with minimal texture. It also teaches you what your light source is doing because everything else must match that rule. If your elephants look flat, this is the fastest fix.
Step 1: Sketch the head and trunk base in HB, then lightly map the ear and jaw outline. Step 2: Shade the whole head lightly with 2B, keeping edges soft. Step 3: Choose one shadow area and fill it in with 4B with a clean boundary line; do not add other darks yet. Step 4: Lift a few highlight spots on the trunk and cheek to keep the contrast from looking heavy.
Use a sharper pencil tip for the hard shadow boundary so it stays crisp.
Avoid adding multiple hard shadow patches; one is what makes this look graphic.
20. Elephant trunk tip close-up with smooth gradient and ridge lift
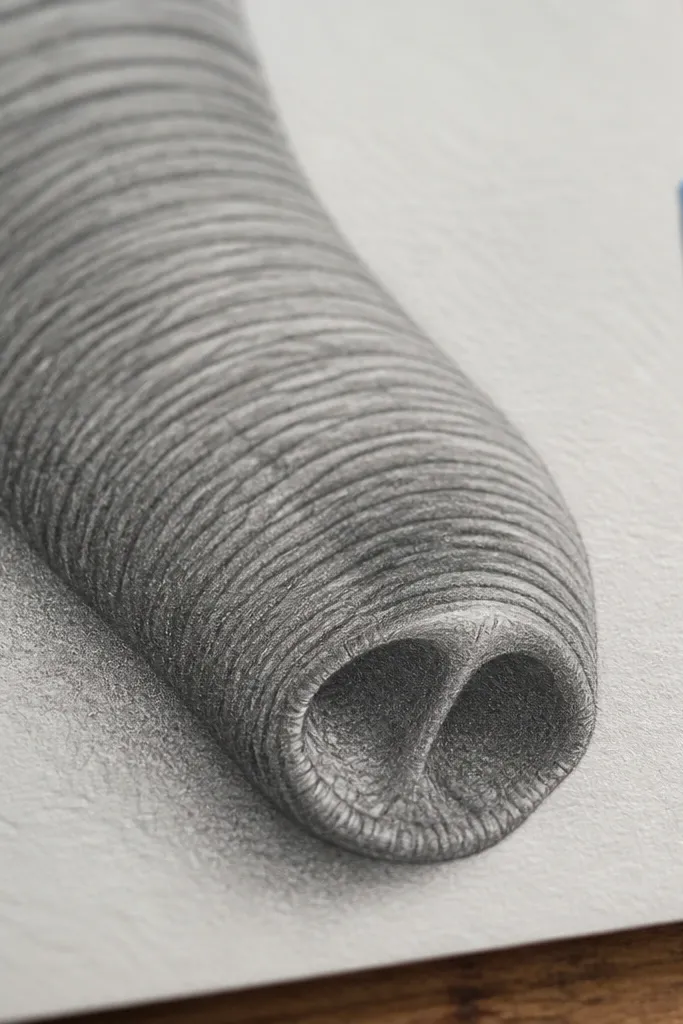
Trunk tips are small, so they’re perfect for learning smooth value control. This drawing has you focus on only the last third of the trunk — where the curve tightens and the folds compress. You’ll use a smooth gradient for the form and add only a few fold ridges with lifted highlights. The look is delicate but crisp, and it photographs well because the value transitions are clean. It’s also a great reset when your full-page drawings get too busy.
Step 1: Lightly sketch a tight oval crop around the trunk tip and draw the trunk outline with HB. Step 2: Build a smooth gradient with 2B from light side to shadow side, keeping transitions gradual. Step 3: Add 4B only in the deepest fold crease and under the underside ridge. Step 4: Lift a thin highlight ridge along the top of the trunk tip with kneaded eraser.
Pro tipBlend with your finger only if your paper is sturdy; otherwise use a paper stump to keep edges clean.
AvoidDon’t add lots of tiny fold lines at the tip — let the gradient do the work.



