
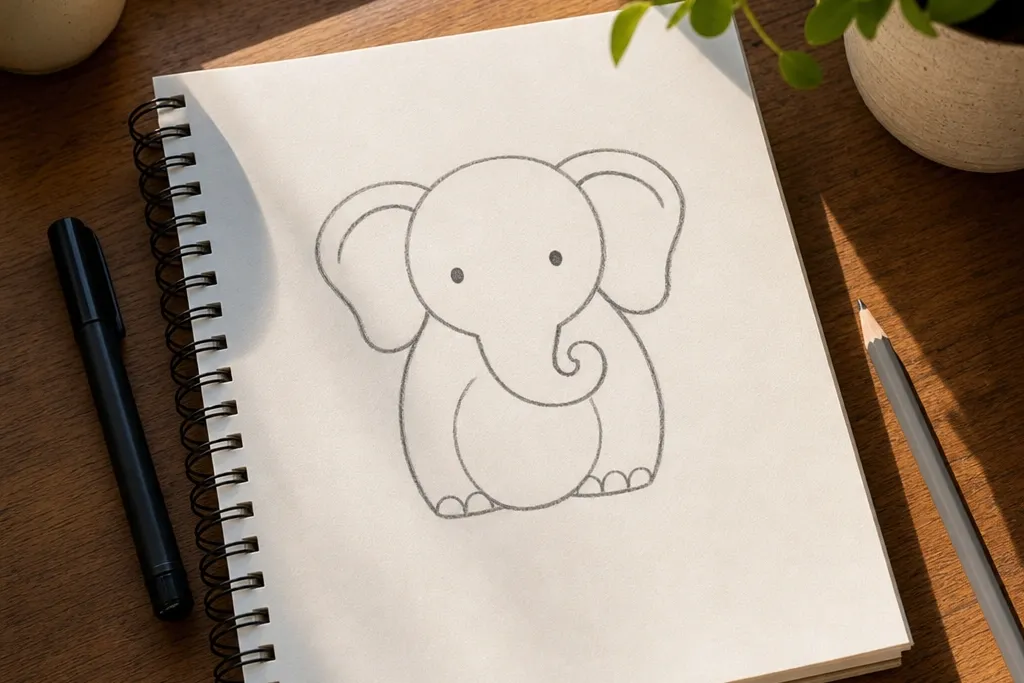
1. Cartoon Elephant in 5 Minutes (clean outline, no shading)
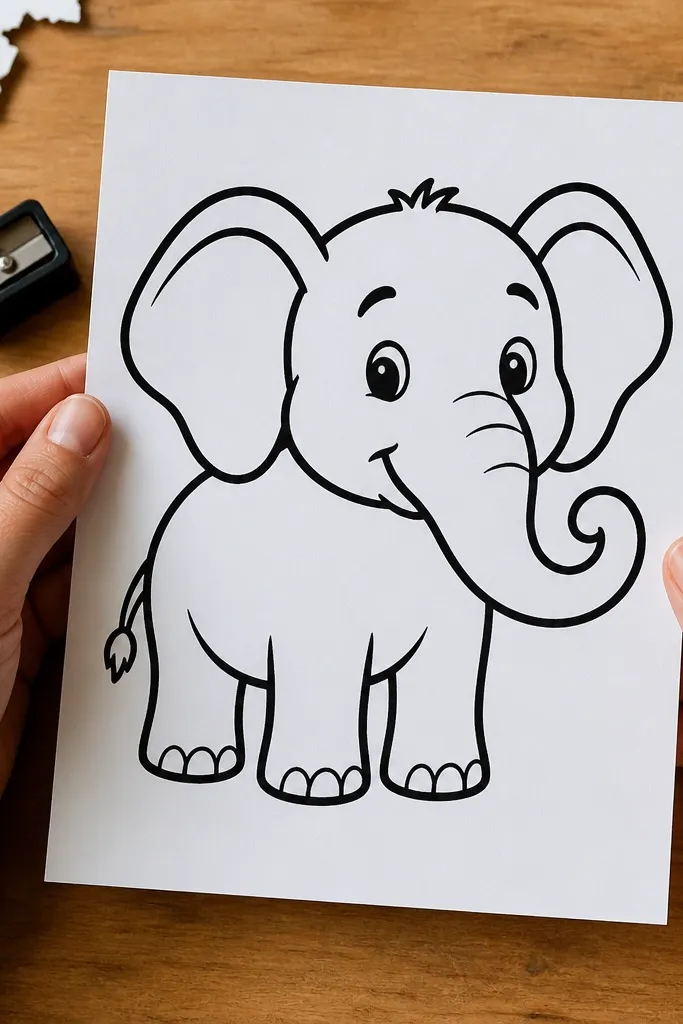
This look is the fastest because it uses bold, consistent contour lines and avoids shading entirely. You start with the same shape plan, but you commit to a thicker outline early so the elephant reads instantly. Keep the trunk curl smooth and the legs tapered like short cylinders. The ear fold line is still there, but you don’t add extra texture, so you finish in one sitting and it looks intentional even if it’s simple. It fits sketchbooks, quick cards, and classroom prompts where you want something that looks like an elephant right away.
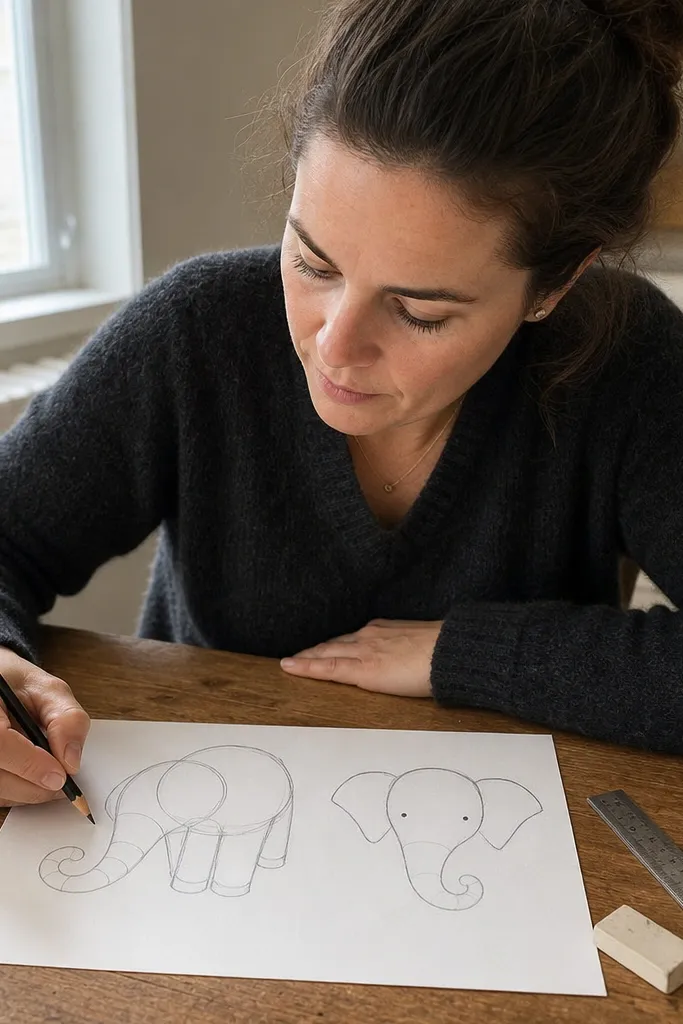
First, sketch lightly with pencil using the three-shape method: body oval, head oval, trunk curve. Then draw the ear as a leaf with one fold line and define the legs with two front columns and one back column. Finally, ink only the outer contour and key interior lines (ear fold, trunk edge, nostril) and erase the pencil guides.
If your lines wobble, ink only after you’re sure the trunk curve is smooth — it’s the line people notice most.
Don’t add spots, wrinkles, or heavy texture if the goal is a quick win.
2. Calm Realistic Elephant (dot eye + 3 shadow zones)
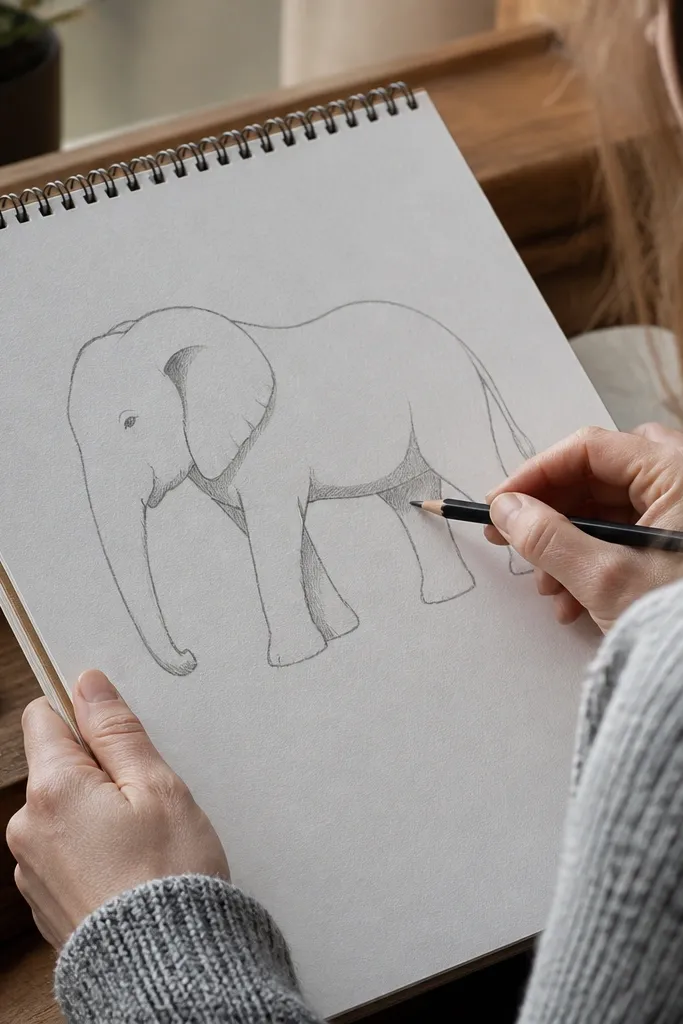
This version is “real enough” without taking forever. The dot eye keeps the face simple, while three shadow zones add weight to the form: under the chin, under the belly, and inside the ear fold. You don’t need full fur texture; you just need value placement so the viewer’s brain reads volume. Use a soft pencil or gray tone for shadows so it doesn’t turn into a harsh cartoon. This look is great if you want to color it afterward or hang it as a finished doodle.
Start by drawing the elephant in pencil with light, correct proportions. Then add shadows with a 2B or 4B in three targeted areas: a small dark under the chin, a darker patch under the belly line, and a shaded ear fold interior. Finish by inking the cleanest contours last so the shadows don’t get erased or smudged.
Shade with the side of the pencil, not the tip, for smoother gradients in the ear fold.
Don’t shade the entire body — value clutter kills the fast, clean look.
3. Side-Profile Elephant (fast perspective trick)
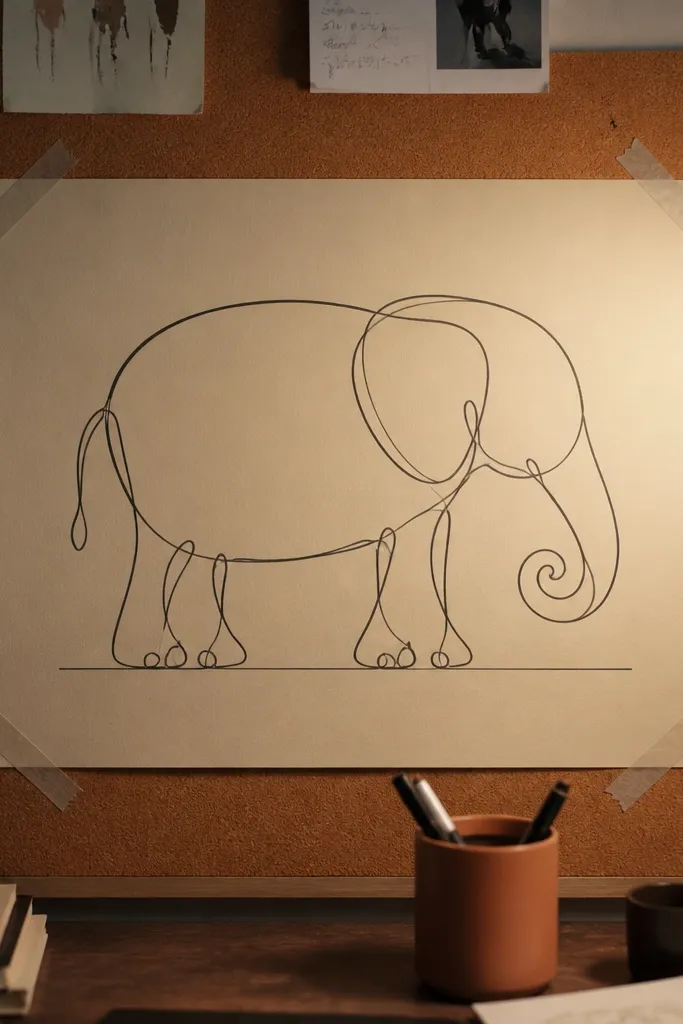
Side profile is faster than a full 3/4 view because you can reuse the same shape logic with fewer overlapping forms. You still get a clear elephant identity from the trunk curl and the ear shape, but you’re not fighting perspective in the legs. Keep the body oval flatter and the head oval slightly forward so the trunk has room to curl. This look is ideal when you want a quick drawing that still feels structured and “designed,” not random. It also looks good on narrow paper or along a margin.
First, draw a long body oval and a smaller head oval in front. Add a trunk curve that sweeps toward the viewer and curls at the end. Then place the legs as simple columns aligned under the body oval and add the ear as a leaf shape on the back of the head oval.
Pro tipUse one light guideline line through the body center so leg placement stays believable.
AvoidDon’t draw the trunk as two separate lines — one continuous curve reads cleaner.
4. Baby Elephant Version (bigger head, shorter trunk)
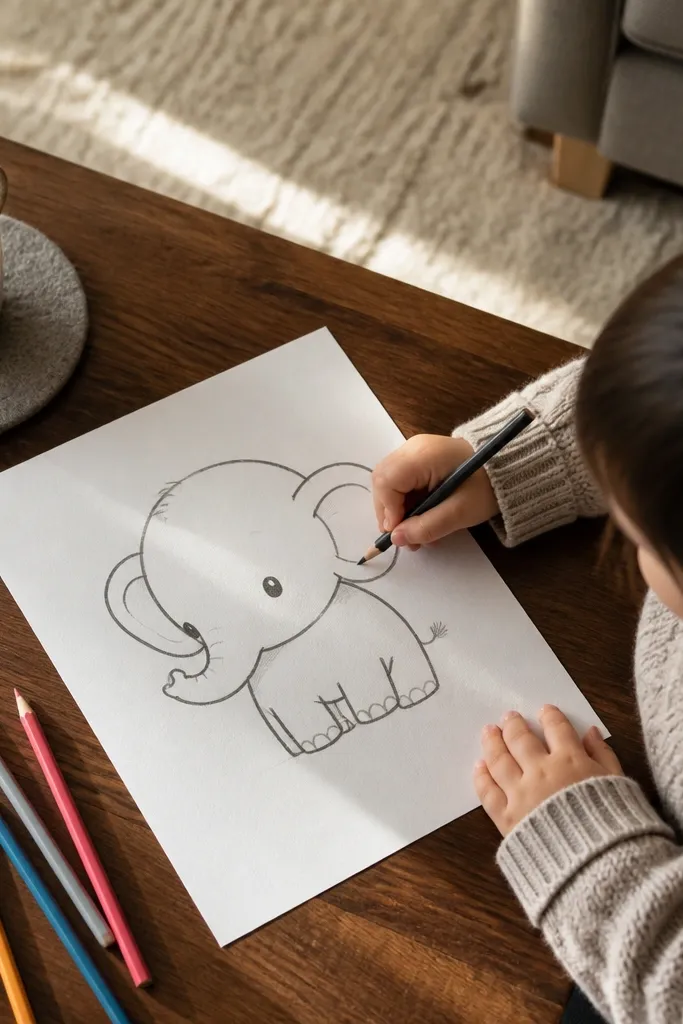
A baby elephant is the easiest “style twist” because you change only proportions, not the whole drawing. Make the head oval larger compared to the body oval and shorten the trunk curl so it looks playful. Keep the ear fold line, but reduce the ear size slightly so the face stays dominant. You can still finish in 5 minutes because the structure is the same; you’re just adjusting ratios. This look works for kids' crafts, quick stickers, and friendly note cards.
Start with a body oval smaller than you think it should be and a head oval closer to half the body height. Draw a shorter trunk curve that curls upward quickly near the front. Then sketch two front legs closer together and add the ear leaf with a single fold line.
Pro tipIf it feels too scary, move the eye slightly higher on the head oval and keep the trunk curl tighter.
AvoidDon’t add long legs — baby proportions fix the cuteness fast.
5. Elephant Mandala-ish Outline (no real mandala work, just line rhythm)
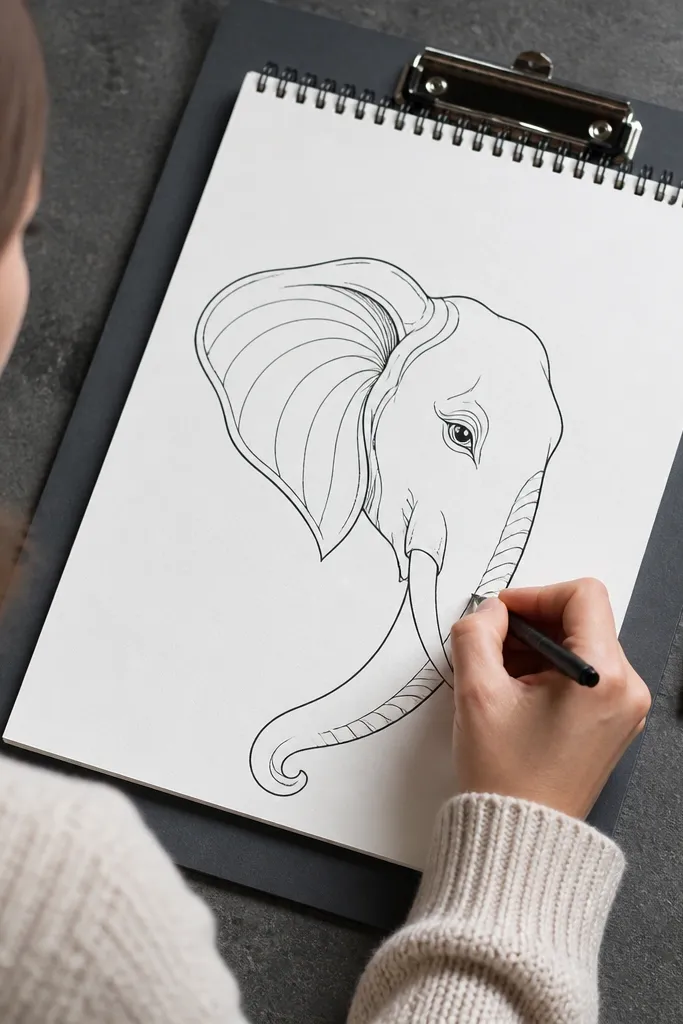
This look gives you a decorative feel without spending time on true pattern work. You use the elephant outline as the base, then add a few rhythmic contour lines inside the ear and along the trunk edge. The key is restraint: 4-6 interior lines total, not a full texture grid. It still counts as an elephant drawing, but it looks more “finished” at a glance. Great for bookmarks and small wall art where you want something interesting without a long session.
Draw the elephant with the standard guides and then ink the outer contour. Add 2-3 gentle curved lines inside the ear fold area and 1-2 lines along the trunk edge to suggest form. Finish by lightly erasing pencil guides and darkening only the trunk tip and nostril mark.
Keep interior lines parallel to the trunk curve so the drawing feels cohesive.
Don’t fill the belly or legs with lots of lines — it slows you down and looks messy.
6. Shadow-First Elephant (dramatic but still quick)
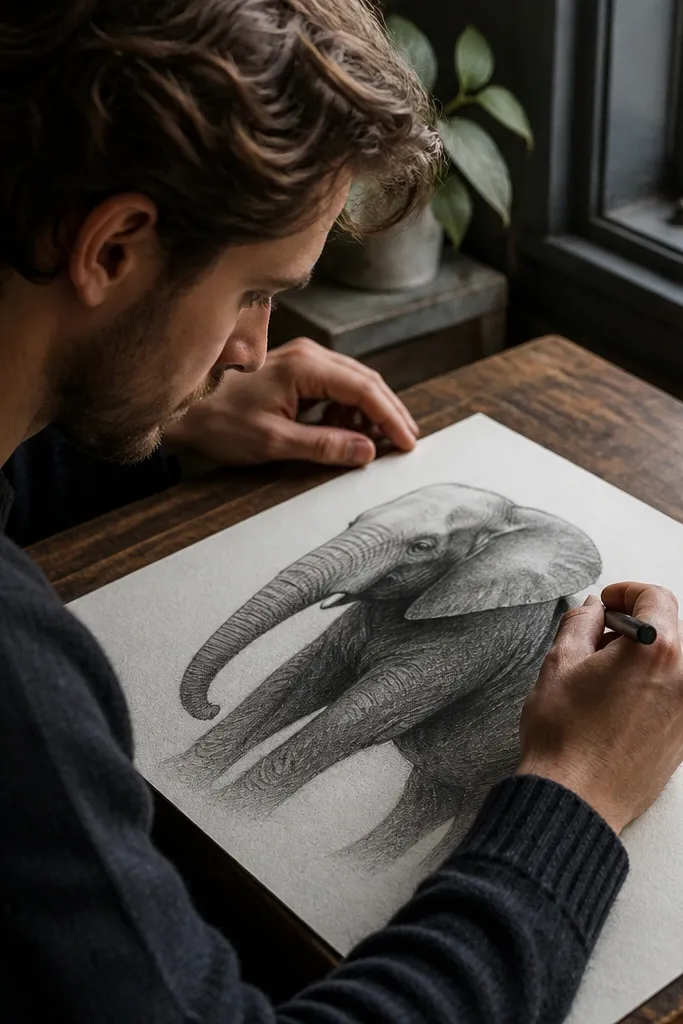
If you want it to look like you spent more time, lead with shadow instead of line details. Put stronger darks under the chin and belly and keep outlines slightly lighter. The ear fold gets the darkest tone so the head reads as rounded. This trick works because value contrast tells the brain where volume is, even if the linework is simple. It’s a good option when you want a bold look on paper that doesn’t take much erasing.
Sketch the elephant in pencil quickly and lightly. Then apply a darker 4B shadow under the chin and belly and shade the ear fold interior. After that, ink only the outer contour and the trunk edge so the shadows stay crisp.
Pro tipBlend ear fold shading with a tissue in small circles to avoid harsh blotches.
AvoidDon’t over-ink everything — heavy outlines fight with bold shadows.
7. Minimal Gesture Elephant (2B sketch, no pen)
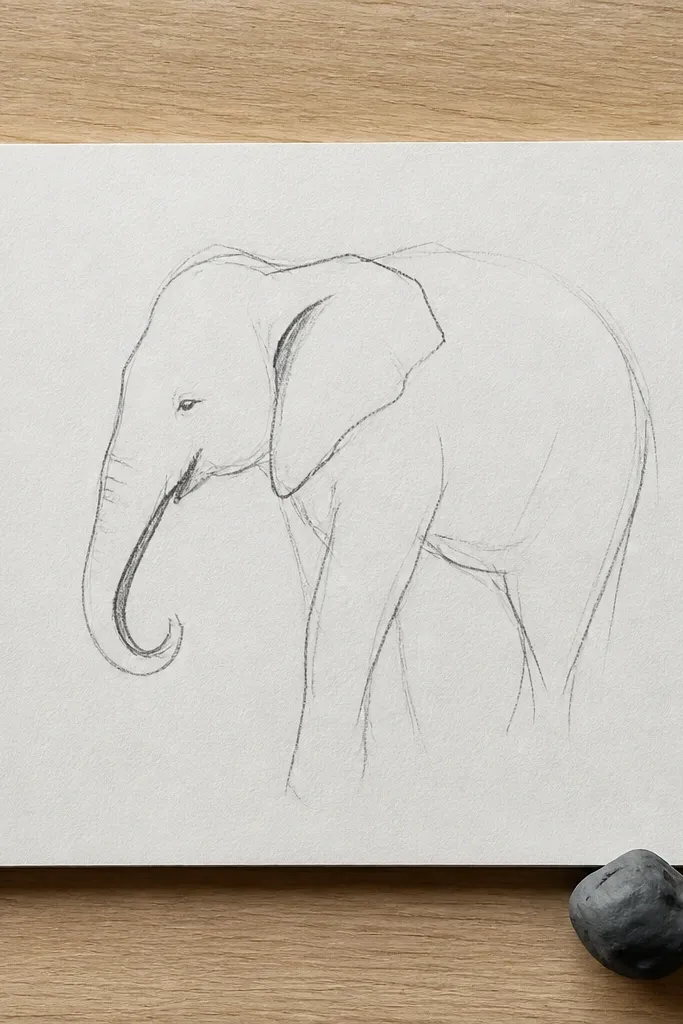
This is the “I only have a pencil” option that still looks like an elephant. You keep the lines looser and rely on one ear fold line plus the trunk curve for identity. Use 2B for slightly darker accents on the trunk underside and inside the ear fold. The gesture style looks good even when it’s imperfect because the proportions are doing the heavy lifting. It’s perfect for quick practice sessions and for transferring the drawing onto another surface later.
Start with the body oval, head oval, and trunk curve. Add the ear leaf and one fold line, then block legs with simple tapered strokes. Darken only three spots with 2B: trunk underside, inside ear fold, and under the chin. Leave the rest as lighter pencil lines.
Pro tipPress less on the first pass — your eraser will thank you later.
AvoidDon’t outline every edge — minimal gesture looks better with fewer, smarter marks.
8. Elephant in a Circle Frame (fast composition)
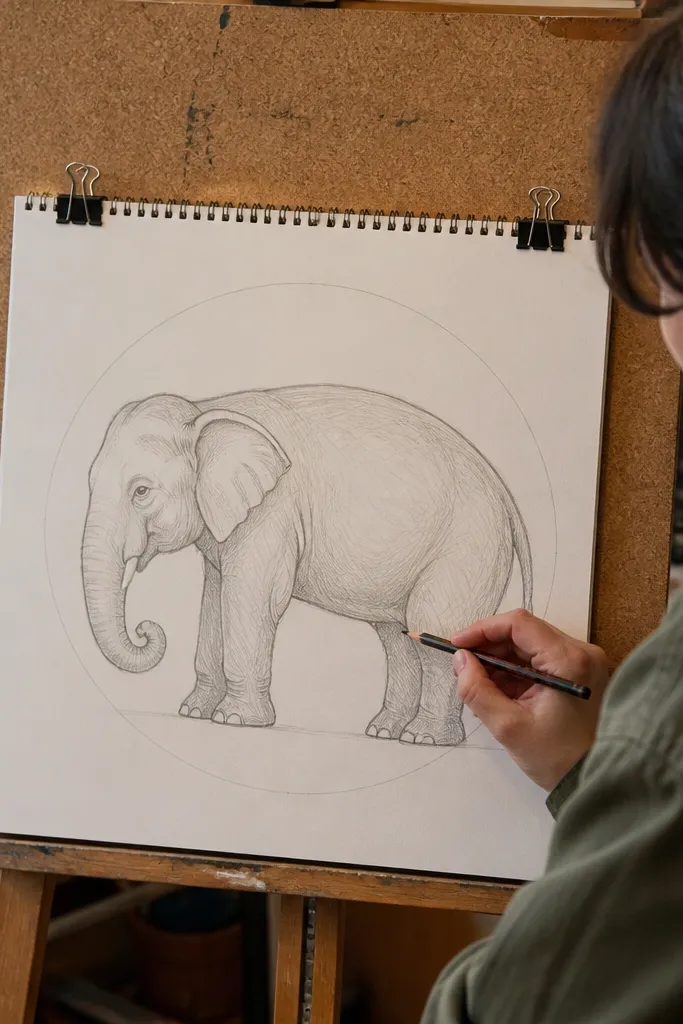
A circle frame makes your elephant look intentional even if you finish in under 5 minutes. The trick is to fit the body oval so it touches the circle at two points: one near the belly and one near the back leg area. That gives you instant composition without extra sketching. You keep the same trunk curl and ear fold line, then ink the outline cleanly. It’s a strong choice for social posts, stickers, and quick printable designs because the frame instantly reads as “art.”
Draw a light circle first and then place the body oval so it sits inside with slight contact points near belly and back. Add the head oval near the top-left or top-right of the circle depending on your trunk direction. Then draw trunk, ear leaf with fold line, and legs, and ink only the elephant lines.
Pro tipKeep the circle line light so it doesn’t compete with the elephant contour.
AvoidDon’t draw the circle after the elephant — you’ll squeeze proportions and lose the quick look.



