
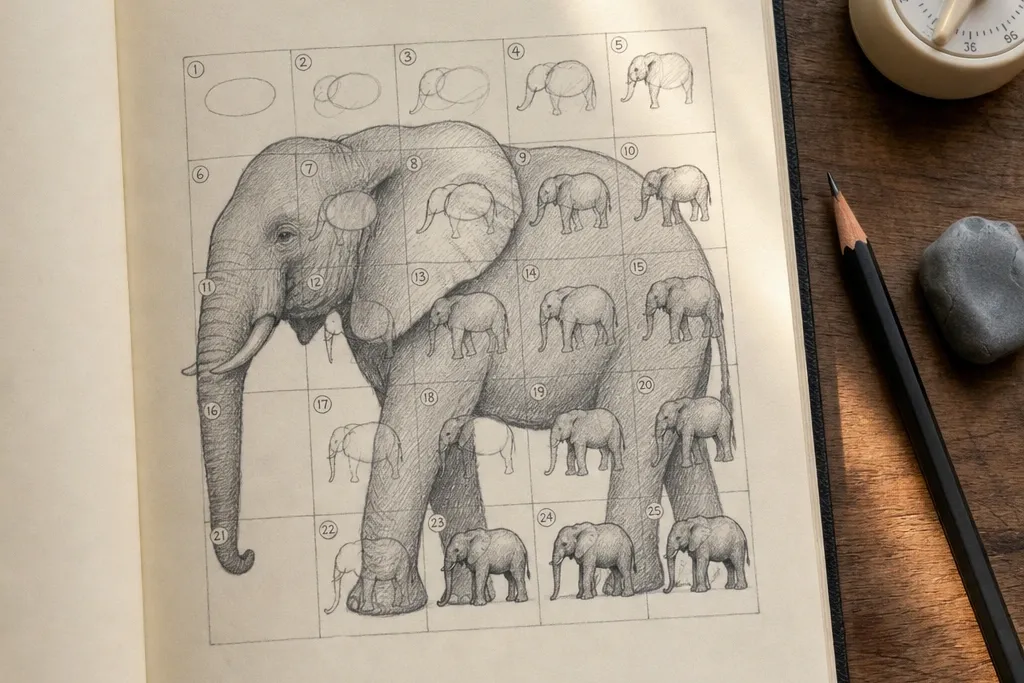
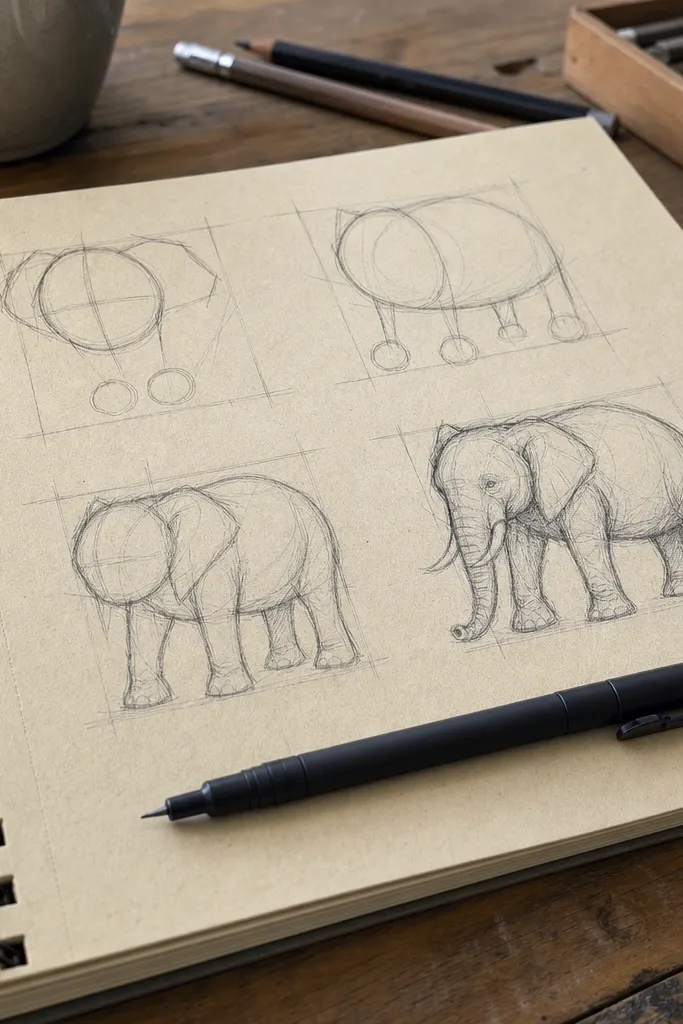
1. Circle-Head Elephant with Rope Trunk
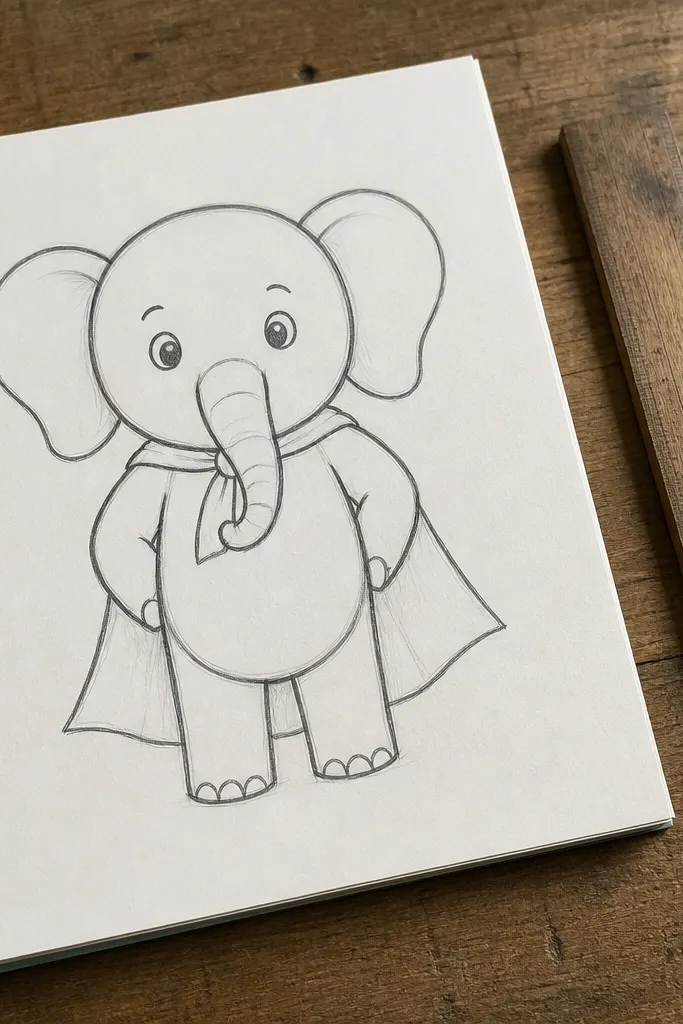
This is the cleanest “first elephant” look because it forces strong proportions. A circle head and an oval body give you stable landmarks, so the elephant reads even with simple lines. The trunk is drawn like a rope — one continuous curve — which prevents the common squiggle problem. You add only three trunk folds at the end, so the drawing stays easy and still looks finished. It’s great for beginners and also works as a base sketch you can later darken or color.
Start with a small circle for the head and a larger oval for the body. Draw a gentle arc from the lower front of the head for the trunk, keeping it smooth and unbroken. Add one small oval for the eye area, then sketch a tiny curved line for the mouth where the trunk meets the face. Finally, add three short curved folds on the underside of the trunk and darken the outer silhouette with a pencil or pen.
If your trunk looks wobbly, lightly trace the curve with your finger in the air first, then draw the line in one pass.
Don’t add wrinkles before the trunk curve is correct.
2. Side-Profile Elephant with Simple Tusks
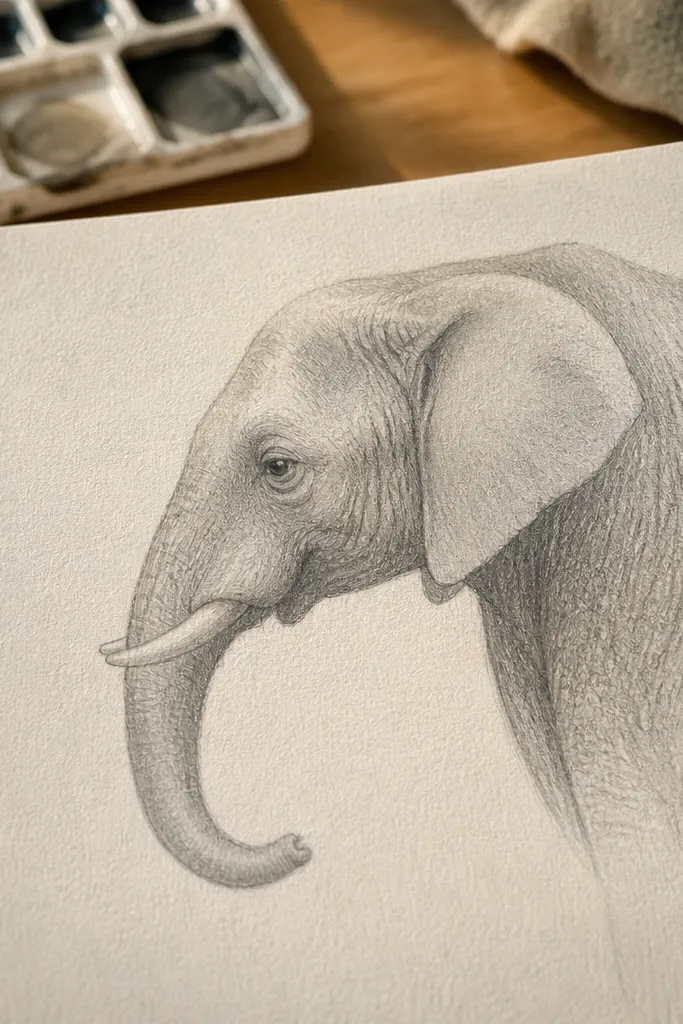
Side profile is forgiving because the face has fewer angles to manage. This look uses a minimal tusk shape so you don’t need to over-detail the mouth. The trunk still gets weight through a single underside curve, so it doesn’t float. The ear is a teardrop tucked behind the head, which keeps it symmetrical enough for an easy drawing. It’s good for notebooks, greeting cards, and quick practice pages.
Draw the head as a rounded rectangle with a slight bump for the forehead, then connect it to the body oval. Add the trunk as a long curve that starts near the mouth and sweeps forward. Place the eye as a small dot just above the trunk base line. Sketch tusks as two short, parallel curves under the eye level, then add one inner ear fold line and darken the outer edges.
Keep tusks short; long tusks make the face look stretched instantly.
Avoid placing the eye too far forward — it wrecks the side-face read.
3. Front-Facing Elephant with Symmetry Grid
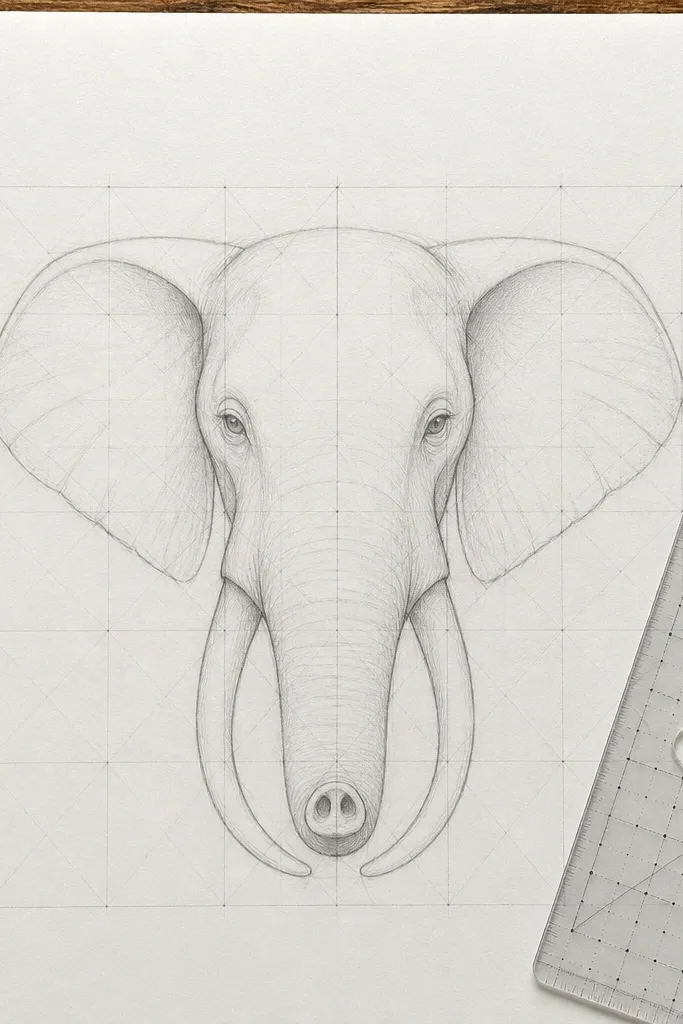
Draw a light vertical center line and a horizontal line for the eye row. Sketch the head as a big oval centered on the vertical line. Place the eyes on the horizontal line, then draw the trunk as a wide curve that dips below the mouth area. Add ears as two teardrops on either side of the head, then draw one inner fold line in each ear. Erase the grid and darken the main silhouette.
Front-facing elephants look cute, but they punish uneven placement. This approach fixes that by using a simple symmetry grid you erase later. The trunk is drawn down the center as a wide “U” curve, then you add the nostril lines near the bottom. The ears sit left and right as two teardrops, but the inner fold lines are mirrored to keep the face balanced. It’s a strong option if you want an adorable, poster-like elephant.
AvoidDon’t skip the center line if you want the face to look balanced.
Pro tipMake the trunk wider than you think — front views need extra width to look friendly.
4. Minimal Line Elephant Icon
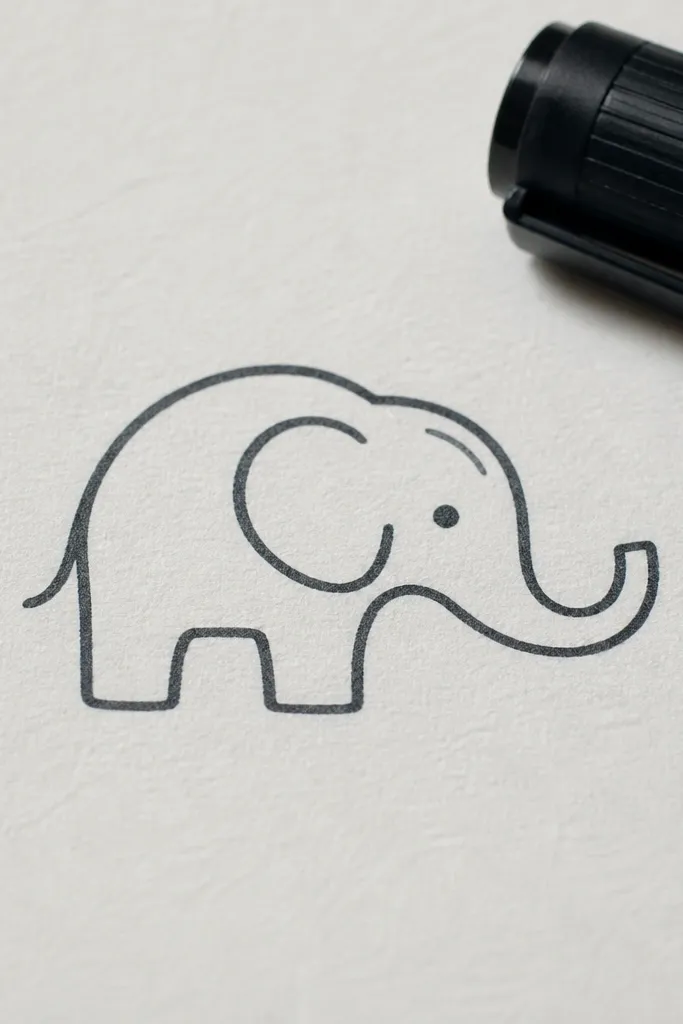
Use a thick black marker or pen if you have one. Draw the body oval, then add the head bump and ear teardrop with one continuous outline. Create the trunk with two lines: a smooth outer curve and a shorter underside curve. Add tusks as two short arcs and the eye as a dot. Finally, add three short crease lines on the trunk and erase any pencil guides if needed.
If you want something that looks good fast, minimal line style is the move. This look strips the wrinkles down to just a few curved marks and keeps the silhouette bold. The trunk uses two lines only: outer edge and underside curve. The eye is a single dot with a tiny highlight mark if you want it. It’s perfect for stickers, icons, and small art projects where you don’t have space for lots of detail.
AvoidDon’t add lots of tiny wrinkles — minimal means fewer marks with clearer purpose.
Pro tipUse one pen weight for the whole drawing so it looks designed, not accidental.
5. Elephant in a Square Frame with Thick Outline
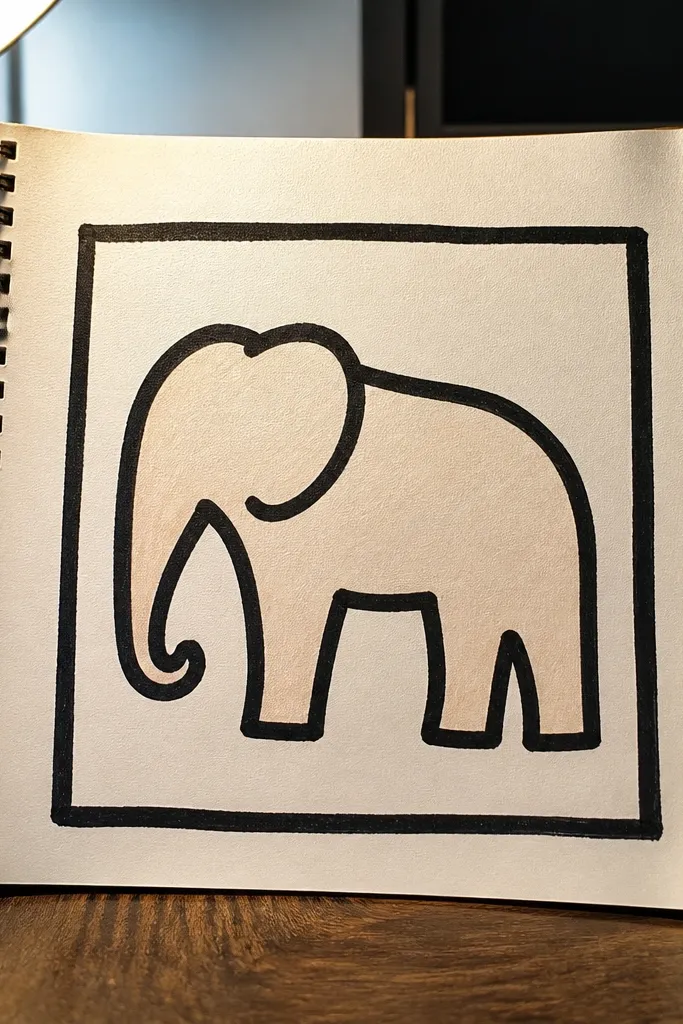
Draw a square border first with a ruler or lightly traced edges. Sketch the elephant inside using construction shapes: head circle, body oval, trunk arc, and four leg rectangles. Keep the legs simple and aligned to one ground line. Add ear teardrop and tusk curves, then darken the entire outer silhouette thickly. Add two or three wrinkle lines on the trunk and erase construction lines.
Framing makes an easy elephant look intentional. This style uses a thick outer outline and a square border so the drawing reads like a finished print. The elephant can be simple because the frame handles the composition. The trunk and legs are drawn as big shapes, then you add a few internal lines to keep it from looking flat. It’s a great choice if you want something aesthetic without spending extra time on details.
AvoidDon’t cram the elephant into the border; breathing space makes it look cleaner.
Pro tipLeave a margin of about 1 cm between the elephant and the square border.
6. Elephant Head Only with Big Ear and Tusks
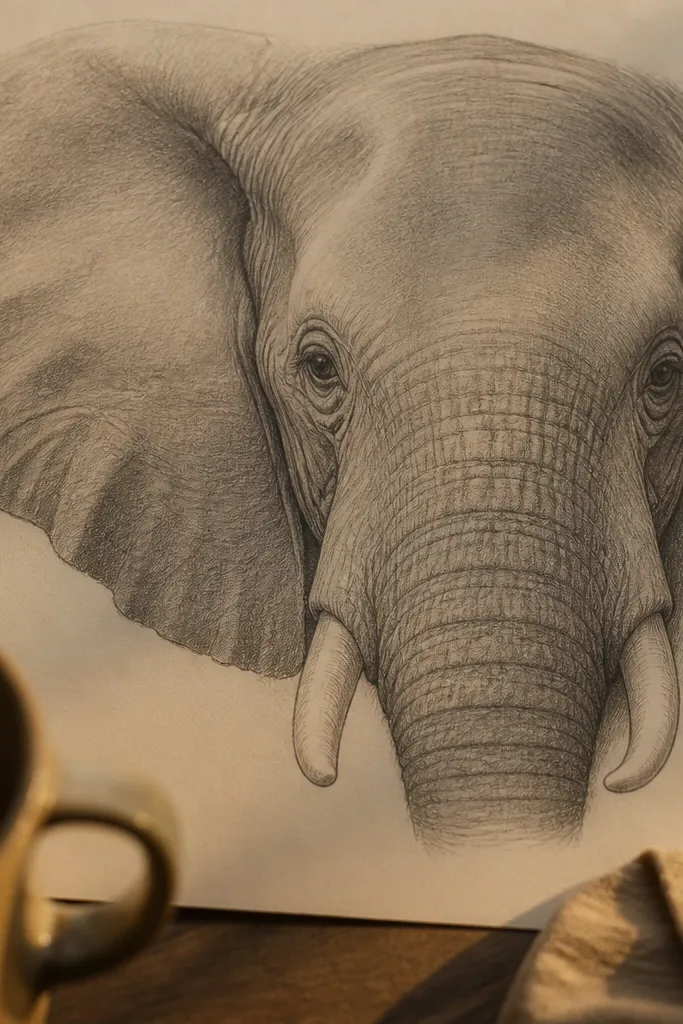
Head-only drawings are easier because you can focus on the features that define an elephant’s personality. A big ear gives you a photogenic shape, and the inner ear fold makes it look three-dimensional with almost no effort. Tusks in this style are short and curved, so you don’t have to draw them “correctly” — you just place them. The trunk can be a partial curve at the bottom edge, acting like a visual anchor. This is ideal for small pages and quick practice.
Draw a head oval and attach a teardrop ear on the side with a clear outer edge. Add a single inner fold line that curves from the ear top toward the ear bottom. Place the eye as a dot and a small curved line for the brow. Sketch tusks as two small arcs under the eye line. Finish by adding a partial trunk curve at the bottom and darkening the outer silhouette.
When you draw the inner ear fold, keep it lighter than the outer outline.
Don’t place the tusks too low; they should sit under the face, not under the neck.
7. Elephant Trunk Curl with Simple Nostrils
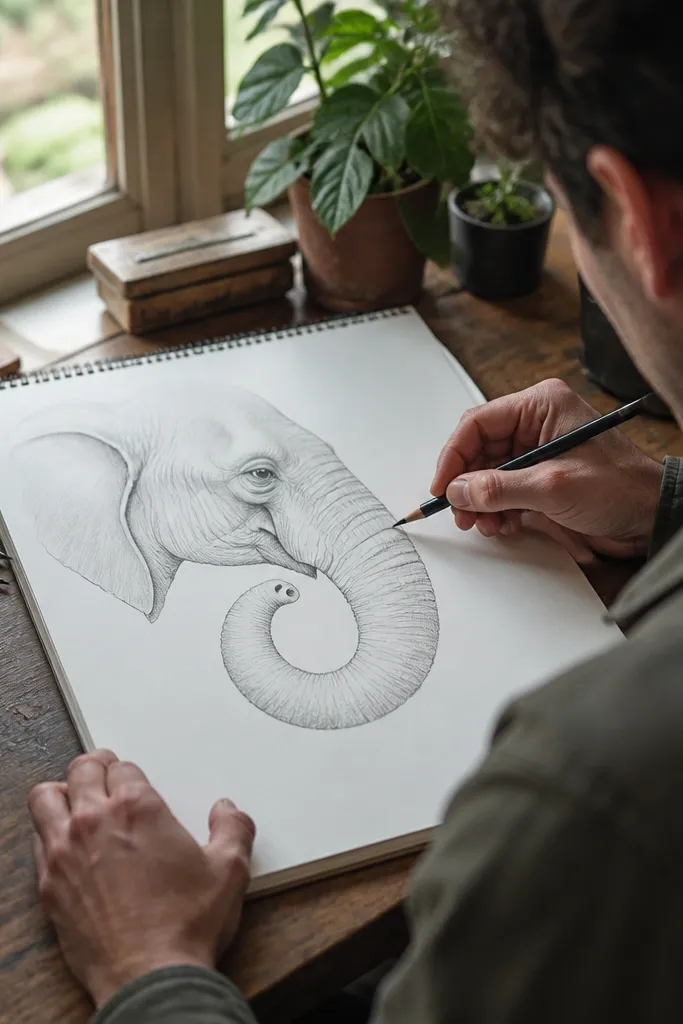
A curled trunk looks dynamic, and it’s also easier than a straight trunk because the curve gives you structure. This style focuses on the trunk first, then builds the face around it. You draw the trunk as a loop-like arc, then add nostril lines near the curve’s end. The underside fold lines show the trunk’s thickness without needing heavy shading. This project looks great even if the body is simple, because the trunk is the star.
Start with the trunk curl: draw a big C-shape curve where the trunk will loop. Connect the trunk’s top end to the mouth area and sketch a small face oval. Add the eye slightly above and forward of where the trunk attaches. Draw nostrils as two short curved lines near the trunk’s end. Then add the ear teardrop behind the head and a simple body oval beneath.
Keep the trunk loop smooth; any kink in the curve shows up immediately.
Avoid adding nostrils at the top of the trunk — they should sit near the end of the curl.
8. Elephant with Shaded Body Using Pencil Hatching
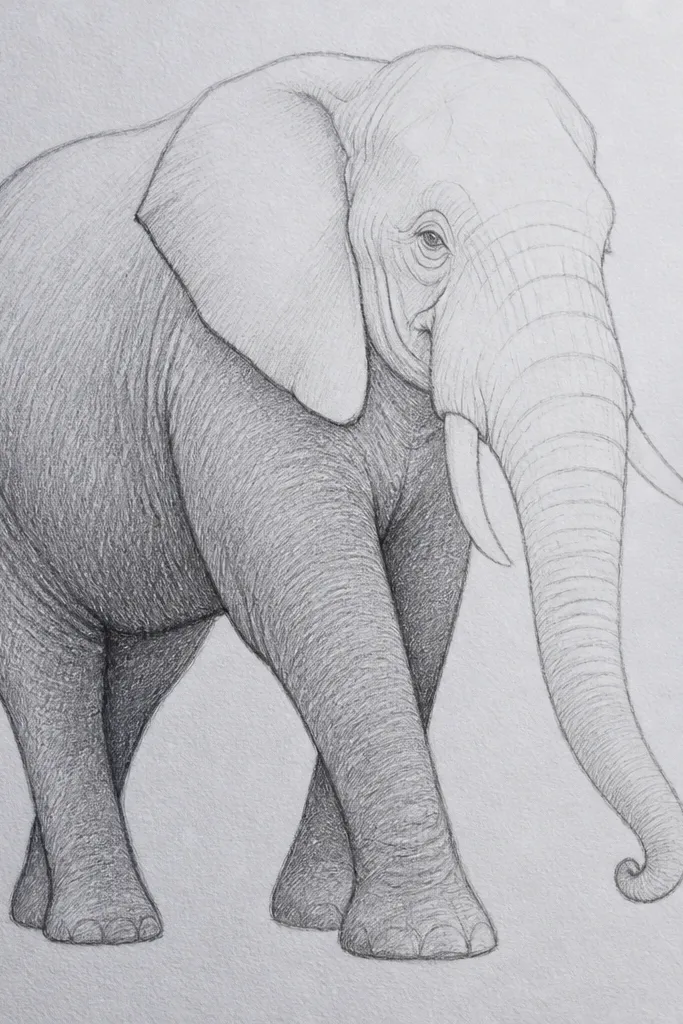
If you want “aesthetic” without color, pencil shading is the fastest upgrade. This look uses simple hatching on the body and legs, so the elephant looks dimensional while staying easy. The key is that you shade in one direction to keep it tidy. The trunk and face stay mostly line-based, which keeps the drawing readable. It’s good for sketchbooks and for learning how light wraps around curved forms.
Sketch the elephant with construction shapes: head circle, body oval, legs as four short rectangles. Draw the trunk arc and ear teardrop, then darken the silhouette lightly. Add hatching lines on the body oval in one direction, keeping them close together near the underside. Shade the legs the same way, then blend gently with a paper stump or tissue if you have one. Leave the face and trunk folds mostly unshaded so details stay crisp.
Use a softer pencil (like 3B) for shadows and a harder one (HB) for outlines.
Don’t hatch randomly across the trunk folds — it makes them muddy.
9. Elephant with Watercolor Wash Under the Lines
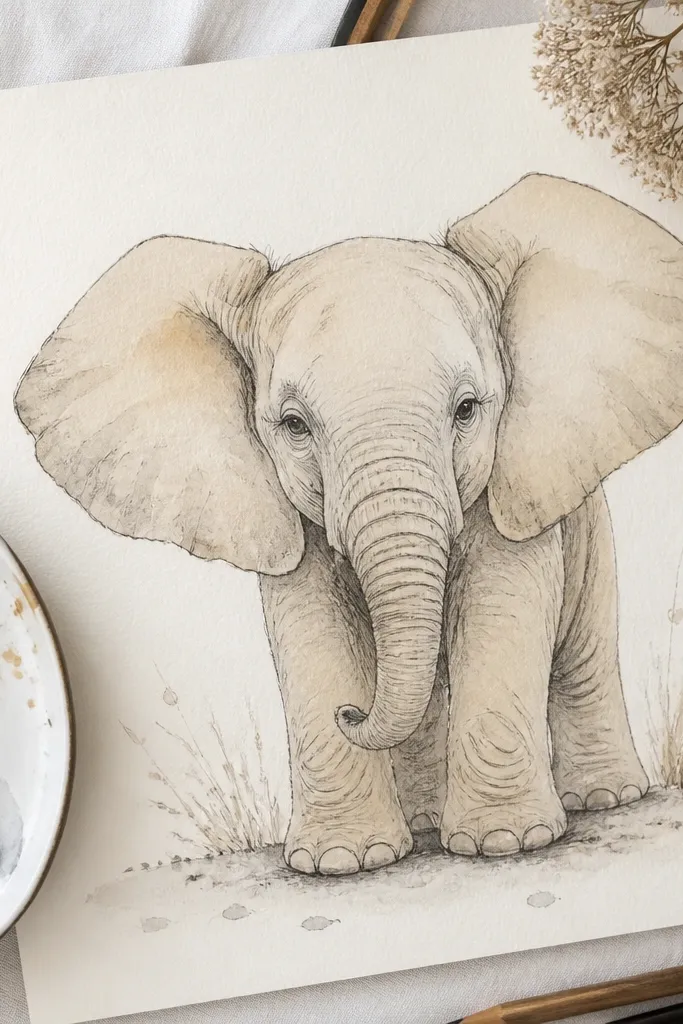
Draw the elephant with light pencil construction lines, then ink over the final silhouette with a fine liner. Prepare a very watery gray or warm beige wash. Paint the body oval first, then legs, using broad strokes that follow the shape. Add a slightly darker wash under the trunk and around the legs for contrast. Let it dry completely before you add any extra line touch-ups.
This style looks “finished” because the wash gives color and softness while the line drawing keeps it crisp. You’ll use a light gray or warm beige wash that matches elephant tones without going cartoonish. The best part is that you don’t need perfect painting; the wash fills large shapes. The trunk underside and ear inner fold stay defined by leaving them lighter. It’s a great option if you like art that looks pretty on paper.
AvoidDon’t flood the trunk folds; keep wash edges soft so lines stay visible.
Pro tipTest your wash on scrap paper — elephant gray should look like a light mist, not a thick paint slab.
10. Elephant in Chibi Proportions (Big Head, Small Body)
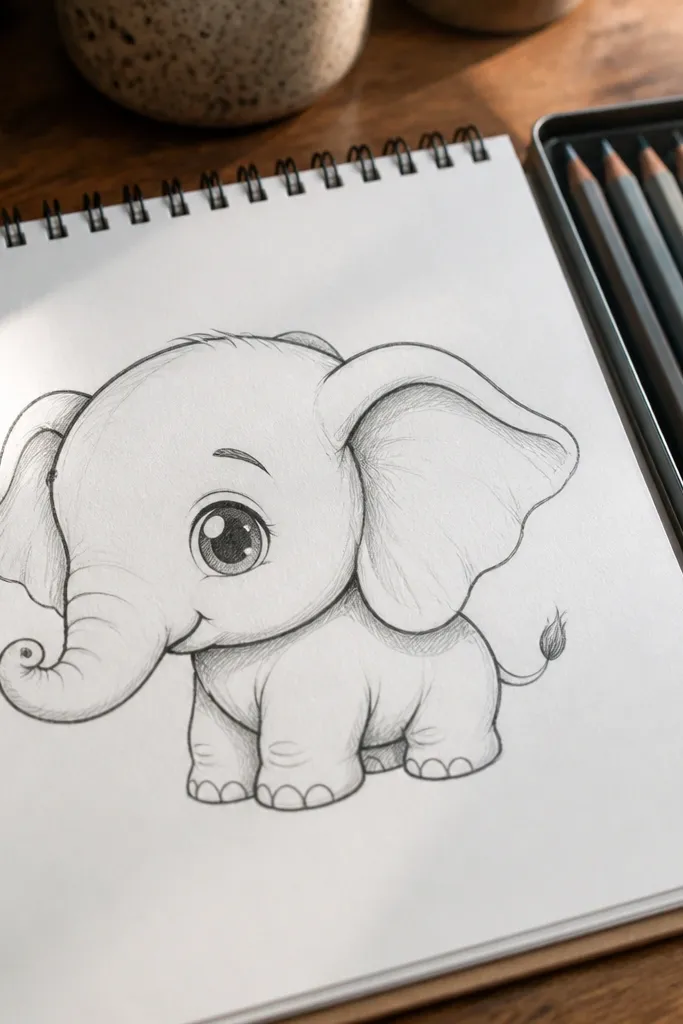
Draw a large head circle and a smaller body oval below it. Add short legs as two or four stubby rectangles under the body. Place the ear as a teardrop on the side of the head. Draw the trunk as a thick curved line that comes forward and dips slightly. Add tusks as two tiny curves and the eye as a dot, then darken the silhouette.
Chibi proportions make the elephant easier because you simplify anatomy. Big head means the face features can be slightly larger and more forgiving. The body is small, so you don’t need to nail leg realism. This style is photogenic because it reads instantly at a glance. You keep the trunk thick and short, then add only a few wrinkles. It’s the fastest route to a cute elephant drawing that still looks intentional.
AvoidDon’t stretch the trunk too long — chibi needs compact features.
Pro tipMake the trunk thicker than the legs; it keeps the chibi look consistent.
11. Elephant with Patterned Blanket on Back
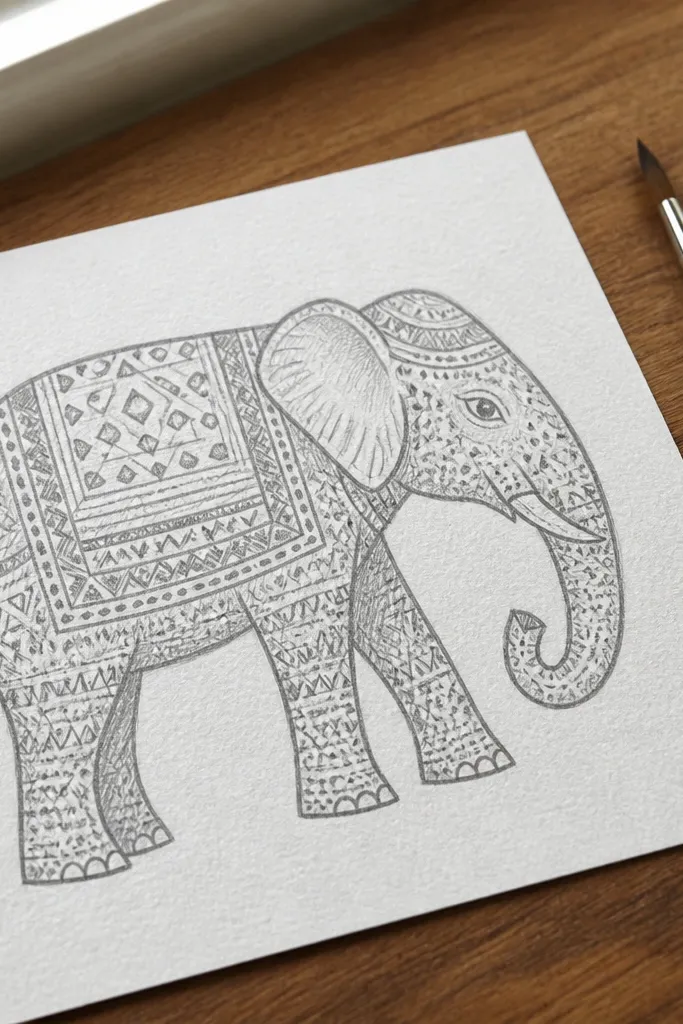
This one is aesthetic because it adds a design element without complicating the elephant. You draw a simple saddle/blanket shape over the back using clean curves, then fill it with repeat patterns like dots or tiny triangles. The elephant stays easy because you’re not adding realistic wrinkles everywhere. The pattern gives the drawing texture that looks good in photos, even if your elephant lines are simple. It also gives you an easy path to coloring later.
Sketch the elephant body and head as usual with an oval and circle. Draw the blanket as a curved band across the back, with two edges that follow the body shape. Add a simple fringe line at the blanket edge. Choose one pattern: small dots in rows, or tiny triangles in a repeating grid. Fill the pattern lightly with pencil or color, then ink over the silhouette and erase guidelines.
Keep the pattern scale small — big shapes on a small body look cluttered quickly.
Don’t put patterns on the trunk or face; they compete with the elephant’s features.
12. Elephant in Profile Walking (Simple Legs)
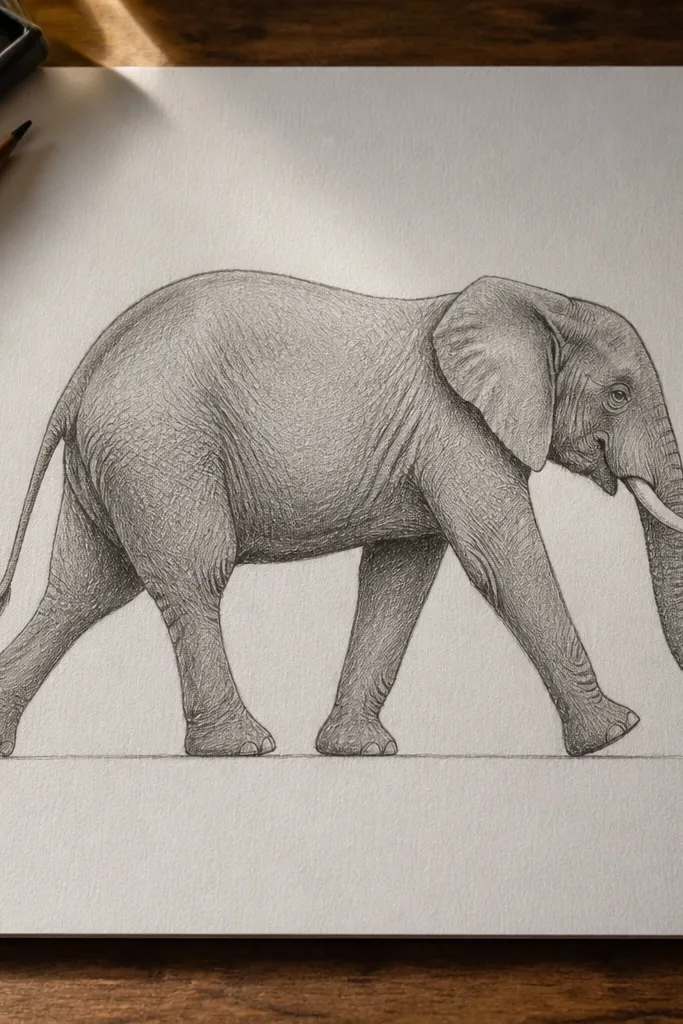
Start with the body oval and a head circle connected by a smooth neck line. Draw the trunk arc so it follows the motion, curving slightly forward. For legs, draw four rounded rectangles, with two closer to the body and two slightly behind. Add the front foot as an oval at the bottom of the forward leg. Finish with ear teardrop and small tusks, then darken the silhouette.
Walking elephants can look impressive, but they’re easy if you simplify the legs into the right order. This style uses one leg forward and one leg back, drawn as overlapping rectangles with rounded ends. The body stays one smooth curve so motion reads without complex joints. The trunk swings slightly, adding movement. It’s a nice project if you want your elephant drawing to feel alive, not static.
AvoidAvoid drawing all four legs the same length — it kills the walking sense.
Pro tipOverlap legs a little more than you think; it sells depth fast.
13. Elephant Face with Big Eye and Soft Eyelid Curve
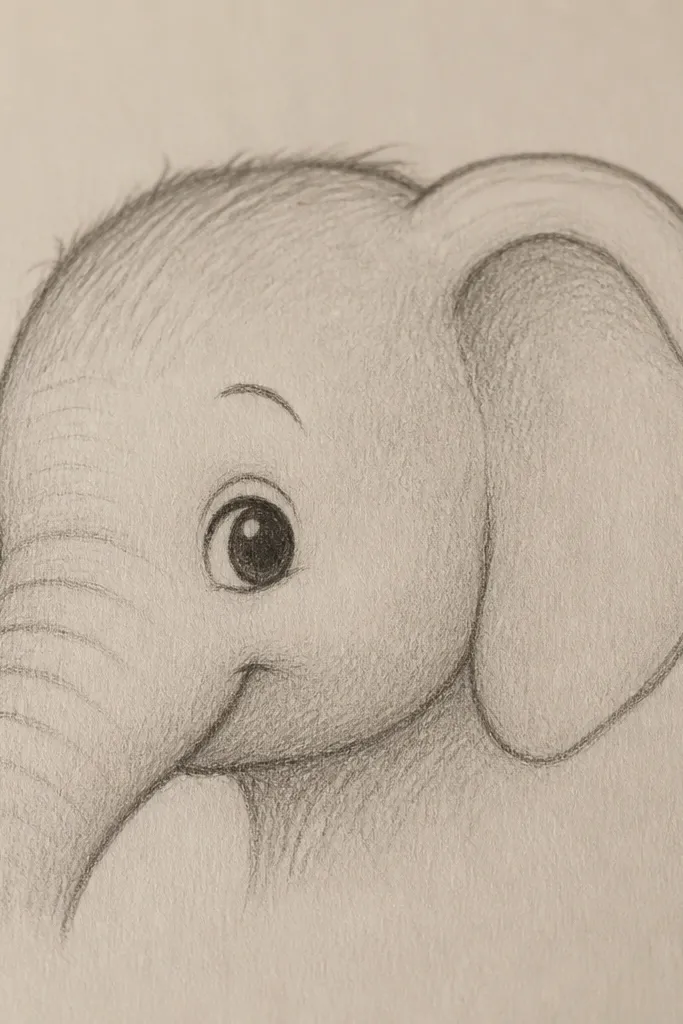
A big eye style looks friendly and polished. This approach makes the eye the anchor, then everything else follows. You draw the eye as a simple oval or dot with a curved eyelid line, then place the trunk base just below it. The ear inner fold is drawn as a single curve that frames the face. Because the eye is clear, the drawing looks “finished” even with minimal trunk folds.
Draw a head oval and add an ear teardrop behind it. Place the eye as a larger oval with a small pupil dot inside. Add a curved eyelid line above the eye to suggest softness. Draw the trunk as a curve that starts near the mouth and dips below the eye area. Add a tiny mouth curve and two short tusk arcs, then darken the silhouette.
Give the eye an eyelid line even if you keep everything else minimal — it instantly makes it look intentional.
Don’t hide the eye behind the trunk; leave it clearly visible.
14. Elephant with Patterned Tail and Footprints
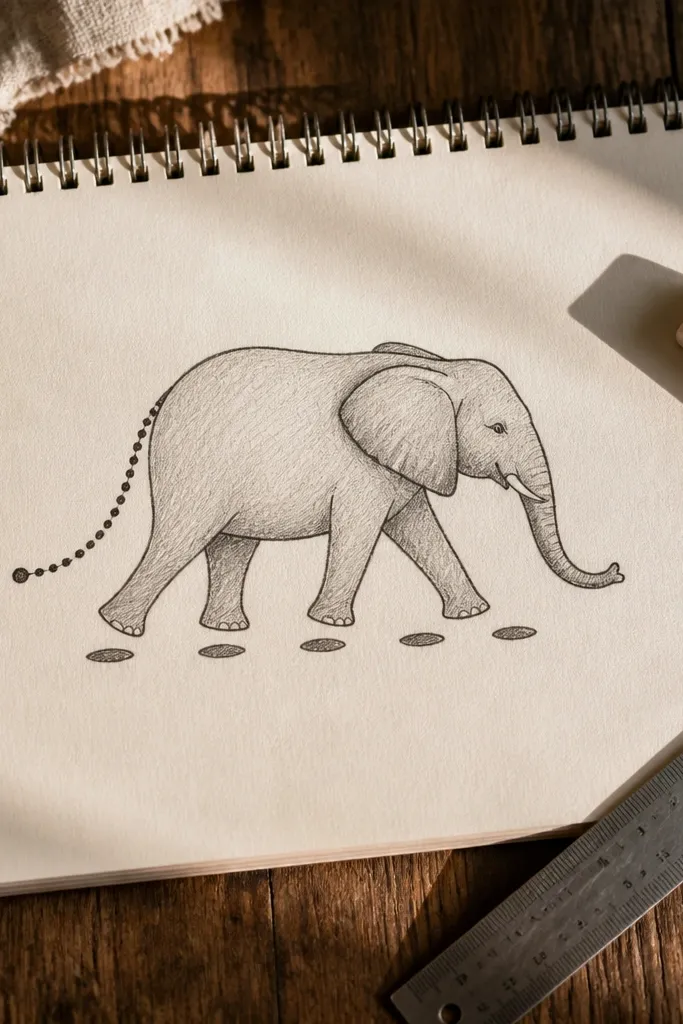
This look adds story using tiny details: a patterned tail and footprints. The elephant itself stays simple, which keeps the drawing easy, but the footprints make it feel like a scene. You can draw footprints as five small ovals under the walking stance. The tail can be a curved line with a few repeating marks, like dots or short zigzags. It’s photogenic because the extra marks create visual rhythm.
Sketch a profile walking elephant with the usual head circle, body oval, and trunk arc. Draw the tail as a thin curved line extending from the back. Add a small pattern on the tail — three to five dots or short zigzags. Place two sets of footprints behind the feet as small ovals in a slight curve. Ink the elephant silhouette, then erase construction lines carefully around the footprints.
Keep footprints smaller than the feet by about half — it looks more natural.
Don’t add too many footprints; two or three pairs are enough for the scene.
15. Elephant with Soft Background Dot Gradient
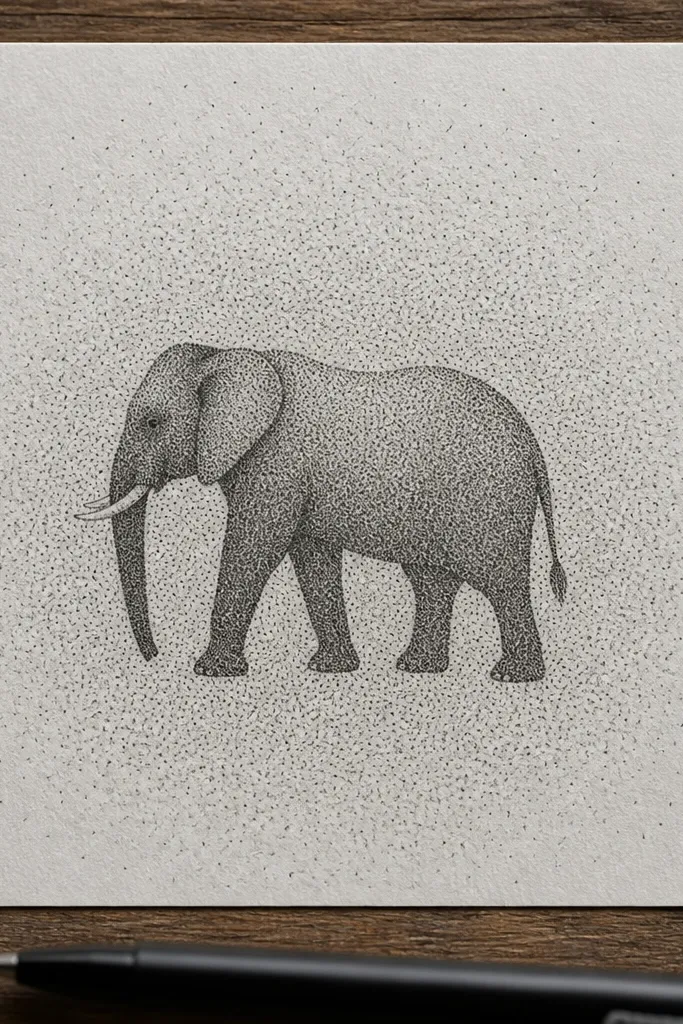
Background texture makes an elephant drawing look designed even when the elephant is simple. This style uses a dot gradient behind the elephant: dense dots near the body, fading outward. It’s easy to do with a pen and gives a clean, aesthetic look. The elephant silhouette stays crisp, so the dots don’t confuse the face. This is a great option for wall art, postcards, and social posts because the contrast pops.
Draw the elephant in outline with a light pencil, then ink the silhouette. Leave the area around the elephant mostly blank at first. Add dots behind the body in a loose oval, making the dots closer near the elephant and farther apart as you move outward. Use a single pen tip size for consistency. Let the dots dry, then darken any faint elephant lines.
If your dots look uneven, stamp them by lifting and placing the pen — don’t drag.
Don’t put dots directly on the trunk folds; keep the face area cleaner.
16. Elephant with Geometric Facets (Low-Detail Origami Style)
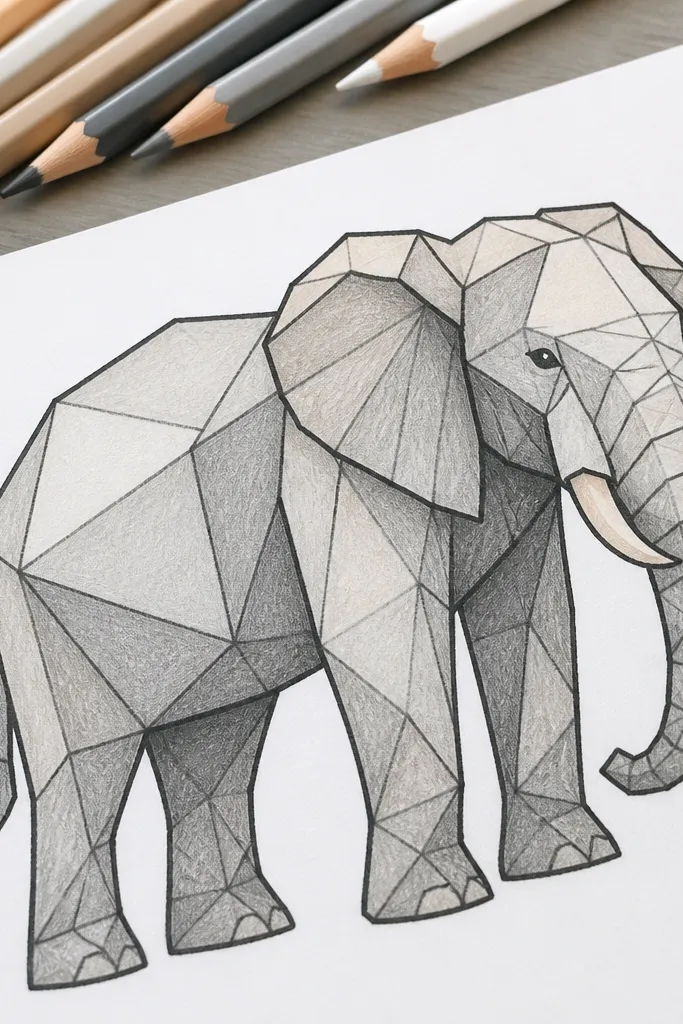
Geometric facets make an elephant look modern and graphic. You don’t need perfect realism, because the polygon shapes create structure. The trick is to keep the facets large on the body and smaller only on the trunk folds and ear inner area. Outline stays thick and clean, while facets are filled with light pencil shading or flat color. This is a strong choice if you want something that looks like a finished design rather than a sketch.
Sketch the elephant silhouette first with construction shapes and dark outline. Divide the body oval into 4-6 big facets using straight-ish lines that follow the curve. Add 2-3 facets on the head and 2 facets on the ear. For the trunk, draw it as a thick curve, then add two facet bands along the underside. Fill facets lightly with pencil shading in one direction or leave them blank for a line-only graphic look.
Keep facet edges follow the direction of the elephant’s curves — straight lines that fight the shape look messy.
Don’t create too many tiny facets; it stops being easy.
17. Elephant with Balloon-Shape Legs (Soft Cartoon Look)
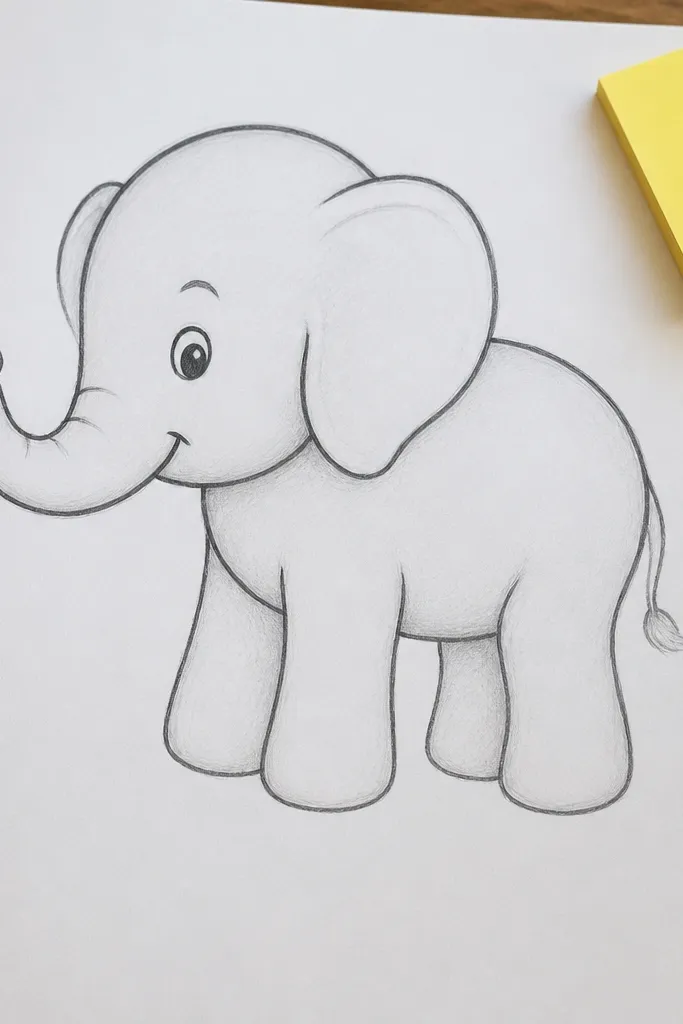
Rounded legs make the elephant look soft and cute, and they’re easier than realistic feet. This style uses “balloon” leg shapes — big rounded columns — so you don’t have to draw toes. The elephant’s personality comes from the trunk and ear, which you can keep simple. The result is a drawing that looks good even when lines are imperfect, because the shapes read clearly. It’s perfect for kids' art pages or for anyone who wants a friendly look.
Draw the body oval and head circle, then connect them with a short neck curve. Add the ears as teardrops with a single inner fold line. Draw legs as four rounded columns that taper slightly toward the bottom. Sketch the trunk as a smooth curve, then add a couple of trunk folds under it. Finish with a small mouth curve and tusk arcs, then darken the silhouette.
Taper legs very slightly; too much taper makes it look like a different animal.
Don’t add detailed feet — keep them as simple rounded shapes.
18. Elephant with Watercolor Spots on Body
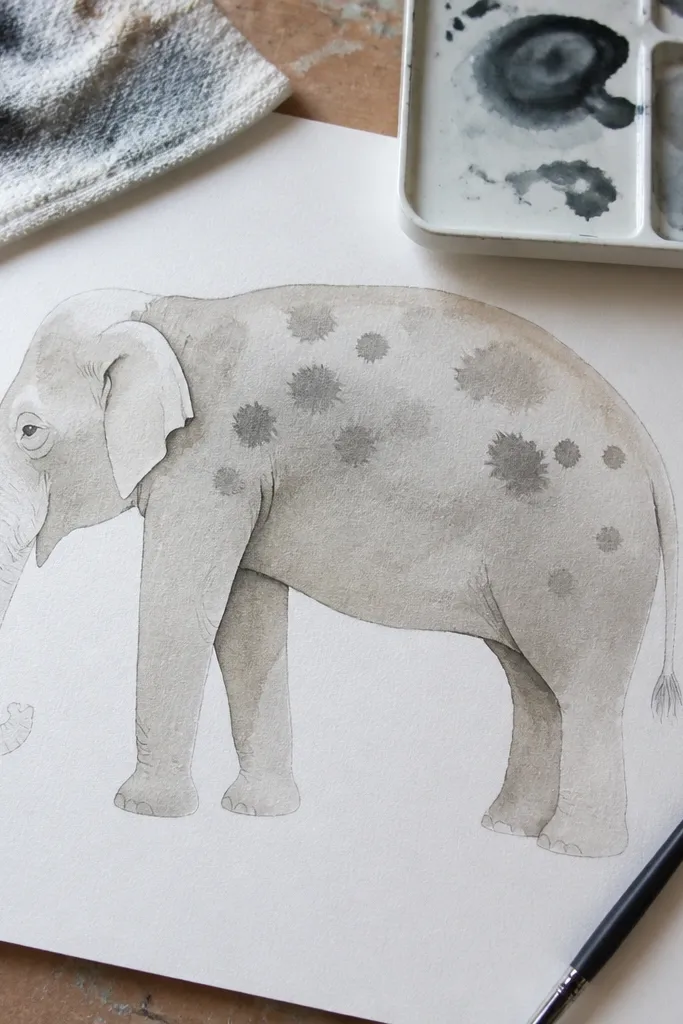
Ink your elephant silhouette first and erase pencil lines. Apply a light gray or beige watercolor wash to the body and legs, leaving the face and trunk lighter if you want. While it’s slightly damp or once it’s dry, add darker spots with a small brush or the tip of a pen. Keep spots irregular but not chaotic — place more near the body center. Let dry, then add a few line touch-ups on the trunk folds.
Spots make your elephant look alive and interesting without adding heavy texture work. This style uses a light wash base and then scattered darker spots following the body curve. The trunk stays mostly line-defined so it doesn’t get muddy. Spots are easy to control: small, medium, and a few bigger ones near the shoulder and belly. It’s photogenic because the spots create contrast that reads well in photos.
AvoidDon’t cover the entire body in spots — leave smooth areas so the face stays clear.
Pro tipUse the smallest brush you have for spots; big spots look like stickers.
19. Elephant with Long Shadow Grounding
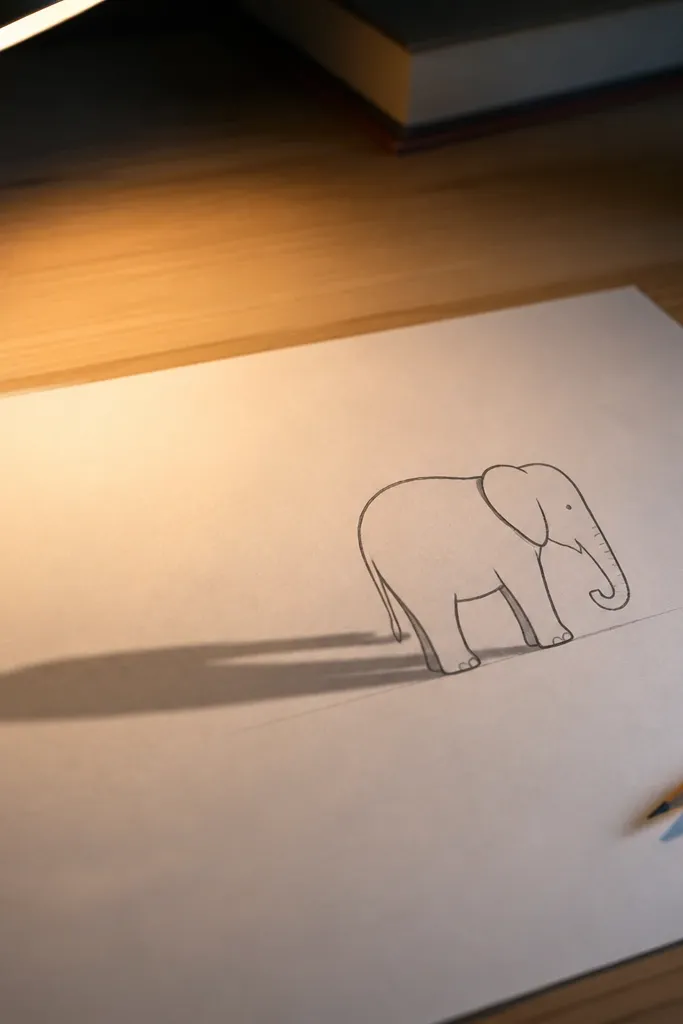
Draw the elephant in clean outline with head circle, body oval, and trunk arc. Decide the light direction — for example, light from the front-left means shadow goes back-right. Trace the elephant silhouette as a shadow by drawing simplified shapes behind the elephant, stretched longer. Keep the shadow edges slightly softened with pencil or leave them sharp for a graphic look. Add a ground line and darken the elephant silhouette last.
Long shadows make drawings look stylized and grounded, even if you keep the elephant simple. This look adds a single light direction, then stretches the shadow shapes backward. The elephant outline stays crisp, and the shadow gives you contrast and depth. You don’t need complex shading — just one clean shadow silhouette for body, trunk, and legs. It’s a great project if you want your elephant to look like a graphic poster.
AvoidDon’t stretch the head shadow differently from the body; keep them aligned.
Pro tipMake the shadow about 1.5 to 2 times longer than the elephant body so it reads instantly.
20. Elephant Face with Cross-Section Trunk Underside
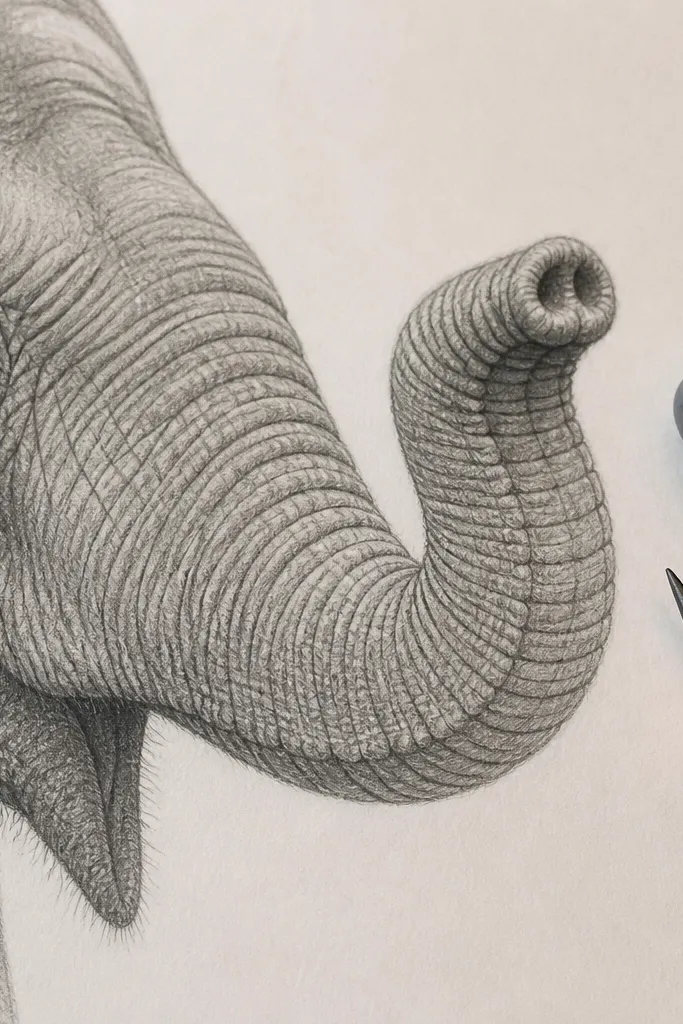
Draw the head oval and place the eye dot. Sketch the trunk as an outer curve that extends forward. Then draw a second, shorter curve under the trunk to show the underside edge. Connect those curves at the trunk base near the mouth. Add three fold lines on the underside only, then darken the outer silhouette and erase construction marks.
This is the “why does my trunk look flat?” fix. The trunk underside is drawn as a separate curve that wraps under the trunk, so it looks like it has thickness. You add folds only on that underside, which makes the elephant instantly more believable. The face is kept simple: one eye, one mouth curve, one eyebrow line, and an ear fold. It’s still easy, but it looks more advanced because the trunk reads in 3D.
AvoidDon’t put folds on the top edge of the trunk; keep them under.
Pro tipIf you struggle, exaggerate the underside curve slightly — it helps the 3D feel.
21. Elephant with Simple Shading on Ear and Trunk
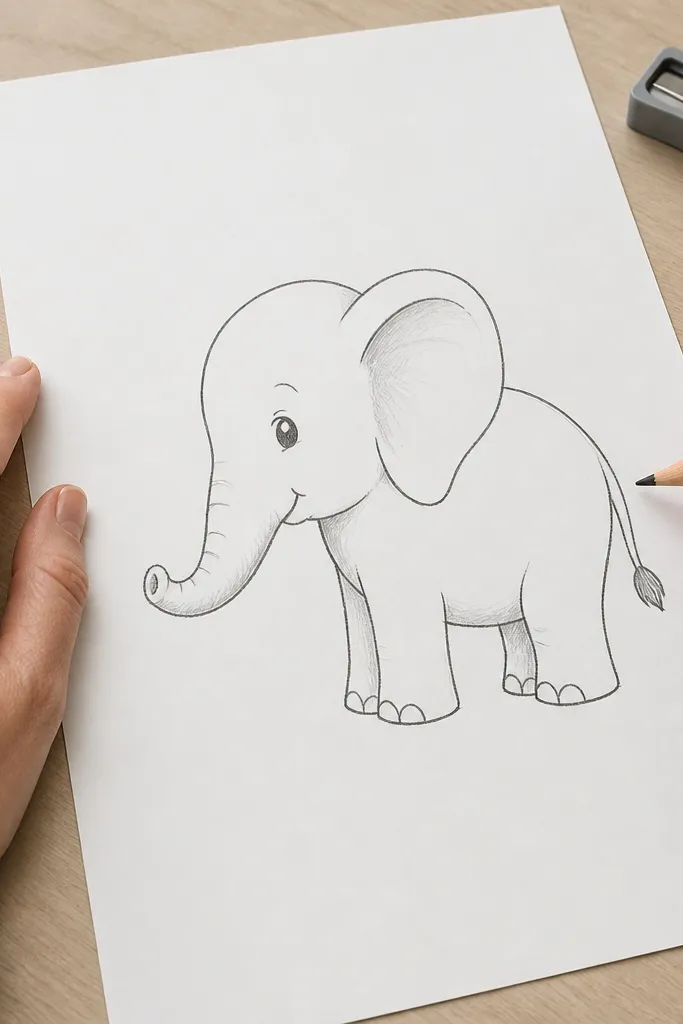
Sketch the elephant with light construction lines, then ink or darken the silhouette. Shade the ear by adding light pencil strokes that follow the inner fold direction, leaving the outer edge lighter. Shade the trunk underside using a thin band of pencil, then blend lightly with a tissue. Keep shading away from the eye and tusk area so the face stays sharp. Finish by darkening silhouette edges and erasing leftover guides.
A tiny bit of shading makes an elephant look polished without turning it into a realism project. This look focuses shading only where the elephant naturally has depth: the ear fold and the trunk underside. The rest stays mostly line-based. The ear shading is done with light pencil strokes following the ear’s curve, not random scribbles. The trunk shading follows the underside curve and makes the trunk look thicker.
AvoidAvoid shading the whole body if you want the easy, clean look.
Pro tipUse a kneaded eraser to lift highlights on the ear outer edge.
22. Elephant with Patterned Wrinkles on Trunk
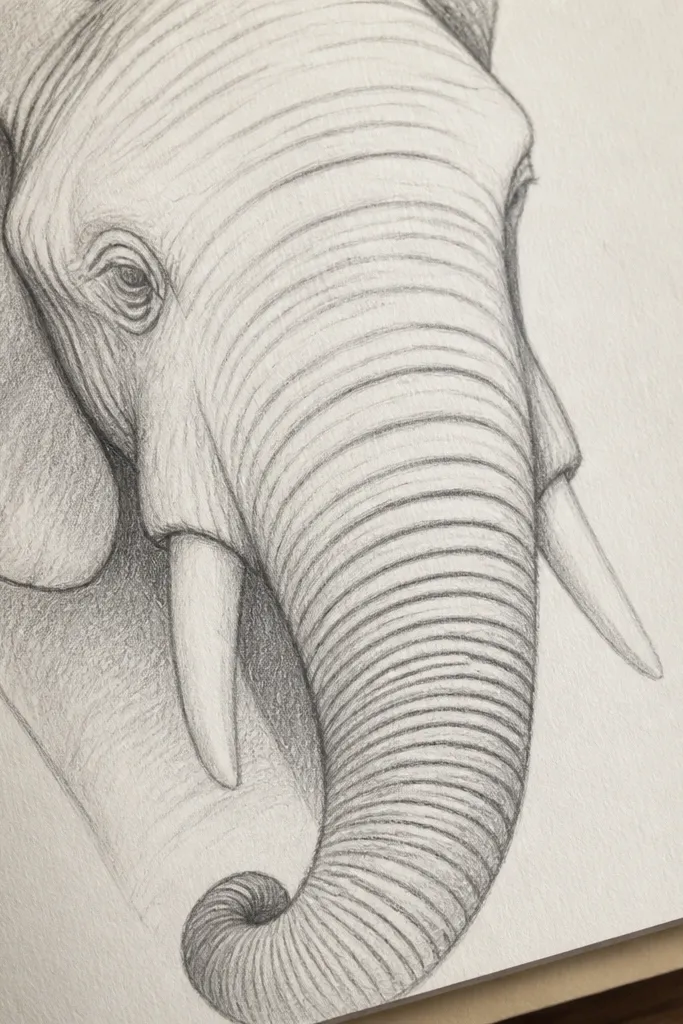
Wrinkles can get messy fast, so this style turns them into a pattern. You draw the trunk folds as repeating arcs that get closer together near the underside and farther apart near the top. The effect looks intentional and graphic, not chaotic. The rest of the elephant stays simple with a clean silhouette and minimal detail. This is a great choice if you like neat artwork and want the trunk to be the focal point.
Draw the elephant silhouette first with a smooth trunk curve. Add the trunk underside edge as a second curve underneath. Then draw wrinkle arcs on the underside, spacing them evenly like a fan. Keep each wrinkle short and curved, following the trunk’s direction. Add two small tusk arcs and one eye dot, then darken the outline and erase construction lines.
Draw wrinkle arcs lightly first, then commit with a darker line once spacing looks right.
Don’t overlap wrinkles across the trunk outline — keep them inside the trunk shape.
23. Elephant with Thick Marker Outline and Color Blocks
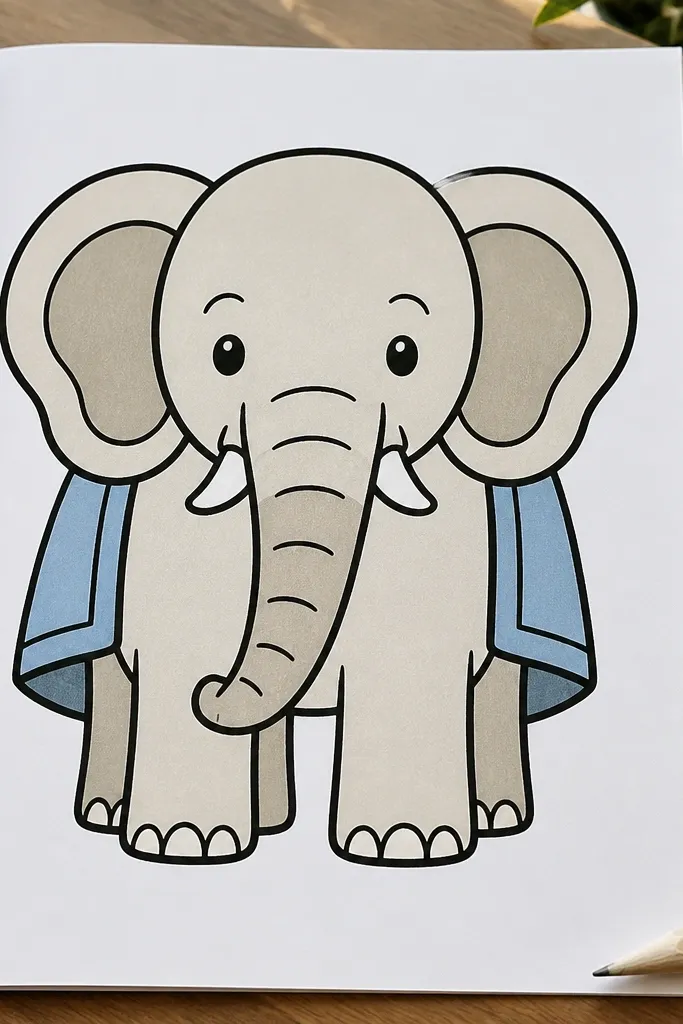
Thick outline plus color blocks looks bold and aesthetic with almost no shading skill. The elephant’s shapes are large, so your colors stay clean. This style uses two to three colors: a light gray or beige for the body, a slightly darker tone for inner ear and trunk underside, and one accent color if you want a blanket or background. The trunk and tusks remain line-defined so the face reads instantly. It’s ideal for marker users and anyone who wants a “finished” look quickly.
Sketch the elephant lightly, then trace the final lines with a thick black marker. Fill the body with a light gray or beige marker in one or two passes. Color the ear inner fold and trunk underside with a slightly darker shade. Add tusk color as light warm gray and leave the eye area uncolored or lightly colored. Finish by adding one accent element like a small blanket block on the back.
Use a second color only on the folds and inner shapes — that’s what creates depth without shading.
Don’t color over pencil lines; erase them first or they show through.
24. Elephant with Minimal Background and Ground Line
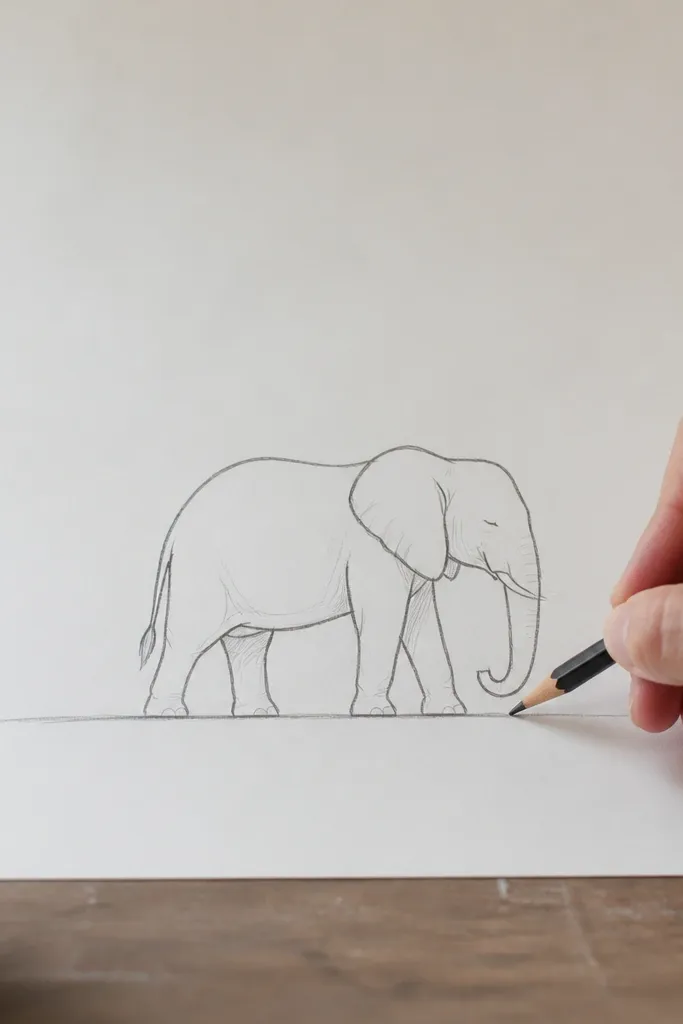
Draw a ground line across the page. Sketch the elephant standing on it with an oval body, head circle, and trunk arc that touches the face. Add legs as two main shapes plus two behind shapes, all aligned to the ground line. Place the eye dot and tusks as short arcs. Darken the outer silhouette and erase construction lines, leaving the background blank.
Sometimes the cleanest aesthetic is restraint. This look gives the elephant a single ground line and leaves the rest of the page mostly blank. That blank space makes the elephant silhouette pop, and it’s easier to keep proportions consistent. The elephant itself uses simple shapes and a few key lines: ear fold, trunk underside, and tusks. You can ink it or keep it pencil-only. It’s a perfect option for beginners who want a good result without adding distractions.
AvoidDon’t add extra background elements until the elephant is proportioned.
Pro tipKeep the ground line straight using the edge of a ruler or a notebook spine.
25. Elephant in a Circle Mandala with 12-Point Sunburst
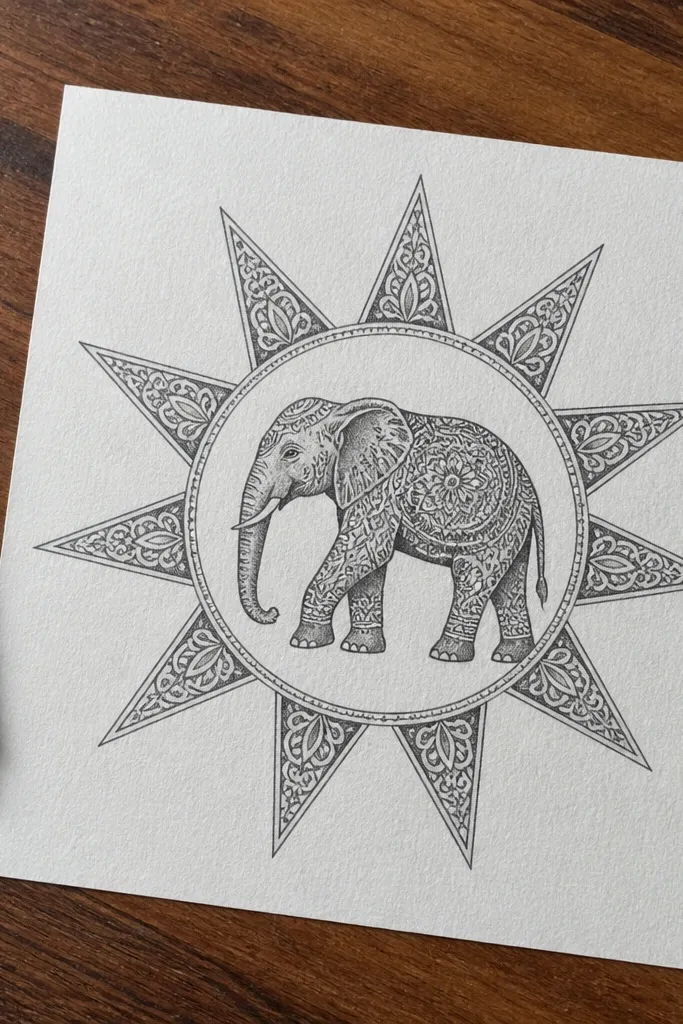
This one is built for that “I can draw this” feeling, but it still looks like a finished art card. The elephant sits inside a clean circle mandala, and the 12-point sunburst gives you a strong structure so the face proportions stay even. You get a crisp, graphic look that photographs well because the rays and circle edges read clearly even with simple coloring. Use a pencil-first drawing, then go over the final lines with a thick marker so it pops. It takes about 45-60 minutes if you go slow on the rays, and it suits sketchbooks, greeting cards, and classroom art pages.
Draw a circle about 6.5 cm across (or 2.5-3 inches) and lightly mark the center point. Divide the circle into 12 equal sections by drawing a vertical line and a horizontal line through the center, then add two diagonals, then add four more rays at equal angles until you have 12. Sketch the elephant head in the upper half of the circle using a big oval for the skull, a smaller oval for the snout, and a simple ear that matches the ray spacing so it doesn’t look lopsided. Add a short curved trunk that starts near the snout and dips slightly toward the center, then place one eye slightly above the snout line. Go over the mandala lines and elephant outline with a 0.8-1.2 mm fineliner or brush pen, then color the elephant with light gray pencil and leave the sunburst rays mostly white for contrast.
Use a ruler for the 12 rays, then erase the construction lines only after the ink dries so you don’t smear graphite into wet marker.
Don’t start shading before the outline is inked and dry, or you’ll muddy the rays and lose that crisp mandala look.



