
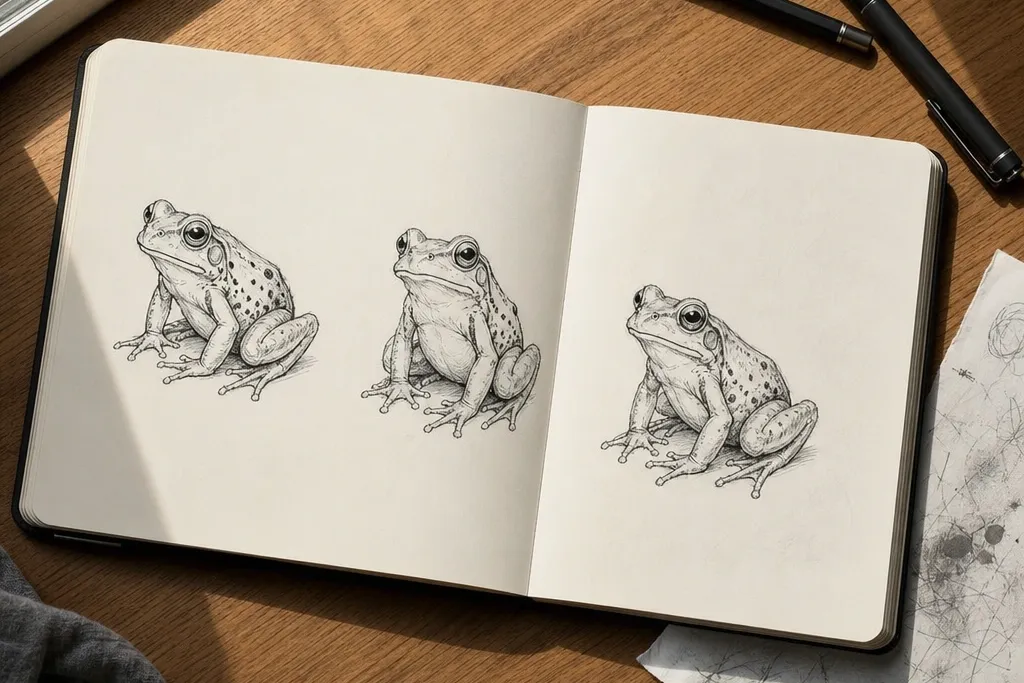

1. Pencil-Only Frog Profile with a Single Shadow Drop
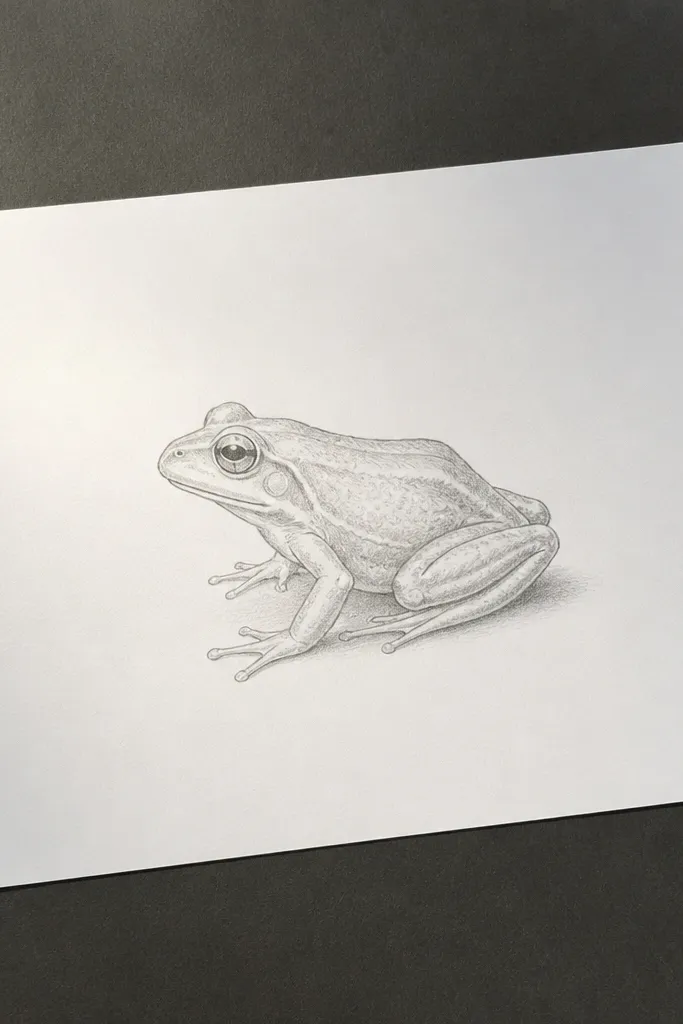
This is the sketch I’d do when your frog looks flat or cartoonish. The profile pose forces you to nail the head-to-body curve, and the single shadow drop gives the drawing depth without turning it into a smudgy mess. Keep the background blank so your line work reads clearly. Use soft graphite so the shading feels smooth, not speckled.
Start by drawing the head as a slightly flattened oval and connect it to a rounded body bean with one continuous contour line. Add one back leg and one front leg as simple tubes, with the knee joint indicated by a small angle mark. Then place one shadow wedge under the belly — shape it like a teardrop that follows the body curve. Finally, shade the shadow with 2B first, then deepen the darkest edge using 4B or 6B.
Press lightly for the first pass, then commit to the outline by retracing only the outer edges.
Don’t add multiple shadow patches — one belly shadow is what keeps this crisp.
2. Ink Outline Frog Facing You with Thick-Eyed Contrast
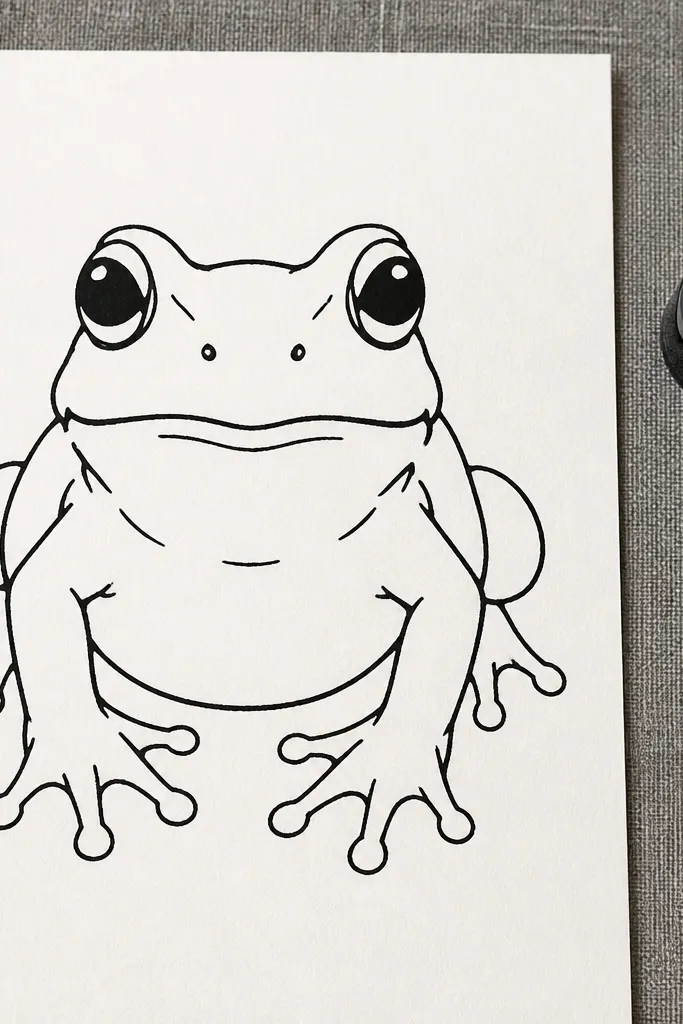
Front-facing frogs look instantly more “designed” because symmetry makes the viewer read the face first. This prompt is about contrast: bold ink for the silhouette and darker marks around the eyes. You’ll get an aesthetic, poster-like look even with minimal shading. It’s also great for practicing how to place eye sockets so the face doesn’t sag.
Sketch the head as a circle slightly wider at the bottom, then add the body as a rounded oval beneath it. Draw the eye shapes as two ovals and leave a tiny highlight gap inside each. Outline the frog with a fineliner or brush pen, then thicken the line at the bottom of the head and along the edges of the legs. Shade only the eye openings and the underside of the chin with dense ink.
Use a ruler or folded paper to keep the eye line level before you ink.
Avoid shading the whole frog — the clean negative space is the look.
3. Watercolor-Wash Frog Sketch with Outlines Left Bare
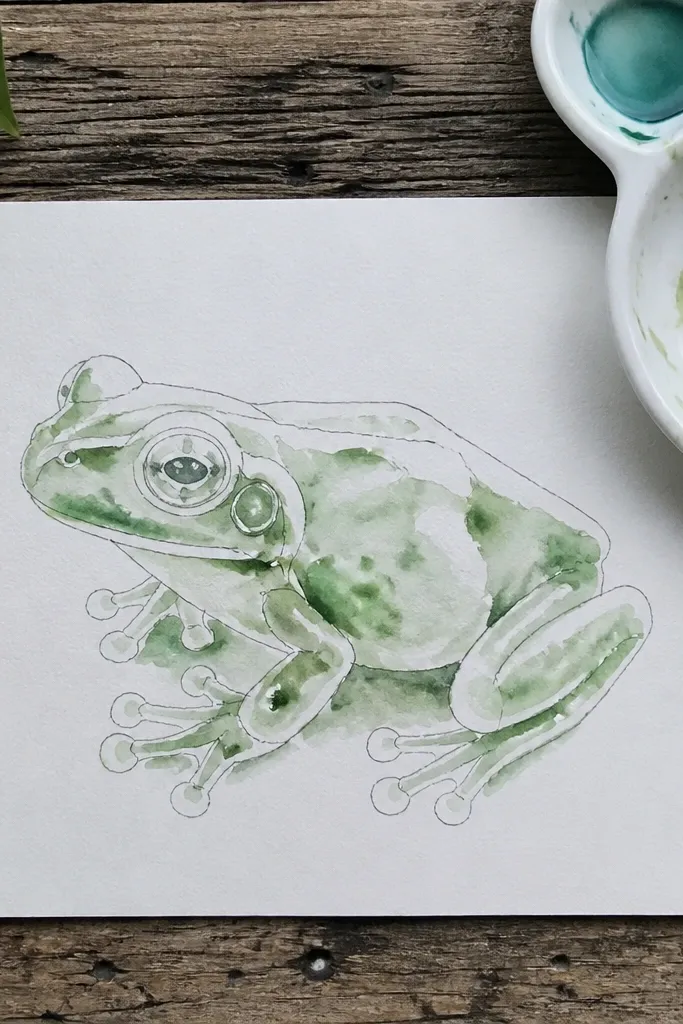
Lightly pencil the frog construction using the head oval and body bean approach, then erase only the construction lines you don’t want visible. Paint a thin watercolor wash over the body and legs, leaving the outline line mostly untouched. Add a darker wash under the belly and around the inner leg crease for depth. Let it dry flat, then re-ink or re-draw the silhouette with a fineliner if lines fade.
If you want Frog Drawing Sketches that look soft and modern, this one is hard to beat. The trick is to paint the color wash without fully coloring the outlines, so you keep crisp edges. The frog looks alive because the wash pools slightly at joints and under the belly. It’s also forgiving: a little unevenness looks intentional.
AvoidDon’t flood the paper — too much water blurs the frog shape.
Pro tipUse a limited palette: one green and one warm brown for shadows so it doesn’t look muddy.
4. Graphite Frog with Crosshatch Belly Panel
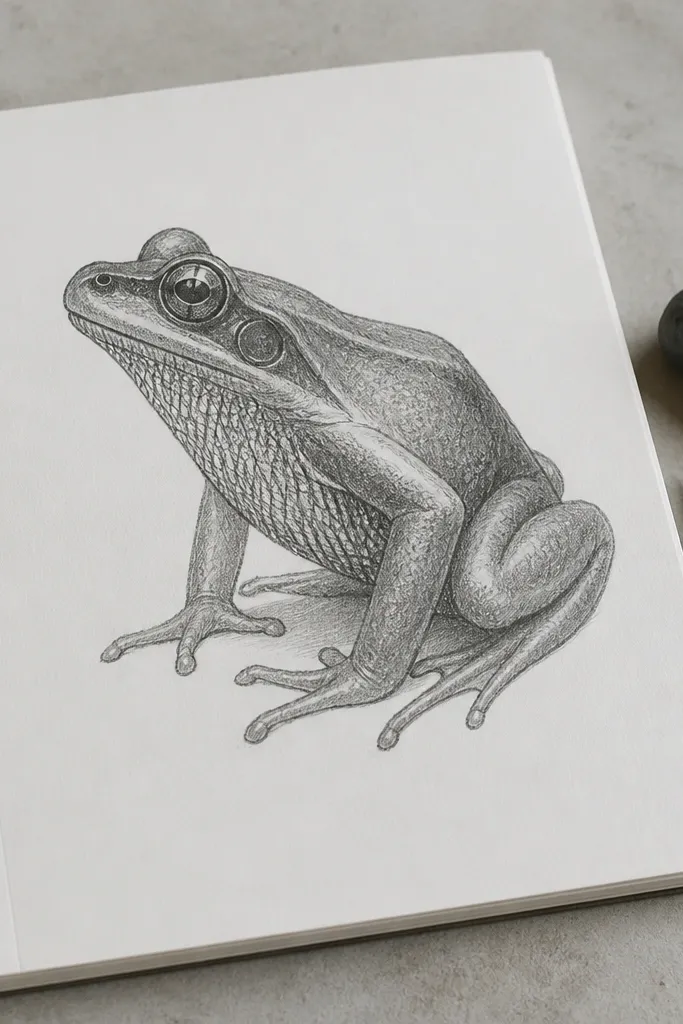
This prompt makes your shading look graphic, not smudged. Crosshatching is controlled texture, and focusing it on the belly creates a strong focal area. The rest of the body stays smoother, so the drawing has a clear hierarchy. It’s also a great way to practice angle: hatch lines should follow the curve of the body.
Draw the frog pose with simple tube legs and a rounded belly, keeping the outline light. Place the shadow zone under the belly as a clear oval area. Use short crosshatch lines that curve slightly with the body — first pass at one angle, second pass at another. Keep the eyes and top of the head mostly unshaded so the belly panel pops.
Start hatch lines inside the shadow shape and stop before the highlight edge.
Don’t crosshatch everywhere — the belly panel is the aesthetic.
5. Colored Pencil Frog on Textured Paper with Hard Highlights
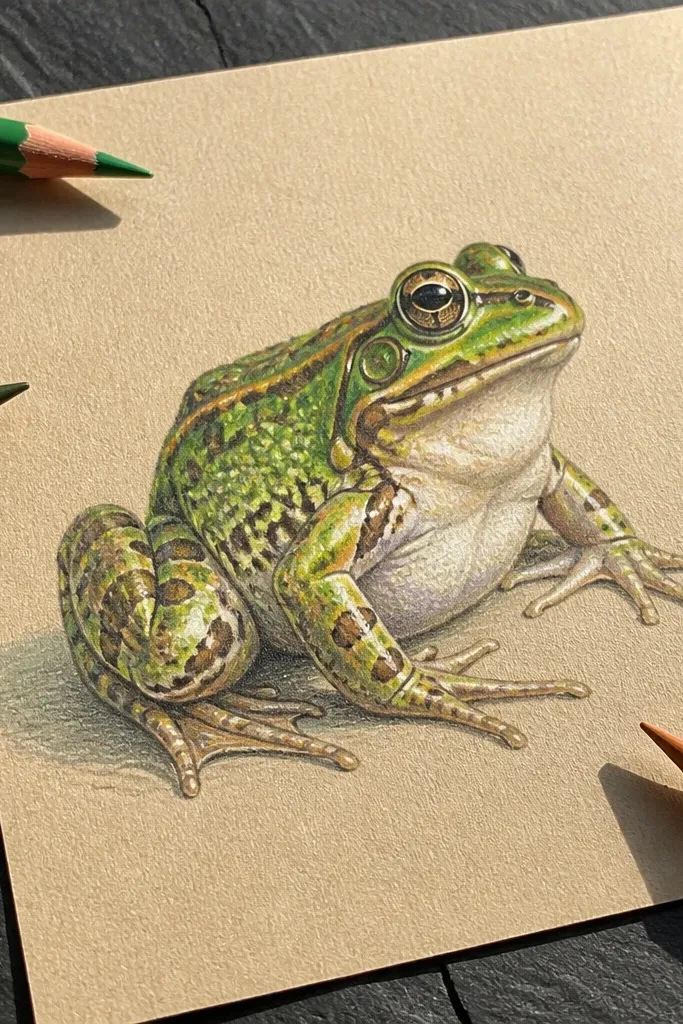
Choose a medium tooth paper like toned sketch paper, then draw the frog with a light graphite underdrawing. Build the green in thin layers, starting mid-tone and leaving two small highlight shapes on the belly and cheek. Use a darker green pencil for the leg joints and the underside shadow. Finish by burnishing highlights with a light pencil or clean blending stump so they stay bright against the textured paper.
Texture paper makes colored pencil look expensive. The surface catches pigment, so your frog skin has natural speckling without you doing tiny dots forever. Hard highlights keep it from looking chalky. This is a good choice when you want Frog Drawing Sketches that look tactile and photo-friendly.
AvoidAvoid overworking the highlight area — it turns gray and loses the clean look.
Pro tipUse light pressure for the base layers; only press harder on shadow edges.
6. Side-Leg Gesture Frog with Motion Lines
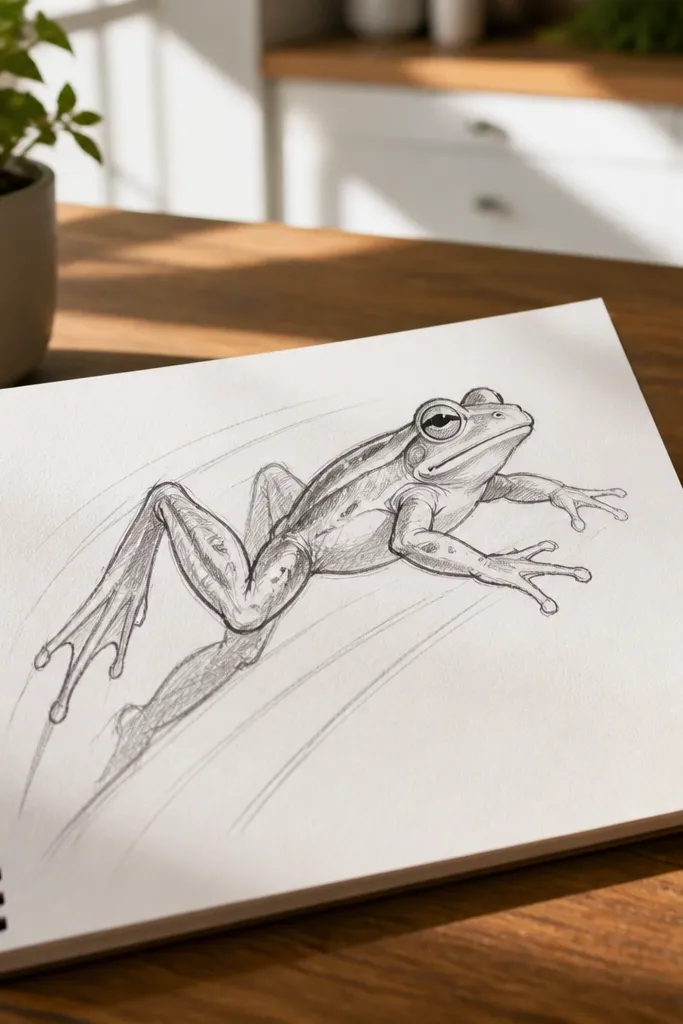
This prompt fixes the “stiff frog” problem. By focusing on gesture and leg angles, you get a frog that looks like it’s moving, even if it’s just a sketch. Motion lines add energy without turning the page into a busy scene. The look is dynamic and reads fast, which makes it great for practice pages.
Start with a simple action line that tilts upward, then place the head oval at the start of that line. Draw the body bean and extend one leg forward as a long tube with a visible knee bend. Add motion lines behind the lifted foot — keep them short and tapered. Finally, darken the outline of the body edge closest to the viewer, and leave the far edge lighter.
Commit to one direction of motion — mixing directions kills the energy.
Don’t add detailed toes — gesture comes first.
7. Frog Sitting on a Lily Pad with Negative-Space Water
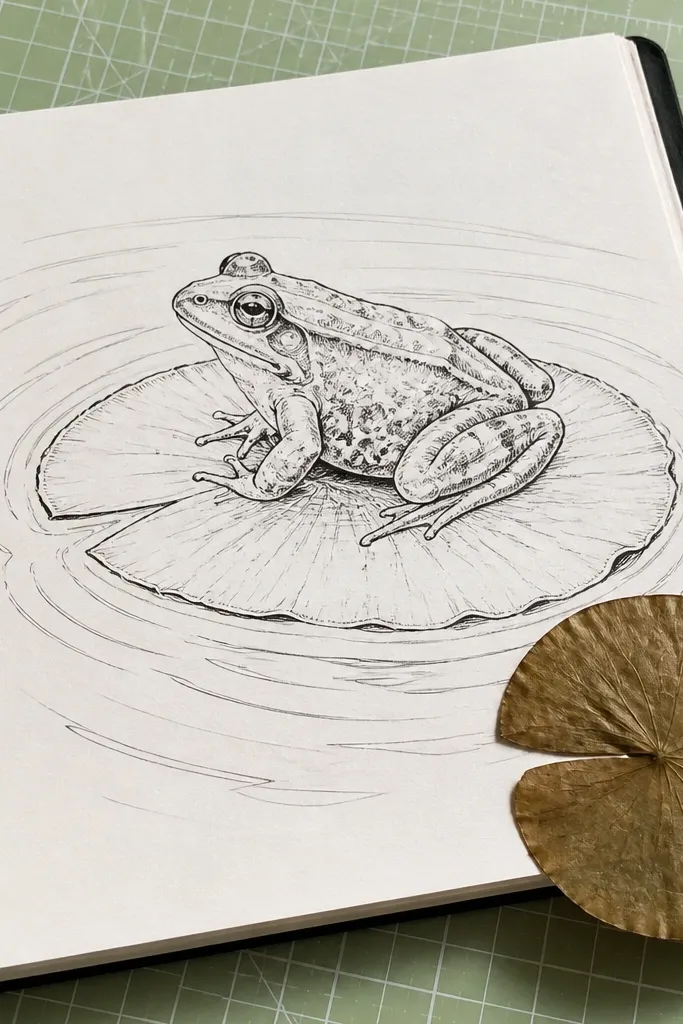
Scene prompts make your frog feel intentional because you frame it. The lily pad gives you a strong shape under the frog, and negative-space water keeps the page airy. You’ll practice placing contact points: where the frog belly touches the pad. This one looks great because the white ripples and clean edges contrast with the frog’s darker contour.
Draw the lily pad first as a large leaf shape with a central vein line. Place the frog on top, using the head oval and body bean, then draw the legs so they “hook” onto the pad edge. Add water ripples as light curved lines around the pad, leaving the paper white. Shade under the frog belly and along the pad underside only — keep the top pad lighter.
Use a single ripple thickness so the page stays calm and graphic.
Avoid shading the entire water area — the white space is the aesthetic.
8. Chalk Pastel Frog with Soft Edge Skin
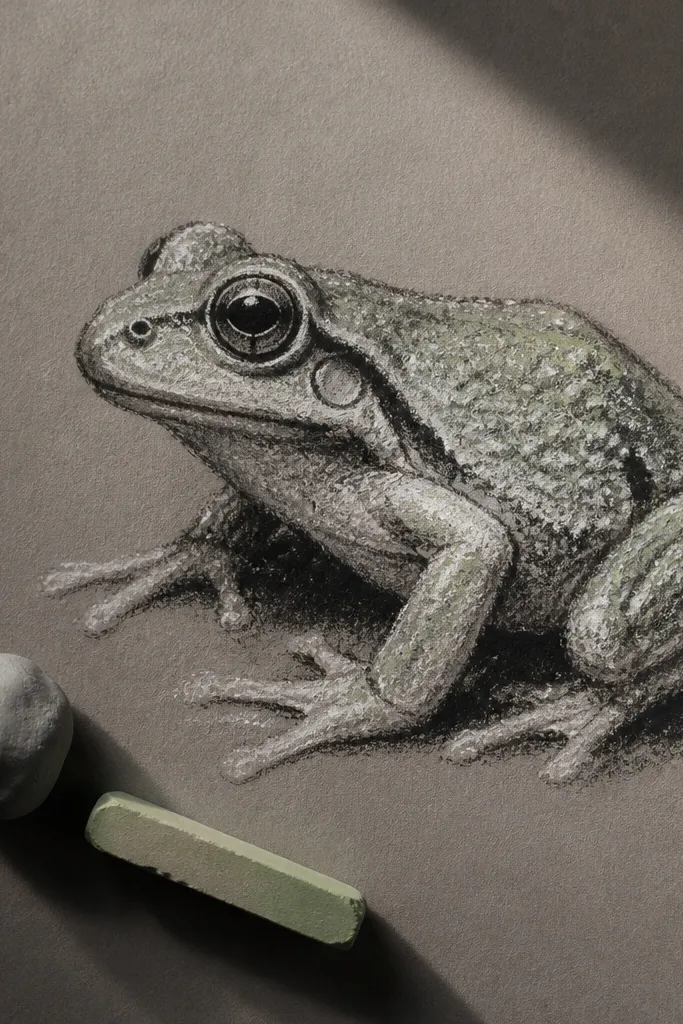
If you like that street-art sketchbook look, chalk pastel is the shortcut. It creates soft edges and skin grain without you doing dot-by-dot texture. The key is contrast: keep the eyes and nearest shadow areas darker and cleaner than the rest. This prompt looks best on mid-tone paper because the colors pop.
Lightly sketch the frog with charcoal or graphite, then erase any heavy lines you don’t want. Block the green areas with broad pastel strokes, then blend the mid-tones with a soft tissue. Add a darker green or bluish gray for the belly shadow and around the eye sockets. Finish by pressing pastel more firmly at the eye and nearest leg contour so those edges stay defined.
Fixative is optional but helpful — chalk dust smears easily once you move the page.
Don’t blend the whole drawing — you need crisp contrast points.
9. Charcoal Frog with Vine-Thin Rim Shadows
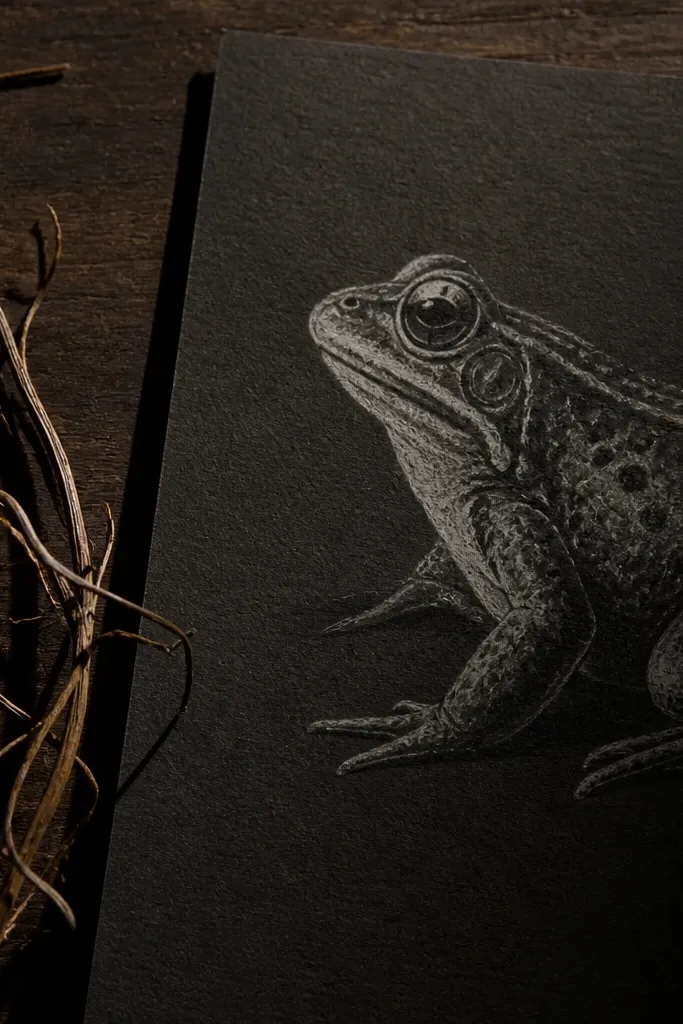
Draw the frog with charcoal using a light touch so you can correct proportions. Shade only the underside and one side of the body with broad charcoal smudges. Then add thin rim shadow lines along the far edge — think of it like a pencil outline but darker and softer. Keep the top highlight side mostly clean, then darken the eye area last.
Charcoal can make frogs look dramatic fast. This prompt is about rim shadows — thin, controlled dark lines along one side of the body. It gives the frog a sculpted look without heavy full shading. Your drawing also becomes easier to read because the silhouette gets clear separation from the background.
AvoidAvoid heavy charcoal dust across the whole page — it turns flat.
Pro tipUse a kneaded eraser to pull highlights on the belly curve.
10. Frog Face Study with Over-Sized Eyes and Skin Creases
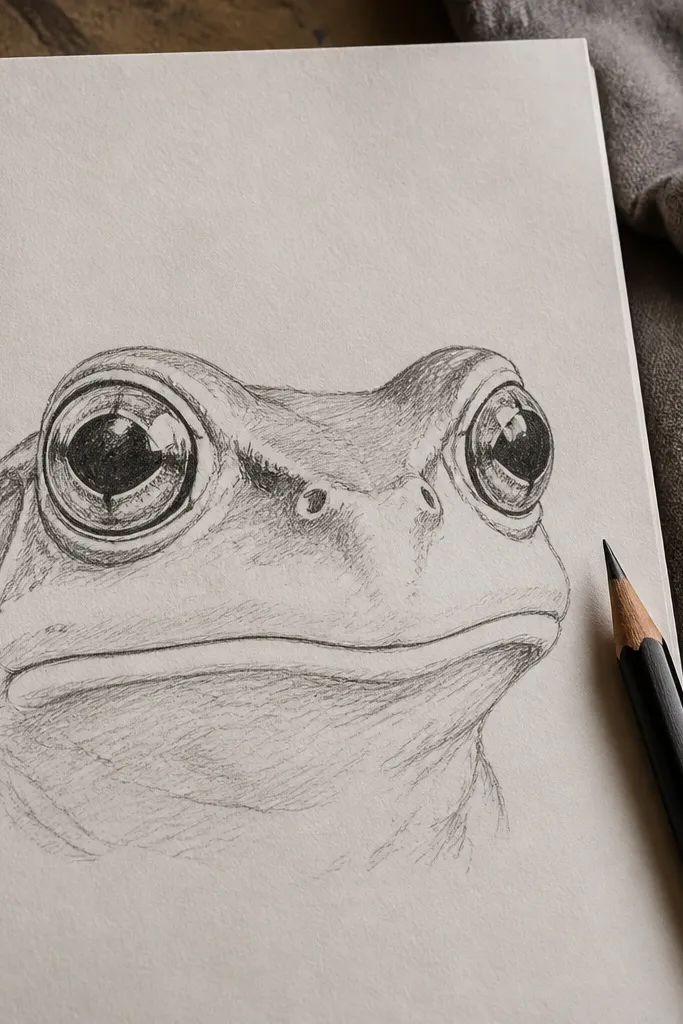
Draw a head oval and mark a center line for symmetry. Place the eye ovals high on the head and leave a highlight crescent in each. Add the eyelid curve and a short brow line above each eye. Then draw 3-5 skin crease lines: two around the cheek and one under the eye, curving with the head shape. Shade the eye openings and the crease shadows lightly with a soft pencil.
This prompt is for when your frogs look cute but not expressive. Oversized eyes force you to place the eyelids, brow line, and the cheek contour. Skin creases are the “aesthetic detail” here — few lines, placed where the skin folds. You’ll end up with a face that looks alive, even if the body is minimal.
AvoidDon’t add lots of tiny dots for texture; creases read cleaner.
Pro tipKeep crease lines short — long lines make the face look stretched.
11. Monochrome Frog Sketch on Dark Paper with White Gel Pen
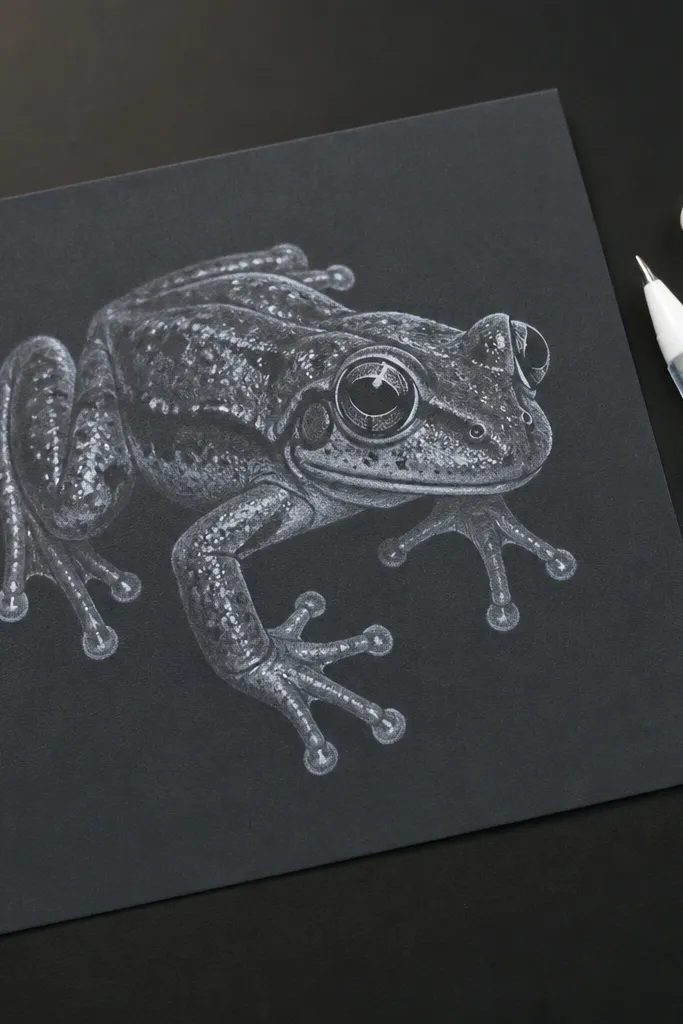
Dark paper turns a simple Frog Drawing Sketches page into an instant design piece. You’ll draw in light graphite or colored pencil for mid-tones, then use a white gel pen for the highlights that make the skin look glossy. The result is high contrast and very photogenic. This is also a good exercise in deciding what NOT to shade — dark paper already holds the shadow.
Tape your paper flat and lightly sketch the frog silhouette with a light graphite. Block the body mid-tone with colored pencil or a light charcoal, keeping the top highlight side cleaner. Then use a white gel pen to draw the brightest highlight shapes on the belly and along the nearest leg edge. Add a few thin white lines for skin sheen and the eye highlight.
Test the gel pen on scrap first; some pens skip on dark paper.
Avoid covering the whole page with white — highlights should stay selective.
12. Frog in a Framed Thumbnail Grid with One Shared Pose
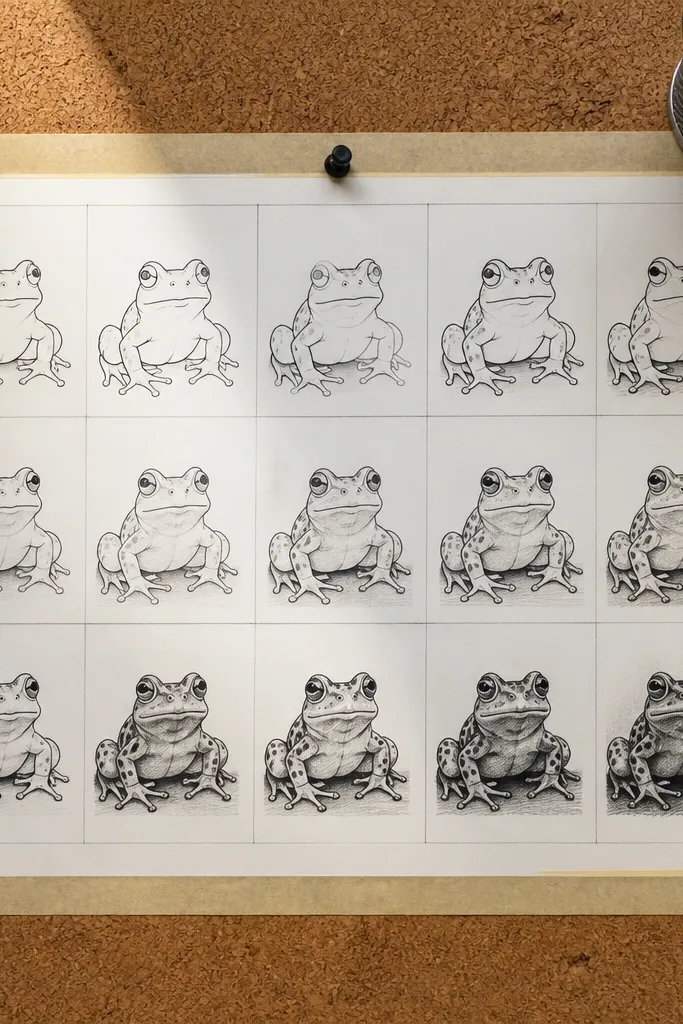
This is the “I want progress” prompt that still looks good. You draw the same frog pose in multiple thumbnails, then vary one thing each time: line weight, shadow style, or background. The aesthetic comes from repetition — a grid reads like a design study. It also trains your hand to keep proportions consistent across pages.
Draw a 3x5 grid on one sheet and lightly mark the same pose in each box using construction shapes. In each thumbnail, change only one variable: one uses fineliner outlines, one uses 6B shadow blocks, one uses crosshatch, one uses minimal shading, and so on. Keep the eye placement identical across all boxes. When you finish, darken the final outer contour in every thumbnail so the grid looks cohesive.
Use one eraser color pencil for guide marks so you can see them against the paper.
Don’t change the pose each time — your goal is consistency, not variety.
13. Frog Under Overhead Light with Crisp Belly Arc Shadow
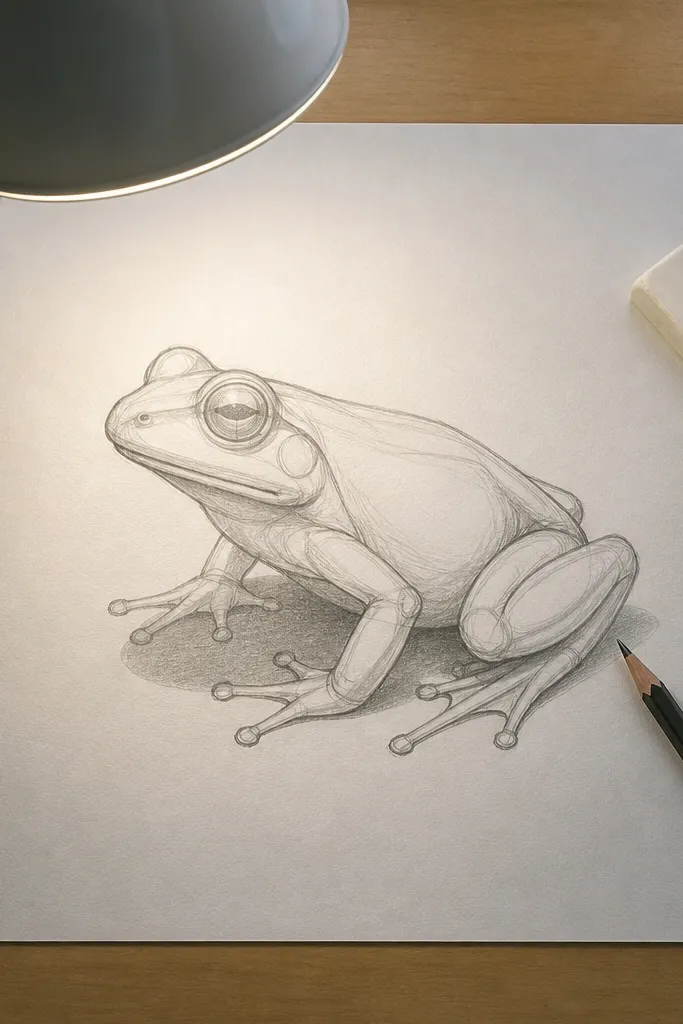
Sketch the frog in a simple sitting pose, with the belly facing the viewer. Draw the belly arc shadow on the ground plane as a smooth curve, like a thick crescent. Shade the underside of the belly up to that arc, leaving the upper body lighter. Use a soft blend for the mid-tone but keep the shadow edge slightly sharper near the arc line.
Lighting studies make drawings look realistic fast, and this one is clean. Overhead light creates a predictable belly arc shadow that you can draw consistently. The frog looks structured because the shadow separates the body from the ground. It’s also a strong way to learn how to place shadows without smearing everything.
AvoidAvoid soft shadow edges everywhere; the crisp arc is the point.
Pro tipKeep the shadow edge cleaner on the side closest to the viewer.
14. Frog with Patterned Skin Bands and Limited Colors
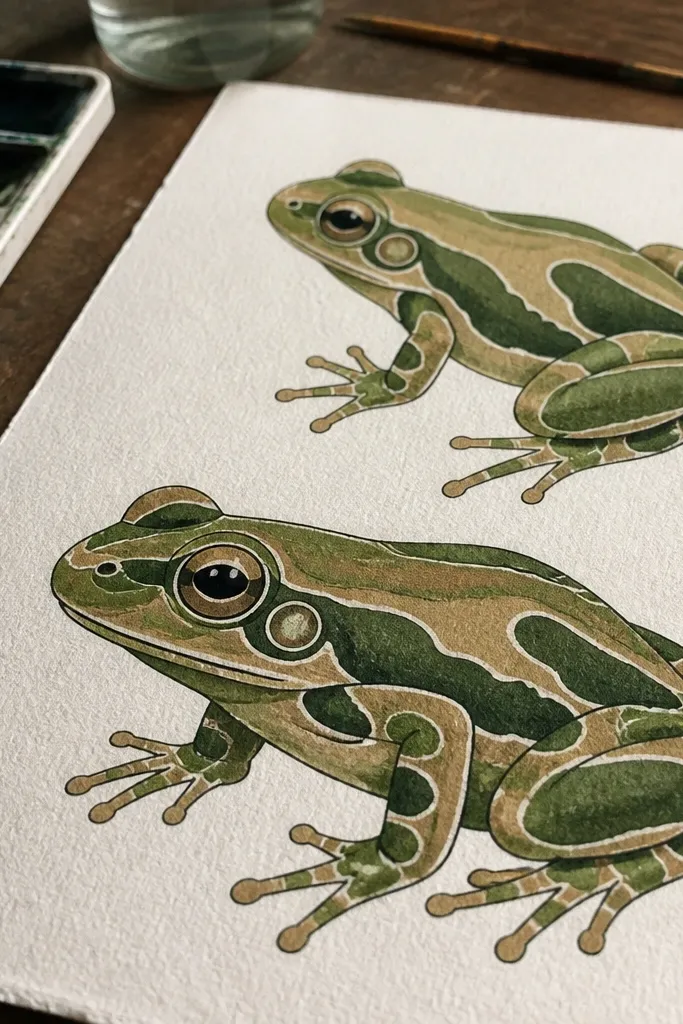
Patterns make Frog Drawing Sketches look intentional even when your rendering is simple. This prompt uses banded skin stripes that wrap around the body, giving you an easy way to show form. You only need two or three colors: a base green, a darker green band, and one warm neutral for shadow. The look is graphic and bold, especially in sketchbook photos.
Draw the frog construction first, then outline the silhouette with a fineliner or darker pencil. Add 4-6 skin bands that curve with the body bean — don’t draw straight stripes. Color the base with light green, then fill the band areas with darker green, leaving thin gaps for highlights. Finish with a warm neutral shadow under the belly and at the leg joints.
Keep band spacing even on the body and tighter near the legs for a natural wrap.
Avoid random stripe placement; bands should follow the body curve.
15. Frog Sitting in a Minimal Frame with One Texture Ground
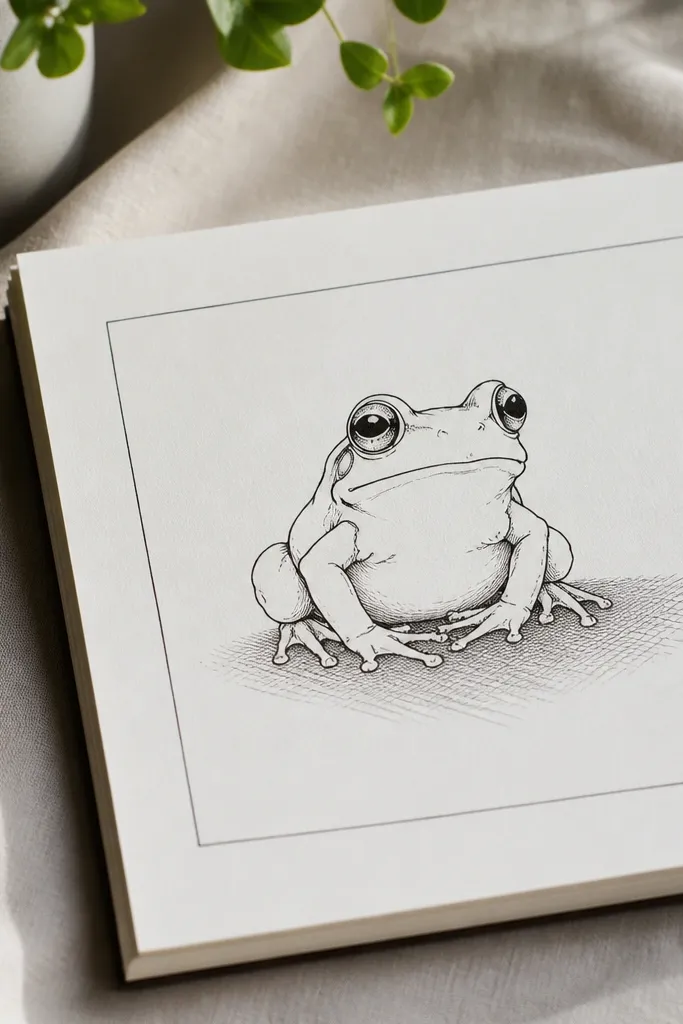
A frame makes your frog sketch feel like a finished piece, not a practice page. This prompt keeps everything minimal except one ground texture, so you don’t waste time rendering a whole scene. The frog becomes the focus because the border contains the eye. It’s also a clean way to practice texture control using only a few marks.
Draw a rectangular border around your page area, leaving a small margin. Sketch the frog in the center with light construction lines, then ink the silhouette. Add only one ground texture under the feet: use short scratch marks or stipples, then darken the densest part right under the frog. Shade the underside contact points so the frog looks planted.
Use stipples for texture, but stop once the ground feels dark enough — too much makes it muddy.
Don’t add extra background props; the single texture ground is what keeps the look clean.



